Home>Home Maintenance>How To Remove Freon From An Air Conditioner
Home Maintenance
How To Remove Freon From An Air Conditioner
Modified: March 7, 2024
Learn how to remove Freon from your air conditioner safely and effectively with our step-by-step guide. Keep your home cool and comfortable with this essential home maintenance task.
(Many of the links in this article redirect to a specific reviewed product. Your purchase of these products through affiliate links helps to generate commission for Storables.com, at no extra cost. Learn more)
Introduction
Welcome to our guide on how to remove Freon from an air conditioner. Freon, also known as refrigerant, is a vital component in cooling systems that helps regulate the temperature and maintain the desired comfort level in our homes. However, there may be instances where you need to remove the Freon from your air conditioner, whether it’s for maintenance purposes or to upgrade to a more environmentally friendly refrigerant.
It’s important to note that handling Freon requires caution and adherence to proper safety procedures. Freon is a toxic substance that can harm the environment, contribute to ozone depletion, and pose health risks if mishandled. That’s why it’s crucial to take the necessary precautions and follow the proper steps to ensure a safe and effective removal process.
In this article, we will provide you with a step-by-step guide on how to safely remove Freon from your air conditioner. We will also highlight the essential tools you’ll need and discuss the proper disposal methods for the refrigerant. Let’s get started!
Key Takeaways:
- Removing Freon from an air conditioner requires caution and proper tools. Always prioritize safety, follow manufacturer’s instructions, and dispose of the refrigerant responsibly to protect the environment.
- After safely removing Freon, seal the access valves, clean up, and check for leaks to ensure the air conditioner’s proper functioning. Regular maintenance and monitoring are essential for system efficiency.
Read more: How To Remove Freon From A Refrigerator
Step 1: Safety Precautions
Before you begin the process of removing Freon from your air conditioner, it’s crucial to prioritize safety. Handling refrigerant can be hazardous if not done properly. Here are some important safety precautions to keep in mind:
- Wear protective gear: Ensure you have proper safety equipment, including gloves, safety goggles, and a mask. This will protect you from potential contact with the refrigerant and any associated fumes.
- Work in a well-ventilated area: Perform the Freon removal process in a well-ventilated space, such as an open garage or outdoor area. This will help minimize the risk of inhaling toxic fumes.
- Turn off power supply: Before starting, make sure to turn off the power supply to the air conditioner unit. This will prevent any accidental electric shocks while working with the system.
- Handle refrigerant responsibly: Freon is harmful to the environment and should never be released into the air. It’s essential to handle and dispose of the refrigerant responsibly, following local regulations and guidelines.
- Follow manufacturer’s instructions: Always reference the manufacturer’s instructions specific to your air conditioner model. Different units may have slight variations in the removal process, so it’s important to follow the guidelines provided.
- Seek professional assistance if unsure: If you are not confident or experienced in handling refrigerant, it’s best to seek the help of a professional HVAC technician. They have the knowledge and expertise to safely remove Freon from your air conditioner.
By taking these safety precautions, you can ensure the removal process is carried out safely and avoid any potential risks associated with handling refrigerant. Now that you’re aware of the necessary safety measures, let’s move on to the next step: gathering the necessary tools.
Step 2: Gather the Necessary Tools
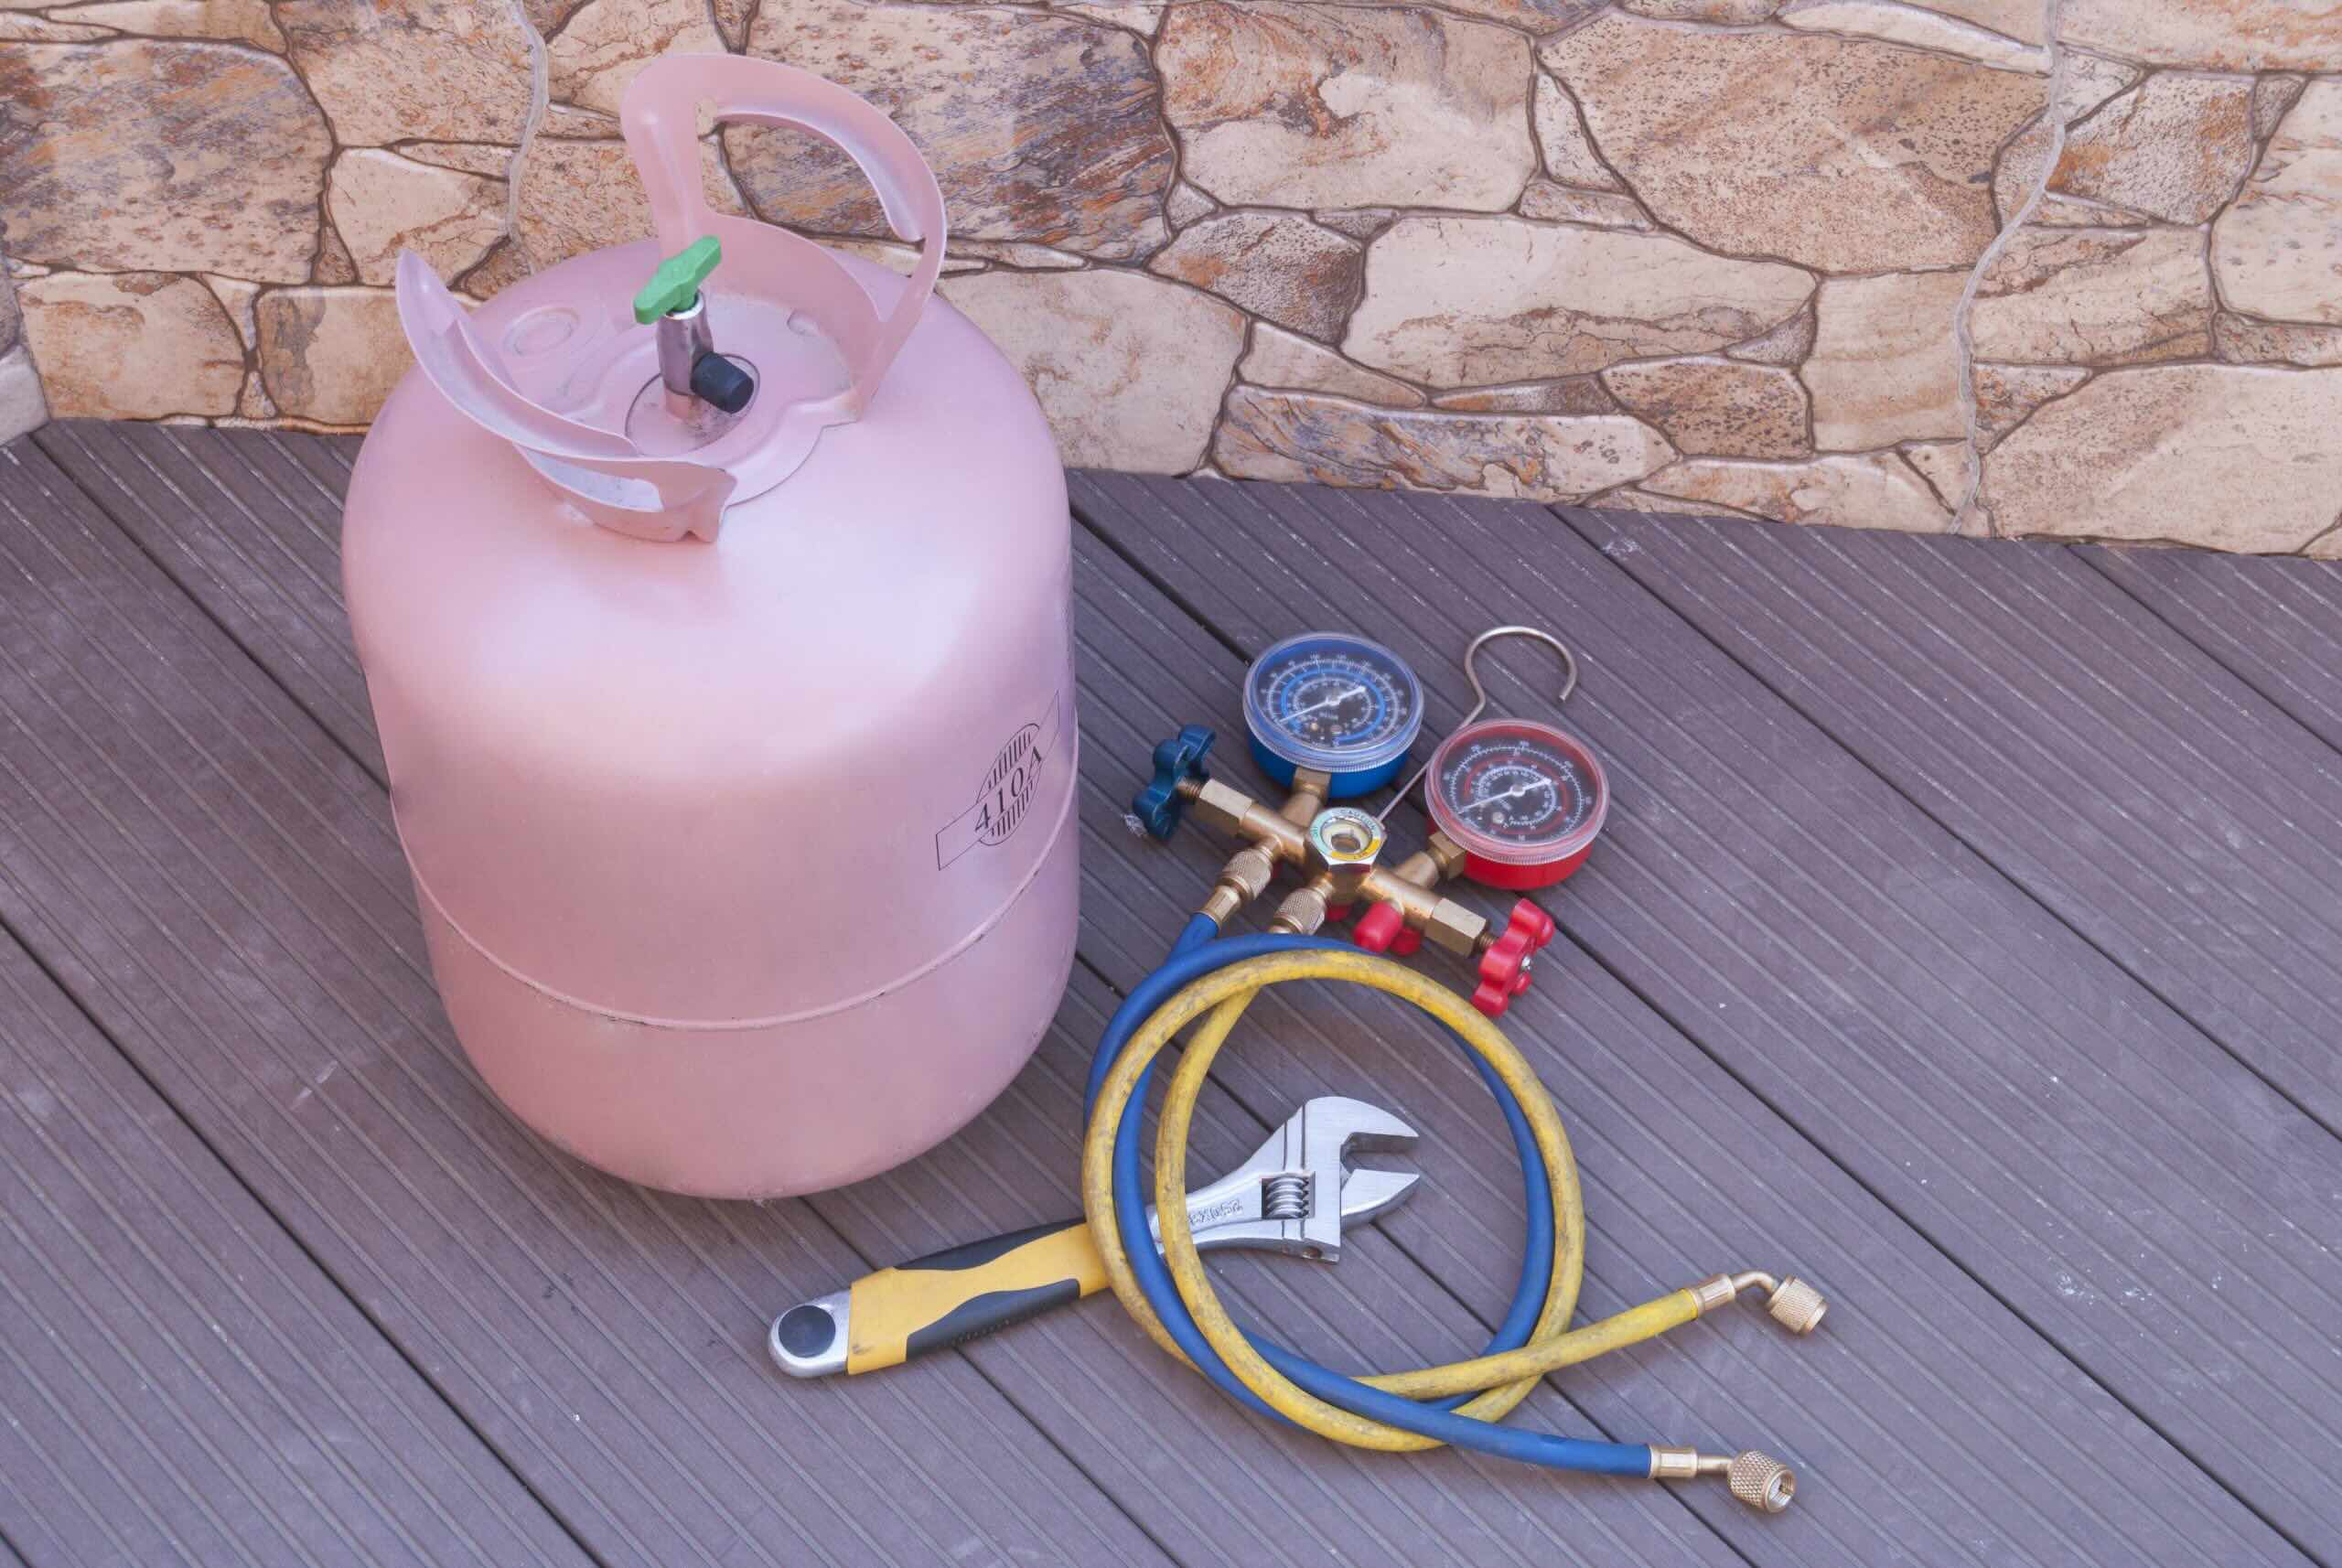
Before you can begin removing Freon from your air conditioner, it’s important to gather the necessary tools. Having the right equipment on hand will help streamline the process and ensure its effectiveness. Here are the essential tools you’ll need:
- Vacuum pump: A vacuum pump is used to create a vacuum within the air conditioning system, removing any residual Freon. It helps prepare the system for evacuation.
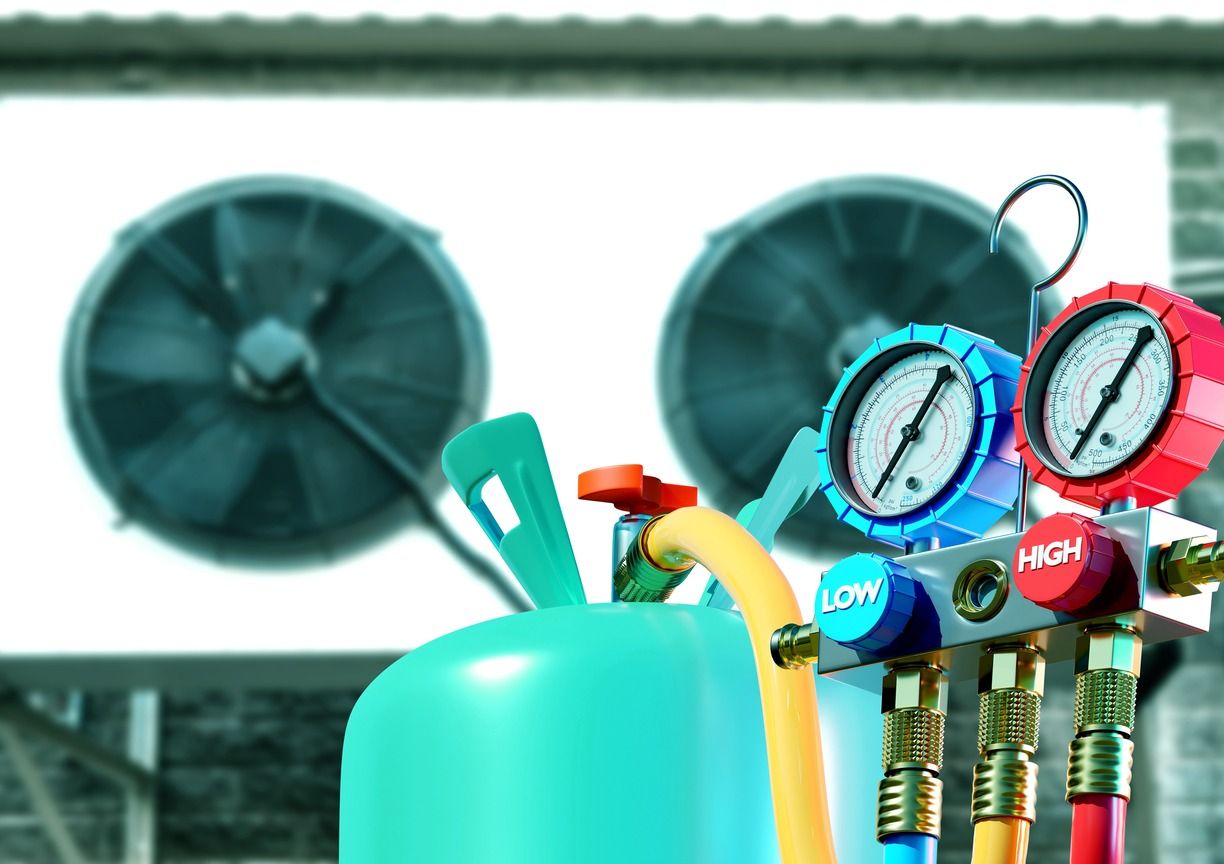
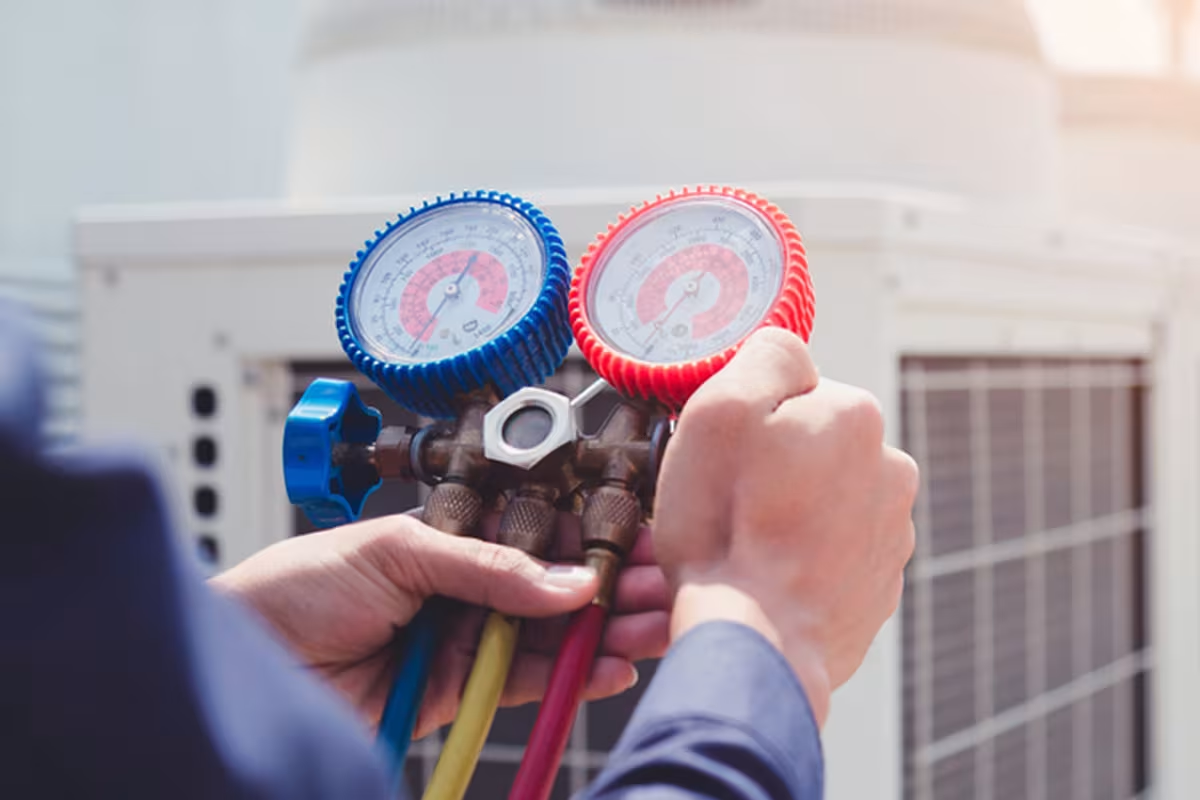
- Gauge manifold set: This set includes gauges that measure the pressure of the refrigerant and allow you to monitor the evacuation process.
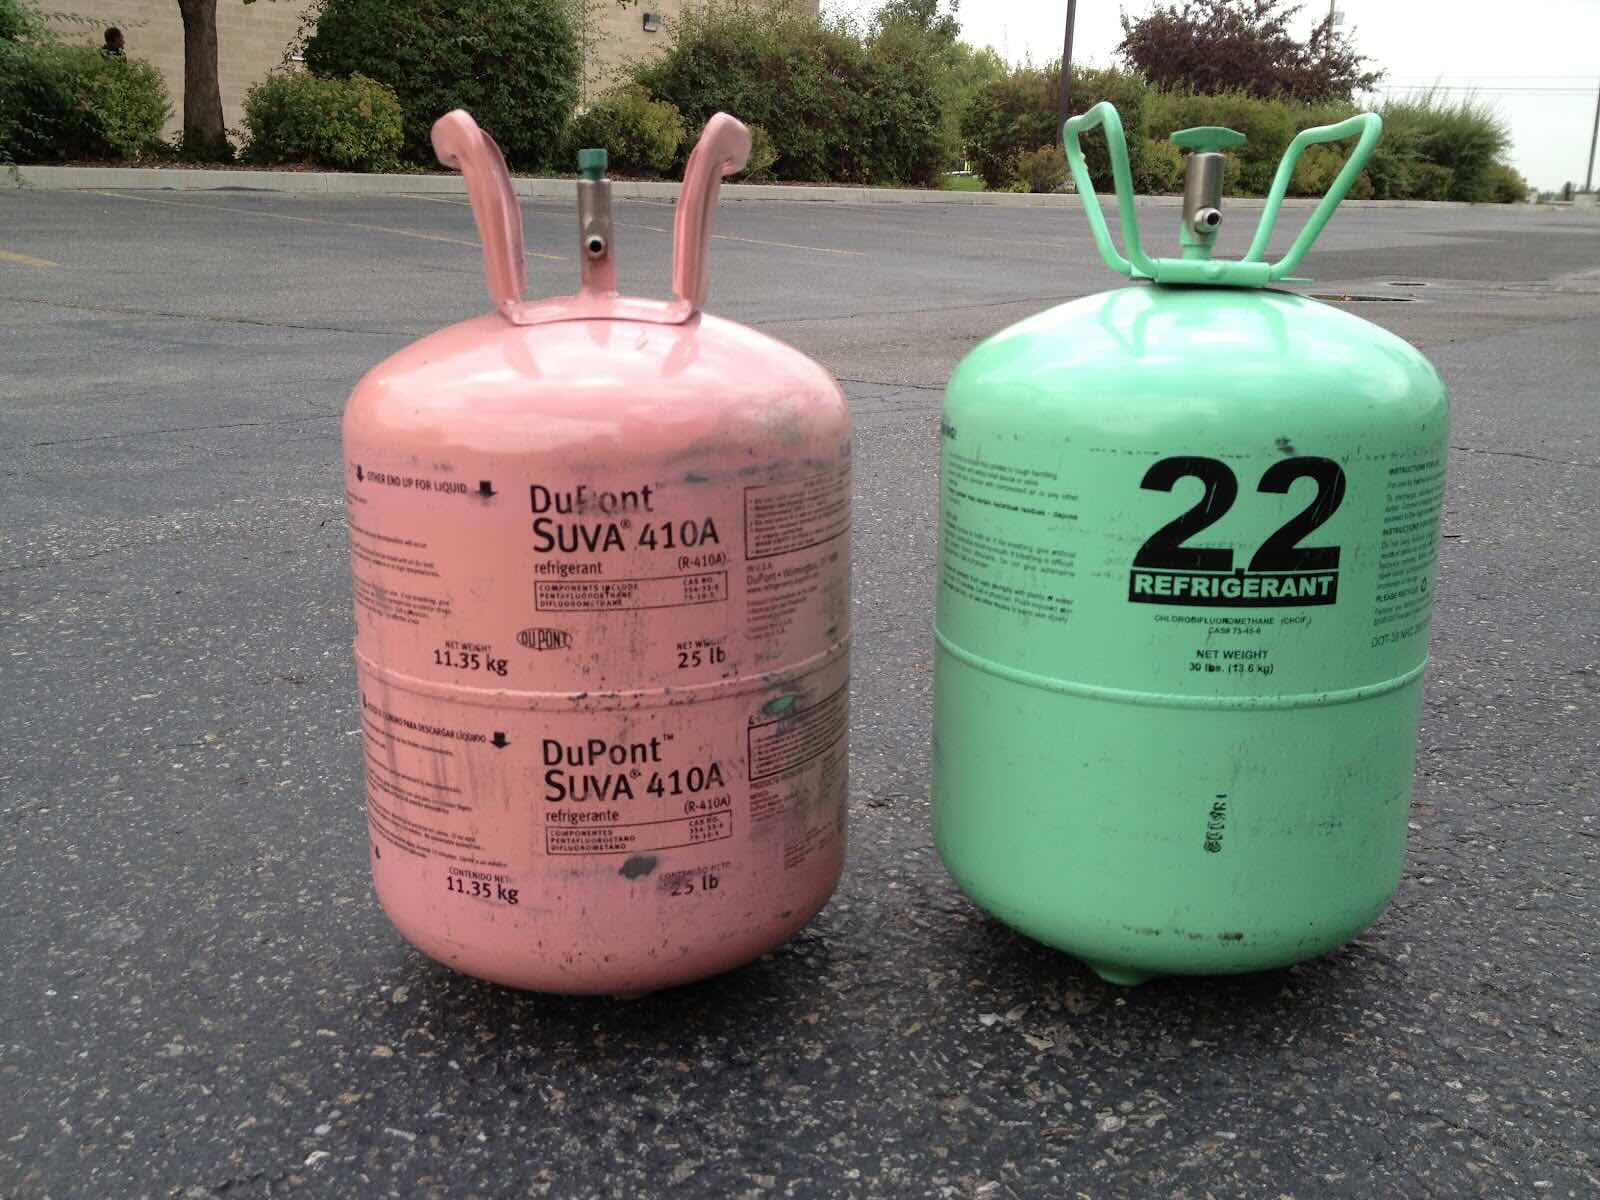
- Refrigerant recovery cylinder: A recovery cylinder is needed to collect and store the removed Freon for proper disposal.
- Refrigerant scale: This tool is used to weigh the amount of refrigerant being recovered. It ensures accuracy and helps determine if the system has been fully evacuated.
- Refrigerant recovery machine: A recovery machine is used to extract the Freon from the air conditioning unit. It is commonly used in professional HVAC settings.
- Wrenches: Adjustable wrenches are necessary for removing and tightening the access valves on the air conditioning unit.
- Safety goggles and gloves: These protective gear are essential to ensure your safety during the removal process.
- Leak detector: A leak detector is used to check for any refrigerant leaks after the removal process is complete.
Make sure you have all the necessary tools before proceeding with the Freon removal. This will help ensure a smooth and efficient process. Additionally, it’s always a good idea to reference the user manual or consult with a professional HVAC technician if you have any questions about the specific tools required for your air conditioner model.
Now that you have gathered the necessary tools, we can move on to the next step: locating the access valves.
Step 3: Locate the Access Valves
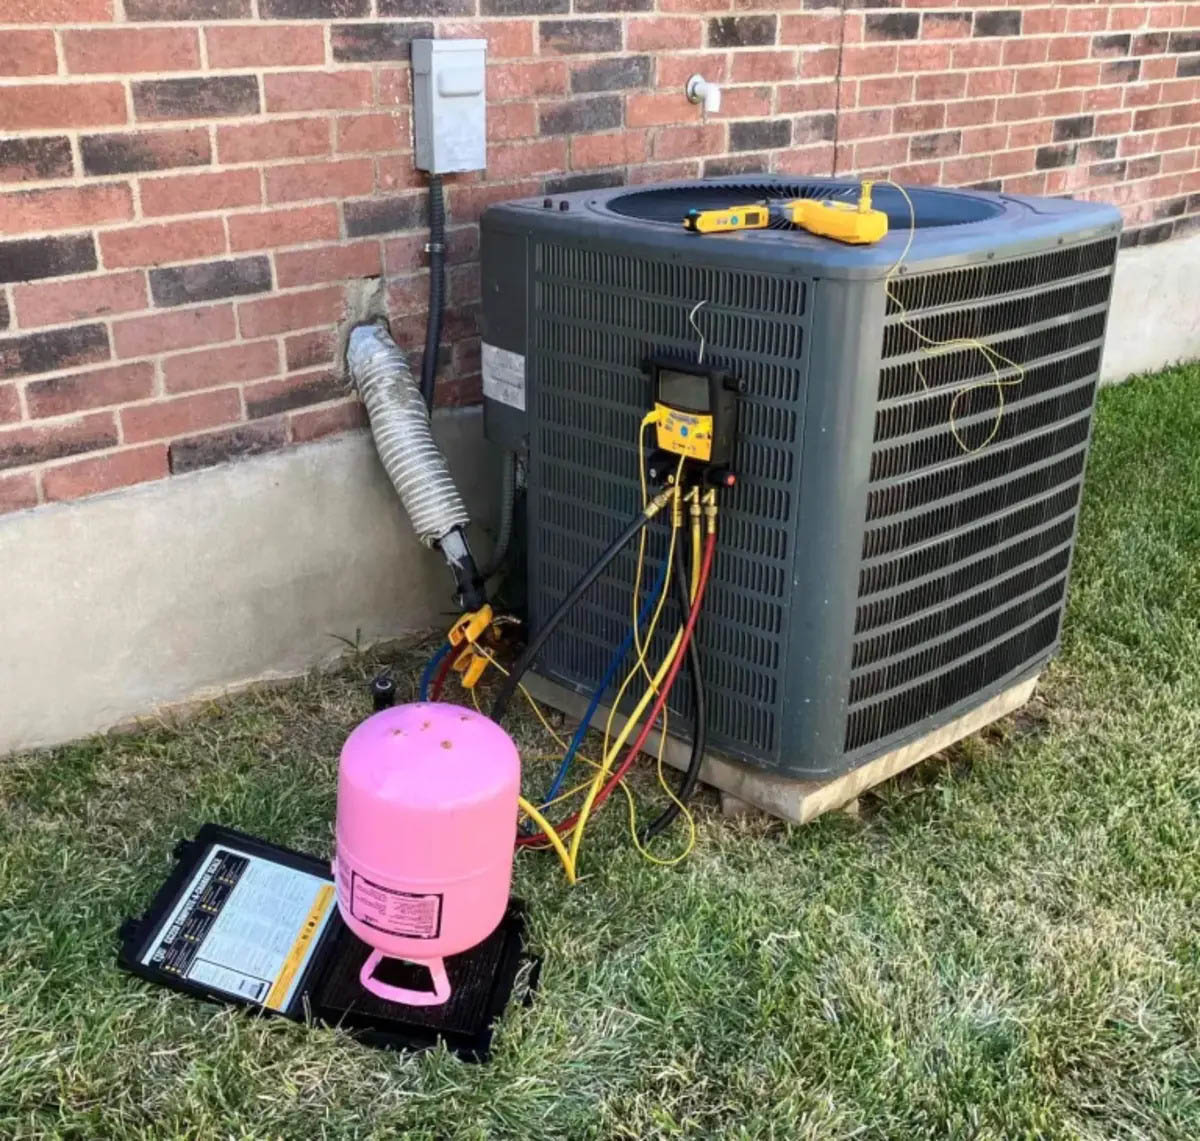
In order to remove Freon from your air conditioner, you need to locate the access valves on the system. These valves are typically located on the refrigerant lines, which are the copper tubes that connect the indoor and outdoor units. The access valves are crucial for connecting the vacuum pump and gauges during the removal process.
Here is a step-by-step guide to help you locate the access valves:
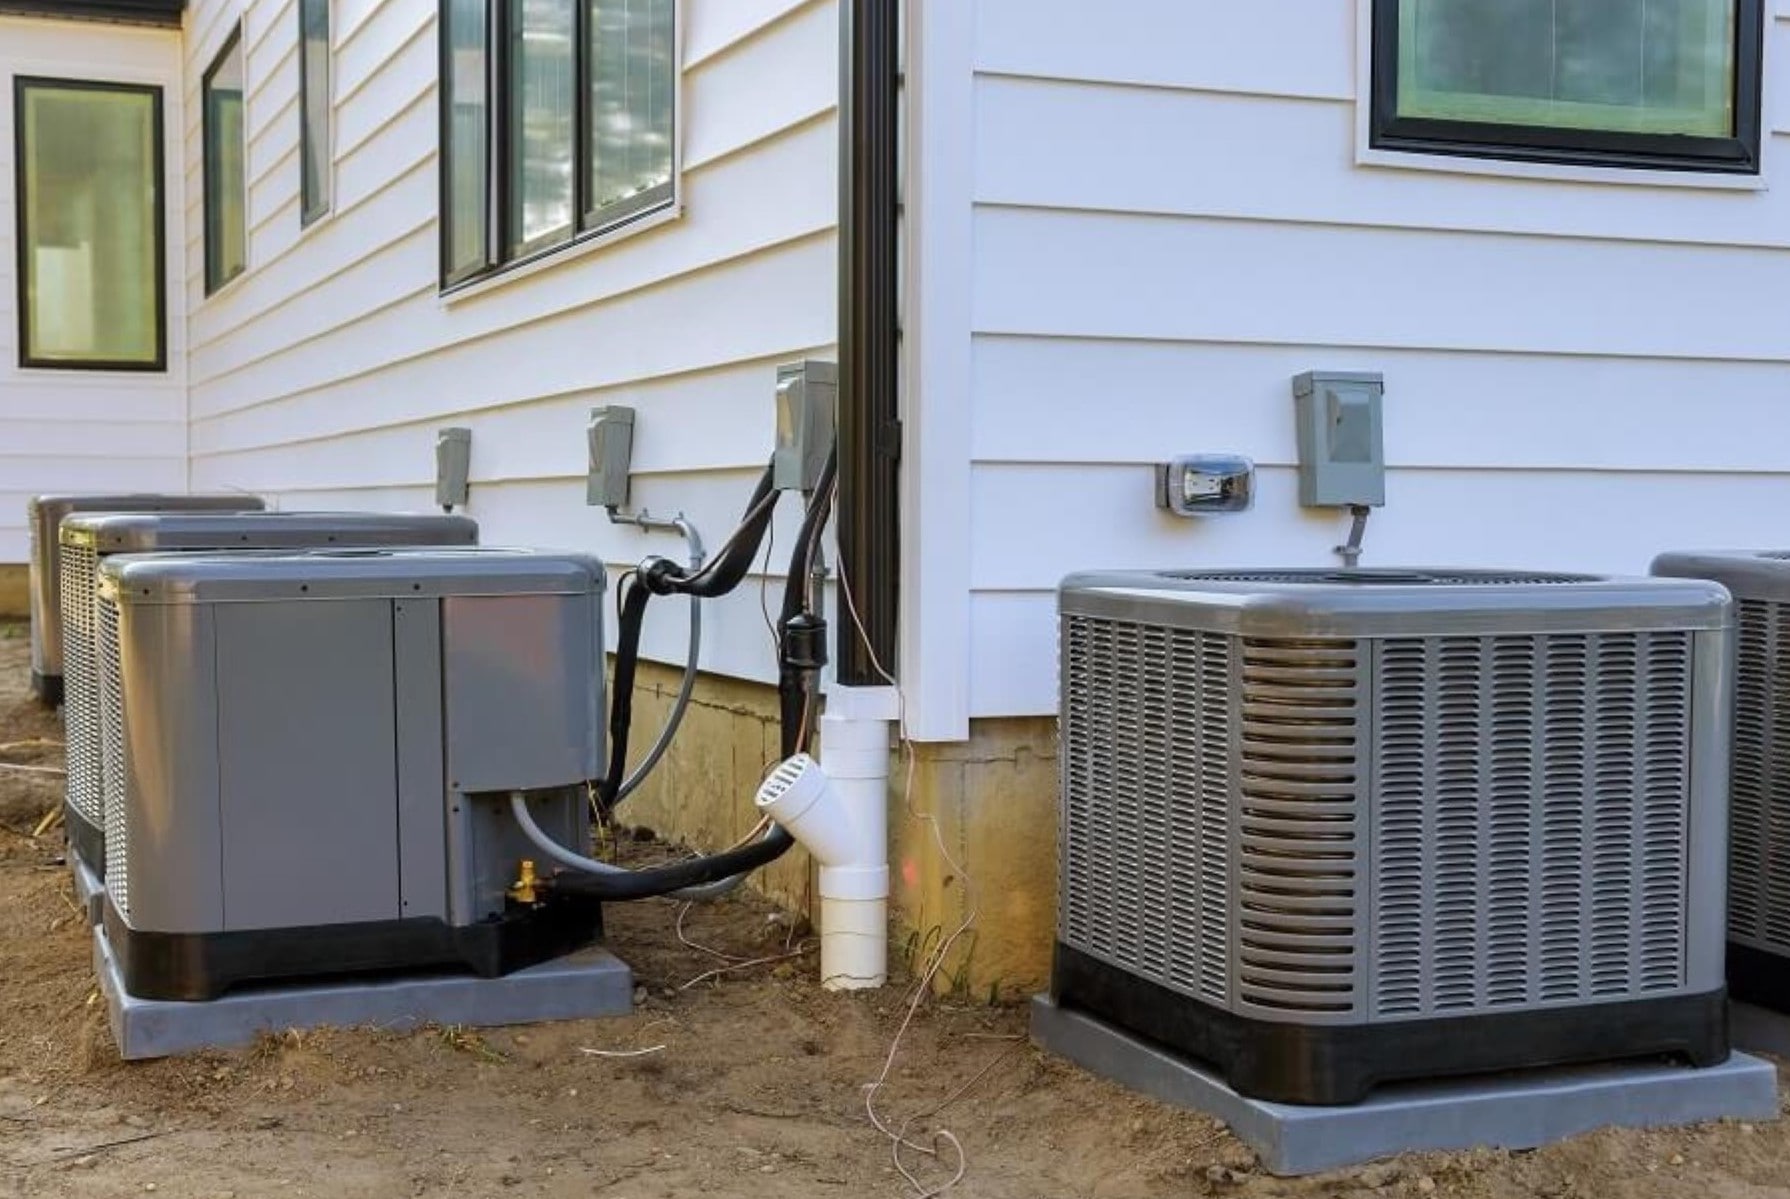
- Locate the outdoor unit: Start by finding the outdoor unit of your air conditioner. This is where the compressor and condenser coil are housed.
- Inspect the refrigerant lines: Once you have located the outdoor unit, visually inspect the refrigerant lines that connect to it. These lines are usually insulated and made of copper.
- Look for valve caps: The access valves are typically protected by removable valve caps. These caps may be made of plastic or metal and can be unscrewed by hand or with the help of a wrench.
- Identify the high and low-pressure valves: Air conditioning systems have two access valves – the high-pressure valve (known as the liquid line service valve) and the low-pressure valve (known as the suction line service valve).
- Observe the valve colors: Some manufacturers use color-coding to differentiate between the high and low-pressure valves. The high-pressure valve is usually colored red, while the low-pressure valve is colored blue.
- Take note of valve positions: In some cases, the valves may be positioned vertically, while others may be horizontal. Make a mental note of the valve positions for easier connection of the vacuum pump and gauges.
By following these steps, you should be able to locate the access valves on your air conditioning system. Keep in mind that the exact location and appearance of the valves may vary depending on the make and model of your air conditioner. If you’re having trouble finding the access valves, refer to the user manual or consider consulting with a professional HVAC technician.
Now that you have identified the access valves, we can move on to the next step: connecting the vacuum pump.
Step 4: Connect the Vacuum Pump
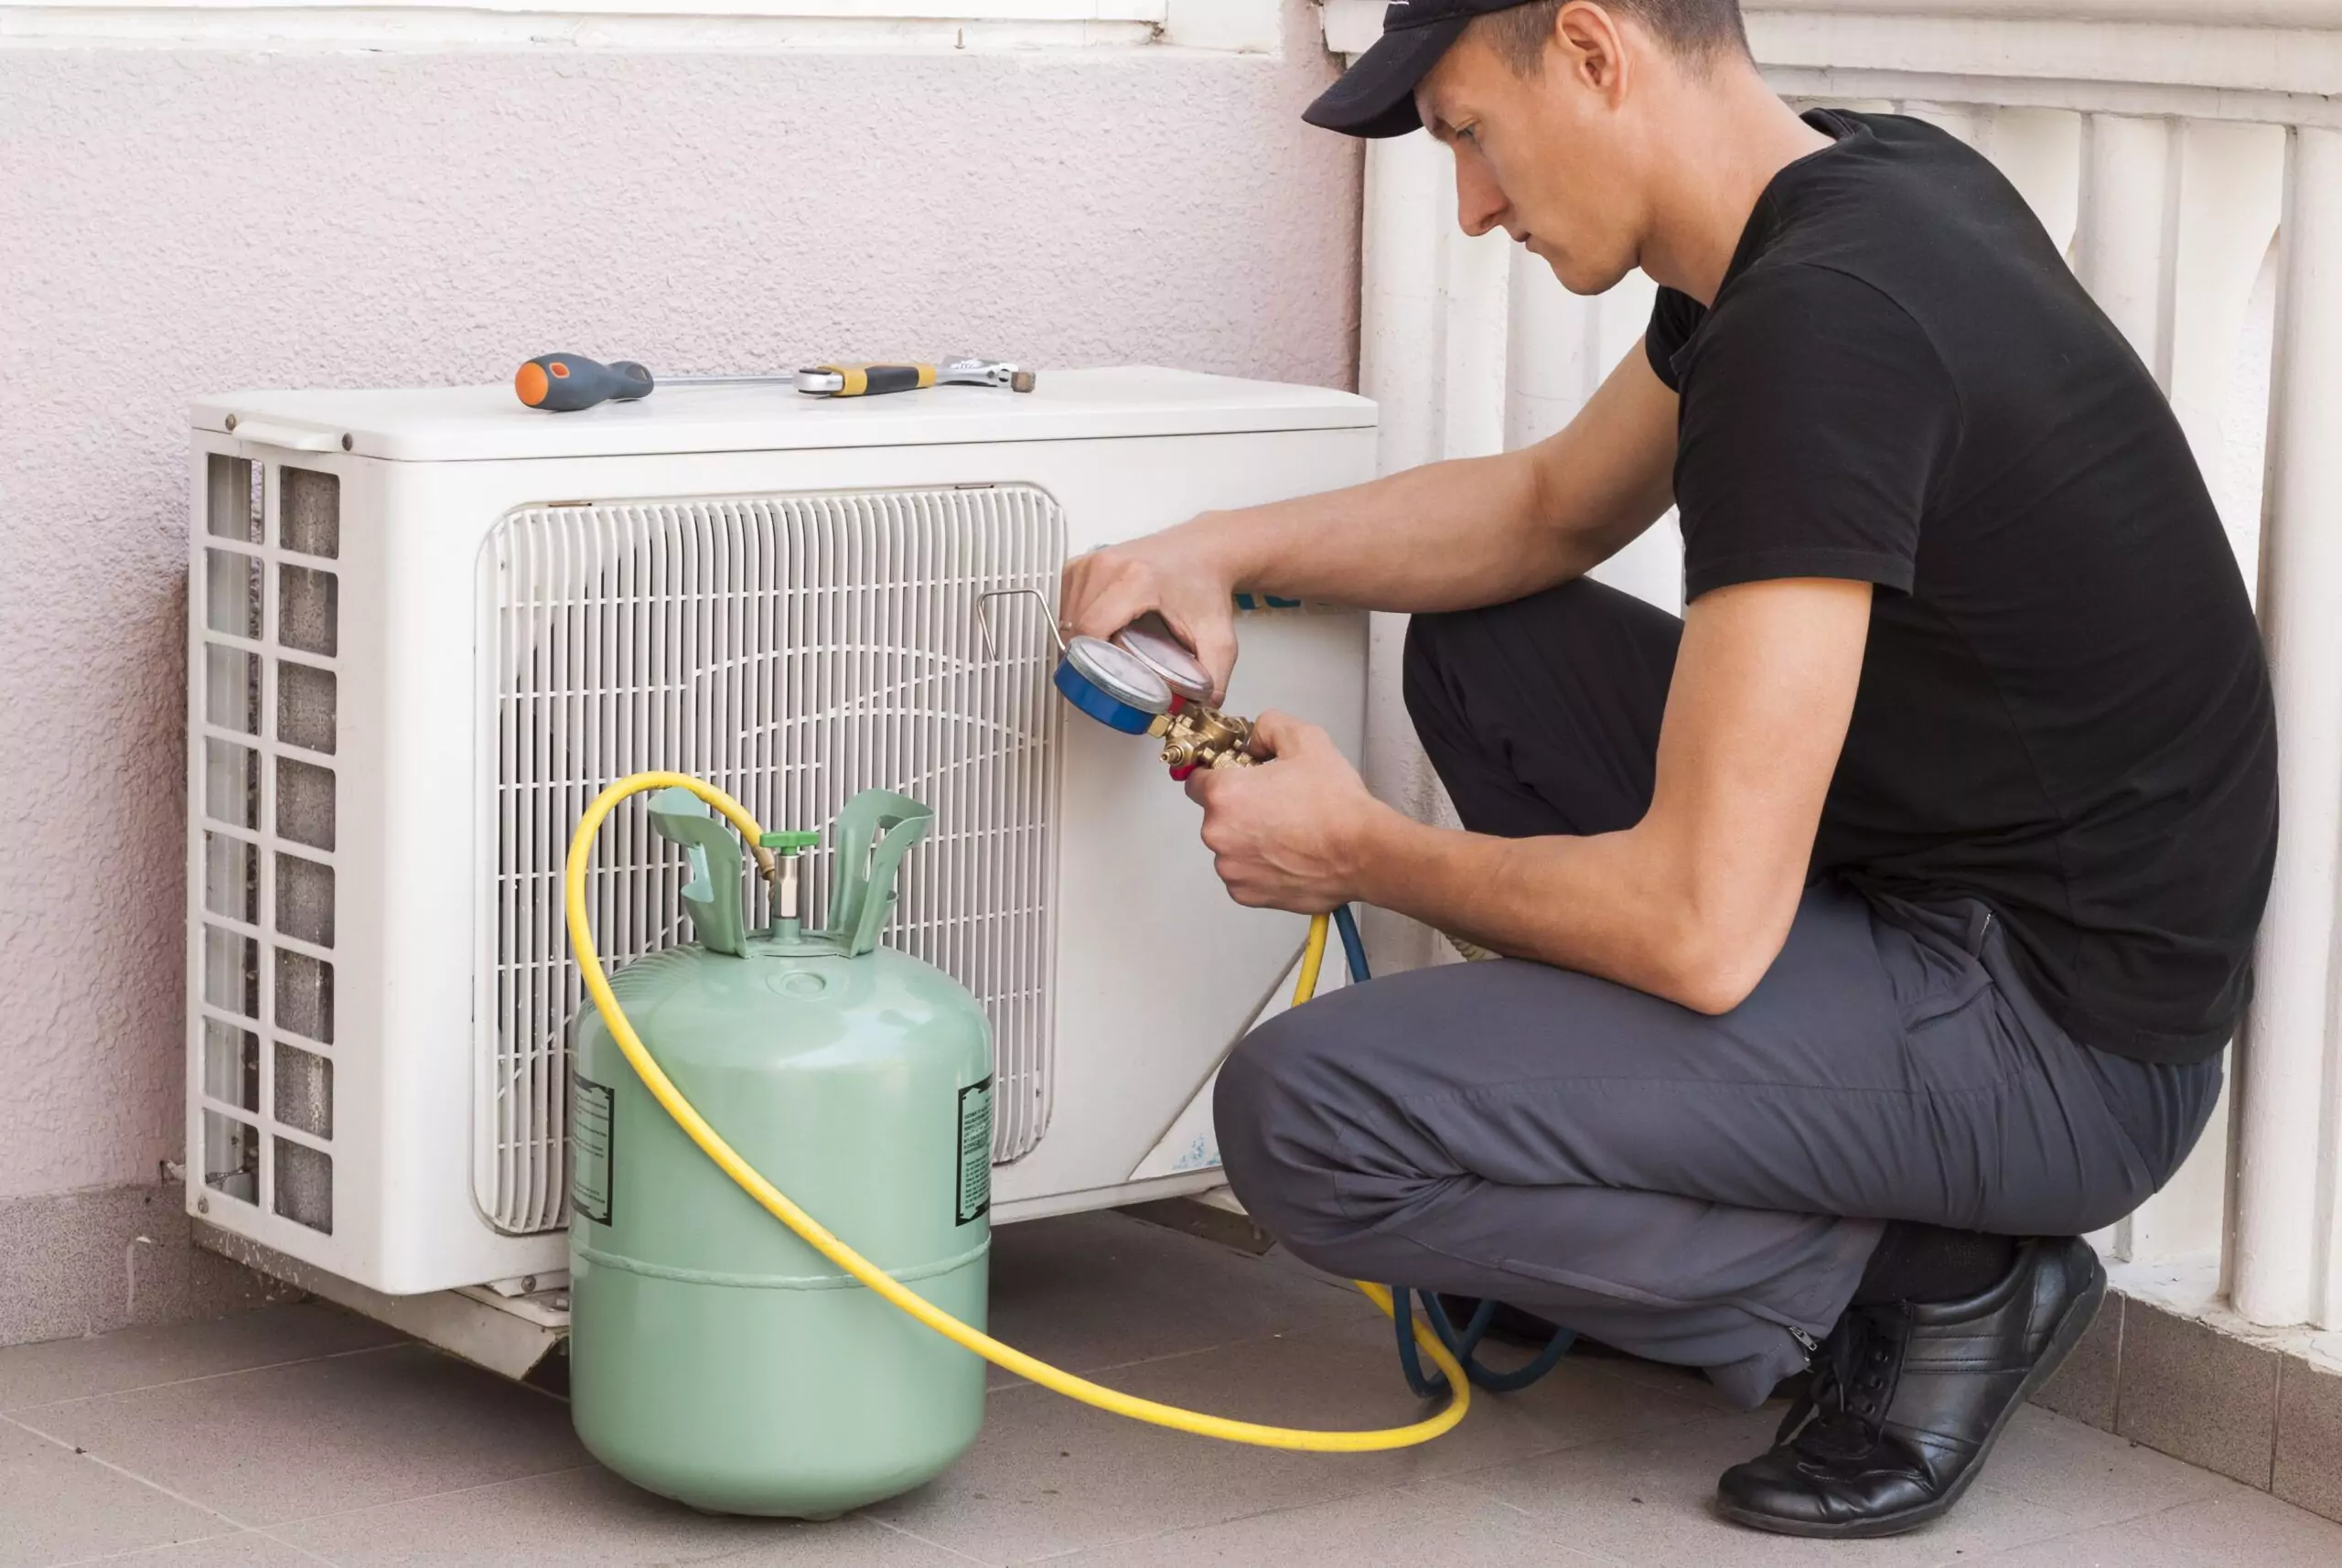
Now that you have located the access valves on your air conditioning system, it’s time to connect the vacuum pump. The vacuum pump is essential for creating a vacuum within the system, preparing it for the removal of Freon. Here’s a step-by-step guide on how to connect the vacuum pump:
- Ensure the air conditioning system is turned off: Before connecting the vacuum pump, make sure the air conditioning system is turned off at the thermostat and the power supply is disconnected.
- Remove the valve caps: Unscrew and remove the valve caps from both the high and low-pressure valves. Set them aside in a safe place for later use.
- Identify the vacuum pump connection: The vacuum pump usually has a hose or adapter with a fitting that connects to the access valves. Identify the appropriate connection point on the vacuum pump.
- Attach the vacuum pump: Take the hose or adapter from the vacuum pump and securely attach it to the access valve. Ensure a tight connection to prevent any leaks during the evacuation process.
- Tighten the connection: Use a wrench, if necessary, to tighten the connection between the hose or adapter and the access valve. This will help prevent any potential leaks or air ingress during the evacuation process.
Once you have successfully connected the vacuum pump, you are ready to proceed with the next step: evacuating the refrigerant.
Note: It’s important to follow the manufacturer’s instructions for your specific vacuum pump model. The steps above provide a general guideline, but there may be slight variations depending on the equipment you are using.
Now that the vacuum pump is properly connected, we can move on to the next step: evacuating the refrigerant from the air conditioning system.
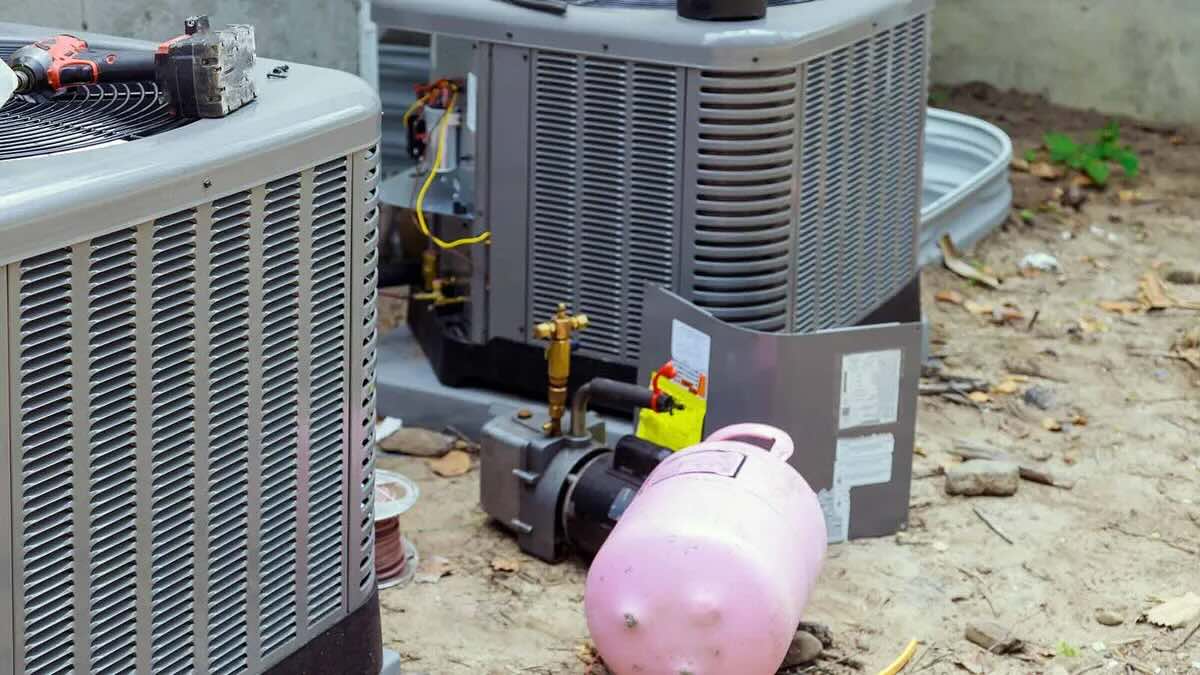
Before removing freon from an air conditioner, make sure to turn off the power to the unit and wear protective gear. Use a recovery machine to safely remove the freon and dispose of it properly.
Step 5: Evacuate the Refrigerant
With the vacuum pump properly connected to the access valves, it’s time to evacuate the refrigerant from your air conditioning system. This process involves removing the Freon from the system to prepare it for maintenance or refrigerant replacement. Here’s a step-by-step guide on how to evacuate the refrigerant:
- Turn on the vacuum pump: Once the vacuum pump is connected and secure, turn it on. The pump will start creating a vacuum within the air conditioning system.
- Monitor the vacuum level: Use the gauges on the manifold set to monitor and maintain the vacuum level. The ideal vacuum level should range between 500 to 700 microns.
- Keep an eye on the gauges: As the vacuum pump runs, observe the gauges for any fluctuations in pressure. The pressure levels should stabilize within the desired range, indicating an effective evacuation process.
- Run the vacuum pump for the appropriate time: The duration for running the vacuum pump will depend on the size of your air conditioning system. Typically, it is recommended to run the pump for at least 30 minutes to ensure thorough evacuation.
- Check for leaks: While the vacuum pump is running, inspect the system for any signs of leaks. Use a leak detector or a soapy water solution to identify any potential leaks around the access valves or other connections. If you detect a leak, tighten the connection or seek professional assistance.
- Monitor the vacuum level stability: After the required time has elapsed, continue monitoring the vacuum level on the gauges. If the pressure level remains stable, it indicates a successful evacuation process.
- Turn off the vacuum pump: Once the desired vacuum level has been achieved and stabilized, turn off the vacuum pump.
By following these steps, you can effectively evacuate the refrigerant from your air conditioning system. It’s important to note that the duration of the evacuation process may vary depending on the size and complexity of your system. If you are unsure or need guidance, consult the manufacturer’s instructions or seek the help of a professional HVAC technician.
Now that the refrigerant has been evacuated, it’s time to move on to the next step: disposing of the refrigerant in a responsible manner.
Step 6: Dispose of the Refrigerant Properly
Once you have successfully removed the refrigerant from your air conditioning system, it’s crucial to dispose of it in a responsible and environmentally friendly manner. Improper disposal of refrigerant can have negative impacts on the environment and violate regulations. Here’s a step-by-step guide on how to properly dispose of the refrigerant:
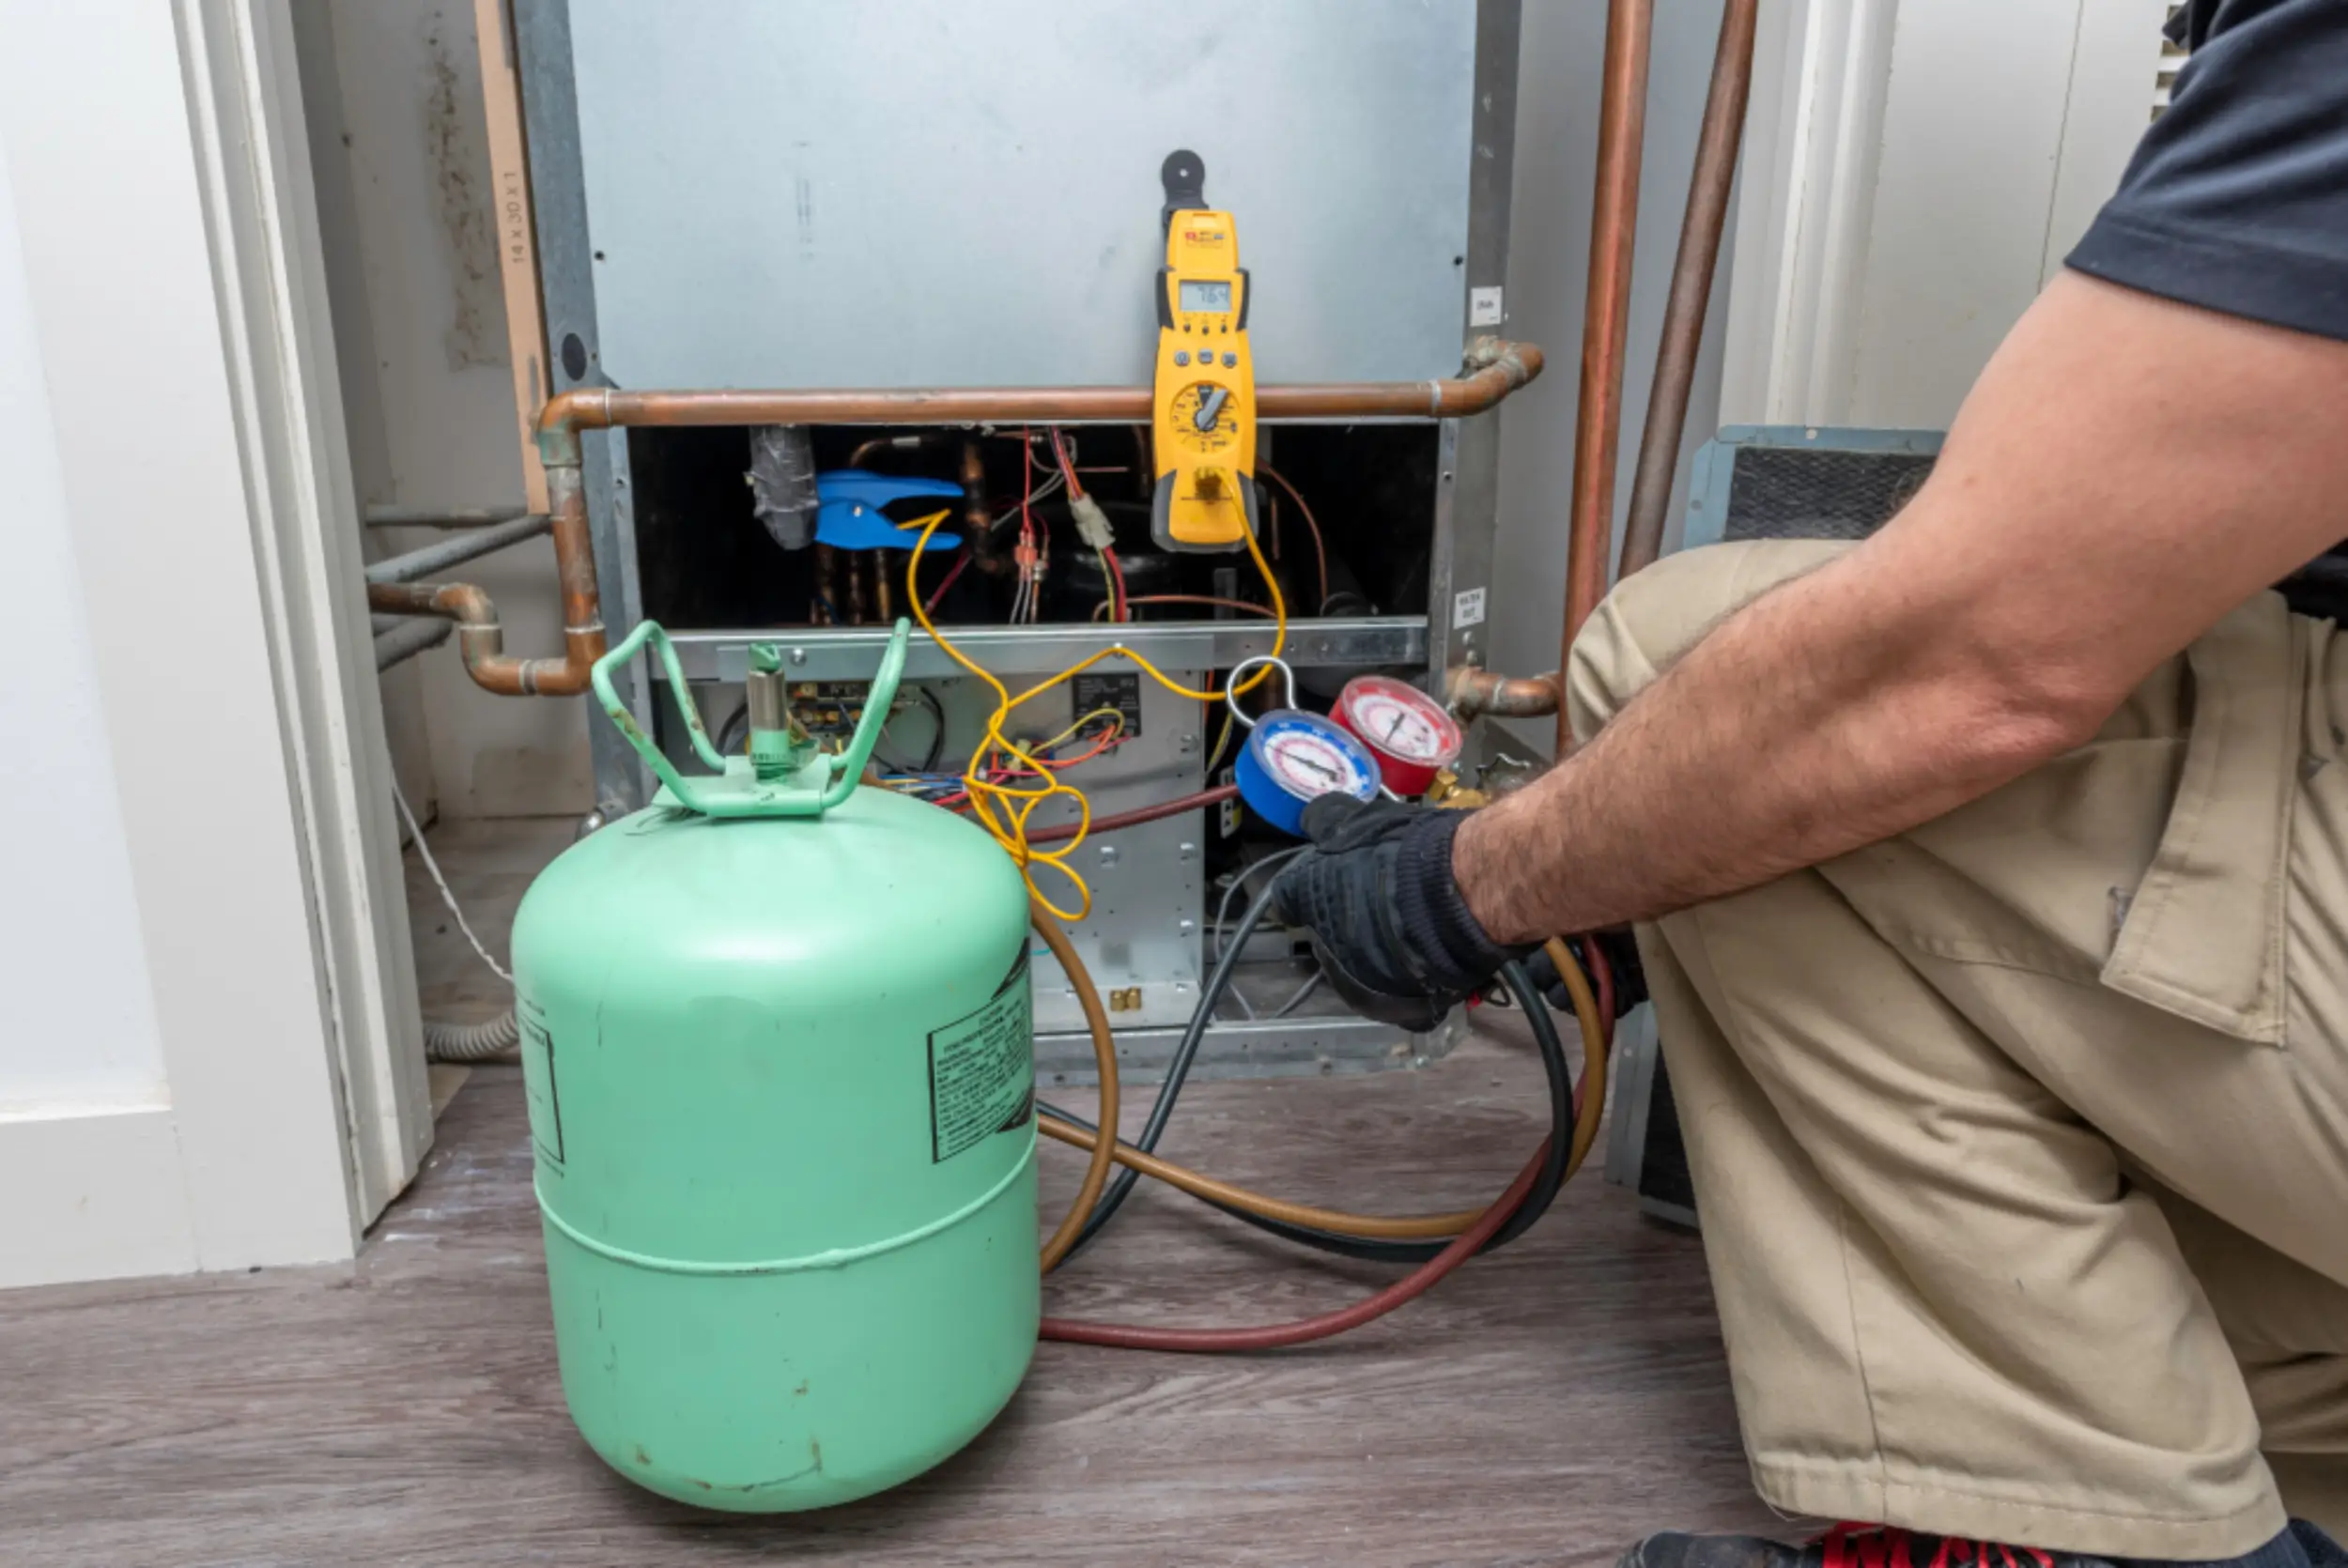
- Transfer the refrigerant to a recovery cylinder: Using a recovery machine or pump, transfer the removed Freon into a refrigerant recovery cylinder. Make sure to follow the manufacturer’s instructions and guidelines for proper transfer procedures.
- Seal the recovery cylinder: Once the refrigerant is transferred, securely seal the recovery cylinder. This will prevent any leaks and ensure safe storage and transportation.
- Contact a licensed professional for disposal: To dispose of the refrigerant, contact a licensed waste management company or HVAC professional who specializes in refrigerant disposal. They will have the knowledge and resources to handle the refrigerant according to local regulations.
- Follow local regulations and guidelines: Different regions may have specific regulations and guidelines for the disposal of refrigerant. Ensure that you comply with the local regulations and seek guidance from the appropriate authorities if needed.
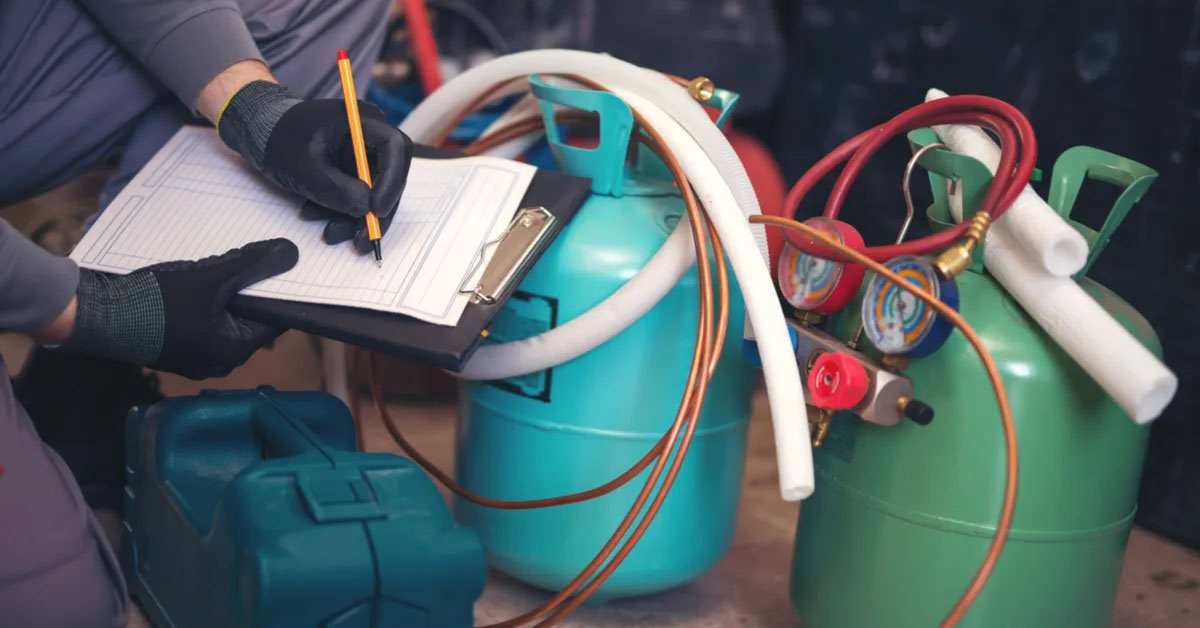
- Document and keep records: It’s important to document the disposal process and keep records of the refrigerant disposal for future reference or any potential audits. This helps demonstrate that you have properly disposed of the refrigerant.
Remember, proper disposal of refrigerant is essential for protecting the environment and ensuring compliance with regulations. By following these steps and seeking the assistance of licensed professionals, you can ensure that the refrigerant is disposed of in a responsible and lawful manner.
Now that you have safely disposed of the refrigerant, let’s move on to the next step: sealing the access valves to prevent any contamination or leaks.
Step 7: Seal the Access Valves
After removing the refrigerant and properly disposing of it, the next step is to seal the access valves on your air conditioning system. Sealing the access valves helps prevent any contamination or leaks that could affect the performance of the system. Follow these steps to seal the access valves:
- Ensure the system is turned off: Before sealing the access valves, make sure the air conditioning system is turned off and the power supply is disconnected.
- Clean the valve threads: Use a clean cloth or rag to wipe off any debris or dirt from the valve threads. This will ensure a proper seal when tightening the valve caps.
- Replace the valve caps: Take the valve caps you removed earlier and screw them back onto the access valves. Make sure to tighten them securely, but be careful not to over-tighten, as it may damage the valve.
- Inspect for any leaks: Once the valve caps are in place, visually inspect the access valves for any signs of leaks. Look for any bubbling or hissing sounds that may indicate a leak. If you notice a leak, tighten the valve caps further or seek professional assistance.
- Record the completion: Make a note in your maintenance records or logbook that the access valves have been properly sealed. This will serve as a reference for future maintenance or repairs.
Sealing the access valves is an important step to maintain the integrity of your air conditioning system. It helps prevent any foreign substances from entering the system and safeguards against potential refrigerant leaks.
Now that the access valves are securely sealed, we can move on to the final step: cleaning up and checking for any potential leaks in the system.
Step 8: Clean Up and Check for Leaks
As the final step in the process of removing Freon from your air conditioning system, it’s important to clean up the work area and thoroughly check for any potential leaks. This ensures that the system is in proper working condition and that there are no issues that could affect its performance. Follow these steps to clean up and check for leaks:
- Turn off any equipment: Before you begin cleaning up, make sure to turn off the vacuum pump, recovery machine, or any other equipment that was used during the Freon removal process.
- Clean the work area: Dispose of any debris, tools, or waste materials that were used during the process. Wipe down the area and ensure it is clean and tidy.
- Inspect the access valves: Once the work area is cleaned up, inspect the access valves to ensure they are securely sealed and there are no signs of leakage. Look for any visible signs of refrigerant around the valve caps or connections.
- Check for potential leaks: Use a leak detector or a soapy water solution to carefully check the access valves, fittings, and connections for any potential leaks. Apply the solution or detector to the areas of concern and look for any bubbles or signs of leakage. If you detect a leak, address it immediately by tightening the connection or seeking professional assistance.
- Verify the system performance: After ensuring there are no leaks, turn on the air conditioning system and verify its performance. Check if the system is cooling effectively and monitor the operation for any irregularities or unusual sounds. If you notice any issues, consult with a professional HVAC technician.
- Keep maintenance records: Make a note in your maintenance records or logbook indicating the completion of the Freon removal process and the inspection for leaks. These records will serve as a reference for future maintenance and help keep track of the system’s performance.
By cleaning up the work area and thoroughly checking for leaks, you can ensure that the Freon removal process has been successfully completed and that your air conditioning system is in good working order.
Congratulations! You have now completed the steps to remove Freon from your air conditioner. By following these guidelines and taking the necessary safety precautions, you have successfully carried out a responsible and effective removal process. If you have any further questions or concerns, it’s always recommended to consult with a professional HVAC technician for expert guidance.
Remember, proper handling and disposal of Freon is crucial for environmental preservation and compliance with regulations. Always prioritize safety and follow the appropriate guidelines when working with refrigerant.
Conclusion
Congratulations! You have reached the end of our guide on how to remove Freon from an air conditioner. By following the step-by-step instructions and implementing the necessary safety precautions, you have learned how to safely and effectively remove the refrigerant from your system.
It is important to emphasize the significance of handling Freon responsibly. Freon is a toxic substance that can harm the environment and pose health risks if not properly managed. Always prioritize safety by wearing protective gear, working in a well-ventilated area, and turning off the power supply before starting any maintenance procedures.
In this guide, we discussed various steps to remove Freon from an air conditioner, including gathering the necessary tools, locating the access valves, connecting the vacuum pump, evacuating the refrigerant, and properly disposing of it. Each step is crucial in ensuring a smooth and responsible removal process.
Remember that proper disposal of the refrigerant is essential. Be sure to transfer it into a recovery cylinder and contact a licensed waste management company or HVAC professional to handle the disposal in compliance with local regulations.
Finally, after sealing the access valves and cleaning up, it’s important to check for leaks and verify the system’s performance. Regular maintenance and monitoring of your air conditioning system will help ensure its proper functioning and efficiency.
We hope this guide has been helpful in providing you with the knowledge and guidance needed to remove Freon from your air conditioner. However, if you are uncertain or uncomfortable with any step of the process, it is always wise to consult with a professional HVAC technician. They have the expertise and experience to handle refrigerant safely and effectively.
Thank you for taking the time to learn how to remove Freon from an air conditioner. By understanding and applying the proper techniques, you are contributing to a safer and more sustainable home maintenance practice. Happy air conditioning maintenance!
Frequently Asked Questions about How To Remove Freon From An Air Conditioner
Was this page helpful?
At Storables.com, we guarantee accurate and reliable information. Our content, validated by Expert Board Contributors, is crafted following stringent Editorial Policies. We're committed to providing you with well-researched, expert-backed insights for all your informational needs.