Home>Home Maintenance>How To Clean A Window Air Conditioner
Home Maintenance
How To Clean A Window Air Conditioner
Modified: March 7, 2024
Learn how to clean your window air conditioner with our step-by-step guide. Keep your home cool and maintain your AC unit with proper home maintenance techniques.
(Many of the links in this article redirect to a specific reviewed product. Your purchase of these products through affiliate links helps to generate commission for Storables.com, at no extra cost. Learn more)
Introduction
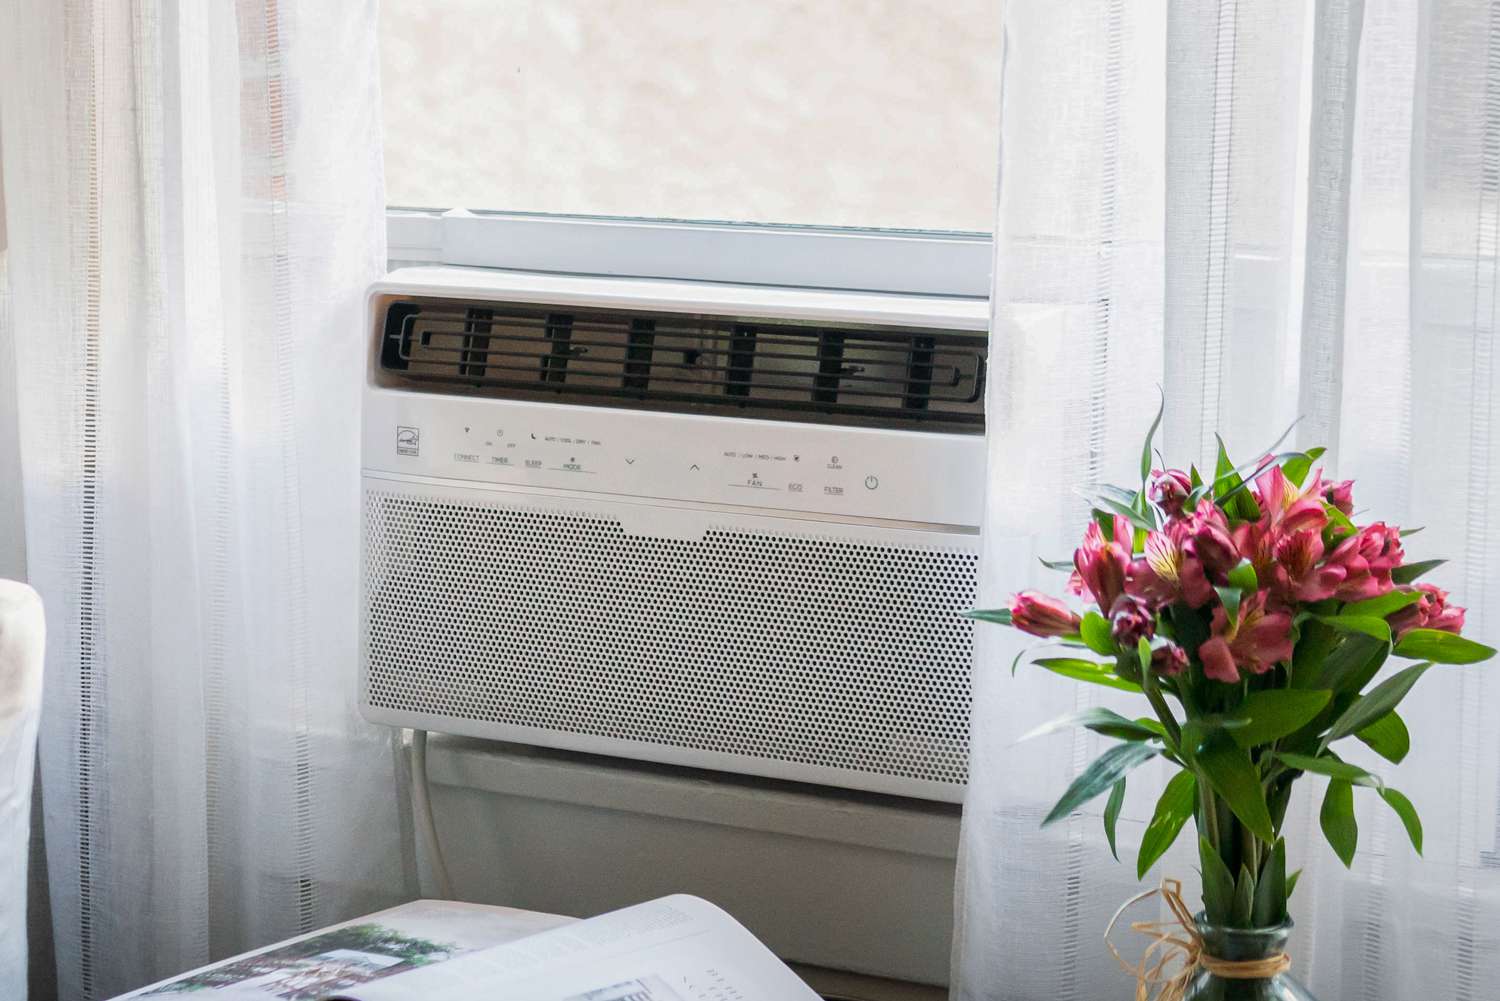
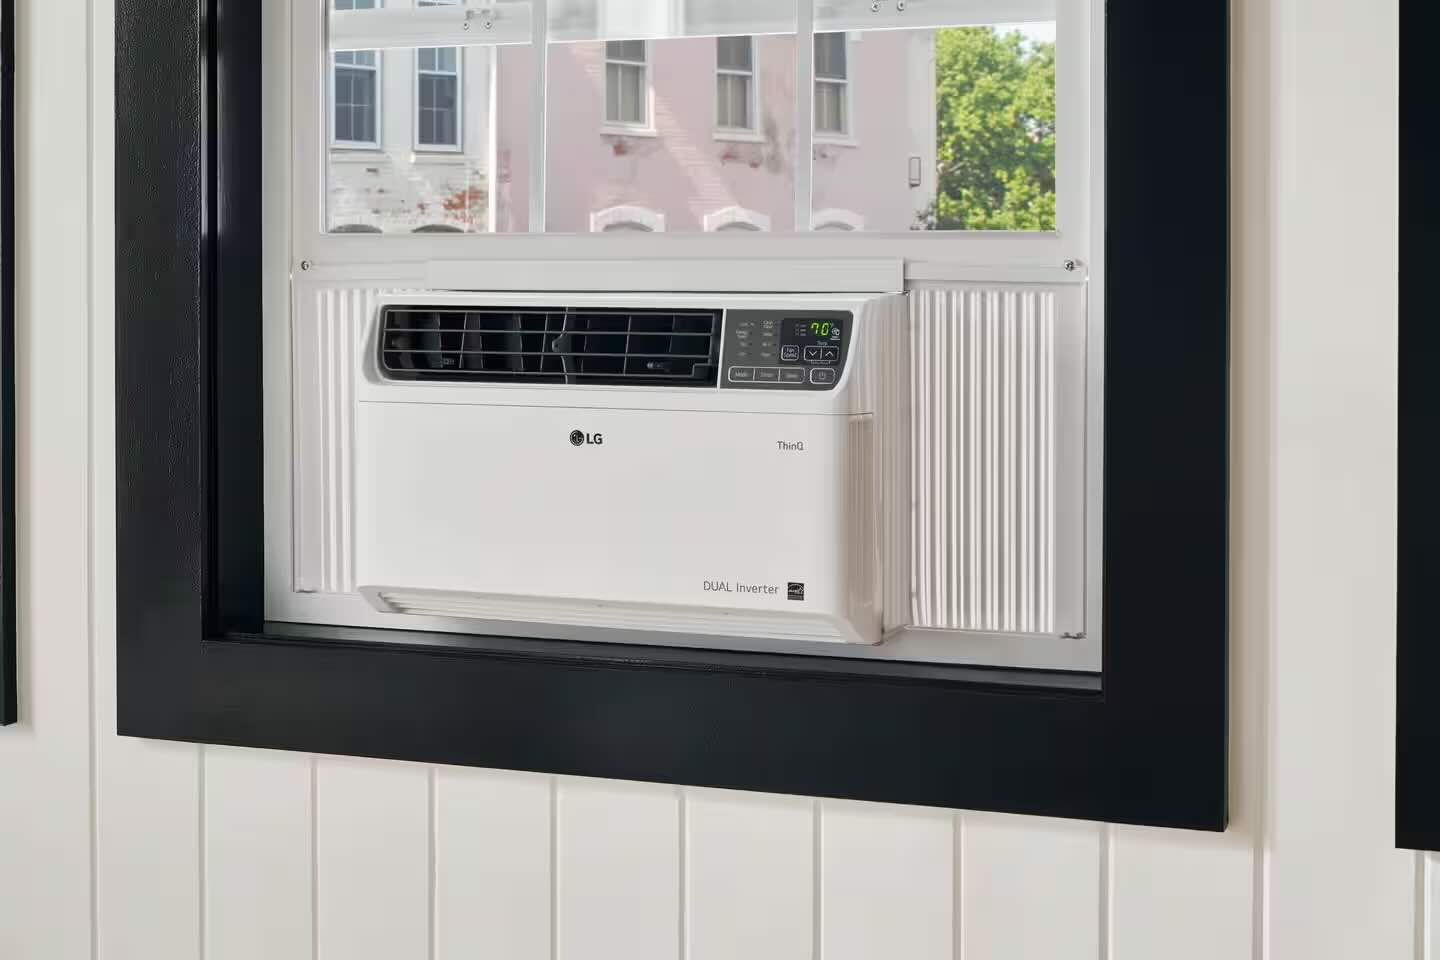
When the summer heat becomes unbearable, a window air conditioner can be a lifesaver. It keeps your home cool and comfortable, allowing you to escape the sweltering temperatures outside. But like any other appliance, a window air conditioner requires regular maintenance to ensure optimal performance and longevity.
Cleaning your window air conditioner not only improves its efficiency but also helps maintain good indoor air quality. Over time, dust, dirt, and debris can accumulate on the filter and coils, hindering airflow and reducing cooling capacity. Additionally, a dirty air conditioner can become a breeding ground for mold, bacteria, and allergens, posing health risks to you and your family.
In this article, we will guide you through the process of cleaning a window air conditioner, step by step. We will also provide you with essential safety precautions and a list of tools and materials you’ll need. By following these instructions, you can keep your air conditioner running smoothly and ensure a comfortable living environment all summer long.
Key Takeaways:
- Regularly cleaning your window air conditioner is essential to keep it running smoothly, improve efficiency, and maintain good indoor air quality, ensuring a comfortable living environment all summer long.
- Prioritize safety by turning off and unplugging the air conditioner before cleaning. Clean the filter, coils, and drainage system, then reassemble and test the unit to ensure optimal performance.
Read more: How To Clean A GE Window Air Conditioner
Safety Precautions
Before you start cleaning your window air conditioner, it’s important to prioritize safety. Follow these precautions to avoid any accidents or injuries:
- Turn off and unplug the air conditioner: Before beginning any cleaning or maintenance tasks, make sure the air conditioner is turned off and unplugged. This will prevent any electrical shocks or hazards.
- Wear protective gear: When working with cleaning solutions or handling the air conditioner components, wear gloves and safety goggles to protect your hands and eyes from any potential chemicals or debris.
- Work in a well-ventilated area: Cleaning agents may produce fumes that can be harmful if inhaled. Open windows or work in a well-ventilated space to ensure proper air circulation.
- Use a sturdy ladder or step stool: If you need to clean higher parts of the air conditioner, use a stable ladder or step stool to reach them. Avoid standing on furniture or attempting to reach beyond your reach.
- Handle sharp tools with care: Some cleaning tasks may require the use of sharp tools, such as a brush or fin comb. Handle these tools with caution to avoid any injuries.
- Read and follow manufacturer’s instructions: Different air conditioners may have specific cleaning instructions provided by the manufacturer. Read the manual and follow their recommendations to ensure proper cleaning and avoid any damage to the unit.
- Consult a professional if needed: If you are unsure about any aspect of cleaning or if you encounter any issues during the process, it’s better to consult a professional rather than risking further damage to the air conditioner.
By adhering to these safety precautions, you can minimize the risks and ensure a safe cleaning process for your window air conditioner.
Tools and Materials Needed
Before you begin cleaning your window air conditioner, gather the necessary tools and materials. Having everything on hand will make the process more efficient. Here’s what you’ll need:
- Screwdriver: A screwdriver will be needed to remove the screws or clips that secure the front panel of your air conditioner.
- Vacuum Cleaner with attachments: A vacuum cleaner with a brush attachment will help you remove loose debris from the filter, coils, and other parts of the air conditioner.
- Soft brush or fin comb: A soft brush or fin comb will assist in removing dust and dirt from the fins of the air conditioner.
- Mild detergent or cleaning solution: You’ll need a mild detergent or cleaning solution to clean the filter and other components. Avoid using harsh chemicals that may damage the unit.
- Water spray bottle: A water spray bottle will be useful for rinsing off the dirt and detergent from the air conditioner.
- Clean cloth or sponge: A clean cloth or sponge will help wipe down the surfaces of the air conditioner after cleaning.
- Plastic bag or trash bag: You’ll need a plastic bag or trash bag to dispose of the debris and dirt that you collect during the cleaning process.
It’s a good idea to gather all these tools and materials before you start cleaning. This way, you won’t have to interrupt the cleaning process to search for anything you may need.
Step 1: Turn off and Unplug the Air Conditioner
Before you begin cleaning your window air conditioner, it’s crucial to turn it off and unplug it. This step is vital to ensure your safety and prevent any electrical hazards.
First, locate the power control panel or switch for your air conditioner. It’s usually located on the unit itself or on the wall near the unit.
Switch off the power control panel or turn the switch to the “Off” position. This will shut off the electrical power supply to the air conditioner.
Next, unplug the air conditioner from the power outlet. This will completely disconnect the appliance from the electrical source, minimizing the risk of electric shock while you’re cleaning.
It’s important to note that some window air conditioners may have a dedicated circuit breaker in the main electrical panel. If this is the case, you can also turn off the circuit breaker that controls the air conditioner to ensure complete disconnection.
Once you have turned off and unplugged the air conditioner, wait for a few minutes to allow any residual electrical charge to dissipate. This will further enhance your safety during the cleaning process.
Remember, failure to turn off and unplug the air conditioner can result in serious injury or damage to the unit. Take this step seriously and ensure that the air conditioner is completely disconnected from its power source before moving on to the next cleaning steps.
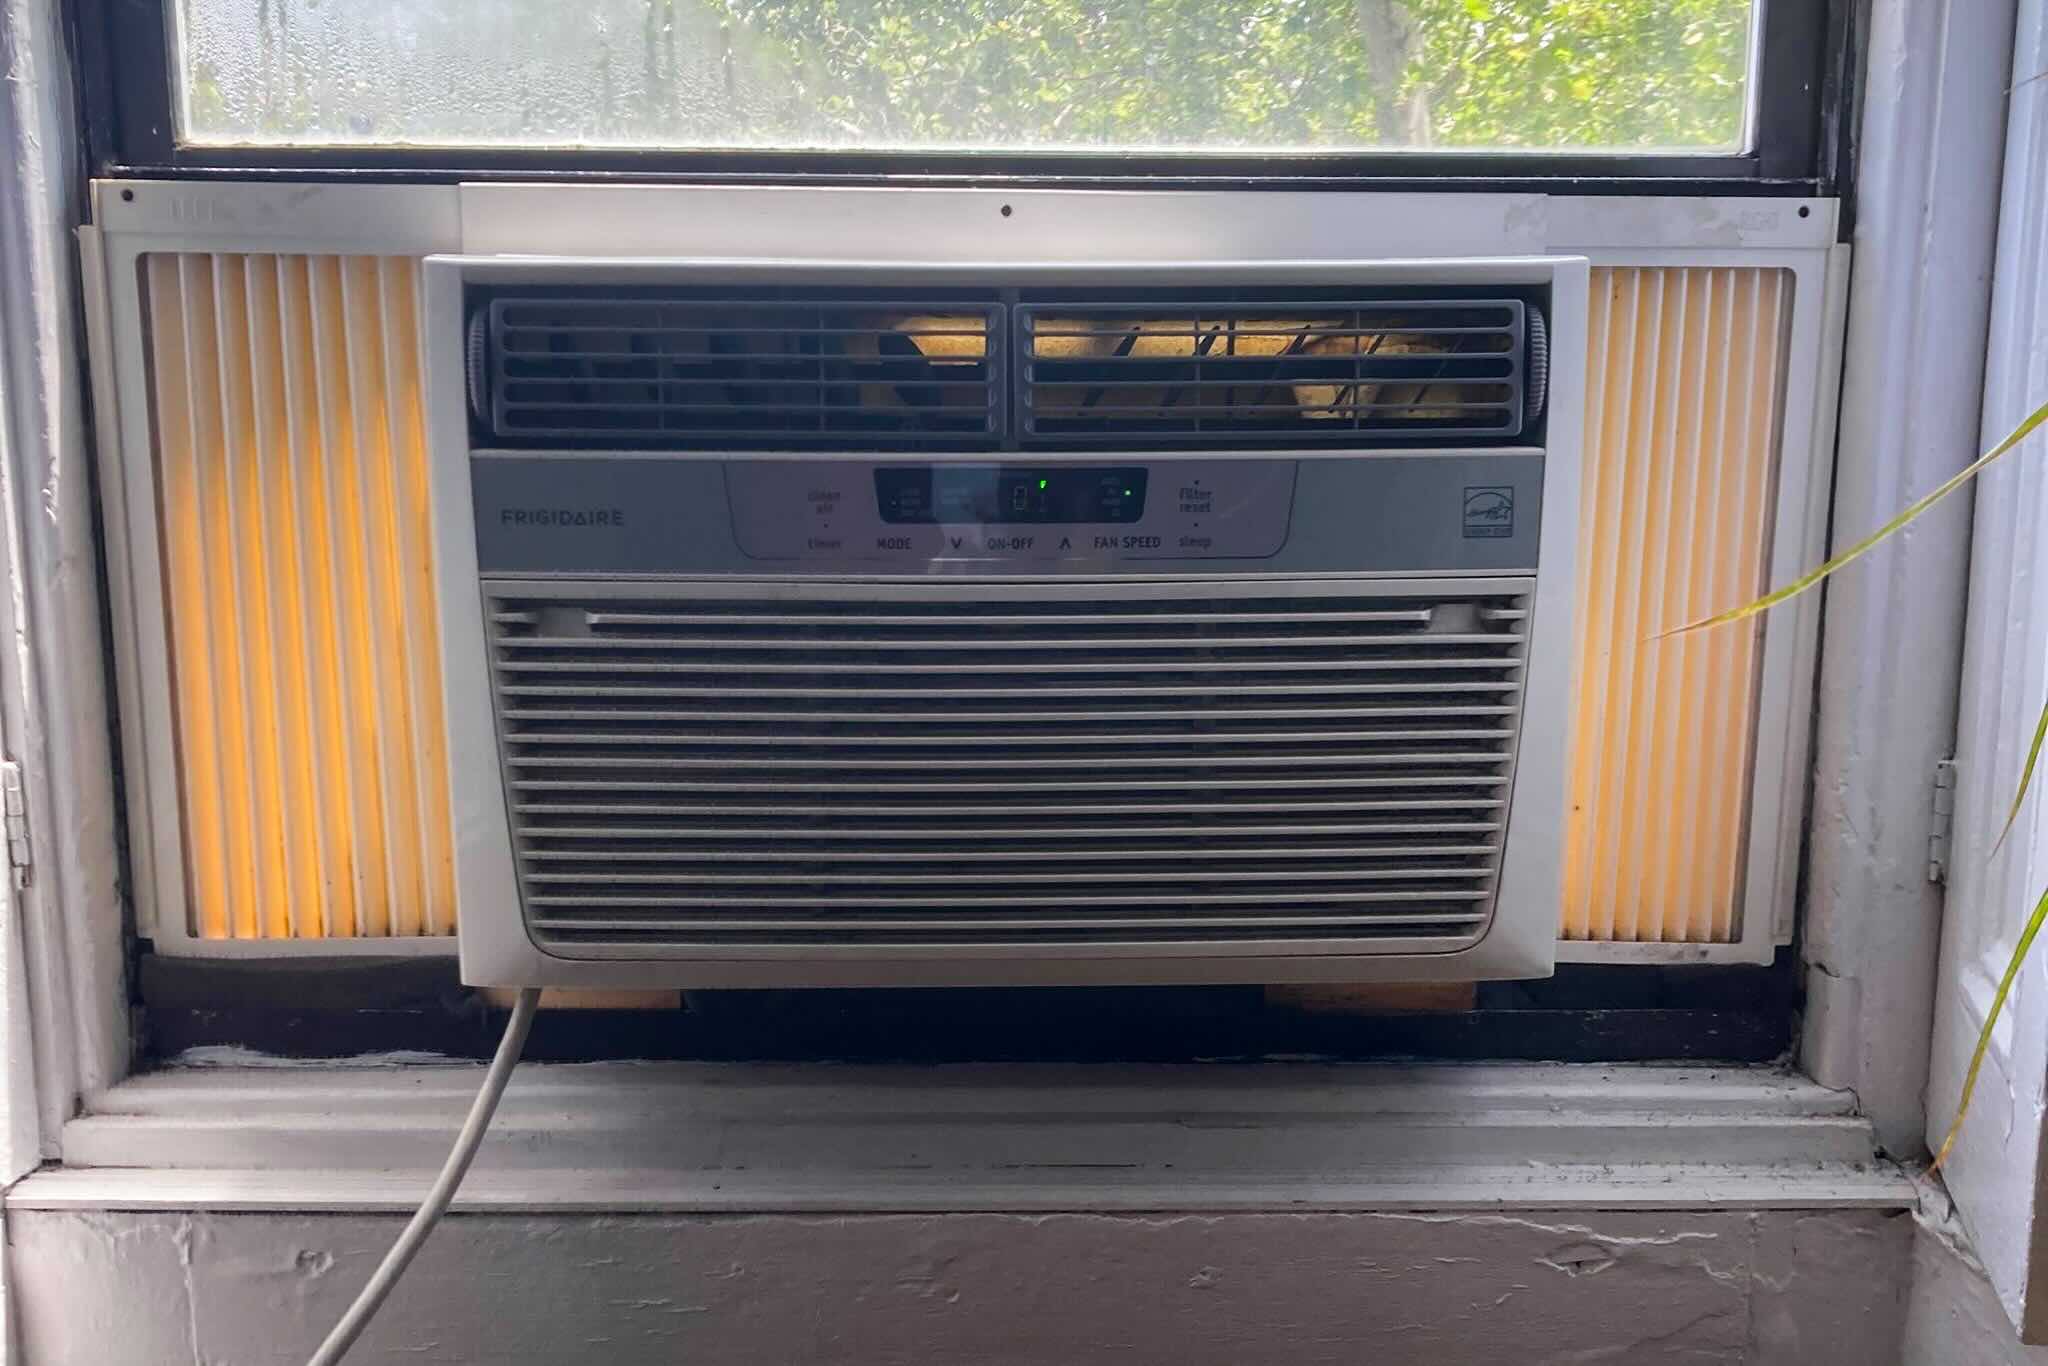
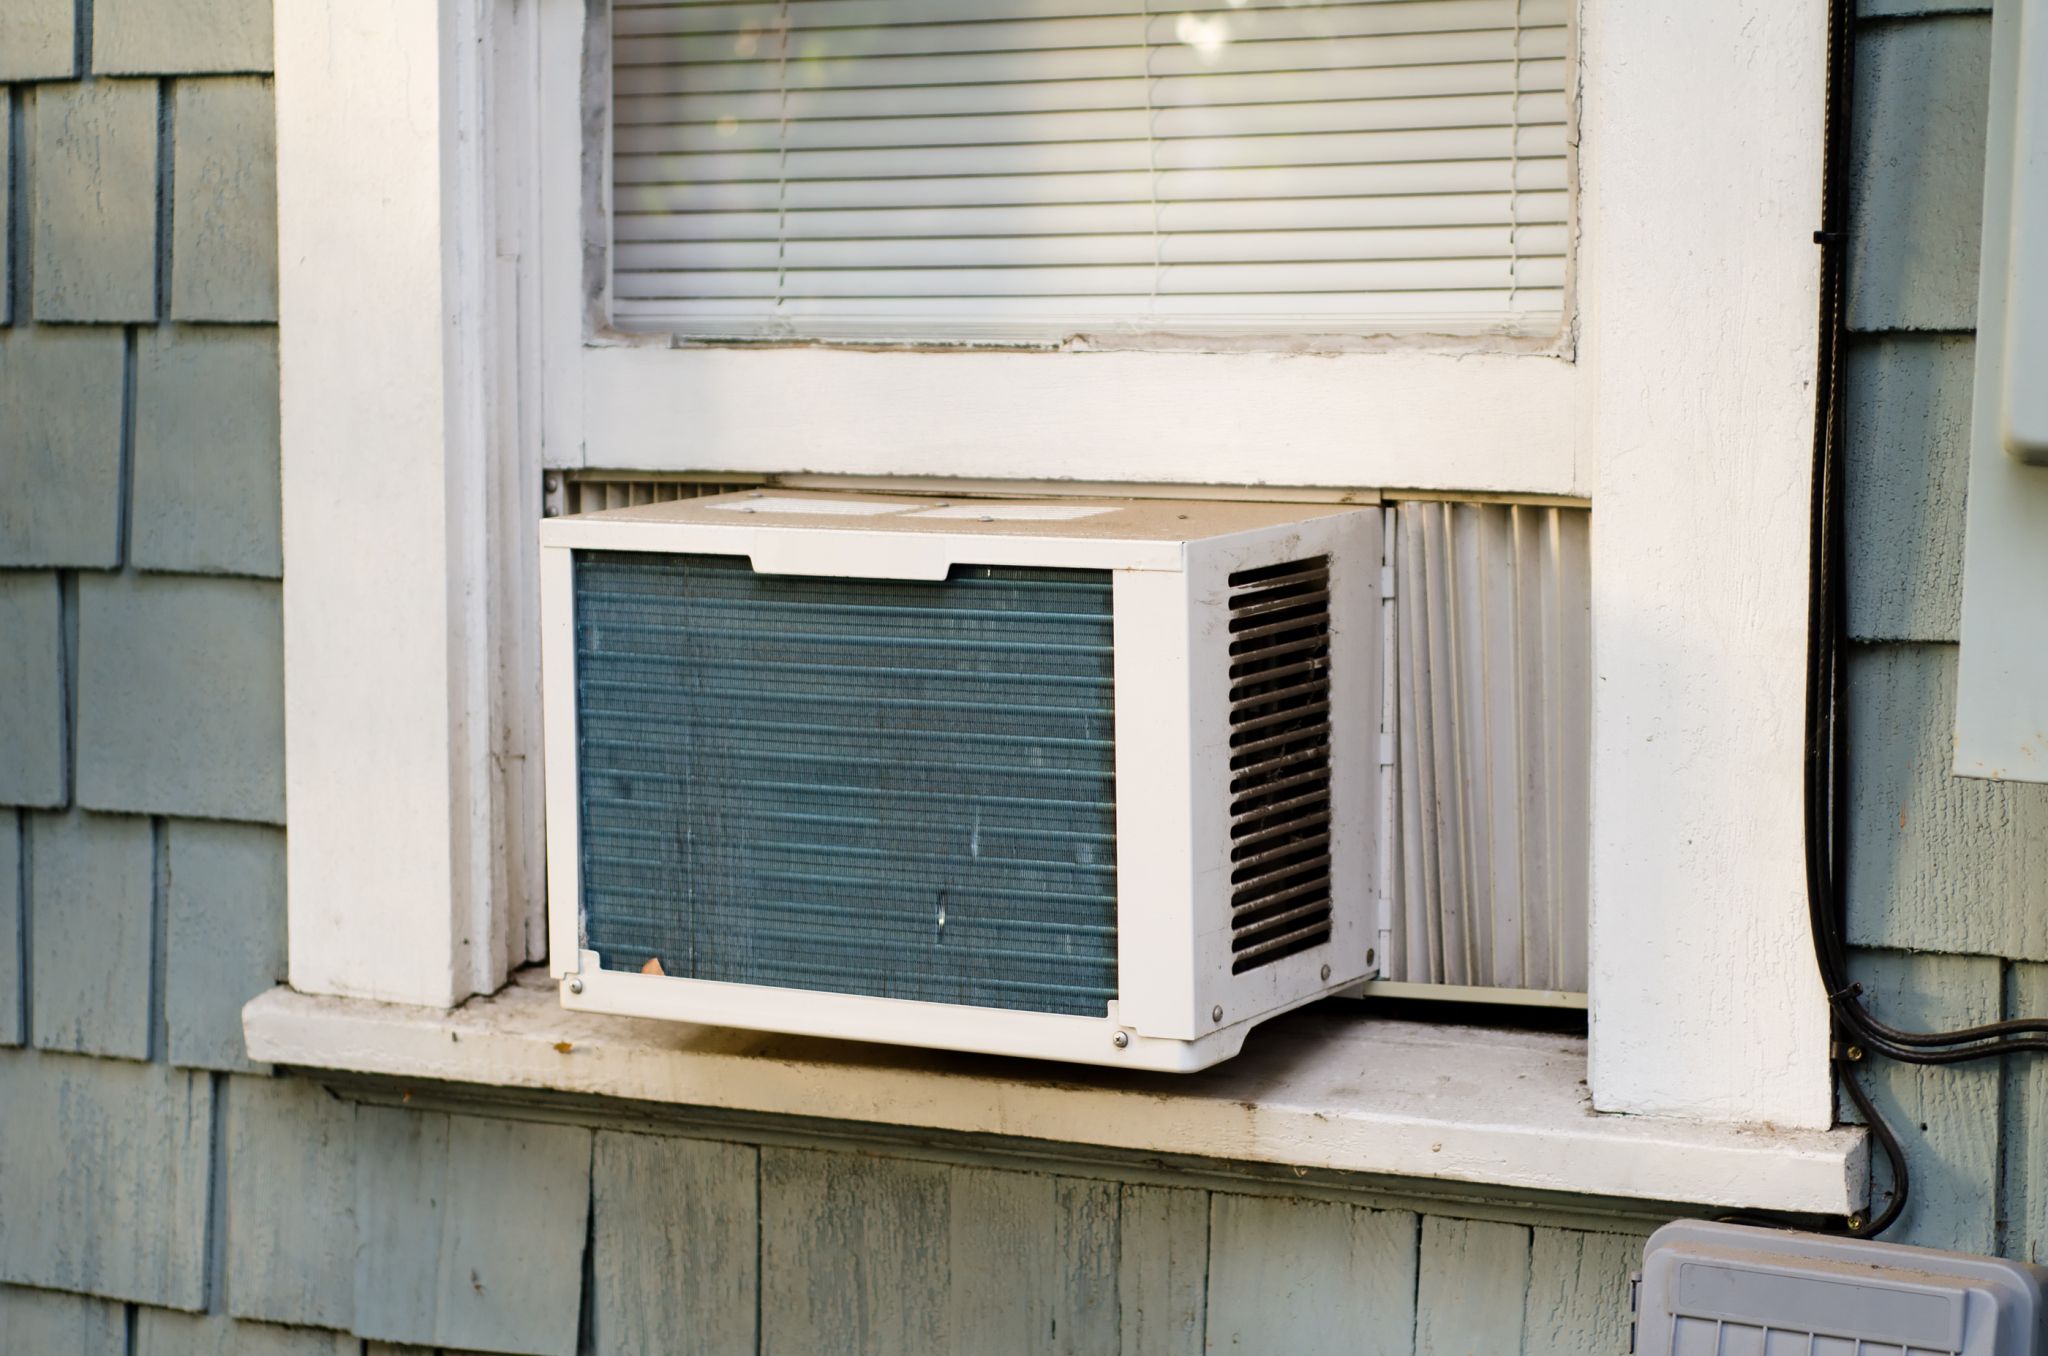
Step 2: Remove the Front Panel
Once you have safely turned off and unplugged the air conditioner, it’s time to remove the front panel. This will give you access to the filter and other components that require cleaning.
Start by locating the screws or clips that secure the front panel to the air conditioner. Most window air conditioners have screws that need to be removed using a screwdriver. However, some models may have clips or latches that can be easily opened without the need for tools.
If there are screws, gently unscrew them and set them aside in a safe place. Take care not to lose any screws as you will need them when reassembling the unit later.
If your air conditioner has clips or latches, carefully release them by either pushing or pulling them away from the unit. This will release the front panel and allow you to remove it.
Once the screws or clips are removed, carefully lift up the front panel and pull it towards you. Be cautious as there may be wires or connections attached to the panel. If necessary, disconnect any wires or connections before fully removing it.
Place the front panel in a safe and clean area, away from any dirt or debris. You can use a soft cloth or sponge to wipe down the panel if it is dirty.
Removing the front panel will expose the filter and other internal components, making it easier to clean them thoroughly. In the next steps, we will guide you through the process of cleaning these components to ensure optimal performance of your air conditioner.
Read more: How To Clean GE Window Air Conditioner
Step 3: Clean the Filter
The filter is an essential component of your window air conditioner that helps trap dust, dirt, and other particles from the air. Over time, it can get clogged and dirty, hindering airflow and reducing the efficiency of the unit. Cleaning the filter regularly is vital to maintain good indoor air quality and ensure the proper functioning of your air conditioner.
Here’s how you can clean the filter:
- Remove the filter from the front panel: The filter is usually located behind the front panel of the air conditioner. Slide or lift out the filter from its position. If you’re unsure how to remove the filter, refer to the manufacturer’s instructions.
- Inspect the filter: Take a close look at the filter to assess its condition. If it’s heavily covered in dirt and debris or if you notice any damage, it may be time to replace the filter. However, if it’s moderately dirty, you can proceed with cleaning.
- Vacuum the filter: Use a vacuum cleaner with a brush attachment to carefully remove loose dirt and debris from the filter. Start from one end and gently glide the brush over the surface of the filter, making sure to cover all areas. Be thorough but gentle to avoid damaging the filter.
- Wash the filter: Fill a basin or sink with warm water and add a mild detergent or cleaning solution. Submerge the filter in the soapy water and gently scrub it using a soft brush or your fingertips. Pay attention to areas with stubborn dirt or stains. Avoid using abrasive materials or excessive force, as it can damage the filter.
- Rinse the filter thoroughly: After washing, rinse the filter under running water to remove any soap residue. Make sure to rinse both sides of the filter and remove all traces of detergent.
- Allow the filter to dry: Shake off any excess water and place the filter on a clean towel or drying rack. Let it air dry completely before reinstalling it. Avoid using heat or direct sunlight to speed up the drying process, as it can deform or damage the filter.
- Reinstall the filter: Once the filter is completely dry, slide or place it back into its original position behind the front panel. Ensure it is securely in place.
Cleaning the filter is a crucial step in maintaining the efficiency of your air conditioner. Aim to clean the filter at least once a month during the cooling season, or more frequently if you live in a dusty environment or have pets. A clean filter will improve airflow, prevent clogs, and contribute to better cooling performance.
Regularly clean the air filter and coils of your window air conditioner to maintain its efficiency. Use a vacuum to remove dust and debris, and a mild detergent solution to clean the coils. This will help improve air quality and reduce energy consumption.
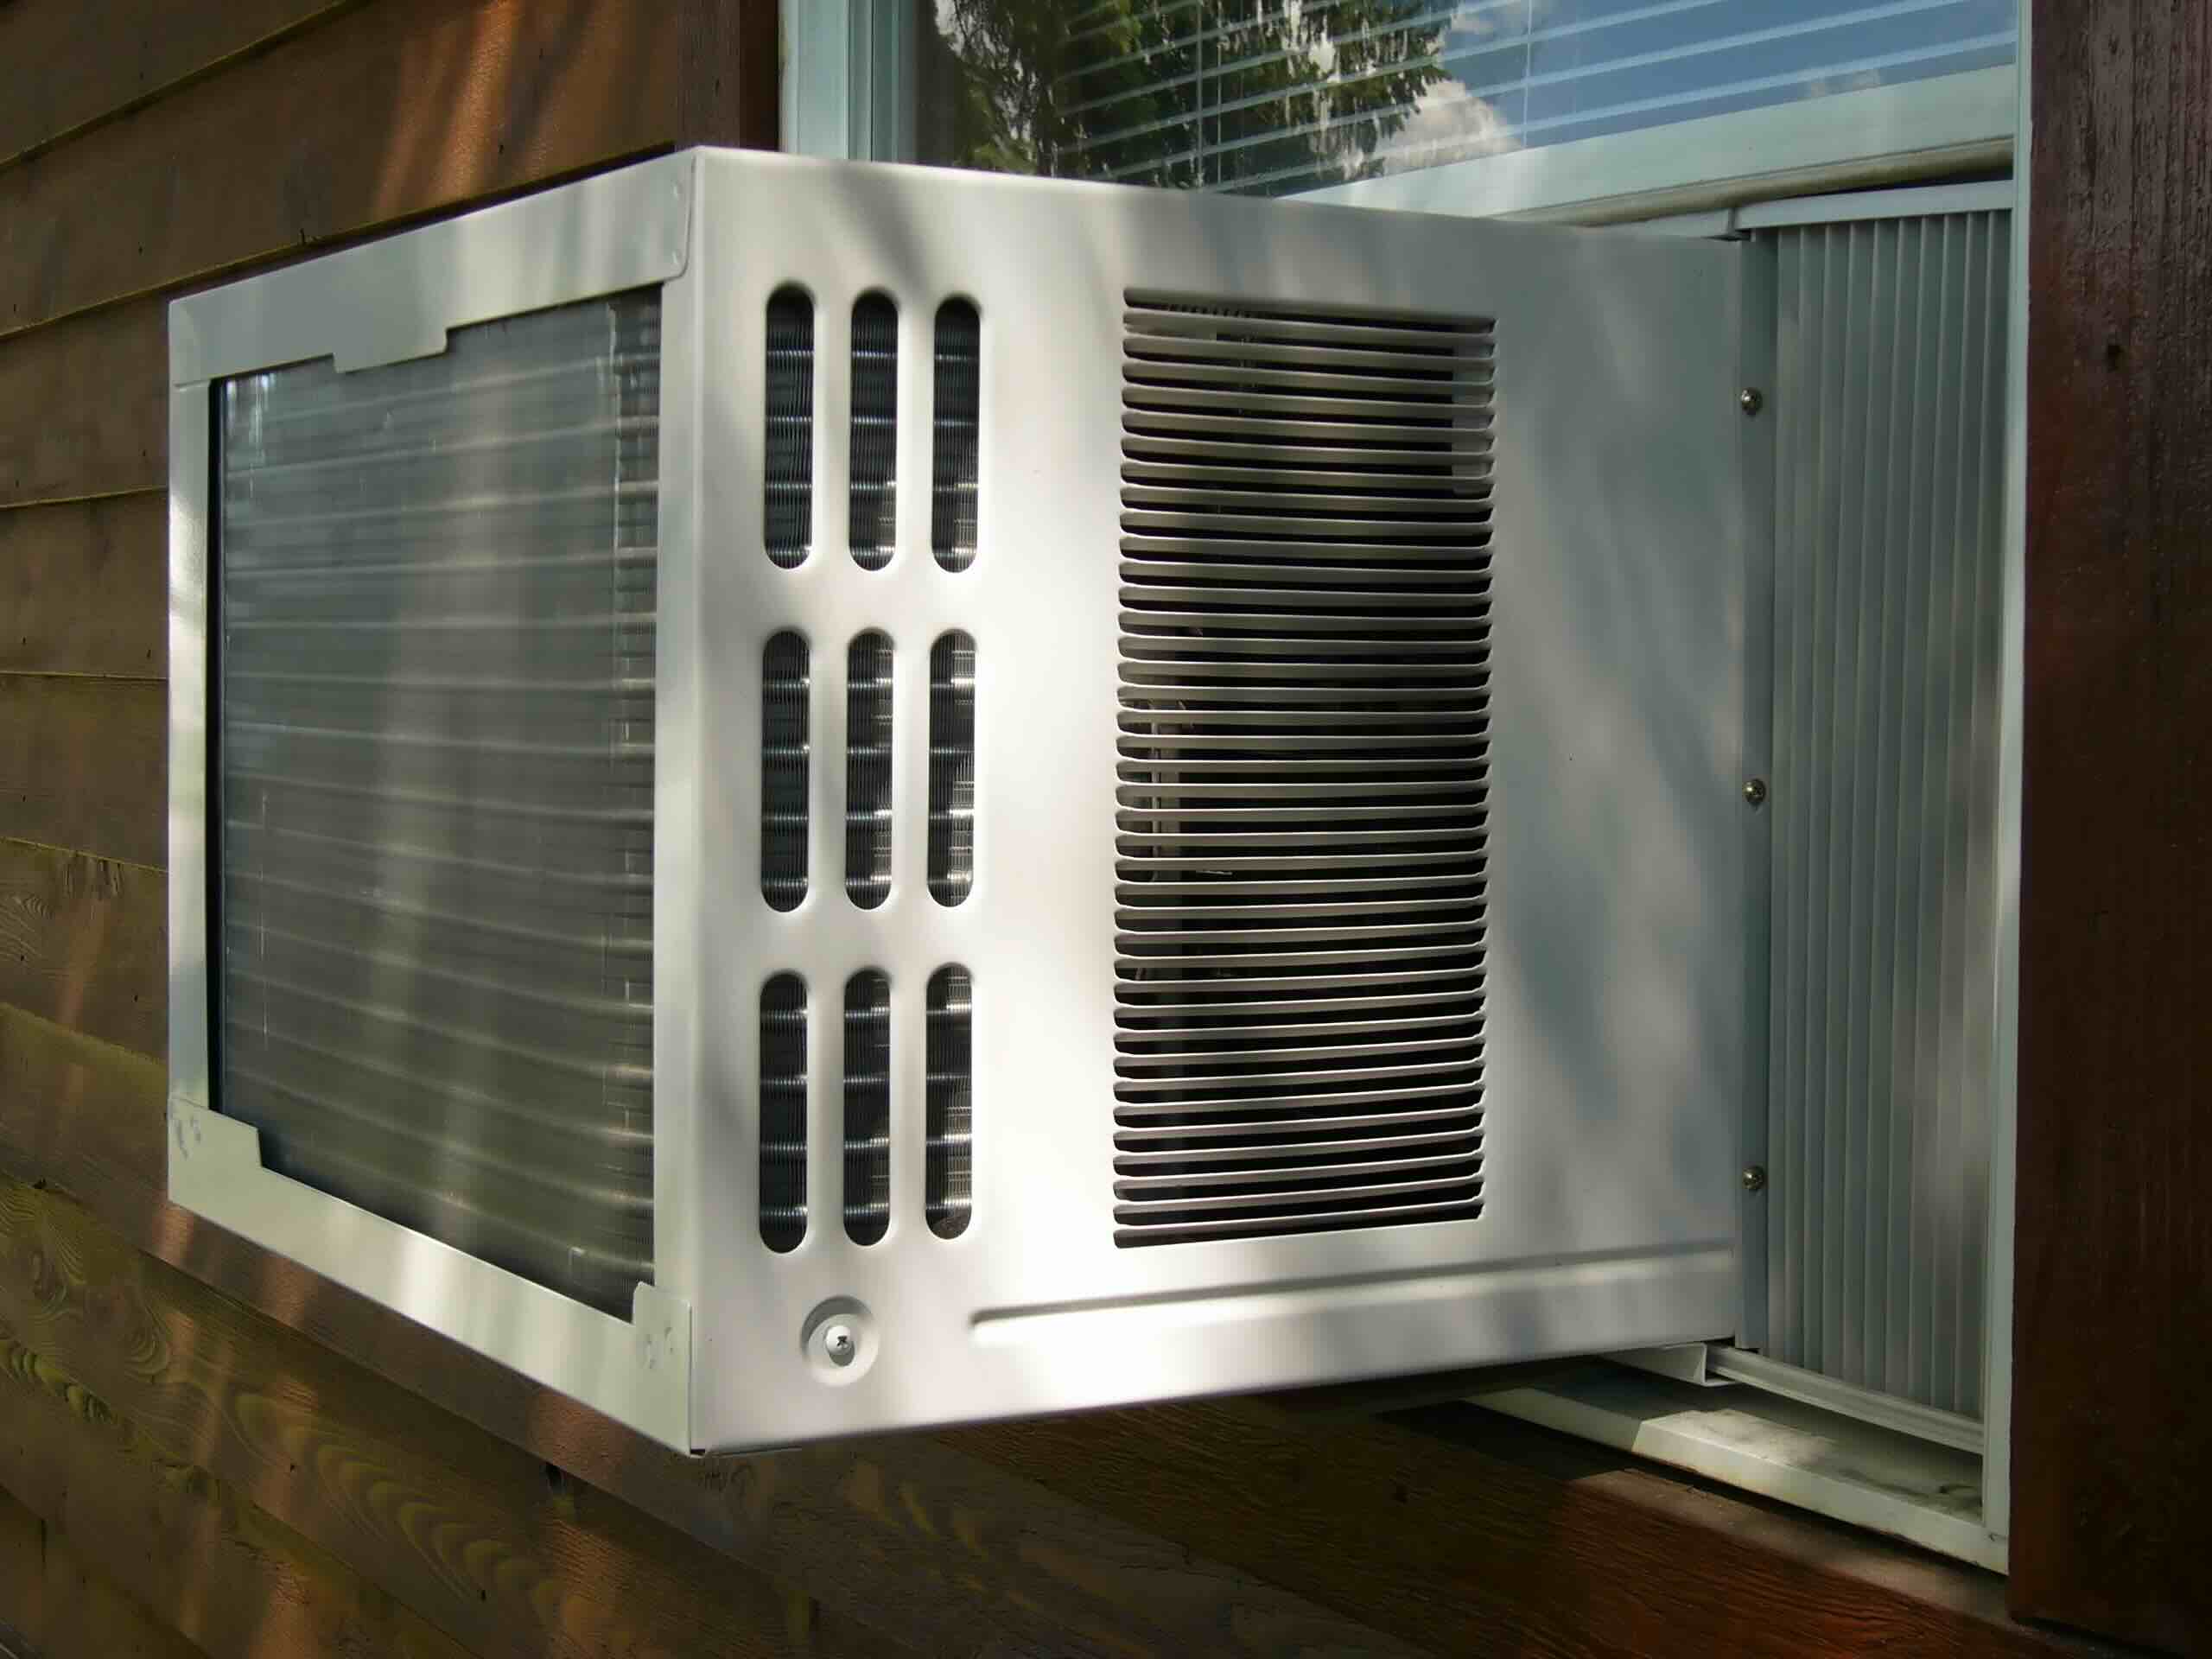
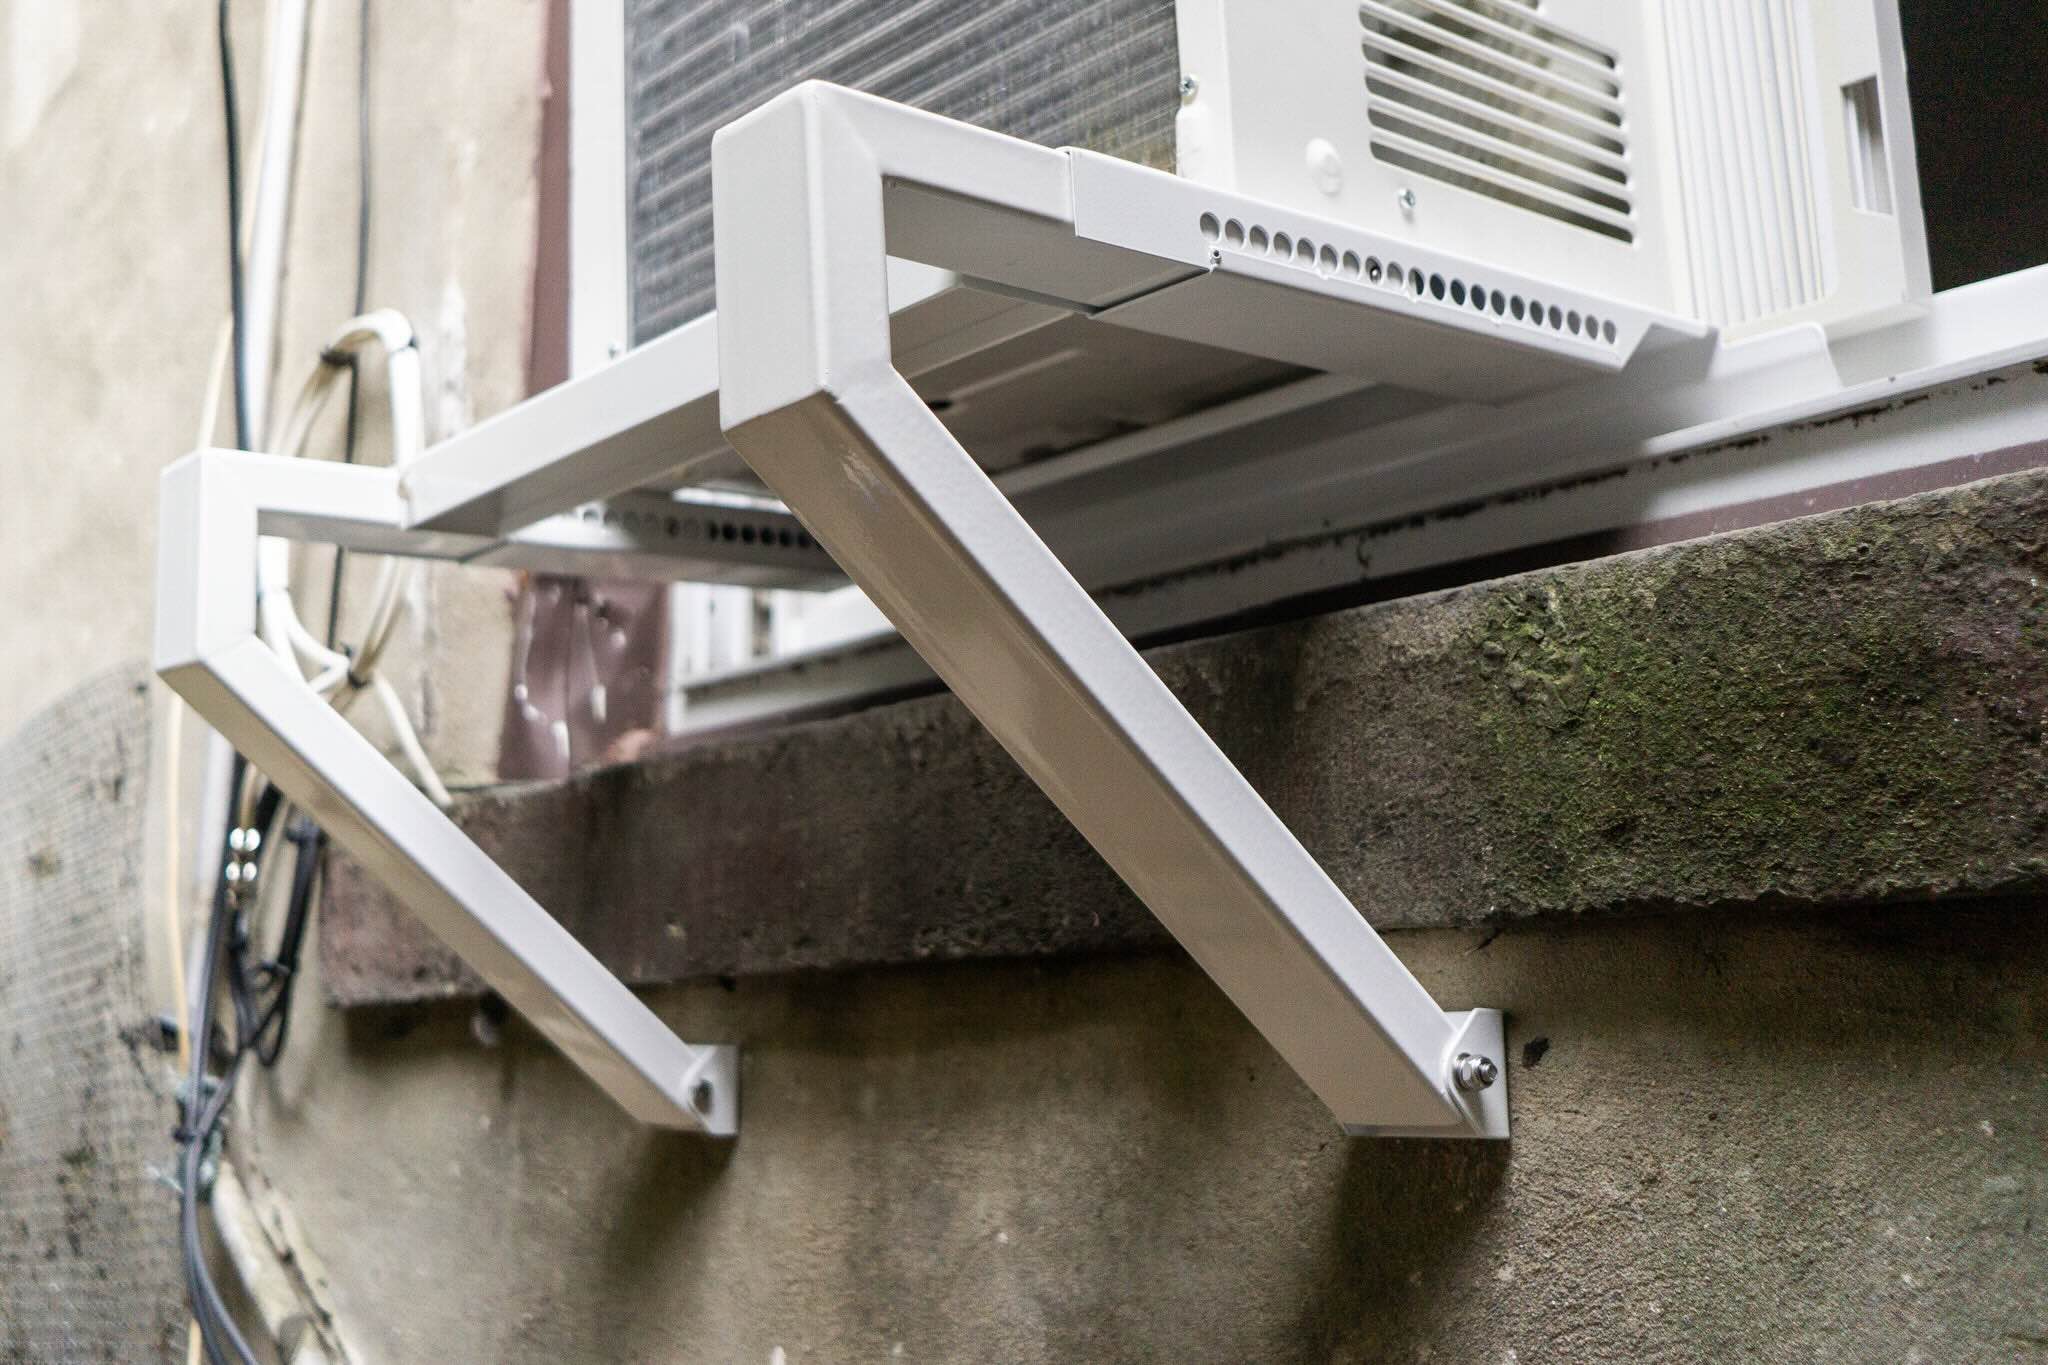
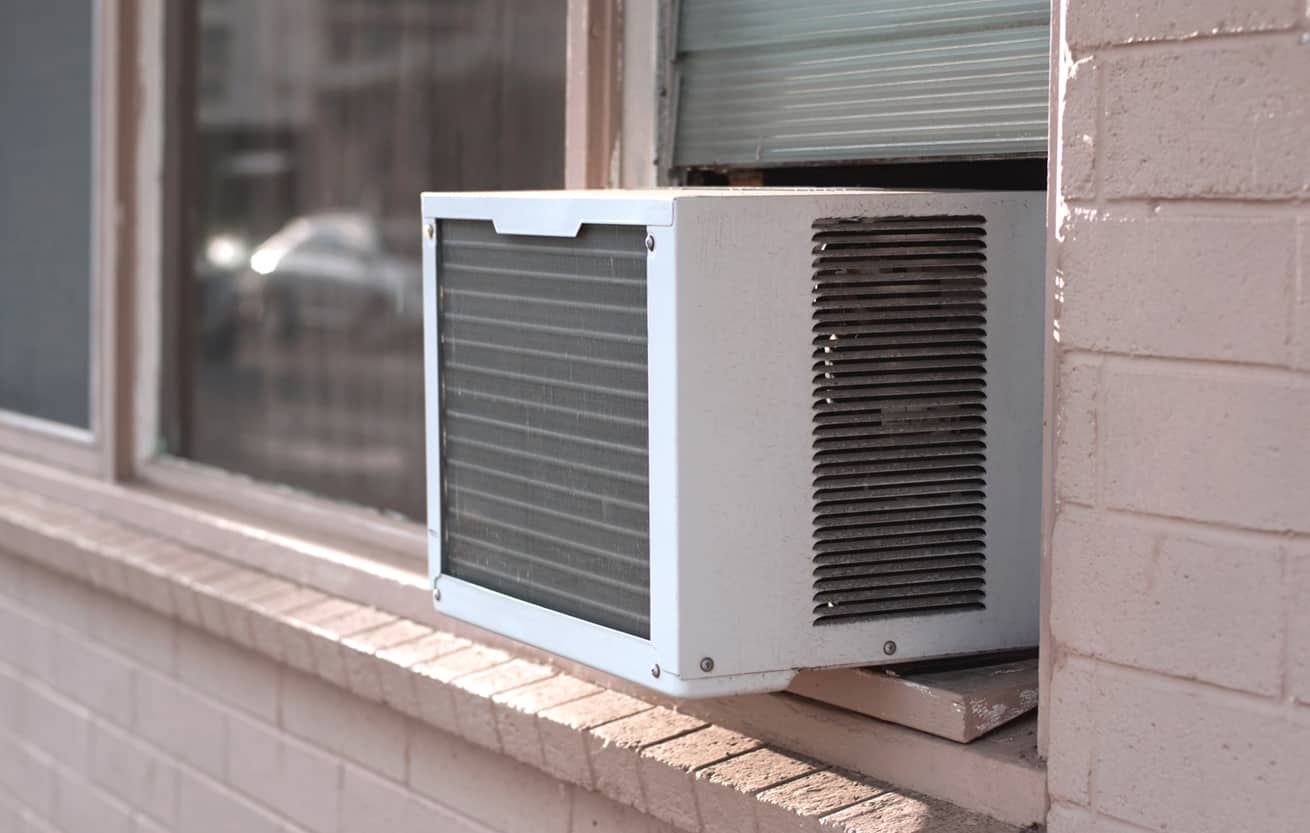
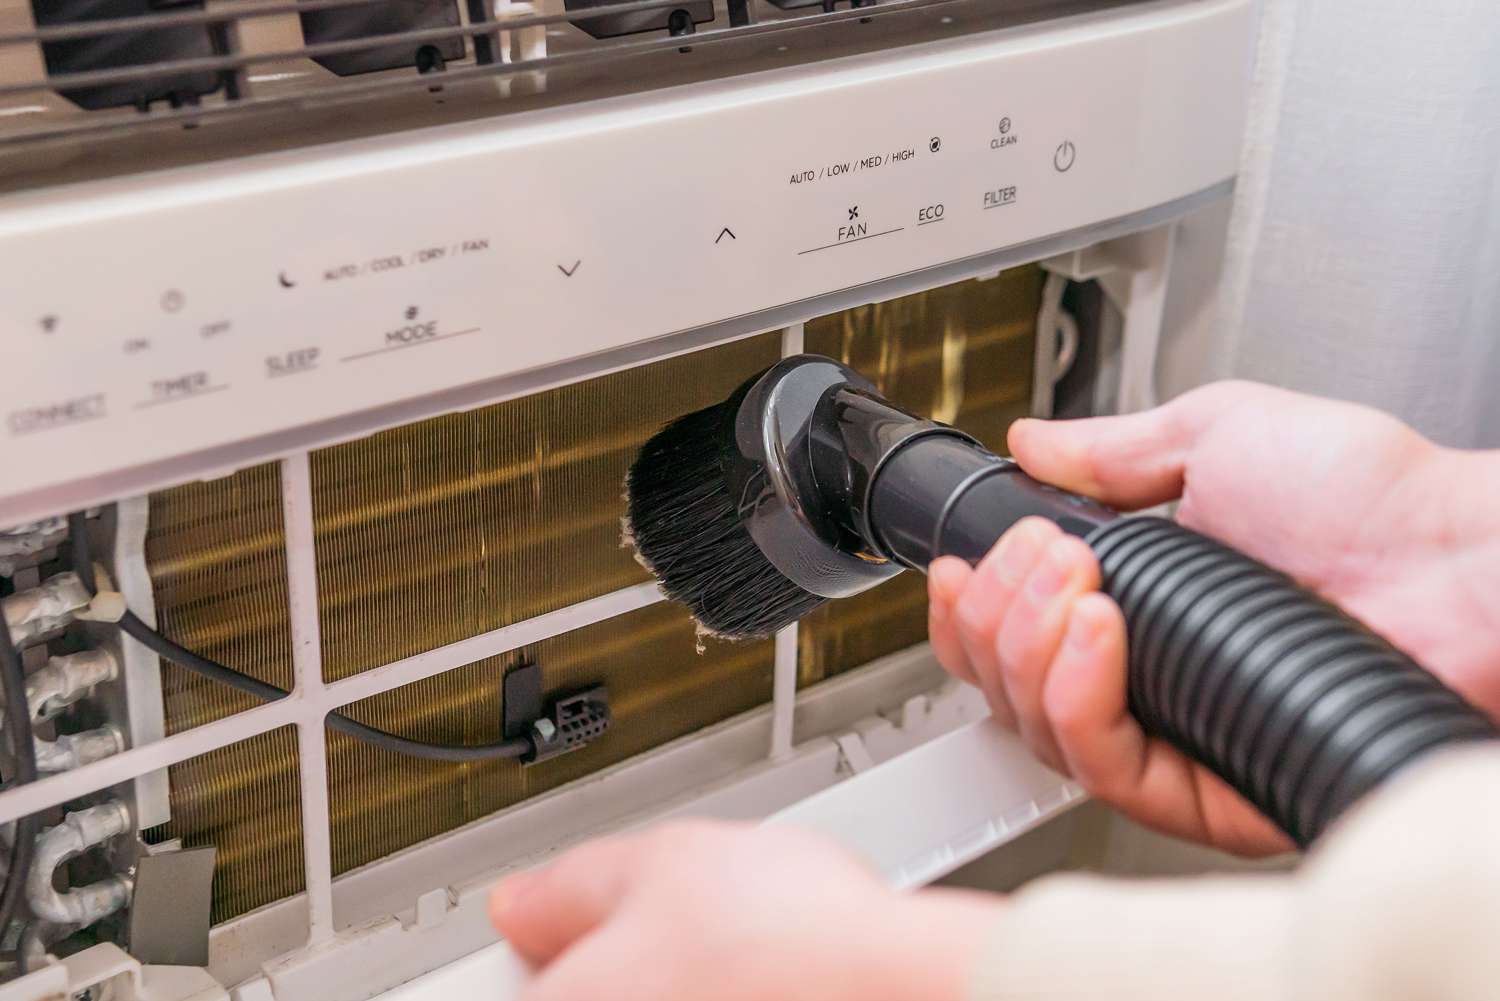
Step 4: Clean the Coils
The coils of your window air conditioner play a vital role in cooling the air. Over time, they can become dirty and covered in dust, reducing their efficiency and causing the air conditioner to work harder to cool the room. Cleaning the coils regularly will ensure optimal cooling performance and prolong the lifespan of your unit. Here’s how to clean the coils:
- Access the coils: To access the coils, you may need to remove the front grille or any other covers that are blocking the coil area. Refer to the manufacturer’s instructions for your specific model.
- Inspect the coils: Take a close look at the coils to assess their condition. If they are heavily coated in dirt, dust, or debris, it’s crucial to clean them. If needed, use a flashlight to get a better view of the coils.
- Remove loose debris: Use a vacuum cleaner with a brush attachment to remove any loose dirt or debris from the coils. Gently run the brush over the coils, ensuring you cover all areas. This will help eliminate surface dirt before proceeding to deeper cleaning.
- Clean with a coil cleaner: Spray a coil cleaner, specifically designed for air conditioner coils, onto the coils. Follow the instructions provided on the coil cleaner’s packaging. Typically, you should allow the cleaner to sit on the coils for a few minutes to break down the dirt and grime.
- Brush the coils: Use a soft brush or fin comb to gently brush the coils in an up-and-down or side-to-side motion. Be careful not to apply too much pressure or bend the delicate fins. The brush or fin comb will help remove stubborn dirt and debris from between the coils.
- Rinse the coils: Use a spray bottle filled with water to rinse off the coil cleaner and loosened dirt. Start from the top and work your way down, ensuring that all the cleaner and debris are thoroughly rinsed off. Be careful not to spray water onto any electrical components.
- Allow the coils to dry: After rinsing, give the coils sufficient time to dry completely. This will prevent any moisture buildup and potential damage to the air conditioner. If needed, use a clean cloth or towel to gently pat dry the coils.
- Reassemble the air conditioner: Once the coils are dry, reassemble any covers or front grille that you removed earlier. Make sure everything is securely in place before moving on to the next step.
Regularly cleaning the coils of your window air conditioner will ensure optimum cooling performance and energy efficiency. Aim to clean the coils at least once a year, or more frequently if you notice reduced cooling capacity or excessive dirt buildup.
Step 5: Clean the Drainage System
The drainage system of your window air conditioner is responsible for removing excess moisture that is collected during the cooling process. Over time, this system can become clogged with dirt, debris, and mold, leading to drainage issues and potential water damage. Cleaning the drainage system is essential to ensure proper functioning and prevent any water leakage. Here’s how to clean the drainage system:
- Locate the drainage holes: The drainage holes are typically located on the back or bottom of the air conditioner. They are designed to allow water to flow out of the unit.
- Inspect the drainage holes: Check for any visible blockages or buildup around the drainage holes. Use a flashlight if needed to get a better view.
- Clean the drainage holes: Use a small brush, such as a toothbrush or pipe cleaner, to gently clean the drainage holes. Remove any dirt, debris, or mold that may be obstructing the flow of water.
- Clear the drainage pipe: In some window air conditioners, there may be a drainage pipe attached to the unit. Check the pipe for any blockages or clogs. If necessary, use a pipe cleaner or small wire to clear the obstructions.
- Flush the drainage system: Fill a spray bottle with a mixture of equal parts water and vinegar. Spray the solution into the drainage holes and pipe to remove any remaining debris or mold. Allow the solution to sit for a few minutes, then flush the system with clean water.
- Check the drainage pan: Behind the front panel of the air conditioner, there is usually a drainage pan that collects the water from the drainage system. Remove the pan and empty any water that may have accumulated. Clean the pan with a mild detergent and water solution, then rinse and dry it thoroughly before reinserting it.
- Reassemble the air conditioner: Once the drainage system is clean and dry, reassemble any parts that you removed earlier. Make sure all connections are secure and the front panel is properly attached.
Regularly cleaning the drainage system of your window air conditioner will prevent water buildup, potential leaks, and other drainage issues. Aim to clean the system at least once a year or more frequently if you notice any signs of blockage or water leakage.
Step 6: Reassemble the Air Conditioner
After completing the cleaning process for your window air conditioner, it’s time to reassemble the unit. Properly reassembling the air conditioner ensures that all components are securely in place and ready for operation. Here’s how to reassemble the air conditioner:
- Retrieve the front panel: Find the front panel that you removed earlier. Ensure that it is clean and free from any dirt or debris.
- Align the front panel: Carefully align the front panel with the unit, making sure it fits snugly into place. Check that any wires or connections are properly reattached to the panel if applicable.
- Secure the front panel: If your air conditioner has screws, insert them back into their original positions and use a screwdriver to tighten them. If your unit uses clips or latches, ensure they are securely fastened.
- Check for proper fit: Double-check that the front panel is securely in place and does not feel loose. Gently give it a slight tug to ensure it is firmly attached to the unit.
- Inspect the exterior: Take a moment to inspect the exterior of the air conditioner. Wipe down any surfaces with a clean cloth to remove any dust or fingerprints that may have accumulated during the cleaning process.
Properly reassembling the air conditioner is crucial for its safe and efficient operation. A secure front panel ensures that the unit functions as intended and reduces the risk of any components coming loose during operation.
Once the air conditioner is reassembled, it’s now ready to be tested and used for cooling your space effectively.
Step 7: Test the Air Conditioner
After cleaning and reassembling your window air conditioner, it’s time to test its functionality to ensure that it is working properly. Testing the air conditioner will give you peace of mind that your cleaning efforts have paid off and that the unit is ready to keep your space cool and comfortable. Here’s how you can test the air conditioner:
- Plug in and turn on the air conditioner: Plug the unit back into the power outlet and turn on the power control panel or switch. Make sure the air conditioner is receiving power.
- Set the desired temperature: Adjust the temperature settings on the air conditioner according to your preference. You can refer to the manufacturer’s instructions for the optimal temperature settings.
- Listen for normal operation: As the air conditioner starts up, listen for any strange noises or unusual sounds. A properly functioning air conditioner should operate quietly and smoothly.
- Check for cool air: Stand in front of the air conditioner and check if cool air is being expelled from the unit. Place your hand near the air vents to feel the airflow. If you have a thermometer, you can also measure the temperature of the air being emitted to ensure it is cooling properly.
- Monitor for any water leakage: Keep an eye on the air conditioner for any signs of water leakage. Check underneath the unit and around the windowsill for any drips or moisture. If you notice any leaks, turn off the air conditioner immediately and consult a professional for further assistance.
- Ensure proper fan and mode operation: Test the different fan speeds and modes of your air conditioner to ensure they are functioning correctly. Switch between the various settings, such as high, medium, low, and auto, to verify that the air conditioner adjusts accordingly.
- Observe the cooling performance: Allow the air conditioner to run for a while to gauge its cooling performance. Check if it effectively cools the room to your desired temperature and maintains it consistently.
If you notice any issues during the testing phase, such as inadequate cooling, strange noises, or water leakage, it may require further attention or professional service. It’s important to address any problems promptly to prevent further damage.
By testing the air conditioner after cleaning, you can ensure that it is functioning optimally and ready to provide you with a comfortable indoor environment during hot summer days.
Conclusion
Cleaning your window air conditioner is a crucial maintenance task that should not be overlooked. By following the steps outlined in this guide, you can keep your air conditioner running smoothly, improve its efficiency, and maintain good indoor air quality in your home.
Remember to prioritize safety by turning off and unplugging the air conditioner before starting any cleaning tasks. Adhere to the recommended safety precautions, wear protective gear, and consult the manufacturer’s instructions for specific guidelines.
As you clean your air conditioner, be thorough with each step. Remove the front panel to access the filter, which should be cleaned or replaced regularly to ensure optimal performance. Clean the coils to remove dirt and debris that can hinder cooling capacity. Additionally, pay attention to the drainage system to prevent blockages and water leakage.
After cleaning, reassemble the air conditioner carefully, making sure all components are securely in place. Finally, test the unit to ensure it is functioning correctly, providing cool air and operating quietly. Monitor for any signs of water leakage or other issues that may require further attention.
Maintaining a well-cared-for window air conditioner not only extends its lifespan but also helps you create a comfortable living space during the summer months. Regular cleaning and maintenance will enhance efficiency, save energy, and improve the overall performance of your air conditioner.
Keep in mind that if you encounter any difficulties during the cleaning process, or if you are unsure about any aspect, it is always recommended to seek professional assistance. They can provide expert guidance and ensure that your air conditioner is properly maintained.
By dedicating some time to clean and maintain your window air conditioner, you can enjoy its cooling benefits for years to come and create a refreshing atmosphere in your home even on the hottest days.
Frequently Asked Questions about How To Clean A Window Air Conditioner
Was this page helpful?
At Storables.com, we guarantee accurate and reliable information. Our content, validated by Expert Board Contributors, is crafted following stringent Editorial Policies. We're committed to providing you with well-researched, expert-backed insights for all your informational needs.