Home>Home Maintenance>How To Remove A Window Air Conditioner

Home Maintenance
How To Remove A Window Air Conditioner
Modified: August 20, 2024
Learn how to remove a window air conditioner yourself with this step-by-step guide for home maintenance. Save time and money by doing it yourself!
(Many of the links in this article redirect to a specific reviewed product. Your purchase of these products through affiliate links helps to generate commission for Storables.com, at no extra cost. Learn more)
Introduction
Welcome to our comprehensive guide on how to remove a window air conditioner. Whether you’re looking to clean your unit, perform maintenance, or simply prepare for the changing seasons, knowing how to safely and effectively remove your window air conditioner is essential.
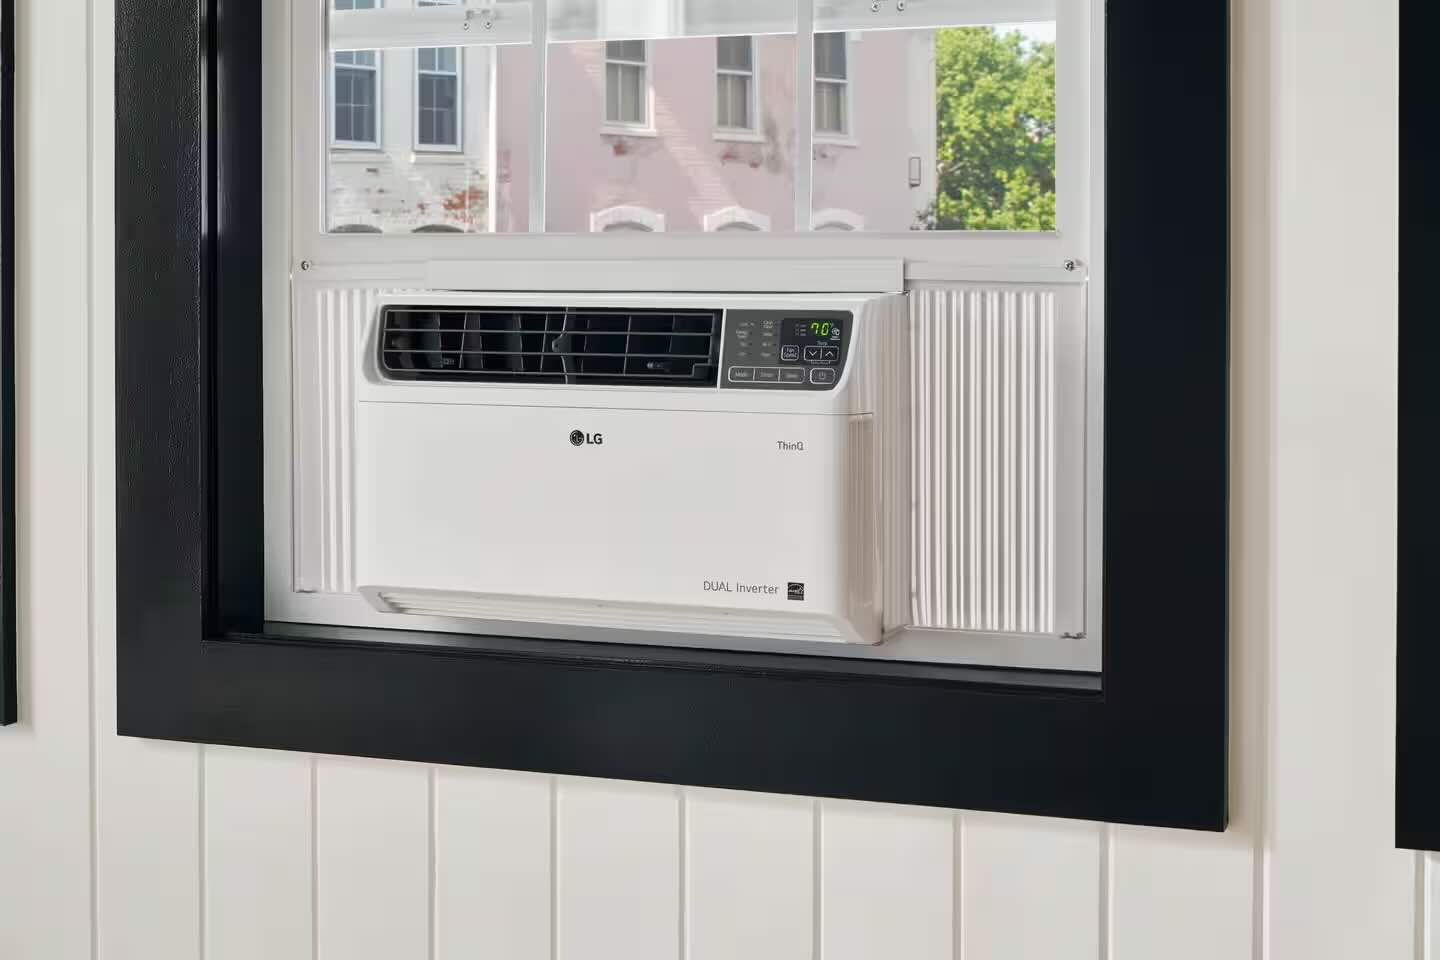
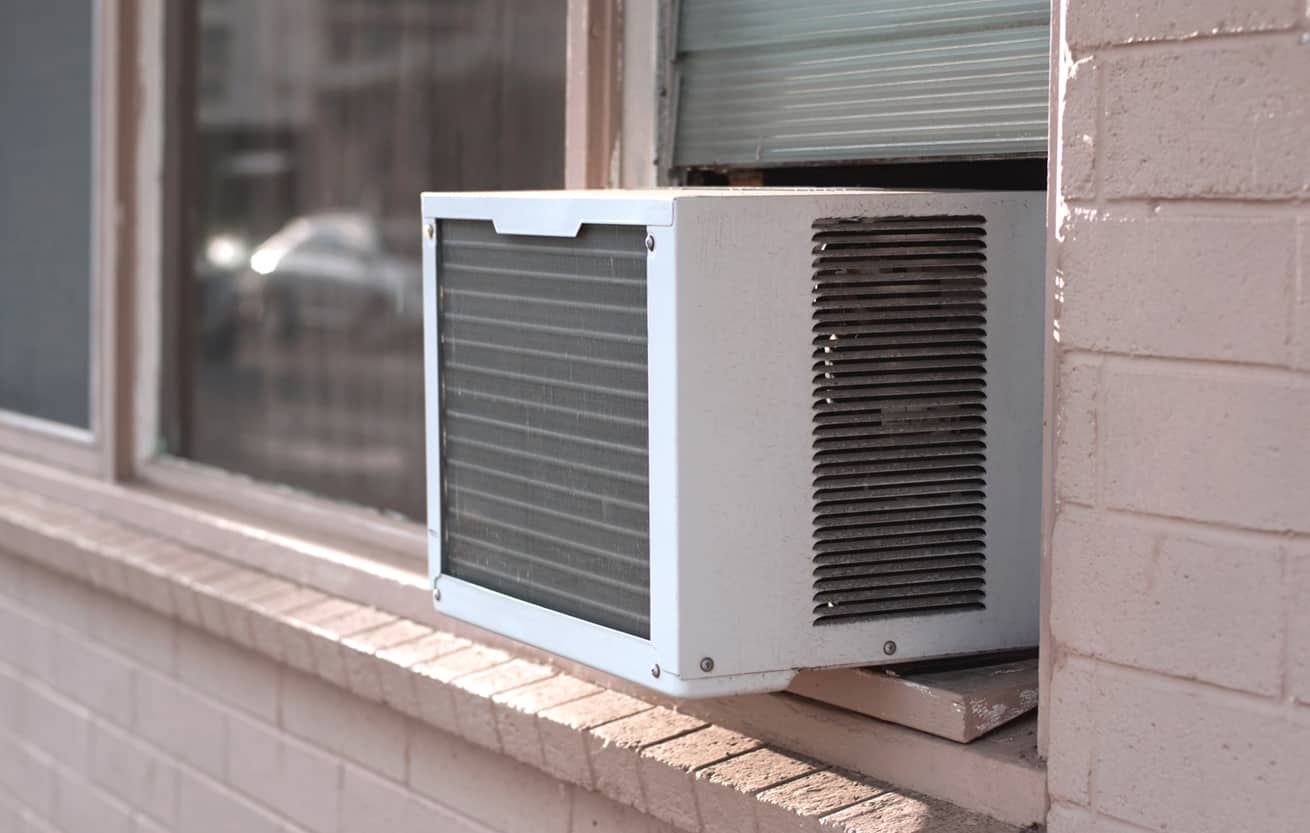
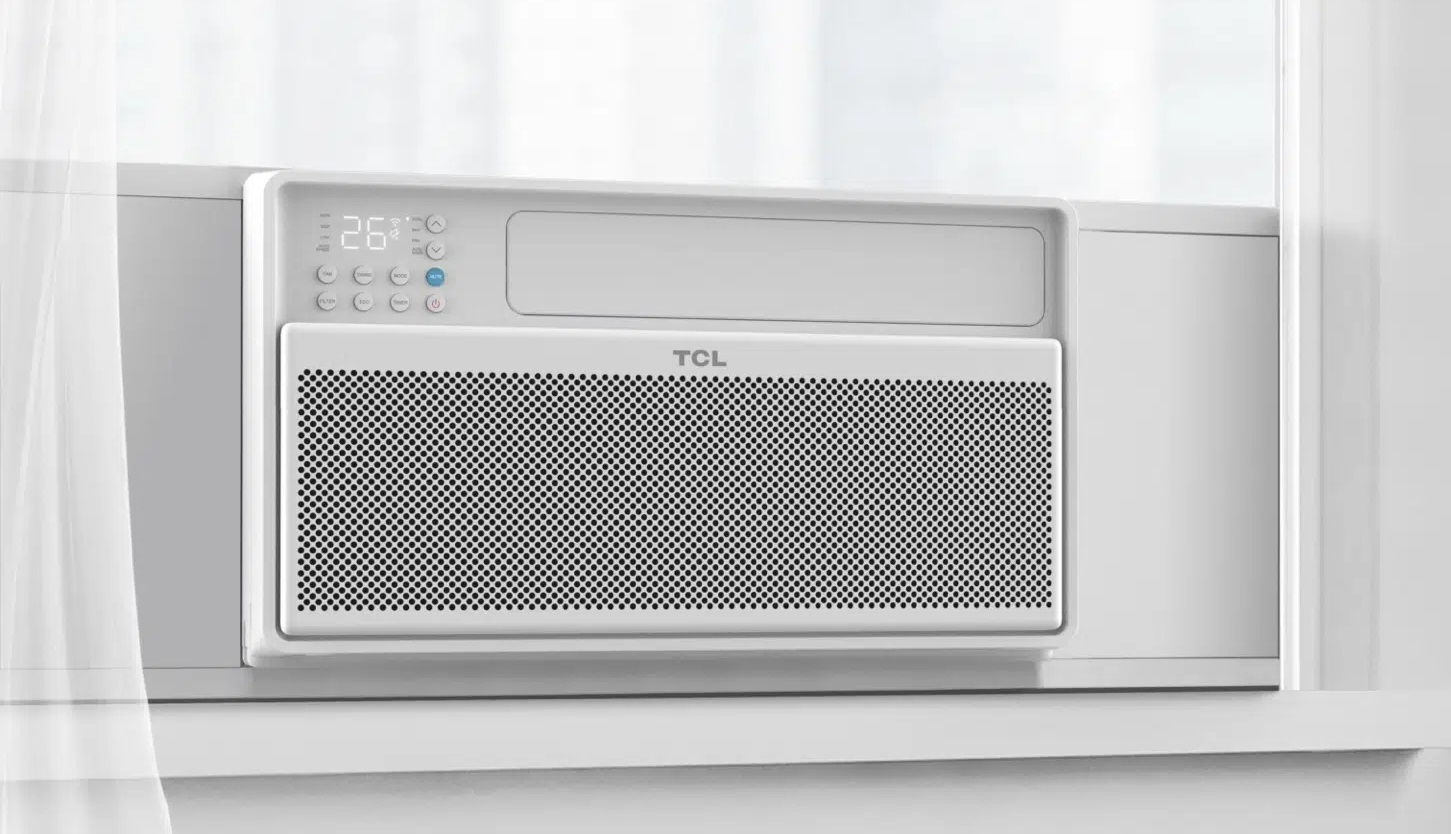
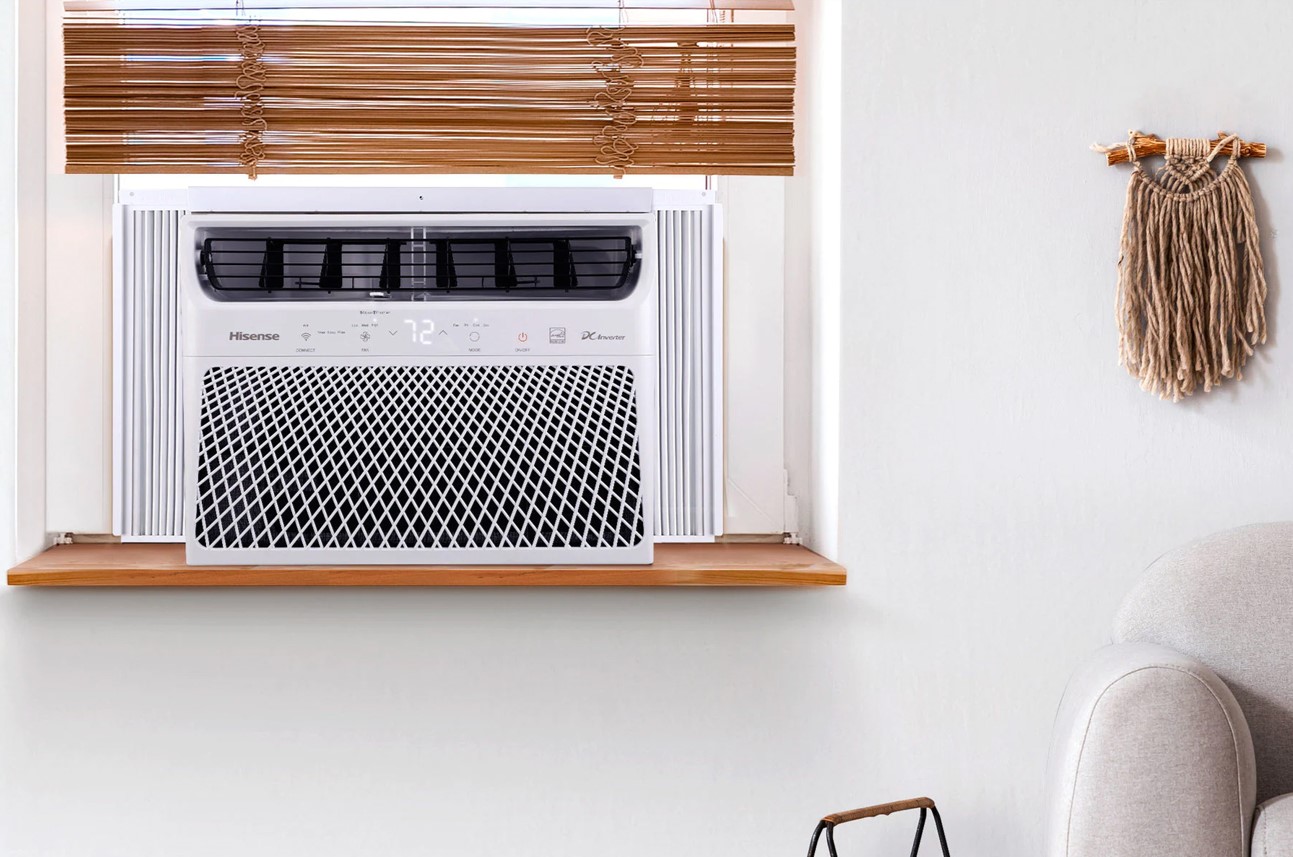
A window air conditioner is a popular cooling solution for many households. It provides efficient cooling in individual rooms, without the need for extensive installation or ductwork. However, there comes a time when you may need to remove the unit temporarily or permanently.
Removing a window air conditioner may seem like a daunting task, but with the right tools and proper techniques, it can be a relatively straightforward process. By following the steps outlined in this guide, you’ll be able to safely and efficiently remove your unit without any hassle.
Before we dive into the step-by-step process, it’s important to note that safety should always be your top priority. Always ensure you follow proper safety precautions and consult the manufacturer’s instructions for your specific window air conditioner model.
Now, let’s get started with gathering the necessary tools and materials you’ll need for the removal process.
Key Takeaways:
- Removing a window air conditioner is a manageable task with the right tools and precautions. Clear the area, disconnect power, and lift carefully to ensure a safe and successful removal process.
- Cleaning and storing the air conditioner after removal is crucial for its longevity and efficient performance. Proper maintenance ensures the unit is ready for future use.
Read more: What Is A Window Air Conditioner
Step 1: Gather the necessary tools and materials
Before you begin the process of removing your window air conditioner, it’s important to gather all the necessary tools and materials. This will ensure that you have everything you need to complete the task without any interruptions.
Here are the tools and materials you will need:
- Screwdriver or drill with appropriate attachments
- Utility knife or box cutter
- Protective gloves
- Protective eyewear
- Masking tape or painter’s tape
- Cleaning supplies (optional)
The type of screwdriver or drill attachment you will need depends on the specific screws or bolts used to secure your window air conditioner. Check the manufacturer’s instructions or visually inspect the unit to determine the appropriate tool for removal.
A utility knife or box cutter will come in handy when removing any caulk or sealant around the edges of the air conditioner. It will also be useful if you need to cut through any adhesive materials that may be holding the unit in place.
It’s important to wear protective gloves and eyewear throughout the removal process. This will protect your hands and eyes from any potential hazards, such as sharp edges or debris that may be present during the removal process.
Masking tape or painter’s tape can be used to secure any loose wires or hoses during the removal process. This will ensure that nothing gets tangled or damaged as you lift the unit out of the window.
If you’re planning on cleaning your window air conditioner before storing it, gather any cleaning supplies you may need. This can include a vacuum cleaner, mild detergent, and a soft brush or cloth.
Once you have all the necessary tools and materials, you’re ready to move on to the next step: preparing the area around the window air conditioner.
Step 2: Prepare the area around the window air conditioner
Before you start removing your window air conditioner, it’s important to prepare the area around it to ensure a smooth and safe removal process. Preparing the area will help prevent any damage or accidents during the removal.
Here’s how to prepare the area:
- Clear the space: Remove any objects, furniture, or decorations near the window air conditioner. This will create a clear and unobstructed path for the removal process.
- Protect the floor: Place a drop cloth or old sheet on the floor beneath the window air conditioner. This will protect the floor from any debris or potential water spills during the removal.
- Secure any window coverings: If you have curtains, blinds, or any other window coverings near the air conditioner, secure them with tape or tie them up to prevent them from interfering with the removal process.
- Close the window: If the window is open, close it securely. This will prevent any accidents or damage while removing the unit.
By clearing the space and protecting the floor, you’ll have a safe and clean environment to work in. It’s also essential to secure any window coverings to prevent them from getting caught or damaged during the removal process.
Once you’ve prepared the area, it’s time to move on to the next step: disconnecting the power supply.
Step 3: Disconnect the power supply
Before you begin removing your window air conditioner, it’s crucial to disconnect the power supply to ensure your safety and prevent any electrical accidents. Here’s how to disconnect the power supply:
- Locate the power source: Identify the power source for your window air conditioner. It is usually a nearby electrical outlet.
- Turn off the unit: Locate the power switch or button on the air conditioner unit itself and turn it off. This will ensure that the unit is not running during the removal process.
- Unplug the unit: Carefully unplug the power cord from the electrical outlet. Gently pull on the plug, making sure not to damage the cord or outlet.
- Verify the power is off: To be extra cautious, use a voltage tester to confirm that there is no power running to the unit before proceeding with the removal.
Disconnecting the power supply is a critical step to avoid electrical shocks or other accidents. Always double-check that the power is off and verify it with a voltage tester if you have one available.
Now that the power supply is disconnected, you can move on to the next step: removing the front cover or grille of the window air conditioner.
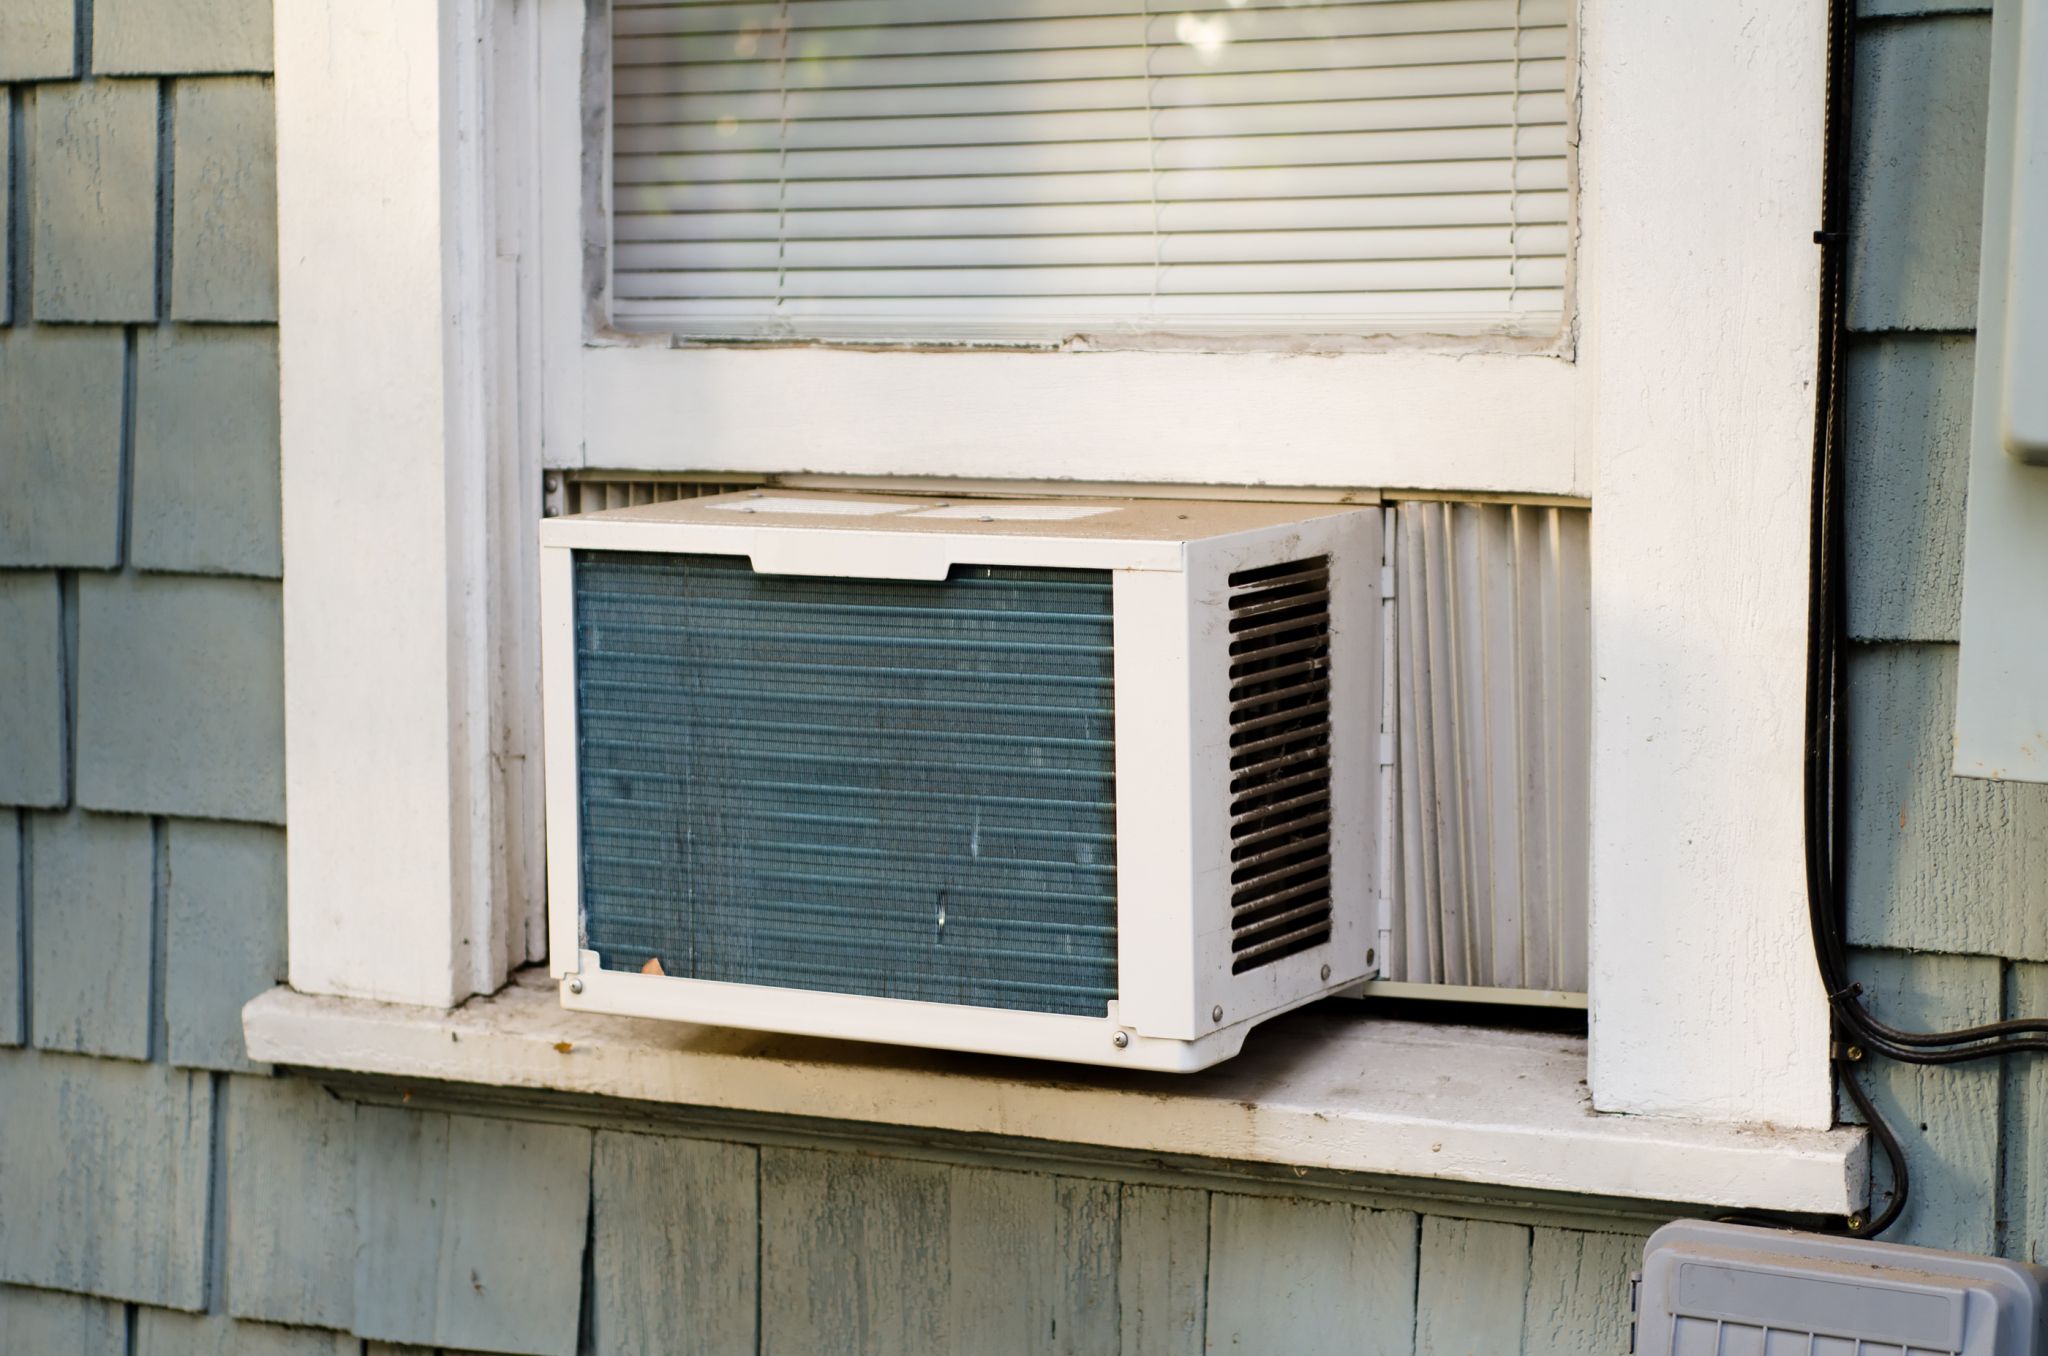
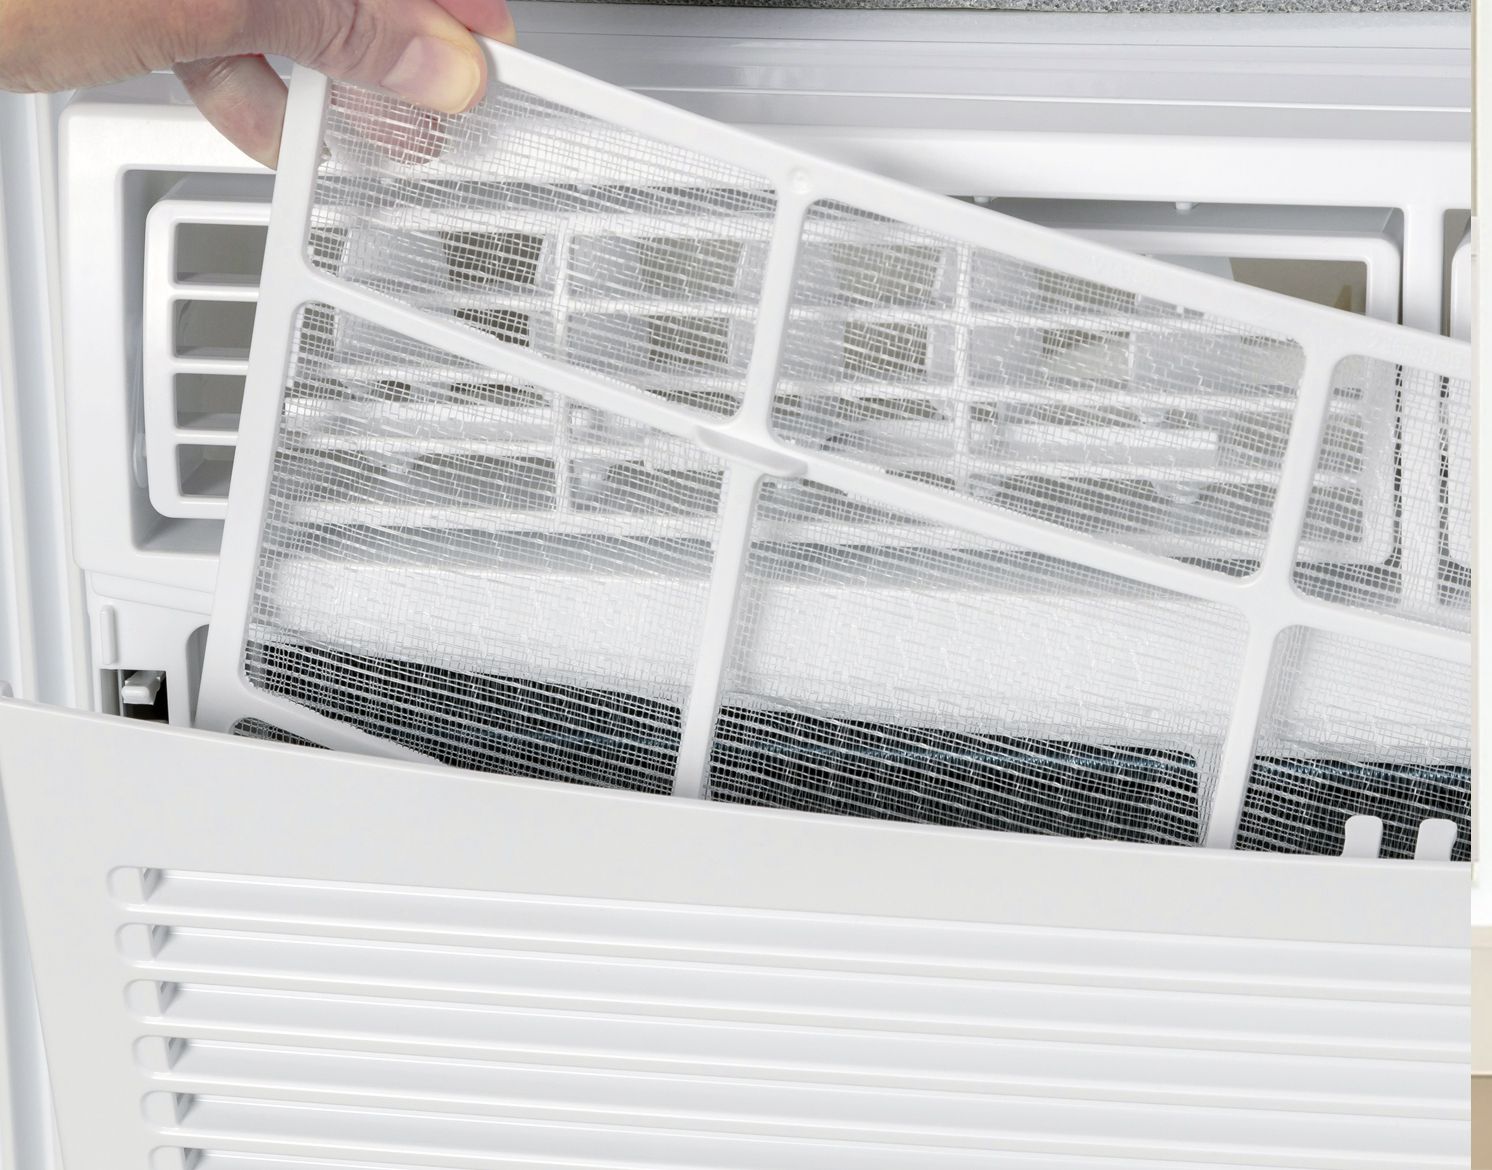
Step 4: Remove the front cover or grille
Once the power supply is disconnected, it’s time to remove the front cover or grille of your window air conditioner. Removing the cover will give you access to the inner components of the unit and allow for easier removal. Here’s how to do it:
- Inspect for any securing latches or screws: Carefully inspect the front cover or grille of your window air conditioner to identify any securing latches or screws.
- Remove the securing latches or screws: If there are securing latches, use your fingers or a flat screwdriver to release them. If there are screws, use a screwdriver appropriate for the screw type to unscrew them.
- Detach the front cover or grille: Once the securing latches or screws are removed, gently pull or lift the front cover or grille away from the unit. Be cautious not to damage any components or wiring during this process.
- Set the front cover or grille aside: Place the cover or grille in a safe area, away from the removal path, to prevent any accidental damage or tripping hazards.
Removing the front cover or grille of your window air conditioner will expose the inner components of the unit and make it easier to disconnect and remove the unit from the window. Take your time and be gentle when detaching the cover or grille to avoid any unnecessary damage.
With the front cover or grille safely removed, you can now proceed to the next step: unplugging the unit from the window.
Before removing a window air conditioner, make sure to turn off the power and disconnect any electrical connections. Have someone help you support the unit as you carefully remove it from the window. Keep it level to avoid any damage or injury.
Read more: How To Insulate A Window Air Conditioner
Step 5: Unplug the unit from the window
Now that the front cover or grille is removed, it’s time to unplug the window air conditioner from its position in the window. Unplugging the unit will allow for easier and safer removal. Here’s how to do it:
- Inspect the electrical connections: Examine the area where the unit is plugged into the wall or window. Look for any securing mechanisms or brackets that may be holding the unit in place.
- Release any securing mechanisms: If there are any securing mechanisms, such as brackets or clips, use a screwdriver or your hands to release them. Ensure that the unit is not connected to the window frame or any other supporting structures.
- Disconnect the electrical connection: Carefully unplug the electrical cord from any outlets or extension cords it may be connected to. If the cord is secured with tape or zip ties, remove them before disconnecting the cord.
- Carefully guide the cord out of the window: Slowly and steadily guide the electrical cord out of the window without pulling or tugging too forcefully. Be mindful of other nearby objects or furniture.
- Set the cord aside: Once the electrical cord is completely removed from the window, place it in a safe location away from the removal path.
Unplugging the window air conditioner is an important step in the removal process, as it ensures that the unit is no longer connected to any power sources. Take your time and be careful when disconnecting the electrical cord to avoid any damage to the cord or surrounding objects.
With the unit now unplugged from the window, you can proceed to the next step: unscrewing the mounting brackets or support arms.
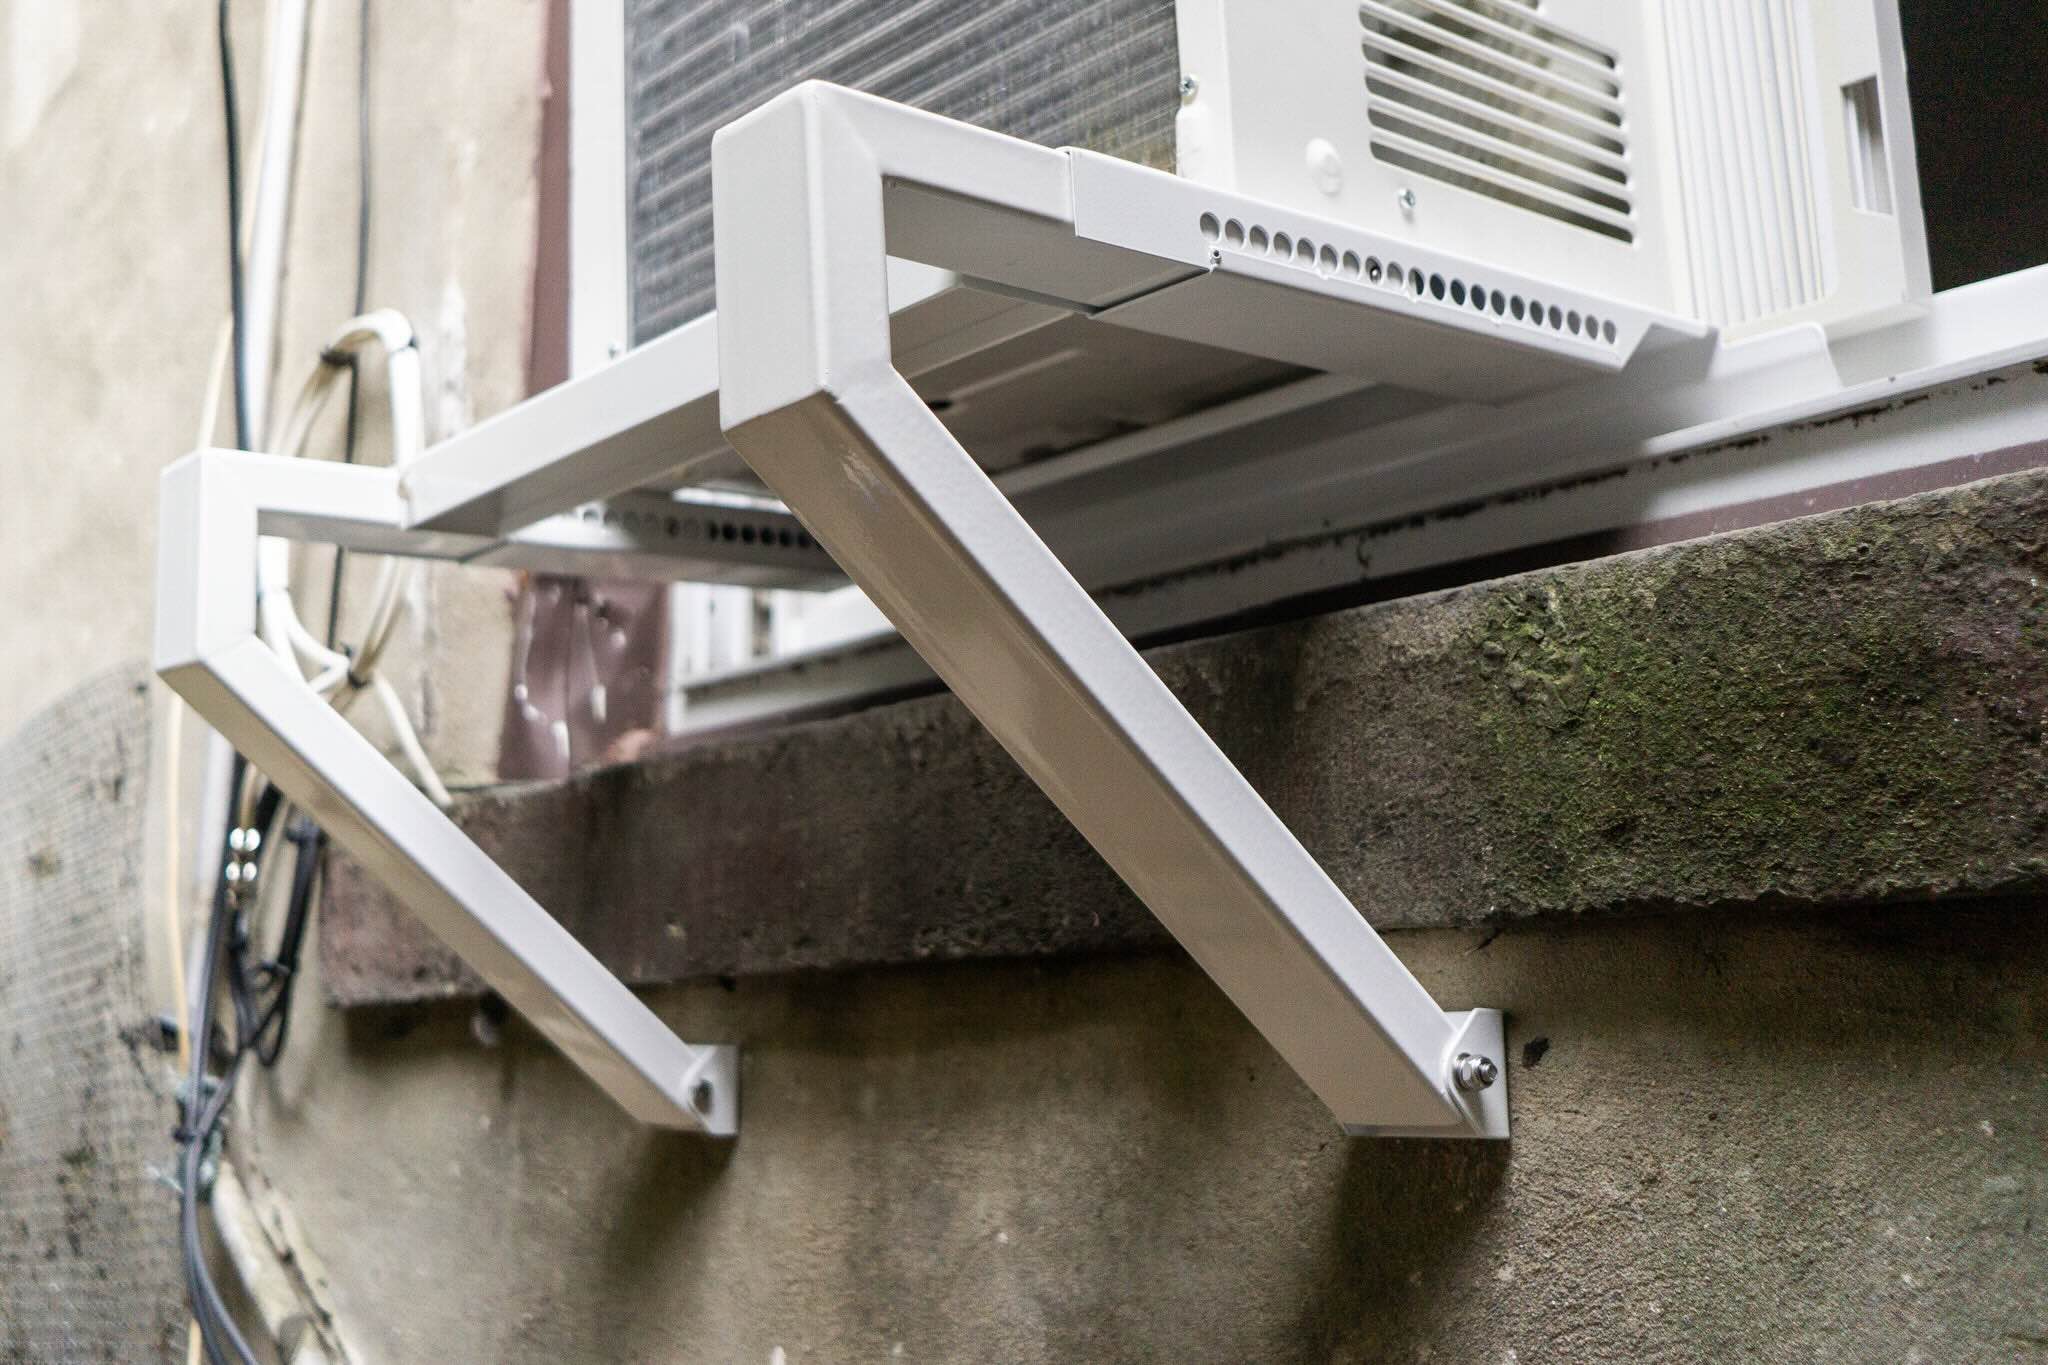
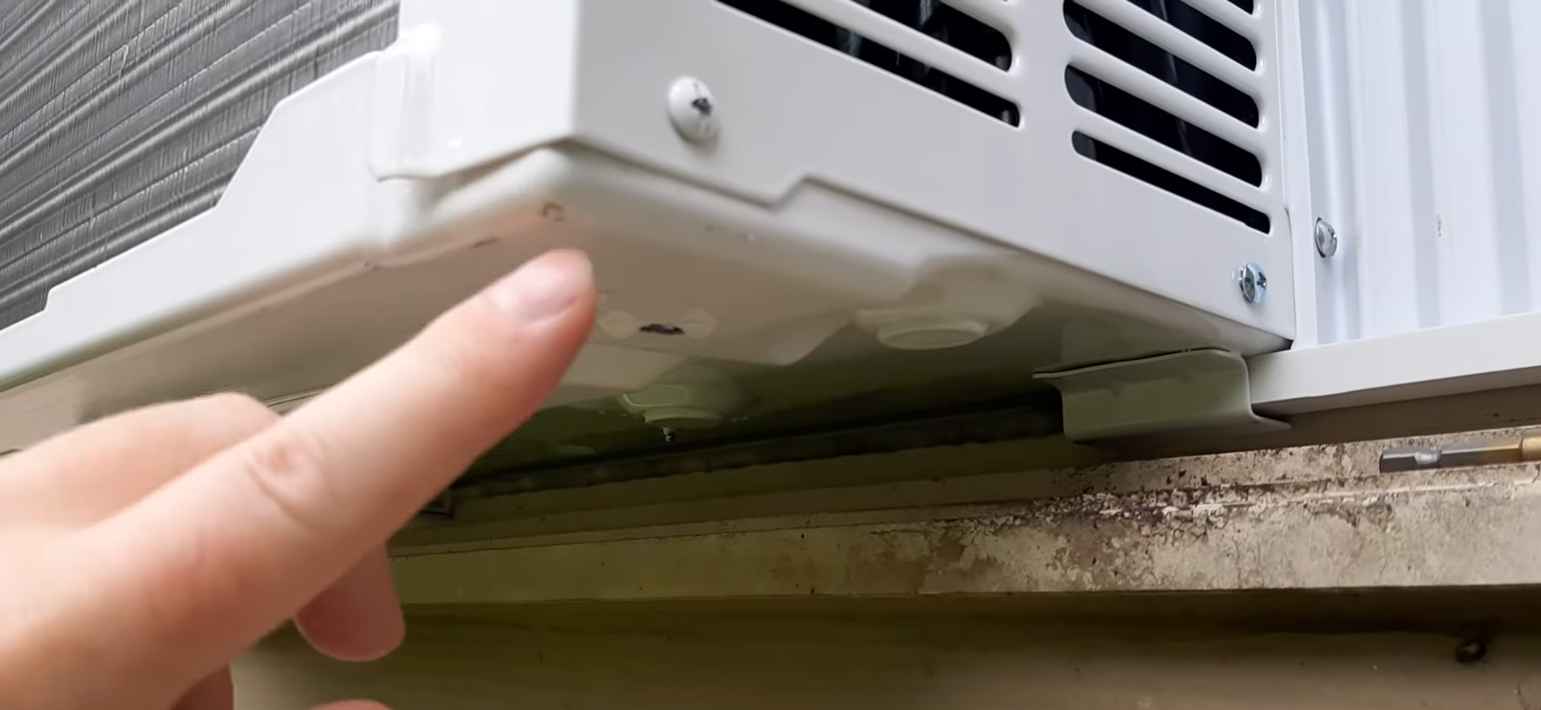
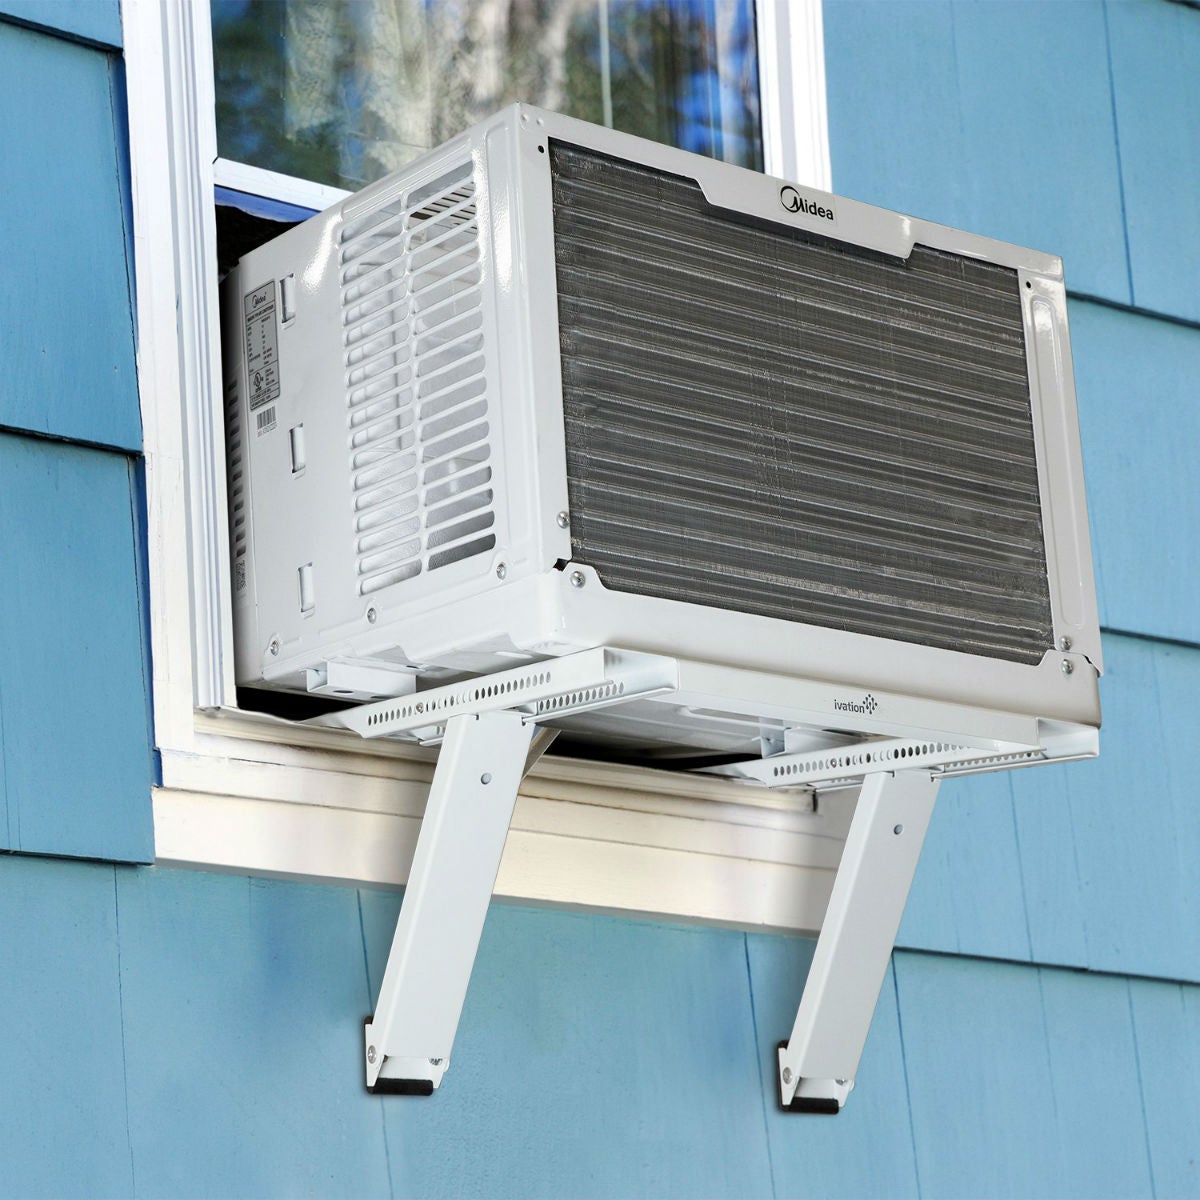
Step 6: Unscrew the mounting brackets or support arms
Now that the window air conditioner is unplugged, it’s time to remove the mounting brackets or support arms that secure the unit in place. Unscrewing these brackets or arms will allow you to lift and remove the air conditioner from the window. Here’s how to do it:
- Inspect the mounting brackets or support arms: Take a close look at the area where the air conditioner is attached to the window frame. Identify the mounting brackets or support arms that hold the unit in place.
- Locate the screws or bolts: Locate the screws or bolts that secure the mounting brackets or support arms to the window frame. These may be located on the sides, top, or bottom of the unit.
- Use the appropriate tool: Depending on the type of screws or bolts used, use a screwdriver or appropriate tool to unscrew them. Ensure that the tool fits snugly and securely onto the screw or bolt head to avoid any slipping or stripping.
- Remove the screws or bolts: Once the screws or bolts are fully unscrewed, carefully remove them from the brackets or arms. Set them aside in a safe place for later use or disposal.
- Repeat for all brackets or arms: If there are multiple mounting brackets or support arms, repeat the unscrewing process for each one until they are all removed.
Unscrewing the mounting brackets or support arms is a crucial step in the removal process. Take your time and ensure that all screws or bolts are fully removed before attempting to lift the unit. This will prevent any accidents or damage during the removal.
With the mounting brackets or support arms successfully unscrewed, you’re now ready for the final step: lifting and removing the window air conditioner from the window.
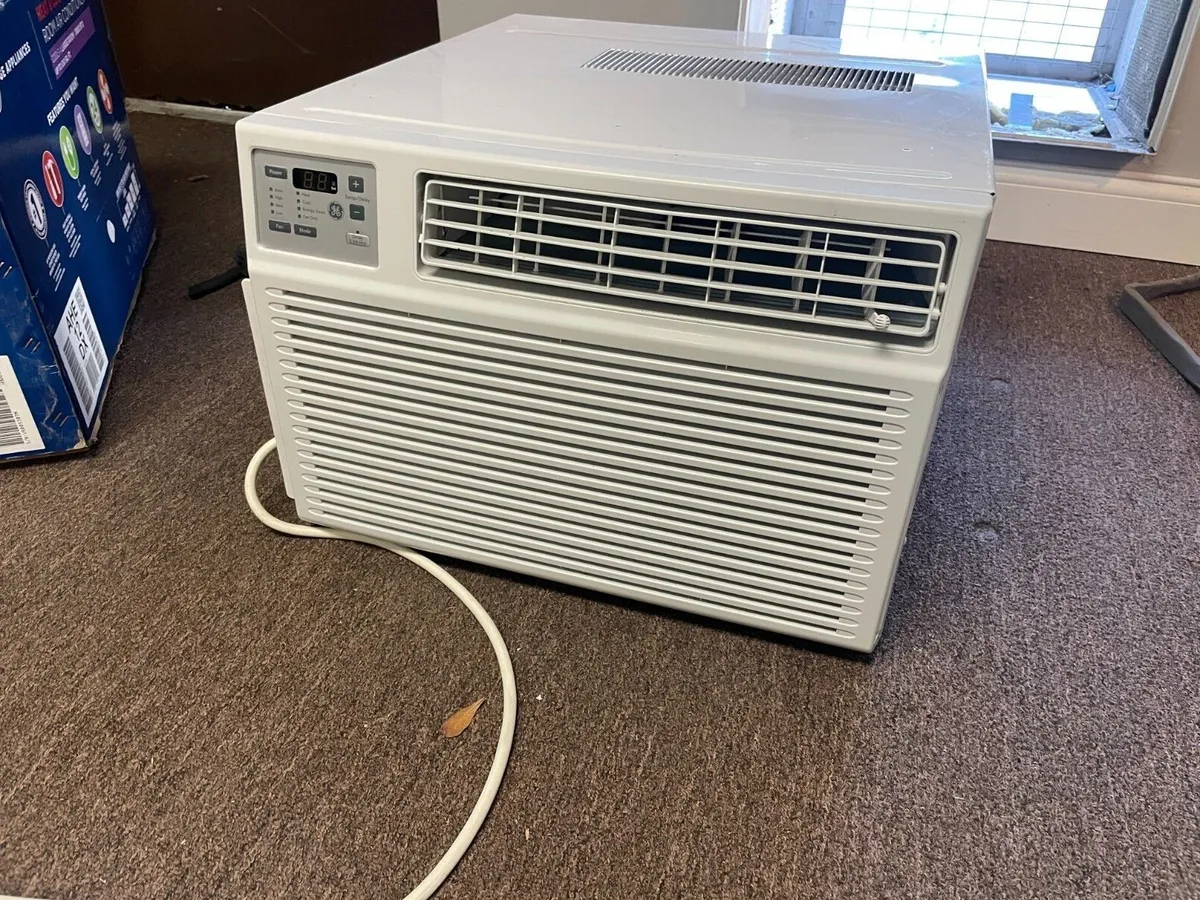
Step 7: Lift and remove the air conditioner
With the mounting brackets or support arms removed, it’s time to lift and remove the window air conditioner from its position in the window. This step requires caution and proper lifting technique to ensure a safe and successful removal. Here’s how to do it:
- Assess the weight and size: Before lifting the air conditioner, assess its weight and size. Some units can be quite heavy, so it’s important to be aware of your own strength and capabilities.
- Position yourself properly: Stand facing the window air conditioner with your feet shoulder-width apart. Keep your back straight and engage your leg muscles to provide support during the lifting process.
- Use proper lifting technique: Bend your knees and grip the air conditioner firmly with both hands, placing your hands on the sides or bottom of the unit. Lift using your leg muscles, not your back, to avoid strain or injury.
- Lift the air conditioner: Slowly and steadily lift the air conditioner, maintaining a firm grip and using controlled movements. Be mindful of any obstacles or furniture nearby, and adjust your lifting technique as necessary.
- Clear the window: Once the air conditioner is lifted, carefully maneuver it away from the window. Ensure that there is enough clearance to safely remove it without damaging the unit or surrounding objects.
- Set the air conditioner down: Once you have cleared the window, gently and carefully set the air conditioner down in a safe location. Avoid dropping or placing it too forcefully to prevent any damage.
Lifting and removing the window air conditioner requires strength, proper technique, and careful handling. Take your time and be cautious throughout the process to ensure a successful removal without any accidents or injuries.
With the air conditioner lifted and removed from the window, you’ve completed the main steps of the removal process. However, there are a few additional steps you can take to clean and store the air conditioner for future use, which we’ll cover in the next step.
Step 8: Clean and store the air conditioner
Cleaning and properly storing your window air conditioner after removal is important for its longevity and efficient performance. By following these steps, you can ensure that your unit is ready for future use:
- Clean the air filters: Remove the air filters from the air conditioner and clean them thoroughly. Use a vacuum cleaner or wash them with mild detergent and water. Allow the filters to dry completely before reinserting them.
- Clean the exterior: Wipe down the exterior of the air conditioner using a soft cloth dampened with a mild cleaning solution. Pay attention to any dirt, dust, or debris that may have accumulated on the surfaces.
- Clear the drainage system: If your window air conditioner has a drainage system, ensure that it is clear of any clogs or blockages. Use a soft brush or cloth to remove any debris and ensure proper drainage.
- Inspect for any damage: Take a close look at the unit for any signs of damage or wear. Check the electrical cord, plugs, and connections for any fraying or damage. Address any necessary repairs before storing the unit.
- Store in a dry and protected area: Find a cool, dry, and protected area to store your air conditioner. Cover it with a breathable fabric or plastic cover to prevent dust and dirt from accumulating.
- Keep the unit upright: Store the air conditioner in an upright position to prevent any oil leakage or damage to the compressor. Avoid tilting or laying it on its side during storage.
By cleaning and properly storing your window air conditioner, you can prolong its lifespan and maintain its efficiency. This will ensure that it’s ready for use when you need it again.
With the air conditioner cleaned and stored, you have completed the entire process of removing a window air conditioner. Congratulations! You can now enjoy a clean and clutter-free window, knowing that you have successfully completed this maintenance task.
Remember to consult the manufacturer’s instructions for specific guidelines and recommendations for your particular air conditioner model. If you encounter any difficulties or are unsure of any steps, don’t hesitate to seek professional assistance.
Thank you for following our comprehensive guide on how to remove a window air conditioner. We hope it has been helpful and informative. Stay cool!
Read more: How To Seal A Window Air Conditioner
Conclusion
Removing a window air conditioner may seem daunting at first, but with the proper knowledge and steps, it can be a straightforward and manageable process. By following the comprehensive guide we’ve provided, you can safely and effectively remove your unit whenever necessary.
We began by gathering the necessary tools and materials, ensuring that we have everything we need for a smooth removal process. Then, we moved on to preparing the area around the window air conditioner, clearing space and protecting the floor to prevent any damage or accidents.
Next, we disconnected the power supply, taking precautions to ensure our safety. We then proceeded to remove the front cover or grille, allowing access to the inner components of the air conditioner.
Afterwards, we unplugged the unit from the window, taking care to remove any securing mechanisms or brackets and guiding the electrical cord out of the window. We then unscrewed the mounting brackets or support arms, ensuring that the unit is no longer fastened to the window frame.
With the mounting brackets or support arms removed, we carefully lifted and removed the air conditioner from the window. Taking proper lifting technique and precaution is essential to avoid accidents or injury.
Finally, we discussed the importance of cleaning and properly storing the air conditioner. By cleaning the filters, exterior, and drainage system, we ensure its efficient performance. Storing the unit in a cool, dry, and protected area, and keeping it upright, helps to maintain its longevity.
In conclusion, with the right knowledge and steps, removing a window air conditioner can be a manageable task. Always prioritize safety and follow the manufacturer’s instructions for your specific unit. By properly removing, cleaning, and storing your air conditioner, you’ll be able to maintain its efficiency and enjoy cool comfort for years to come.
We hope this comprehensive guide has been helpful to you. If you have any further questions or need assistance, don’t hesitate to seek professional guidance. Thank you for reading, and happy air conditioner maintenance!
Frequently Asked Questions about How To Remove A Window Air Conditioner
Was this page helpful?
At Storables.com, we guarantee accurate and reliable information. Our content, validated by Expert Board Contributors, is crafted following stringent Editorial Policies. We're committed to providing you with well-researched, expert-backed insights for all your informational needs.