Home>Home Maintenance>How To Insulate A Window Air Conditioner
Home Maintenance
How To Insulate A Window Air Conditioner
Modified: March 7, 2024
Learn how to effectively insulate your window air conditioner at home with our step-by-step guide. Ensure optimal energy efficiency and maximum comfort.
(Many of the links in this article redirect to a specific reviewed product. Your purchase of these products through affiliate links helps to generate commission for Storables.com, at no extra cost. Learn more)
Introduction
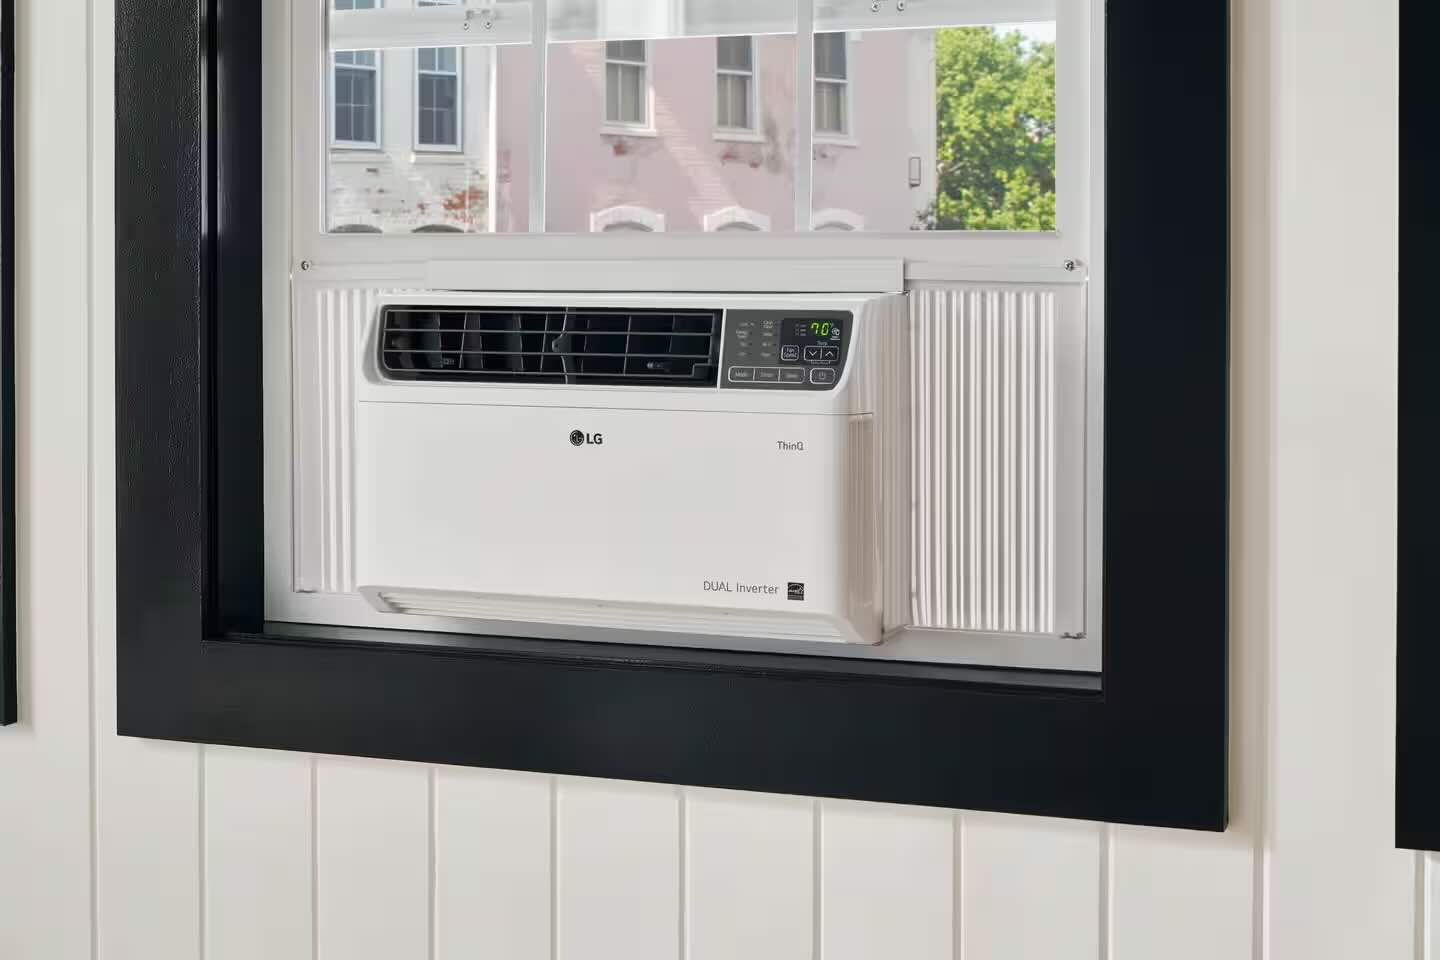
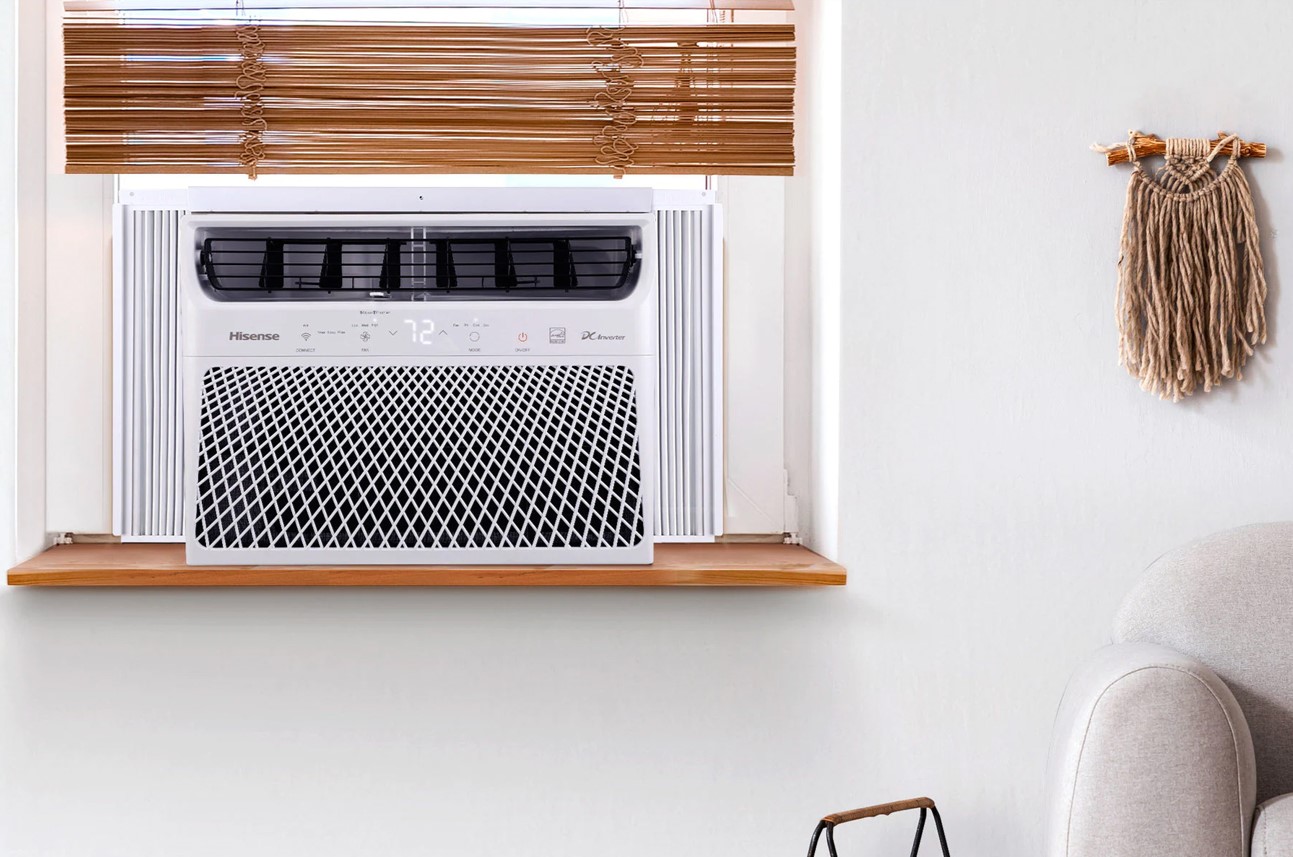
Welcome to our comprehensive guide on how to insulate a window air conditioner. Window air conditioners are a popular choice for cooling individual rooms or small apartments, offering a cost-effective and convenient solution to beat the heat during the summer months. However, poorly insulated air conditioner units can result in energy wastage, reduced cooling efficiency, and higher utility bills.
Properly insulating your window air conditioner can help improve its performance, prevent air leakage, and increase energy efficiency. In this article, we will walk you through the step-by-step process of insulating your window air conditioner, ensuring optimal cooling and cost savings.
Before we dive into the insulation process, let’s gather the necessary materials and tools to get the job done efficiently:
Key Takeaways:
- Properly insulating your window air conditioner with foam insulation strips and weatherstripping tape can improve its performance, prevent air leakage, and increase energy efficiency, leading to cost savings and a cooler home.
- Adding a plexiglass or plastic window cover provides an extra layer of insulation and protection against the elements, further enhancing the efficiency of your window air conditioner and ensuring a comfortable indoor environment.
Read more: What Is A Window Air Conditioner
Materials and Tools Needed
Before you begin insulating your window air conditioner, make sure you have the following materials and tools ready:
- Foam insulation strips: These strips help fill gaps around the air conditioner unit and prevent air leakage.
- Weatherstripping tape: This tape is used to seal any remaining gaps between the unit and the window frame.
- Plexiglass or plastic window cover: This cover is optional but recommended for added insulation and protection against the elements.
- Cutting tool (e.g. utility knife or scissors): You will need this to cut the foam insulation strips and weatherstripping tape to the appropriate lengths.
- Cleaning supplies: Before installing the insulation, ensure that the window area is clean and free from any debris.
- Measuring tape or ruler: Use a measuring tool to accurately measure the window opening and cut the insulation strips and window cover to the correct size.
- Screwdriver or drill: This will be needed to secure the air conditioner unit in place.
- Optional: Caulk or sealant: If there are any noticeable gaps or cracks around the window frame, you may choose to apply caulk or sealant to enhance insulation.
Gathering these materials and tools beforehand will streamline the insulation process and ensure that you have everything you need to complete the task effectively.
Step 1: Measure the Window Opening
The first step in insulating your window air conditioner is to accurately measure the dimensions of the window opening. This is important to ensure that you cut the foam insulation strips and window cover to the correct size.
Start by using a measuring tape or ruler to measure the height and width of the window opening. Take precise measurements from the inside of the window frame. Note down the measurements and keep them handy for the next steps.
It’s important to measure the opening accurately to ensure a proper fit for the insulation materials. If the measurements are slightly off, it can result in gaps and air leakage, reducing the effectiveness of the insulation.
Once you have taken the measurements, it’s a good idea to double-check them to ensure accuracy. Measure the height and width of the opening at multiple points to account for any irregularities or differences in size.
After confirming the measurements, proceed to the next step in the insulation process.
Step 2: Clean the Window Area
Before installing the insulation materials, it’s essential to clean the window area to ensure a smooth and secure fit. Over time, dust, dirt, and debris can accumulate, making it difficult for the insulation materials to adhere properly.
Start by removing any curtains, blinds, or window treatments that might be obstructing the window. Use a vacuum cleaner or a duster to remove loose dust and dirt from the window frame, sill, and surrounding areas.
Next, wipe down the window surface with a damp cloth or sponge to remove any sticky residue or stubborn debris. Pay special attention to the corners and edges where dirt tends to accumulate. If there are any stubborn stains, you can use a mild detergent or window cleaner to remove them.
Once the window area is clean and free from dirt and debris, allow it to dry completely. This will ensure a better surface for the insulation materials to adhere to.
It’s important to start the installation process with a clean window area to ensure optimal adhesion of the foam insulation strips and weatherstripping tape. Taking the time to properly clean the window area will contribute to a more effective insulation and prevent any issues down the line.
With the window area clean and dry, it’s time to move on to the next step – installing the foam insulation strips.
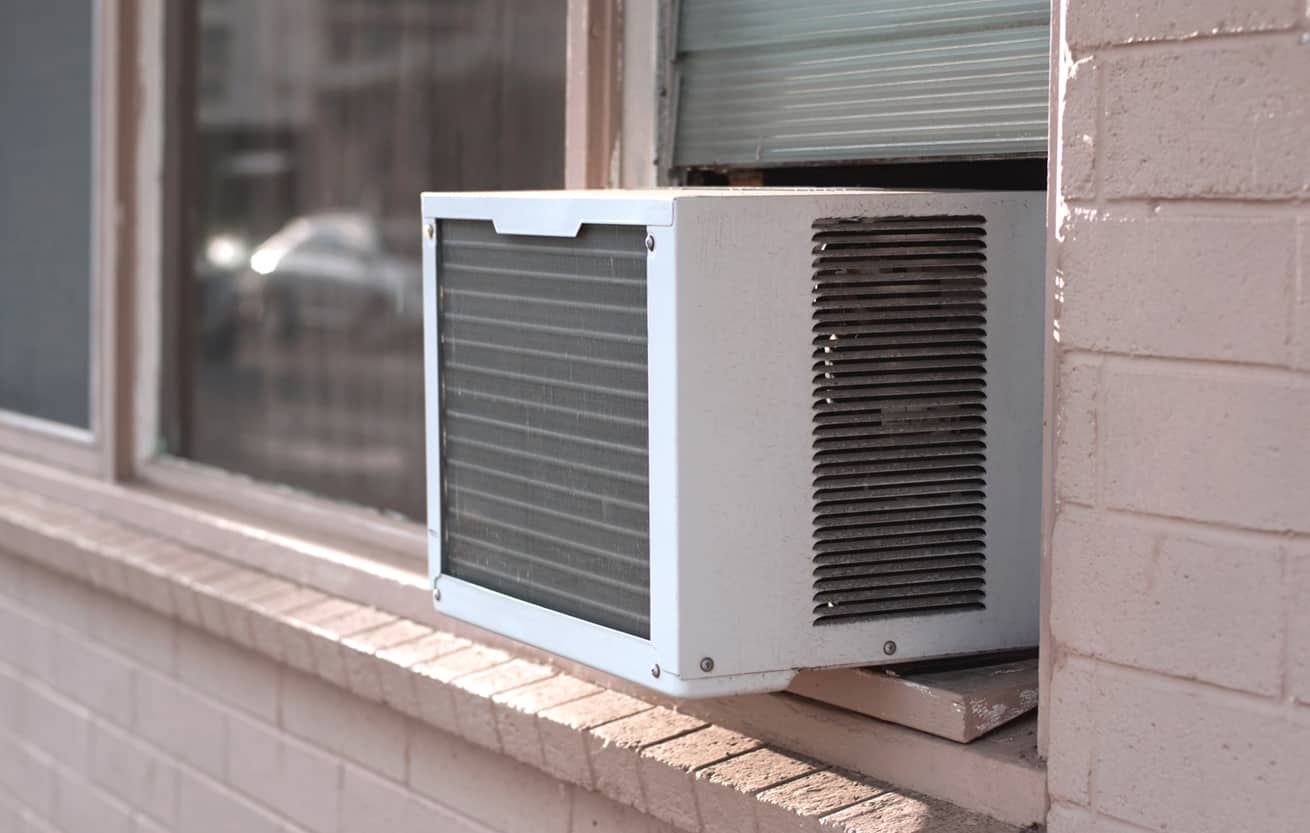
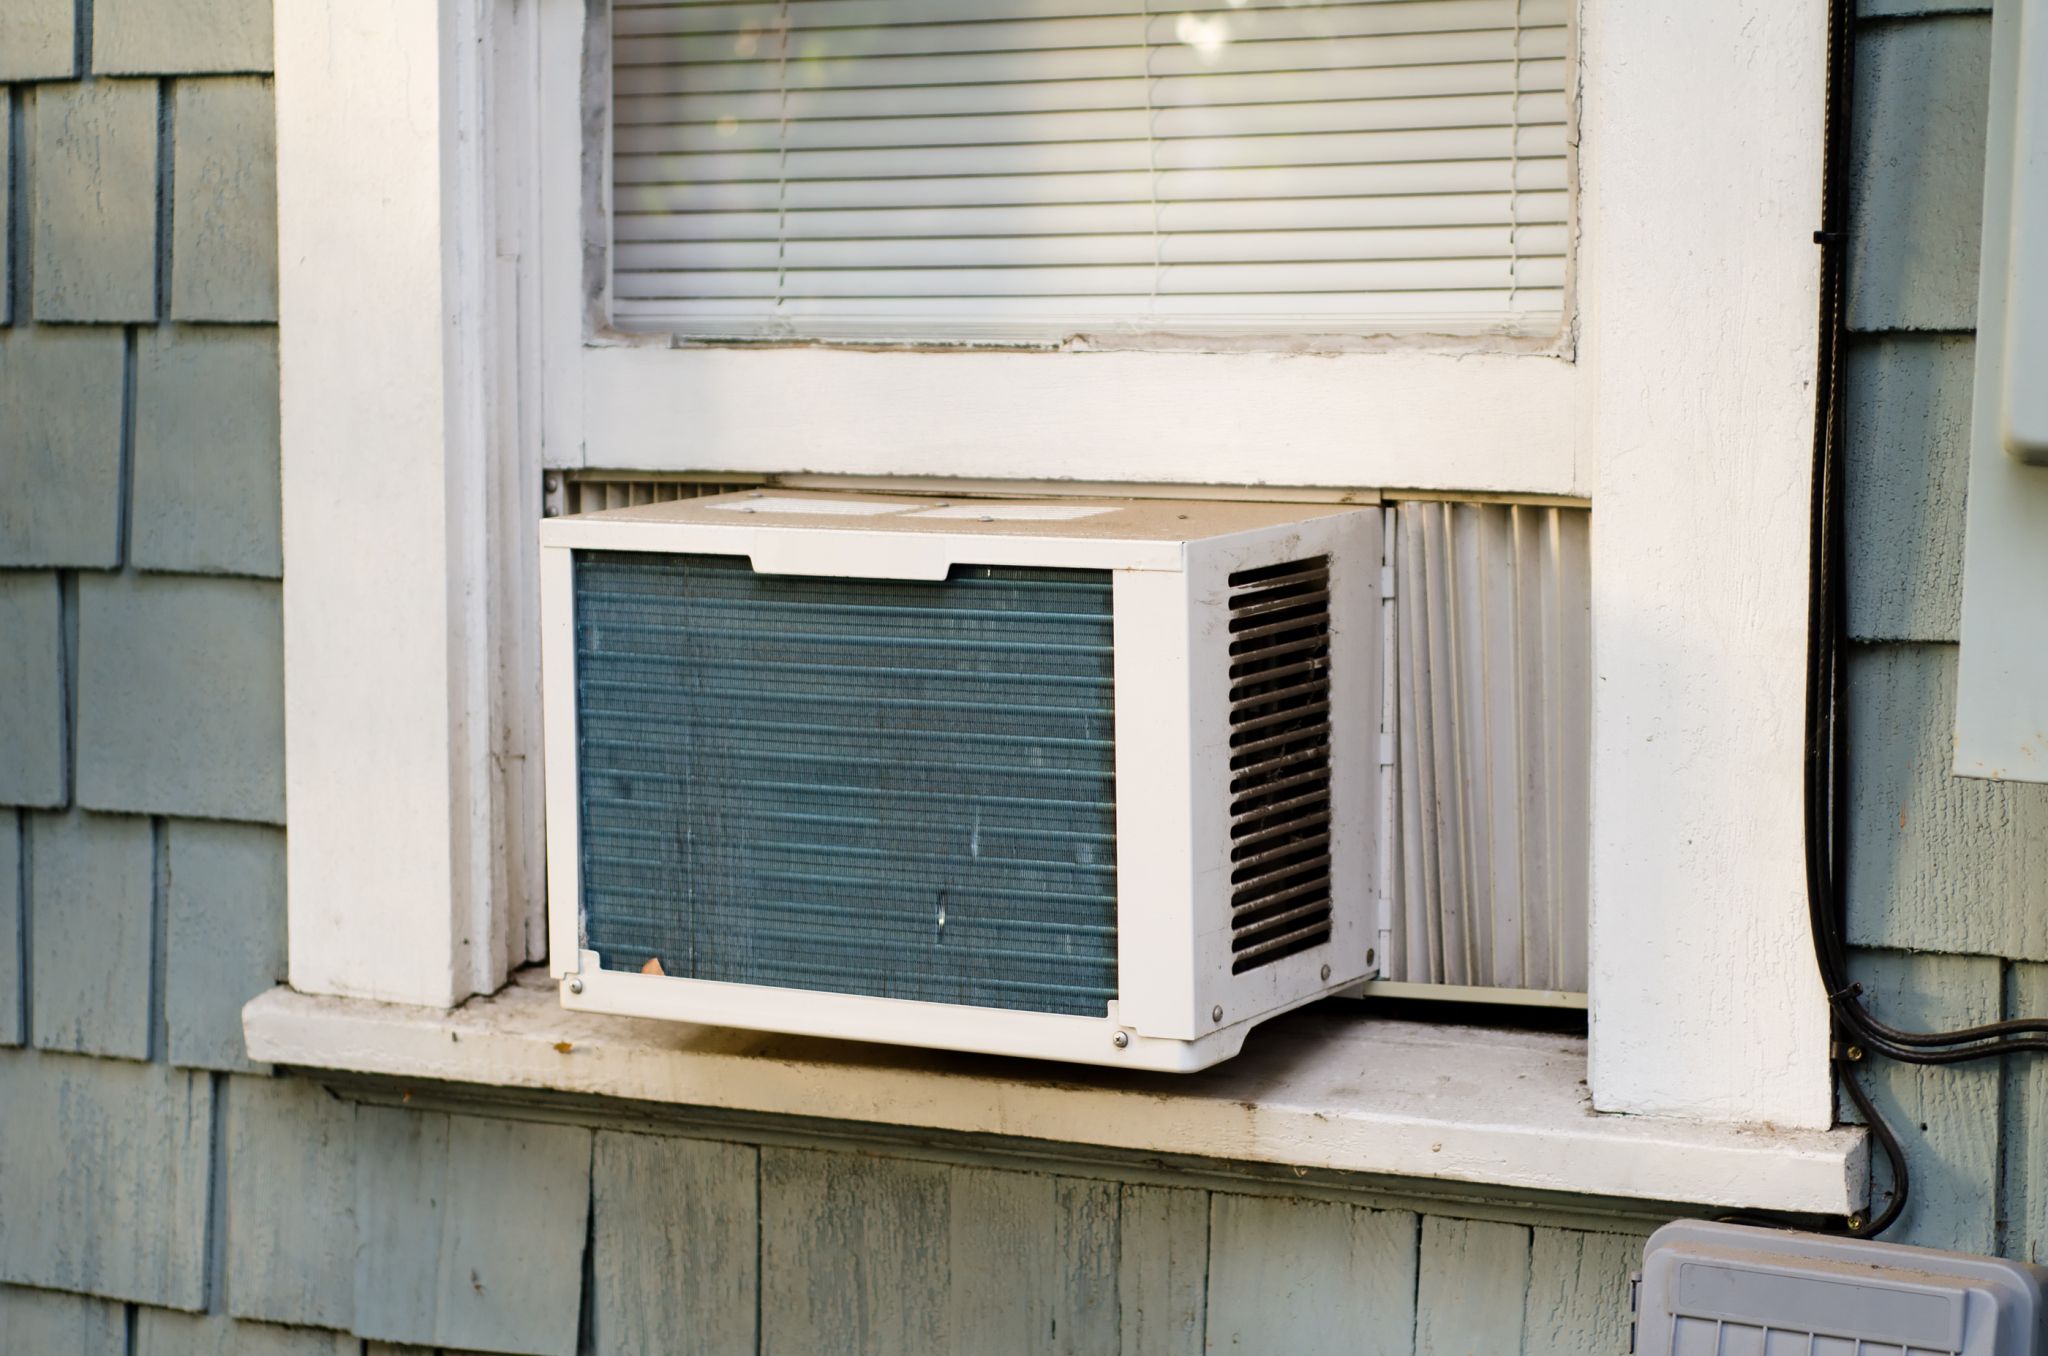
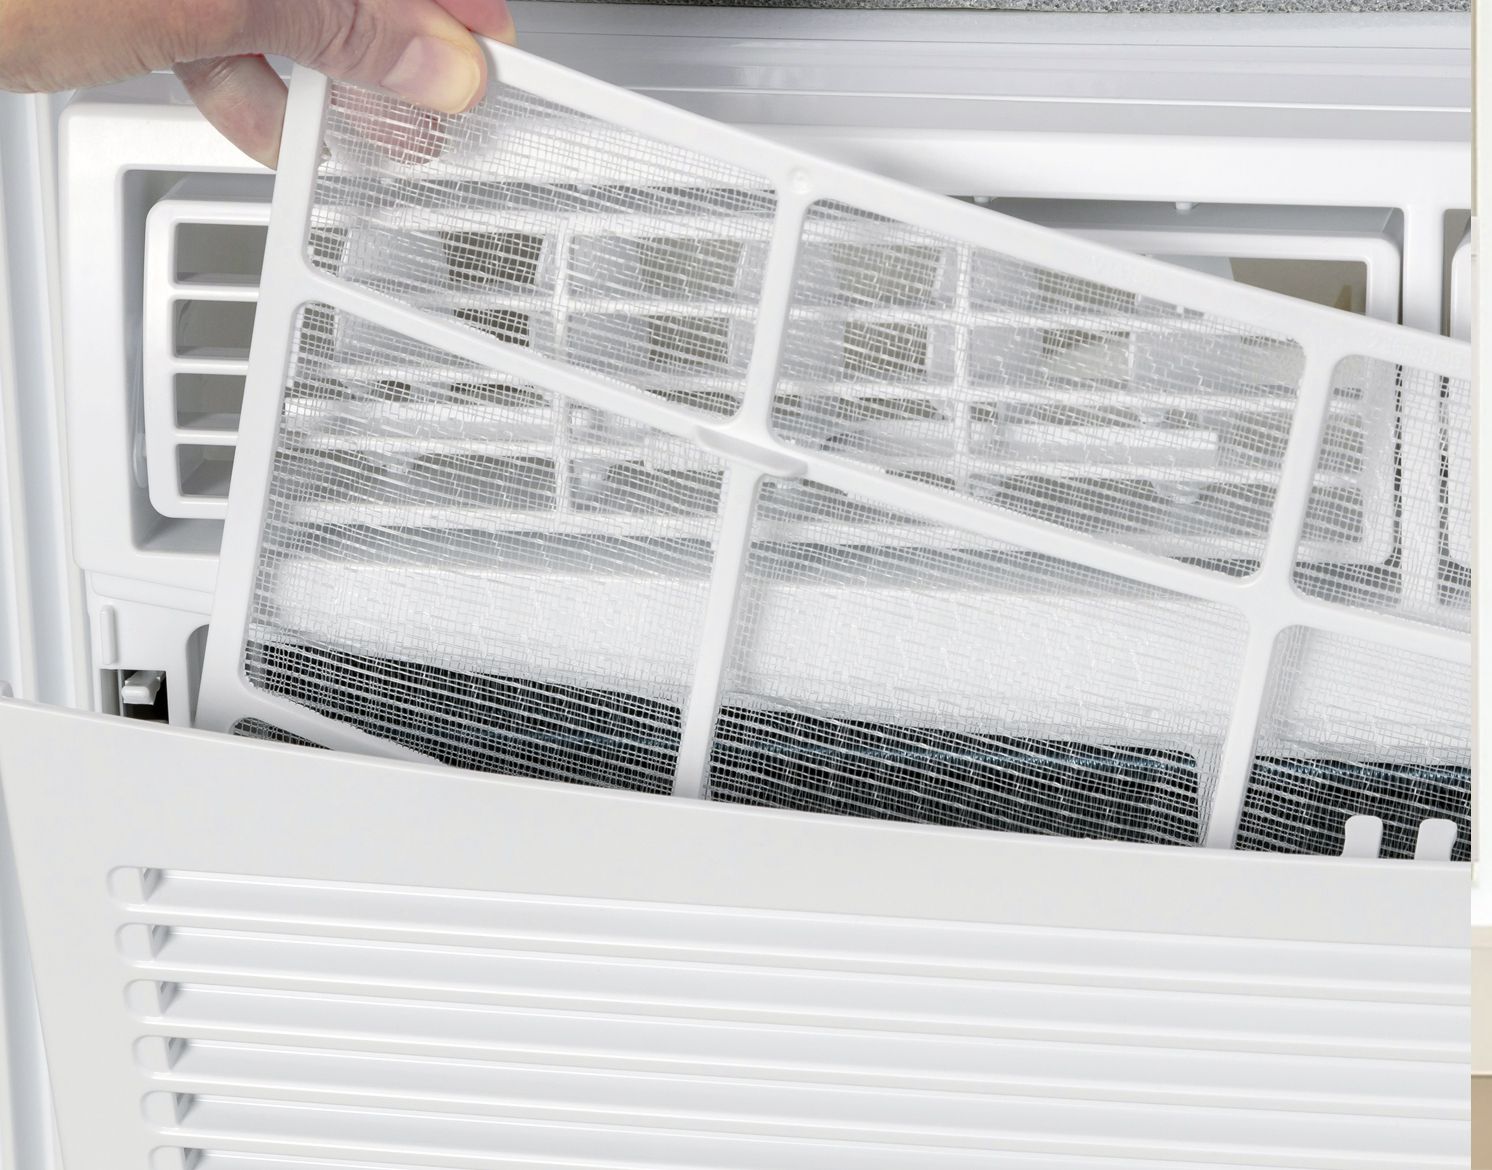
Step 3: Install Foam Insulation Strips
Once the window area is clean and dry, it’s time to install foam insulation strips. These strips will help fill gaps and spaces around the air conditioner unit, preventing air leakage and improving energy efficiency.
Start by cutting the foam insulation strips to the appropriate lengths, based on the measurements you took in step 1. Use a cutting tool such as a utility knife or scissors to cut the strips with precision.
Take one of the foam insulation strips and peel off the adhesive backing. Carefully press the strip onto the bottom edge of the window frame, along the width of the opening. Ensure that it is aligned properly and firmly adhered to the frame.
Continue attaching the foam insulation strips along the vertical sides of the window frame, ensuring a tight fit and securing them in place. Depending on the size of your window opening, you might need multiple strips to cover the entire perimeter.
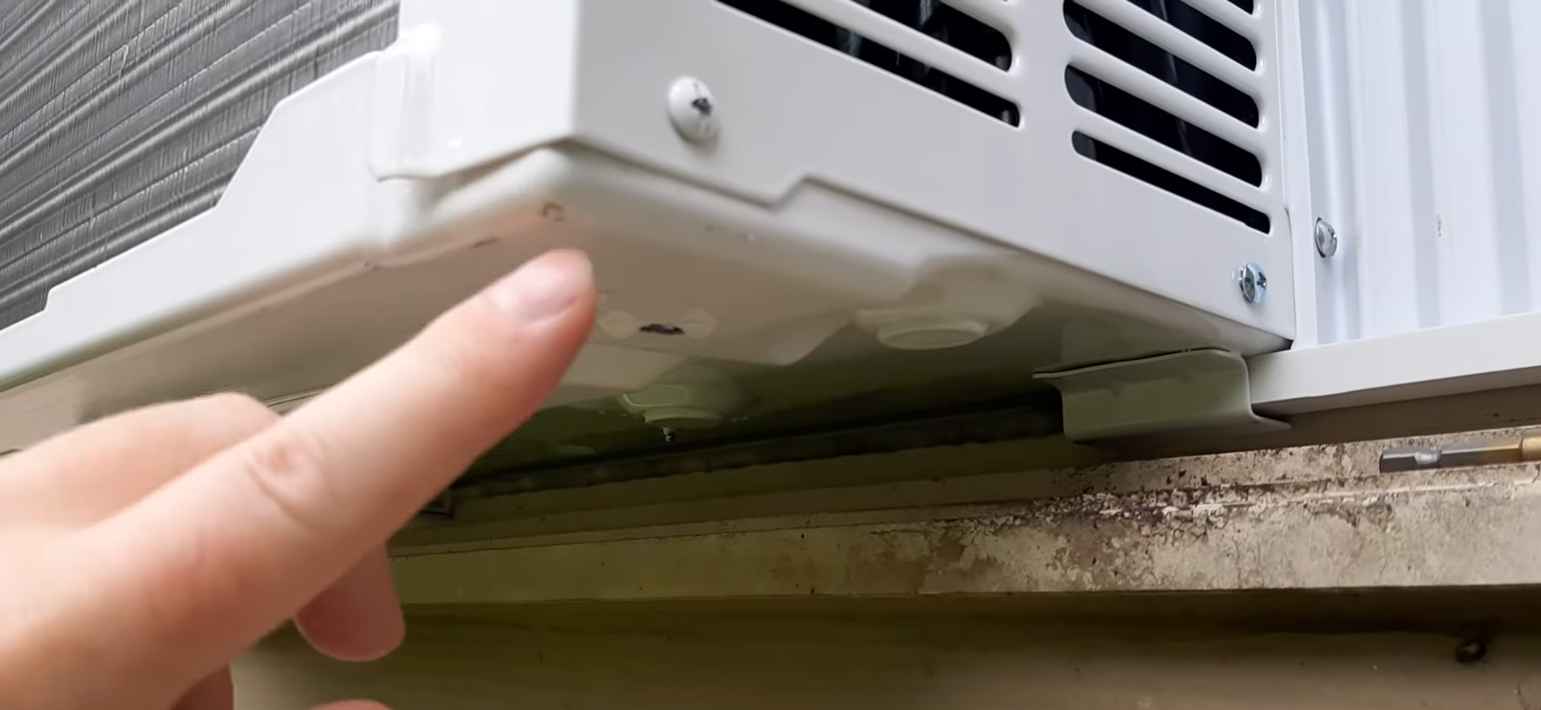
Pay attention to any gaps or spaces between the window frame and the air conditioner unit. Attach additional foam insulation strips to these areas to prevent air leakage and ensure a more efficient insulation.
Once all the foam insulation strips are in place, run your hand along the edges to ensure they are securely adhered and there are no gaps or loose areas. Smooth out any wrinkles or unevenness in the strips for a seamless finish.
The foam insulation strips act as a barrier, preventing air from entering or escaping the room through gaps around the air conditioner unit. This step is crucial in improving the energy efficiency of your window air conditioner.
With the foam insulation strips installed, it’s time to move on to the next step – attaching weatherstripping tape.
Use foam insulation strips to seal gaps around the window air conditioner. This will prevent hot air from entering and cold air from escaping, making the unit more efficient.
Read more: How To Remove A Window Air Conditioner
Step 4: Attach Weatherstripping Tape
After installing the foam insulation strips, the next step in insulating your window air conditioner is to attach weatherstripping tape. This tape will further seal any remaining gaps between the unit and the window frame, ensuring maximum insulation efficiency.
Start by unwinding the weatherstripping tape and cutting it into appropriate lengths. Measure the length of each side of the air conditioner unit and cut the tape accordingly.
With the adhesive side facing the unit, carefully press the weatherstripping tape onto the edges of the air conditioner. Make sure the tape is aligned properly and adheres firmly to the unit.
Continue attaching the weatherstripping tape along all sides of the air conditioner, paying attention to any gaps or spaces. Apply slight pressure to ensure a secure bond.
As you attach the tape, smooth out any wrinkles or folds, ensuring a tight seal between the unit and the window frame. This will minimize air leakage and improve the overall insulation performance.
Once the weatherstripping tape is in place, run your hand along the edges to ensure a proper seal. Feel for any gaps or loose areas and press down firmly to secure the tape.
Weatherstripping tape is an essential component of the insulation process, providing an additional layer of protection against air leakage. By sealing the gaps between the air conditioner unit and the window frame, this tape helps maintain the desired indoor temperature and enhances energy efficiency.
With the weatherstripping tape attached, it’s time to move on to the next step – installing a plexiglass or plastic window cover, if desired.
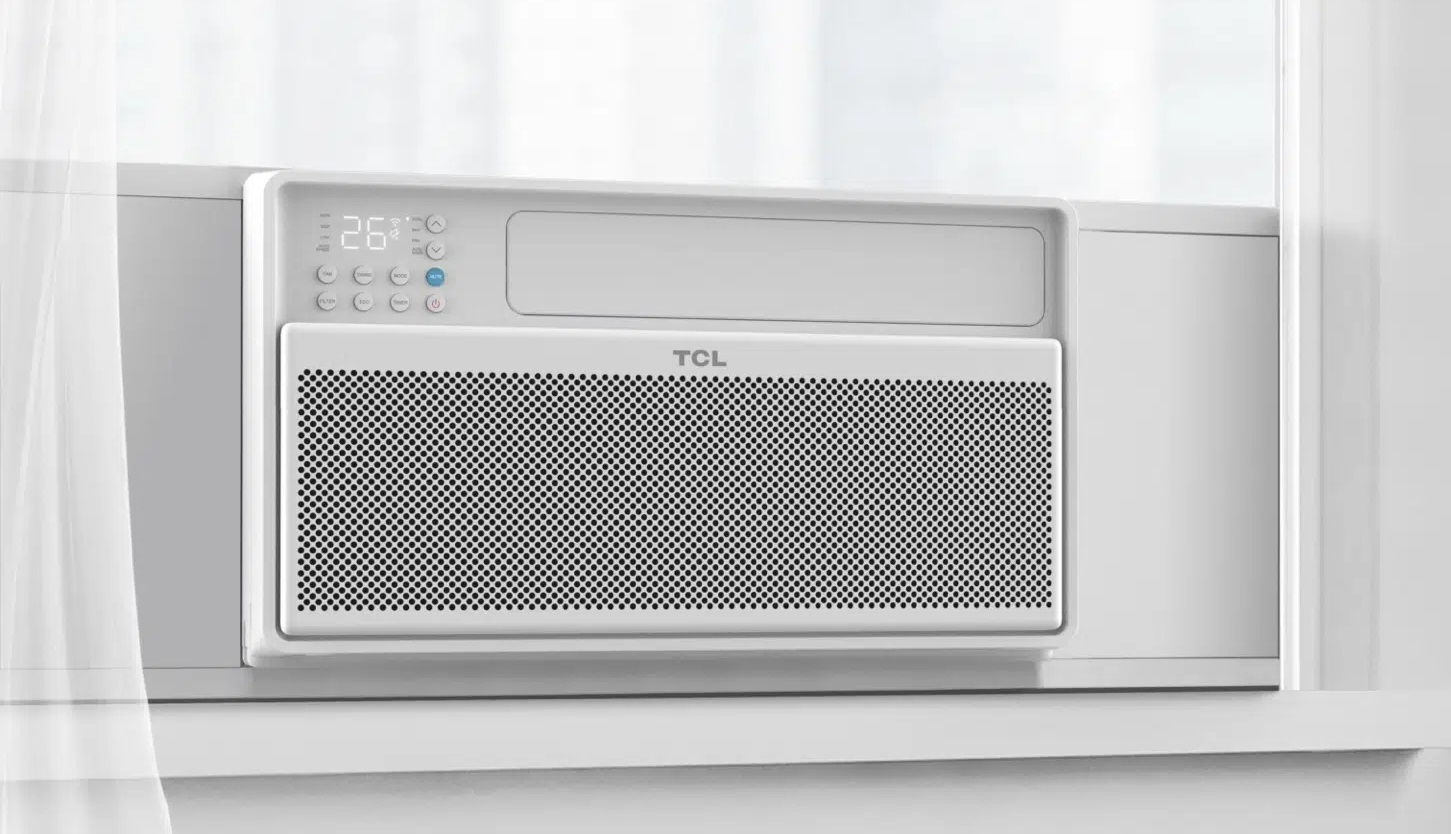
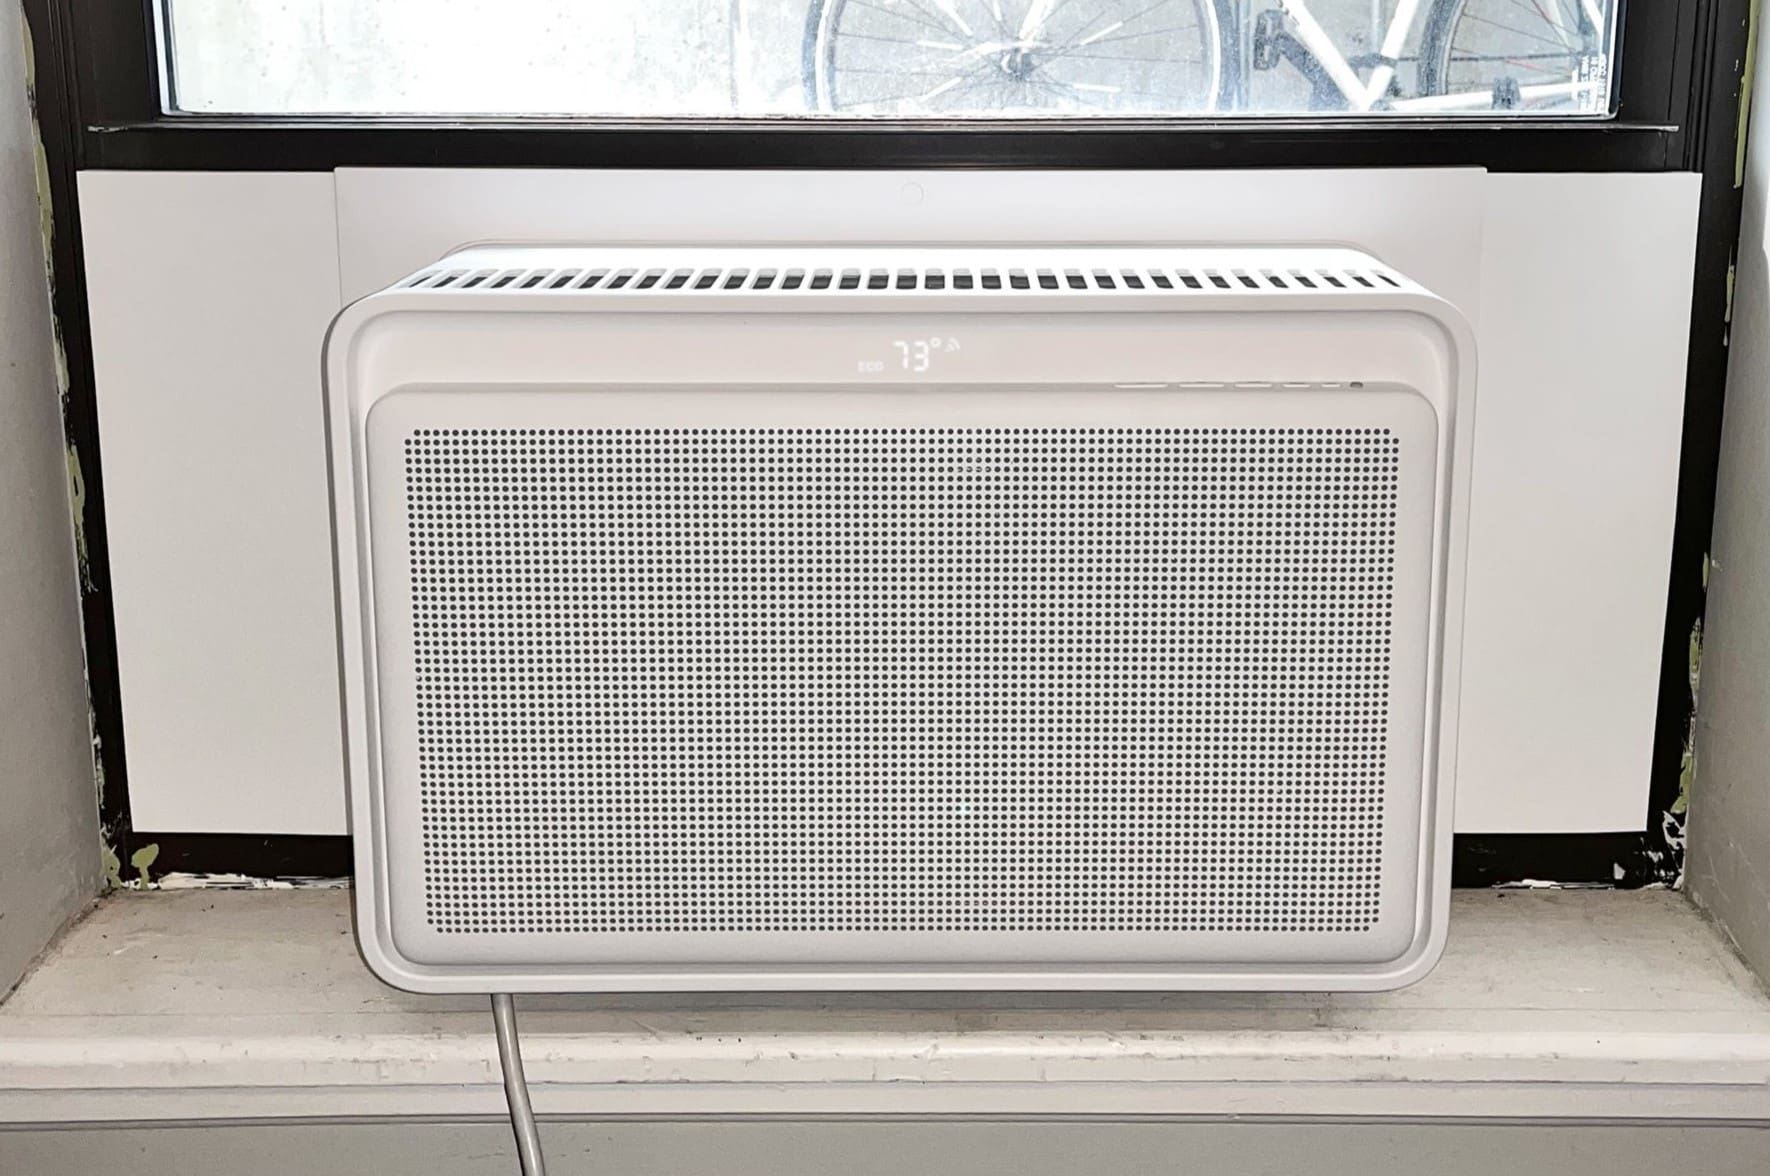
Step 5: Install Plexiglass or Plastic Window Cover
Installing a plexiglass or plastic window cover is an optional but highly recommended step in insulating your window air conditioner. This cover provides an extra layer of insulation, protects the unit from the elements, and improves energy efficiency.
Start by measuring the dimensions of the window opening, taking into account the foam insulation strips and weatherstripping tape already in place. Use these measurements to cut the plexiglass or plastic window cover to the appropriate size.
Place the cut-to-size plexiglass or plastic cover against the window frame and align it properly. You can use clear adhesive tape to secure the cover in place if necessary.
Ensure that the cover covers the entire window opening, from top to bottom and side to side. It should create a tight seal against the window frame, leaving no gaps for air to enter or escape.
If there are any gaps between the window cover and the window frame, you can use weatherstripping tape to seal them. Apply the tape along the edges of the cover to create a tight barrier against air leakage.
Once the plexiglass or plastic window cover is securely in place, give it a gentle shake to test its stability. It should be firmly attached to the window frame and not move or rattle.
The addition of a window cover provides an extra layer of insulation and further reduces air leakage. It helps maintain a consistent indoor temperature and prevents drafts, ultimately improving the efficiency of your window air conditioner.
With the window cover installed, it’s time to move on to the next step – securing the air conditioner unit.
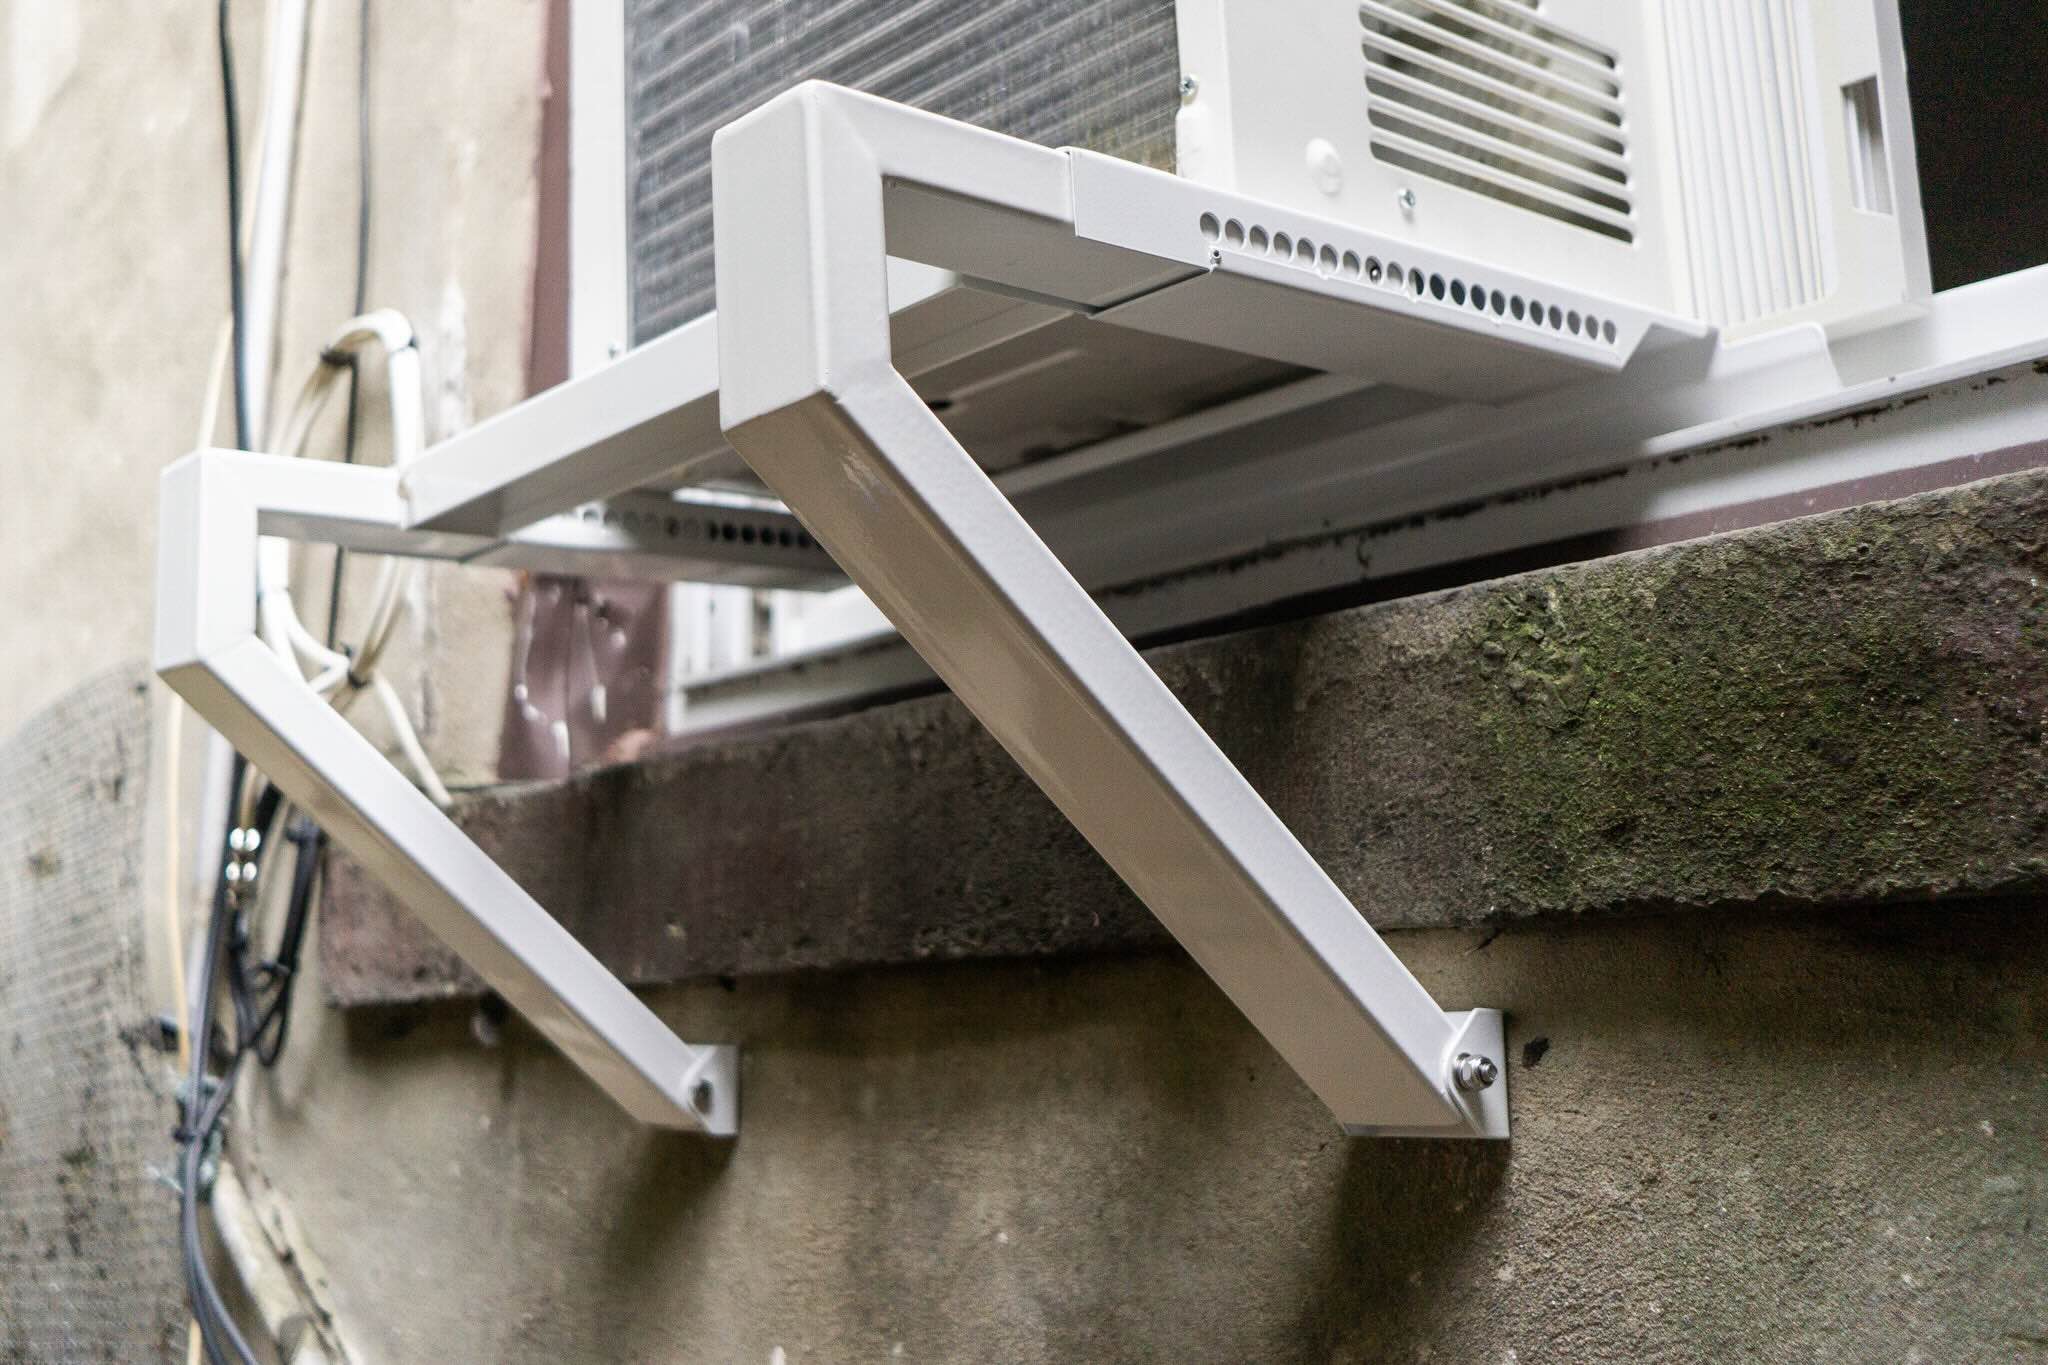
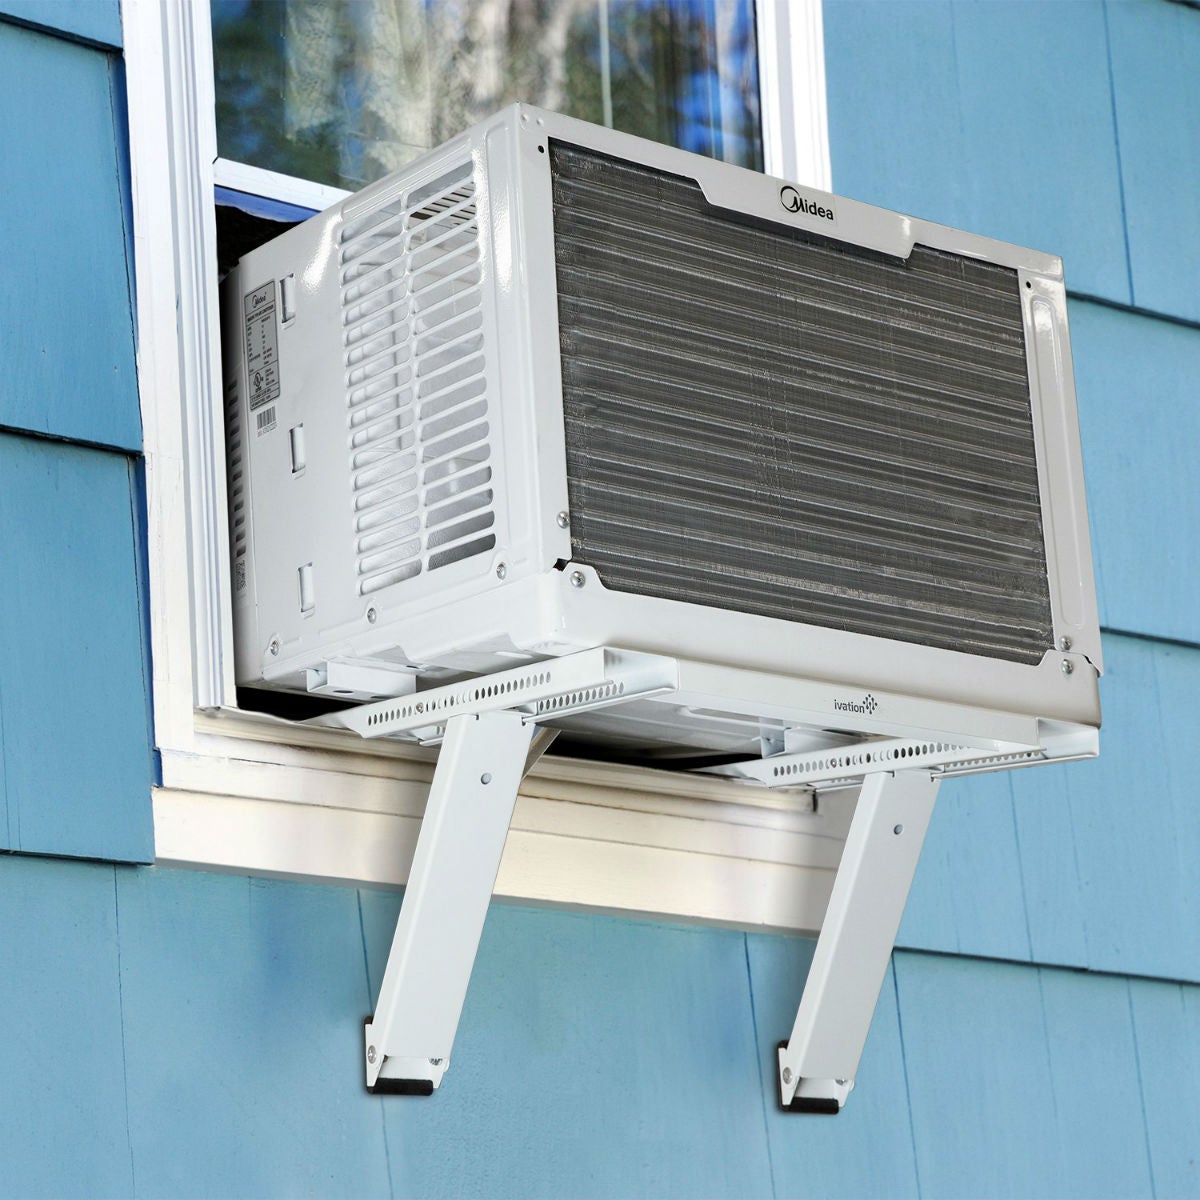
Step 6: Secure the Air Conditioner Unit
Securing the air conditioner unit in place is an essential step in the insulation process. A properly secured unit not only ensures its stability but also prevents any air leakage or movement that can compromise the insulation.
Start by carefully lifting the air conditioner unit and positioning it in the center of the window opening. Ensure that it is aligned with the window frame and sits evenly on the window sill.
Depending on the design of your window air conditioner, there may be brackets or mounting holes on the unit itself. Use a screwdriver or drill to secure the unit to the window sill or the window frame using screws or mounting brackets.
Refer to the manufacturer’s instructions for the specific mounting requirements of your air conditioner unit. Follow the recommended guidelines to ensure a secure and stable installation.
Once the unit is securely mounted, check for any gaps or spaces between the air conditioner and the window frame. These gaps may allow air to leak in or out, reducing the efficiency of the insulation.
If there are noticeable gaps, you can use foam insulation strips or weatherstripping tape to seal them. Press the insulation material firmly into place to create a tight seal and prevent any air leakage.
After securing the air conditioner unit and sealing any gaps, give it a gentle push or shake to test its stability. It should be firmly in place and not move or shift.
Securing the air conditioner unit ensures that it remains in position, and no air can escape or enter through gaps. This step is crucial in maintaining the effectiveness of the insulation and optimizing energy efficiency.
With the unit securely in place, it’s time to move on to the final step – testing for proper insulation.
Step 7: Test for Proper Insulation
Once you have completed all the previous steps to insulate your window air conditioner, it’s important to test for proper insulation. This step will verify that all the measures you have taken are effective in preventing air leakage and maximizing energy efficiency.
Start by turning on your air conditioner and allowing it to run for a few minutes. Pay attention to any noticeable drafts or air leakage around the unit or the window area.
With your hand, feel around the edges of the air conditioner unit, the foam insulation strips, and the weatherstripping tape. There should be minimal to no air movement indicating that the insulation materials are creating a sealed barrier.
Check the temperature and comfort level inside the room. If the insulation is effective, the room should cool down faster and maintain a consistent temperature, with reduced drafts and cold spots.
If you notice any air leakage or drafts, identify the areas where the insulation may be compromised. This could be gaps between the window cover and the frame, loose foam insulation strips, or gaps around the air conditioner unit.
Take steps to address these issues by resealing or reinforcing the insulation materials. Ensure that the foam insulation strips and weatherstripping tape are securely in place with no gaps or loose areas.
Repeat the testing process after making any necessary adjustments to ensure that the insulation is now working effectively.
Remember, proper insulation will not only improve the cooling efficiency of your window air conditioner but also help save energy and reduce utility bills.
If you find that despite your best efforts, the insulation is still inadequate or there are other issues affecting the performance of your air conditioner, consider consulting a professional technician for further assistance.
By following these steps and testing for proper insulation, you can ensure that your window air conditioner is effectively sealed, maximizing energy efficiency, and providing optimal cooling for your space.
Congratulations! You have successfully completed the process of insulating your window air conditioner to improve energy efficiency and enhance cooling performance.
Remember to regularly inspect and maintain the insulation materials to ensure they remain in good condition and continue to provide maximum insulation benefits.
Enjoy the cool comfort and energy savings provided by your properly insulated window air conditioner!
Read more: How To Seal A Window Air Conditioner
Conclusion
Insulating your window air conditioner is a crucial step in optimizing its performance, improving energy efficiency, and enhancing your overall comfort. By following the step-by-step process outlined in this guide, you can ensure that your air conditioner is properly insulated and protected against air leakage.
Starting with accurate measurements of the window opening, you can install foam insulation strips and weatherstripping tape to seal gaps and prevent air leakage. Adding a plexiglass or plastic window cover provides an extra layer of insulation and protection against the elements.
Securing the air conditioner unit in place and conducting a thorough test for proper insulation will help identify any areas that need adjustment or reinforcement. By addressing these issues, you can ensure that your window air conditioner operates at its optimal efficiency, providing you with cool, comfortable indoor temperatures while keeping your energy costs under control.
Remember to regularly inspect the insulation materials and perform any necessary maintenance to ensure they remain in good condition. Additionally, if you encounter any persistent issues or require professional assistance, don’t hesitate to seek help from a technician.
Proper insulation not only benefits your energy efficiency but also contributes to a more sustainable and eco-friendly home. By reducing energy wastage and improving the performance of your window air conditioner, you are actively contributing to a greener future.
We hope that this comprehensive guide has provided you with the knowledge and confidence to effectively insulate your window air conditioner. By implementing these insulation techniques, you can enjoy a more comfortable living space, save on energy costs, and make a positive impact on the environment.
Frequently Asked Questions about How To Insulate A Window Air Conditioner
Was this page helpful?
At Storables.com, we guarantee accurate and reliable information. Our content, validated by Expert Board Contributors, is crafted following stringent Editorial Policies. We're committed to providing you with well-researched, expert-backed insights for all your informational needs.