Home>Home Maintenance>How To Clean An RV Air Conditioner Filter
Home Maintenance
How To Clean An RV Air Conditioner Filter
Modified: March 7, 2024
Learn how to clean your RV air conditioner filter for optimal performance and comfort. Follow our step-by-step guide for home maintenance.
(Many of the links in this article redirect to a specific reviewed product. Your purchase of these products through affiliate links helps to generate commission for Storables.com, at no extra cost. Learn more)
Introduction
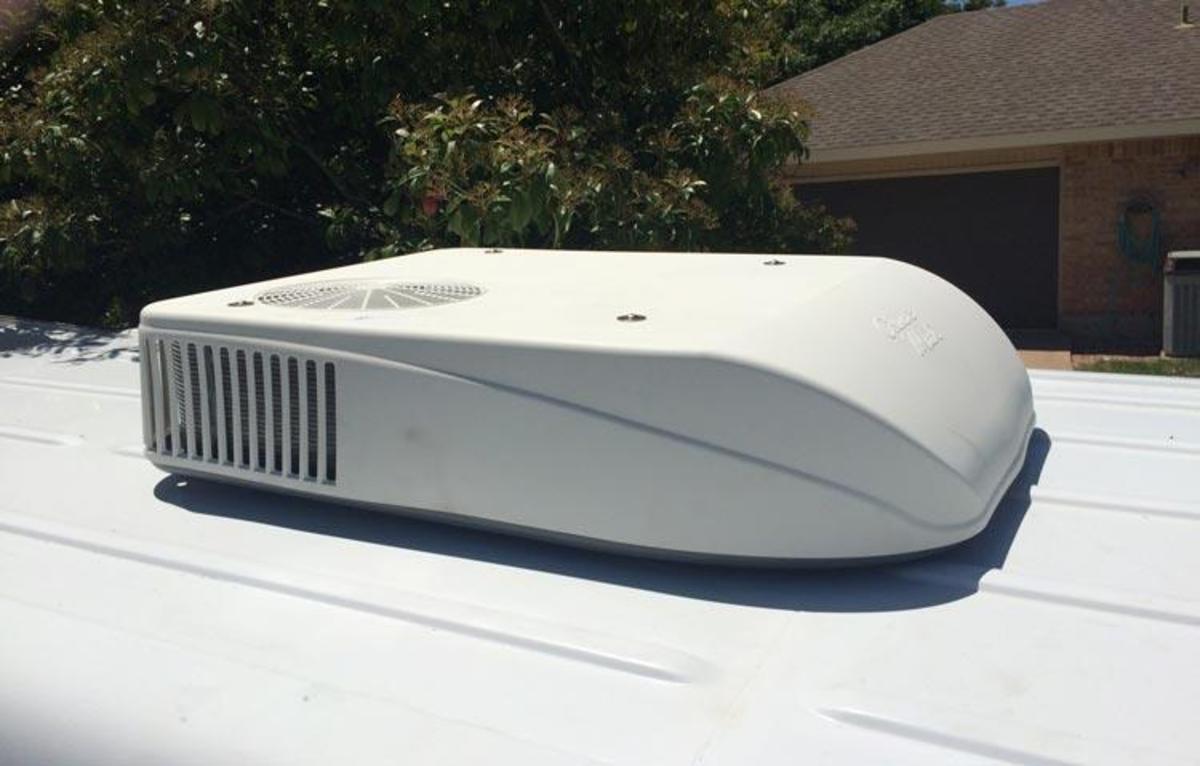
Welcome to our comprehensive guide on how to clean an RV air conditioner filter. Your RV’s air conditioner plays a crucial role in keeping the interior cool and comfortable during those hot summer road trips. However, over time, the air conditioner filter can become clogged with dirt, dust, and debris, causing decreased airflow and reduced cooling efficiency.
Cleaning the air conditioner filter is a simple and important maintenance task that can help prolong the lifespan of your RV’s air conditioning unit and ensure optimal performance. By following our step-by-step instructions, you’ll be able to clean the filter and keep your RV’s interior cool and refreshing throughout your travels.
Before we dive into the cleaning process, ensure that you have turned off the air conditioner and disconnected the power source to prevent any accidents or damage to the unit. Safety always comes first!
Now, let’s get started with the cleaning process. By the end of this guide, you’ll have a clean and functional air conditioner filter that will keep your RV comfortable and your adventures enjoyable.
Key Takeaways:
- Regularly cleaning your RV’s air conditioner filter ensures efficient cooling and fresh air inside. Follow the simple steps to maintain a comfortable environment during your travels.
- Prioritize safety by turning off the air conditioner before cleaning. Thoroughly clean and dry the filter to prevent mold growth and ensure proper airflow.
Read more: How To Clean An RV Air Conditioner
Step 1: Turn off the air conditioner
The first step in cleaning your RV air conditioner filter is to turn off the unit. This is important for two reasons:
- It ensures your safety by preventing any accidental injuries while handling the filter.
- It prevents any damage to the air conditioner itself during the cleaning process.
Before you begin, make sure the air conditioner is completely turned off and that the power source is disconnected. This can usually be done by flipping the appropriate switch on the unit or turning off the breaker in your RV’s electrical panel.
Remember, safety is paramount, so take the necessary precautions to protect yourself and your RV before proceeding to the next step.
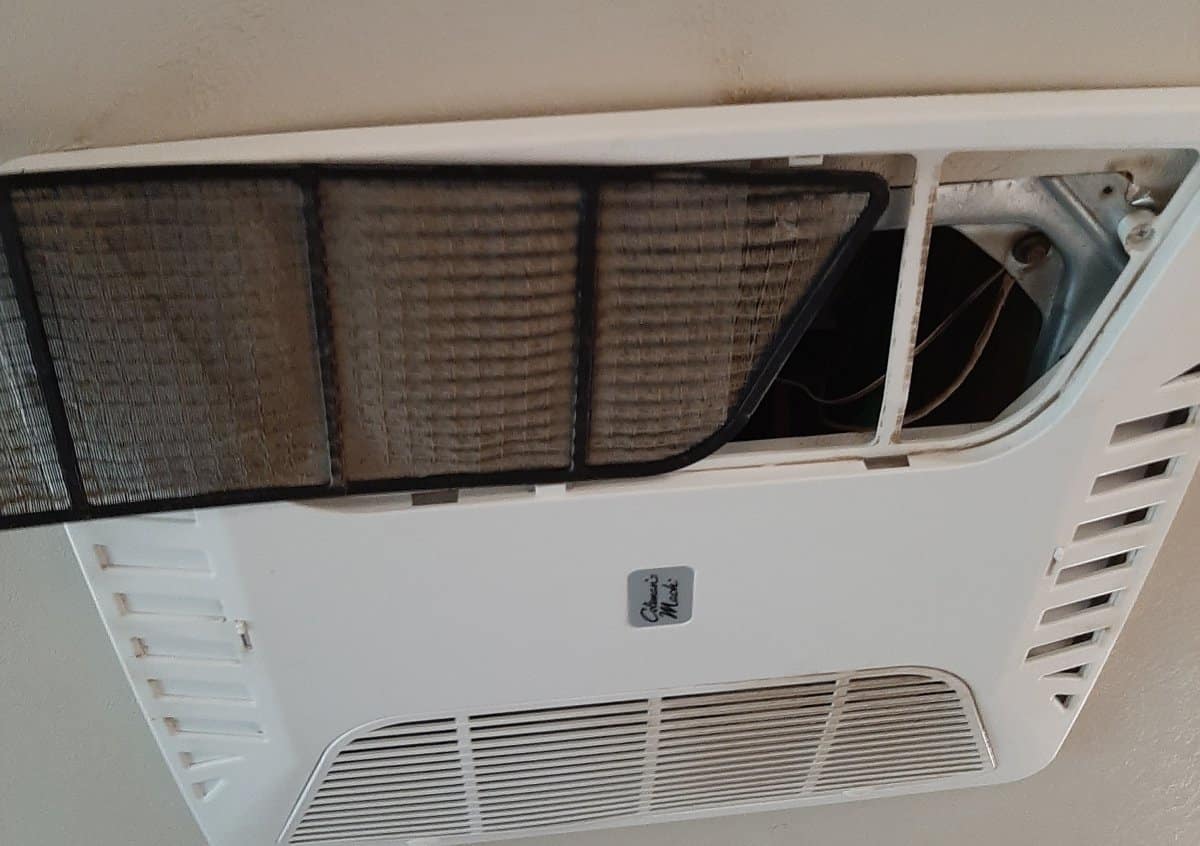
Step 2: Locate the air conditioner filter
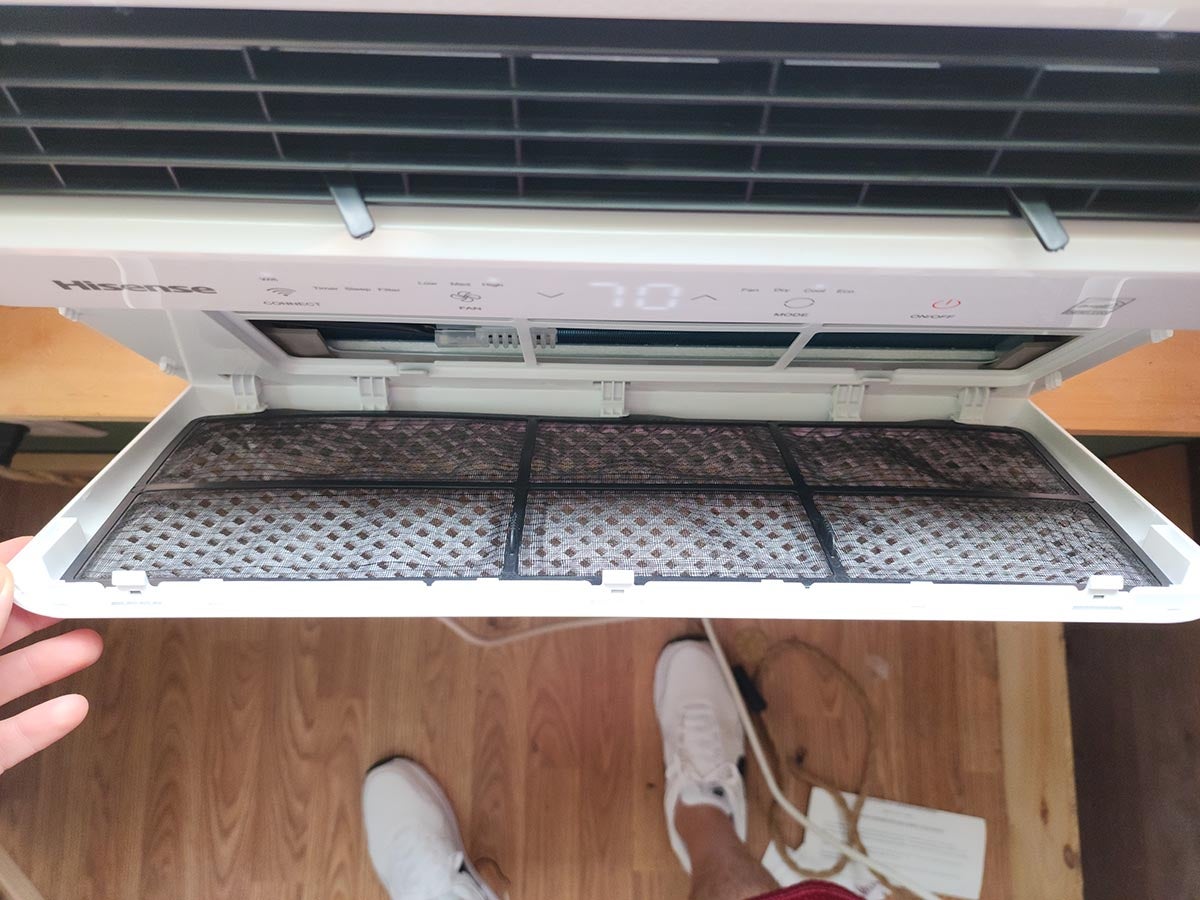
Once you have turned off the air conditioner, it’s time to locate the air conditioner filter. The filter is typically located in the interior of the RV, near the return air grille. Here’s how you can find it:
- Start by finding the return air grille. This is the grille through which the air is pulled into the air conditioner unit.
- Inspect the return air grille closely. In most RVs, the air conditioner filter is located behind or inside the grille.
- If you are having trouble finding the air conditioner filter, consult the owner’s manual of your RV for specific instructions and diagrams.
Once you have located the air conditioner filter, take a moment to assess its condition. Note any visible dirt or debris buildup as this will determine the extent of cleaning required.
If the filter appears to be heavily clogged, it may be time to replace it altogether. However, for regular maintenance and light dirt accumulation, cleaning the filter should suffice.
Now that you have found the air conditioner filter, let’s move on to the next step: removing it for cleaning.
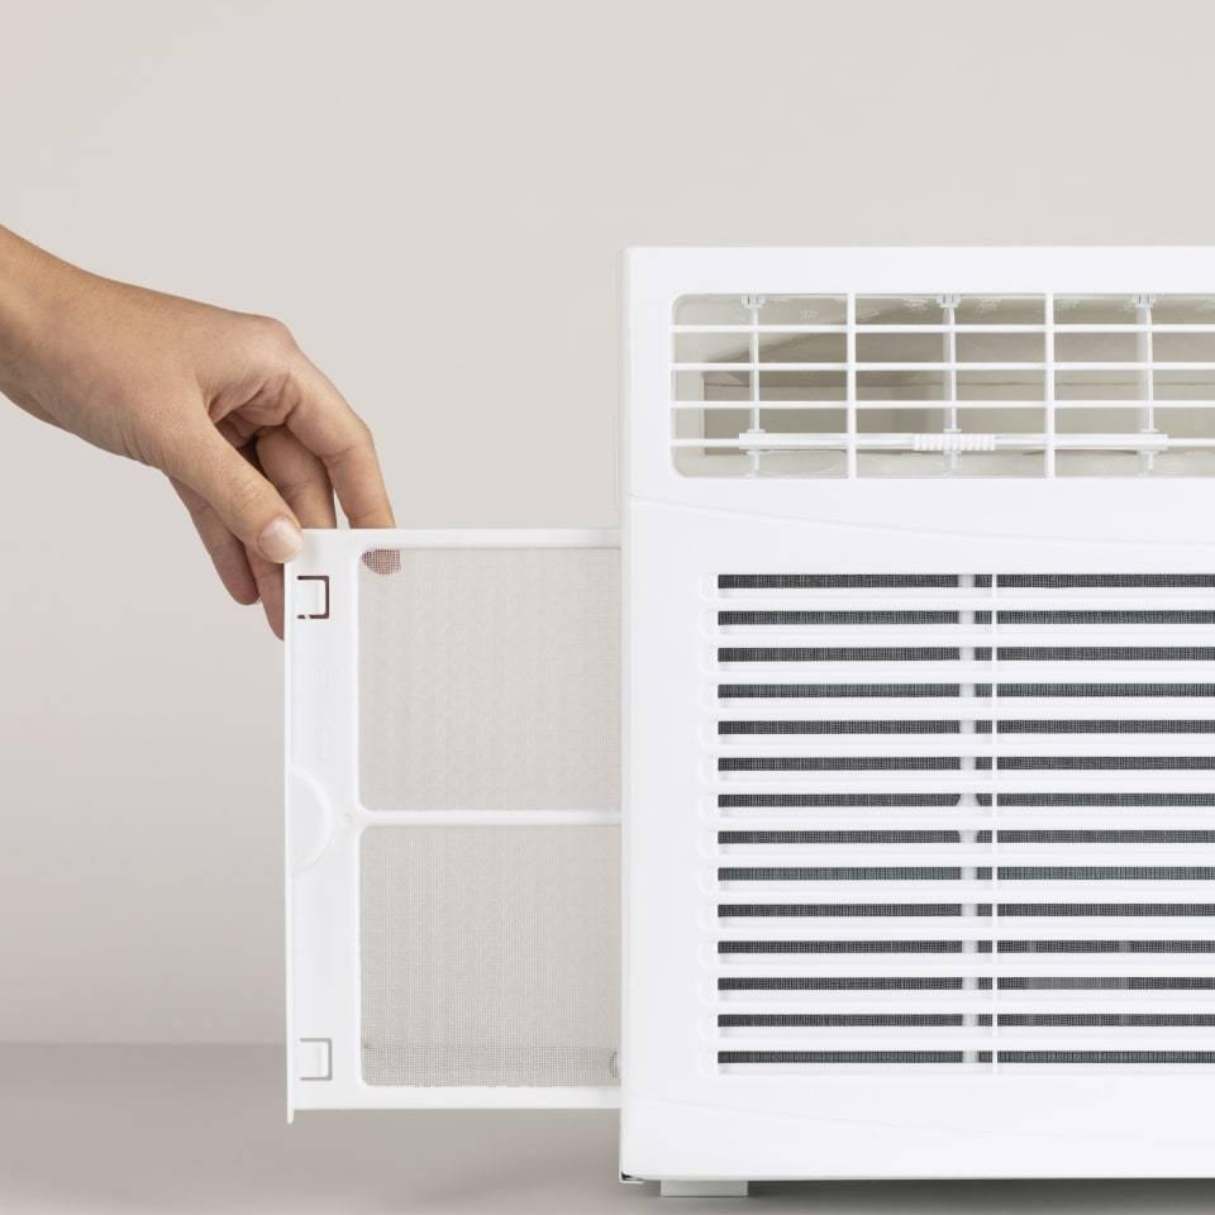
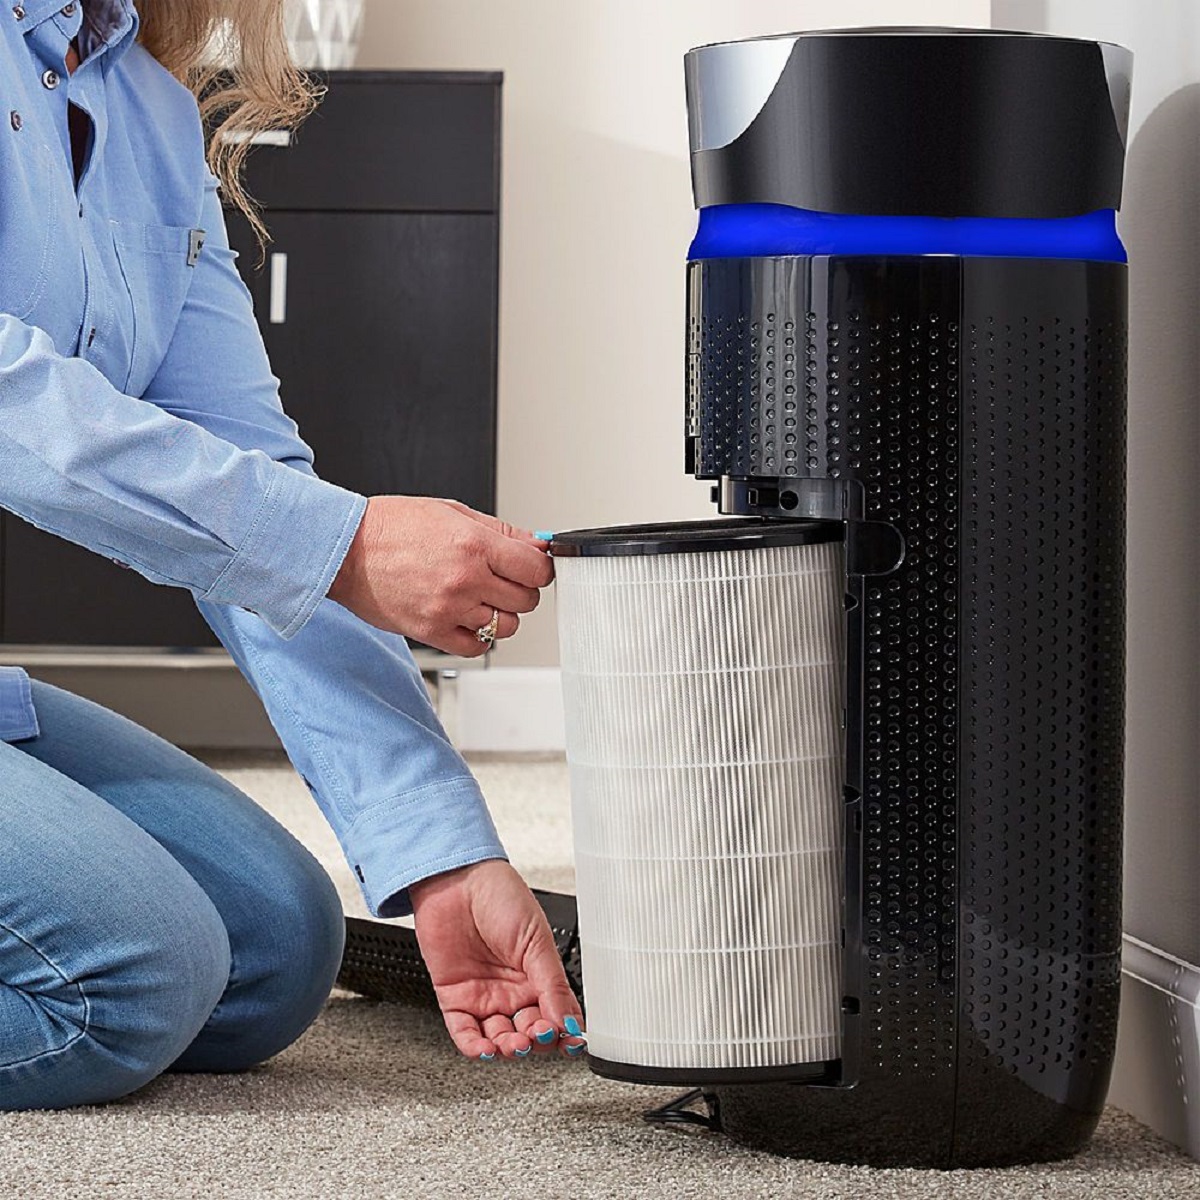
Step 3: Remove the air conditioner filter
Now that you have located the air conditioner filter, it’s time to remove it for cleaning. Follow these simple steps:
- First, make sure you have the necessary tools for removing the filter. This may include a screwdriver or simply your hands.
- If there are screws holding the filter in place, use a screwdriver to remove them. Gently loosen the screws and set them aside for reassembly later.
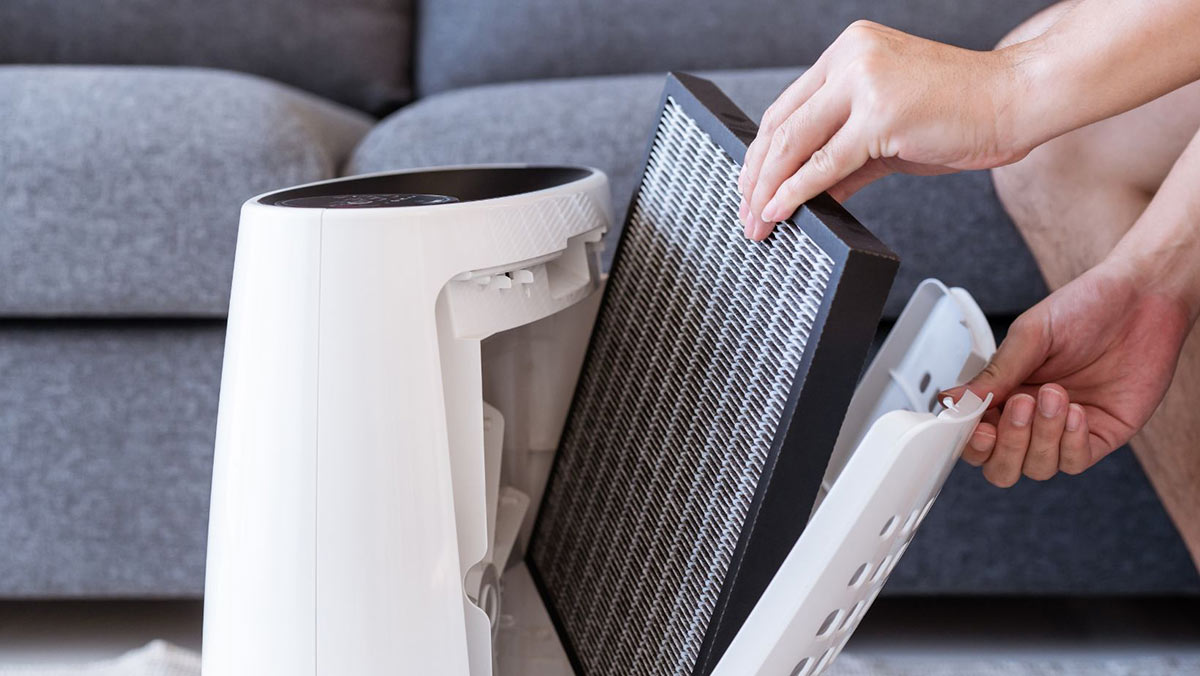
- If your filter is held in place by clips or latches, carefully release them to remove the filter.
- If the filter is simply wedged into place, carefully grip it and gently pull it out of the housing.
As you remove the filter, be mindful not to force it or bend it, as this can cause damage. Take your time and handle it with care.
Once the filter is fully removed, take a moment to inspect it closely. It may be dirty, clogged, or even torn in some cases. This inspection will help you determine the extent of cleaning required and whether a replacement filter is necessary.
Now that you have successfully removed the air conditioner filter, it’s time to move on to the next step: cleaning it thoroughly.
Regularly clean your RV air conditioner filter by removing it from the unit and gently washing it with soap and water. Allow it to dry completely before reinstalling to ensure proper airflow and cooling efficiency.
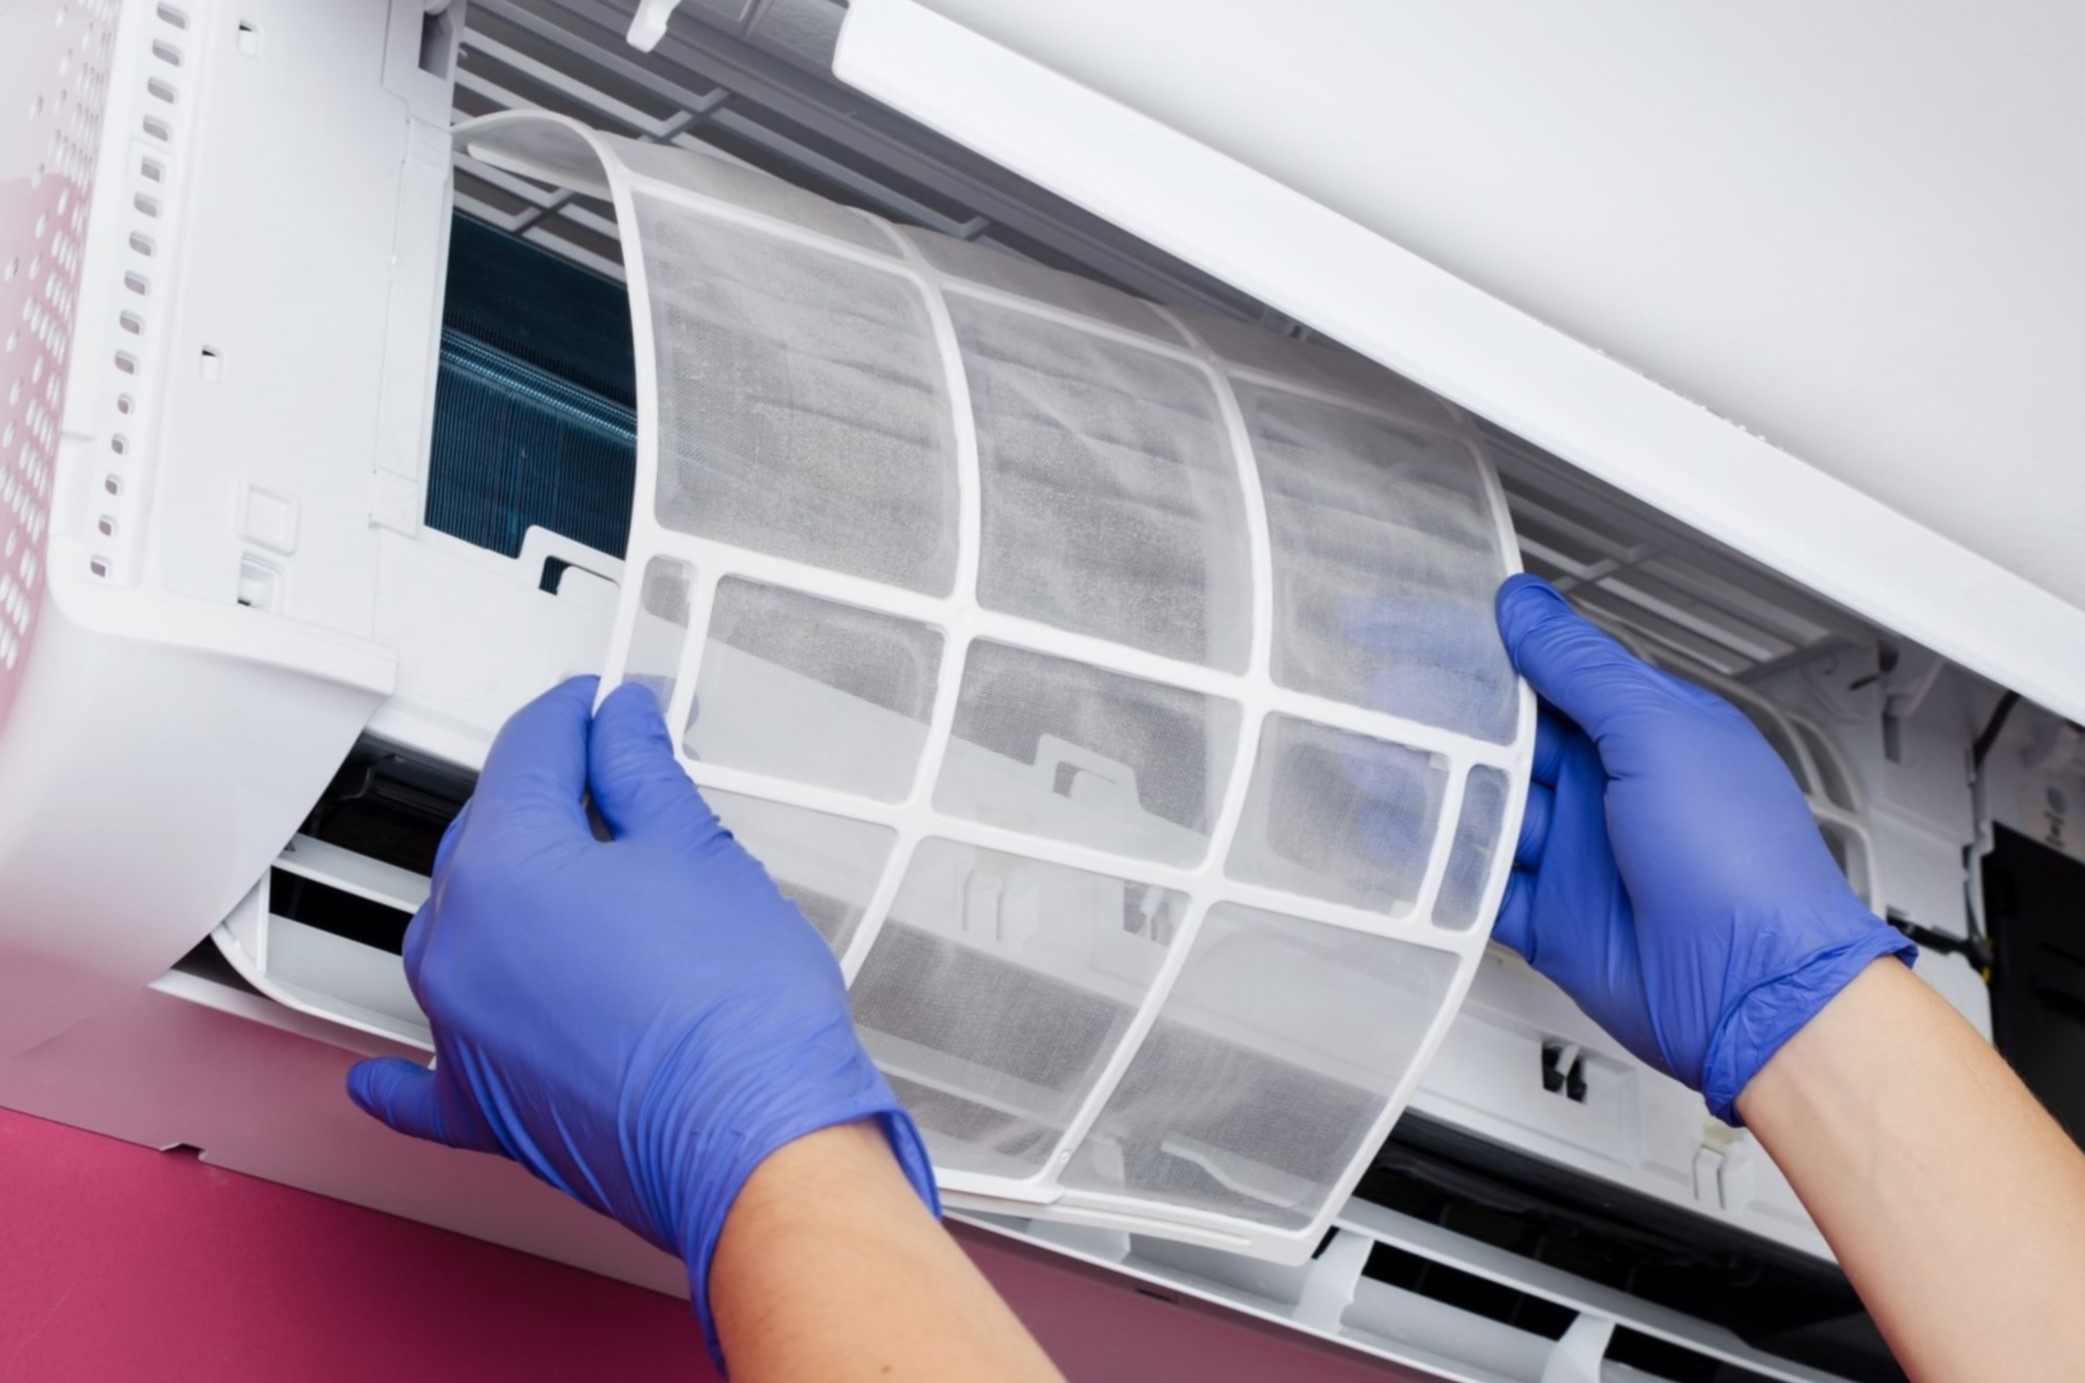
Step 4: Clean the air conditioner filter
Now that you have removed the air conditioner filter from your RV, it’s time to clean it thoroughly. Follow these steps to ensure a proper cleaning:
- Begin by gently tapping the filter against a hard surface to loosen and remove any loose dirt and debris. This will help to eliminate larger particles before proceeding to deeper cleaning.
- Next, fill a sink or basin with warm water and add a mild detergent. Allow the filter to soak in the soapy water for about 15-20 minutes.
- After soaking, use a soft-bristle brush or a gentle stream of water to scrub away any remaining dirt and debris. Be careful not to scrub too aggressively, as this can damage the filter.
- If the filter has stubborn stains or buildup, you can create a paste by mixing baking soda with water. Apply the paste to the filter and gently scrub until the stains are removed.
- Once you are satisfied with the cleanliness of the filter, rinse it thoroughly with clean water to remove any soap residue.
- Inspect the filter again to ensure that it is completely clean. If there are still signs of dirt or debris, repeat the cleaning process until the filter is spotless.
Remember, cleanliness is vital for optimal airflow and performance of your RV’s air conditioner system. Taking the time to clean the filter thoroughly will ensure that your air conditioner works efficiently and provides cool, clean air.
Now that you have cleaned the air conditioner filter, it’s time to move on to the next step: drying and reinstalling the filter.
Read more: How To Clean An Rv Toilet
Step 5: Dry and reinstall the air conditioner filter
After cleaning the air conditioner filter, it’s important to ensure it is completely dry before reinstalling it. Follow these steps to properly dry and reinstall the filter:
- Start by gently shaking the filter to remove any excess water. Avoid aggressive shaking or twisting, as this can damage the filter.
- Next, place the filter on a clean towel or a drying rack in a well-ventilated area. Allow it to air dry completely before reinstalling. This usually takes a few hours, depending on the humidity and airflow.
- Check the filter periodically to ensure it is fully dry. Avoid reinstalling a damp or wet filter, as this can lead to mold growth and reduced air quality in your RV.
- Once the filter is dry, inspect it one last time to ensure it is clean and in good condition. Replace the filter if you notice any tears, excessive damage, or signs of wear and tear.
- To reinstall the filter, simply reverse the steps you took to remove it. Slide the filter back into the housing, secure it with screws or clips, and make sure it is properly seated and fitted.
- Double-check that the filter is securely in place and that there are no gaps or loose ends. This will help ensure the proper functioning of your air conditioner system.
Now that you have successfully dried and reinstalled the air conditioner filter, it’s time for the final step: turning on the air conditioner.
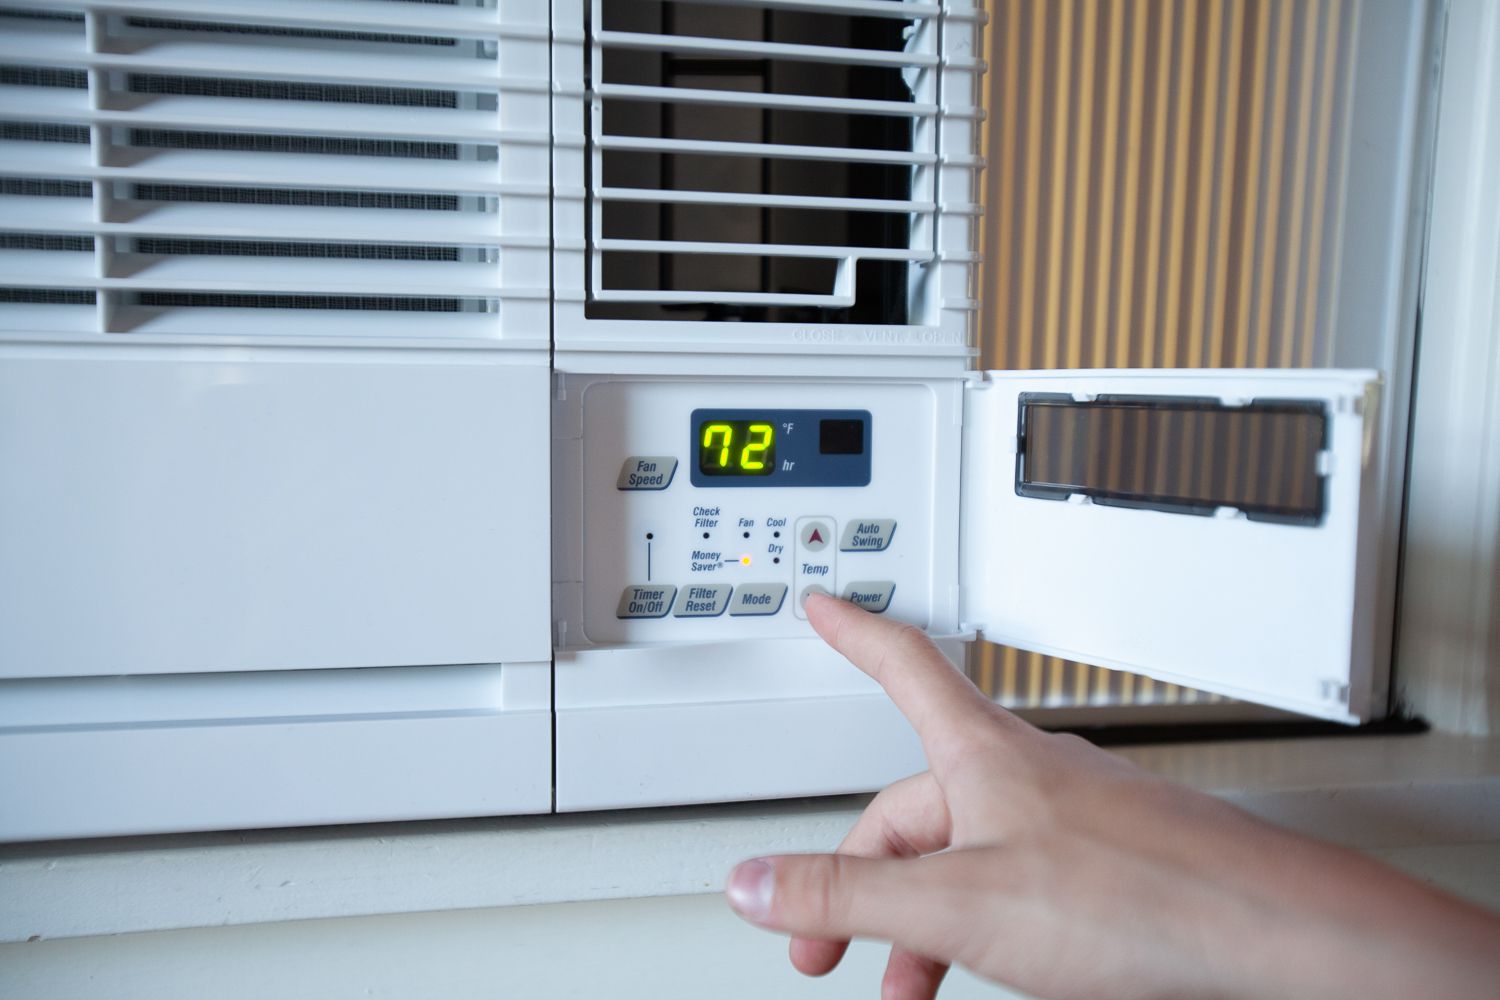
Step 6: Turn on the air conditioner
Now that you have cleaned, dried, and reinstalled the air conditioner filter, it’s time to turn on the air conditioner and enjoy the cool, refreshing air. Follow these steps to ensure a smooth and efficient operation:
- Double-check that the filter is securely in place and properly fitted. Ensure there are no gaps or loose ends that could affect the airflow.
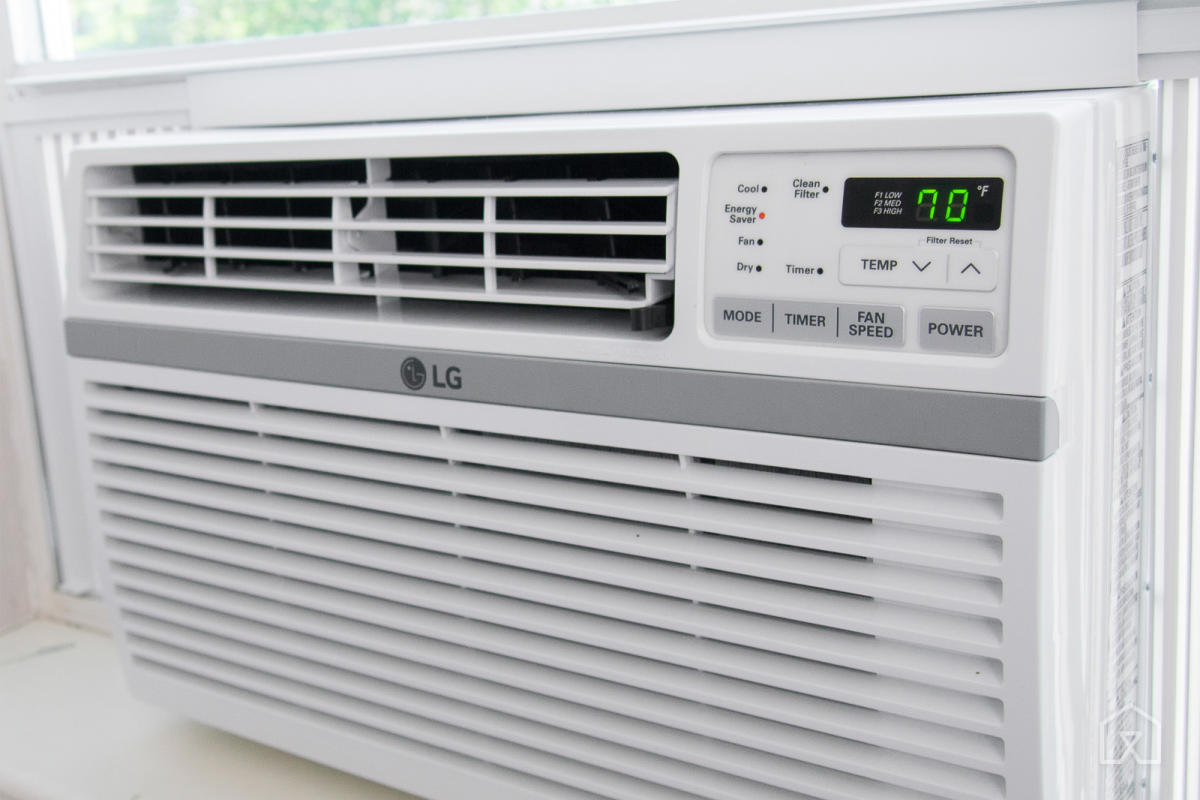
- Reconnect the power source or turn on the breaker for the air conditioner unit. This will provide the necessary power for the system to operate.
- Set your desired temperature on the air conditioner’s control panel. Give the unit a few minutes to start up and begin circulating cool air.
- Listen for any unusual noises or vibrations coming from the air conditioner unit. If you notice anything out of the ordinary, immediately turn off the air conditioner and inspect the filter and system for any issues.
- Monitor the airflow and cooling performance of the air conditioner. If you notice a significant improvement in airflow and the RV begins to cool down, then the cleaning process has been successful.
- Regularly check and clean the air conditioner filter according to the manufacturer’s recommendations or based on your usage and environmental conditions. This will help maintain optimal performance and extend the lifespan of your air conditioner.
Congratulations! You have successfully cleaned and maintained your RV’s air conditioner filter. By following these steps regularly, you can ensure that your air conditioner functions efficiently and provides a comfortable environment during your travels.
Remember, proper maintenance of your RV’s air conditioner filter is essential for optimal performance and longevity. It not only improves cooling efficiency but also helps to keep the air inside your RV clean and fresh.
Thank you for using our comprehensive guide on how to clean an RV air conditioner filter. Happy travels!
Conclusion
Cleaning your RV air conditioner filter is a vital maintenance task that ensures optimal performance and efficiency of your air conditioning system. By following the steps outlined in this guide, you can easily clean the filter and keep your RV’s interior cool and comfortable throughout your travels.
Remember to always prioritize safety by turning off the air conditioner and disconnecting the power source before starting the cleaning process. Take your time when locating, removing, and cleaning the air conditioner filter, being careful not to damage it in the process. Thoroughly clean and dry the filter before reinstalling it to maintain proper airflow and prevent mold growth.
Regularly cleaning the air conditioner filter will not only enhance the performance of your air conditioning system but also improve air quality by removing dust, dirt, and allergens. It’s recommended to clean the filter at least once a month or more frequently if you frequently use the air conditioner or travel in dusty environments.
Additionally, don’t forget to inspect the filter regularly for signs of wear and tear. If the filter is damaged, it’s important to replace it promptly to avoid any issues with the air conditioner unit’s performance.
By keeping your RV air conditioner filter clean and well-maintained, you can enjoy a comfortable and refreshing environment inside your RV while on the road. Happy travels!
Frequently Asked Questions about How To Clean An RV Air Conditioner Filter
Was this page helpful?
At Storables.com, we guarantee accurate and reliable information. Our content, validated by Expert Board Contributors, is crafted following stringent Editorial Policies. We're committed to providing you with well-researched, expert-backed insights for all your informational needs.