Home>Home Maintenance>How To Change Air Conditioning Filter
Home Maintenance
How To Change Air Conditioning Filter
Modified: March 6, 2024
Learn how to change the air conditioning filter in your home with this simple guide on home maintenance. Keep your air quality fresh and improve energy efficiency.
(Many of the links in this article redirect to a specific reviewed product. Your purchase of these products through affiliate links helps to generate commission for Storables.com, at no extra cost. Learn more)
Introduction
Welcome to our comprehensive guide on how to change your air conditioning filter. Maintaining your air conditioning system is crucial for keeping your home comfortable and healthy. One essential step in this maintenance routine is regularly replacing the air conditioning filter.
The air conditioning filter plays a vital role in the overall performance of your system. It effectively traps dust, dirt, pollen, and other airborne particles, preventing them from recirculating throughout your home. Over time, these particles can accumulate, reducing the efficiency of your system and negatively impacting your indoor air quality.
By regularly changing the air conditioning filter, you can ensure that your system operates at its best, while also improving the air quality in your home. Fortunately, changing the filter is a relatively simple task that can be done by most homeowners with minimal effort.
In this guide, we will walk you through the process of changing your air conditioning filter step by step. Whether you are a DIY enthusiast or new to home maintenance, we have got you covered. So, let”s dive in and discover how to keep your air conditioning system running smoothly.
Key Takeaways:
- Regularly changing your air conditioning filter is crucial for better air quality, energy efficiency, and system longevity. It’s a simple task that can make a big difference in your home’s comfort and health.
- Remember to turn off your air conditioning system before changing the filter, and always check the filter housing for cleanliness. By following these steps, you can ensure your system runs smoothly and efficiently.
Why is it important to change the air conditioning filter?
Regularly changing the air conditioning filter is essential for several reasons. Let’s explore why this task should be a priority in your home maintenance routine.
- Improved Air Quality: The primary function of the air conditioning filter is to remove airborne particles such as dust, pollen, pet dander, and mold spores. If the filter becomes dirty and clogged, it won’t be able to effectively trap these particles. As a result, they can circulate throughout your home, leading to poor indoor air quality and potential health issues, particularly for individuals with allergies or respiratory conditions.
- Enhanced Energy Efficiency: A dirty and obstructed air conditioning filter can significantly impact the efficiency of your system. When your filter is clogged, it requires more energy for air to pass through, putting strain on the system and reducing its overall efficiency. This can lead to higher energy bills and decreased performance.
- Extended Lifespan of Your System: By regularly changing the air conditioning filter, you can help prolong the lifespan of your system. When the filter is clean, air can flow freely and smoothly, reducing the strain on the components. A clean filter prevents dust and debris from accumulating on the evaporator coil, reducing the risk of damage and the need for costly repairs or premature replacement.
- Prevention of Mechanical Issues: A blocked or dirty filter can cause additional strain on the system, potentially leading to mechanical issues. When the filter is clogged, the airflow is restricted, which can cause the blower motor to work harder and the evaporator coil to freeze. These issues can result in system breakdowns and the need for professional repairs.
To ensure optimal air quality, energy efficiency, and the longevity of your air conditioning system, it is crucial to change the air conditioning filter regularly. But how often should the filter be changed? Let’s find out in the next section.
How often should the air conditioning filter be changed?
The frequency at which you should change your air conditioning filter depends on several factors, including the type of filter you have, the air quality in your area, and your household’s specific needs. However, as a general guideline, it is recommended to change the air conditioning filter every 1 to 3 months.
If you have a standard 1-inch disposable fiberglass or pleated filter, it is typically advised to change it every 1 to 2 months. These filters have a lower efficiency in trapping smaller particles and tend to clog up more quickly.
On the other hand, if you have a higher-quality filter, such as a pleated electrostatic filter or a high-efficiency particulate air (HEPA) filter, you may be able to extend the replacement interval up to 3 months. These filters have a higher efficiency in capturing smaller particles and can last longer before needing to be replaced.
However, it is important to note that your specific circumstances might require more frequent filter changes. If you live in an area with poor air quality, have pets that shed a lot of hair or dander, or have individuals with allergies or respiratory conditions in your household, you may need to replace the filter more frequently, perhaps every month.
Additionally, it is advisable to visually inspect the filter regularly. If you notice that the filter appears dirty, clogged, or discolored, it is a good indication that it needs to be replaced, regardless of the time frame.
Ultimately, it is essential to follow the manufacturer’s recommendations for your specific air conditioning system and filter type. The owner’s manual or the filter packaging should provide guidelines on how often the filter should be changed.
Now that you know how often to change the air conditioning filter, let’s proceed to the steps on how to replace it.
Step 1: Turn off the air conditioning system
Before you begin the process of changing the air conditioning filter, it is crucial to turn off the system to ensure your safety and avoid any potential damage. Here’s how to do it:
- Locate the thermostat: Find the thermostat in your home, usually located on a wall in a central area. The thermostat controls the temperature and settings of your air conditioning system.
- Set the thermostat to “Off” or “Cool Off”: Adjust the thermostat setting to turn off the air conditioning system. Look for a switch or button labeled “Off” or “Cool Off” and press it to shut down the system.
- Double-check for power interruption: Once you have turned off the system, it’s a good idea to go to the circuit breaker panel and locate the corresponding circuit breaker for the AC unit. Switch off the breaker to ensure there is no power flowing to the system.
By taking these precautions, you can avoid any potential accidents or damage while changing the air conditioning filter. Remember, safety should always be your top priority.
Now that the air conditioning system is turned off, we can move on to the next step: locating the air conditioning filter.
Step 2: Locate the air conditioning filter
To successfully change the air conditioning filter, you first need to know where it is located. The location of the filter may vary depending on the type and design of your air conditioning system. Here’s how to find it:
- Check the return air grille: In most homes, the air conditioning filter is typically located behind the return air grille. This grille is a grate-like cover that allows air to flow into the system.
- Look for a wall or ceiling-mounted return air grille: Start by inspecting the walls or ceiling in the main living areas of your home. You are likely to find a return air grille in a central location, such as a hallway or a large room.
- Inspect the floor-mounted return air grille: In some cases, the air conditioning filter may be located in a floor-mounted return air grille. Look for a vent on the floor, typically near a wall, and check if it can be lifted or opened.
- Consult the owner’s manual: If you are having trouble locating the air conditioning filter, refer to the owner’s manual or the manufacturer’s website. The manual should provide specific instructions and illustrations on where to find the filter in your particular air conditioning system.
Once you have identified the location of the air conditioning filter, you are ready to proceed to the next step: removing the old filter.
Tip: To change your air conditioning filter, turn off the unit, locate the filter, remove the old one, and replace it with a new one of the same size. Check and change the filter every 1-3 months for optimal performance.
Read more: How Often Do You Change Air Purifier Filters
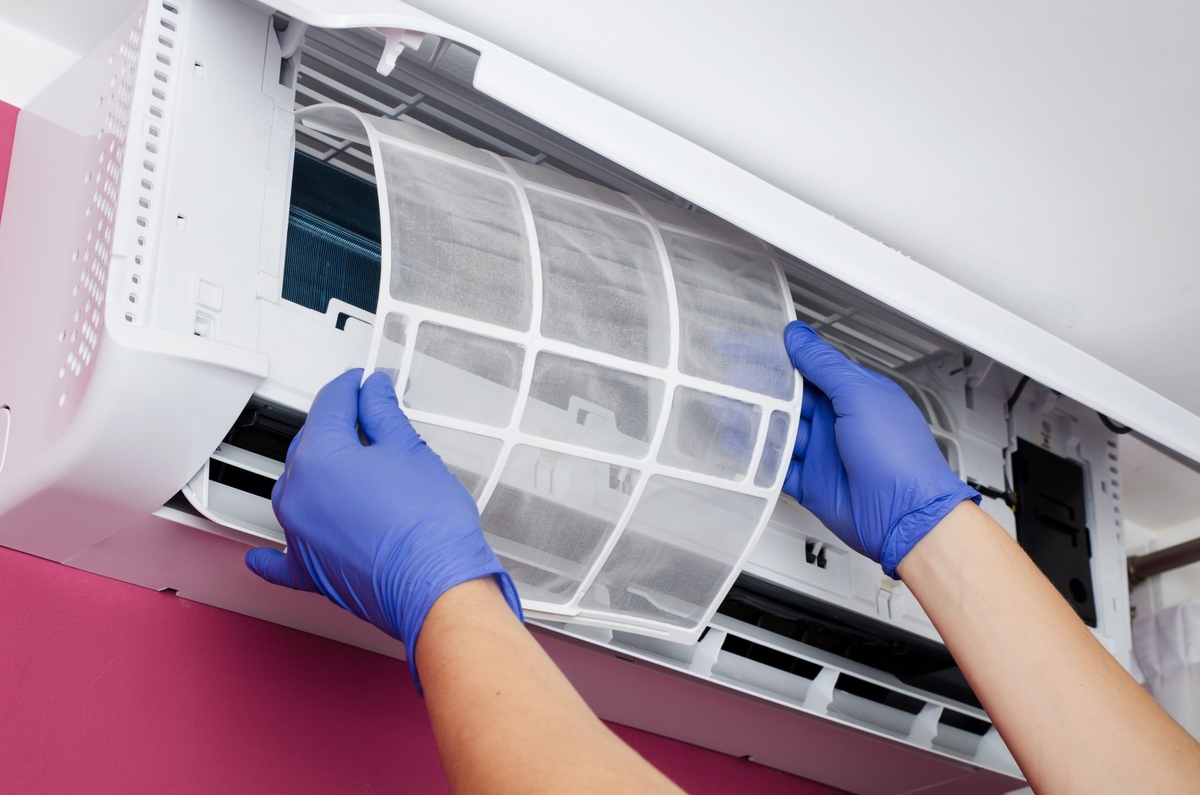
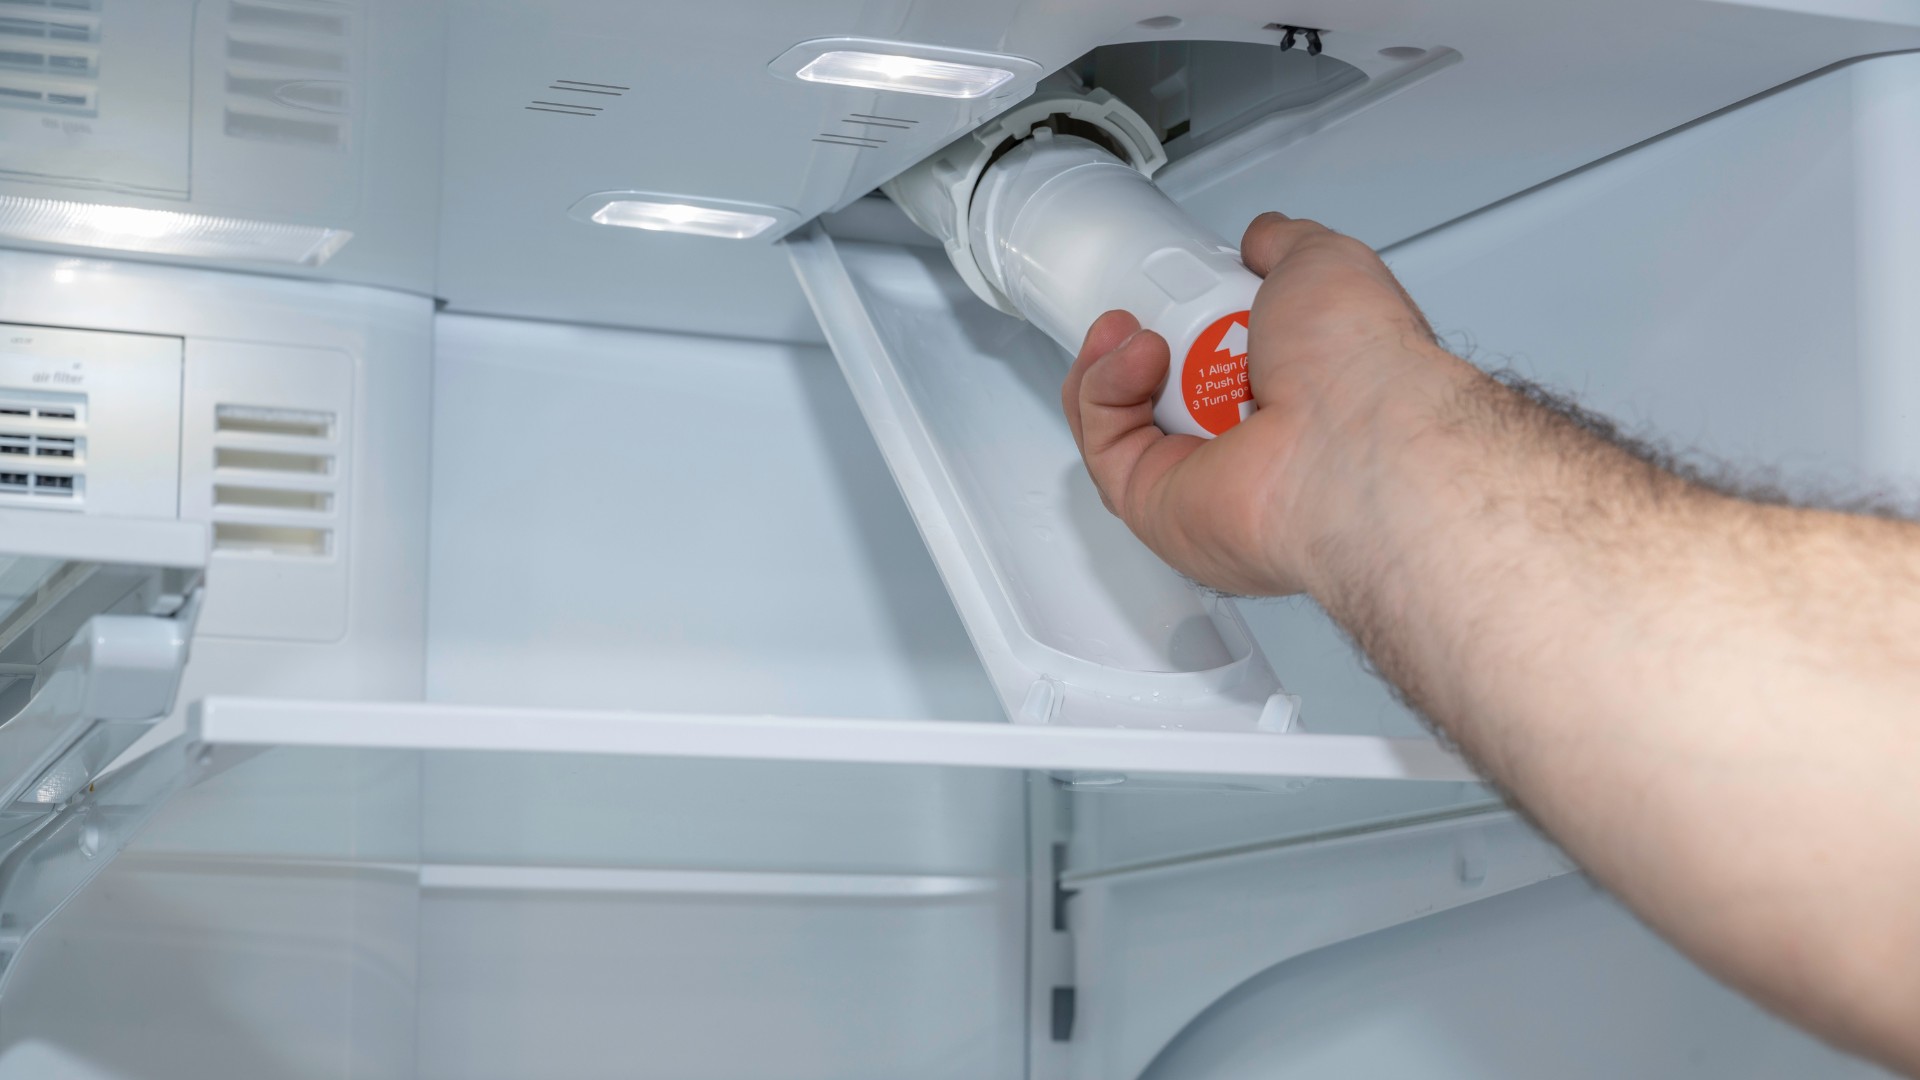
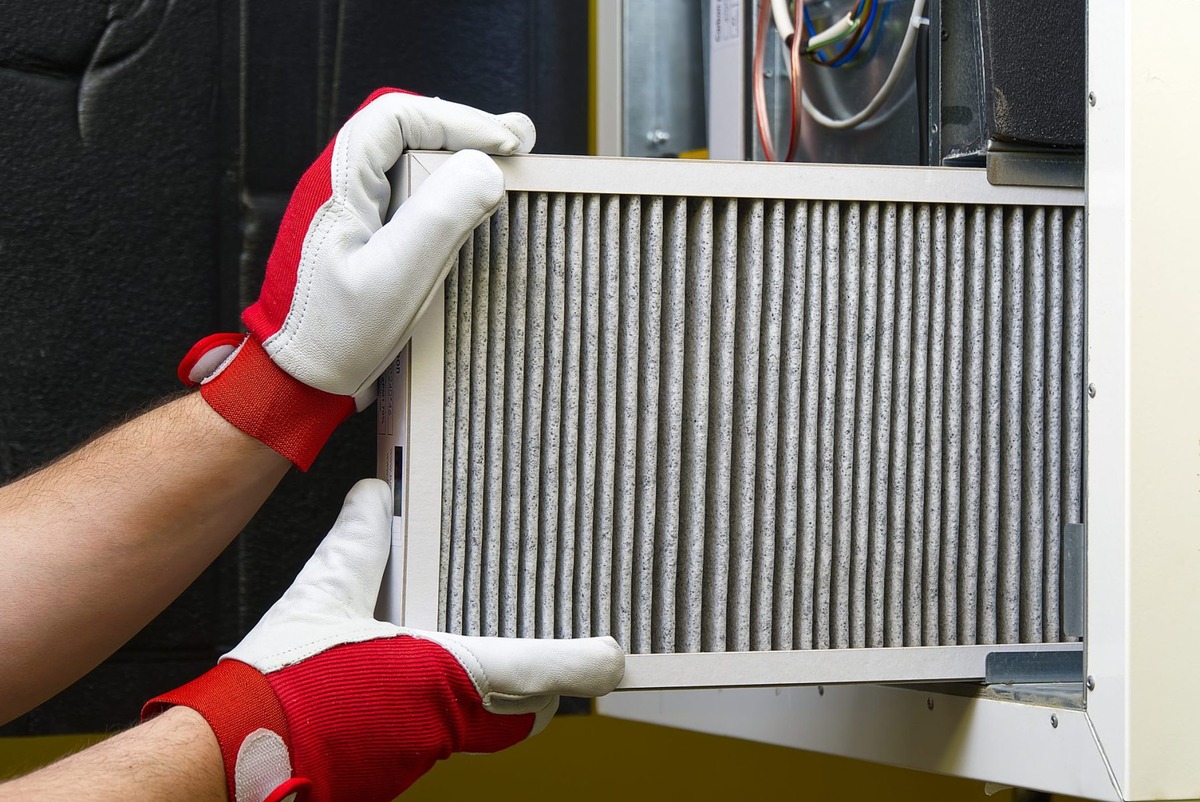
Step 3: Remove the old air conditioning filter
Now that you have located the air conditioning filter, it’s time to remove the old one. Remember to handle the filter with care and follow these steps:
- Open the return air grille: If the filter is located behind a return air grille, gently lift or remove the grille to access the filter compartment.
- Inspect the filter: Take a moment to examine the condition of the old filter. If it appears dirty, clogged, or damaged, it is definitely time for a replacement. It’s always a good idea to wear gloves or use a face mask if you’re concerned about dust or airborne particles.
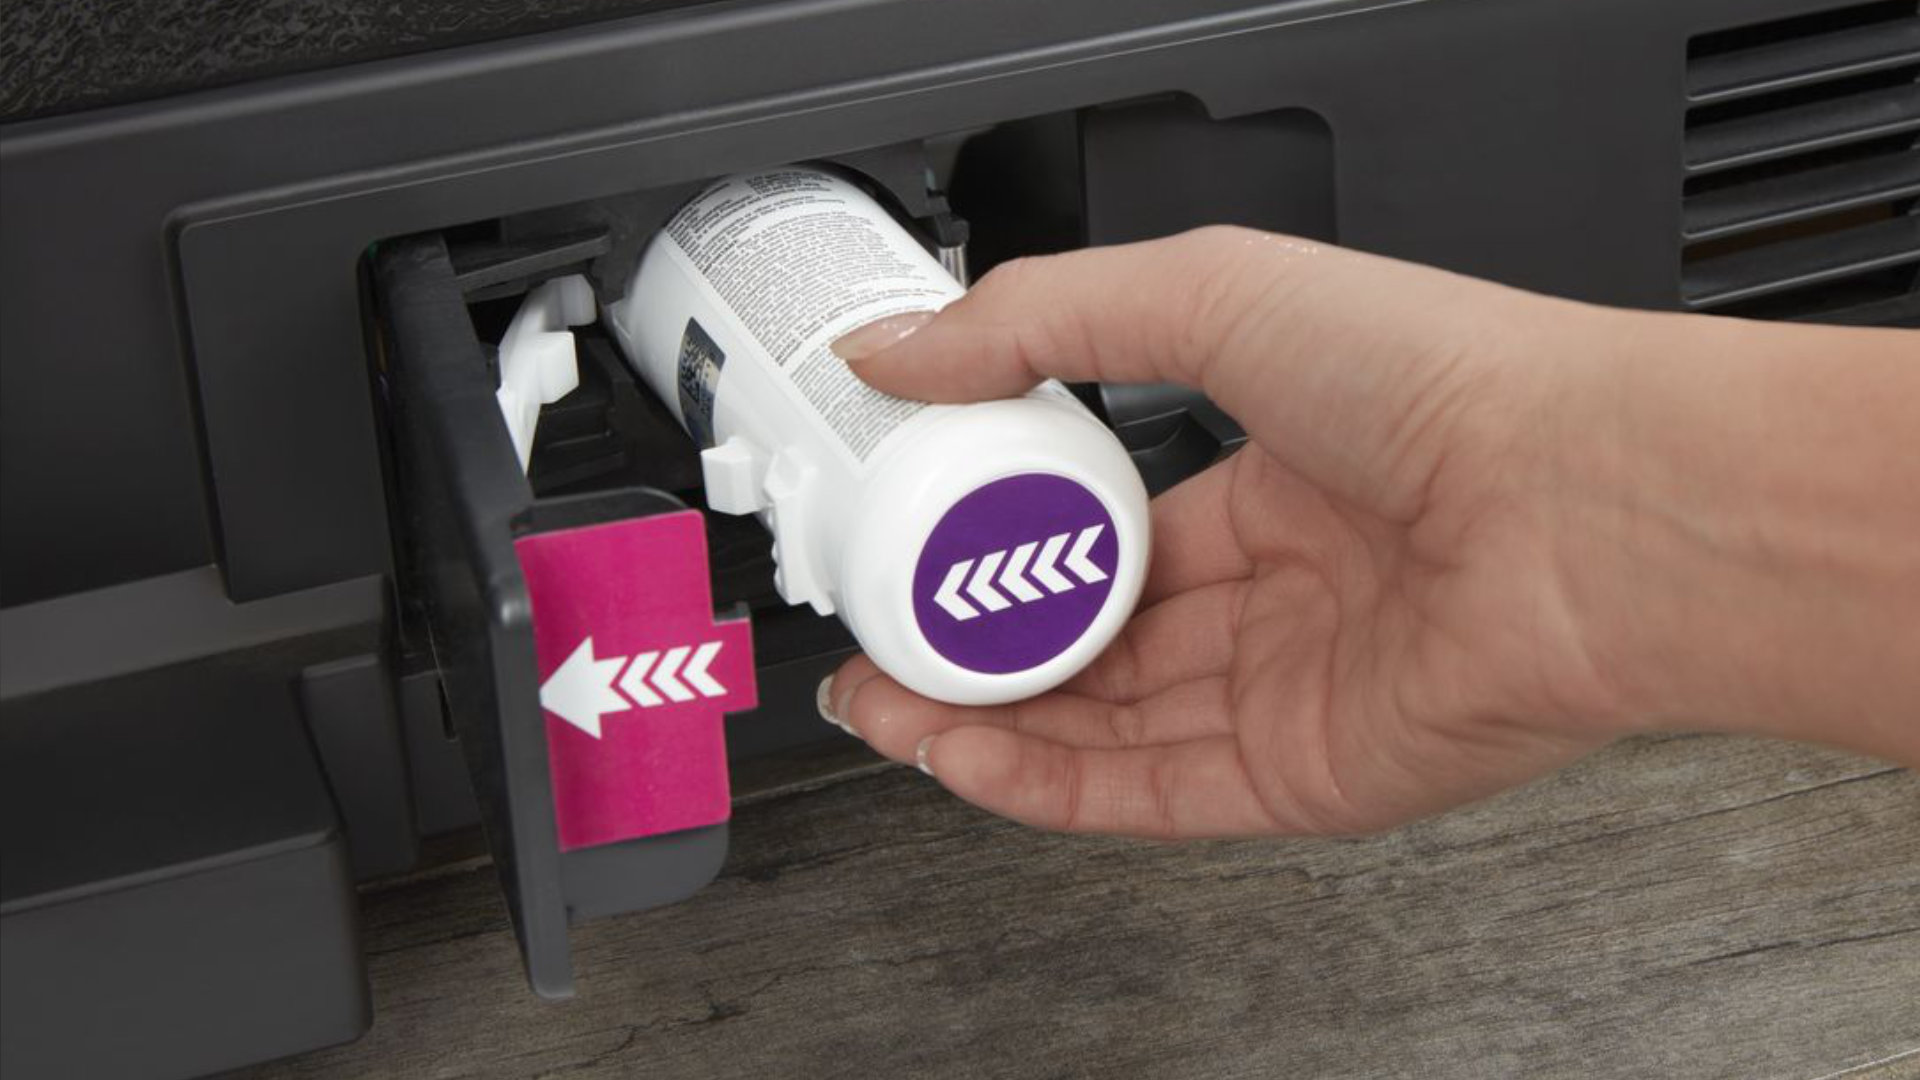
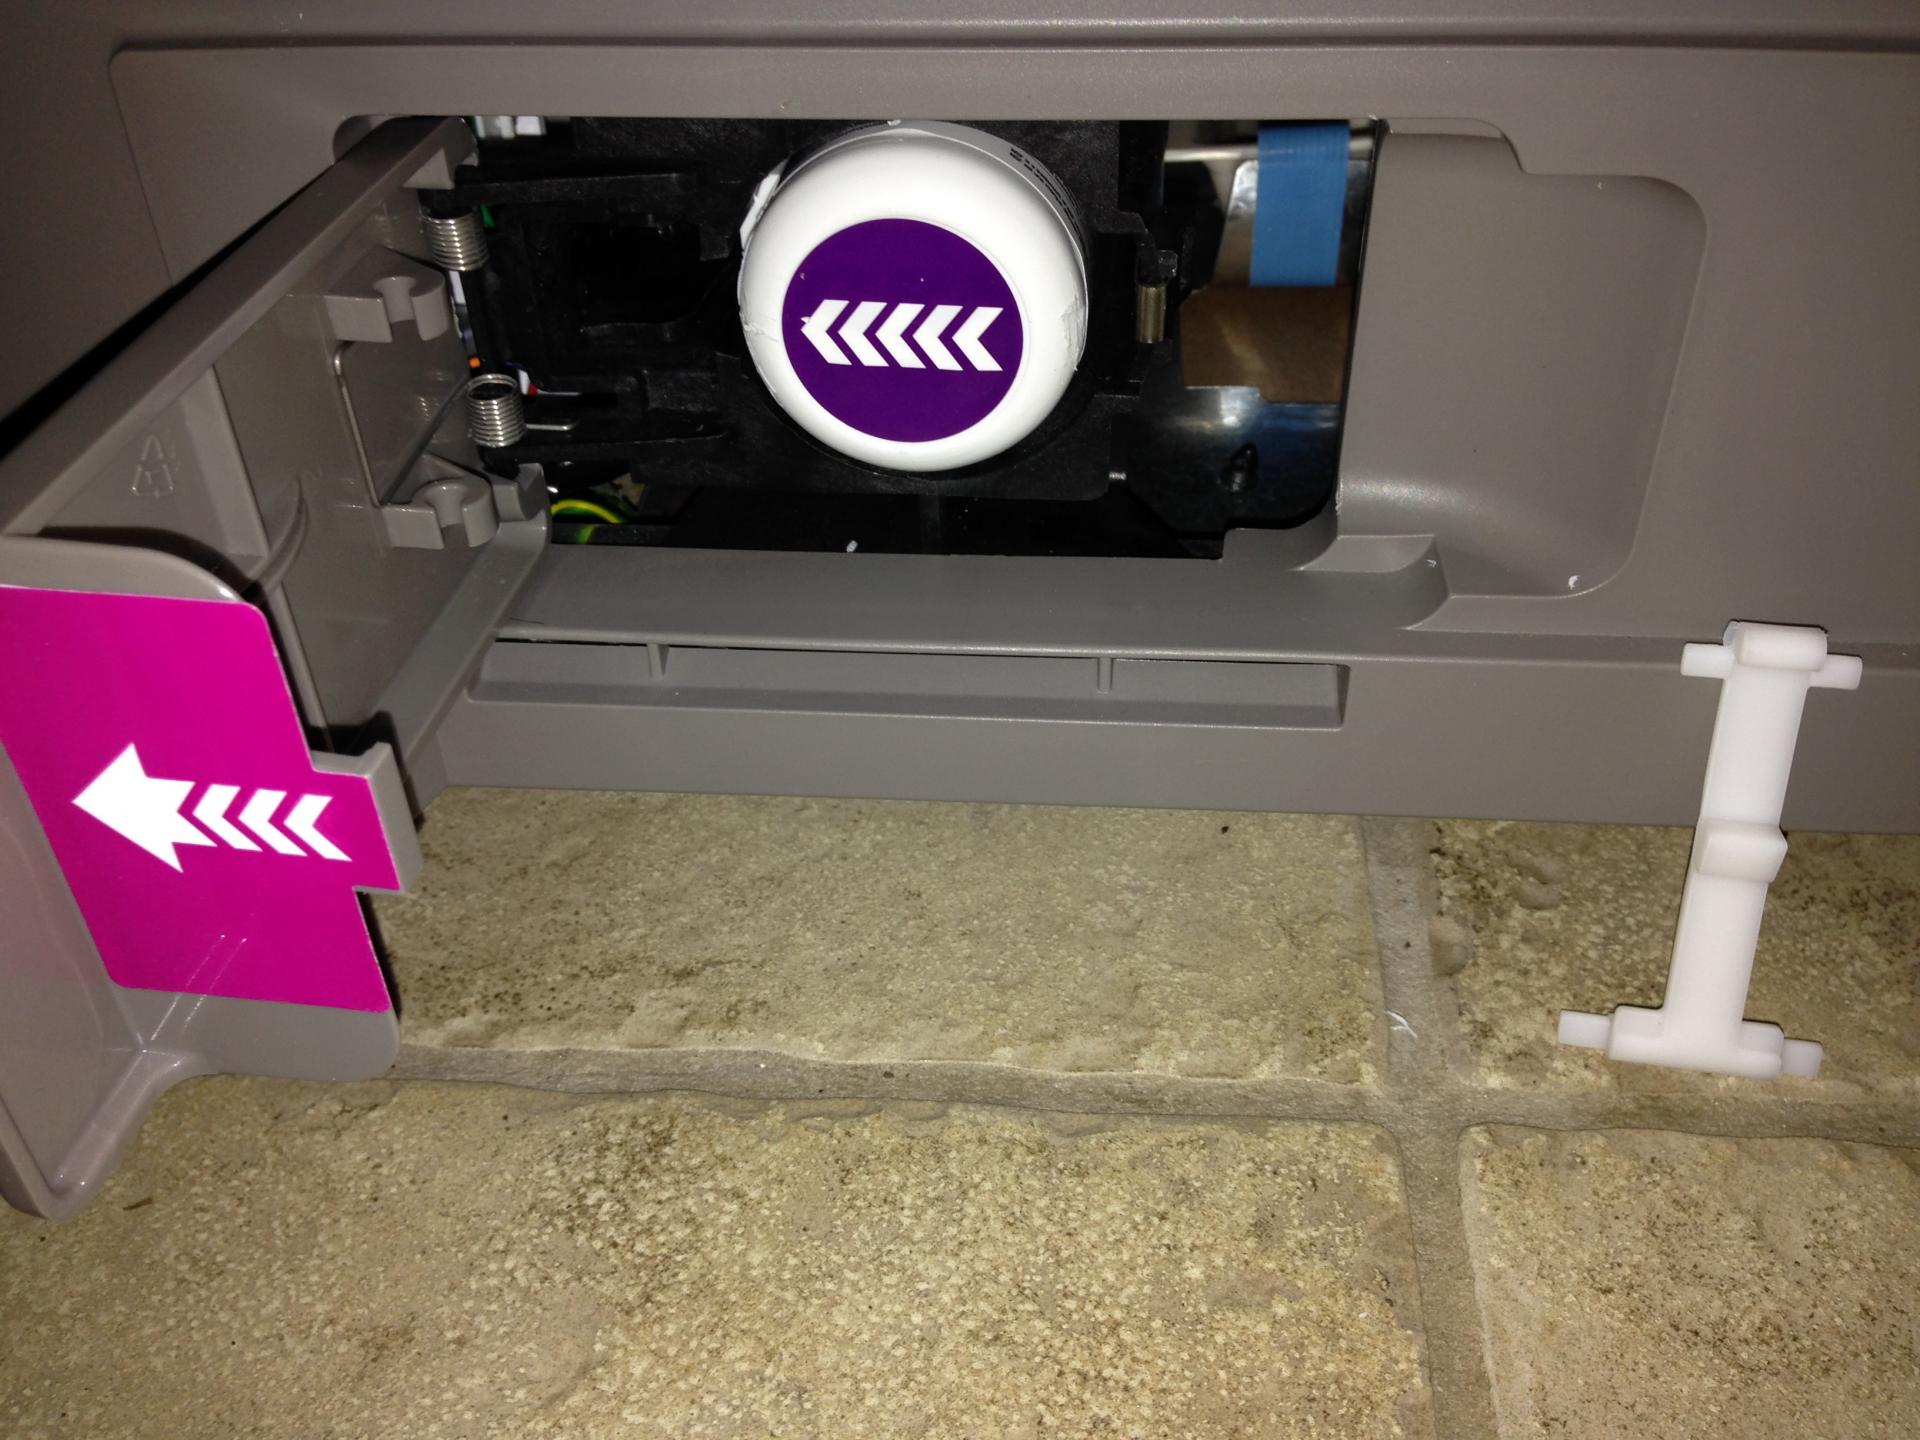
- Note the filter position: Before removing the filter, make a note of its orientation. Most filters have an arrow indicating the direction of airflow. Remembering the correct position will help you install the new filter correctly.
- Remove the filter: Carefully slide or pull the old filter out of its housing. Take your time and avoid bending or damaging the filter. If the filter is a reusable type, follow the manufacturer’s instructions for cleaning or maintenance.
By following these steps, you have successfully removed the old air conditioning filter. The next step is to clean the filter housing, if necessary.
Step 4: Clean the air conditioning filter housing if necessary
After removing the old air conditioning filter, it’s a good idea to inspect the filter housing and clean it if necessary. Over time, dust and debris can accumulate in the housing, affecting the performance of your system. Here’s how to clean the filter housing:
- Inspect the filter housing: Take a look inside the filter housing and check for any dirt, dust, or debris buildup. Use a flashlight if needed to get a clear view.
- Remove loose debris: If you notice any loose debris or particles, use a vacuum cleaner with a brush attachment or a soft cloth to gently remove them. Be careful not to damage any components or dislodge any wiring.
- Wipe down the housing: If the housing appears dirty or dusty, dampen a cloth or sponge with a mild cleaning solution or water and gently wipe down the interior surfaces. Avoid using harsh chemicals or abrasive materials that could damage the housing.
- Allow the housing to dry: After cleaning, allow the filter housing to air dry completely before proceeding to the next step. This will prevent any moisture from affecting the performance of the new air conditioning filter.
By cleaning the air conditioning filter housing, you ensure that the new filter will be installed in a clean and optimal environment. Once the housing is dry, you can move on to the exciting step of installing the new air conditioning filter!
Step 5: Install the new air conditioning filter
Now that you have cleaned the air conditioning filter housing (if necessary), it’s time to install the new filter. Follow these steps to ensure a proper installation:
- Check the filter size: Before inserting the new filter, double-check to ensure that you have the correct size. The size is typically printed on the side of the old filter or can be found in the owner’s manual.
- Align the filter: Look for the arrow or airflow indicator on the new filter. This arrow indicates the direction that the filter should face when installed. The arrow should point towards the blower unit, which is typically located inside the air conditioning system.
- Slide the filter into the housing: Carefully slide the new filter into the filter housing, making sure it fits securely. Be gentle to avoid bending or damaging the filter.
- Close the filter housing: If the filter housing has a cover or a latch, secure it in place to ensure that the filter remains in position during operation. Make sure the housing is properly closed to prevent any air leaks.
- Check for a tight fit: Once the new filter is in place, give it a gentle push to ensure a snug fit within the housing. This will help prevent air bypass and ensure that all air flows through the filter.
Congratulations! You have successfully installed the new air conditioning filter. The final step is to turn on the air conditioning system and enjoy the improved air quality and efficiency.
Step 6: Turn on the air conditioning system
Now that you have installed the new air conditioning filter, it’s time to turn on the system and enjoy the benefits of a clean and efficient air conditioning system. Follow these steps to safely and correctly turn on the air conditioning system:
- Close the filter housing: Double-check that the filter housing is securely closed and properly sealed to ensure that air flows through the filter.
- Return the thermostat to its desired setting: Adjust the thermostat back to the desired temperature setting. If you had previously turned it off, set it to the preferred cooling mode or the desired temperature level.
- Turn on the power: Go to the circuit breaker panel and switch on the corresponding circuit breaker for the air conditioning unit. Ensure that power is restored to the system.
- Listen for the air conditioning system: After turning on the power, listen for the sound of the air conditioning system starting up. You should be able to hear the blower running and feel cool air coming from the vents.
- Monitor the system: Keep an eye on the air conditioning system for the first few minutes to ensure that it is running smoothly. Check that air is flowing freely and evenly throughout your home.
By following these steps, you have successfully turned on the air conditioning system after changing the filter. It is recommended to periodically check the filter and replace it as needed to maintain optimal performance. Enjoy the cool and refreshing air that your clean air conditioning system provides!
Read more: How To Change A HVAC Filter
Conclusion
Regularly changing the air conditioning filter is a simple yet essential task that can greatly impact the performance, efficiency, and air quality of your home’s cooling system. By following the steps outlined in this guide, you can easily replace the filter and ensure that your air conditioning system operates at its best.
Remember, changing the filter helps improve air quality by capturing dust, pollen, pet dander, and other airborne particles. It also enhances energy efficiency, extends the lifespan of your system, and prevents mechanical issues.
Make sure to determine how often the filter should be changed based on the manufacturer’s recommendations, the type of filter you have, and your specific circumstances. Inspect the filter regularly and replace it when it appears dirty or clogged.
When changing the filter, always start by turning off the air conditioning system and locating the filter housing. Gently remove the old filter, and if necessary, clean the filter housing before installing the new filter. Ensure the new filter is positioned correctly and securely within the housing.
Finally, turn on the air conditioning system, and enjoy the improved air quality and efficiency that comes with a clean filter. Monitor the system in the following minutes to ensure it is running smoothly.
By making a habit of regularly changing the air conditioning filter, you can maintain a comfortable and healthy home environment while also maximizing the lifespan and efficiency of your cooling system. So don’t overlook this important maintenance task, and enjoy the benefits of a well-maintained air conditioning system year-round.
Frequently Asked Questions about How To Change Air Conditioning Filter
Was this page helpful?
At Storables.com, we guarantee accurate and reliable information. Our content, validated by Expert Board Contributors, is crafted following stringent Editorial Policies. We're committed to providing you with well-researched, expert-backed insights for all your informational needs.