Home>Home Maintenance>How To Change The Filter On A Window Air Conditioner
Home Maintenance
How To Change The Filter On A Window Air Conditioner
Modified: August 17, 2024
Learn how to easily change the filter on your window air conditioner for optimal performance. Expert tips and step-by-step guide for hassle-free home maintenance.
(Many of the links in this article redirect to a specific reviewed product. Your purchase of these products through affiliate links helps to generate commission for Storables.com, at no extra cost. Learn more)
Introduction
Welcome to our comprehensive guide on how to change the filter on a window air conditioner. Window air conditioners are a popular and efficient way to cool individual rooms in homes and apartments. Regularly changing the filter is an essential maintenance task that ensures your air conditioner functions properly and provides clean, cool air.
A dirty or clogged filter can hinder the airflow in your air conditioner, reducing its efficiency and increasing energy consumption. It can also lead to poor indoor air quality, as the filter is responsible for trapping dust, pollen, pet dander, and other airborne particles.
Failing to change the filter regularly can result in a decline in the unit’s performance, higher utility bills, and potential damage to the air conditioner. Fortunately, changing the filter is a simple and straightforward process that can be done by any homeowner with basic DIY skills.
In this guide, we will walk you through each step of changing the filter on a window air conditioner. We will also provide you with valuable safety precautions to follow and a list of tools and materials you’ll need for the task. So let’s get started and ensure your window air conditioner is running at its best!
Key Takeaways:
- Regularly changing the filter on your window air conditioner is essential for keeping it running efficiently and providing clean, cool air for your home. It’s a simple DIY task that can save you money on utility bills and improve indoor air quality.
- Prioritize safety by following precautions like turning off the power, wearing protective gear, and ensuring proper ventilation when changing the filter on your window air conditioner. These simple steps can help prevent accidents and injuries while maintaining your appliance.
Safety Precautions
Before you begin changing the filter on your window air conditioner, it’s important to prioritize safety. Here are some precautions you should take:
- Turn off the power: Before doing any maintenance on your air conditioner, make sure to turn off the power at the electrical panel. This will prevent any risk of electric shock while working on the unit.
- Wear protective gear: It’s a good idea to wear gloves and safety goggles to protect your hands and eyes from dust, debris, and potentially sharp edges.
- Ensure stability: If your window air conditioner is installed in a high or hard-to-reach window, use a stable ladder or step stool to access it safely. Make sure the ladder is positioned securely and someone is nearby to assist if needed.
- Maintain proper ventilation: If you’re working in a small, enclosed space, make sure the area is well-ventilated to avoid inhaling any fumes or dust particles released during the process.
- Follow manufacturer’s instructions: Always refer to the manufacturer’s manual for specific safety guidelines and instructions related to your specific window air conditioner model.
By following these safety precautions, you can minimize the risk of accidents or injuries while changing the filter on your window air conditioner. Safety should always be your top priority when working with any electrical or mechanical appliance.
Tools and Materials Needed
Before you get started with changing the filter on your window air conditioner, it’s important to gather the necessary tools and materials. Here’s a list of what you’ll need:
- Screwdriver: Most window air conditioners use screws to secure the front cover. A screwdriver will be needed to remove these screws.
- Clean rag or vacuum cleaner: You’ll need a clean rag or a vacuum cleaner with a brush attachment to remove any dust or debris from the filter compartment.
- New air filter: Purchase a new filter that is compatible with your specific window air conditioner model. It’s recommended to use the manufacturer’s recommended filter to ensure proper fit and filtration.
It’s important to have these tools and materials ready before you start the process of changing the filter. This will ensure a smooth and efficient process without any interruptions or delays.
Step 1: Turn Off the Air Conditioner
The first step in changing the filter on your window air conditioner is to turn off the unit. This is an essential safety precaution to avoid any accidents or injuries while working on the appliance.
Locate the power switch on your air conditioner and turn it off. If your unit is connected to a power outlet, you can unplug it from the socket. Alternatively, you can turn off the power at the electrical panel if there is a dedicated circuit breaker for the air conditioner.
Once the air conditioner is turned off, wait for a few minutes to allow the unit to cool down. This will help prevent any potential burns from touching hot surfaces when removing the front cover and accessing the filter.
Before proceeding to the next step, double-check that the air conditioner is completely powered off. Additionally, make sure the area around the unit is clear of any obstacles or debris that may hinder the filter replacement process.
By following this step, you ensure your safety and prevent any possible electric shocks or injuries during the filter replacement process.
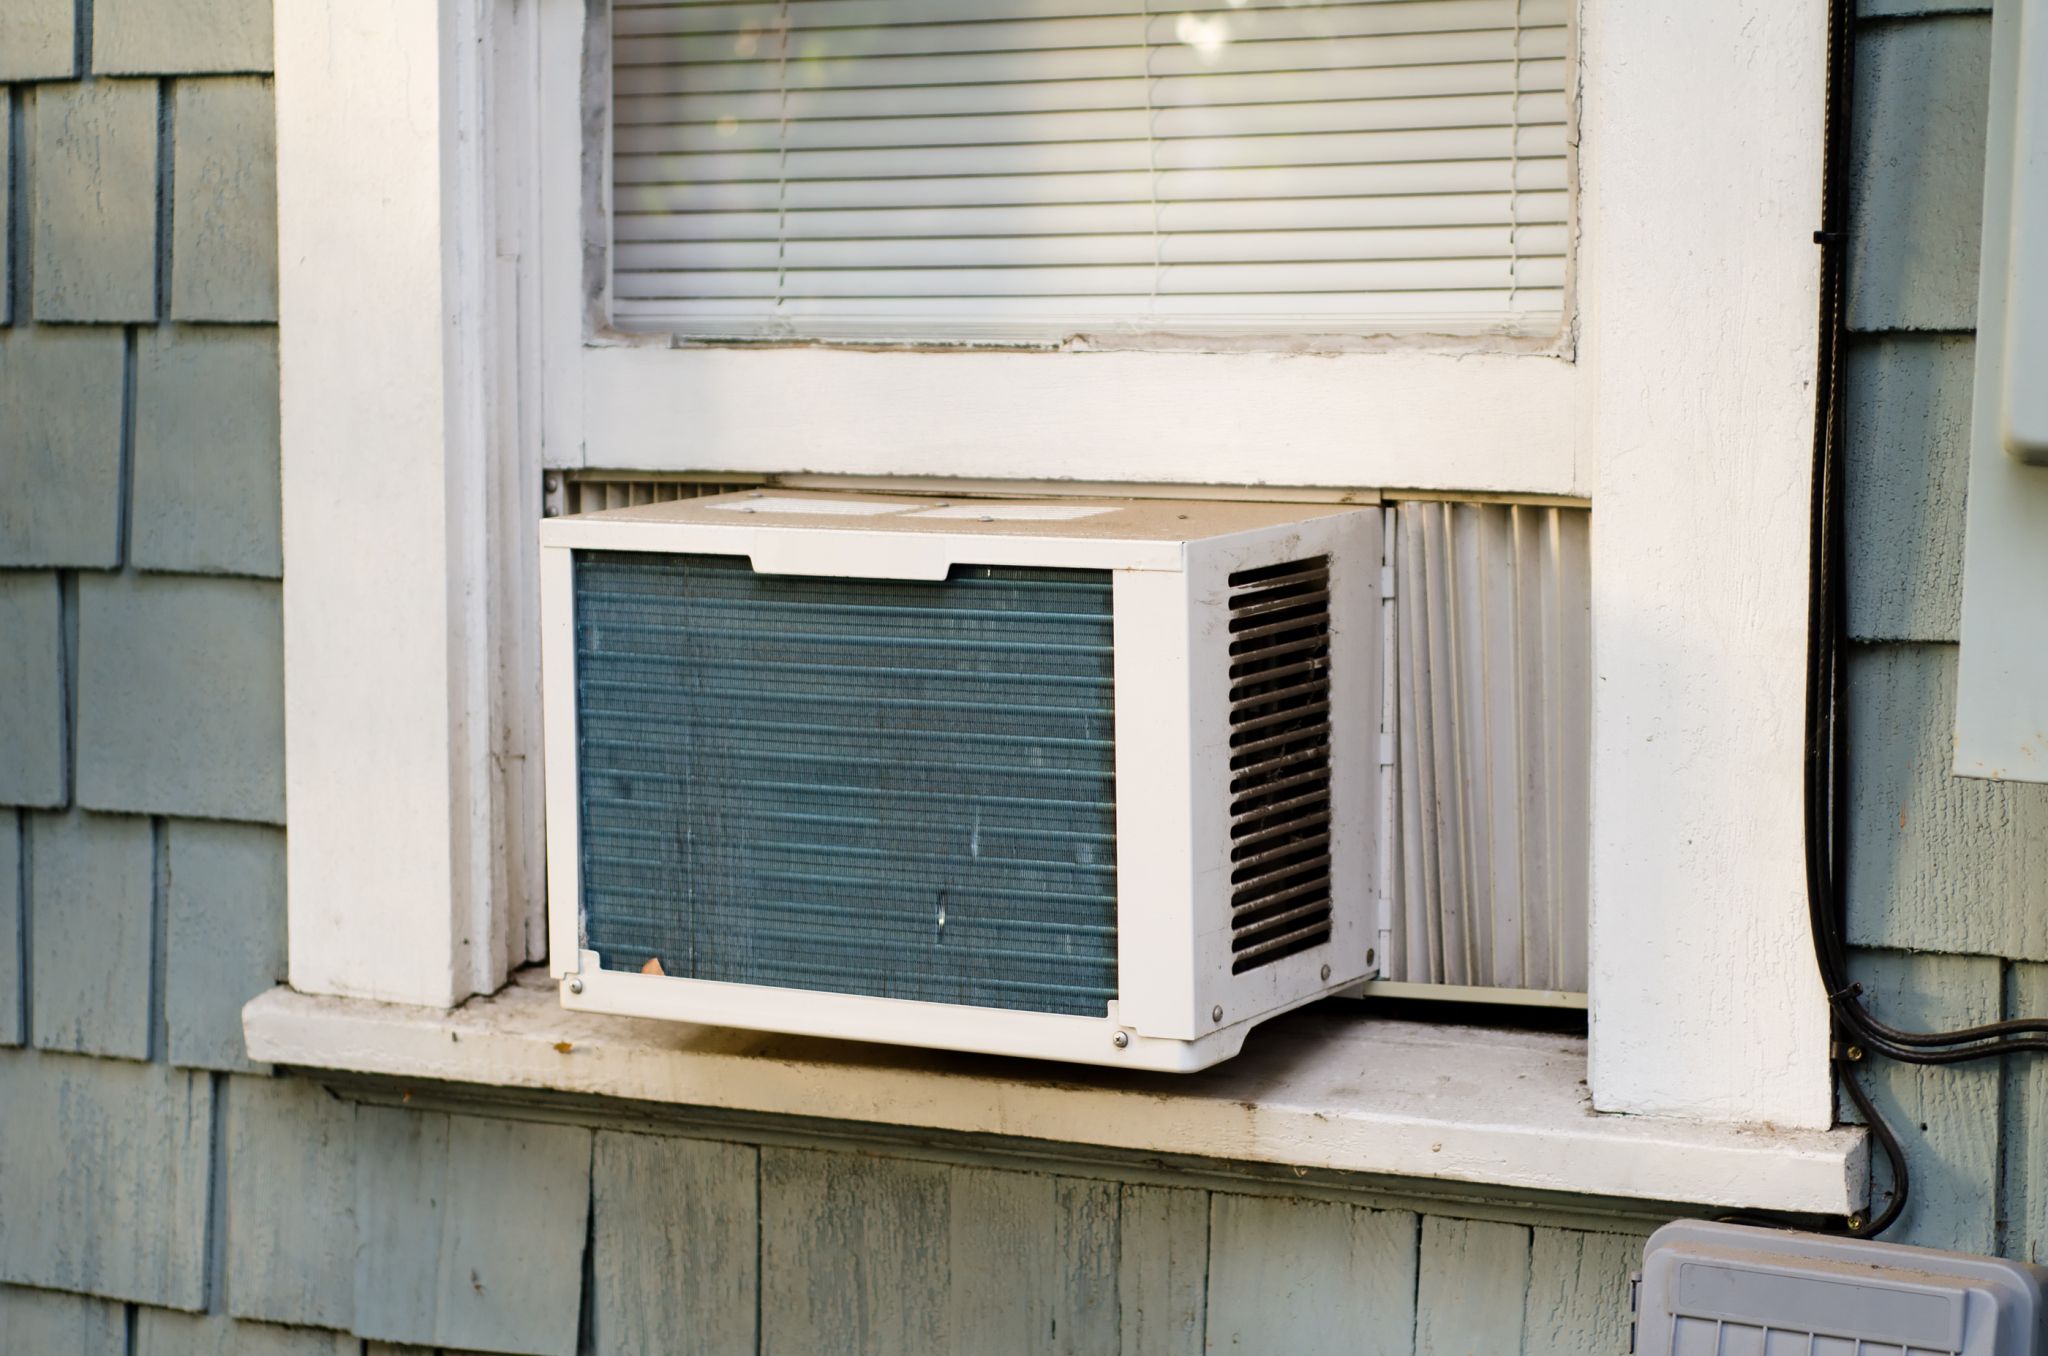
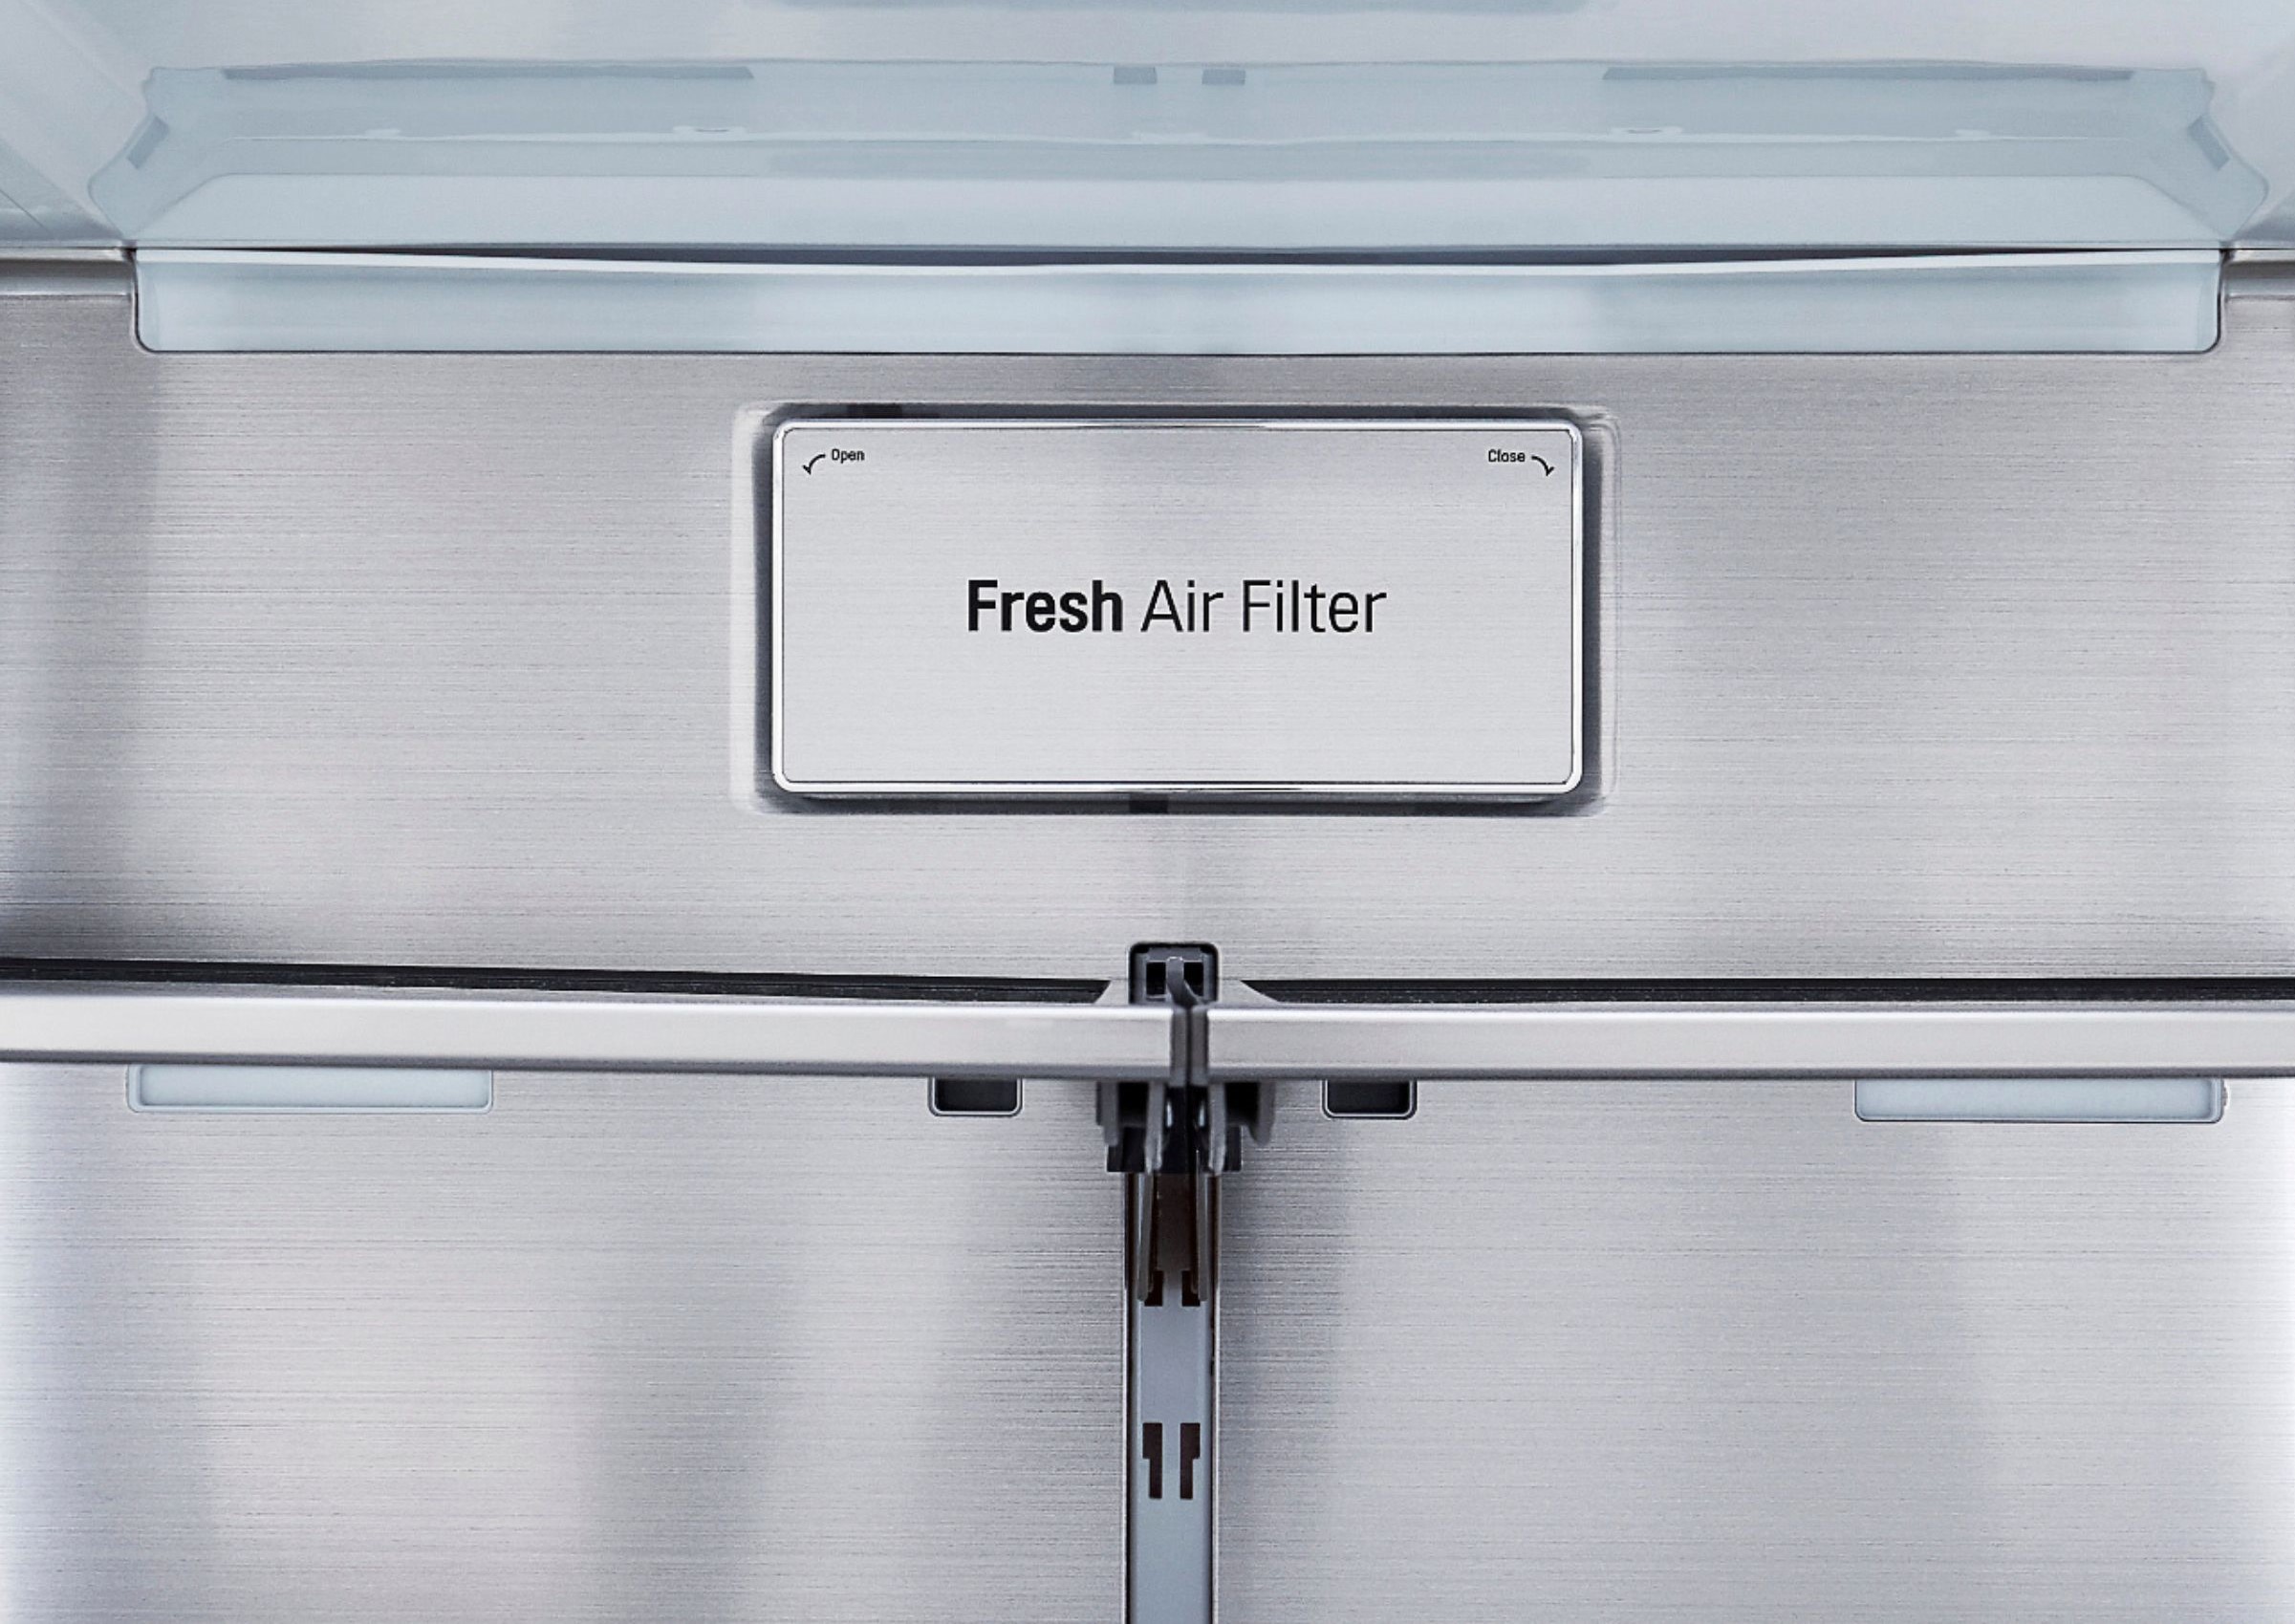
Step 2: Locate the Filter
After turning off the air conditioner, the next step is to locate the filter. The filter is typically located behind the front cover of the unit. Different window air conditioner models may have slight variations in the filter’s placement, so it’s important to refer to your specific unit’s manual for precise instructions.
To locate the filter, examine the front of the air conditioner. Look for any latches, tabs, or screws that secure the front cover. In most cases, you will need to remove these fasteners to access the filter compartment.
Check for any labels or markings on the front cover that indicate the location of the filter. Some air conditioners have an indicator window that allows you to see the filter without opening the cover.
If you’re having trouble locating the filter, consult the manufacturer’s manual or refer to online resources specific to your air conditioner model. You can also reach out to the manufacturer’s customer support for assistance.
Once you’ve successfully located the filter, you’re ready to move on to the next step of removing the front cover.
Note: If you have difficulty locating the filter or if the filter compartment is visibly damaged, it may be best to consult a professional technician for assistance.
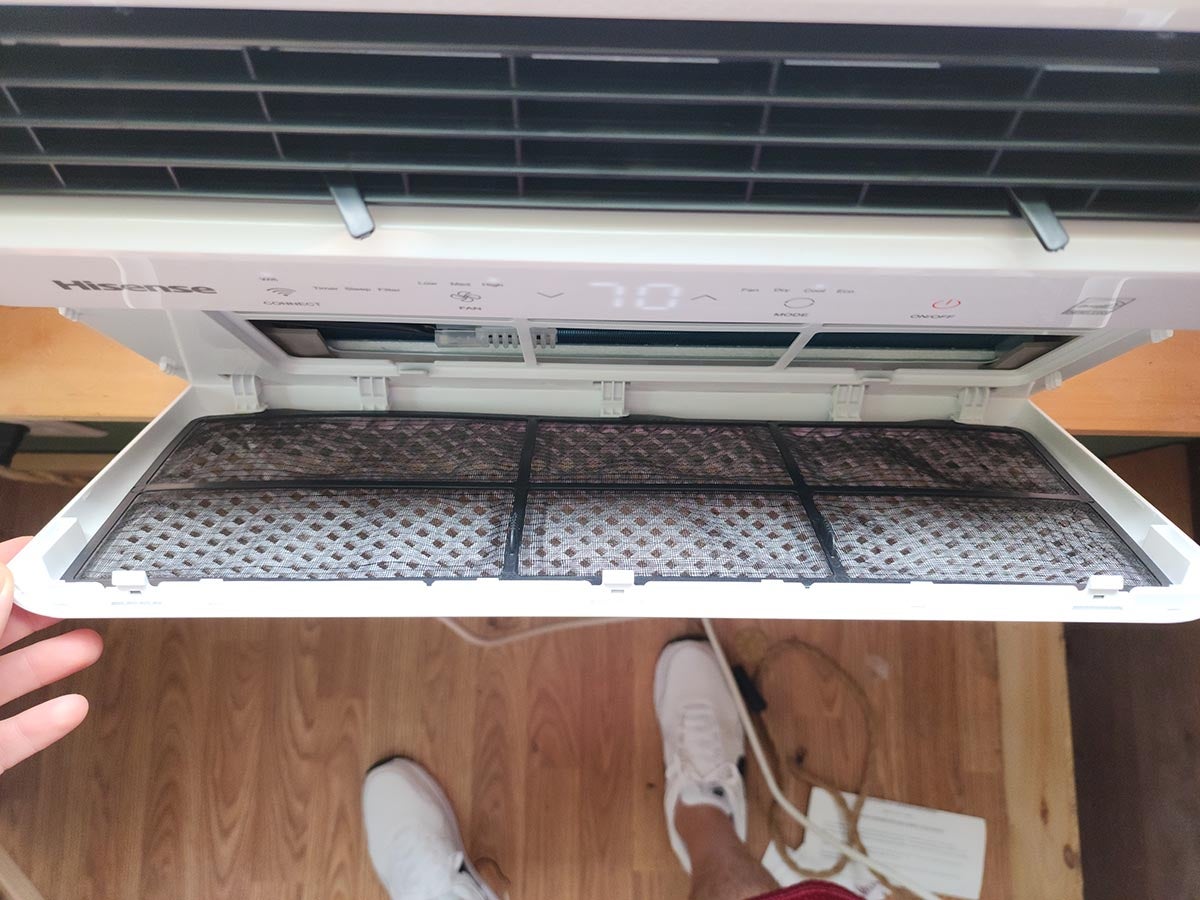
Step 3: Remove the Front Cover
With the filter located, the next step is to remove the front cover of the window air conditioner. The front cover protects the filter and other internal components, and it needs to be removed to access the filter for replacement.
Start by examining the front cover for any fasteners or securing mechanisms. Most window air conditioners use screws or latches to hold the front cover in place. Use a screwdriver or your hands to remove the screws or release the latches.
Once the fasteners are removed, gently pull the front cover towards you to detach it from the air conditioner. Be cautious as some covers may be heavy or have sharp edges.
If the front cover is stuck or difficult to remove, refer to the manufacturer’s manual for guidance or consult a professional technician for assistance. It’s crucial not to use excessive force or cause any damage to the unit.
After successfully removing the front cover, set it aside in a safe location where it won’t get damaged or cause any tripping hazards.
By following this step, you have now gained access to the filter compartment, and you’re ready to proceed with the next step of removing the old filter.
To change the filter on a window air conditioner, first, turn off the unit and locate the filter. Remove the old filter and clean the area. Then, insert the new filter, making sure it is securely in place.
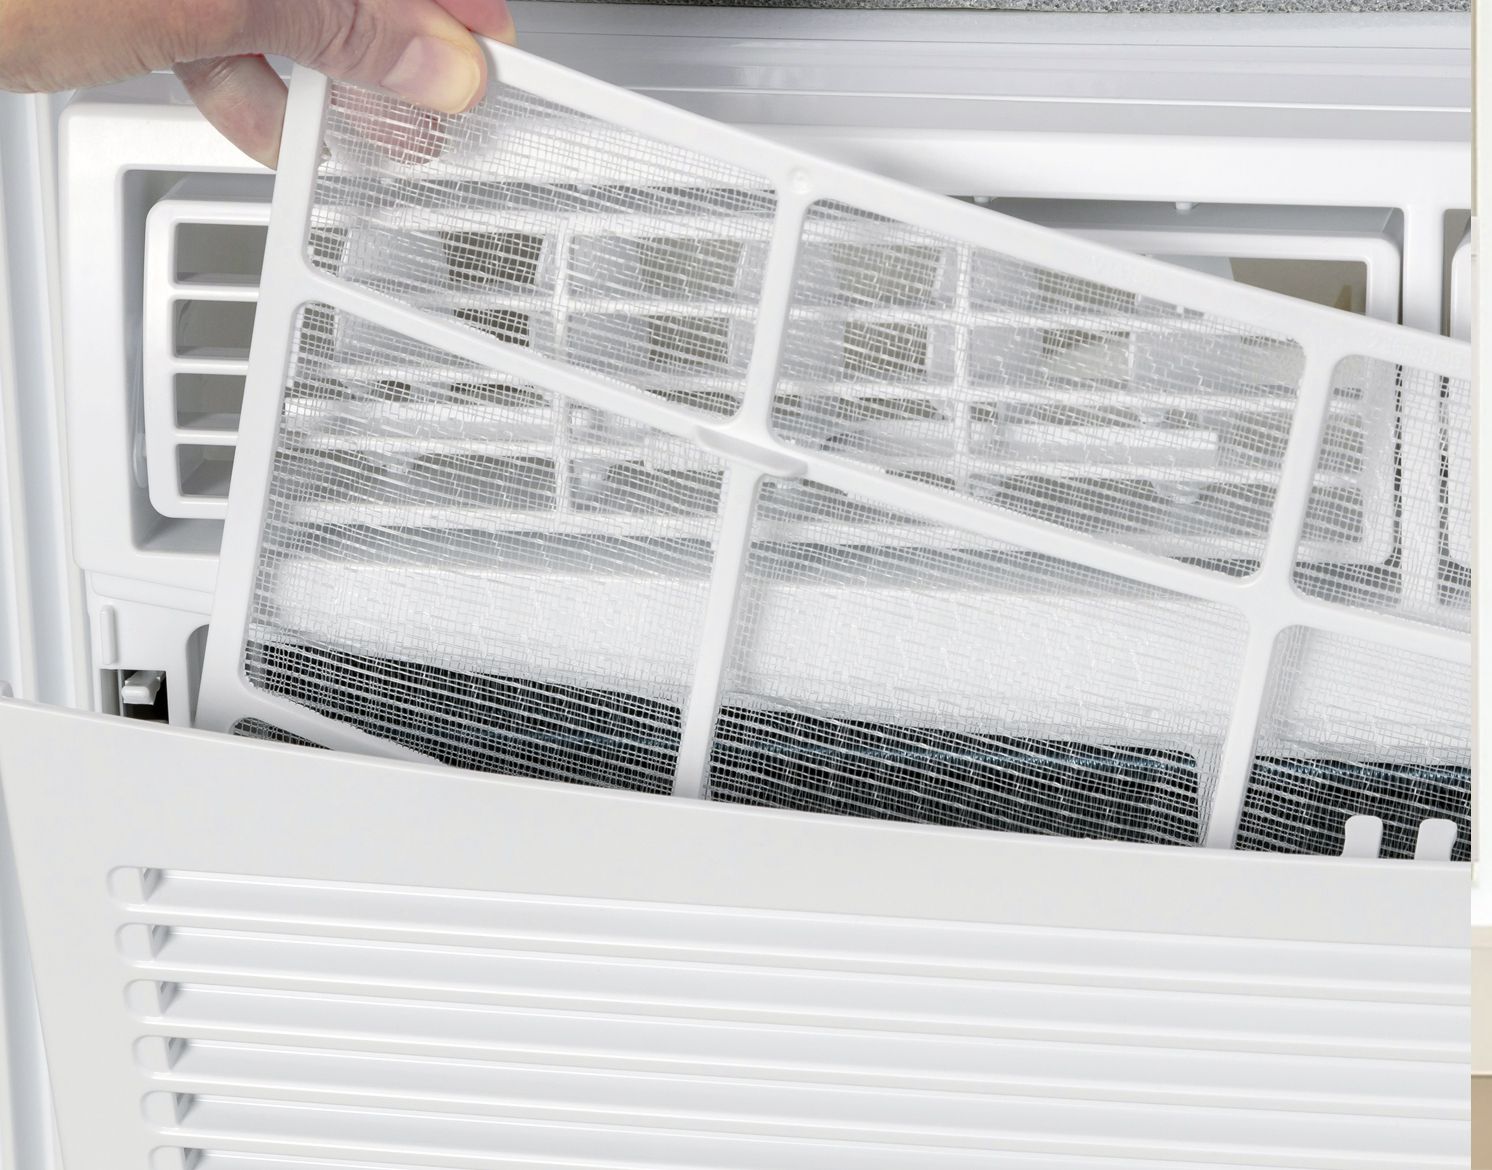
Step 4: Take Out the Old Filter
Now that you’ve removed the front cover, it’s time to take out the old filter from the window air conditioner. The filter is responsible for trapping dust, pollen, and other airborne particles, so it’s important to replace it regularly for optimal performance and indoor air quality.
Take a close look at the old filter and assess its condition. If the filter appears dirty, clogged, or damaged, it’s definitely time for a replacement. Even if it looks relatively clean, it’s still a good idea to replace it according to the manufacturer’s recommendations, which is typically every 1 to 3 months.
To remove the old filter, gently pull it out of the filter compartment. Be cautious not to force or bend the filter, as this can cause damage or distribute trapped particles back into the air.
Inspect the filter compartment and surrounding areas for any debris or dust buildup. Use a clean rag or a vacuum cleaner with a brush attachment to remove any loose particles. It’s important to achieve a clean and dust-free surface before installing the new filter.
Dispose of the old filter properly according to local regulations. Some filters can be recyclable, so check with your local recycling center to see if they accept used air filters. If not, discard the old filter in a sealed plastic bag to prevent any particles from escaping.
By completing this step, you have successfully removed the old filter from the window air conditioner. Now, it’s time to move on to the next step of cleaning or replacing the filter.
Step 5: Clean or Replace the Filter
With the old filter removed, you have the option to either clean the existing filter or replace it with a new one, depending on its condition.
If the filter is made of washable material, such as foam or mesh, you can clean it to extend its lifespan. Follow the manufacturer’s instructions for cleaning the filter. Typically, you can rinse it under running water or use a mild detergent to remove any dirt and debris. Allow the filter to air dry completely before reinstalling it.
However, if the filter is disposable or in poor condition, it’s recommended to replace it with a new one. Check the model number or consult the manufacturer’s manual to find the correct replacement filter for your window air conditioner.
When purchasing a new filter, it’s recommended to use the manufacturer’s recommended filter for optimal performance and filtration. A compatible filter will ensure a proper fit and efficient airflow in your air conditioner.
Before installing the cleaned filter or the new replacement filter, take a moment to inspect the filter compartment and surrounding areas. Remove any dust or debris using a clean rag or a vacuum cleaner with a brush attachment. This ensures a clean and dust-free environment for the filter to operate effectively.
Once the filter compartment is clean, insert the cleaned or new filter into the designated slot. Make sure the filter is positioned correctly with the airflow arrows or markings facing the correct direction. This ensures proper air filtration and circulation through the air conditioner.
By completing this step, you have either cleaned or replaced the filter, ensuring that your window air conditioner will provide clean and refreshed air for your space.
Step 6: Reinstall the Front Cover
Now that you’ve cleaned or replaced the filter, it’s time to reattach the front cover of your window air conditioner. The front cover not only protects the filter but also helps to maintain proper airflow and prevent any debris from entering the unit.
Align the front cover with the unit, ensuring that it fits securely and matches up with any tabs or slots on the air conditioner. Gently push the front cover into place, making sure it is properly aligned and seated.
If your air conditioner uses screws to secure the front cover, use a screwdriver to insert the screws back into their respective holes. Tighten them securely but avoid over-tightening, as this can damage the cover or make it difficult to remove in the future.
If latches or clips are used to secure the front cover, make sure they are engaged and hold the cover firmly in place. Test the cover by gently pressing on it to ensure it is secure and does not move or wobble.
Once the front cover is reinstalled, visually inspect it to ensure it is properly aligned, flush with the unit, and free from any gaps or loose areas. This will help maintain proper airflow and prevent any air leakage.
By completing this step, you have successfully reinstalled the front cover of your window air conditioner, ensuring that the filter is properly protected and the unit is ready for operation.
Step 7: Turn On the Air Conditioner
Now that you have completed the filter replacement and reinstalled the front cover, it’s time to turn on the air conditioner and enjoy the cool, clean air it provides.
Double-check that the front cover is securely in place and that all screws or latches are tightened. This ensures that the cover won’t come loose during operation and maintains proper airflow.
Locate the power switch or plug the air conditioner back into the power outlet. If you had turned off the power at the electrical panel, switch it back on.
Once the power is restored, you can turn on the air conditioner using the controls on the unit or the remote control, depending on your specific model.
Give the air conditioner a few moments to start up and cool down. You should hear the sound of the compressor kicking in, and feel cool air being circulated into the room.
Observe the air conditioner and ensure that it is functioning properly. Check for any unusual sounds, vibrations, or malfunctions. If you notice any issues, turn off the unit immediately and consult the manufacturer’s manual or seek professional assistance.
With the air conditioner running, you can enjoy the benefits of a clean filter, improved indoor air quality, and efficient cooling. Remember to regularly inspect the filter and follow the manufacturer’s recommendations for future filter replacements.
By completing this final step, you have successfully turned on your window air conditioner, and it is ready to provide cool and refreshing air for your space.
Conclusion
Congratulations! You have now completed the process of changing the filter on your window air conditioner. Regularly changing the filter is crucial for maintaining the efficiency and performance of your unit, as well as ensuring clean and healthy indoor air.
By following the step-by-step instructions in this guide, you have learned how to safely turn off the air conditioner, locate the filter, remove the front cover, take out the old filter, and clean or replace it with a new one. You have also reinstalled the front cover and turned on the air conditioner to enjoy its cool and clean air once again.
Remember, changing the filter should be done on a regular basis according to the manufacturer’s recommendations. This can vary depending on factors such as usage, air quality, and the type of filter used. Regular maintenance of your window air conditioner will not only prolong its lifespan but also improve its energy efficiency, saving you money on utility bills.
As a responsible homeowner, it’s important to prioritize maintenance tasks like changing the filter to ensure your window air conditioner operates at its best. Additionally, don’t forget to follow any specific guidelines or recommendations provided by the manufacturer for your specific model.
We hope this guide has been helpful in assisting you with changing the filter on your window air conditioner. Enjoy the comfort of clean and efficient cooling throughout the year!
Now that you've mastered changing filters in window air conditioners, why stop there? Keep your appliances running smoothly by checking out our guide on top picks for GE refrigerator water filter replacements in 2024. Ensuring your fridge's filter is up to par can significantly impact water taste and safety, making this read a must for any savvy homeowner.
Frequently Asked Questions about How To Change The Filter On A Window Air Conditioner
Was this page helpful?
At Storables.com, we guarantee accurate and reliable information. Our content, validated by Expert Board Contributors, is crafted following stringent Editorial Policies. We're committed to providing you with well-researched, expert-backed insights for all your informational needs.