Home>Home Maintenance>How To Clean A Fujitsu Air Conditioner
Home Maintenance
How To Clean A Fujitsu Air Conditioner
Modified: March 7, 2024
Learn how to properly clean and maintain your Fujitsu air conditioner with our step-by-step guide. Keep your home comfortable and cool with regular home maintenance.
(Many of the links in this article redirect to a specific reviewed product. Your purchase of these products through affiliate links helps to generate commission for Storables.com, at no extra cost. Learn more)
Introduction
Welcome to our comprehensive guide on how to clean a Fujitsu air conditioner. Regular maintenance and cleaning of your air conditioning system is crucial to ensure optimal performance and longevity. By following these steps, you can keep your Fujitsu air conditioner running smoothly and efficiently, providing you with cool and comfortable air year-round.
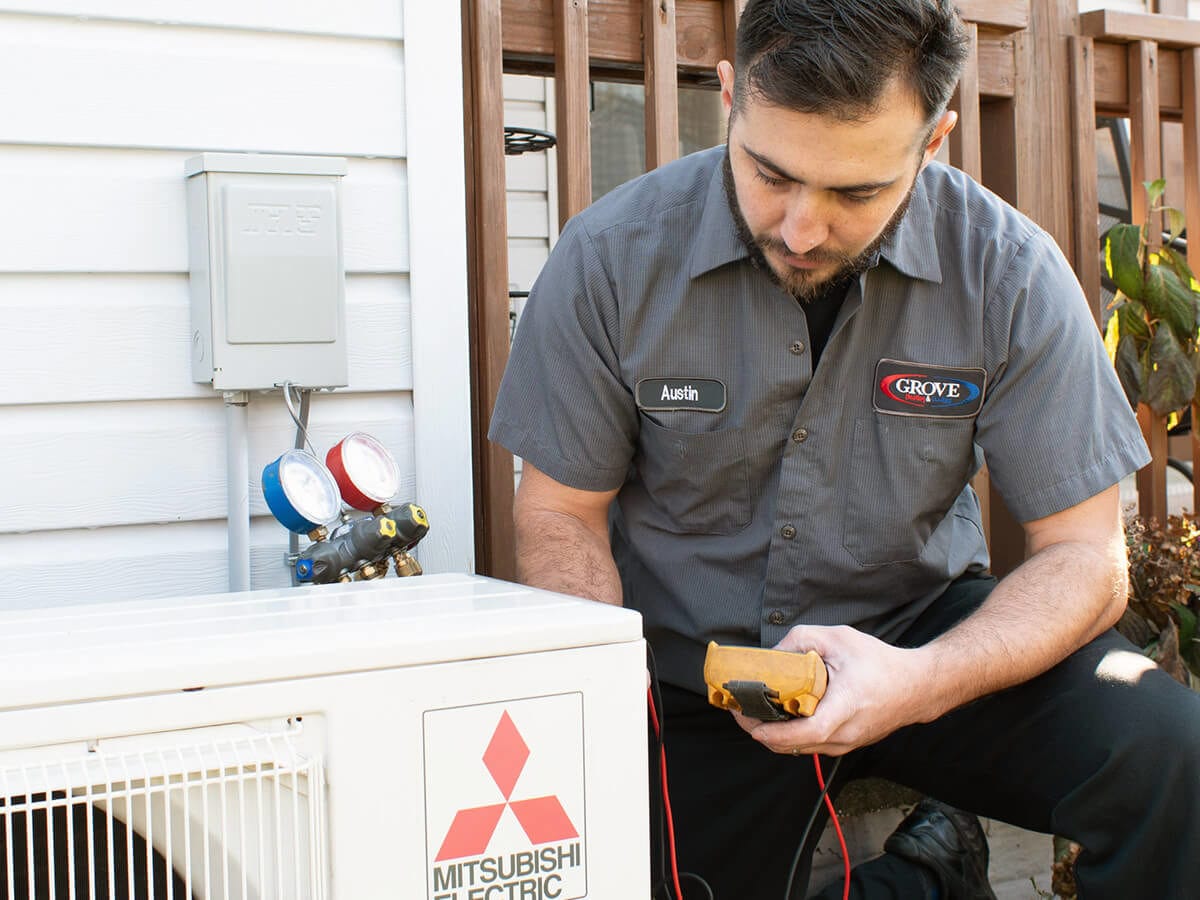
Before we dive into the cleaning process, it’s important to address a few safety precautions. First, make sure to shut off the power to the unit before starting any cleaning procedures. This will help prevent any electrical accidents or damage. Additionally, if you’re unsure about any steps or feel uncomfortable with performing the cleaning yourself, it’s always best to consult a professional technician.
Now that you’re aware of the necessary precautions, let’s move on to the step-by-step process of cleaning your Fujitsu air conditioner.
Key Takeaways:
- Regularly cleaning your Fujitsu air conditioner’s filters, indoor and outdoor units, and condensate drain ensures optimal performance, energy efficiency, and clean air for a comfortable home all year round.
- Safety first! Always shut off the power before cleaning your Fujitsu air conditioner. If in doubt, consult a professional technician for maintenance and troubleshooting.
Read more: How To Operate A Fujitsu Air Conditioner
Step 1: Shutting off the power
The first step in cleaning a Fujitsu air conditioner is to ensure that the power to the unit is completely turned off. This is essential for your safety and to prevent any damage to the system during the cleaning process.
To shut off the power, locate the circuit breaker panel in your home or building. Look for the switch that controls the power supply to the air conditioner unit. It is usually labeled “Air Conditioner” or something similar.
Once you’ve located the correct switch, flip it to the “Off” position. This will cut off the power supply and ensure that there is no electricity flowing to the unit.
Alternatively, you may also find an electrical disconnect box near the outdoor unit of your Fujitsu air conditioner. Open the box and turn off the power switch inside. This will achieve the same result of shutting off the power supply.
After you’ve shut off the power, it’s a good idea to double-check by turning on your air conditioner’s thermostat. If the unit doesn’t turn on, you can be confident that the power has been successfully turned off.
Remember, safety should always be your top priority. Take the time to shut off the power properly before proceeding to the next step.
Step 2: Removing the air filters
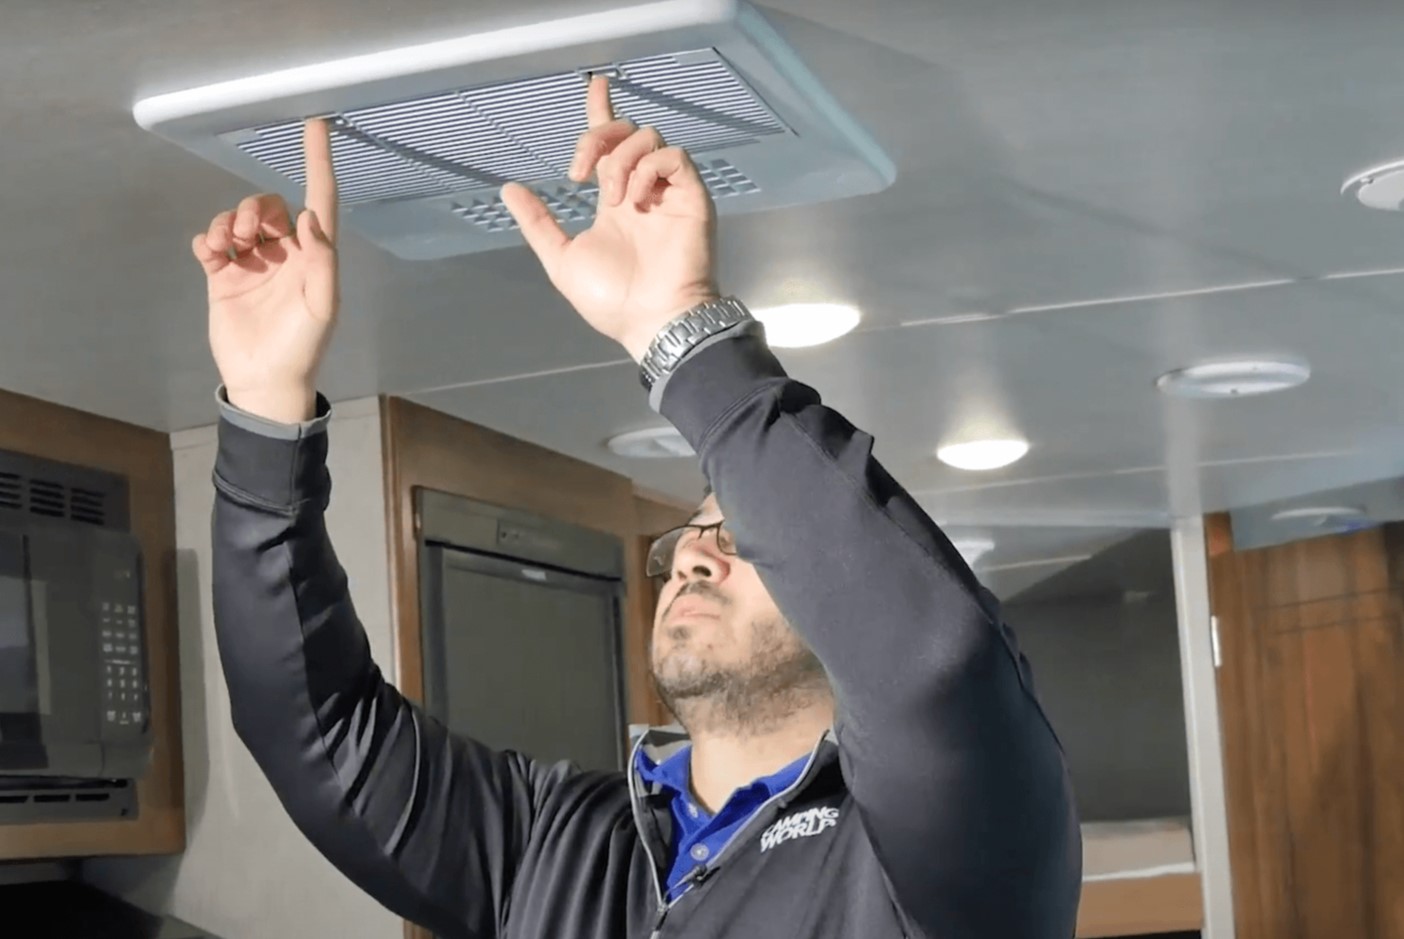
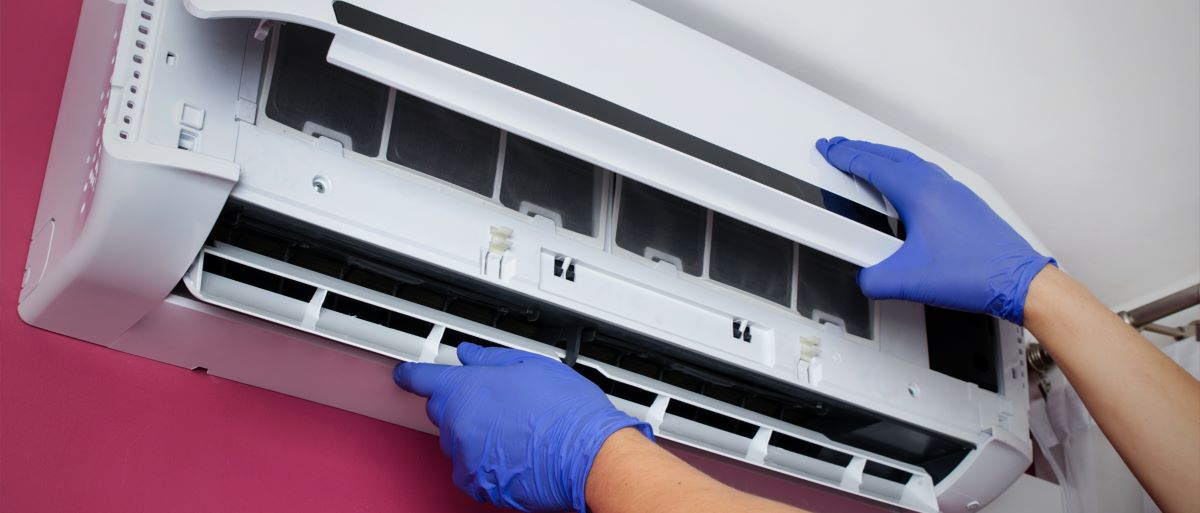
Now that you have safely turned off the power to your Fujitsu air conditioner, it’s time to remove the air filters. Air filters play a crucial role in the efficiency and performance of your air conditioning system by trapping dust, dirt, and other particles.
To access and remove the air filters, locate the front panel of the indoor unit. This is typically located on the wall or ceiling where the air is discharged into the room. Look for the latches or tabs that secure the front panel in place.
Using your hands or a screwdriver, carefully release the latches or tabs and gently lower the front panel. Take note of any wires or connections attached to the panel and ensure that they’re not damaged or pulled too tightly.
Once the front panel is removed, you should see the air filters positioned behind it. Fujitsu air conditioners usually have two types of filters: the pre-filter and the main filter. The pre-filter is a washable mesh filter that traps larger particles, while the main filter is a high-efficiency filter that captures smaller particles.
To remove the air filters, simply slide them out of their designated slots. Take this opportunity to inspect the filters for any visible dirt or debris. If the filters are excessively dirty or damaged, it’s advisable to replace them with new ones for optimal performance.
Remember to handle the filters with care to avoid tearing or bending them. If necessary, refer to your Fujitsu air conditioner’s user manual for specific instructions on removing and handling the filters.
With the air filters removed, you’re now ready to move on to the next step of cleaning your Fujitsu air conditioner.
Step 3: Cleaning the air filters
Now that you have removed the air filters from your Fujitsu air conditioner, it’s time to give them a thorough cleaning. Cleaning the air filters is essential to maintain optimal air quality and system performance.
If the air filters are washable, as is the case with the pre-filter, you can clean them with water. Start by rinsing the filters under running water to remove loose dirt and debris. Avoid using hot water, as it could potentially damage the filters.
Next, prepare a mixture of mild dish soap or detergent and lukewarm water in a basin or sink. Submerge the filters in the soapy water and gently scrub them with a soft brush or sponge. Pay extra attention to any stubborn dirt or stains.
Rinse the filters thoroughly to remove any soap residue. Make sure all the soap has been washed away before proceeding to the next step. Avoid twisting or wringing the filters, as this can cause damage. Instead, gently squeeze out excess water and allow the filters to air dry completely.
If the main filter is not washable, it will need to be replaced. Refer to your Fujitsu air conditioner’s user manual or contact the manufacturer for the appropriate replacement filter. Regularly replacing the main filter ensures that your air conditioner operates at maximum efficiency and prevents dust and allergens from recirculating in your indoor space.
Once the filters are clean and dry, inspect them for any signs of damage or wear. If they are in good condition, proceed to the next step. If they are damaged, make sure to replace them with new filters before reinstalling them.
Cleaning the air filters is an essential maintenance task that should ideally be performed every one to three months, depending on the level of dust and usage of your air conditioner. By keeping the filters clean, you not only improve the air quality in your home but also ensure the efficient performance of your Fujitsu air conditioner.
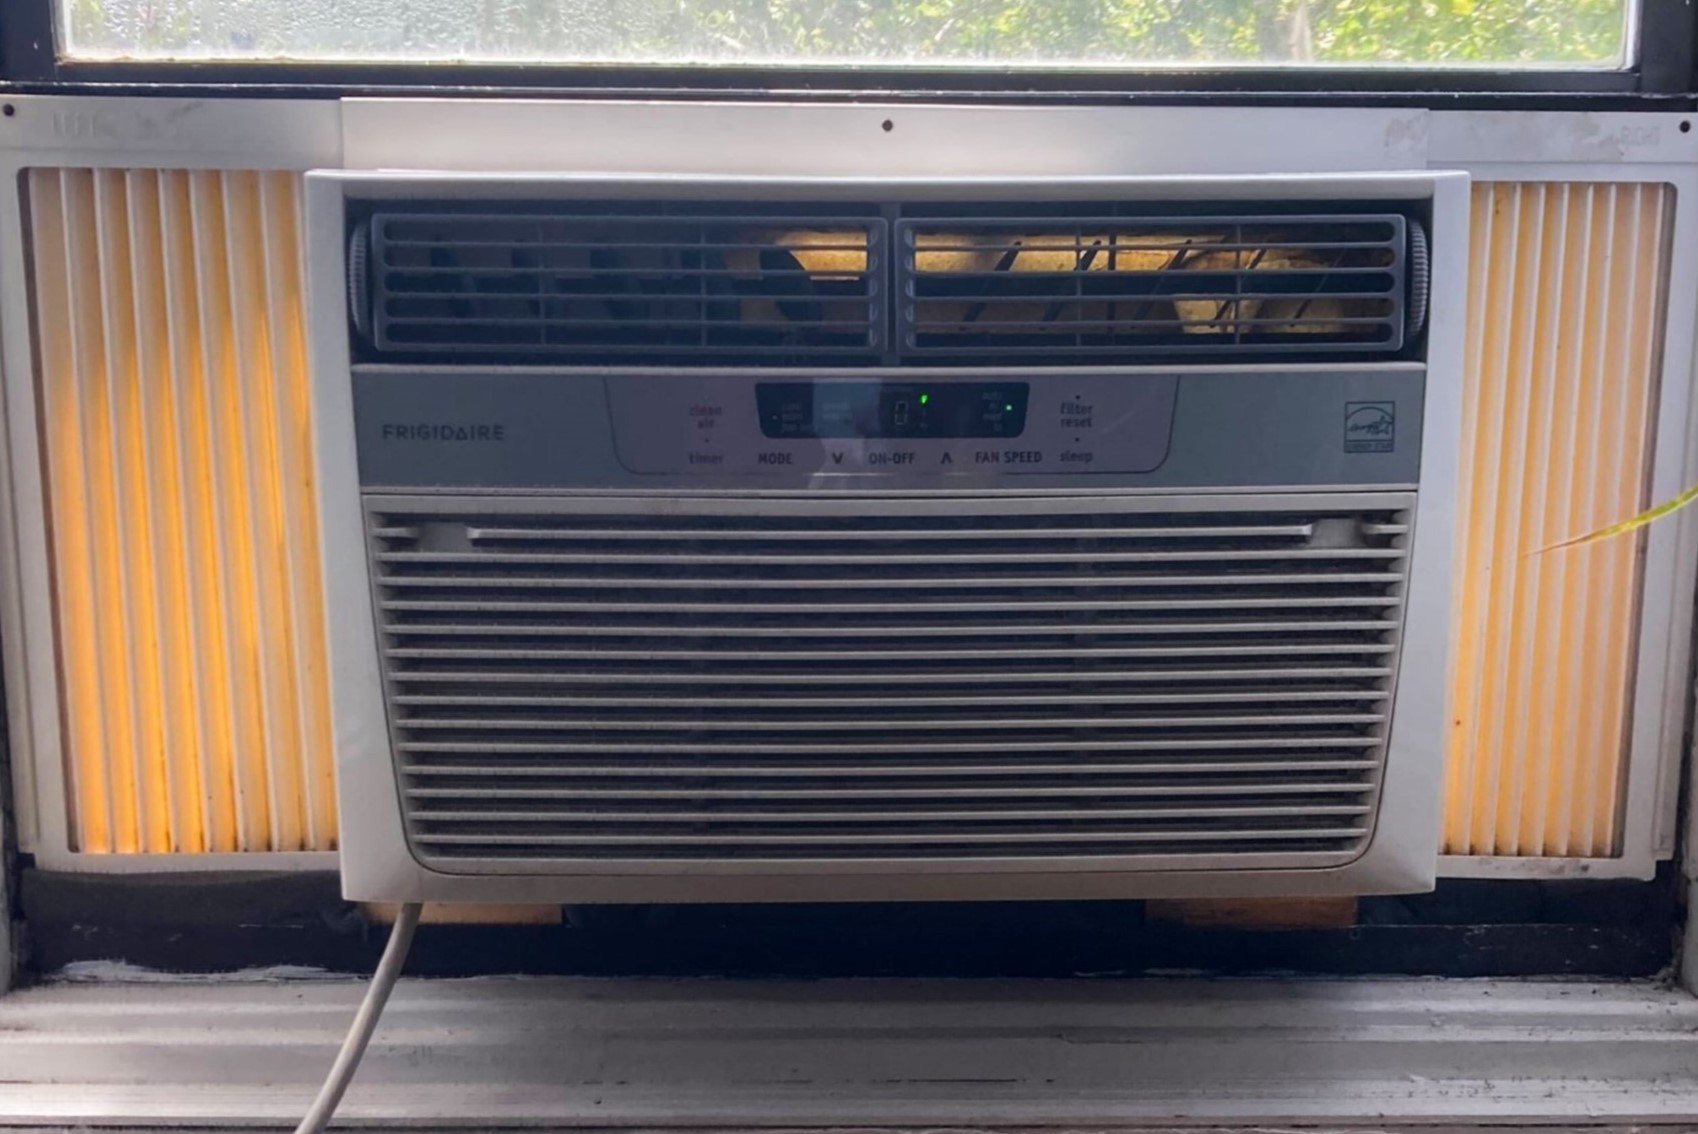
Step 4: Cleaning the indoor unit
Now that you have cleaned and dried the air filters, it’s time to turn your attention to the indoor unit of your Fujitsu air conditioner. Cleaning the indoor unit is essential to remove any accumulated dust or debris that can hinder its performance.
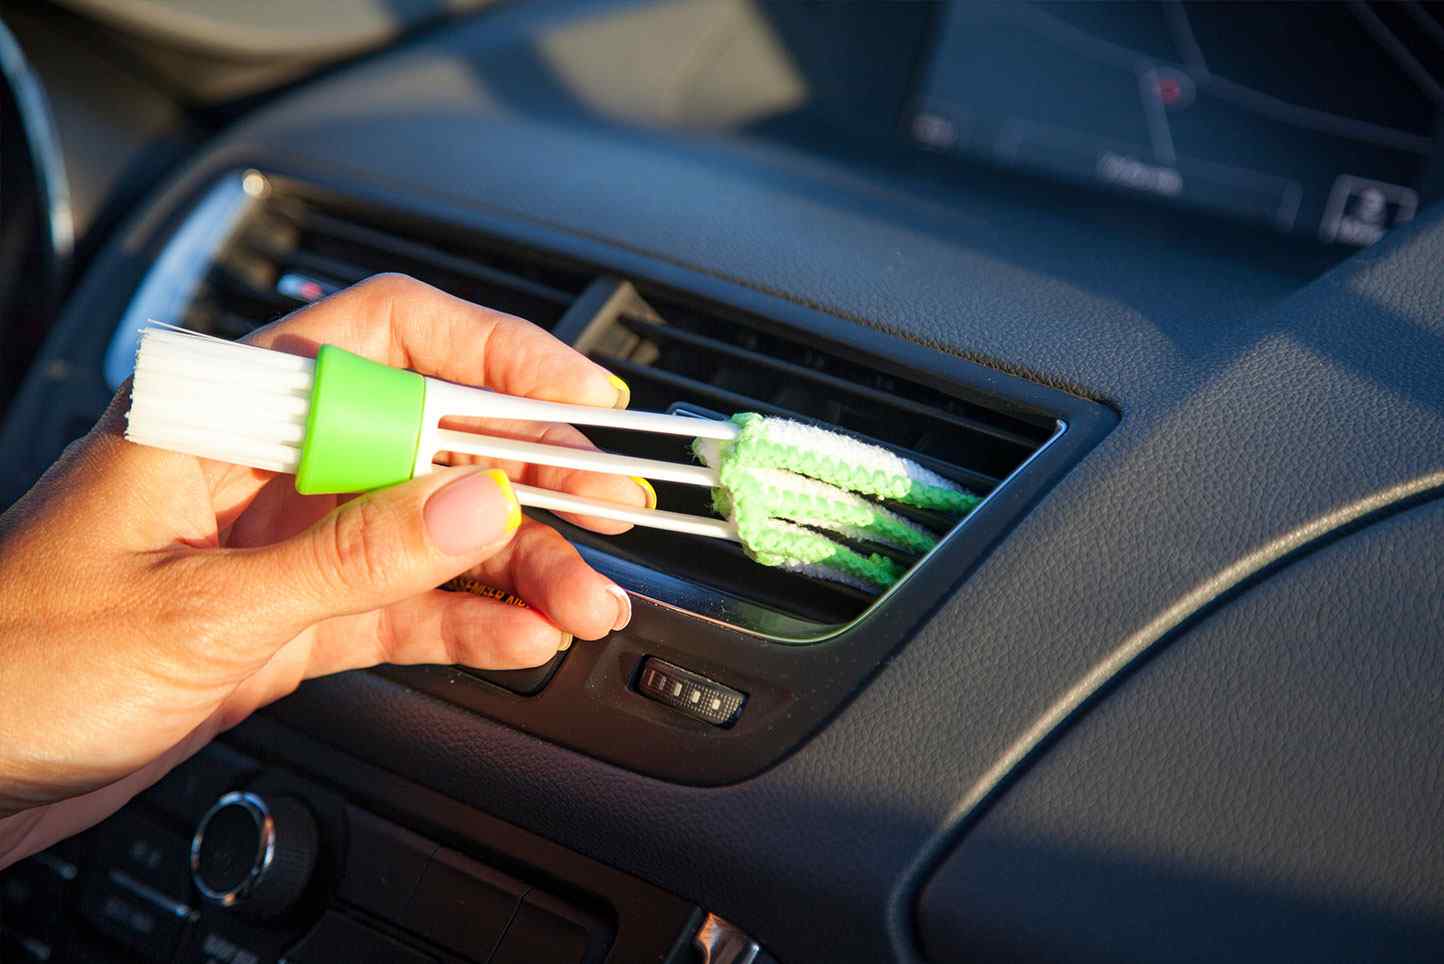
Start by using a soft cloth or brush to gently wipe away any visible dust from the indoor unit. Pay close attention to the louvers, vents, and other areas where dust tends to accumulate. Avoid using excessive force or abrasive materials, as this can damage the unit’s delicate components.
For stubborn dirt or grease stains, you can dampen the cloth slightly with water or a mild cleaning solution. Make sure to wring out the cloth to remove excess moisture before wiping the unit. Avoid spraying cleaning solutions directly onto the unit to prevent any liquid from seeping into the internal components.
Next, carefully remove the front panel of the indoor unit if you haven’t done so already. This will provide you with better access to the inside of the unit for cleaning purposes. Use a brush or vacuum cleaner with a soft brush attachment to remove any dust or debris from the interior surfaces. Take extra care not to damage any wires or delicate components while cleaning.
If you notice excessive dust or dirt buildup on the evaporator coil, which is typically located behind the front panel, it may require additional cleaning. You can gently brush away any loose debris or use a coil cleaner specifically designed for air conditioning units. Follow the manufacturer’s instructions when using a coil cleaner, as different products may have varying application methods.
Once you’ve completed the cleaning process, take a moment to inspect the indoor unit for any signs of damage or wear. If you notice any issues, such as loose wires, corroded connections, or unusual noises, it’s advisable to contact a professional technician for further assistance.
Cleaning the indoor unit of your Fujitsu air conditioner should be done regularly, ideally every few months, to ensure the efficient operation of the system. Keeping the indoor unit clean helps maintain optimal air quality and enhances the overall performance and lifespan of your air conditioner.
Regularly clean the filters and coils of your Fujitsu air conditioner to maintain its efficiency. Use a soft brush or vacuum to remove dust and debris, and a mild detergent to clean the filters. This will ensure better air quality and lower energy consumption.
Read more: How To Reset A Fujitsu Air Conditioner
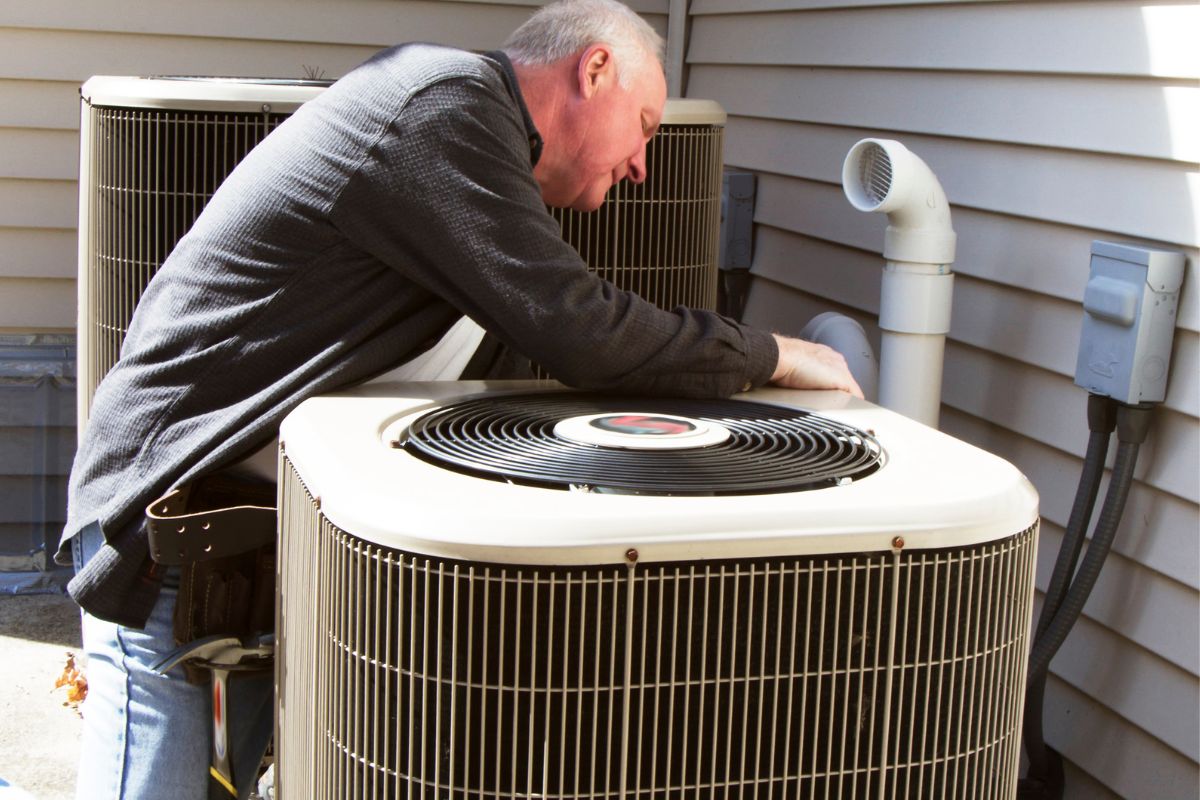
Step 5: Cleaning the outdoor unit
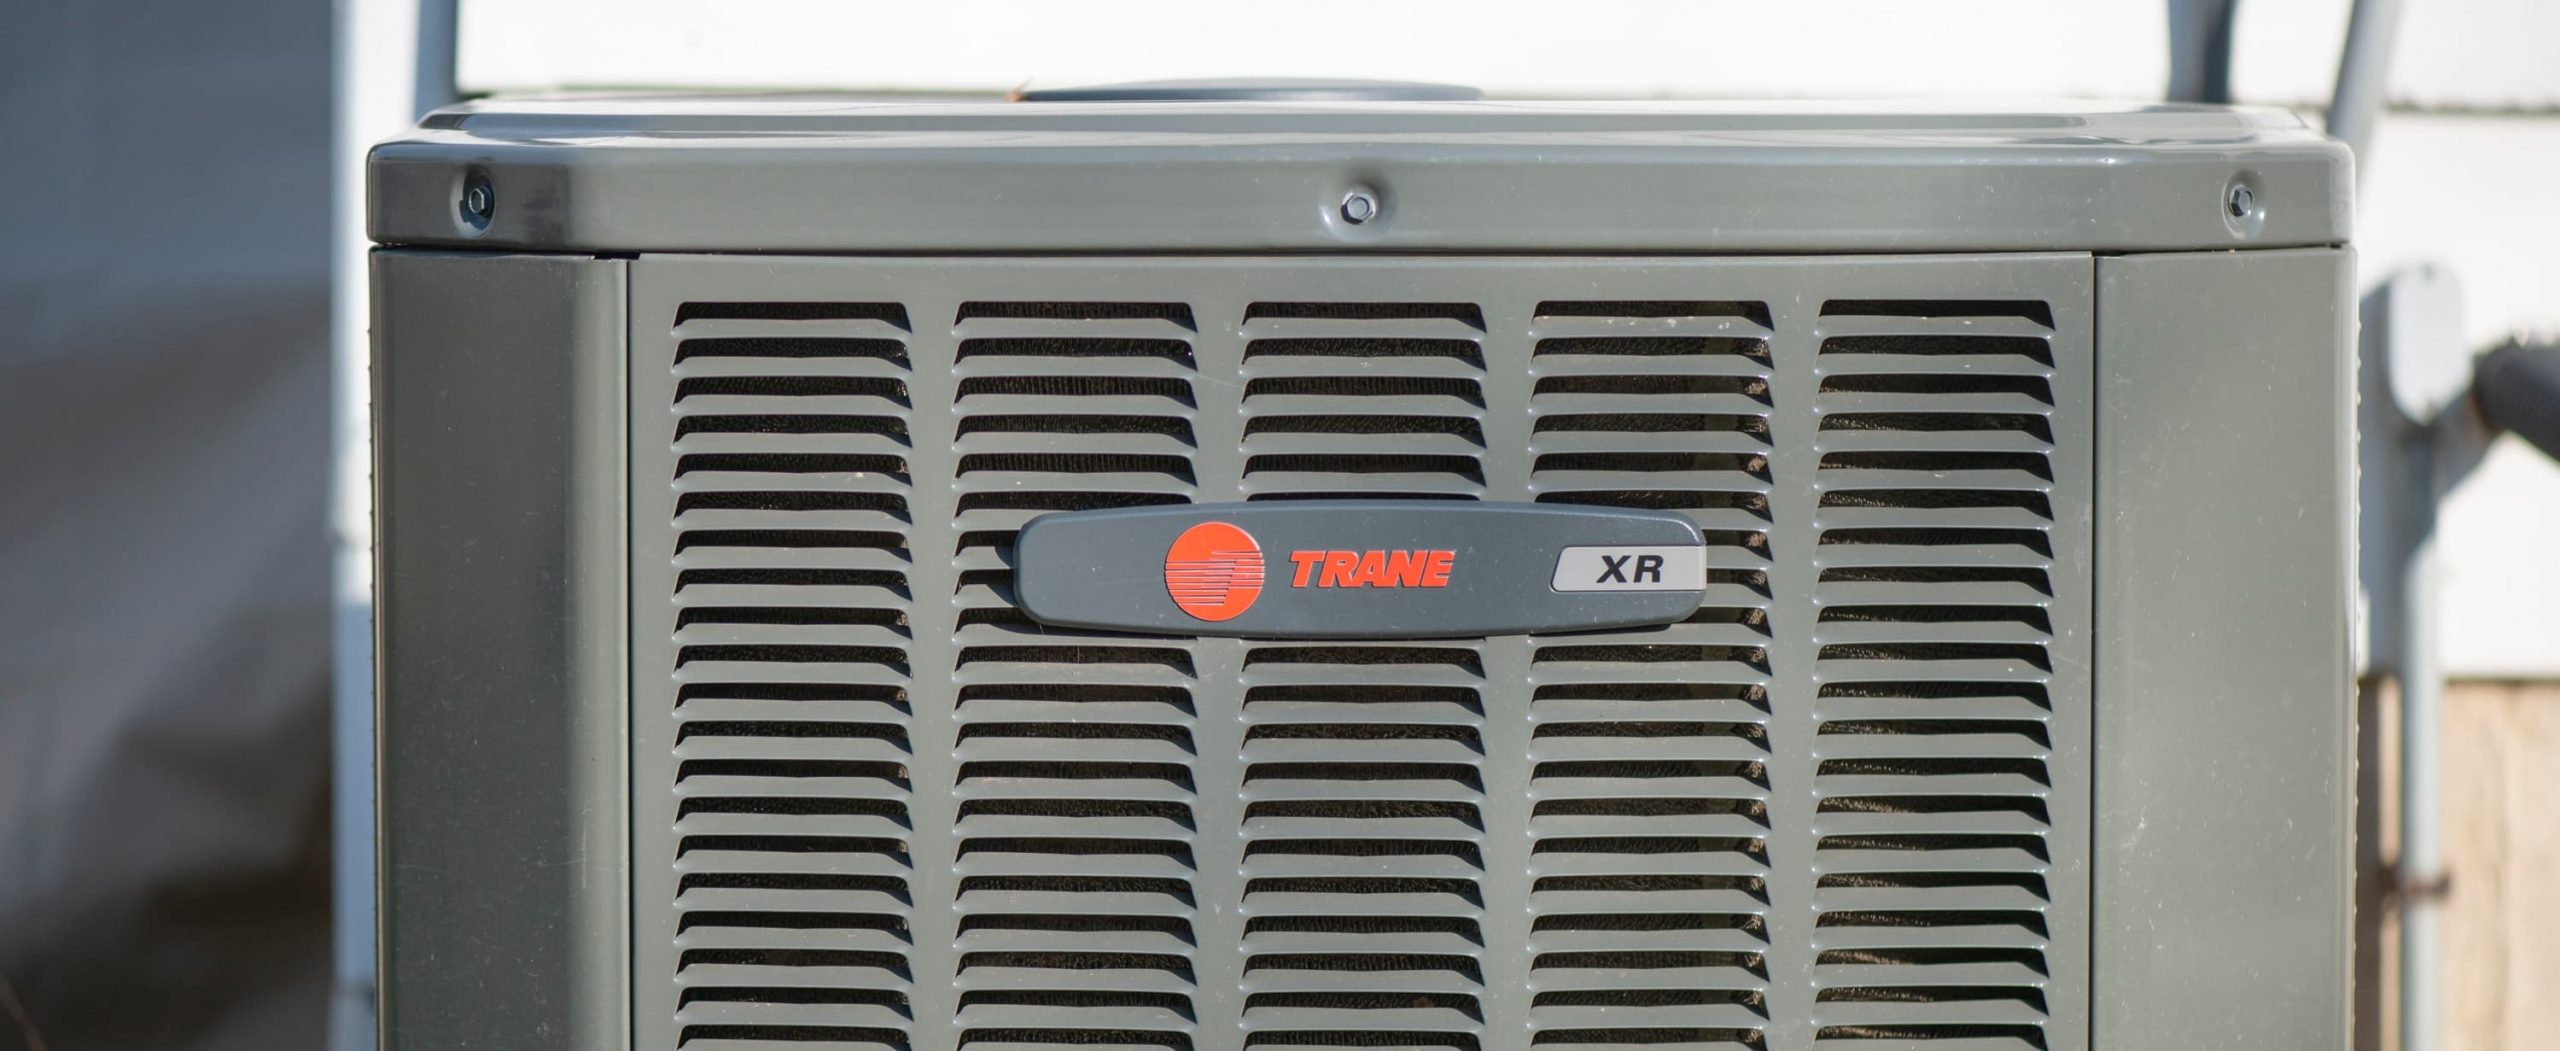
Now it’s time to shift our focus to the outdoor unit of your Fujitsu air conditioner. The outdoor unit is exposed to various weather conditions and can accumulate dirt, leaves, and debris over time, which can hinder its performance.
Start by inspecting the surrounding area around the outdoor unit. Clear away any debris, such as leaves, twigs, grass clippings, or dirt. Trim any nearby vegetation or plants to ensure proper airflow and prevent blockages.
Next, use a hose with a gentle spray nozzle to carefully clean the exterior of the outdoor unit. Start from the top and work your way down, being mindful not to spray water directly into the unit. Aim the water at a slight angle to prevent water from entering the internal components.
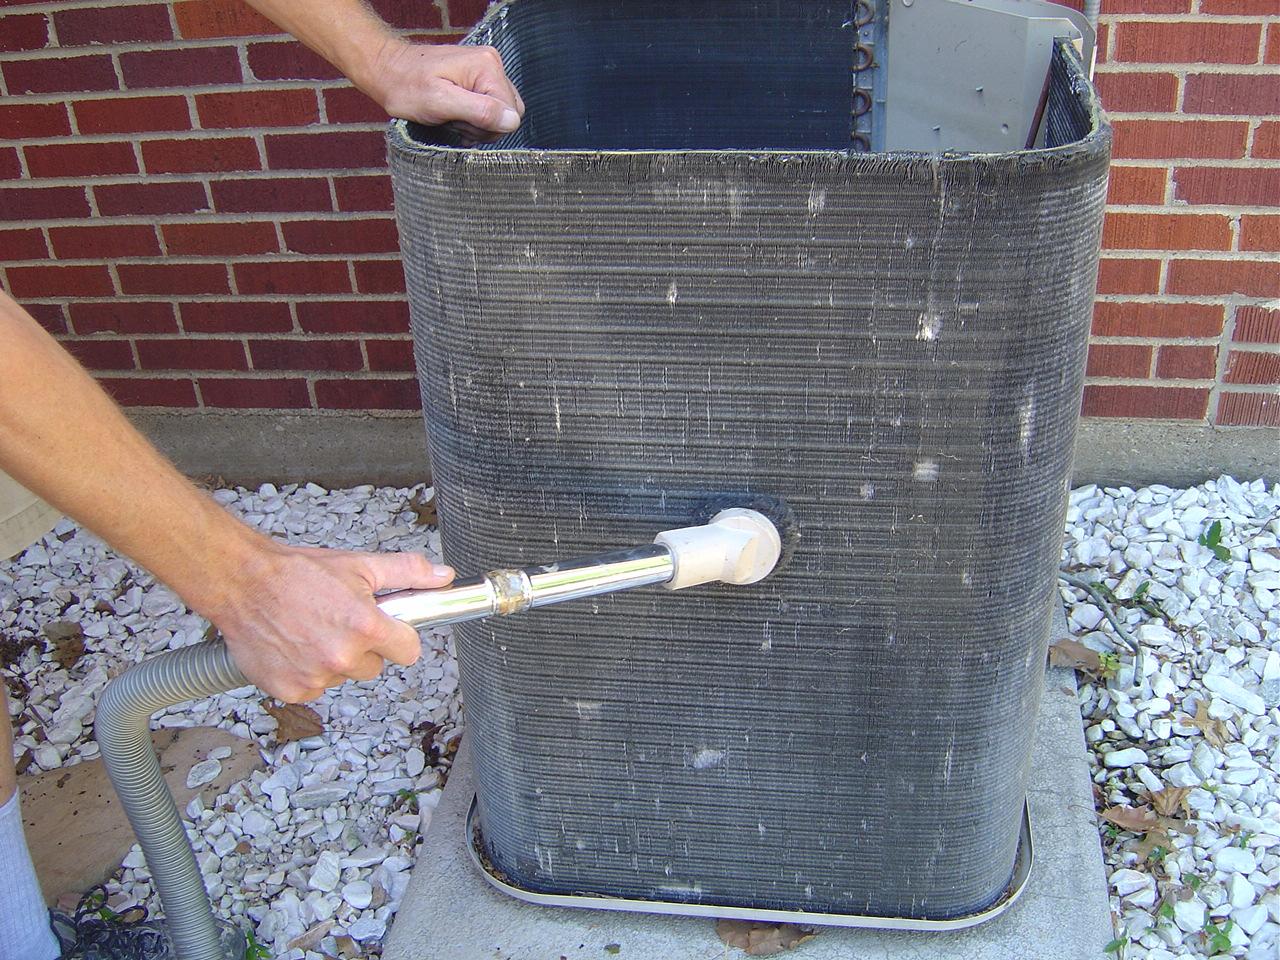
Pay special attention to the fins or coils on the sides of the unit. These can become clogged with dirt or debris, reducing airflow and efficiency. Gently spray water through the fin gaps to remove any buildup. Avoid using excessive force or high-pressure water, as it can damage the fins.
If there is stubborn dirt or debris stuck on the fins, you can use a soft brush or fin comb to carefully remove it. Be gentle to avoid bending or damaging the fins. It’s important to note that the fins are delicate, so extra care is required during this step.
Once you’ve cleaned the exterior of the outdoor unit, allow it to air dry completely before proceeding to the next step. Avoid turning on the power until the unit is completely dry to prevent any electrical hazards.
It is also recommended to periodically check the base of the outdoor unit for any excessive dirt or debris buildup. This can be done by removing the outer cover or grille of the unit and vacuuming or brushing away any accumulated dirt.
Regularly cleaning the outdoor unit of your Fujitsu air conditioner helps to maintain proper airflow, enhance efficiency, and extend the lifespan of the unit. By keeping it clean and clear of debris, you can enjoy optimal performance and energy savings from your air conditioning system.
Step 6: Cleaning the condensate drain
As you continue to clean and maintain your Fujitsu air conditioner, it’s important not to overlook the condensate drain. Over time, the condensate drain can become clogged with dirt, algae, and other debris, leading to water leaks or decreased performance.
The condensate drain is responsible for removing the excess moisture that is produced when your air conditioner cools the air. If the drain becomes blocked, the water can back up and cause damage to the unit.
Start by locating the condensate drain pipe. This is usually located near the indoor unit and may be connected to a drain pan. The pipe may be made of PVC or another flexible material.
Using a small brush or pipe cleaner, carefully clean the inside of the condensate drain pipe to dislodge any debris or blockages. Gently insert the brush or pipe cleaner and move it back and forth to ensure thorough cleaning.
If the blockage is severe, you may need to use a mild cleaning solution to dissolve any stubborn clogs. Mix equal parts of water and vinegar or use a commercially available condensate drain cleaner. Pour the solution into the condensate drain pipe and let it sit for a few minutes to break down the blockage. Then, flush the pipe with clean water to remove any remaining residue.
After cleaning the condensate drain pipe, it’s a good idea to inspect the drain pan as well. Remove any dirt or debris from the drain pan using a damp cloth or sponge. Ensure that the drain pan is securely in place and not leaking.
Regularly cleaning the condensate drain and drain pan helps prevent water leaks, improves indoor air quality, and ensures the efficient operation of your Fujitsu air conditioner. By incorporating this step into your maintenance routine, you can avoid potential problems and maintain a comfortable indoor environment.
Step 7: Reinstalling the air filters
With the cleaning and maintenance tasks for the internal and external components of your Fujitsu air conditioner complete, it’s time to reinstall the air filters. Properly installing clean air filters is crucial for ensuring optimal air quality and system performance.
Begin by taking the clean and dry air filters that were removed earlier. Make sure to orient them correctly, following the arrows or instructions indicated on the filters themselves or in the user manual.
Slide the air filters back into their designated slots in the indoor unit, ensuring they fit snugly and securely. Take care not to force the filters or bend the frames during installation.
Once the filters are securely in place, double-check that they are properly aligned and seated correctly. It’s important to ensure that there are no gaps or loose areas that could allow unfiltered air to bypass the filters.
If your Fujitsu air conditioner has multiple filters, such as a pre-filter and a main filter, make sure to install them in the correct order as specified by the manufacturer’s instructions. The pre-filter usually goes in front, with the main filter positioned behind it.
After reinstallation, take a moment to inspect the surrounding area and ensure that there are no obstructions or debris that could hinder the airflow to the air filters. Clear away any remaining dirt or debris that may have accumulated during the cleaning process.
By reinstalling clean and properly positioned air filters, you can maintain the efficiency and performance of your Fujitsu air conditioner. Regularly checking and replacing the filters as needed will also help to improve air quality and reduce the strain on the system.
Step 8: Turning the power back on
Now that you’ve completed the cleaning and maintenance steps for your Fujitsu air conditioner, it’s time to restore the power and get your unit up and running again. However, it’s crucial to follow the proper procedure to ensure a safe and successful power restoration.
Locate the circuit breaker panel in your home or building where you previously turned off the power to the air conditioner unit. Find the switch labeled “Air Conditioner” or a similar identifier.
Flip the switch back to the “On” position to restore the power supply to the unit. Take note of any indicator lights or audible signals that confirm the power has been successfully restored.
If you had shut off the power using an electrical disconnect box near the outdoor unit, close the box and turn on the power switch inside. Again, pay attention to any indicators on the unit itself that confirm the power is now active.
Once the power is restored, you can now test your Fujitsu air conditioner to ensure everything is functioning properly. Use the thermostat or remote control to set your desired temperature and mode.
Listen for normal operation sounds, such as the fan running and the compressor engaging. Pay attention to any unusual noises or error messages on the unit’s display.
Allow the air conditioner to run for a few minutes and feel the air coming from the vents to ensure that it is cool and airflow is strong. Check all the vents in your home or building to make sure they are blowing air as expected.
If you notice any issues, such as a lack of cooling, weak airflow, or strange smells, it may be a sign of a problem. In such cases, it is best to contact a qualified HVAC technician to diagnose and address the issue.
By following the proper procedure for turning the power back on, you can ensure the safe operation and optimal performance of your Fujitsu air conditioner.
Conclusion
Congratulations! You have successfully learned how to clean your Fujitsu air conditioner and keep it running at its best. Regular maintenance and cleaning of your air conditioner are essential to ensure optimal performance, energy efficiency, and longevity.
Throughout this comprehensive guide, we covered all the necessary steps to clean your Fujitsu air conditioner from start to finish. You learned how to shut off the power, remove and clean the air filters, clean the indoor and outdoor units, clean the condensate drain, reinstall the air filters, and finally, turn the power back on.
By following these steps and incorporating them into your regular maintenance routine, you can enjoy a clean and well-functioning air conditioner that provides you with cool and comfortable air all year round. Cleaning your air conditioner not only improves its performance but also ensures better air quality by removing dust, allergens, and other particles.
Remember, safety is paramount when working with any electrical appliance. Always ensure that the power is shut off before performing any cleaning or maintenance tasks. If you encounter any issues or feel uncomfortable with the process, it’s best to consult a professional technician.
Lastly, be sure to refer to your Fujitsu air conditioner’s user manual for specific maintenance instructions or contact the manufacturer for any additional guidance or troubleshooting.
Thank you for taking the time to learn how to clean your Fujitsu air conditioner. With regular care and maintenance, your air conditioner will continue to provide you with cool and refreshing air for years to come.
Frequently Asked Questions about How To Clean A Fujitsu Air Conditioner
Was this page helpful?
At Storables.com, we guarantee accurate and reliable information. Our content, validated by Expert Board Contributors, is crafted following stringent Editorial Policies. We're committed to providing you with well-researched, expert-backed insights for all your informational needs.