Home>Interior Design>How To Clean An Air Conditioner – According To An Expert
Interior Design
How To Clean An Air Conditioner – According To An Expert
Modified: September 1, 2024
Discover expert tips on how to clean your air conditioner and ensure optimal performance. Improve your interior design with a well-maintained and efficiently functioning AC unit.
(Many of the links in this article redirect to a specific reviewed product. Your purchase of these products through affiliate links helps to generate commission for Storables.com, at no extra cost. Learn more)
Introduction
Welcome to an expert’s guide on how to clean an air conditioner. As the summer season approaches, it is essential to ensure that your air conditioner is operating at its best. Cleaning your air conditioner not only improves its performance but also enhances the indoor air quality and prolongs the lifespan of the unit.
Many people underestimate the importance of regular cleaning and maintenance for their air conditioners. Over time, dust, dirt, and debris accumulate within the unit, obstructing airflow and reducing its efficiency. This can lead to higher energy consumption, decreased cooling capacity, and even potential breakdowns.
By following the proper cleaning steps and utilizing the right tools and materials, you can effectively remove dirt and debris from your air conditioner, improving its functionality and ensuring optimal performance.
In this expert guide, we will walk you through the step-by-step process of cleaning your air conditioner. From understanding why it is crucial to clean your unit to the tools and materials needed, and the specific cleaning techniques for different components, we will cover everything you need to know to keep your air conditioner in top shape.
Whether you have a window or a central air conditioning system, regular cleaning can help you avoid costly repairs, improve energy efficiency, and create a healthier living environment. So, let’s dive in and discover how to clean your air conditioner like a pro!
Key Takeaways:
- Regularly cleaning your air conditioner improves cooling efficiency, extends its lifespan, and enhances indoor air quality, leading to cost savings and consistent performance.
- Prioritize safety by switching off and unplugging the unit before cleaning, and gather the necessary tools and materials for a smooth and efficient cleaning experience.
Understanding the Importance of Cleaning Your Air Conditioner
Keeping your air conditioner clean is not just about maintaining its appearance. It plays a crucial role in its overall performance and efficiency. Let’s explore the key reasons why cleaning your air conditioner is essential:
- Improved Cooling Efficiency: Over time, dust and debris accumulate in the air filters, condenser coils, and other components of your air conditioner. This build-up restricts the airflow, making it harder for the unit to cool your space effectively. By cleaning these components regularly, you can ensure maximum airflow, resulting in better cooling performance and energy efficiency.
- Extended Lifespan: A dirty air conditioner puts additional strain on its components, particularly the compressor. When the unit operates with reduced airflow, it must work harder and longer to achieve the desired temperature. This increased workload can lead to premature wear and tear, potentially shortening the lifespan of your air conditioner. Regular cleaning helps alleviate this strain, prolonging the life of your unit.
- Improved Indoor Air Quality: Air conditioners not only cool the air but also filter out contaminants, such as dust, pollen, and mold spores, improving the indoor air quality. However, if the filters and coils are dirty, they can become breeding grounds for bacteria and mold. These pollutants can then be released into your home, leading to respiratory issues and allergies. By cleaning your air conditioner, you remove these harmful substances, ensuring cleaner and healthier air for you and your family.
- Cost Savings: A clean air conditioner operates more efficiently, consuming less energy to achieve the desired temperature. This can result in significant cost savings on your energy bills. Additionally, regular cleaning and maintenance help identify and address minor issues before they escalate into major problems that require expensive repairs or replacements. By investing time in cleaning your air conditioner, you can save money in the long run.
- Consistent Performance: When your air conditioner is clean and well-maintained, it performs consistently and reliably. You can enjoy constant cooling during hot summer days, without worrying about sudden breakdowns or inconsistent temperature control. Proper cleaning ensures that all components are functioning optimally, providing a comfortable indoor environment.
Now that you understand the importance of cleaning your air conditioner, it’s time to gather the necessary tools and materials for the cleaning process. Stay tuned for the next section in which we will discuss the essential items you’ll need to clean your air conditioner effectively.
Tools and Materials Needed for Cleaning
Before you begin the cleaning process, it is essential to gather the necessary tools and materials. Having the right equipment ready will ensure a smooth and efficient cleaning experience. Here are the tools and materials you’ll need:
- Screwdriver: Depending on the type of air conditioner you have, you may need a screwdriver to remove the access panel or any screws securing the unit.
- Brush(es): Different brushes are needed for cleaning specific components. A soft-bristle brush is ideal for delicate parts such as the evaporator coils, while a stiff-bristle brush can be used for tougher cleaning tasks like the condenser coils and fan blades.
- Vacuum Cleaner with Attachments: A vacuum cleaner with a brush attachment will help remove dirt, dust, and debris from the air filter, coils, and other components.
- Garden Hose with Spray Nozzle: A garden hose with a spray nozzle is essential for rinsing off the dirt and cleaning solutions from the condenser coils and other components. Make sure the nozzle provides a gentle stream of water to avoid damaging delicate parts.
- Foaming Coil Cleaner: A foaming coil cleaner is specifically designed to penetrate deep into the coils, removing dirt, grease, and grime. Look for a product that is safe for use on your specific air conditioner model.
- Mild Detergent: A mild detergent or dish soap can be used to clean the air filter, condensate drain line, and other washable components. Avoid using harsh chemicals or abrasive cleaners that can damage the unit.
- Towels or Rags: Have a supply of clean towels or rags on hand for wiping down components and drying any excess moisture after cleaning.
- Protective Gloves and Safety Glasses: It is important to protect your hands and eyes during the cleaning process. Wear protective gloves to shield your skin from cleaning solutions and safety glasses to prevent any debris from getting into your eyes.
Now that you have gathered all the necessary tools and materials, you are ready to start the cleaning process. In the following section, we will guide you through the step-by-step instructions on how to clean your air conditioner effectively.
Step 1: Switch Off and Unplug the Air Conditioner
Before you begin cleaning your air conditioner, it is crucial to ensure the unit is switched off and unplugged from the power source. This step is essential for your safety and to prevent any electrical accidents. Here’s how you can proceed:
- Find the Power Source: Locate the electrical panel or circuit breaker that controls the power to your air conditioner. Depending on your setup, it might be a dedicated circuit or a breaker in the main electrical panel.
- Switch Off the Power: Once you’ve identified the appropriate circuit or breaker, switch it off to cut off power supply to the air conditioner. This will ensure that no electricity is flowing to the unit during the cleaning process.
- Confirm Power Disconnection: To be extra cautious, go to the room where the air conditioner is located and check if it is switched off. Verify that the control panel or display is completely blank and that there are no lights or sounds indicating power supply.
- Unplug the Air Conditioner: After confirming that the unit is switched off, unplug it from the electrical outlet. This step further ensures that there is no risk of accidental electrical shock while cleaning.
- Allow the Unit to Cool Down: Air conditioners can get hot during operation. Before starting the cleaning process, it is advisable to allow the unit to cool down for at least 30 minutes. This will protect you from potential burns and help preserve the integrity of the components you’ll be cleaning.
Remember, safety should always be your top priority when working with electrical appliances. By switching off and unplugging your air conditioner, you significantly reduce the risk of accidents and injuries. With the unit powered down and disconnected, you’re now ready to move on to the next step: removing and cleaning the air filter.
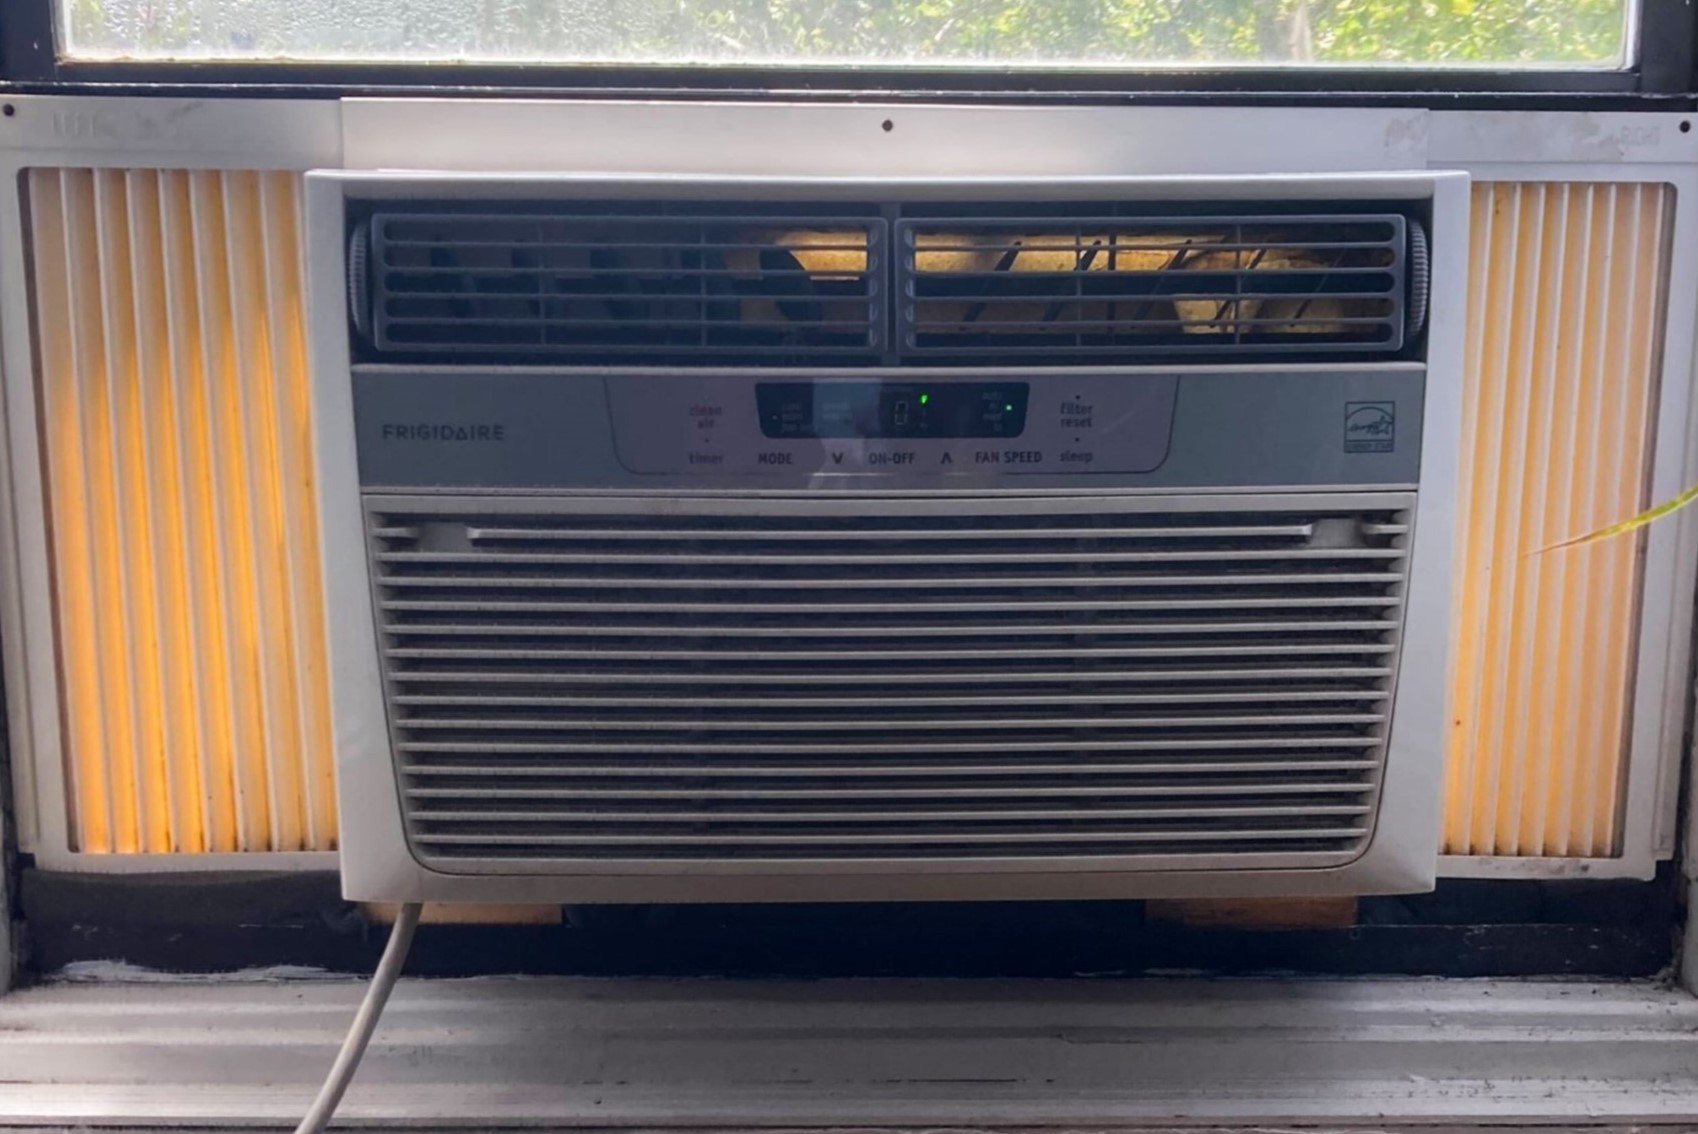
Step 2: Remove and Clean the Air Filter
The air filter plays a crucial role in maintaining the air quality and efficiency of your air conditioner. Over time, it can become clogged with dust, dirt, and other airborne particles, hindering the airflow and reducing its effectiveness. Here’s how you can remove and clean the air filter:
- Locate the Air Filter: Depending on the type of air conditioner you have, the air filter is typically located behind a front panel or grille. Refer to your unit’s manual to find the exact location of the filter.
- Remove the Front Panel: Use a screwdriver to remove any screws or clips securing the front panel. Carefully detach the panel to expose the air filter.
- Inspect the Air Filter: Take a close look at the air filter to assess its condition. If it appears dirty or clogged with debris, it’s time to give it a thorough cleaning.
- Vacuum the Filter: Start by using a vacuum cleaner with a brush attachment to gently remove loose dirt and dust from the air filter. Move the attachment along the entire surface of the filter, paying special attention to the pleats and corners.
- Wash the Filter: Fill a sink or basin with warm water and add a small amount of mild detergent. Submerge the air filter in the soapy water and gently agitate it to dislodge any remaining dirt and grime. Allow the filter to soak for a few minutes.
- Rinse the Filter: After soaking, rinse the air filter thoroughly under running water to remove the soap residue. Ensure that the water flows in the opposite direction of the airflow to prevent pushing dirt deeper into the filter.
- Dry the Filter: Gently shake off any excess water from the filter and pat it dry with a clean towel or let it air dry completely. Avoid using excessive force or heat to dry the filter, as it can cause damage.
- Reinstall the Filter: Once the filter is completely dry, reinstall it into the air conditioner. Make sure it is properly aligned and secured in place. Replace the front panel and secure it with the screws or clips.
Cleaning the air filter is an essential step in maintaining the overall performance and energy efficiency of your air conditioner. By keeping the filter clean, you ensure optimal airflow, improve indoor air quality, and extend the lifespan of your unit. With the air filter cleaned and reinstalled, you’re now ready to move on to Step 3: Cleaning the condenser coils.
Read more: How To Fix E2 Error In A Washing Machine
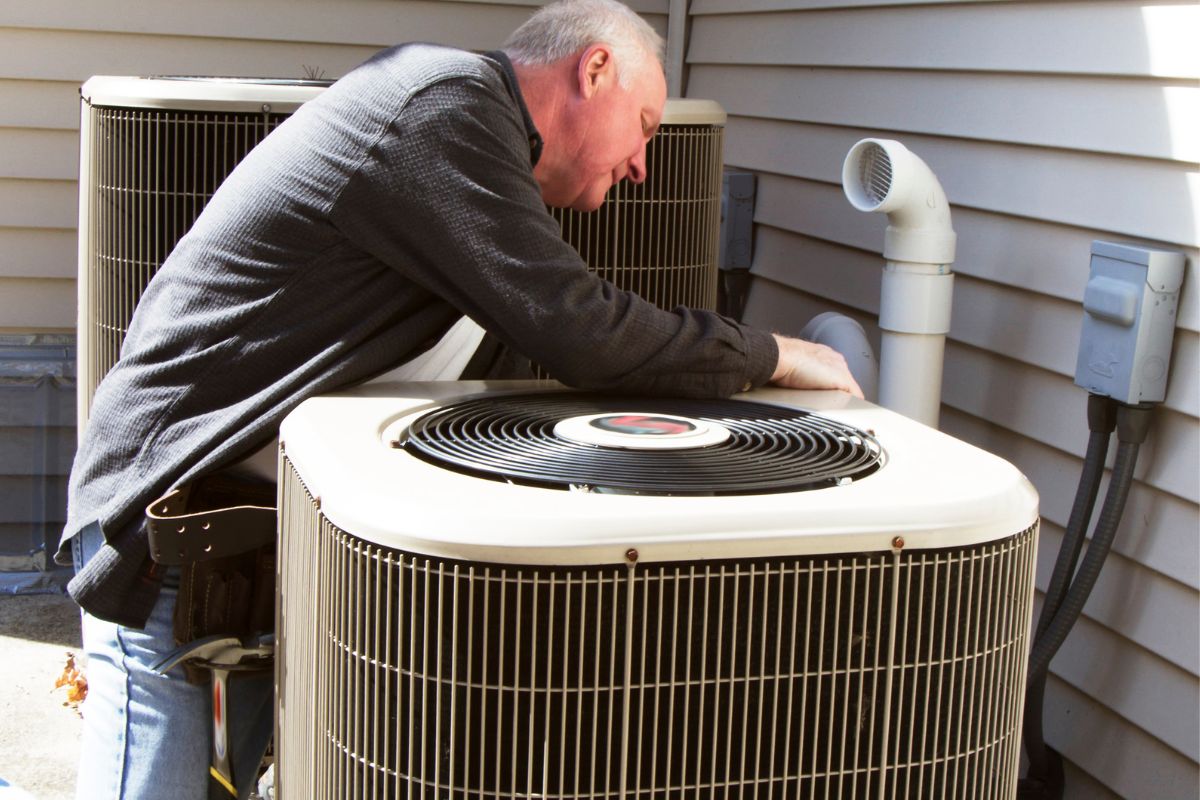
Step 3: Clean the Condenser Coils
The condenser coils are a vital component of your air conditioner’s outdoor unit. Over time, they can accumulate dirt, dust, and debris, which can hinder heat transfer and reduce the unit’s cooling efficiency. Cleaning the condenser coils is essential to maintain optimal performance. Follow these steps to clean the condenser coils effectively:
- Access the Condenser Unit: Locate the outdoor unit of your air conditioner, which houses the condenser coils. It is typically positioned on a concrete pad, on the ground, or mounted on the wall. Remove any surrounding debris or vegetation that may obstruct access to the unit.
- Inspect the Coils: Take a close look at the condenser coils to assess their condition. Look for signs of dirt, dust, or debris accumulation. If the coils appear dirty or clogged, it’s time to clean them.
- Remove Debris: Use a brush or your hands to gently remove any loose debris, such as leaves, grass, or twigs, from the condenser coils. Take care not to damage the fins or coils during this process.
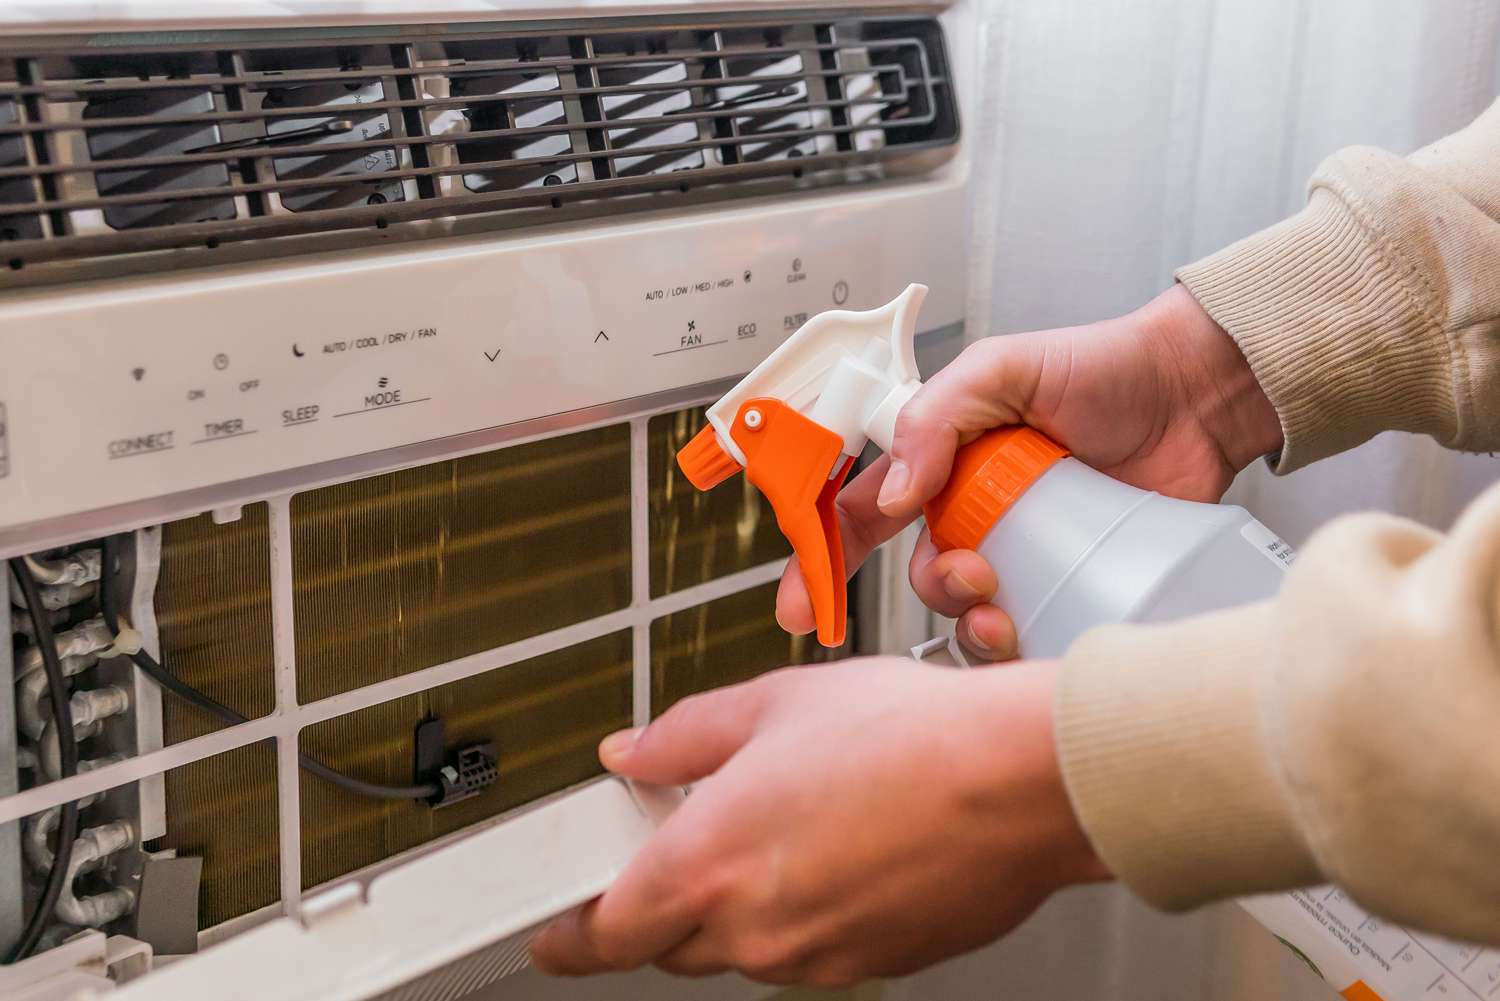
- Apply a Foaming Coil Cleaner: Spray a foaming coil cleaner onto the condenser coils, following the manufacturer’s instructions. Ensure that the cleaner is specifically designed for use on air conditioner coils and is compatible with your unit’s model.
- Let the Cleaner Penetrate: Allow the foaming coil cleaner to penetrate the coils, loosening dirt and debris. The cleaner will typically require a few minutes to work effectively.
- Rinse the Coils: Attach a gentle spray nozzle to your garden hose and carefully rinse the condenser coils. Start from the top and work your way down, ensuring that the water flows in the opposite direction of the airflow. This helps remove the loosened dirt and cleaner residue from the coils.
- Repeat if Necessary: If the coils are still dirty after the initial rinse, you may need to repeat the foaming and rinsing process until they’re clean. Avoid using excessive force or high-pressure water, as it can damage the coils.
- Allow the Coils to Dry: After rinsing, allow the condenser coils to air dry completely before restoring power to the unit. This helps prevent any electrical hazards and allows for optimal performance.
Cleaning the condenser coils improves the heat transfer process, allowing your air conditioner to cool your space more efficiently. By removing dirt and debris, you not only enhance the system’s performance but also prevent potential breakdowns and extend the lifespan of your air conditioner. With the condenser coils clean and dry, you can now proceed to Step 4: Cleaning the evaporator coils.
Regularly clean or replace the air filter in your air conditioner to ensure efficient operation and improve air quality. This should be done at least every 3 months.
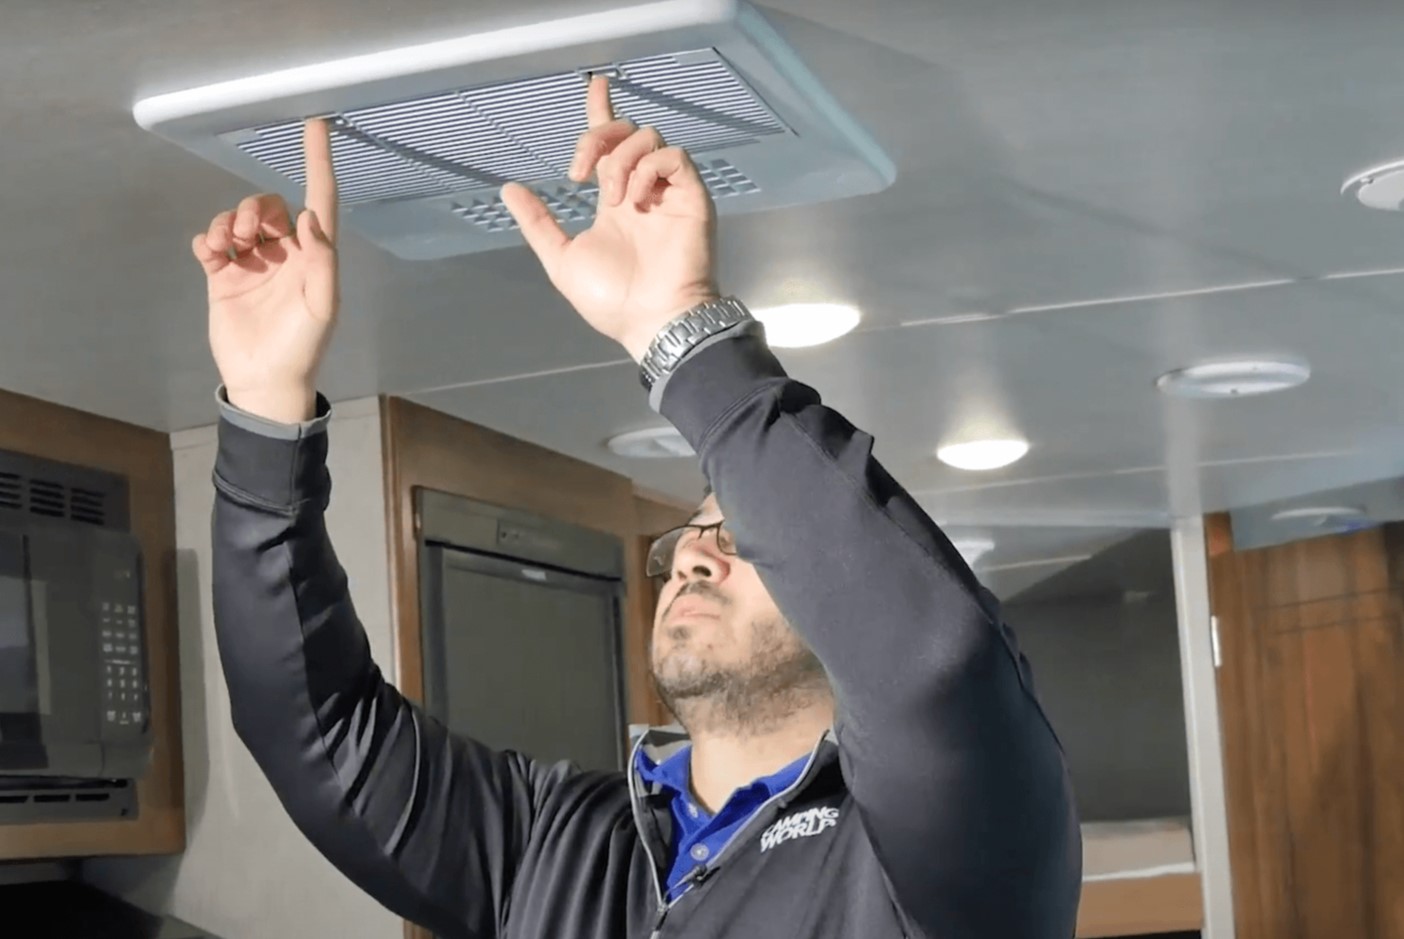
Step 4: Clean the Evaporator Coils
The evaporator coils are located inside the indoor unit of your air conditioner and are responsible for absorbing heat from the air. Over time, these coils can become covered in dirt, dust, and other debris, which can hinder their ability to cool the air effectively. Cleaning the evaporator coils is crucial for maintaining the efficiency and performance of your air conditioner. Follow these steps to clean the evaporator coils:
- Access the Indoor Unit: Locate and access the indoor unit of your air conditioner. This unit is usually found in a closet, attic, or basement. Remove any access panels or covers to expose the evaporator coils.
- Inspect the Coils: Take a close look at the evaporator coils to assess their condition. If you notice a significant buildup of dirt, dust, or debris, it’s time to clean them.
- Use a Brush to Remove Loose Debris: Use a soft-bristle brush to gently brush away any loose dirt or debris from the evaporator coils. Be careful not to bend or damage the delicate fins on the coils.
- Apply a Foaming Coil Cleaner: Spray a foaming coil cleaner onto the evaporator coils, following the manufacturer’s instructions. Make sure the cleaner is specifically designed for use on air conditioner coils and is safe for your unit.
- Allow the Cleaner to Penetrate: Let the foaming coil cleaner sit on the evaporator coils for the recommended amount of time specified by the manufacturer. This allows the cleaner to break down and loosen any embedded dirt or grime.
- Rinse the Coils: Carefully rinse the evaporator coils with a gentle stream of water from a spray bottle or hose. Aim the water in the opposite direction of the airflow to remove the loosened dirt and cleaner residue. Take your time to ensure thorough rinsing.
- Repeat if Necessary: If the coils are still dirty after the initial rinse, you can repeat the foaming and rinsing process until they’re clean. Be cautious not to use excessive force or high-pressure water that could damage the coils.
- Check the Condensate Drain Pan: While cleaning the evaporator coils, inspect the condensate drain pan located beneath the coils. Remove any standing water, debris, or mold growth. Consider using a mixture of water and mild detergent to clean the pan if necessary.
Cleaning the evaporator coils ensures that your air conditioner can efficiently absorb heat from the air, resulting in optimum cooling performance. By removing dirt, dust, and debris, you enhance the system’s airflow and prevent potential issues such as freezing or reduced cooling capacity. With the evaporator coils clean, you are ready to move on to Step 5: Cleaning the condensate drain line.
Step 5: Clean the Condensate Drain Line
The condensate drain line is an essential component of your air conditioner that helps remove excess moisture produced during the cooling process. Over time, it can become clogged with algae, dirt, and debris, leading to water backups and potential damage to your unit. Regularly cleaning the condensate drain line is crucial to ensure proper drainage. Follow these steps to clean the condensate drain line:
- Locate the Condensate Drain Line: The condensate drain line is typically a PVC pipe connected to the indoor unit of your air conditioner. It may be located near the evaporator coils or the air handler. Refer to your unit’s manual to find the exact location of the drain line.
- Disconnect the Drain Line: Carefully disconnect the condensate drain line from the unit. Depending on the setup, this may involve removing a cap or loosening a clamp. Place a bucket or container beneath the disconnected end of the drain line to catch any water or debris.
- Inspect the Drain Line: Examine the condensate drain line for any signs of clogging or blockage. Look for algae growth, sludge, or debris that may be obstructing the flow of water.
- Clean the Drain Line: Use a stiff brush to scrub the inner walls of the drain line and remove any buildup or obstructions. You can also use a mixture of equal parts water and vinegar to help dissolve any algae or mold growth. Pour this solution into the drain line and let it sit for a few minutes before brushing and flushing it out.
- Flush the Drain Line: After brushing, flush the drain line with a gentle stream of water. You can use a garden hose or a hand-held sprayer. Ensure that the water flows in the opposite direction of the usual flow, forcing out any loosened debris or blockages.
- Reconnect the Drain Line: Once the drain line is clean and free of obstructions, reconnect it to the unit securely. Make sure there are no gaps or leaks that could cause water damage or inefficient drainage.
- Test the Drainage: Switch on your air conditioner and observe the condensate drain line while it is running. Ensure that water flows freely and drains away properly without any signs of backups or leakage.
Cleaning the condensate drain line prevents water damage and potential mold growth caused by clogs or blockages. By maintaining a clear and functioning drain line, you ensure proper moisture removal from your air conditioner. With the condensate drain line cleaned and tested, you are ready to move on to Step 6: Cleaning the fan blades.
Step 6: Clean the Fan Blades
The fan blades in your air conditioner are responsible for circulating the air and ensuring proper airflow throughout the unit. Over time, these blades can accumulate dirt, dust, and debris, which can hinder their efficiency and affect the cooling performance of your air conditioner. Cleaning the fan blades is an important step in maintaining optimal airflow. Follow these steps to clean the fan blades:
- Locate the Fan Blades: The fan blades are typically located inside the outdoor unit of your air conditioner, behind a protective grille or panel. Turn off the power supply to the unit before attempting to clean the fan blades.
- Remove the Protective Grille or Panel: Use a screwdriver or the appropriate tools to remove any screws or clips securing the protective grille or panel. Gently lift or slide off the grille or panel to access the fan blades.
- Inspect the Fan Blades: Take a close look at the fan blades to assess their condition. Look for signs of dirt, dust, or debris that may be sticking to the blades. If they appear dirty or obstructed, they need cleaning.
- Use a Brush or Cloth to Remove Loose Debris: Use a soft-bristle brush or a clean cloth to gently remove any loose dirt or debris from the fan blades. Be careful not to bend or damage the blades while cleaning.
- Clean the Blades with a Mild Detergent: Prepare a mixture of warm water and mild detergent. Dip a clean cloth into the soapy solution, wring it out, and carefully wipe down each fan blade. Pay attention to both sides of the blades and remove any stubborn dirt or grime.
- Rinse the Fan Blades: After cleaning, rinse the fan blades with clean water to remove any soap residue. You can use a spray bottle or a gentle stream of water from a hose. Ensure that water does not come into contact with any electrical components.
- Dry the Fan Blades: Use a clean towel or cloth to dry the fan blades thoroughly. Make sure they are completely dry before reassembling the protective grille or panel.
- Reassemble the Protective Grille or Panel: Once the fan blades are dry, carefully reattach the protective grille or panel. Ensure it is properly aligned and securely fastened without any gaps.
By cleaning the fan blades, you ensure optimal airflow and improve the performance of your air conditioner. Removing dirt and debris allows the blades to rotate smoothly, preventing any strain on the motor and promoting efficient cooling. With the fan blades cleaned and reassembled, you’ve completed Step 6. You’re now ready to move on to the final step: reassembling the unit and conducting a test.
Step 7: Reassemble the Unit and Test
After completing all the necessary cleaning steps, it’s time to reassemble your air conditioner and ensure that it is functioning correctly. Follow these final steps to properly reassemble the unit and conduct a test:
- Replace Access Panels: If you had removed any access panels or covers during the cleaning process, make sure to reattach them securely. Check for any loose screws or clips and tighten them if needed.
- Plug In the Unit: Connect your air conditioner back to the power source and ensure it is properly plugged in. This step is crucial for the unit to receive power and function correctly.
- Switch On the Power: Go to the electrical panel or circuit breaker, and switch on the power to the air conditioner. Ensure that the correct circuit or breaker is turned on, as identified in Step 1.
- Set the Thermostat: Adjust the thermostat settings to the desired temperature and cooling mode. Give the unit a few minutes to start up and begin distributing cool air.
- Check for Proper Operation: Pay close attention to the air conditioner’s operation. Listen for any unusual sounds, observe the airflow, and monitor the temperature to ensure that the unit is functioning effectively.
- Monitor the Condensate Drainage: Keep an eye on the condensate drain line to ensure proper drainage. Check for any leaks, backups, or signs of water accumulation. If the drainage is not working correctly, further investigation or professional assistance may be required.
- Regular Maintenance: Now that you’ve successfully cleaned and tested your air conditioner, it’s important to prioritize regular maintenance. Keep a schedule for future cleanings and maintenance tasks, such as replacing filters, checking refrigerant levels, and inspecting the overall performance of the unit.
By reassembling the unit correctly and conducting a thorough test, you can ensure that your air conditioner is operating efficiently and effectively. Regular maintenance and cleaning will help prolong the lifespan of your unit, reduce energy consumption, and maintain optimal indoor comfort. Enjoy the cool and refreshing air provided by your clean and well-maintained air conditioner!
Conclusion
Cleaning your air conditioner is an essential part of maintaining its performance, efficiency, and longevity. By following the step-by-step guide outlined in this expert article, you have learned how to effectively clean various components of your air conditioner, including the air filter, condenser coils, evaporator coils, condensate drain line, and fan blades.
Regularly cleaning your air conditioner offers numerous benefits. It improves cooling efficiency, extends the lifespan of the unit, enhances indoor air quality, reduces energy consumption, and ensures consistent performance. With proper maintenance, you can enjoy a comfortable living environment while also saving money on energy bills and avoiding costly repairs.
Remember to gather the necessary tools and materials before starting the cleaning process and prioritize safety by switching off and unplugging the unit. Take your time to clean each component thoroughly, using appropriate cleaning solutions and techniques. It is also crucial to conduct regular maintenance, monitor the drainage, and check for any signs of potential problems.
By incorporating regular cleaning and maintenance into your air conditioner care routine, you can ensure that your unit operates at its best, keeping you cool and comfortable during hot summer months. So, don’t hesitate to roll up your sleeves, follow this expert guide, and give your air conditioner the cleaning it deserves!
Frequently Asked Questions about How To Clean An Air Conditioner – According To An Expert
Was this page helpful?
At Storables.com, we guarantee accurate and reliable information. Our content, validated by Expert Board Contributors, is crafted following stringent Editorial Policies. We're committed to providing you with well-researched, expert-backed insights for all your informational needs.


0 thoughts on “How To Clean An Air Conditioner – According To An Expert”