Home>Home Maintenance>How To Clean An RV Rooftop Air Conditioner
Home Maintenance
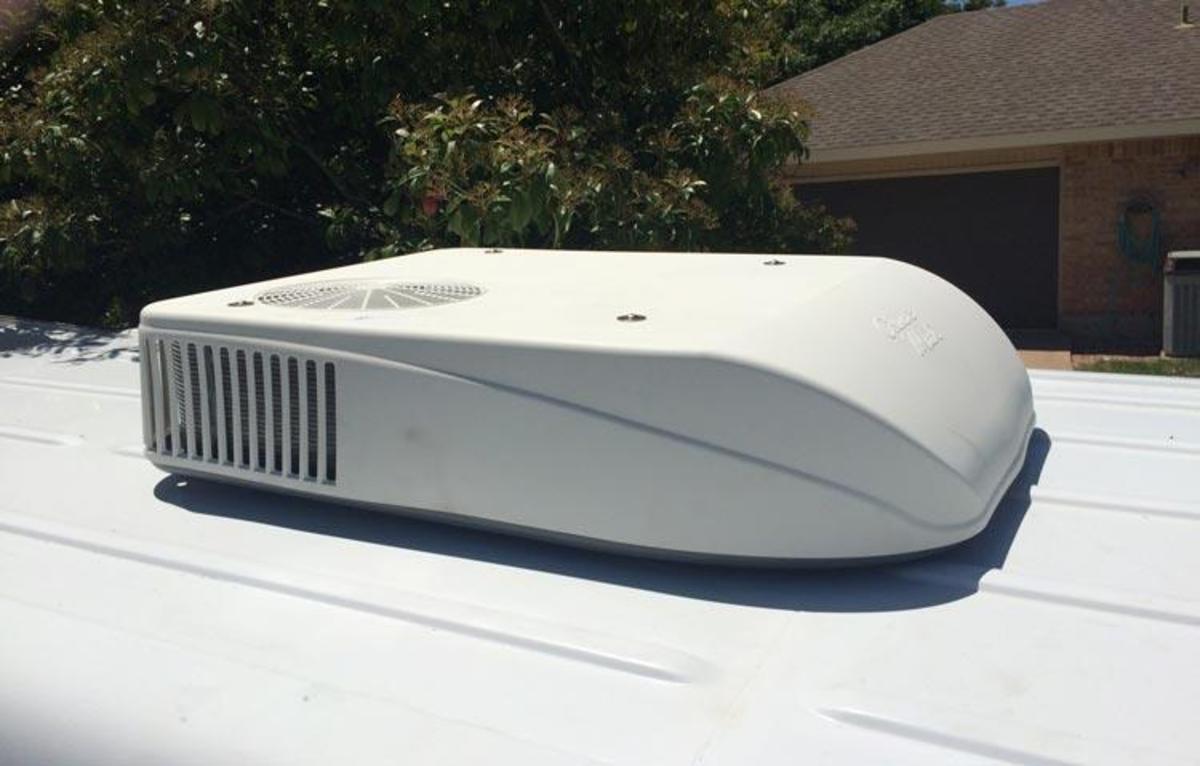
How To Clean An RV Rooftop Air Conditioner
Modified: March 7, 2024
Learn how to effectively clean and maintain your RV rooftop air conditioner with this comprehensive guide. Keep your home on wheels comfortable and cool all summer long with proper home maintenance.
(Many of the links in this article redirect to a specific reviewed product. Your purchase of these products through affiliate links helps to generate commission for Storables.com, at no extra cost. Learn more)
Introduction
Welcome to our guide on how to clean an RV rooftop air conditioner. As an essential component of your RV’s cooling system, it’s important to keep your rooftop air conditioner clean and well-maintained. A clean air conditioner not only helps to improve the overall efficiency and performance of the unit but also ensures that you and your fellow travelers can enjoy cool air in the comfort of your RV.
Regular cleaning of your RV rooftop air conditioner not only removes dust and debris but also helps to prevent mold and bacteria buildup, which can lead to unpleasant odors and even health issues. By following these simple steps, you can effectively clean your RV rooftop air conditioner and keep it in optimal condition for years to come.
Before we start, please note that safety should always be your top priority. Make sure to follow proper precautions and take necessary safety measures throughout the cleaning process.
Key Takeaways:
- Regularly cleaning your RV rooftop air conditioner is crucial for optimal performance and cool air. Follow safety precautions, gather necessary tools, and enjoy a refreshing and comfortable RV adventure.
- By cleaning air filters, coils, fan blades, and drain pan, you ensure efficient cooling and prevent unpleasant odors. Reinstall the cover and test the unit for a smooth and enjoyable journey.
Read more: How To Clean An RV Air Conditioner
Tools and Materials Needed
Before you embark on cleaning your RV rooftop air conditioner, gather the following tools and materials:
- Safety goggles
- Dust mask
- Gloves
- Screwdriver or Allen wrench (depending on your air conditioner model)
- Soft-bristled brush or vacuum cleaner with a brush attachment
- Gentle cleaner or mild detergent
- Spray bottle
- Clean, lint-free cloths or paper towels
- Water hose
- Bucket
Having these tools and materials ready beforehand will make the cleaning process smoother and more efficient.
Step 1: Safety Precautions
Prior to starting the cleaning process, it’s crucial to take the necessary safety precautions to protect yourself and avoid any accidents. Here are some important safety measures to keep in mind:
- Put on safety goggles to shield your eyes from debris and cleaning agents.
- Wear a dust mask to avoid inhaling dust particles or mold spores.
- Put on gloves to protect your hands from sharp edges and cleaning agents.
- Ensure that the power to the air conditioner is completely shut off to prevent any electrical accidents.
- If you’re unsure how to safely disconnect the power, consult your RV’s owner’s manual or seek professional assistance.
By taking these precautions, you can minimize any potential risks and carry out the cleaning process safely.
Step 2: Shutting off the Power
Before cleaning your RV rooftop air conditioner, it’s crucial to ensure that the power is completely shut off to avoid any electrical accidents. Here’s how to safely disconnect the power:
- Locate the electrical circuit breaker panel in your RV. This panel is typically found in the main living area or in a dedicated compartment.
- Find the breaker labeled for the air conditioner or cooling system. It may be labeled as “AC,” “A/C,” or “Air Cond.”
- Switch off the breaker by flipping it to the “off” position. This will cut off the power supply to the air conditioner.
- To ensure that the power is completely shut off, test the air conditioner by adjusting the thermostat to a lower temperature and checking if it turns off.
Once you have confirmed that the power is off, you can proceed to the next step of removing the air conditioner cover and beginning the cleaning process.
Note: If you are unsure about disconnecting the power or have any concerns, consult the owner’s manual of your RV or seek assistance from a professional.
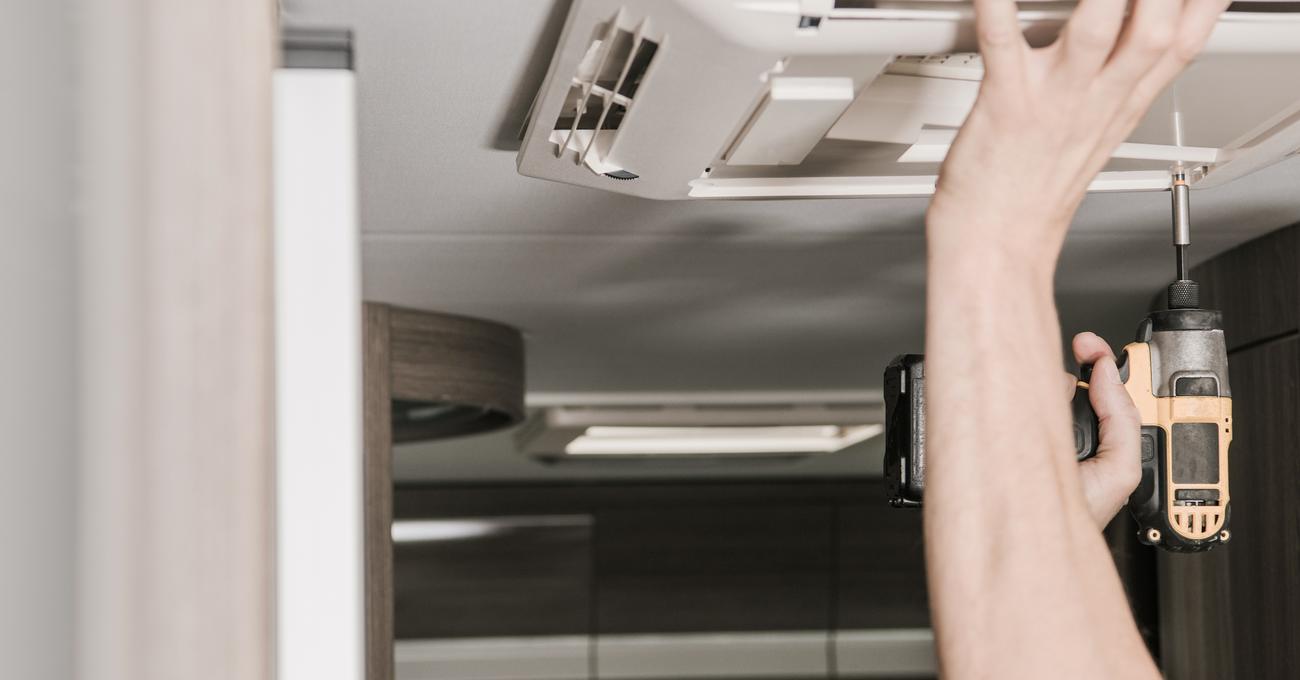
Step 3: Removing the Air Conditioner Cover
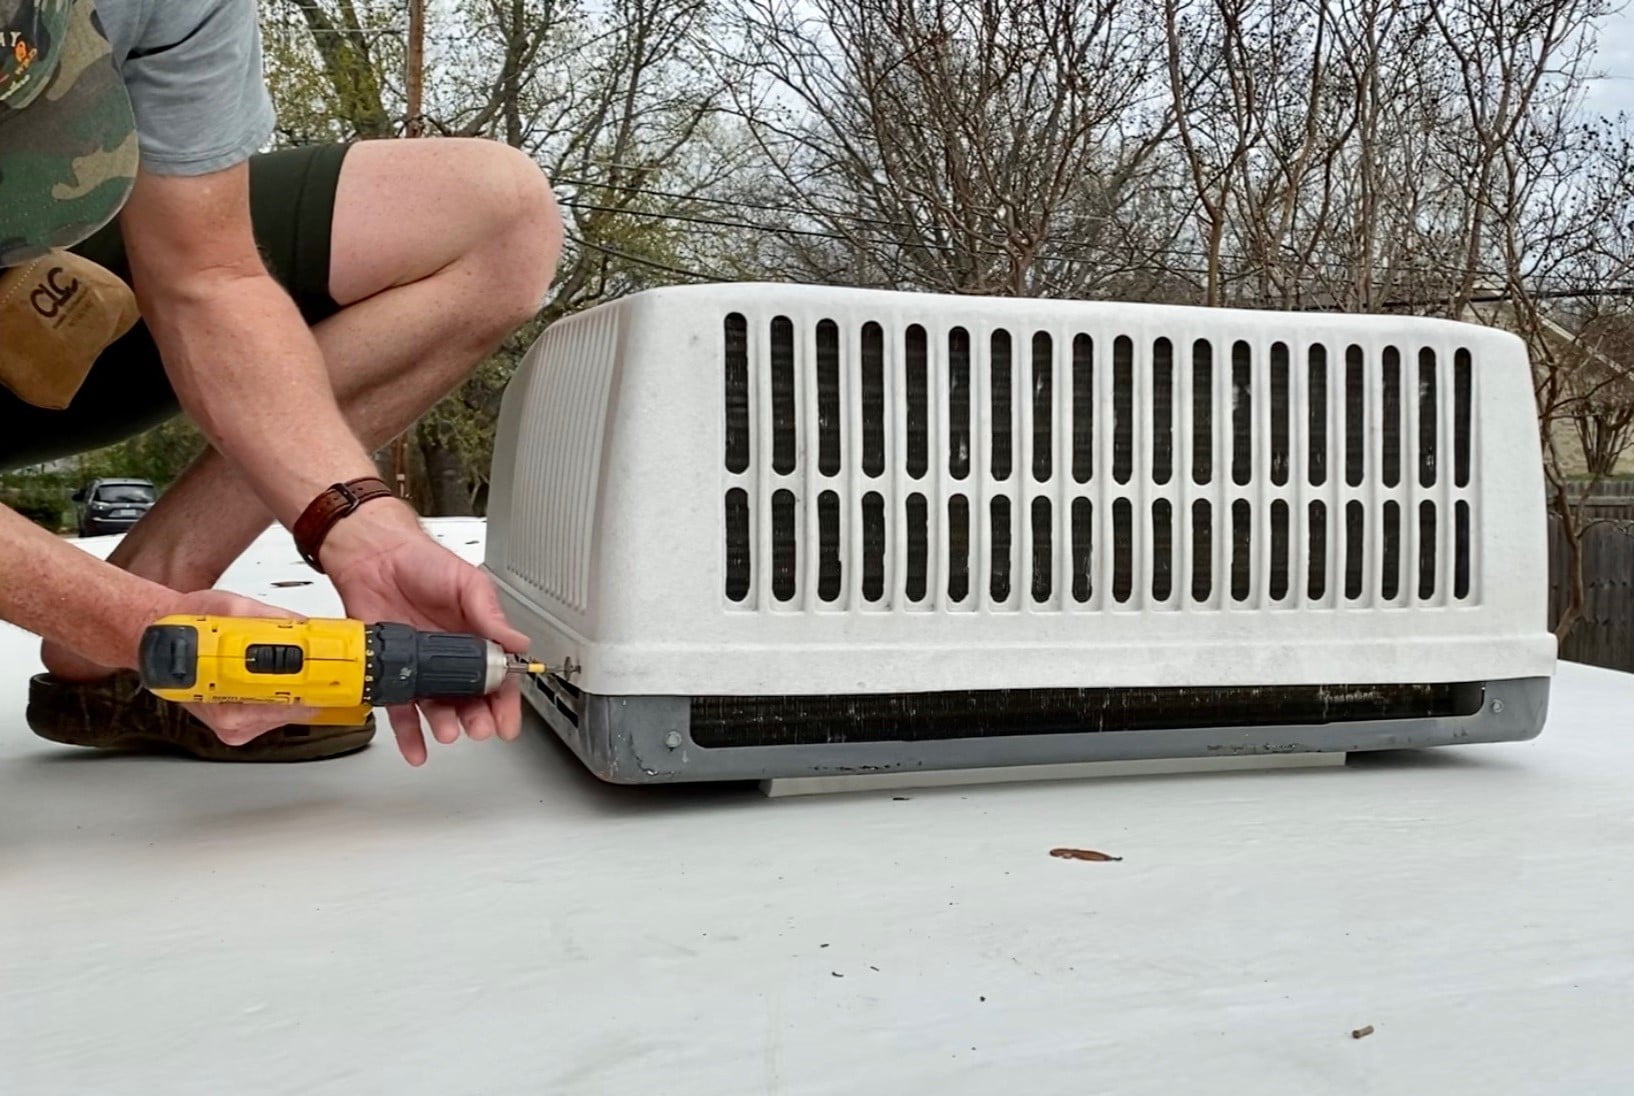
With the power safely turned off, you can now proceed to remove the air conditioner cover. Follow these steps to remove the cover of your RV rooftop air conditioner:
- Locate the screws or fasteners that secure the air conditioner cover to the RV’s rooftop.
- Using a screwdriver or an Allen wrench (depending on your air conditioner model), carefully loosen and remove the screws or fasteners.
- Set aside the screws or fasteners in a safe place to prevent loss.
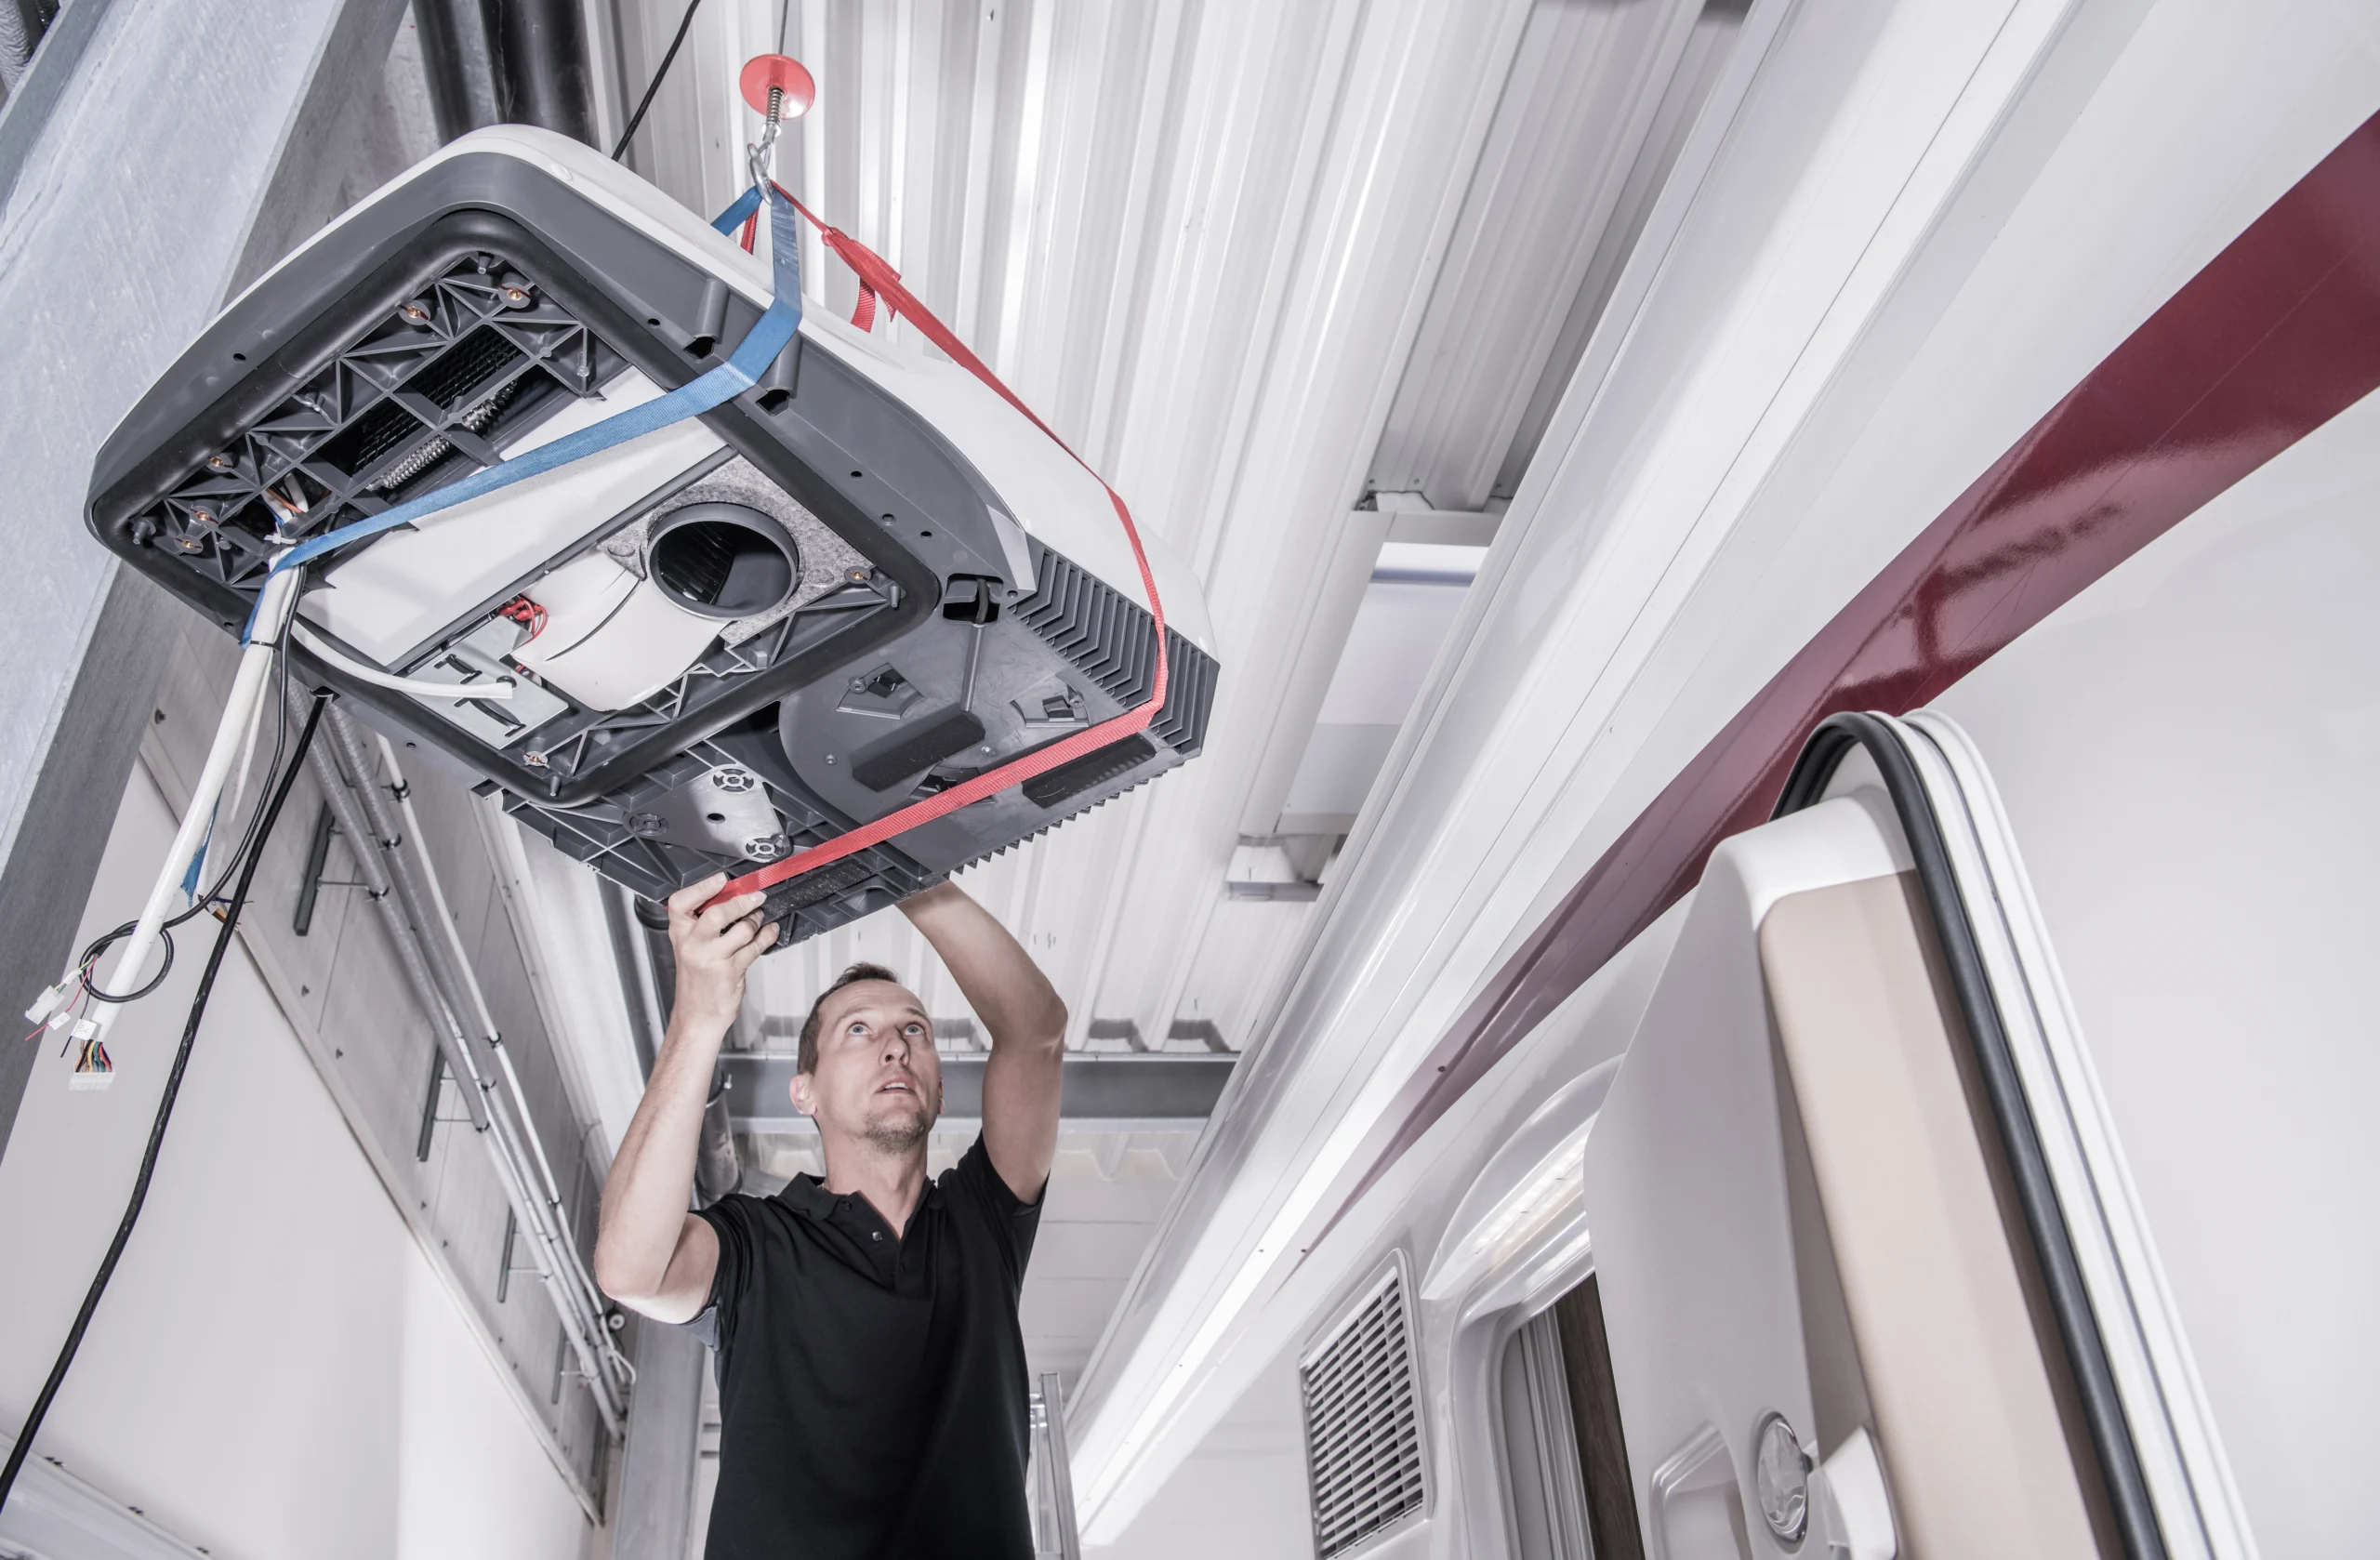
- Gently lift the cover off the air conditioner unit, being cautious not to damage any components.
- Place the cover aside in a clean and safe area.
Removing the air conditioner cover will provide easy access to the internal components, allowing you to effectively clean the air filters, coils, and fan blades.
Take care when handling the cover, as it may be bulky or heavy. If you require assistance, don’t hesitate to ask for help.
With the air conditioner cover removed, you can now proceed to the next step of cleaning the air filters.
Read more: How To Clean An RV Air Conditioner Filter
Step 4: Cleaning the Air Filters
The air filters are an important part of your RV rooftop air conditioner, as they help to trap dust, dirt, and other airborne particles. Over time, these filters can become clogged, hindering the airflow and reducing the efficiency of the unit. Cleaning the air filters regularly is crucial to maintain optimal performance. Here’s how to clean the air filters:
- Locate the air filters inside the air conditioner unit. They are typically located behind a removable panel.
- Remove the panel to access the filters.
- Carefully pull out the air filters from their housing.
- Inspect the filters for dirt, dust, and debris. If they are heavily soiled or damaged, consider replacing them with new filters.
- To clean the filters, gently tap them to dislodge any loose dirt or debris. You can also use a soft-bristled brush or a vacuum cleaner with a brush attachment to remove stubborn dirt.
- If the filters are washable, rinse them under running water, preferably in the opposite direction of the airflow. Use mild detergent if necessary.
- Allow the filters to air-dry completely before reinstalling them. Avoid using excessive heat to dry the filters, as it can damage them.
Once the filters are clean and dry, carefully place them back into their housing, ensuring they are properly aligned. Reattach the removable panel, securing it in place with the appropriate fasteners.
Cleaning the air filters regularly, typically every few months or as recommended by the manufacturer, will help maintain the air conditioner’s efficiency and improve the air quality inside your RV.
Now that the air filters are clean, let’s move on to the next step of cleaning the evaporator coils.
Step 5: Cleaning the Evaporator Coils
The evaporator coils, located inside the air conditioner unit, play a crucial role in cooling the air that is circulated throughout your RV. Over time, these coils can accumulate dirt, dust, and other debris, which can hinder their efficiency. Cleaning the evaporator coils regularly is essential to maintain optimal cooling performance. Here’s how to clean the evaporator coils:
- Inspect the evaporator coils for any visible dirt or debris.
- Using a soft-bristled brush or a vacuum cleaner with a brush attachment, gently remove any loose dirt or debris from the coils. Be careful not to bend or damage the fins on the coils.
- If the coils are heavily soiled, prepare a mixture of gentle cleaner or mild detergent and warm water in a spray bottle.
- Spray the mixture onto the coils, being careful not to saturate them excessively.
- Allow the cleaner to penetrate the dirt for a few minutes.
- Gently brush the coils with a soft-bristled brush to remove any stubborn dirt or grime.
- Rinse the coils thoroughly with clean water, ensuring that all the cleaning solution and dirt are removed.
It’s important to note that you should never use harsh chemicals or abrasive cleaners on the evaporator coils, as they can cause damage. Stick to gentle cleaners and avoid excessive force when cleaning to prevent any unnecessary harm.
Once the coils are clean, gently pat them dry with a clean, lint-free cloth or paper towel. Avoid using excessive force, as the fins on the coils can be delicate. Allow the coils to air dry completely before proceeding to the next step.
Now that the evaporator coils are clean, let’s move on to the next step of cleaning the condenser coils.
Regularly clean the filters and coils of your RV rooftop air conditioner to maintain its efficiency. Use a soft brush and mild detergent to remove dirt and debris, and rinse thoroughly with water.
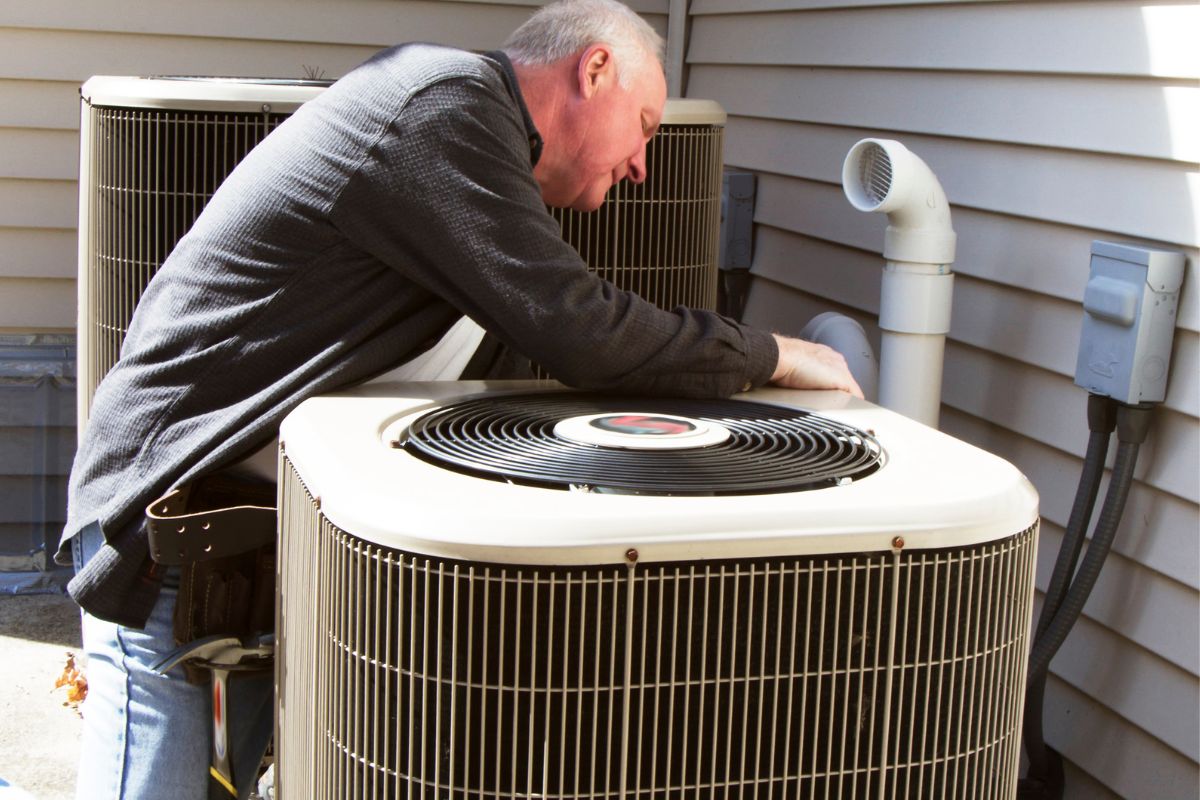
Step 6: Cleaning the Condenser Coils
The condenser coils, located outside the RV rooftop air conditioner, are responsible for releasing the heat absorbed from the air inside your RV. Over time, these coils can accumulate dirt, dust, and debris, which can hinder their ability to dissipate heat efficiently. Cleaning the condenser coils regularly is crucial to maintain optimal cooling performance. Here’s how to clean the condenser coils:
- Locate the condenser coils, which are typically found on the rear or side of the rooftop air conditioner unit.
- Inspect the condenser coils for any visible dirt or debris.
- Using a soft-bristled brush or a vacuum cleaner with a brush attachment, gently remove any loose dirt or debris from the coils. Be careful not to bend or damage the fins on the coils.
- If the coils are heavily soiled, prepare a mixture of gentle cleaner or mild detergent and warm water in a spray bottle.
- Spray the cleaning mixture onto the coils, ensuring even coverage.
- Allow the cleaner to penetrate the dirt for a few minutes.
- Gently brush the coils with a soft-bristled brush to remove any stubborn dirt or grime.
- Rinse the coils thoroughly with clean water, ensuring that all the cleaning solution and dirt are removed.
It’s essential to avoid using high-pressure water or excessive force when cleaning the condenser coils to prevent damage. Additionally, refrain from spraying water directly into any electrical components of the air conditioner.
Once the coils are clean, gently pat them dry with a clean, lint-free cloth or paper towel. Allow the coils to air dry completely before moving on to the next step.
With the condenser coils clean, let’s proceed to the next step of cleaning the fan blades.
Step 7: Cleaning the Fan Blades
The fan blades in your RV rooftop air conditioner help to circulate the air and maintain a comfortable temperature inside your RV. Over time, these blades can accumulate dirt, dust, and debris, which can hinder their performance. Cleaning the fan blades regularly is essential to ensure smooth operation. Here’s how to clean the fan blades:
- Locate the fan blades inside the air conditioner unit.
- Inspect the fan blades for any visible dirt or debris.
- Using a soft-bristled brush, gently brush off any loose dirt or debris from the blades. Alternatively, you can use a vacuum cleaner with a brush attachment.
- If the fan blades are heavily soiled, prepare a mixture of gentle cleaner or mild detergent and water.
- Dip a clean, lint-free cloth in the cleaning solution and wring out any excess liquid.
- Gently wipe down each fan blade, removing any stubborn dirt or grime. Take care not to bend the blades.
- Rinse the cloth in clean water and wring out any excess liquid.
- Wipe down the fan blades again with the damp cloth to remove any remaining cleaner.
Make sure to avoid using excessive force when cleaning the fan blades, as they can be delicate. Take your time and be gentle throughout the process.
Once the fan blades are clean, allow them to air dry completely before proceeding to the next step.
With the fan blades cleaned, let’s move on to the next step of cleaning the drain pan.
Read more: How To Clean A Dometic RV Air Conditioner
Step 8: Cleaning the Drain Pan
The drain pan in your RV rooftop air conditioner collects condensation and water runoff from the cooling process. Over time, this drain pan can accumulate dirt, mold, and algae, which can lead to unpleasant odors and even clogs in the drainage system. Cleaning the drain pan regularly is essential to prevent these issues and maintain proper functionality. Here’s how to clean the drain pan:
- Locate the drain pan, which is typically located beneath the evaporator coils.
- Inspect the drain pan for any dirt, mold, or algae buildup.
- Prepare a mixture of gentle cleaner or mild detergent and warm water in a bucket.
- Using a clean cloth or sponge, dip it into the cleaning solution and wring out any excess liquid.
- Gently scrub the interior of the drain pan to remove any dirt or buildup.
- If there is stubborn mold or algae, consider using a mixture of equal parts water and vinegar to help eliminate it.
- Rinse the drain pan thoroughly with clean water, ensuring that all the cleaning solution and debris are removed.
It’s important to note that while cleaning the drain pan, you should also check the drain line for any clogs or blockages. If you notice a blockage, use a small brush or pipe cleaner to carefully remove it.
Once the drain pan is clean and free from debris, allow it to air dry completely before proceeding to the next step.
With the drain pan cleaned, let’s move on to the next step of reinstalling the air conditioner cover.
Step 9: Reinstalling the Air Conditioner Cover
Now that you have completed the cleaning process of your RV rooftop air conditioner, it’s time to reinstall the air conditioner cover. Properly securing the cover is vital to protect the internal components from dust, debris, and weather elements. Follow these steps to reinstall the air conditioner cover:
- Ensure that the air conditioner unit is clean and free from any leftover cleaning agents or moisture.
- Align the air conditioner cover with the unit, ensuring that it fits properly.
- Take care not to pinch or damage any wires or tubing during the installation process.
- Slowly lower the cover onto the unit, ensuring that it sits evenly and securely.
- Align the screw holes on the cover with the corresponding holes on the unit.
- Using a screwdriver or an Allen wrench, insert and tighten the screws or fasteners to secure the cover in place.
- Double-check that all screws or fasteners are properly tightened, but avoid over-tightening to prevent damage.
Ensure that the air conditioner cover is securely fastened to prevent it from coming loose while on the road or during inclement weather.
With the air conditioner cover reinstalled, your RV rooftop air conditioner is ready for use. However, before testing the unit, it’s essential to follow the final step of the cleaning process: testing the unit.
Step 10: Testing the Unit
After completing the cleaning process and reinstalling the air conditioner cover, it’s crucial to test the unit to ensure that it is functioning properly and providing cool air. Follow these steps to test your RV rooftop air conditioner:
- Ensure that the power to the air conditioner is turned back on. Refer to the instructions in Step 2 to safely restore power.
- Set your thermostat to a lower temperature to activate the air conditioner.
- Listen for the sound of the air conditioner starting up. You should hear the fan and compressor running.
- Feel the air coming from the air vents inside your RV. It should be cool and refreshing, indicating that the air conditioner is working correctly.
- Observe the air conditioner for any unusual noises, vibrations, or leaks. If you notice any abnormalities, turn off the unit and seek professional assistance to diagnose and resolve the issue.
Performing this test ensures that your RV rooftop air conditioner is in proper working condition and ready to keep you cool during your travels.
Remember to regularly maintain and clean your RV rooftop air conditioner to maximize its efficiency and prolong its lifespan. Depending on usage and environmental factors, it’s typically recommended to clean your air conditioner every few months or as specified by the manufacturer.
Congratulations! You have successfully completed the cleaning process for your RV rooftop air conditioner. Enjoy the cool and comfortable air as you continue your adventures on the road!
Note: If you are unsure about any aspect of cleaning or maintaining your RV rooftop air conditioner, it’s always best to consult the manufacturer’s instructions or seek professional assistance.
Conclusion
Cleaning your RV rooftop air conditioner is an essential part of maintaining its performance and efficiency. By following the steps outlined in this guide, you can effectively clean the various components of your air conditioner, including the air filters, evaporator coils, condenser coils, fan blades, and drain pan.
Regular cleaning not only helps to remove dirt, dust, and debris but also prevents the buildup of mold, bacteria, and unpleasant odors. It ensures that your air conditioner operates at its best, providing you and your fellow travelers with cool and refreshing air during your RV adventures.
Throughout the cleaning process, it’s important to prioritize safety. Follow the recommended safety precautions, such as wearing protective gear and ensuring the power is turned off, to prevent accidents and ensure a smooth cleaning experience.
Remember to gather the necessary tools and materials beforehand, including safety goggles, a dust mask, gloves, a soft-bristled brush, mild detergent, and clean cloths or paper towels. Having these items on hand will make the cleaning process more efficient and effective.
After completing each step, take the time to carefully reinstall the air conditioner cover and test the unit to ensure that it is functioning properly. By doing so, you can enjoy the benefits of a clean and well-maintained RV rooftop air conditioner on your future travels.
Make it a habit to regularly clean and maintain your air conditioner every few months or as recommended by the manufacturer. This will extend the lifespan of your unit and help avoid potential issues down the road.
With proper care and maintenance, your RV rooftop air conditioner will continue to provide you and your loved ones with the comfort and coolness you desire during your RV adventures. So, go ahead and give your air conditioner the attention it deserves, and enjoy a relaxing and enjoyable journey wherever you may roam.
Frequently Asked Questions about How To Clean An RV Rooftop Air Conditioner
Was this page helpful?
At Storables.com, we guarantee accurate and reliable information. Our content, validated by Expert Board Contributors, is crafted following stringent Editorial Policies. We're committed to providing you with well-researched, expert-backed insights for all your informational needs.