Home>Home Maintenance>How To Clean A Haier Air Conditioner
Home Maintenance
How To Clean A Haier Air Conditioner
Modified: August 16, 2024
Learn how to effectively clean your Haier air conditioner at home with these simple maintenance tips. Improve the performance and longevity of your AC unit.
(Many of the links in this article redirect to a specific reviewed product. Your purchase of these products through affiliate links helps to generate commission for Storables.com, at no extra cost. Learn more)
Introduction
Welcome to this comprehensive guide on how to clean a Haier air conditioner! Having a clean and well-maintained air conditioner is essential for optimal performance and energy efficiency. Not only does regular cleaning promote good indoor air quality, but it also helps extend the lifespan of your air conditioner, saving you money in the long run.
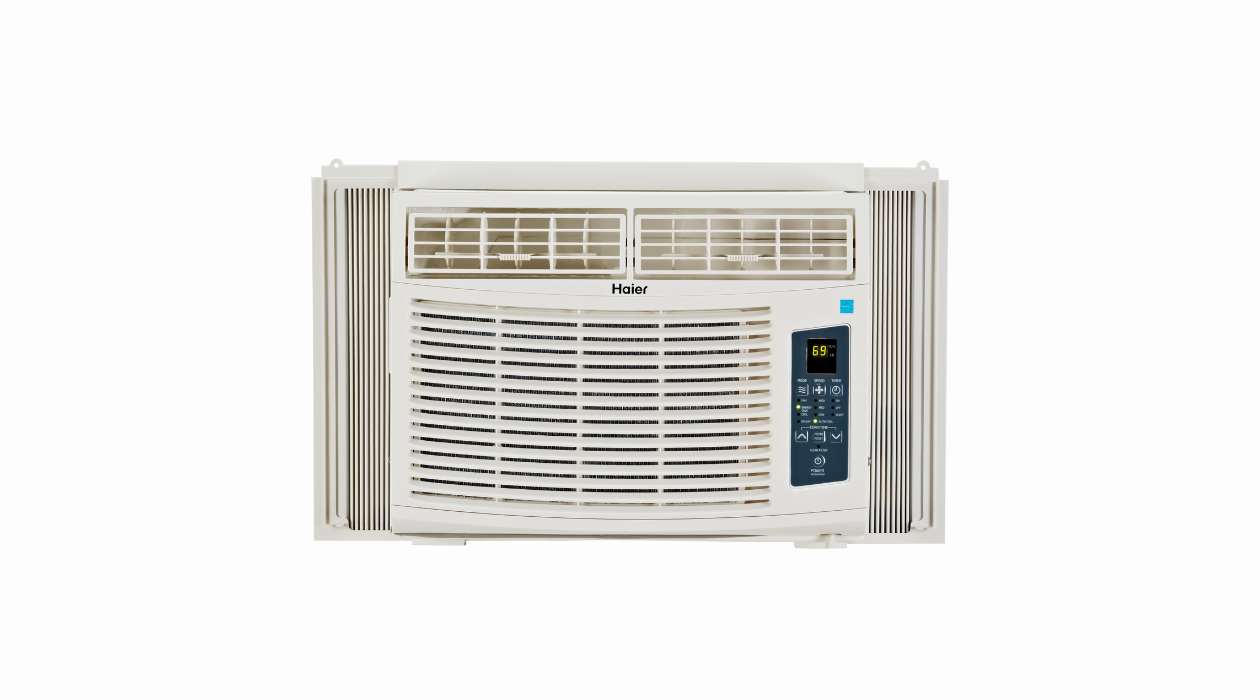
Haier air conditioners are known for their reliability and effectiveness in cooling your home. However, like any other appliance, they require regular cleaning and maintenance to function at their best. In this article, we will take you through a step-by-step process to clean your Haier air conditioner and keep it running smoothly.
Before we get started, it’s important to note that cleaning an air conditioner involves working with electrical components and potentially hazardous substances. Safety should always be your top priority. If you’re not comfortable performing the cleaning yourself, it’s best to hire a professional HVAC technician to do it for you.
In the following sections, we will provide safety precautions, a list of tools and materials you’ll need, and a step-by-step guide to properly clean your Haier air conditioner. So let’s get started and make sure your air conditioner is in its best shape!
Key Takeaways:
- Regularly cleaning your Haier air conditioner is essential for optimal performance, energy efficiency, and longevity. Follow safety precautions, gather the right tools, and clean the air filter, grills, coils, and condensation drain to keep it running smoothly.
- By turning off the power, wearing protective gear, and using the right tools, you can safely and effectively clean your Haier air conditioner. Regular maintenance ensures cool and refreshing air for your home.
Safety Precautions
Before you begin cleaning your Haier air conditioner, it’s crucial to take the necessary safety precautions. Working with electrical appliances can be dangerous, so it’s essential to follow these guidelines:
- Turn off the power: Start by switching off the power to the air conditioner. Locate the circuit breaker for your air conditioner in your electrical panel and turn it off to ensure that there is no power running to the system. This will prevent any accidents or electrical shocks while you’re cleaning.
- Wear protective gear: To protect yourself from potential hazards, wear safety glasses, gloves, and a dust mask. This will prevent any eye injuries, skin irritation, or inhalation of dust and debris during the cleaning process.
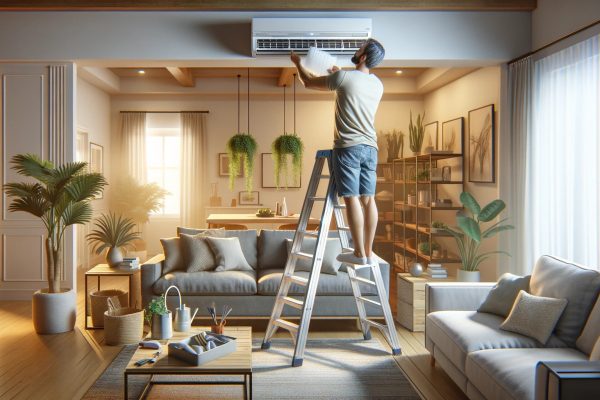
- Use a sturdy ladder or step stool: If your air conditioner is mounted high on the wall or ceiling, make sure to use a stable ladder or step stool to reach it safely. Avoid standing on furniture or unstable surfaces.
- Avoid using water near electrical components: When cleaning the air conditioner, be careful not to let water come into contact with electrical parts such as the control panel or wiring. Water and electricity can be a dangerous combination.
- Unplug the air conditioner: Even after turning off the power, it’s wise to unplug the air conditioner from the electrical outlet. This extra precaution ensures there is no chance of accidental power restoration while you’re cleaning.
- Read and follow the manufacturer’s instructions: Each brand and model of air conditioner may have specific safety guidelines and cleaning instructions. Take the time to read the manufacturer’s manual and follow their recommendations to avoid any damage to your unit or voiding the warranty.
By following these safety precautions, you can ensure a safe and efficient cleaning process for your Haier air conditioner. Remember, if you feel uncomfortable with any step or are unsure about any aspect of the cleaning process, it’s always best to seek professional assistance.
Tools and Materials Needed
Before you start cleaning your Haier air conditioner, gather the necessary tools and materials. Having everything ready will make the process more convenient and efficient. Here’s a list of what you’ll need:
- Screwdriver: A screwdriver will be required to remove any screws or fasteners holding the air filter or air conditioner grills in place.
- Soft bristle brush: This will help you gently remove dust and debris from the air filter, grills, and cooling coils.
- Water and mild detergent: You’ll need a solution of warm water and mild detergent to clean the air filter and grills. Avoid harsh or abrasive cleaners that may damage the delicate components of the air conditioner.
- Bucket or basin: A bucket or basin will be useful for soaking and rinsing the air filter and catching any water that drips from the air conditioner during cleaning.
- Vacuum cleaner with brush attachment: A vacuum cleaner with a brush attachment can help remove loose dirt and debris from the air conditioner grills and surrounding areas.
- Clean cloth or towel: Having a clean cloth or towel handy will allow you to wipe down the air conditioner and ensure it’s dry before reassembling.
- Air conditioner coil cleaner (optional): If the cooling coils are heavily soiled, you may want to consider using a specialized air conditioner coil cleaner. Follow the manufacturer’s instructions when using this product.
By having these tools and materials within reach, you’ll be well-prepared to clean your Haier air conditioner effectively and efficiently. Remember to double-check the manufacturer’s manual for any specific recommendations or additional tools that may be required for your particular model.
Step 1: Turn Off the Air Conditioner
Before you begin cleaning your Haier air conditioner, it’s crucial to turn off the unit to ensure your safety and prevent any damage to the appliance. Here’s how to properly turn off the air conditioner:
- Locate the control panel: Depending on the model of your Haier air conditioner, the control panel may be located on the unit itself or on a remote control.
- Press the power button: Look for the power symbol or the word “Power” on the control panel or remote control. Press the button to turn off the air conditioner.
- Wait for the unit to power down: After pressing the power button, wait for a few moments to allow the air conditioner to fully shut down. This will ensure that all electrical components are no longer active.
- Unplug the air conditioner: To be extra cautious, unplug the air conditioner from the electrical outlet. This step will prevent any chance of accidental power restoration while you’re cleaning.
Once you’ve turned off the air conditioner and unplugged it, you can proceed with the cleaning process without any risk of electrical shocks or damage. Remember, safety should always be your top priority when working with any electrical appliance.
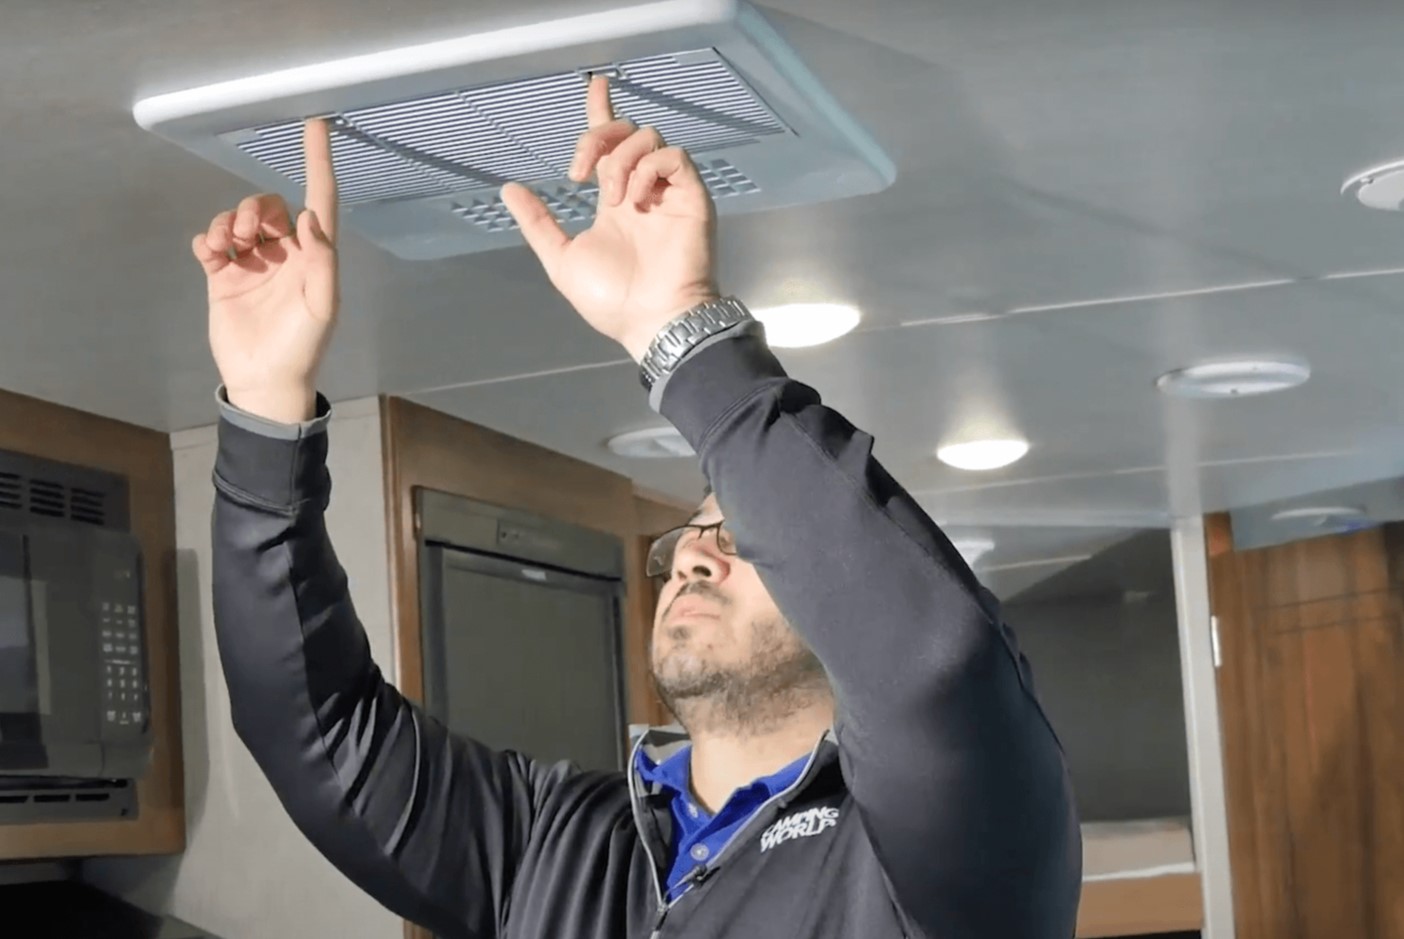
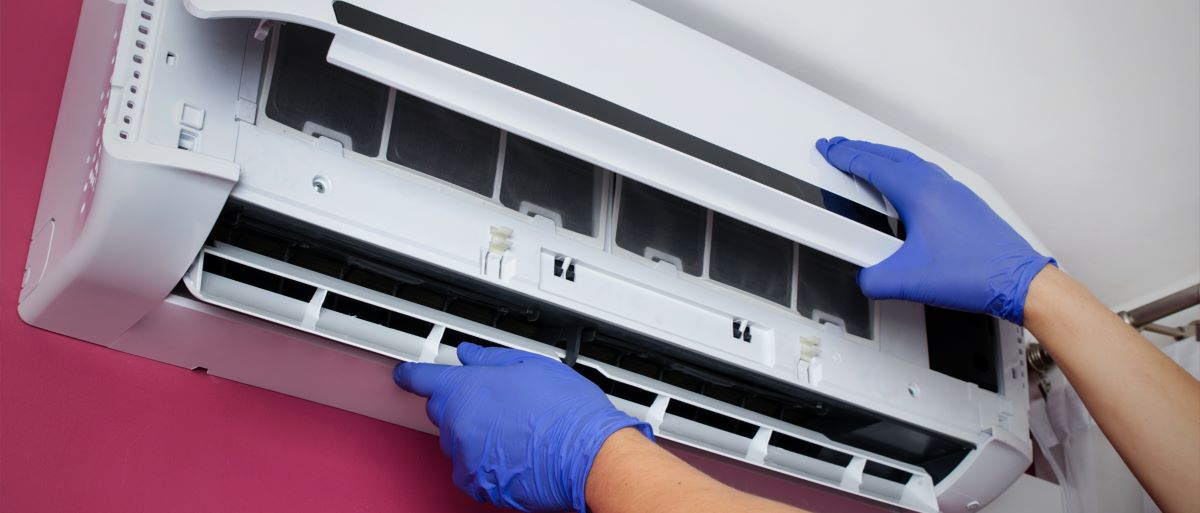
Step 2: Remove the Air Filter
The air filter of your Haier air conditioner plays a vital role in keeping the air clean and removing dust particles and other allergens. Over time, the air filter can become clogged and obstruct the airflow, leading to reduced cooling efficiency. Here’s how to remove the air filter:
- Locate the air filter: Depending on the model of your Haier air conditioner, the air filter is usually located behind the front panel or grill. Refer to the manufacturer’s manual for the exact location.
- Remove the front panel or grill: Use a screwdriver to remove any screws or fasteners holding the front panel or grill in place. Gently pull the panel or grill forward to access the air filter compartment.
- Identify the air filter: The air filter is a rectangular or square-shaped mesh-like screen that is typically made of aluminum or other washable materials.
- Slide or lift the air filter out: Depending on the design of your air conditioner, you may need to slide the air filter out from its housing or lift it upwards to remove it. Be gentle to avoid any damage.
- Inspect the air filter: Take a moment to examine the condition of the air filter. If it is heavily dirty or damaged, it may need to be replaced rather than cleaned. Refer to the manufacturer’s instructions for proper filter maintenance.
By following these steps, you can easily remove the air filter from your Haier air conditioner. In the next step, we’ll discuss how to clean the air filter to ensure optimal performance and air quality.
Step 3: Clean the Air Filter
Regular cleaning of the air filter is essential to maintain the efficiency and performance of your Haier air conditioner. Over time, the air filter can accumulate dirt, dust, and other airborne particles, which can obstruct airflow and reduce cooling effectiveness. Here’s how to clean the air filter:
- Prepare a cleaning solution: Fill a bucket or basin with warm water and add a mild detergent. Mix the solution gently until the detergent is dissolved.
- Immerse the air filter: Submerge the air filter into the cleaning solution, making sure it is fully covered. Allow the filter to soak for about 15 minutes. This will help loosen any dirt and debris trapped in the filter.
- Gently scrub the filter: Using a soft bristle brush, gently scrub the air filter to remove any stubborn dirt and debris. Be careful not to apply too much pressure to avoid damaging the filter. Pay special attention to heavily soiled areas.
- Rinse the air filter: Thoroughly rinse the air filter under running water to wash away the cleaning solution and loosened dirt. Make sure to remove all traces of detergent to prevent any residue from being circulated into the air.
- Air dry the filter: After rinsing, allow the air filter to air dry completely. This can be done by placing it on a clean towel or hanging it up in a well-ventilated area. Ensure that the filter is completely dry before reinstallation.
- Optional: Use a vacuum cleaner: If the air filter is not heavily soiled, you can also use a vacuum cleaner with a brush attachment to remove loose dirt and debris. Gently run the brush attachment over the filter to remove any surface dust.
Cleaning the air filter on a regular basis, typically every 2-3 months, will ensure optimal performance and energy efficiency of your Haier air conditioner. Once the filter is completely dry, you can proceed to the next step where we’ll clean the air conditioner grills.
Regularly clean or replace the air filter in your Haier air conditioner to maintain its efficiency and prevent dust and debris from circulating in your home.
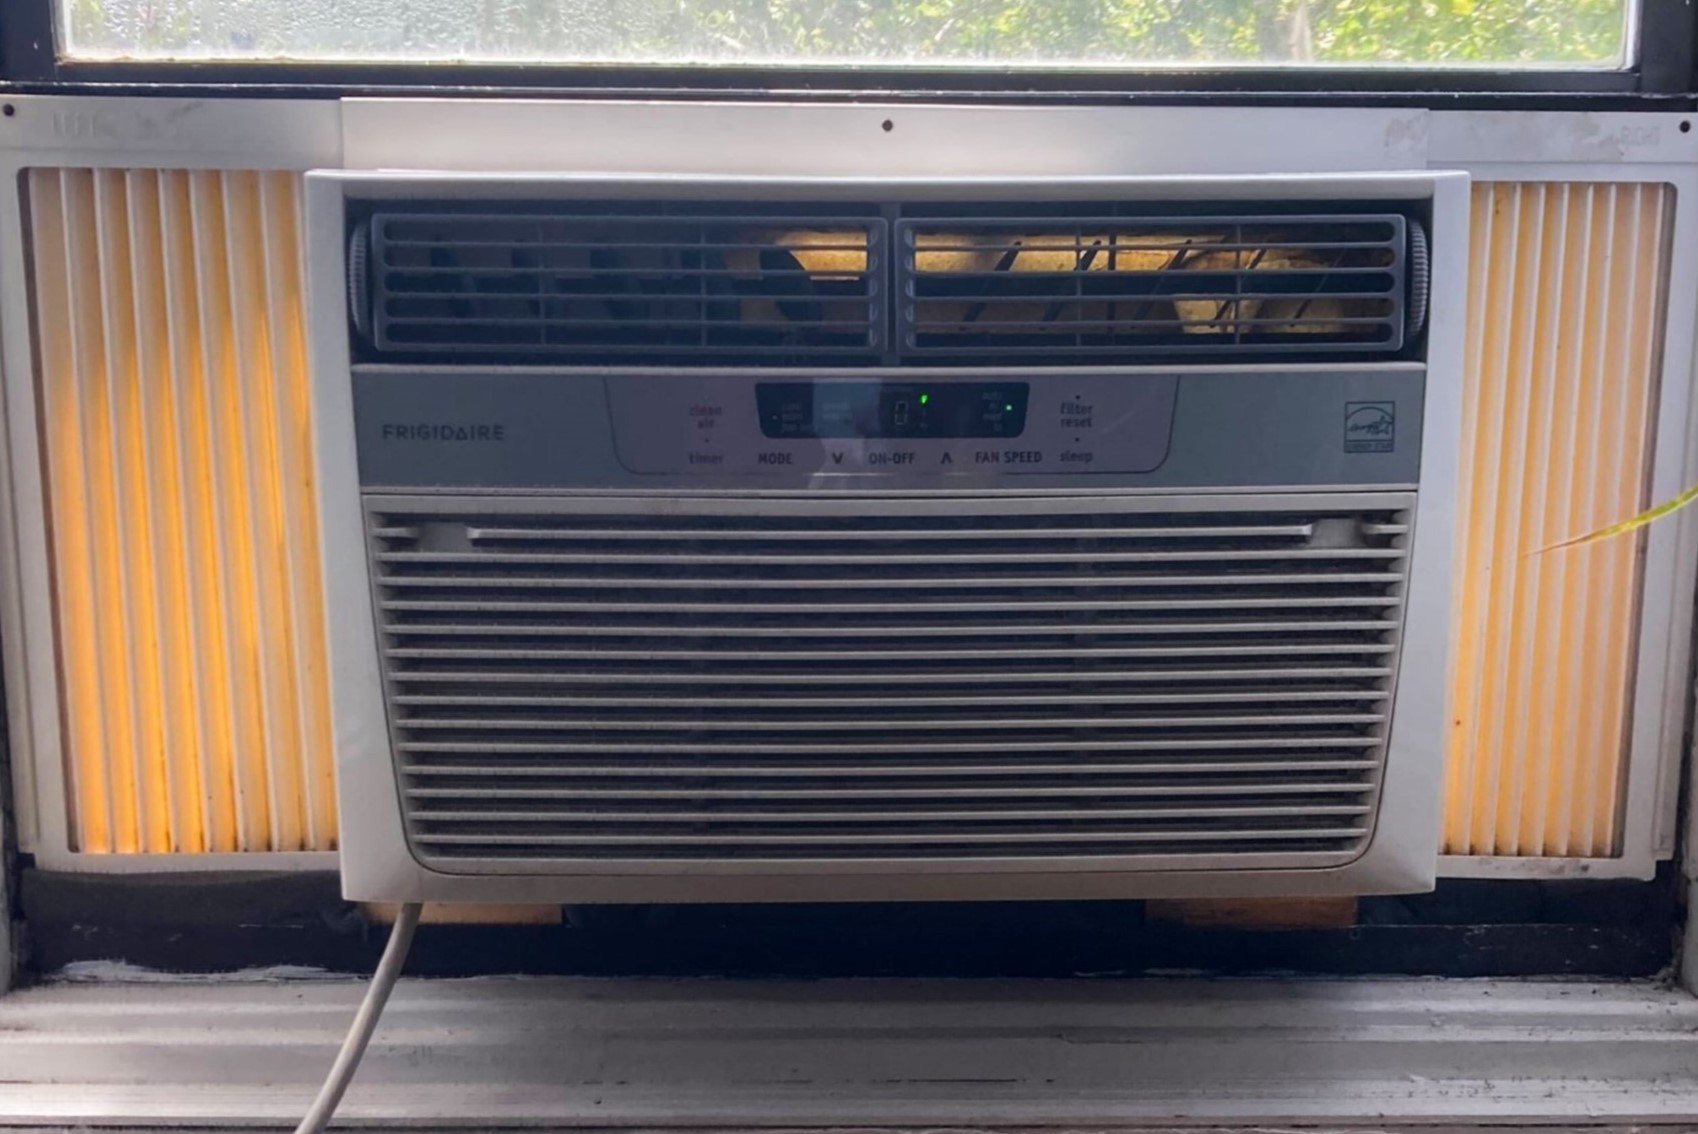
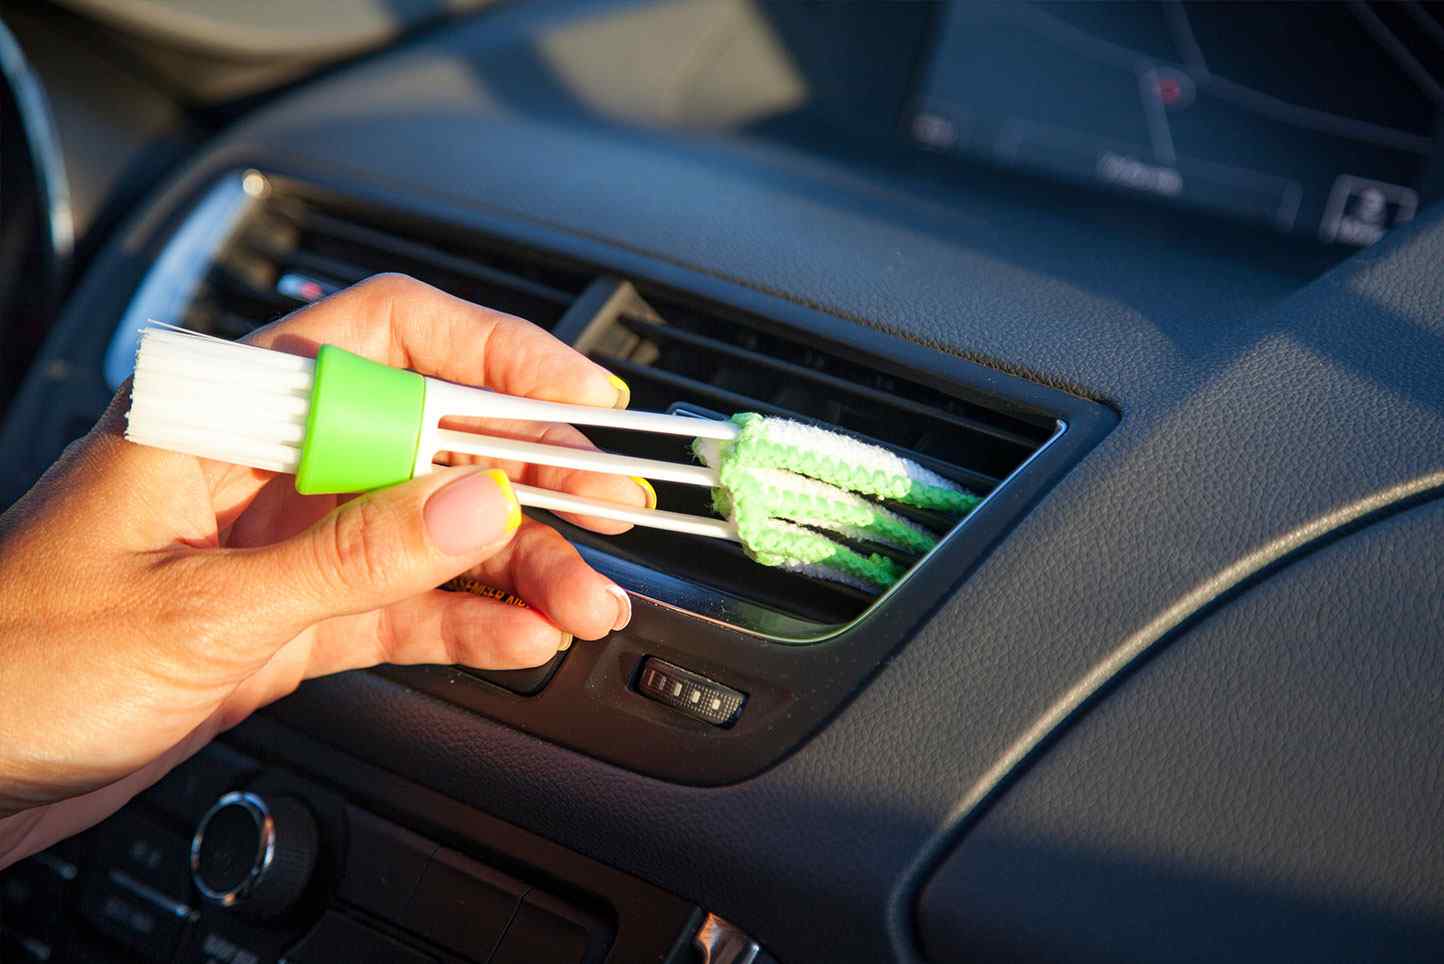
Step 4: Clean the Air Conditioner Grills
The air conditioner grills or louvers, located on the front panel of your Haier air conditioner, can accumulate dust and debris over time. Cleaning the grills not only improves the appearance of your air conditioner but also ensures proper airflow and cooling efficiency. Here’s how to clean the air conditioner grills:
- Prepare a cleaning solution: Mix a mild detergent or a solution of warm water with vinegar in a small bowl or bucket. This will help remove any dirt or grease build-up on the grills.
- Dampen a cloth or sponge: Dip a cloth or sponge into the cleaning solution and wring out any excess liquid. You want the cloth or sponge to be damp, not dripping wet.
- Gently scrub the grills: Starting from the top, use the damp cloth or sponge to gently scrub the air conditioner grills. Use back-and-forth or circular motions to remove any dirt or residue. Pay attention to the areas where the dirt tends to accumulate, such as the corners or crevices.
- Wipe down the grills: Once you have scrubbed the grills, use a clean, damp cloth to wipe down the surface and remove any leftover cleaning solution or debris.
- Dry the grills: After wiping, allow the grills to air dry completely. Make sure there is no moisture left on the grills before reassembling the air conditioner.
Cleaning the air conditioner grills on a regular basis, ideally once a month, will help maintain the appearance and functionality of your Haier air conditioner. It’s important to note that some models may have removable grills, while others may have fixed grills. If your grills are removable, you can take them off for easier cleaning. Follow the manufacturer’s instructions for your specific model.
With the grills now clean and dry, we can move on to the next step, which is cleaning the cooling coils of your Haier air conditioner.
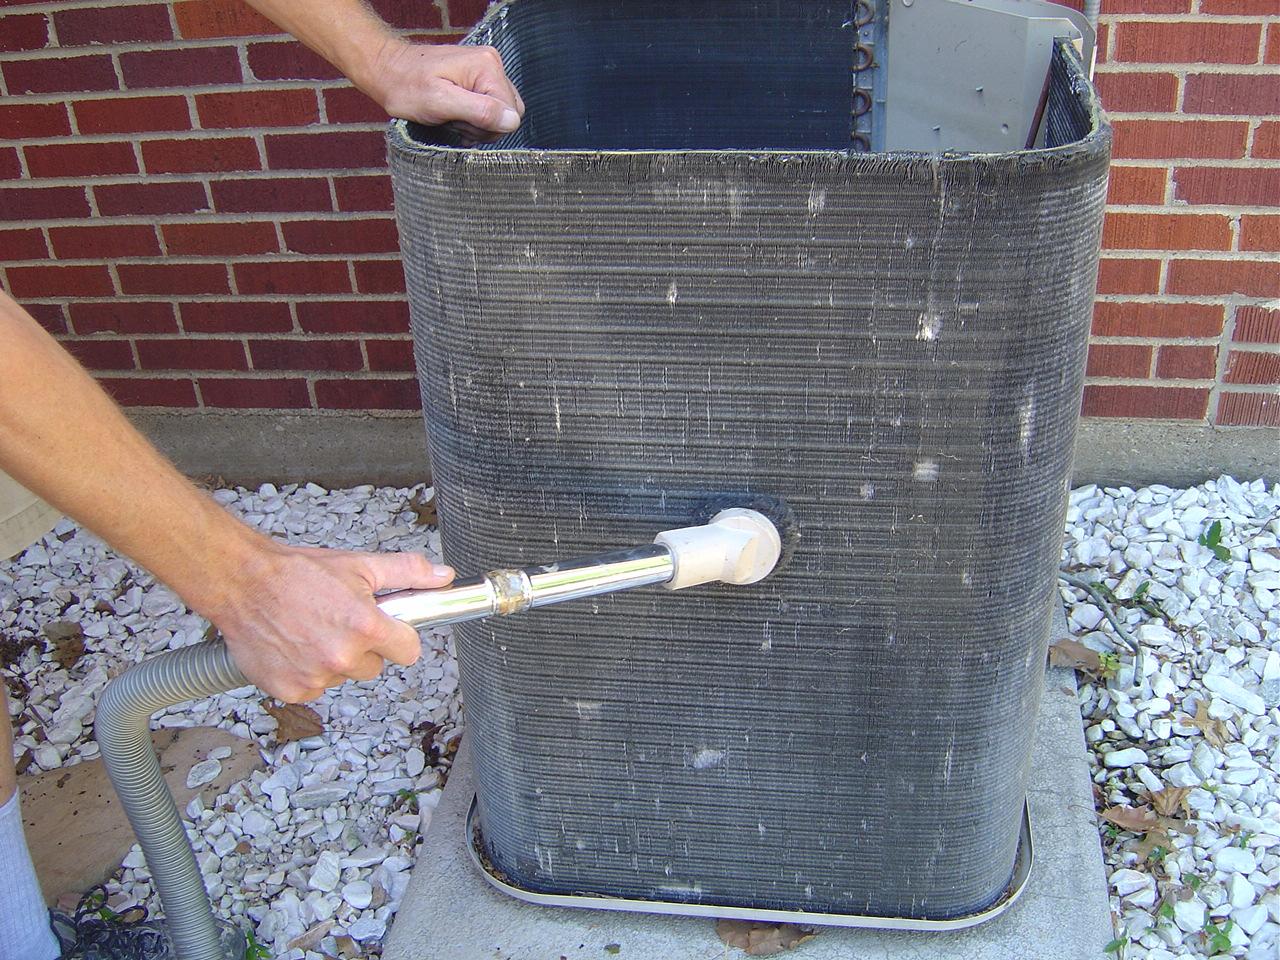
Step 5: Clean the Cooling Coils
The cooling coils in your Haier air conditioner are responsible for absorbing heat from the air, allowing it to cool down before being circulated back into the room. Over time, dust and debris can accumulate on the coils, reducing their efficiency and affecting the cooling performance. Here’s how to clean the cooling coils:
- Access the cooling coils: Depending on the model of your Haier air conditioner, you may need to remove the front panel or grill to access the cooling coils. Refer to the manufacturer’s manual for specific instructions.
- Inspect the coils: Before cleaning, visually inspect the cooling coils for any visible signs of dirt, dust, or debris. If the coils appear heavily soiled, it may require additional steps for cleaning, such as using an air conditioner coil cleaner. Follow the manufacturer’s instructions for using this product.
- Gently brush off loose debris: Using a soft bristle brush or a vacuum cleaner with a brush attachment, gently brush or vacuum off any loose dust or debris from the cooling coils. Be careful not to bend or damage the delicate fins on the coils.
- Clean with a coil cleaner (if needed): If the coils are still dirty or if there is significant build-up, you may need to use a specialized air conditioner coil cleaner. Follow the instructions on the product carefully, as each cleaner may have different application methods. Ensure that the cleaner is safe to use on the specific material of your cooling coils.
- Rinse the coils (if applicable): If you have used a coil cleaner, rinse the coils thoroughly with water to remove any residue. Make sure to rinse from top to bottom to ensure all the cleaner is washed away. Allow the coils to dry completely before proceeding.
Cleaning the cooling coils of your Haier air conditioner on a regular basis, at least once a year, will help maintain its efficiency and cooling performance. It’s important to note that some air conditioner models have self-cleaning features that automatically remove dirt from the coils. Refer to your manual to determine if your Haier air conditioner has this feature.
With the cooling coils now clean, we can move on to the next step, which is cleaning the condensation drain of your Haier air conditioner.
Step 6: Clean the Condensation Drain
The condensation drain in your Haier air conditioner plays a crucial role in removing excess moisture that accumulates during the cooling process. Over time, the drain can become clogged with dirt, dust, and algae, leading to water leakage and potential damage to your air conditioner. Here’s how to clean the condensation drain:
- Locate the condensation drain: The condensation drain is typically located at the bottom of the air conditioner unit or near the cooling coils. Refer to the manufacturer’s manual or look for a small PVC pipe or tubing.
- Inspect the drain: Check the condensation drain for any visible signs of clogs or blockages. You may see accumulated dirt, debris, or even algae growth. This can restrict the flow of water and cause issues with your air conditioner.
- Clean the drain opening: Use a small brush or pipe cleaner to gently clean the opening of the condensation drain. Remove any visible debris or dirt that may be blocking the flow of water. Be careful not to push the debris further into the drain.
- Flush the drain with water: Once you have cleaned the drain opening, carefully pour a mixture of warm water and mild detergent into the drain. This will help flush out any remaining dirt or blockages. Allow the solution to sit for a few minutes.
- Use a wet-dry vacuum (optional): If the condensation drain is heavily clogged and the water is not flowing freely, you can use a wet-dry vacuum to suction out the debris. Attach the vacuum to the drain opening and switch it on to remove the blockage.
- Check the drain flow: After cleaning, pour some water into the condensation drain to ensure that it flows smoothly and freely. This will help confirm that the drain is clear of any blockages or clogs.
Cleaning the condensation drain of your Haier air conditioner on a regular basis, at least once a year, will prevent water leakage and potential damage to your unit. If you notice any persistent issues with water leakage or clogged drains, it’s recommended to consult a professional HVAC technician for further inspection and maintenance.
With the condensation drain now clean, we can move on to the next step, which is reinstalling the air filter of your Haier air conditioner.
Read more: How To Clean A Haier Kegerator
Step 7: Reinstall the Air Filter
Now that you have cleaned the air filter, it’s time to reinstall it back into your Haier air conditioner. Properly reinstalling the air filter is crucial for maintaining the unit’s air quality and efficient airflow. Here’s how to reinstall the air filter:
- Ensure the air filter is completely dry: Before reinstalling the air filter, make sure it is completely dry. Any moisture left on the filter can lead to mold or mildew growth, affecting the air quality.
- Position the air filter correctly: Locate the slot or compartment where the air filter is inserted. Align the filter properly with the grooves or tracks in the slot to ensure a secure fit.
- Slide or push the air filter into place: Depending on the design of your Haier air conditioner, you may need to slide the filter into the slot or push it firmly until it clicks into place. Make sure the filter is snug and secured.
- Check for proper installation: Once the filter is in place, double-check that it is properly installed. It should be positioned flat and flush against the frame, without any gaps or misalignment.
- Replace the front panel or grill: If you had to remove the front panel or grill to access the air filter, gently place it back into position. Use a screwdriver to secure any screws or fasteners.
Reinstalling the air filter correctly is essential for the efficient operation of your Haier air conditioner. A properly installed filter will ensure that the air is adequately filtered and circulated throughout your home. It is typically recommended to clean or replace the air filter every 2-3 months, or more frequently if you have pets or live in a dusty environment.
With the air filter reinstalled, we are ready to move on to the final step of cleaning your Haier air conditioner – turning it back on and testing its performance.
Step 8: Turn On the Air Conditioner and Test
After cleaning and reinstalling the air filter of your Haier air conditioner, it’s time to turn it back on and ensure everything is working properly. Here’s how to test your air conditioner:
- Double-check all connections: Before turning on the air conditioner, make sure all the connections, including the power cord and any screws or fasteners, are secure and properly tightened.
- Plug in the air conditioner: Reconnect the power cord to the electrical outlet and ensure it is plugged in securely.
- Turn on the unit: Locate the power button on the control panel or use the remote control to turn on the air conditioner.
- Set the desired temperature: Adjust the thermostat or temperature settings to your preferred comfort level. Give the air conditioner a few moments to start up and begin cooling the air.
- Listen and observe: As the air conditioner operates, listen for any unusual sounds such as rattling or grinding noises. Observe the airflow and ensure that it is consistent and evenly distributed throughout the room.
- Check for proper cooling: Feel the air coming out of the unit and ensure it is cool and refreshing. Monitor the temperature in the room and ensure that it reaches the desired setpoint.
- Monitor for any issues: Keep an eye on the air conditioner over the next few hours to ensure that it is running smoothly without any water leakage or unusual odors. If you notice any problems, such as inadequate cooling or unusual behavior, it’s recommended to contact a professional HVAC technician for further assessment.
By following these steps, you can confirm that your Haier air conditioner is functioning properly after cleaning and maintenance. Regular testing and monitoring will help identify any potential issues early on and ensure the optimal performance of your air conditioner.
Congratulations! You have successfully cleaned and tested your Haier air conditioner. By performing regular maintenance and keeping it clean, you can enjoy cool and comfortable air throughout the year. Remember to consult your manufacturer’s manual or contact a professional for any specific concerns or troubleshooting.
Now sit back, relax, and enjoy the refreshing coolness of your newly cleaned Haier air conditioner!
Conclusion
Congratulations on completing the cleaning process for your Haier air conditioner! Regular maintenance and cleaning are crucial to ensure the optimal performance, energy efficiency, and longevity of your cooling system. By following the step-by-step guide outlined in this article, you have taken an important step towards maintaining a clean and well-functioning Haier air conditioner.
We started by emphasizing the importance of safety precautions when working with electrical appliances. By turning off the air conditioner, unplugging it, and wearing appropriate protective gear, you ensured a safe cleaning process.
You then gathered the necessary tools and materials, such as a screwdriver, soft bristle brush, water and mild detergent, and a vacuum cleaner with a brush attachment. These tools helped you effectively clean the air filter, air conditioner grills, cooling coils, and condensation drain.
Throughout the cleaning process, you paid attention to detail and used gentle techniques to avoid damaging any delicate components of your air conditioner. By properly reinstalling the air filter and ensuring all connections were secure, you prepared your Haier air conditioner for optimal performance.
Lastly, after turning on the air conditioner, you monitored its operation, listened for any unusual sounds, and observed the cooling performance. This allowed you to confirm that your Haier air conditioner was working efficiently and effectively.
Remember, regular cleaning and maintenance are key to keeping your Haier air conditioner running smoothly. Schedule regular cleaning of the air filter every 2-3 months, clean the grills and cooling coils at least once a year, and check and clean the condensation drain periodically to prevent any issues or inefficiencies.
If you have any specific concerns or encounter any difficulties during the cleaning process, always consult your manufacturer’s manual or seek assistance from a professional HVAC technician.
Now that you have completed the cleaning process, sit back and enjoy the cool, refreshing air provided by your clean and well-maintained Haier air conditioner!
Frequently Asked Questions about How To Clean A Haier Air Conditioner
Was this page helpful?
At Storables.com, we guarantee accurate and reliable information. Our content, validated by Expert Board Contributors, is crafted following stringent Editorial Policies. We're committed to providing you with well-researched, expert-backed insights for all your informational needs.