Home>Home Maintenance>How To Clean A Wall Air Conditioner
Home Maintenance
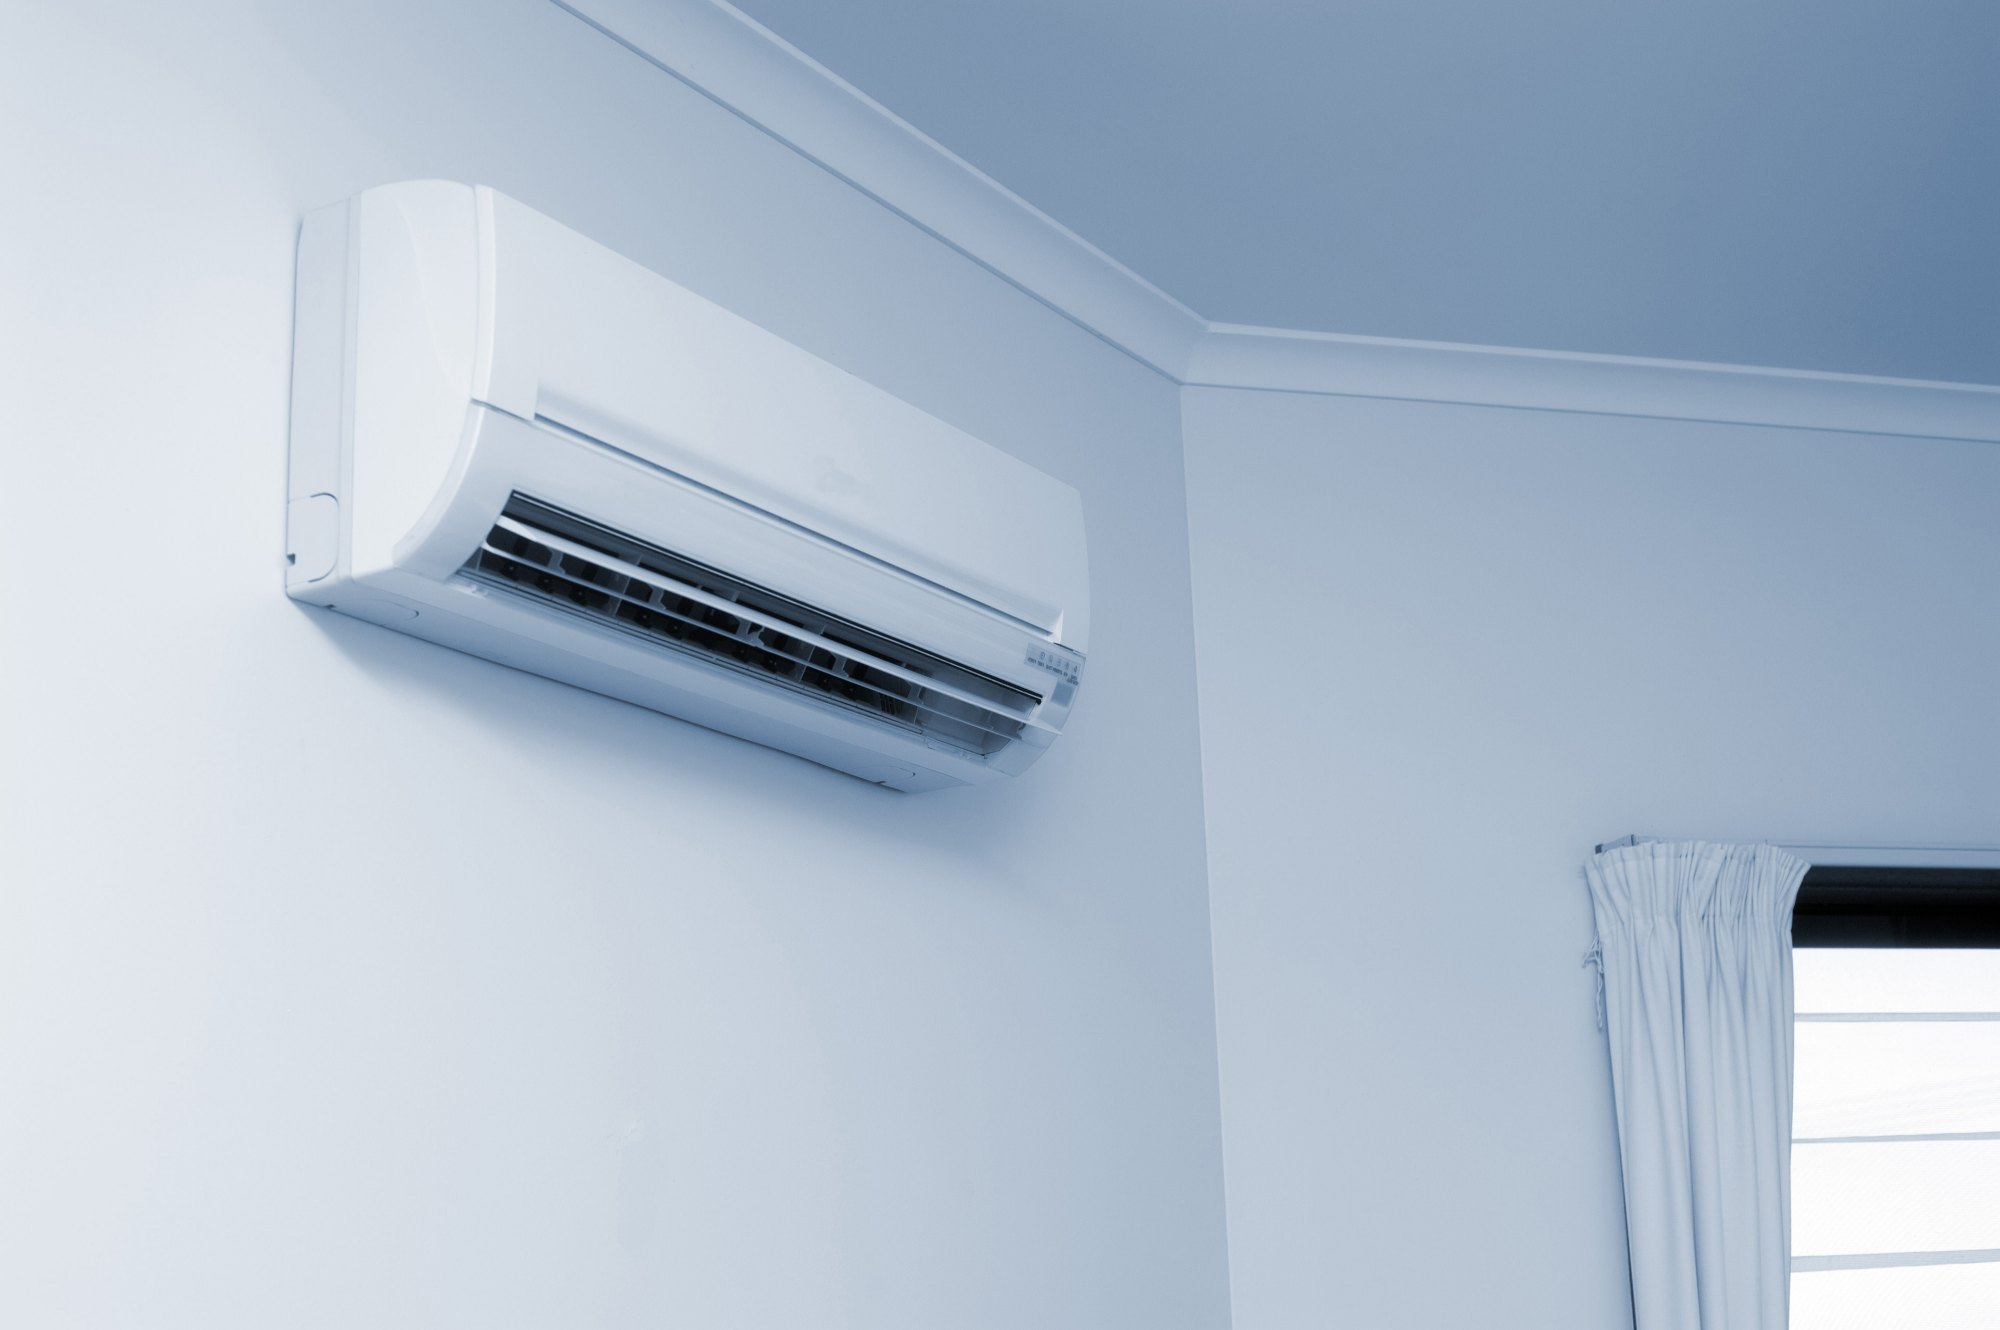
How To Clean A Wall Air Conditioner
Modified: March 7, 2024
Learn how to clean a wall air conditioner with our step-by-step guide. Ensure proper home maintenance and keep your air conditioner running efficiently.
(Many of the links in this article redirect to a specific reviewed product. Your purchase of these products through affiliate links helps to generate commission for Storables.com, at no extra cost. Learn more)
Introduction
Wall air conditioners are an essential part of home comfort, especially during the hot summer months. They provide cool air and help maintain a comfortable living environment. However, like any other appliance, wall air conditioners require regular maintenance to ensure optimal performance and longevity.
In this article, we will guide you through the process of cleaning a wall air conditioner. Regular cleaning not only keeps your unit running efficiently but also helps prevent the buildup of dust, allergens, and mold, which can affect indoor air quality. By following these simple steps, you can ensure that your wall air conditioner continues to deliver cool and refreshing air while keeping your home clean and healthy.
Key Takeaways:
- Regularly cleaning your wall air conditioner’s filters, coils, and drainage hole is essential for optimal performance and indoor air quality. It’s like giving your AC a refreshing spa day to keep your home cool and healthy.
- Don’t forget to gather the right tools, shut off the power, and follow the steps to clean and maintain your wall air conditioner. It’s like giving your AC a little TLC to ensure it keeps you cool and comfortable all summer long.
Read more: How To Clean A Lennox Air Conditioner
Step 1: Preparation
Before you begin cleaning your wall air conditioner, it is crucial to gather the necessary tools and materials. This will ensure a smooth and efficient cleaning process. Here’s what you’ll need:
- A screwdriver: To remove the front panel of the air conditioner.
- A vacuum cleaner with a brush attachment: To remove loose dust and debris.
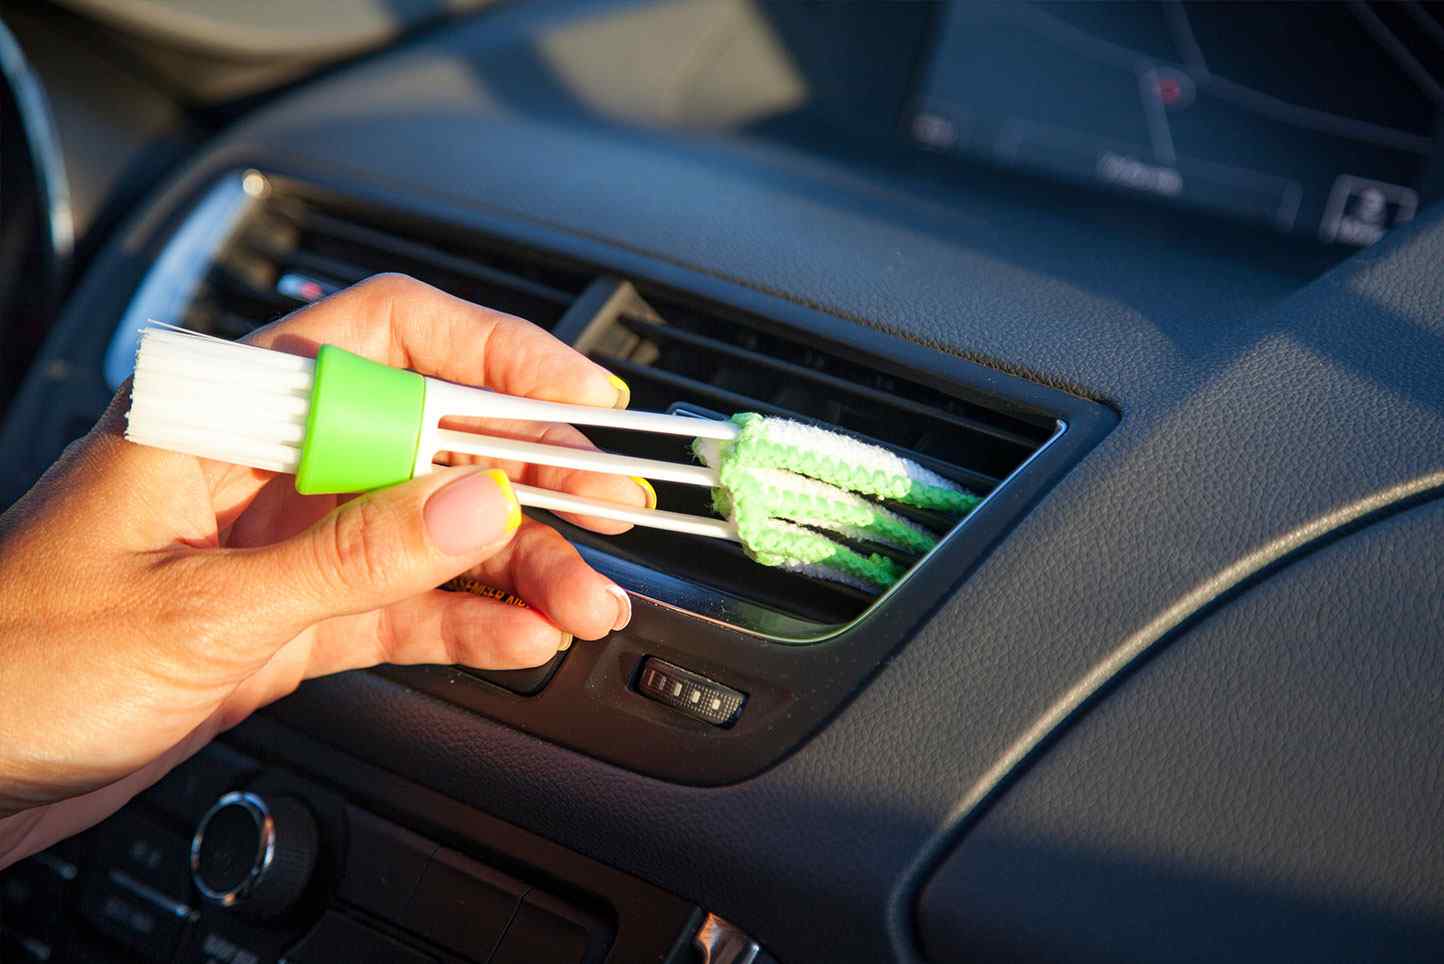
- A soft-bristle brush: To clean the filters and coils.
- A cleaning solution: You can use a mild detergent or a mixture of water and vinegar.
- A spray bottle: To apply the cleaning solution.
- A cloth or sponge: To wipe down the surfaces.
Once you have gathered all the necessary items, make sure to turn off the power to the air conditioner. This will prevent any accidents or mishaps during the cleaning process. You can do this by switching off the circuit breaker or unplugging the unit from the power source.
It is also a good idea to cover the area surrounding the air conditioner with plastic or towels to protect it from any water or debris that may fall during the cleaning process.
With everything in place, you are now ready to begin cleaning your wall air conditioner and restoring its performance.
Step 2: Shutting off the Power
Before you begin cleaning your wall air conditioner, it is crucial to ensure that the power to the unit is shut off. This step is essential for your safety and to prevent any damage to the unit.
To shut off the power, locate the circuit breaker that controls the air conditioner. Flip the switch to the “off” position. If your air conditioner is plugged into a wall outlet, unplug it from the power source.
Double-check that the power is indeed off by trying to turn on the unit. If it does not turn on, you can proceed with the cleaning process confidently.
Remember, electricity and water do not mix well, so it is essential to take this precautionary step before proceeding with any further cleaning.
Once you have confirmed that the power is off, you can move on to the next step of removing the front panel of the air conditioner.
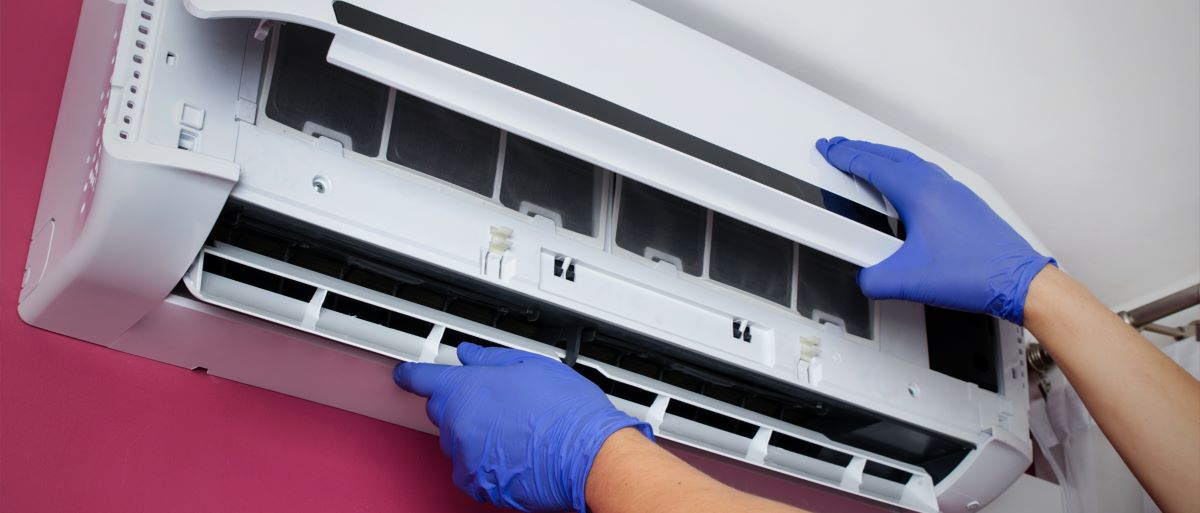
Step 3: Removing the Front Panel
Now that you have ensured the power is shut off, it’s time to remove the front panel of your wall air conditioner. This will give you access to the filters and coils, which are the primary areas that need cleaning.
Grab a screwdriver and locate the screws securing the front panel. These screws are usually located along the edges of the panel. Carefully unscrew them and set them aside in a safe place.
Once the screws are removed, gently pull the front panel towards you. It may require a little force, as there are usually clips or tabs holding it in place. Be careful not to exert too much pressure or damage the unit.
As you remove the front panel, take note of any tabs or connections that may be attached to it. These are usually for controlling the unit or providing power. Disconnect them gently, ensuring not to damage any wires in the process.
Set the front panel aside in a safe and clean location. You can use a cloth or towel to protect it from any dust or dirt while you proceed with cleaning the filters and coils.
Now that the front panel is removed, you have clear access to the filters and coils, which are the main areas where dirt and debris accumulate. In the next step, we will guide you through the process of cleaning these components to optimize the performance of your wall air conditioner.
Step 4: Cleaning the Filters
The filters in your wall air conditioner play a crucial role in maintaining good air quality by trapping dust, allergens, and other particles. Over time, these filters can become clogged with dirt, reducing the efficiency of your unit and potentially affecting indoor air quality. Cleaning the filters regularly is essential for optimal performance.
Start by inspecting the filters for any visible dirt or debris. If the filters are washable, you can clean them by following these steps:
- Remove the filters from the air conditioner unit.
- Using a vacuum cleaner with a brush attachment, gently remove any loose dust and debris from the filters.
- Fill a sink or basin with warm water and add a mild detergent. You can also use a mixture of water and vinegar as a natural cleaning solution.
- Submerge the filters in the soapy water and allow them to soak for about 15-20 minutes.
- Gently scrub the filters with a soft-bristle brush to remove any stubborn dirt or grime.
- Rinse the filters under clean running water to remove any soap residue.
- Allow the filters to air dry completely before reinstalling them in the air conditioner unit.
If your filters are not washable, you may need to replace them with new ones. Consult the manufacturer’s instructions or contact a professional for guidance on finding the appropriate filters for your specific unit.
Remember to clean the filters regularly, at least once every few months or as recommended by the manufacturer. This will ensure that your wall air conditioner functions efficiently and maintains good air quality.
With the filters cleaned or replaced, you can now move on to the next step of cleaning the coils of your wall air conditioner.
Regularly clean or replace the air filter to maintain the efficiency of your wall air conditioner. Use a vacuum to remove dust and debris from the filter, or wash it with mild soap and water if it’s washable. This will improve air quality and help the unit run more efficiently.
Read more: How To Clean A Frigidaire Air Conditioner
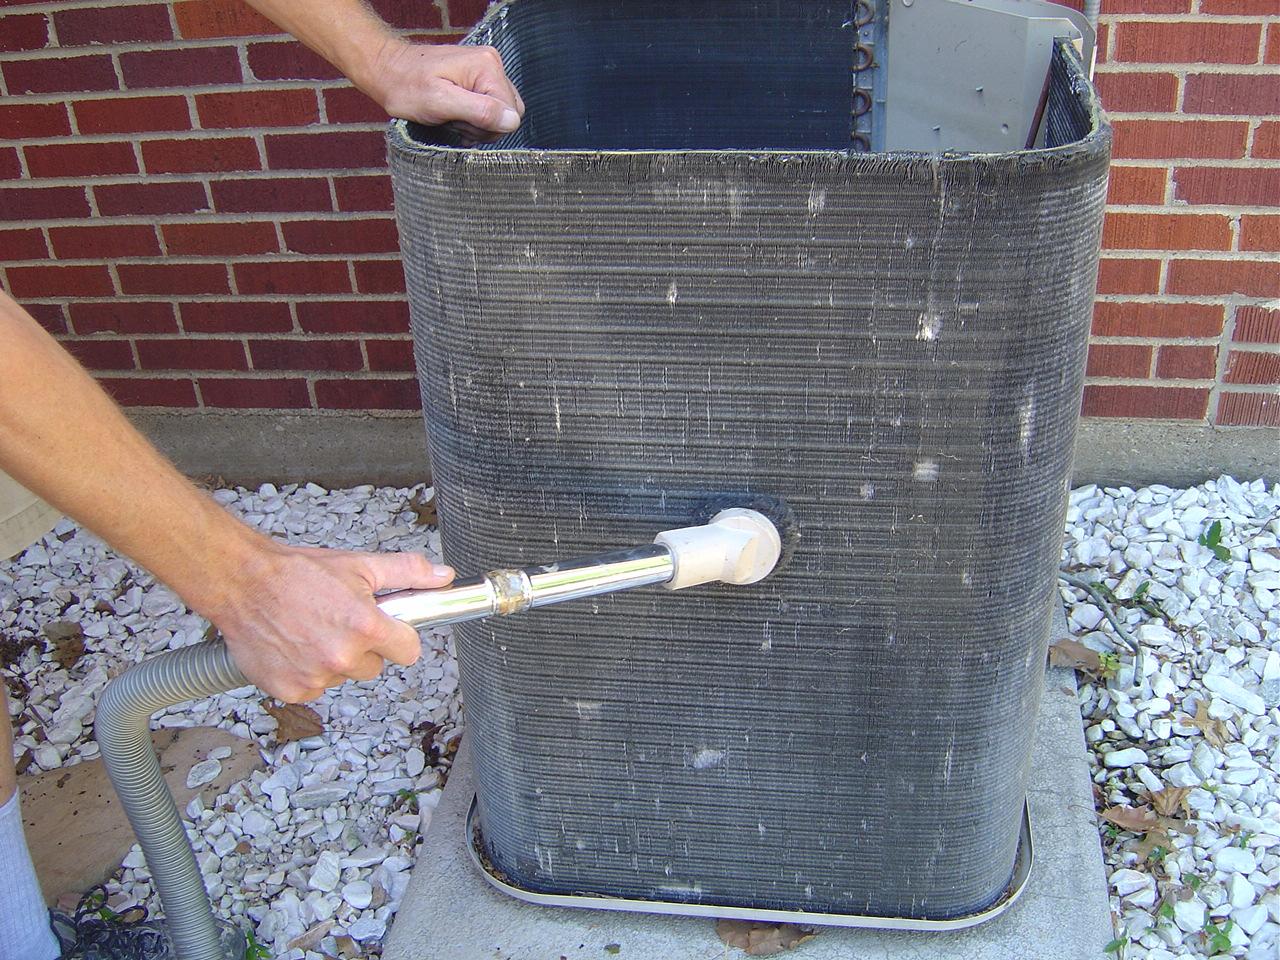
Step 5: Cleaning the Coils
The coils in your wall air conditioner are responsible for cooling the air that is circulated throughout your home. Over time, these coils can accumulate dirt, dust, and even mold, which can impact the efficiency and performance of your unit. Cleaning the coils is essential to ensure optimal cooling and energy efficiency.
To clean the coils of your wall air conditioner, follow these steps:
- Using a vacuum cleaner with a brush attachment, carefully remove any loose dirt and debris from the coils. Be gentle to avoid damaging the coils.
- Prepare a cleaning solution by mixing equal parts water and vinegar or using a mild detergent diluted in water.
- Dampen a soft-bristle brush or cloth with the cleaning solution.
- Gently scrub the coils, paying attention to any areas with stubborn dirt or mold. Take care not to bend or damage the delicate fins of the coils.
- Rinse the coils with clean water to remove any remaining cleaning solution.
- Allow the coils to air dry completely before reassembling the unit.
It is important to note that some wall air conditioners may have sealed coils that cannot be cleaned by homeowners. In such cases, it is best to consult the manufacturer or seek professional assistance for coil cleaning or maintenance.
Cleaning the coils should be done at least once a year or as recommended by the manufacturer. Regular maintenance will help maintain the efficiency of your wall air conditioner and prolong its lifespan.
With the filters and coils cleaned, you can now proceed to the next step of cleaning the drainage hole to ensure proper water flow in your wall air conditioner.
Step 6: Cleaning the Drainage Hole
The drainage hole in your wall air conditioner allows condensation to flow out of the unit. Over time, this hole can become clogged with dirt, debris, or even mold, preventing proper water drainage. Cleaning the drainage hole is crucial to ensure the efficient operation of your air conditioner and prevent water leakage.
Follow these steps to clean the drainage hole:
- Locate the drainage hole at the back or bottom of your air conditioner unit.
- Use a small brush, such as a toothbrush, to gently remove any visible dirt or debris from the hole. Be careful not to push the dirt further into the hole.
- Prepare a mixture of warm water and vinegar or a mild detergent.
- Fill a spray bottle with the cleaning solution.
- Spray the cleaning solution directly into the drainage hole to dissolve any stubborn dirt or mold.
- Allow the solution to sit for a few minutes.
- Use a small brush or a pipe cleaner to gently scrub the drainage hole, removing any remaining dirt or debris.
- Rinse the drainage hole with clean water to flush out any remaining residue.
- Ensure that the drainage hole is clear and water flows freely.
Regularly cleaning the drainage hole will prevent water buildup and potential damage to your wall air conditioner. It is recommended to perform this maintenance task at least once a year or whenever you notice water leakage from the unit.
With the drainage hole cleaned, you can move on to the next step of reinstalling the front panel of your wall air conditioner.
Step 7: Reinstalling the Front Panel
Now that you have completed the cleaning process for your wall air conditioner, it’s time to reinstall the front panel. This step is crucial to ensure the proper functioning and appearance of your unit.
Follow these steps to reinstall the front panel:
- Inspect the front panel for any dust or dirt. Wipe it down with a clean cloth or sponge to remove any residue.
- Take note of any tabs or connections on the panel that need to be reconnected to the main unit. Align these tabs or connections with the corresponding slots or sockets on the unit.
- Gently slide the front panel back into place, ensuring that it is aligned with the unit’s housing.
- Press the panel firmly until it snaps or locks into place. Some panels may require the reinsertion of screws to secure it properly.
- If screws were removed earlier, grab your screwdriver and reattach them to secure the front panel. Make sure not to overtighten the screws.
Once the front panel is securely in place, give it a gentle push or tug to ensure that it is properly installed. The panel should not be loose or wobbly.
With the front panel reinstalled, your wall air conditioner is ready for the final step of turning on the power and enjoying the cool comfort it provides.
Before you move on to the last step, make sure to clean up any remaining dust or debris around the unit to maintain a clean and tidy space.
Step 8: Turning on the Power
After completing the cleaning process and reinstalling the front panel of your wall air conditioner, it’s time to turn on the power and start enjoying the comfort it provides. Follow these steps to safely turn on the power:
- Double-check that all connections are secure, including the power cord and any tabs or connections on the front panel.
- Make sure that the circuit breaker for the air conditioner is in the “on” position. If you had unplugged the unit, plug it back into the power outlet.
- Give the air conditioner a few minutes to power up and stabilize.
- Set the desired temperature and operating mode on the control panel of the unit or remote control.
- Listen carefully for any unusual sounds or vibrations that could indicate a problem. If you notice anything out of the ordinary, turn off the power immediately and seek professional assistance.
- Allow the air conditioner to run for a few minutes to ensure that it is cooling the air effectively.
Once you have confirmed that the air conditioner is running smoothly and providing cool air, you can sit back and enjoy the comfort it brings to your home.
It is important to note that regular maintenance and cleaning of your wall air conditioner should be conducted at least once a year or as recommended by the manufacturer. This will help prolong its lifespan, maintain its efficiency, and ensure clean and healthy indoor air quality.
Congratulations! You have successfully completed the process of cleaning and maintaining your wall air conditioner. By following these steps, you can enjoy cool and refreshing air throughout the hot summer months while ensuring the optimal performance of your unit.
Read more: How To Clean An RV Air Conditioner
Conclusion
Maintaining a clean and well-functioning wall air conditioner is essential for optimal comfort and indoor air quality. By following the steps outlined in this article, you can ensure that your unit operates efficiently and effectively, providing cool and refreshing air throughout the hot summer months.
From the initial preparation to shutting off the power, removing the front panel, cleaning the filters, coils, and drainage hole, reinstalling the front panel, and finally turning on the power, each step contributes to the overall cleanliness and performance of your wall air conditioner.
Regular maintenance and cleaning of your wall air conditioner not only enhance its longevity but also help to prevent the buildup of dust, allergens, and mold, which can have a negative impact on indoor air quality and overall health.
Remember to gather the necessary tools and materials, shut off the power before cleaning, and follow manufacturer guidelines for specific instructions related to your unit. Regularly cleaning the filters, coils, and drainage hole and ensuring proper power supply will keep your wall air conditioner running smoothly and efficiently.
Taking the time to clean and maintain your wall air conditioner will not only provide cooler and fresher air but also save energy and reduce the risk of expensive repairs or replacements. So, make it a part of your home maintenance routine and enjoy a comfortable and healthy living environment.
Don’t neglect the importance of regular cleaning and maintenance for your wall air conditioner. By following these steps, you can keep your unit in tip-top shape, ensuring optimal performance and prolonging its lifespan. So, take the time to give your wall air conditioner the attention it deserves, and enjoy the benefits of a well-maintained cooling system in your home.
Frequently Asked Questions about How To Clean A Wall Air Conditioner
Was this page helpful?
At Storables.com, we guarantee accurate and reliable information. Our content, validated by Expert Board Contributors, is crafted following stringent Editorial Policies. We're committed to providing you with well-researched, expert-backed insights for all your informational needs.