Home>Home Maintenance>How To Fix An Air Conditioner In A House
Home Maintenance
How To Fix An Air Conditioner In A House
Modified: September 2, 2024
Learn how to fix an air conditioner in your house with expert home maintenance tips. Keep your home cool and comfortable all summer long.
(Many of the links in this article redirect to a specific reviewed product. Your purchase of these products through affiliate links helps to generate commission for Storables.com, at no extra cost. Learn more)
Introduction
Having an air conditioner in your home is a blessing, especially during hot summer months. It helps to keep your living space cool and comfortable. However, just like any other appliance, air conditioners can sometimes encounter problems and may require maintenance or repairs.
The good news is that many common air conditioner issues can be fixed easily with basic troubleshooting and a little bit of know-how. In this article, we will guide you through the steps to fix common air conditioner problems in your house.
Before diving into the troubleshooting steps, it’s essential to note that if you’re unsure about how to proceed or if the issue seems beyond your capabilities, it’s always best to contact a professional HVAC technician. They have the expertise and tools to handle more complex repairs and ensure your air conditioner is functioning optimally.
Now, let’s get started with the first step of troubleshooting your air conditioner.
Key Takeaways:
- Keep your air conditioner running smoothly by regularly checking and cleaning the air filter, condenser coils, and condensate drain. These simple maintenance tasks can improve cooling efficiency and prevent common issues.
- If your air conditioner isn’t working, start by checking the power supply, thermostat settings, and electrical connections. Remember to prioritize safety and contact a professional if you’re unsure about any troubleshooting step.
Read more: How To Fix A Car Air Conditioner
Step 1: Check the Power Supply
The first and easiest step to troubleshoot your air conditioner is to check the power supply. Sometimes, the issue could simply be a power outage or a tripped circuit breaker.
Start by checking if there is power in your house by testing other electrical appliances or lights. If there is no power, contact your utility provider to report the outage.
If there is power, then check the circuit breaker panel for any tripped breakers. Reset any tripped breakers by flipping them back into the “on” position. It’s important to note that air conditioners often require their dedicated circuit breaker, so make sure to locate the breaker that controls your AC unit.
After resetting the breaker, wait for a few minutes for the air conditioner to restart. If the unit doesn’t turn on, proceed to the next troubleshooting step.
If the power supply is not the issue, make sure to also check the power cord and the outlet where the air conditioner is plugged in. Ensure that the power cord is securely connected to the unit and the outlet. You can also try plugging it into a different outlet to rule out any issues with the electrical connection.
If you’ve gone through these steps and the air conditioner still doesn’t turn on, it’s time to move on to the next troubleshooting step.
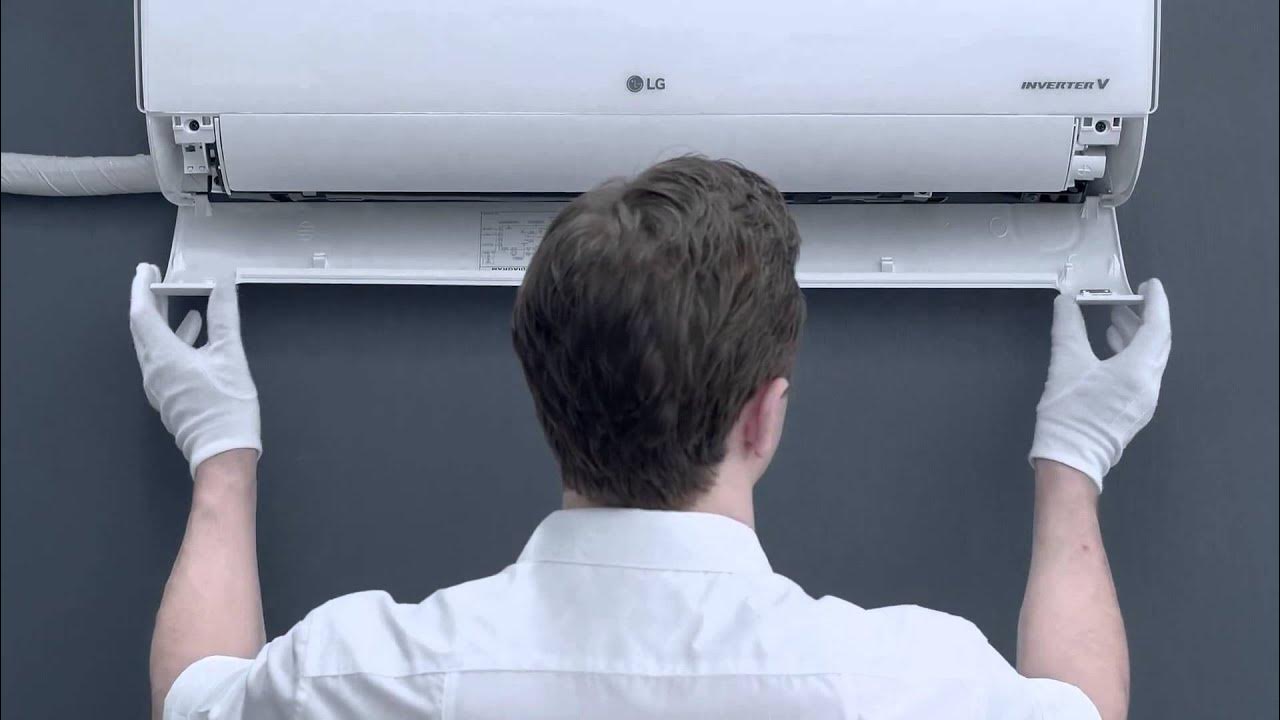
Step 2: Clean or Replace the Air Filter
One of the most common reasons for an air conditioner not working efficiently is a clogged or dirty air filter. The air filter plays a crucial role in maintaining the air quality and proper airflow of your AC unit.
Start by locating the air filter, which is usually located near the air handler or behind a vent cover. The location may vary depending on your specific air conditioning system.
Once you’ve located the air filter, remove it from the unit. Take a close look at the filter to determine if it’s dirty or clogged with dust, dirt, or debris. If it appears dirty, it’s time to clean or replace it.
If your air filter is reusable, you can clean it by following these steps:
- Use a vacuum cleaner to remove any loose dirt or dust from the filter.
- Fill a sink or basin with lukewarm water and add a mild detergent.
- Submerge the filter in the soapy water and gently agitate it to remove any stubborn dirt.
- Rinse the filter thoroughly with clean water to remove all the soap residue.
- Allow the filter to air dry completely before reinstalling it.
If your air filter is disposable, you will need to replace it with a new one. Disposable filters are generally inexpensive and widely available at hardware stores or online.
Regularly cleaning or replacing the air filter is important for the efficient operation of your air conditioner. Depending on factors such as pets, allergies, and environmental conditions, it’s recommended to clean or replace the filter every 1-3 months.
After cleaning or replacing the air filter, put it back in its place and ensure it’s properly secured. This simple maintenance step can improve the airflow and overall performance of your air conditioner.
If cleaning or replacing the air filter doesn’t resolve the problem, proceed to the next troubleshooting step.
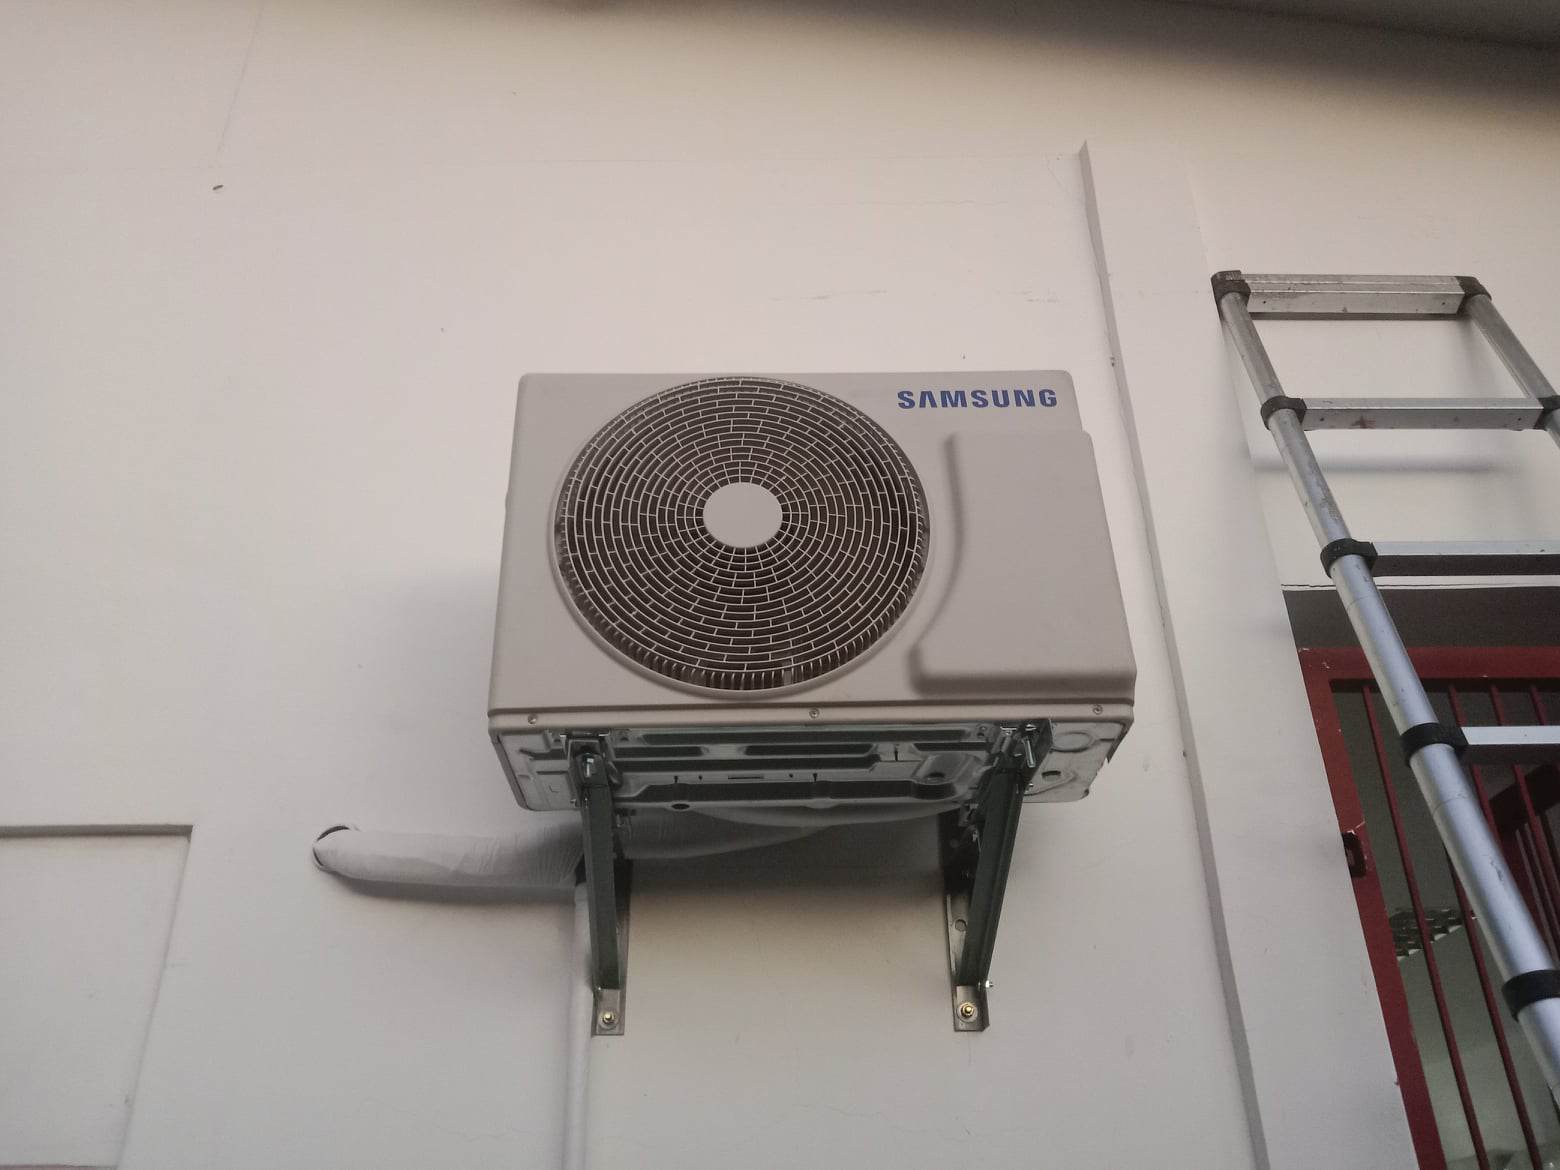
Step 3: Clean the Condenser Coils
The condenser coils play a crucial role in the cooling process of your air conditioner. Over time, these coils can accumulate dirt, dust, and debris, which can hinder the unit’s performance and lead to reduced cooling efficiency.
To clean the condenser coils, follow these steps:
- Turn off the power supply to the air conditioner.
- Locate the outdoor unit, which contains the condenser coils.
- Using a brush or a soft cloth, remove any loose debris or dirt from the coil surfaces.
- For a more thorough cleaning, gently spray water onto the coils to remove stubborn dirt. Be careful not to spray the electrical components.
- If the coils are especially dirty, you can use a coil cleaner solution following the manufacturer’s instructions. Make sure to rinse off the coil cleaner completely.
- Allow the coils to dry completely before restoring power to the air conditioner.
Regularly cleaning the condenser coils can help maintain optimal airflow and heat transfer, ensuring that your air conditioner cools your home effectively.
If cleaning the condenser coils doesn’t solve the issue, proceed to the next troubleshooting step.
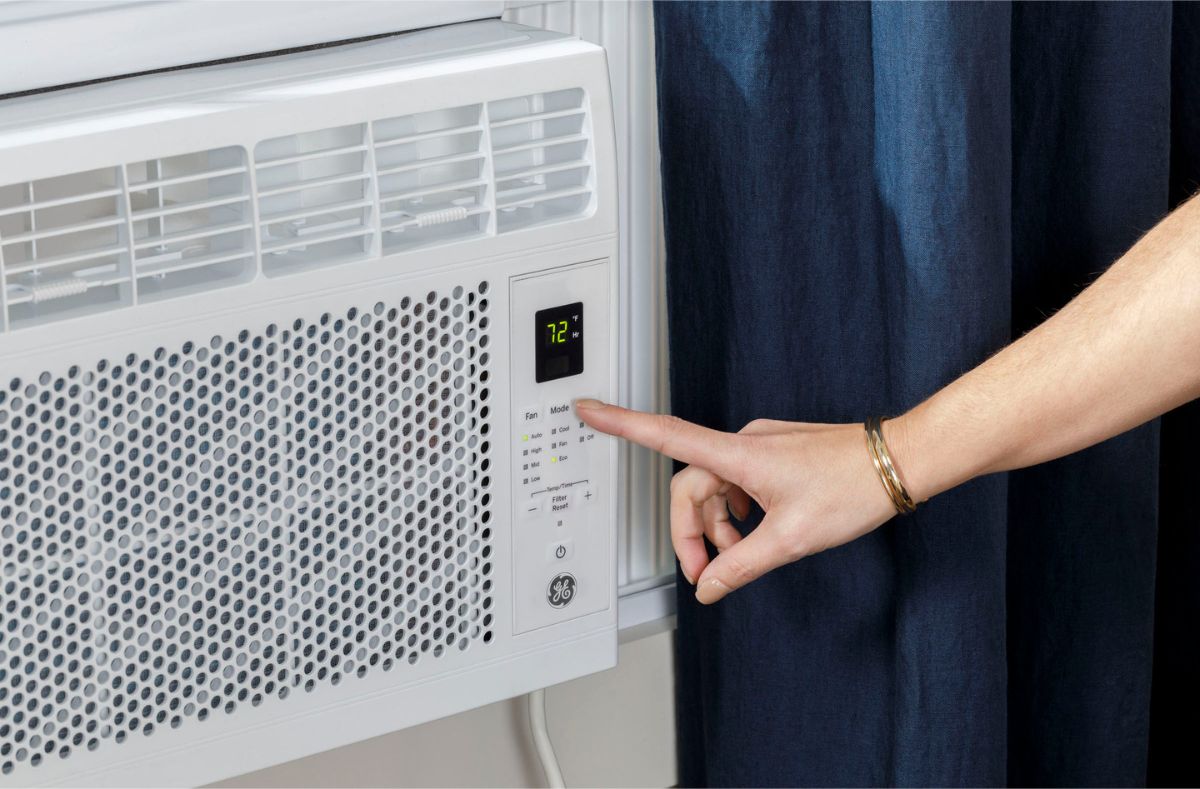
Step 4: Check the Thermostat Settings
The thermostat is the control center of your air conditioner, allowing you to set the desired temperature and control the operation of the unit. Sometimes, the issue with your air conditioner may simply be a result of incorrect thermostat settings.
Start by checking the thermostat settings to ensure they are properly configured. Here are a few things to consider:
- Make sure the thermostat is set to “cool” mode rather than “heat.”
- Verify that the temperature setting is lower than the current room temperature. If the set temperature is higher, the air conditioner will not turn on.
- Check if the thermostat has a programmable feature and review the programmed schedule. It’s possible that the AC is not turning on because of a scheduling conflict.
- If your thermostat has batteries, ensure they are not depleted. Replace them if necessary.
After making any necessary adjustments to the thermostat settings, wait for a few minutes to see if the air conditioner starts working. If the unit still doesn’t turn on, move on to the next troubleshooting step.
Checking the thermostat settings is a quick and easy step, but it can save you from unnecessary repairs or service calls.
If adjusting the thermostat settings doesn’t resolve the issue, proceed to the next troubleshooting step.
Step 5: Inspect and Clear the Condensate Drain
The condensate drain is responsible for removing the excess moisture that is produced by your air conditioner during the cooling process. Over time, the drain line or drain pan can become clogged with dirt, debris, or algae, causing water to back up and potentially damage your air conditioner.
To inspect and clear the condensate drain, follow these steps:
- Locate the condensate drain line, typically found near the indoor air handler or evaporator coil.
- Inspect the drain line for any visible blockages or signs of algae growth, such as a buildup of slime or mold.
- If you see any blockages, use a wet/dry vacuum or a pipe cleaner to carefully remove the debris. Alternatively, you can mix equal parts of water and vinegar and pour it down the drain to dissolve any obstructions.
- Inspect the drain pan located beneath the evaporator coil for any standing water or debris. If necessary, clean the pan with a mild detergent and water solution.
- Ensure that the condensate drain line is properly connected and securely attached to the drain pan.
Clearing the condensate drain is essential to prevent water leaks, moisture buildup, and potential damage to your air conditioning system. Regular maintenance of the condensate drain will help ensure the efficient operation of your air conditioner.
If cleaning the condensate drain doesn’t resolve the issue, proceed to the next troubleshooting step.
Regularly clean or replace the air filter in your air conditioner to ensure proper airflow and efficiency. This simple maintenance task can help prevent breakdowns and keep your home cool.
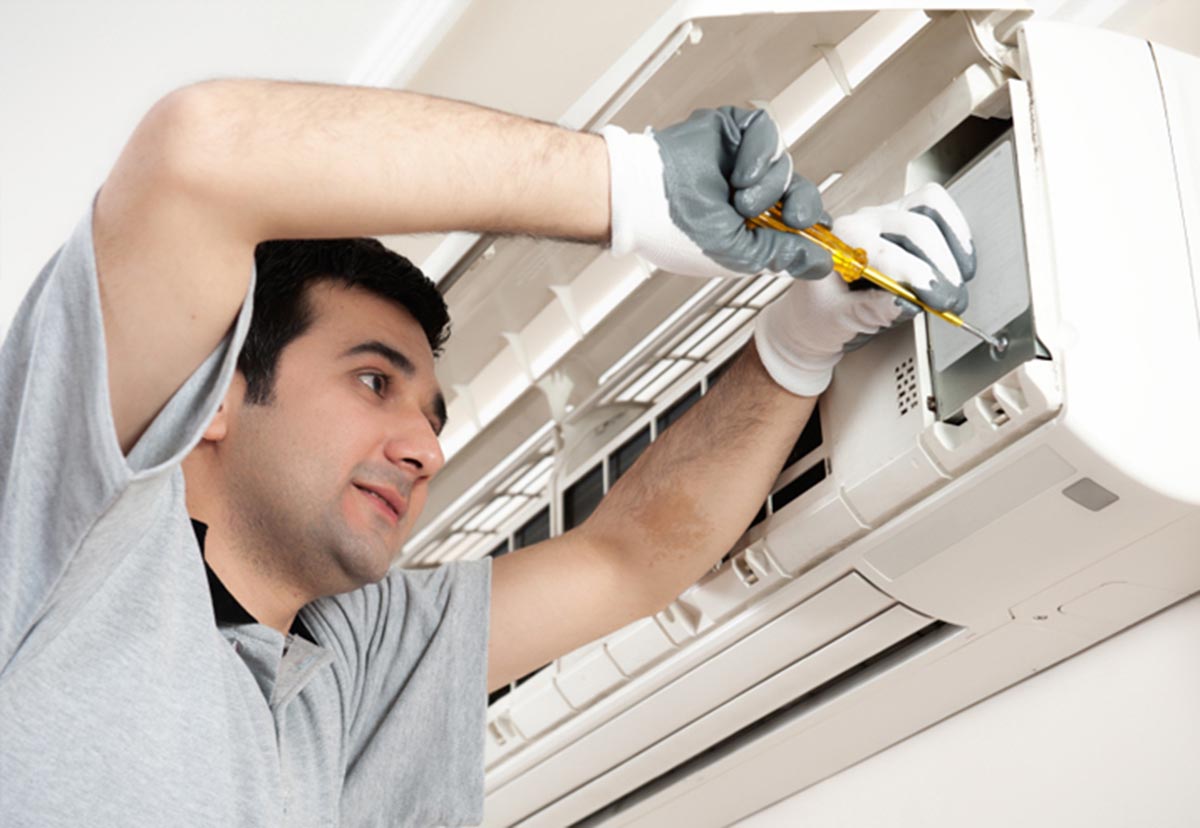
Step 6: Inspect and Test the Capacitor
The capacitor is a critical component of the air conditioner’s electrical system. It provides the necessary electrical energy to start the compressor and fan motors and keep them running smoothly. If the capacitor is defective or malfunctioning, it can prevent the air conditioner from starting or cause it to run inefficiently.
Inspecting and testing the capacitor requires some basic knowledge of electrical components. If you’re not comfortable working with electrical components, it’s best to leave this step to a professional HVAC technician.
If you’re confident in your abilities and want to proceed, follow these steps:
- Before working on the capacitor, make sure to turn off the power supply to the air conditioner.
- Locate the capacitor, which is typically a small metal or plastic box with wires connected to it. You may need to remove a panel or access cover to find it.
- Inspect the capacitor for any signs of damage, such as bulging, leaking, or burnt marks. If you notice any of these signs, it’s likely that the capacitor needs to be replaced.
- If the capacitor appears to be in good condition, you can test it using a multimeter set to the capacitance testing mode. Follow the manufacturer’s instructions to perform the test, making sure to discharge the capacitor beforehand.
- If the capacitor fails the test or shows readings outside of the acceptable range, it’s recommended to replace it with a new capacitor of the same specifications.
Inspecting and testing the capacitor can help determine if it’s the cause of the air conditioner’s problem. If you’re unsure or uncomfortable with this step, it’s best to consult a professional HVAC technician.
If the capacitor is not the issue, proceed to the next troubleshooting step.
Step 7: Check the Fan Motor
The fan motor is responsible for circulating air through the air conditioning system. If the fan motor is not functioning properly, it can lead to reduced airflow or even a complete failure of the cooling process. To ensure that the fan motor is in good condition, follow these steps:
- First, turn off the power supply to the air conditioner.
- Locate the fan motor, which is typically found inside the outdoor unit. It is connected to the fan blades and is responsible for their rotation.
- Inspect the fan motor for any visible damage, such as loose wires, broken blades, or excessive dirt buildup. If you notice any of these issues, they may be causing the problem.
- Carefully clean the fan blades using a soft cloth or brush to remove any dirt or debris that may be obstructing their movement. Ensure that the blades are free from any restrictions.
- If the fan motor is not running, try spinning the blades manually. If they turn with minimal resistance, the motor may be malfunctioning and will likely require professional repair or replacement.
- Check the fan motor’s wiring connections. Make sure they are properly connected and secure. Loose or damaged wiring can prevent the motor from receiving power.
If you’ve gone through these steps and the fan motor still doesn’t function properly, it’s best to contact a professional HVAC technician. They have the expertise to diagnose and repair fan motor issues effectively.
Checking the fan motor is important to ensure that your air conditioner operates efficiently and provides adequate airflow throughout your home.
If the fan motor is not the cause of the problem, proceed to the next troubleshooting step.
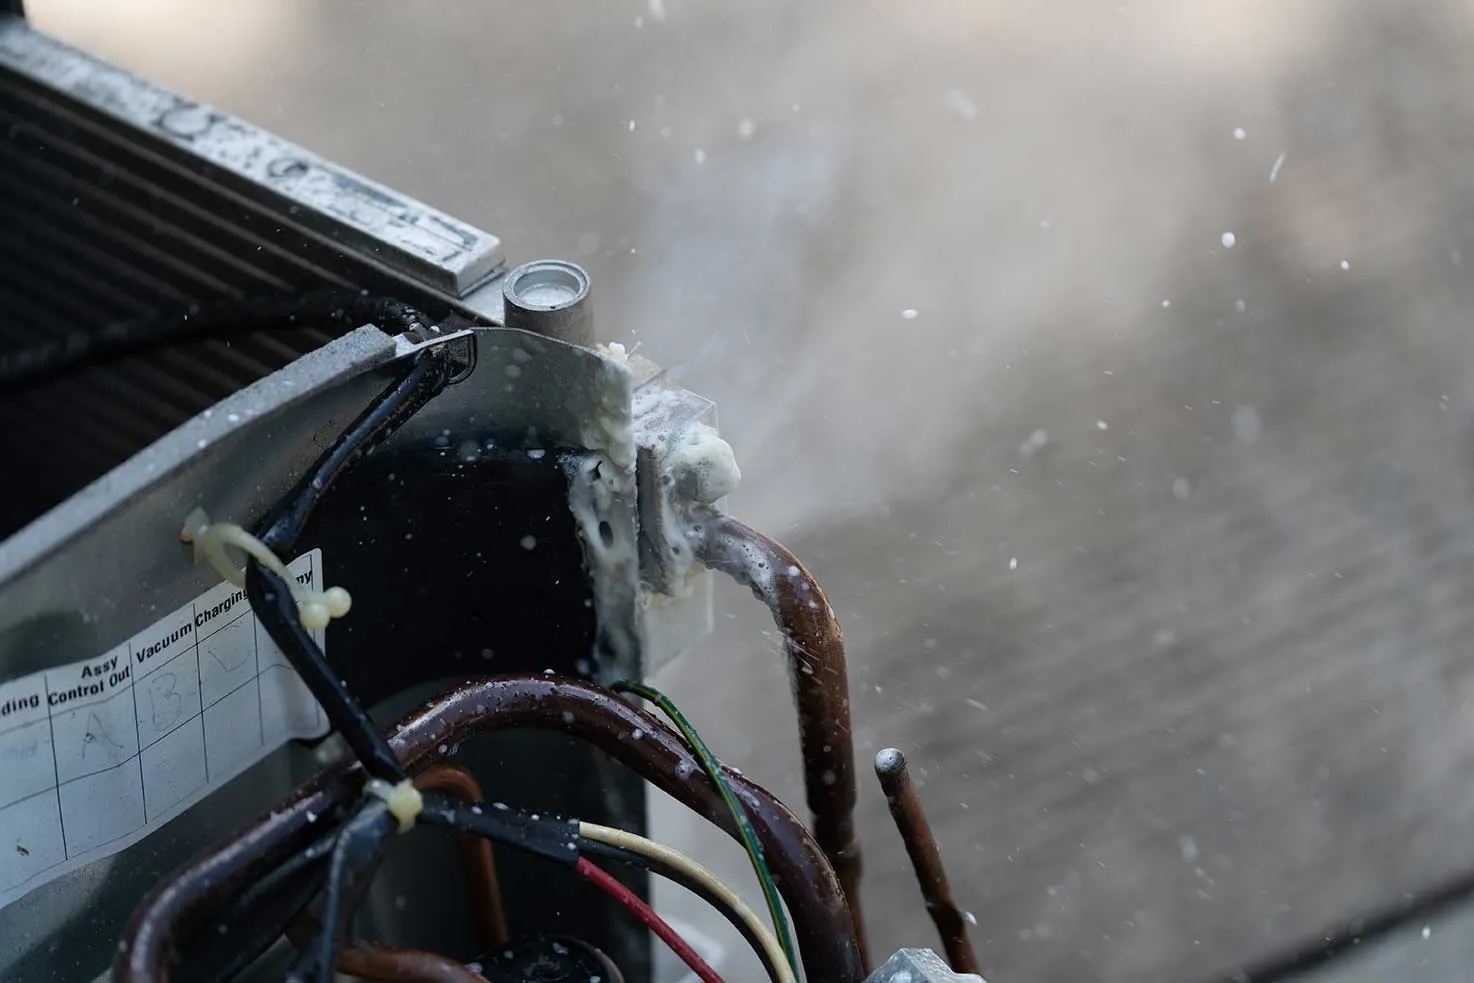
Step 8: Inspect the Refrigerant Levels
The refrigerant is a vital component of the air conditioning system, responsible for absorbing heat from the indoor air and releasing it outside. Insufficient refrigerant levels can cause the air conditioner to blow warm air or fail to cool your home effectively. To inspect the refrigerant levels, follow these steps:
- First, turn off the power supply to the air conditioner.
- Locate the service valves on the refrigerant lines. These valves are typically found near the outdoor unit but can vary based on your specific system.
- Inspect the refrigerant lines for any signs of leaks, such as oil stains or frost build-up. Leaking refrigerant can lead to a decrease in performance and potentially damage the system.
- If you suspect a refrigerant leak, it’s best to contact a professional HVAC technician to repair the leak and recharge the system with the appropriate refrigerant.
- If there are no visible signs of leaks, you can use a refrigerant pressure gauge to check the refrigerant levels. This requires knowledge of the specific requirements for your air conditioning system, as different models have varying pressure specifications.
- If the refrigerant pressure is too high or too low, it may indicate a problem with the system. It’s recommended to consult a professional HVAC technician to diagnose and resolve any issues related to refrigerant levels.
It’s important to note that handling refrigerant requires special training and equipment. It’s not a DIY task and should be left to professionals. If you suspect an issue with the refrigerant levels, it’s best to contact a qualified HVAC technician to ensure the safe and proper operation of your air conditioner.
If the refrigerant levels are not the cause of the problem, proceed to the next troubleshooting step.
Read more: How To Fix Air Conditioner Compressor
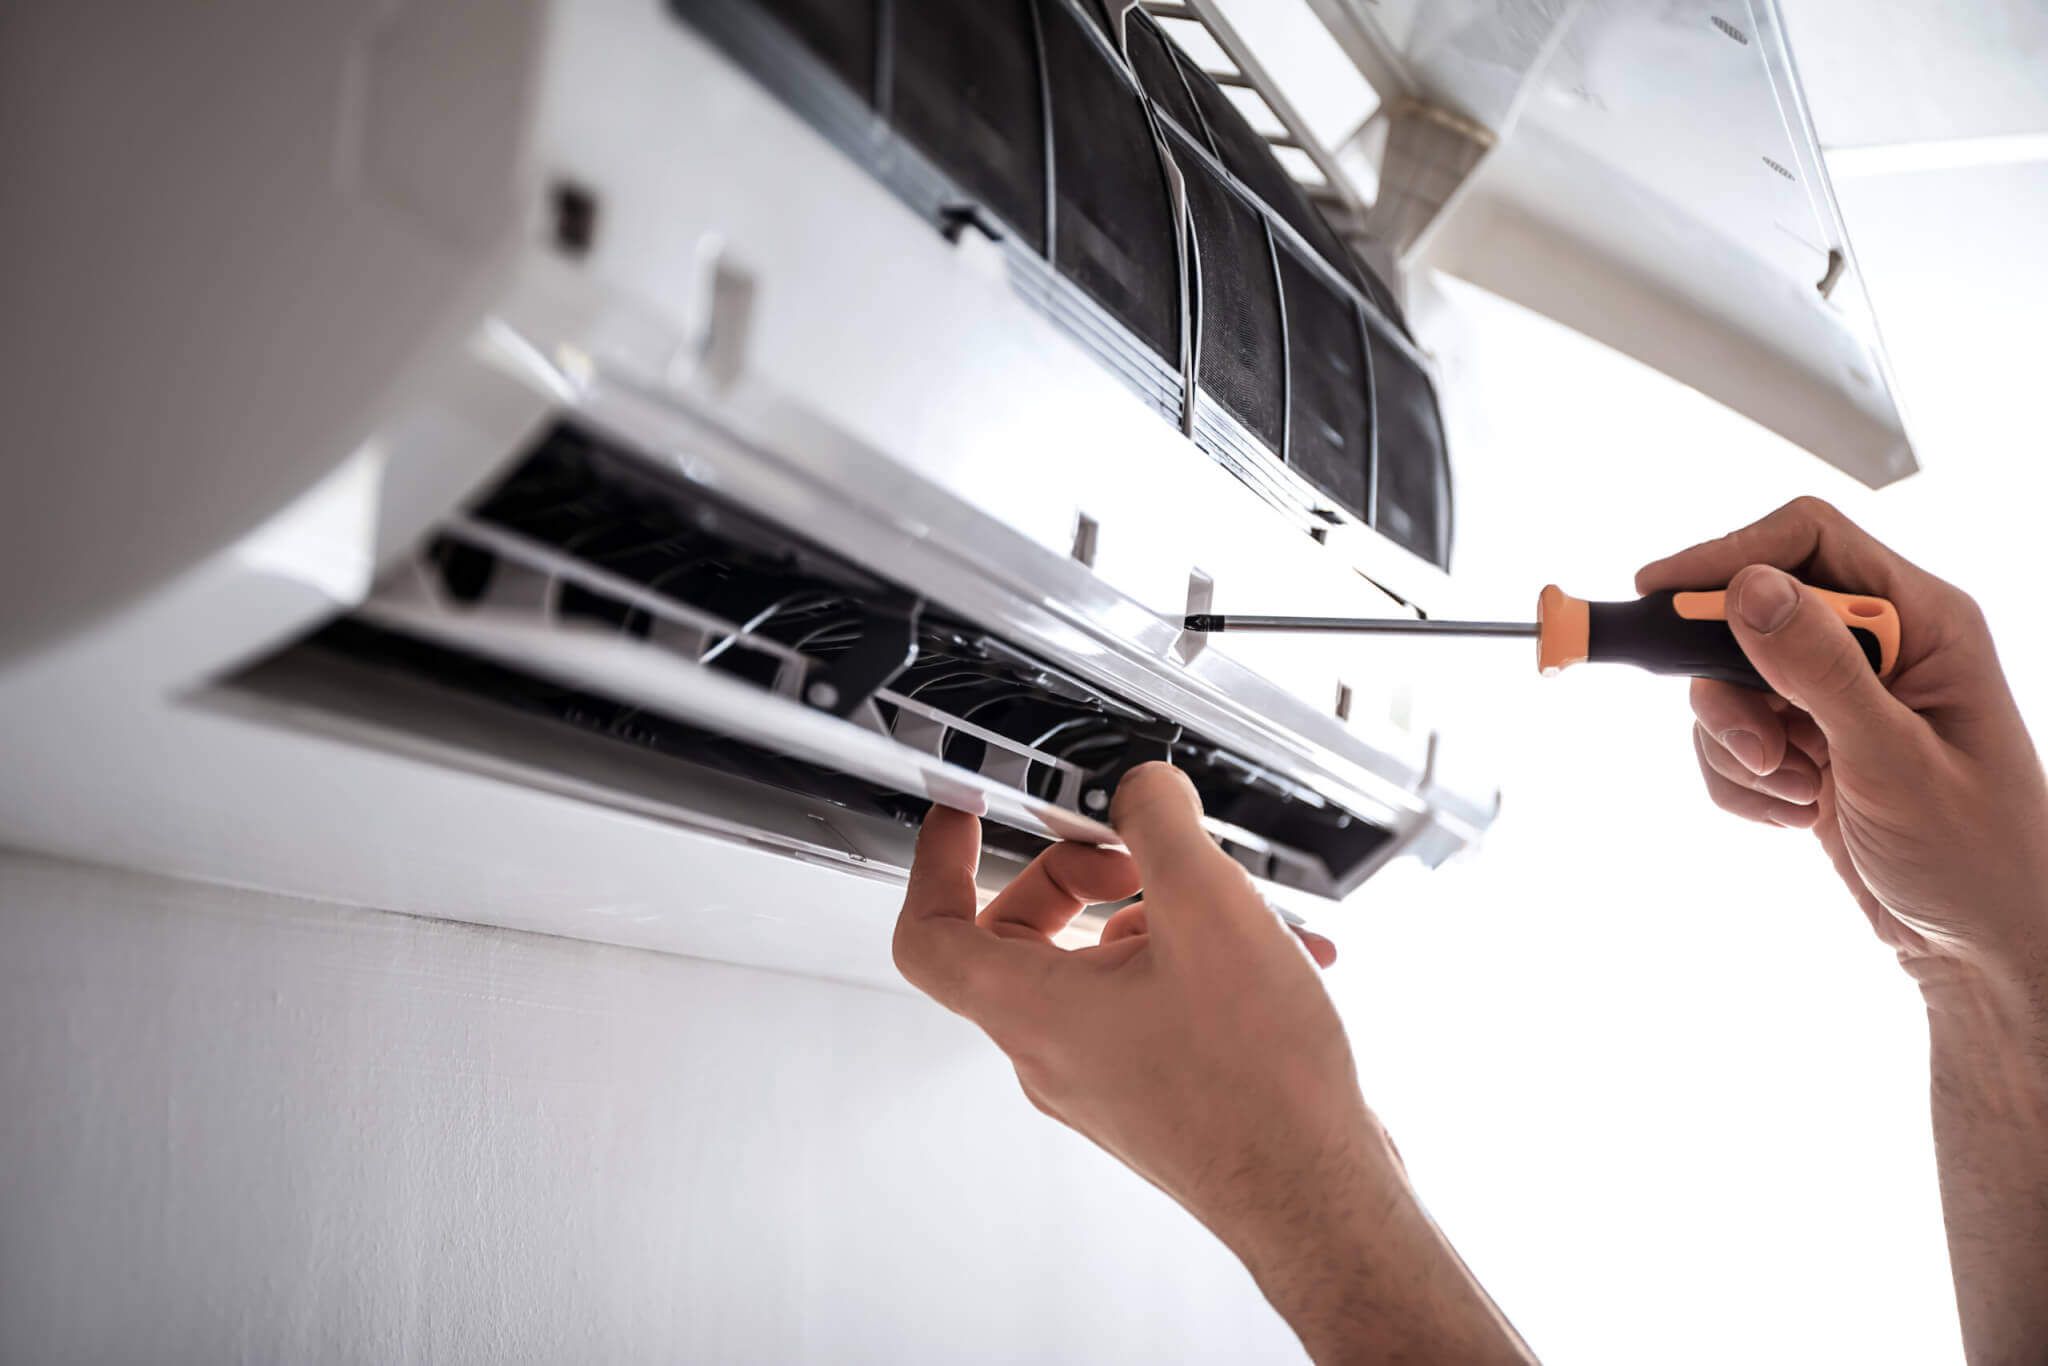
Step 9: Examine the Electrical Connections
The electrical connections play a crucial role in the proper functioning of your air conditioning system. Loose or faulty electrical connections can cause a range of issues, from the unit not turning on at all to intermittent operation or poor performance. To examine the electrical connections, follow these steps:
- First, turn off the power supply to the air conditioner.
- Start by visually inspecting the electrical connections, such as wires, terminals, and connections in and around the unit.
- Look for any signs of damage, corrosion, or loose connections. Loose wires or terminals can disrupt the flow of electricity and prevent proper operation.
- If you notice any loose connections, carefully tighten them using a screwdriver or the appropriate tool. Be cautious not to overtighten or damage the connections.
- If you see signs of corrosion, carefully clean the affected areas using a wire brush or sandpaper. Once clean, apply a corrosion inhibitor or electrical contact spray to prevent future corrosion.
- Inspect the electrical components, such as relays, switches, and control boards. Look for any visible signs of damage or burnt components.
- If you are comfortable working with electrical components, you can use a multimeter to test the continuity of the electrical connections and ensure they are functioning as intended. Follow the manufacturer’s instructions for using the multimeter.
If you are uncertain or uncomfortable working with electrical connections, it’s best to leave this step to a professional HVAC technician. They have the expertise and tools to handle electrical components safely and effectively.
Properly examining and securing the electrical connections can prevent electrical issues and ensure the safe and efficient operation of your air conditioner.
If examining the electrical connections doesn’t resolve the issue, it’s recommended to contact a professional HVAC technician to diagnose and repair the problem.
Conclusion
Maintaining a functional air conditioner is essential for a comfortable living space, especially during hot summer months. By following the troubleshooting steps outlined in this article, you can address common issues that may arise with your air conditioning system. Remember, it’s important to prioritize safety and contact a professional HVAC technician if you’re unsure or uncomfortable with any step.
Throughout the troubleshooting process, we covered various steps, starting from checking the power supply and inspecting the air filter to cleaning the condenser coils and examining the electrical connections. These steps are designed to help you identify and resolve common problems that can affect the performance of your air conditioner.
Remember to regularly clean or replace the air filter to ensure proper airflow and maintain good indoor air quality. Cleaning the condenser coils also helps improve cooling efficiency by removing dirt and debris. Additionally, checking and adjusting the thermostat settings can help ensure that your air conditioner is operating in the correct mode and at the desired temperature.
Other important steps include inspecting and clearing the condensate drain to prevent water damage and checking the fan motor for proper operation. Checking the refrigerant levels is crucial to ensure optimal cooling performance, and examining the electrical connections helps identify any loose or faulty connections that may be causing issues.
By following these troubleshooting steps, you can potentially resolve common air conditioner issues and restore the comfort of your home. However, if the problem persists or if you encounter more complex issues, it’s always best to seek the assistance of a professional HVAC technician.
Remember to schedule regular maintenance for your air conditioning system to prevent future problems and keep it running efficiently. With proper care and attention, your air conditioner will continue to provide optimal cooling for a comfortable home environment.
Frequently Asked Questions about How To Fix An Air Conditioner In A House
Was this page helpful?
At Storables.com, we guarantee accurate and reliable information. Our content, validated by Expert Board Contributors, is crafted following stringent Editorial Policies. We're committed to providing you with well-researched, expert-backed insights for all your informational needs.