Home>Home Maintenance>How Do You Fix An Air Conditioner
Home Maintenance
How Do You Fix An Air Conditioner
Modified: August 16, 2024
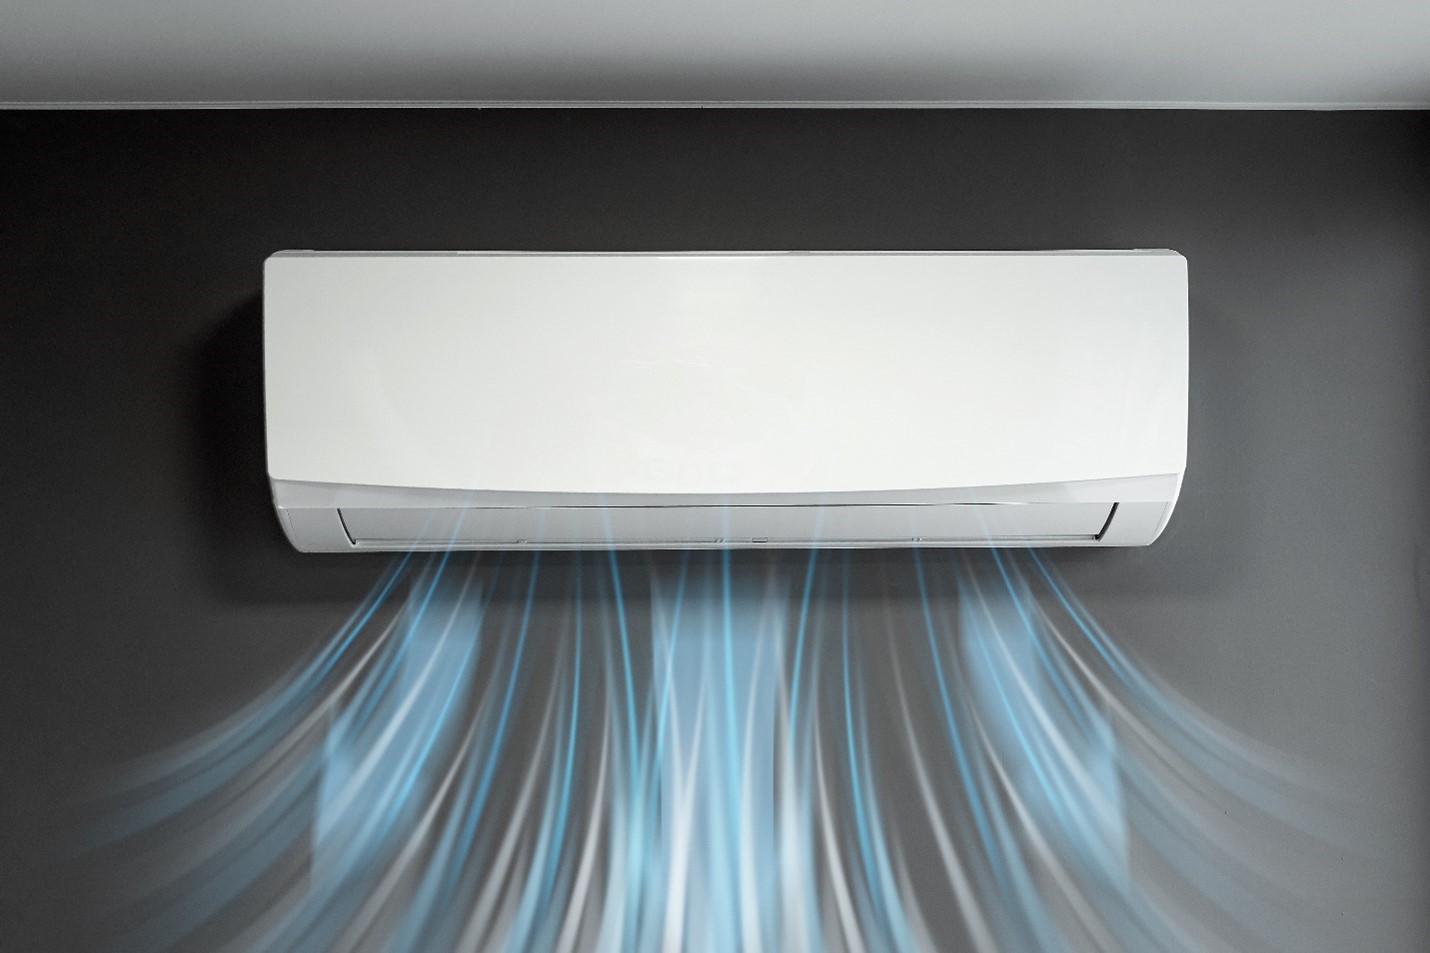
Is your air conditioner not working properly? Learn how to fix it with our expert home maintenance tips. Keep cool and comfortable all summer long.
(Many of the links in this article redirect to a specific reviewed product. Your purchase of these products through affiliate links helps to generate commission for Storables.com, at no extra cost. Learn more)
Introduction
Welcome to our comprehensive guide on how to fix an air conditioner. When your air conditioner stops working properly, it can be a frustrating and uncomfortable experience, especially during hot summer months. Fortunately, many common air conditioner problems can be resolved with a little troubleshooting and DIY maintenance.
In this article, we will walk you through the most common issues that can occur with air conditioners and provide step-by-step instructions on how to address them. From checking the power supply to cleaning the condensate drain, we will cover all the essential troubleshooting steps to help you get your air conditioner up and running again.
Before we dive into the troubleshooting process, it’s important to mention that while some problems can be fixed easily by homeowners, others might require professional assistance. If you are unsure or uncomfortable with performing any of the steps provided, it is always recommended to contact a qualified technician to ensure proper diagnosis and repair.
Now, let’s get started with our troubleshooting guide for fixing an air conditioner.
Key Takeaways:
- Keep your air conditioner running smoothly by checking power, cleaning filters, and inspecting vents. When in doubt, call a professional technician for expert help.
- Regular maintenance and preventive care are essential for optimal air conditioner performance. Troubleshoot common issues and seek professional help when needed.
Read more: How Do You Fix A Leaking Air Conditioner
Common Air Conditioner Problems
Before we delve into the troubleshooting steps, let’s take a look at some of the most common problems that can occur with air conditioners. By understanding these issues, you can determine which troubleshooting steps are most likely to resolve the problem you’re experiencing:
- No Cooling: One of the most common air conditioner problems is when the unit fails to cool the room. This could be due to a variety of reasons, such as a malfunctioning compressor, low refrigerant levels, or a faulty thermostat.
- Poor Airflow: If you notice that your air conditioner is not blowing strong or cool air, it could be a sign of a restricted airflow. This can be caused by a clogged air filter, blocked vents, or problems with the fan motor.
- Strange Noises: Unusual noises coming from your air conditioner can be a cause for concern. These noises can range from rattling or banging sounds to squealing or grinding noises. They often indicate problems with the blower motor, bearings, or belts.
- Water Leaks: If you notice water pooling around your air conditioner, it is likely a sign of a clogged condensate drain or a damaged drain pan. It is important to address this issue promptly as it can lead to water damage and mold growth.
- Faulty Thermostat: A malfunctioning thermostat can cause temperature inconsistencies in your home. If the thermostat is not accurately measuring the temperature or if it is not communicating with the air conditioner properly, it can lead to improper cooling.
- Electrical Issues: Electrical problems can cause your air conditioner to stop working altogether. This can include issues with the circuit breaker, wiring, or capacitor. These problems often require the expertise of a professional technician.
Now that we have identified some common air conditioner problems, let’s move on to troubleshooting solutions that can help resolve these issues.
Troubleshooting Steps
When your air conditioner is not functioning correctly, it’s important to follow a systematic approach to identify and resolve the problem. Here are the step-by-step troubleshooting steps that can help you get your air conditioner back in working order:
-
Check the Power:
Start by ensuring that the air conditioner is receiving power. Check the circuit breaker and the power switch connected to the unit. Reset the breaker if necessary and make sure the switch is turned on.
-
Examine the Thermostat:
Next, check the thermostat settings. Make sure it is set to the desired temperature and that it is on the cooling mode. Consider replacing the batteries if they are low. You can also try calibrating the thermostat if it is not reading the temperature accurately.
-
Read more: How Do You Clean An Air Conditioner
Clean/Replace the Air Filter:
A clogged or dirty air filter can restrict airflow and reduce the cooling efficiency of the air conditioner. Clean or replace the air filter according to the manufacturer’s instructions. This simple step can often resolve many cooling issues.
-
Inspect the Condenser Unit:
Check the outdoor condenser unit to ensure it is not blocked by debris such as leaves, grass, or dirt. Clear any obstructions around the unit and clean the fins gently using a soft brush or hose. This will improve the airflow and optimize the performance of the air conditioner.
-
Clear Blockages in the Vents:
Ensure that the vents in your home are not obstructed by furniture, curtains, or other objects. Blocked vents can restrict airflow and prevent proper cooling. Make sure the vents are open and unobstructed.
-
Verify Refrigerant Levels:
Low refrigerant levels can cause an air conditioner to blow warm air or not cool at all. However, refrigerant levels should only be checked and adjusted by a qualified professional. If you suspect a refrigerant leak, it is best to contact a technician to handle the repair.
-
Read more: How Do You Say Air Conditioner In Spanish
Clean the Condensate Drain:
A clogged condensate drain can cause water leaks and affect the performance of your air conditioner. Locate the drain line and use a mixture of bleach and water to clean it. This will help prevent clogs and ensure proper drainage.
-
Call a Professional Technician:
If you have gone through all the troubleshooting steps and your air conditioner is still not functioning properly, it’s time to call a professional technician. They have the expertise and tools to diagnose and repair complex issues safely.
By following these troubleshooting steps, you can address many common air conditioner problems and potentially avoid costly repairs. However, if you are uncomfortable or unsure about performing any of these steps, it is always recommended to seek assistance from a professional HVAC technician.
Check the Power
When your air conditioner fails to turn on or is not functioning at all, the first step is to check the power supply. Here’s what you need to do:
- Start by checking the circuit breaker or fuse box connected to the air conditioner. Look for any tripped breakers or blown fuses. If you find any, reset the breaker or replace the fuse. This simple step can often resolve the issue and get your air conditioner running again.
- Next, make sure the power switch connected to the air conditioner is turned on. Sometimes, it can accidentally be switched off, leading to a lack of power. Flip the switch to the “on” position if it was off and see if that resolves the problem.
- If the air conditioner is plugged into an outlet, make sure the outlet is receiving power. You can try plugging in another device to test the outlet or use a voltage tester to confirm that there is electricity flowing to the outlet. If the outlet is not working, you may need to call an electrician to resolve the issue.
It’s important to note that some air conditioner models have safety devices that automatically shut off the power in case of an electrical fault. In such cases, resetting the circuit breaker or power switch may not solve the problem. If the power continues to trip or the air conditioner does not turn on, it is recommended to contact a professional technician to assess and repair any electrical issues that may be causing the problem.
By checking the power supply and ensuring it is properly connected and functioning, you can eliminate electrical faults as the cause of your air conditioner problem. If the issue persists after checking the power, move on to the next troubleshooting step.
Examine the Thermostat
When your air conditioner is not functioning properly, it’s important to inspect the thermostat settings. The thermostat controls the temperature and cooling cycles of your air conditioner. Here’s what you need to do when examining the thermostat:
- Check the thermostat display to ensure it is functioning properly. If the display is blank or unresponsive, it may indicate a loss of power or a malfunctioning thermostat. In such cases, you may need to replace the thermostat or call a professional technician for assistance.
- Make sure the thermostat is set to the desired temperature. If the temperature is set too high, your air conditioner will not turn on or blow cool air. Adjust the temperature to a lower setting and wait for a few minutes to see if the air conditioner starts functioning.
- If your thermostat has batteries, check if they are low or dead. Low batteries can cause the thermostat to malfunction and prevent it from accurately controlling the air conditioner. Replace the batteries with new ones and ensure they are properly installed.
- Consider calibrating the thermostat if you notice temperature inconsistencies. Sometimes, thermostats can become inaccurate and misread the room temperature. Refer to the manufacturer’s instructions on how to calibrate your specific thermostat model.
- Ensure that the thermostat is in the cooling mode. Some thermostats have different modes such as cooling, heating, or fan-only. Verify that the thermostat is set to cooling mode to enable the air conditioner to function properly.
By carefully examining the thermostat and adjusting the settings as necessary, you can ensure that it is functioning correctly and effectively communicating with your air conditioner. If you have completed these steps and the air conditioner still does not work, proceed to the next troubleshooting step.
Read more: How Do You Clean A Portable Air Conditioner
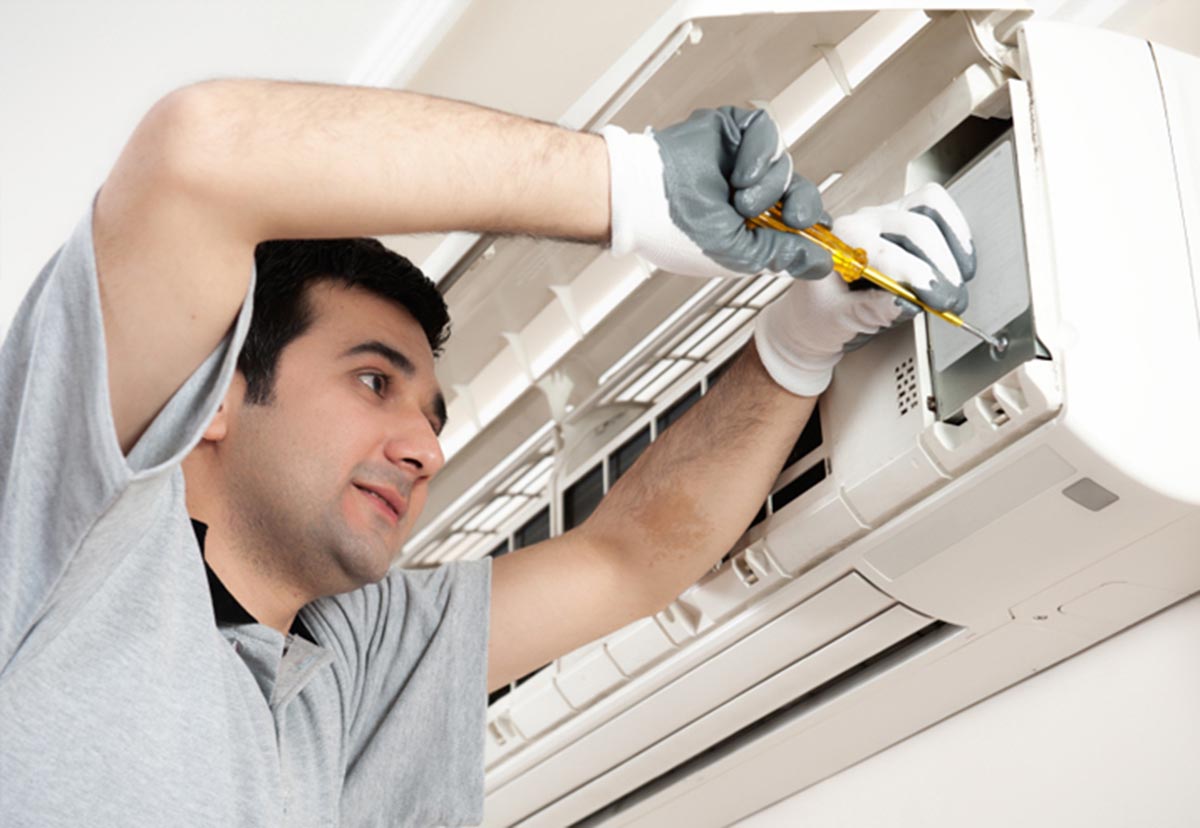
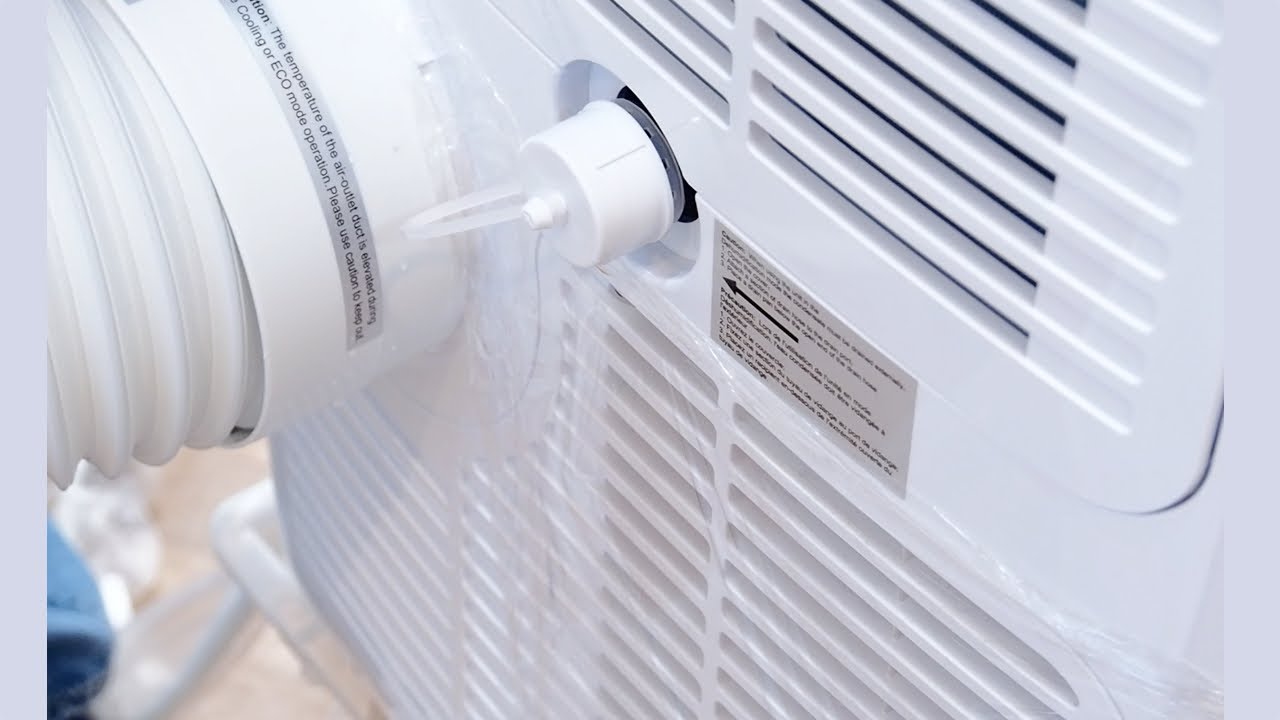
Clean/Replace the Air Filter
A clogged or dirty air filter can significantly impact the performance of your air conditioner. It restricts airflow and reduces cooling efficiency, leading to poor cooling or even a complete breakdown of the system. Here’s how to clean or replace the air filter:
- Locate the air filter in your air conditioning system. Typically, the air filter is located behind the return air grille or in the air handler unit.
- Remove the air filter from its housing. Take note of the filter size and type so that you can purchase the correct replacement if necessary.
- If the filter is washable, gently rinse it with water to remove any debris and dirt. Allow it to dry completely before reinserting it into the air conditioner.
- If the filter is not washable or is heavily soiled, it is recommended to replace it with a new one. Air filters should be replaced every one to three months, depending on factors such as usage and air quality.
- When inserting the air filter back into the air conditioner, ensure it is properly aligned and securely in place. Follow the manufacturer’s instructions for proper installation.
Cleaning or replacing the air filter is a simple maintenance task that can significantly improve the airflow and efficiency of your air conditioner. It not only enhances cooling performance but also helps to maintain better indoor air quality by trapping dust, pollen, and other allergens.
Regularly cleaning or replacing the air filter can also extend the lifespan of your air conditioning system and reduce the need for costly repairs. If you have completed this step and the air conditioner is still not working correctly, proceed to the next troubleshooting step.
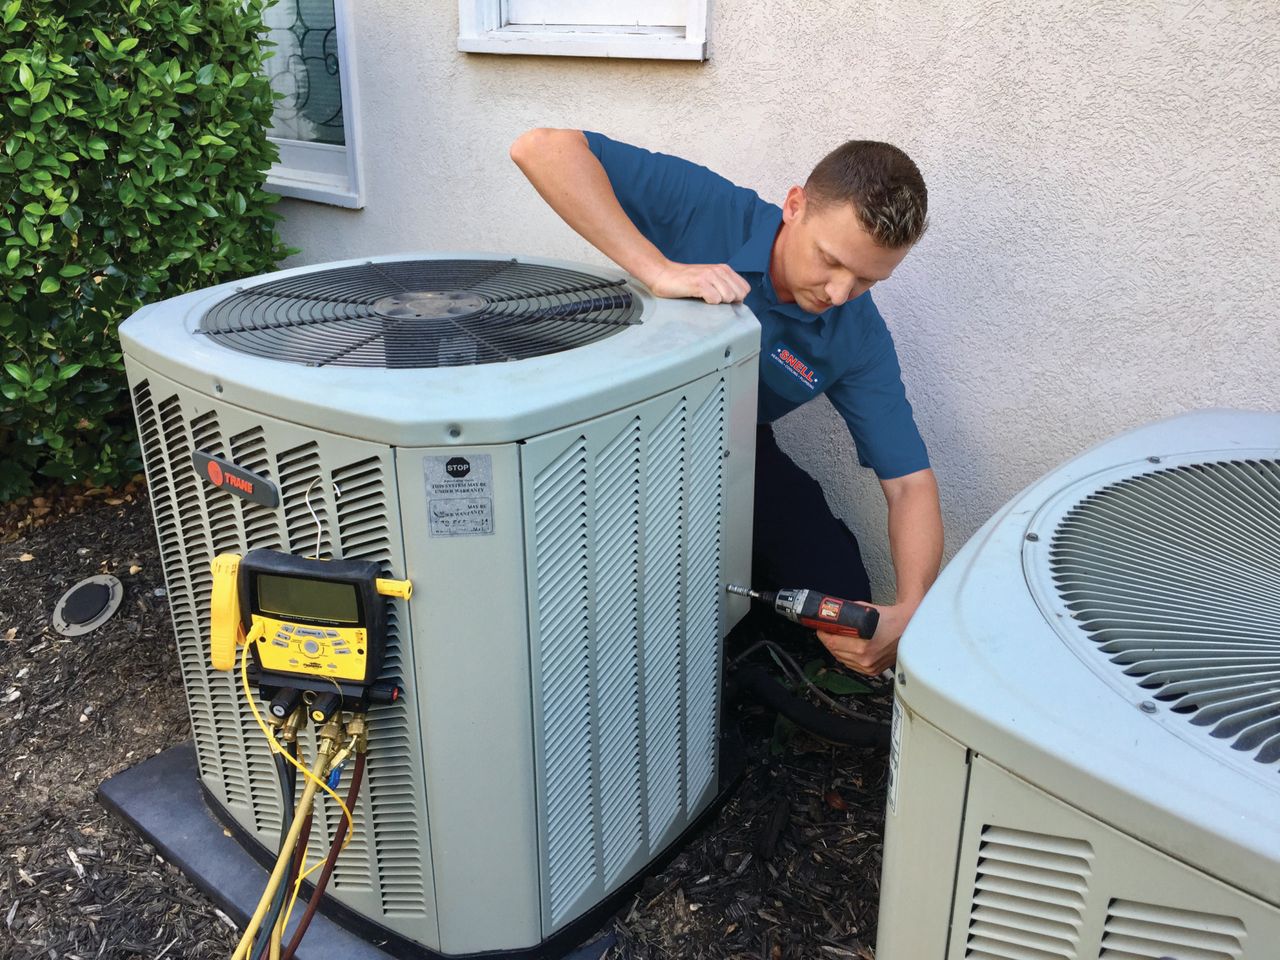
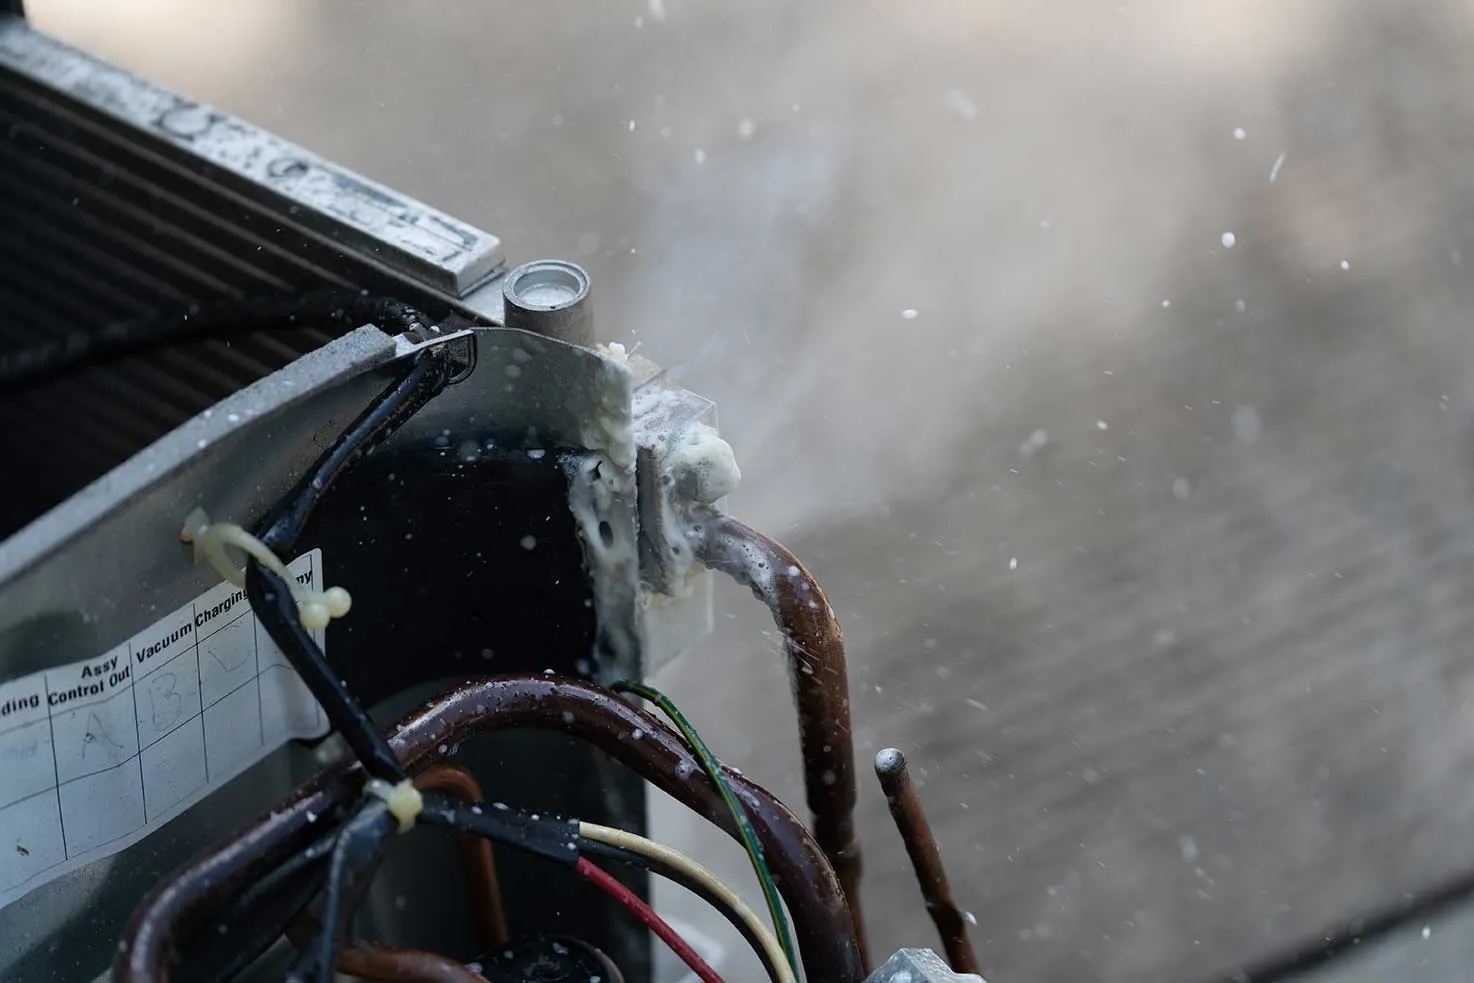
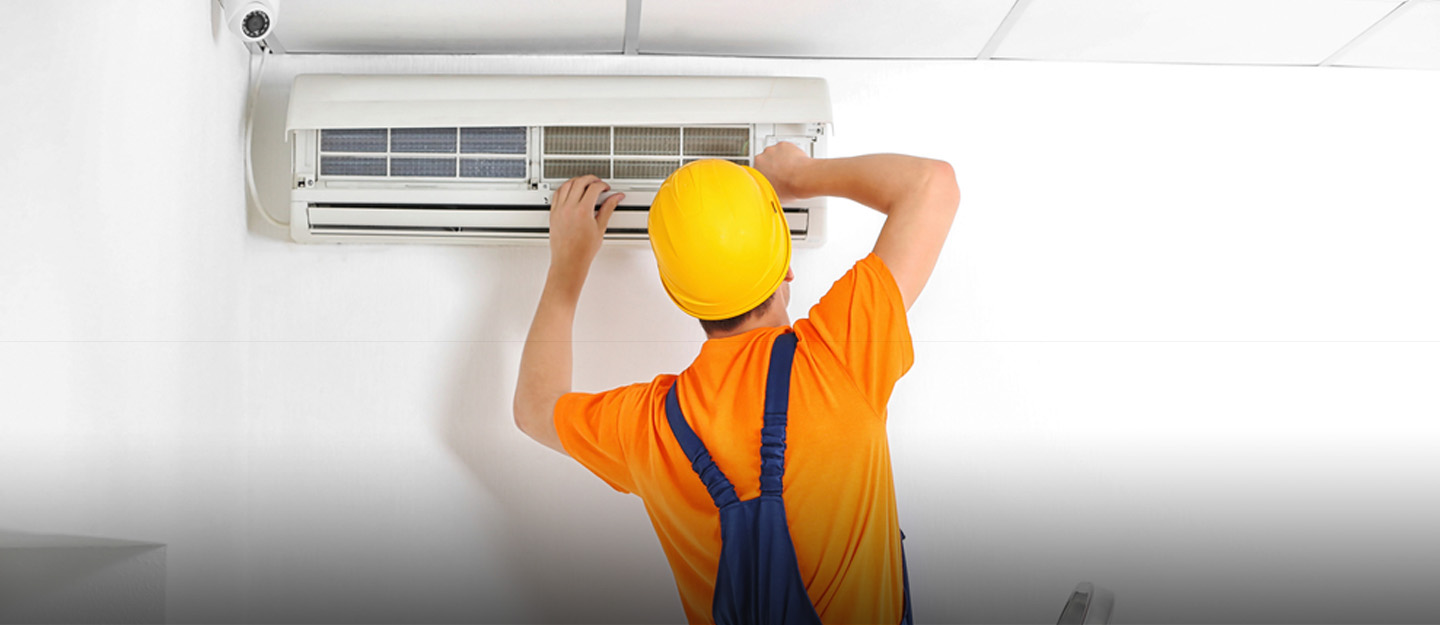
Inspect the Condenser Unit
The condenser unit is located outside and plays a vital role in the cooling process of your air conditioner. Over time, the condenser unit can become dirty or obstructed, resulting in diminished cooling performance. Follow these steps to inspect and clean the condenser unit:
- Ensure that the power to the air conditioner is turned off before proceeding with any inspection or maintenance on the condenser unit.
- Remove any debris, such as leaves, grass, or dirt, that may have accumulated around the condenser unit. These obstructions can hinder airflow and reduce the efficiency of the air conditioner.
- Gently clean the condenser unit’s fins using a soft brush or hose. Be careful not to damage the delicate fins. Cleaning the fins helps remove dirt and dust buildup, optimizing the airflow and improving cooling performance.
- Inspect the condenser unit for any signs of physical damage or corrosion. Look for bent fins, cracks in the housing, or leaks. If you notice any significant damage, it is best to contact a professional technician for repairs.
- Verify that the fan blades in the condenser unit are clean and in good condition. Clean any dirt or debris that may have accumulated on the blades. Damaged or broken fan blades should be replaced by a qualified technician.
- Check the electrical connections in the condenser unit to ensure they are secure and in good condition. Loose or damaged connections can lead to poor performance or electrical issues.
Regularly inspecting and cleaning the condenser unit helps maintain its efficiency and prolong its lifespan. By keeping it free from debris and ensuring its components are in good working order, you can optimize the cooling performance of your air conditioner.
If you have completed these steps and the air conditioner still does not function correctly, move on to the next troubleshooting step.
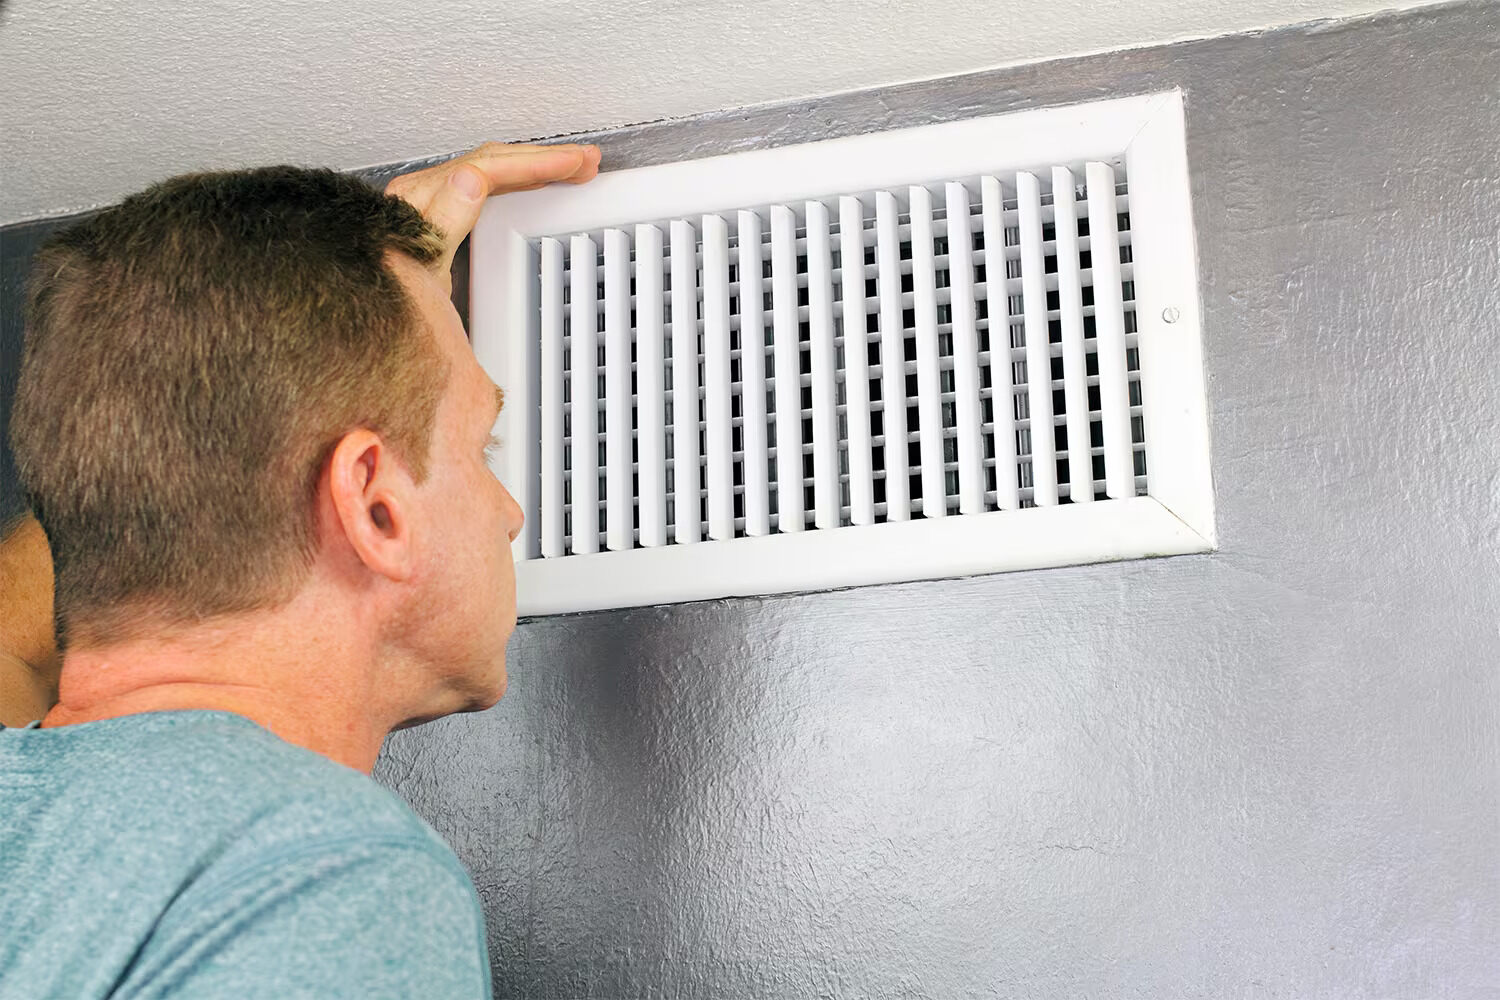
Clear Blockages in the Vents
Blocked or obstructed vents can restrict the airflow from your air conditioner, leading to inadequate cooling in your home. Here’s how to clear blockages in the vents:
- Inspect all the vents in your home to identify any obstructions. Look for furniture, curtains, or other objects that may be blocking the vents.
- If you find any objects blocking the vents, move them away to allow for unrestricted airflow. Rearrange furniture or curtains to ensure that the vents are clear and unobstructed.
- Ensure that the vent covers are open and fully operational. Sometimes, vent covers can become closed or partially blocked, reducing airflow. Adjust the vent covers to ensure that they are open and directing air into the room.
- Check the ductwork for any visible blockages or damage. Look for bends, kinks, or disconnected sections of ductwork. If you notice any issues, it’s best to call a professional HVAC technician to assess and repair the ductwork.
- Consider having your air ducts professionally cleaned if you suspect excessive dust or debris accumulation. Cleaning the air ducts can improve airflow and overall indoor air quality.
By clearing blockages in the vents, you can ensure that cool air from your air conditioner can freely circulate throughout your home. This will maximize the cooling efficiency and help maintain a comfortable indoor environment.
If you have completed these steps and the air conditioner is still not providing adequate cooling, proceed to the next troubleshooting step.
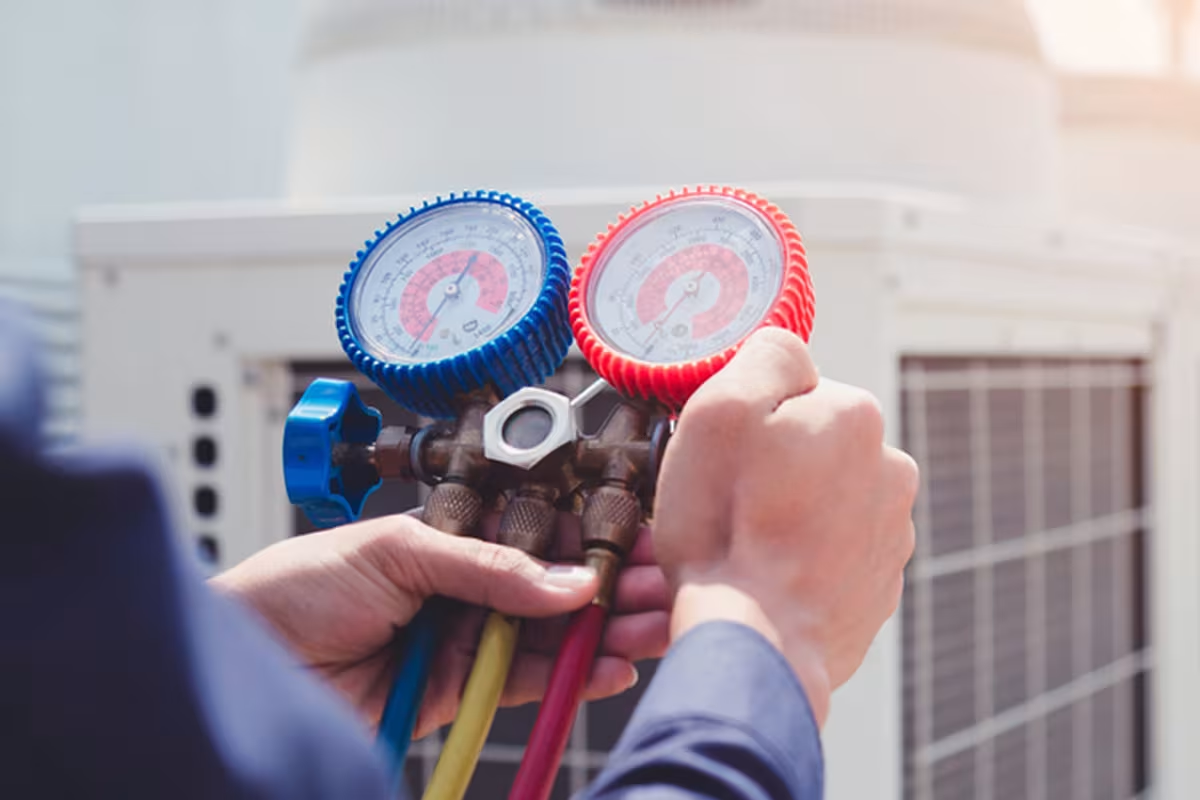
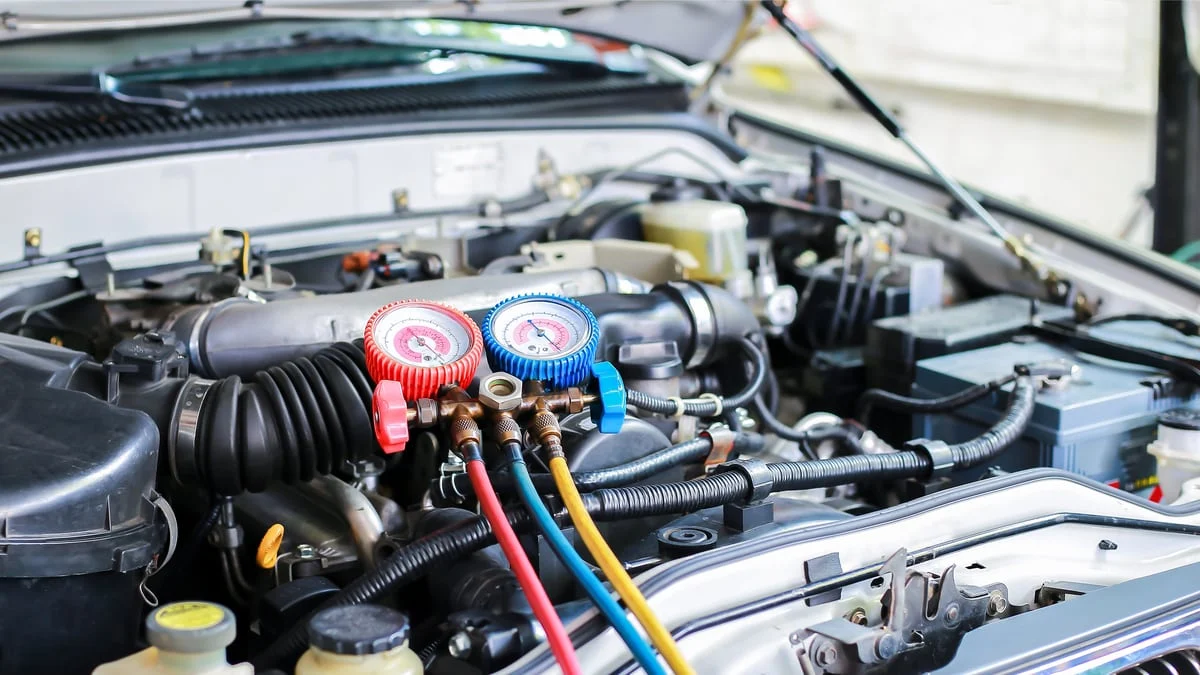
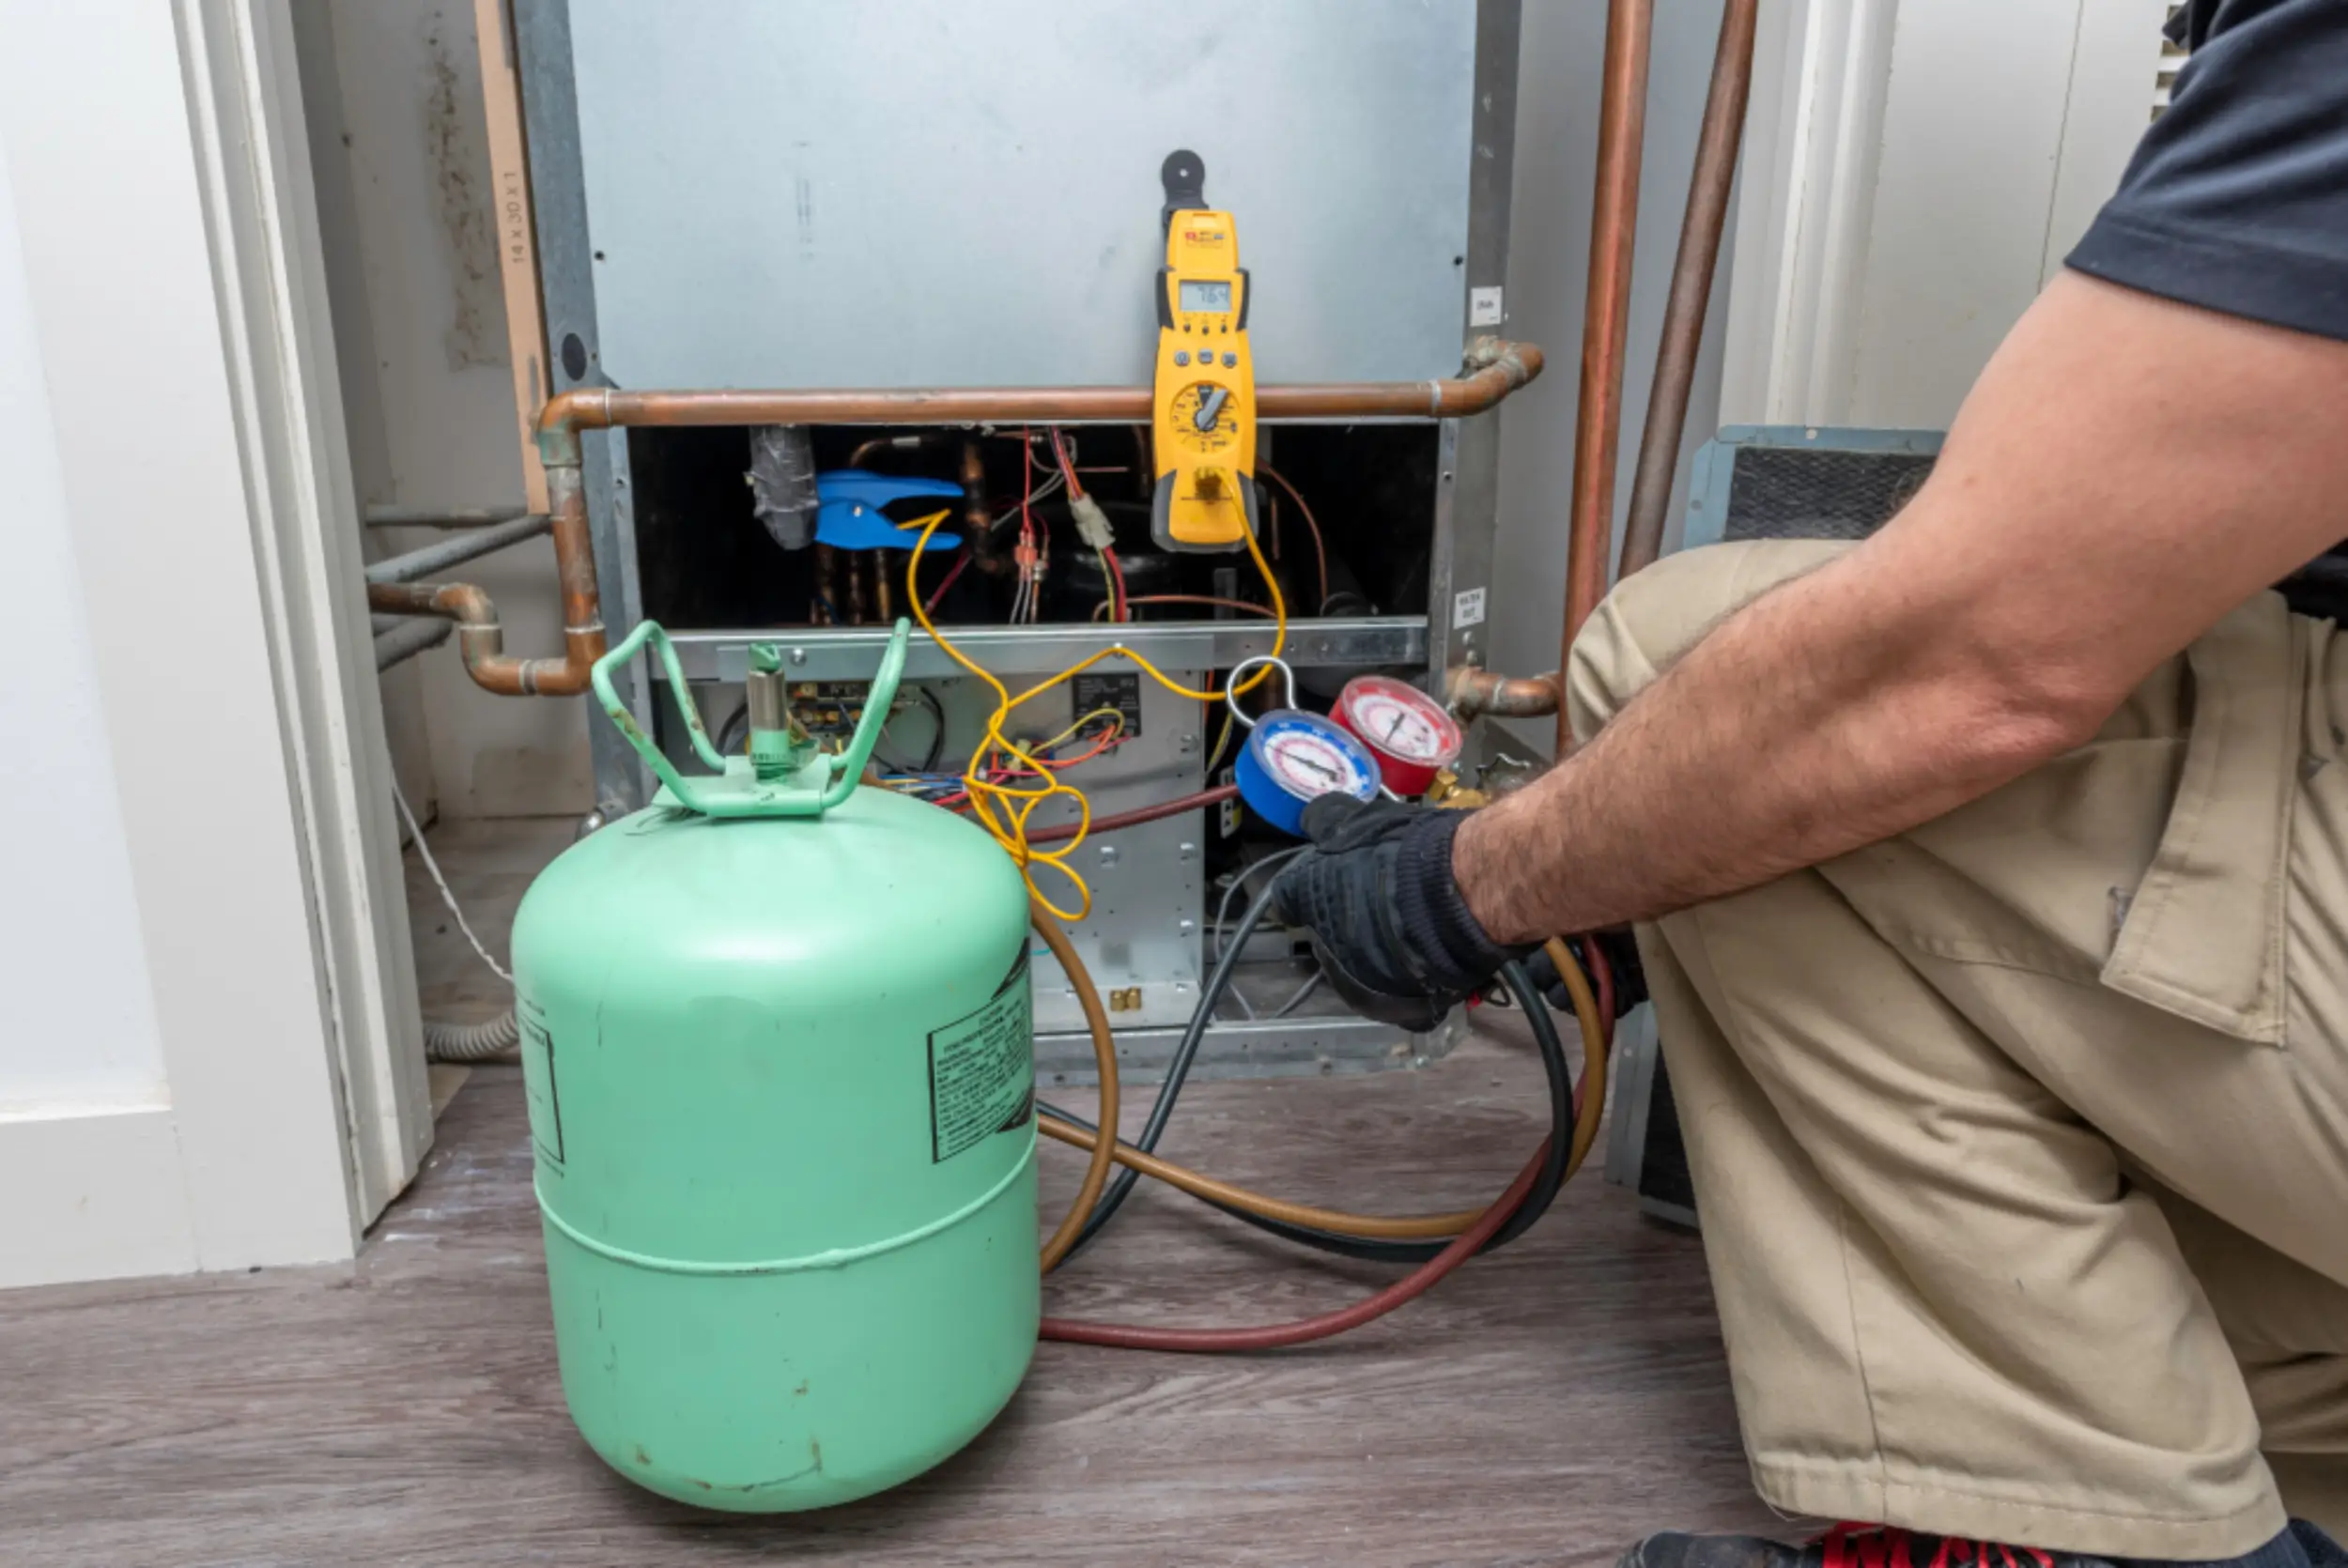
Verify Refrigerant Levels
Proper refrigerant levels are crucial for the optimal operation of your air conditioner. Low refrigerant levels can result in insufficient cooling or even cause the air conditioner to blow warm air. Here’s how to verify the refrigerant levels:
- It’s important to note that checking and adjusting refrigerant levels should only be done by a qualified HVAC technician. Handling refrigerant requires specialized training and equipment.
- If you suspect low refrigerant levels, contact a professional technician to perform a refrigerant pressure test. They will use a gauge to measure the pressure in the refrigerant lines and determine if the levels are within the manufacturer’s specifications.
- In some cases, low refrigerant levels may be a sign of a leak in the system. If a leak is detected, the technician will need to repair the leak and then recharge the refrigerant to the appropriate levels.
- Do not attempt to add refrigerant yourself, as it requires knowledge of the specific refrigerant type, the correct amount to add, and the proper procedures for handling and disposing of refrigerant.
It’s essential to address low refrigerant levels promptly, as they can lead to decreased cooling performance and potentially cause damage to the air conditioning system. Contacting a professional technician will ensure that the issue is properly diagnosed and resolved, thereby restoring the proper refrigerant levels in your air conditioner.
If you have completed these steps and are still experiencing issues with your air conditioner, move on to the next troubleshooting step.
Clean the Condensate Drain
The condensate drain is responsible for removing the moisture that accumulates during the cooling process of your air conditioner. Over time, the drain line can become clogged with dirt, debris, or algae growth, leading to water leaks and potential damage to your system. Here are the steps to clean the condensate drain:
- Locate the condensate drain line. It is usually a PVC pipe connected to the air conditioning unit or the air handler in your home.
- Turn off the power to the air conditioner before proceeding with any maintenance on the condensate drain.
- Inspect the condensate drain line for visible clogs or debris. If you notice any obstructions in the drain line, try using a wet/dry vacuum or a pipe cleaner to remove the blockage.
- Prepare a mixture of equal parts water and bleach. Pour it into the condensate drain to kill any algae or mold growth that may be present within the drain line.
- Allow the bleach mixture to sit in the drain line for several minutes to ensure it kills any buildup. Then, flush the drain line with clean water to clear away the bleach and any remaining debris.
- Finally, ensure that the condensate drain line is properly connected and securely in place. Make sure there are no leaks or loose fittings along the drain line.
Regularly cleaning the condensate drain helps prevent water leaks and ensures that the moisture from your air conditioner is effectively draining away. By keeping the drain line clear and free from obstructions, you can avoid potential water damage and maintain the efficiency of your air conditioning system.
If you have completed these steps and the air conditioner is still not functioning correctly, proceed to the final troubleshooting step.
Regularly clean or replace the air filter in your air conditioner to ensure proper airflow and efficiency. This can help prevent breakdowns and improve air quality.
Call a Professional Technician
If you have gone through all the previous troubleshooting steps and your air conditioner is still not functioning properly, it’s time to call a professional HVAC technician. Here’s why it’s important to seek professional assistance:
- Expertise and Experience: HVAC technicians have the knowledge, training, and experience to diagnose and repair complex issues with air conditioning systems. They can quickly identify the root cause of the problem and implement the most effective solutions.
- Specialized Tools and Equipment: Professional technicians have access to specialized tools and equipment specifically designed for diagnosing and repairing air conditioners. These tools allow them to accurately assess the condition of components and make precise repairs.
- Safety Considerations: Dealing with electrical components and refrigerants can be hazardous without proper training and safety precautions. HVAC technicians are trained to handle these materials safely, minimizing the risk of accidents or damage to your system.
- Warranty Considerations: If your air conditioner is still under warranty, attempting repairs or maintenance on your own may void the warranty. By hiring a professional technician, you ensure that any repairs or service performed adhere to the manufacturer’s guidelines, protecting your warranty coverage.
- Long-Term Savings: While hiring a professional technician may involve some upfront cost, it can save you money in the long run. Professional repairs and maintenance can improve the efficiency and lifespan of your air conditioner, reducing energy consumption and avoiding costly repairs down the line.
When contacting a professional technician, be prepared to provide them with a detailed description of the problem you’re experiencing and any steps you’ve already taken to troubleshoot the issue. This information will help the technician diagnose the problem more effectively and efficiently.
Remember, attempting complex repairs without the necessary expertise can cause further damage to your air conditioner and may end up being more costly in the end. It’s always best to rely on the expertise of a professional technician to ensure proper diagnosis and repair of your air conditioning system.
With the help of a skilled technician, you can have your air conditioner back up and running at optimal performance, keeping your home cool and comfortable.
Conclusion
Dealing with a malfunctioning air conditioner can be a frustrating experience, especially during the hot summer months. However, many common air conditioner problems can be resolved with some troubleshooting and maintenance steps. In this comprehensive guide, we have covered various troubleshooting steps to help you fix your air conditioner.
We started by discussing common air conditioner problems, such as no cooling, poor airflow, strange noises, water leaks, faulty thermostats, and electrical issues. Understanding these issues can help you identify the specific problem you’re facing with your air conditioner.
We then provided step-by-step instructions for troubleshooting the most common problems. From checking the power supply and examining the thermostat to cleaning or replacing the air filter and inspecting the condenser unit, each step aimed to address a specific aspect of the air conditioner’s functionality.
Additionally, we highlighted the importance of clearing blockages in the vents, verifying refrigerant levels, and cleaning the condensate drain. These maintenance tasks help improve airflow, maintain optimal refrigerant levels, and prevent water leaks.
If you have gone through all the troubleshooting steps and your air conditioner is still not functioning properly, it is advisable to call a professional HVAC technician. Their expertise, specialized tools, and safety precautions ensure accurate diagnosis and efficient repairs.
By following these troubleshooting steps and seeking professional help when needed, you can maximize the performance and efficiency of your air conditioner, enhancing your comfort and reducing the risk of costly repairs.
Remember, regular maintenance and preventive care are essential to keep your air conditioner running smoothly. Schedule regular check-ups and maintenance services to ensure your system operates efficiently and lasts for years to come.
We hope this guide has provided you with valuable insights and guidance in fixing your air conditioner. Stay cool and enjoy the comfort of a properly functioning air conditioning system!
Frequently Asked Questions about How Do You Fix An Air Conditioner
Was this page helpful?
At Storables.com, we guarantee accurate and reliable information. Our content, validated by Expert Board Contributors, is crafted following stringent Editorial Policies. We're committed to providing you with well-researched, expert-backed insights for all your informational needs.