Home>Home Maintenance>How To Fix A Window Air Conditioner

Home Maintenance
How To Fix A Window Air Conditioner
Modified: October 20, 2024
Learn how to fix a window air conditioner and keep your home cool with these simple home maintenance tips.
(Many of the links in this article redirect to a specific reviewed product. Your purchase of these products through affiliate links helps to generate commission for Storables.com, at no extra cost. Learn more)
Introduction
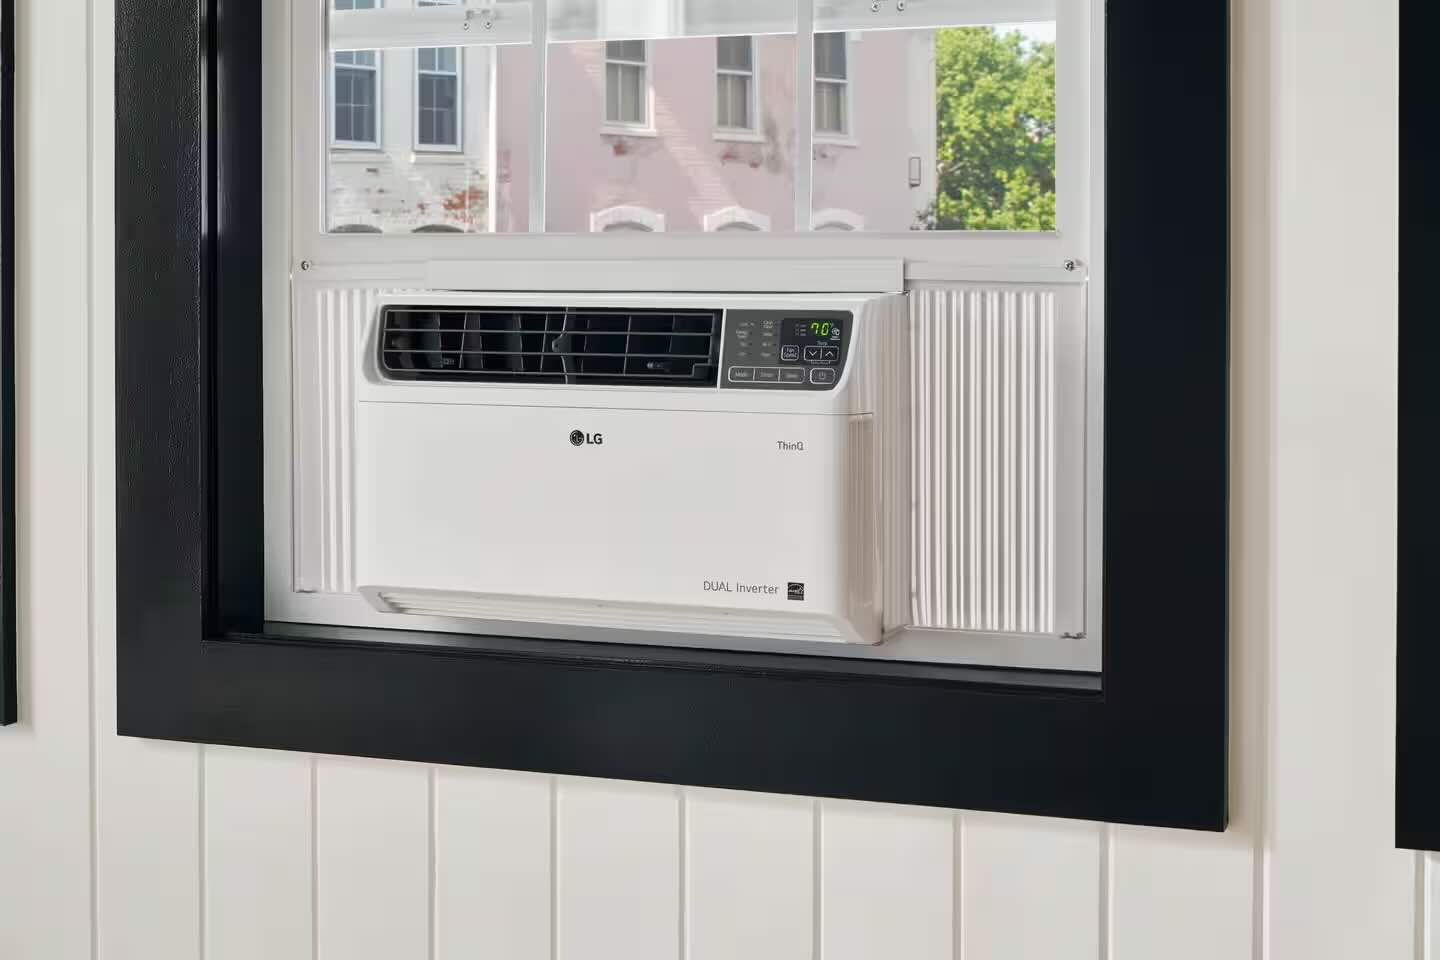
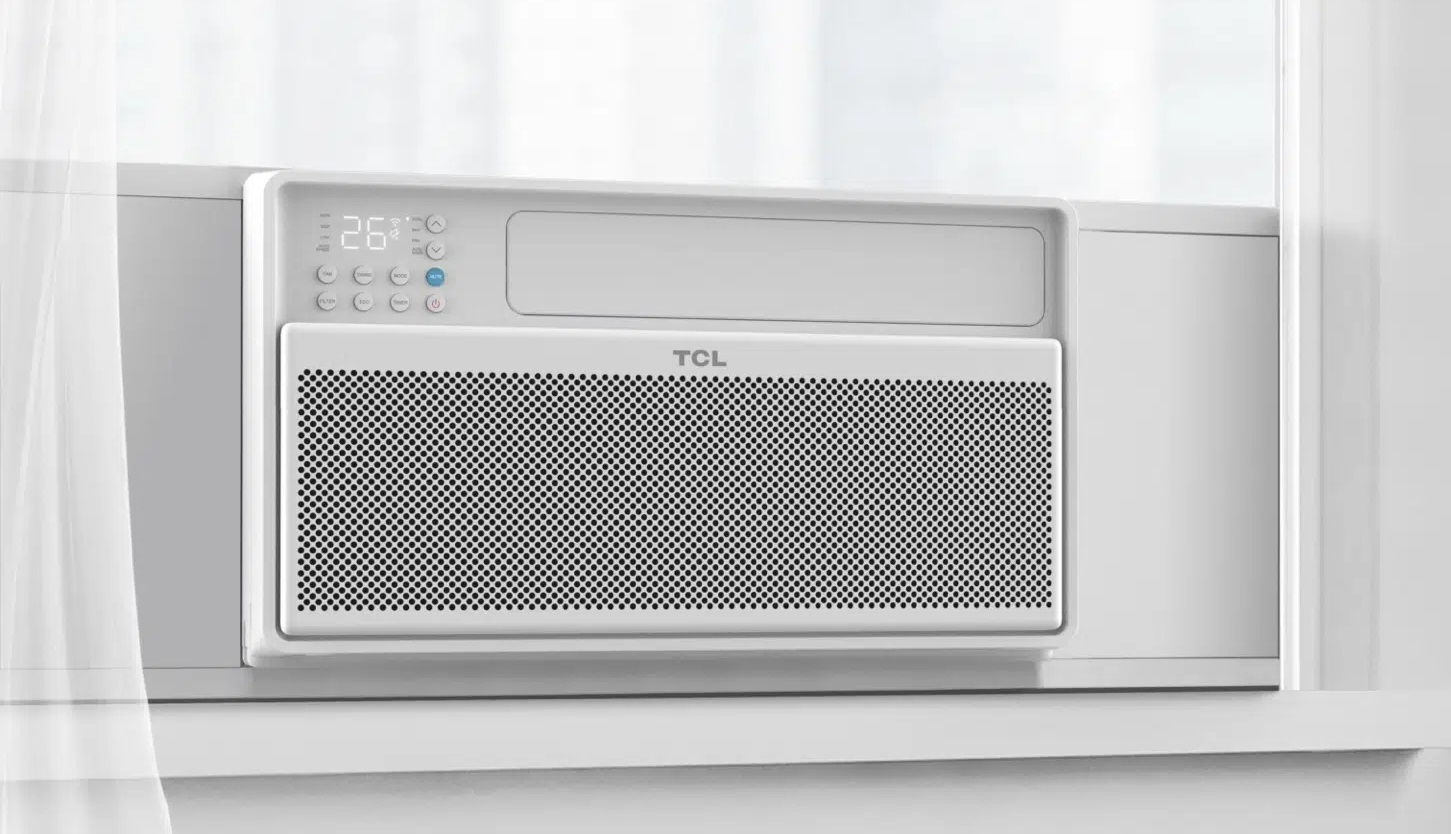
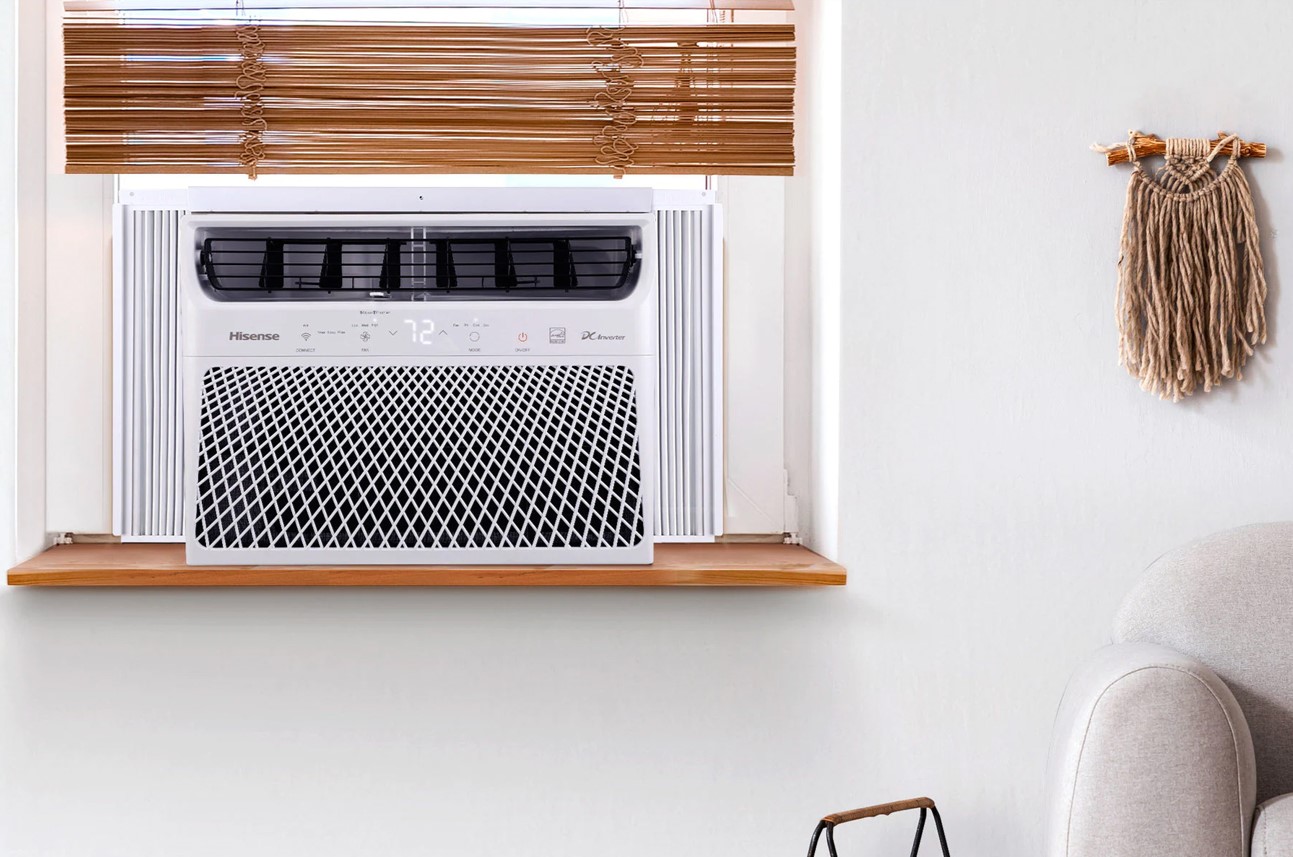
Window air conditioners are a popular choice for homeowners looking to cool specific rooms or areas. They are compact, easy to install, and provide efficient cooling for smaller spaces. However, like any appliance, window air conditioners can encounter problems over time. Whether it’s a lack of cooling, strange noises, or a malfunctioning control panel, these issues can be frustrating and disruptive to your comfort.
In this comprehensive guide, we will walk you through common issues that arise with window air conditioners and provide step-by-step instructions on how to fix them. From cleaning the air filters to inspecting and repairing electrical components, we will cover it all. By following our tips, you can save money on costly repairs and keep your window air conditioner running smoothly all summer long.
Before we delve into the troubleshooting process, it’s important to have the right tools and materials on hand. You’ll need a few basic items to complete the repair and maintenance tasks for your window air conditioner. Let’s take a look at what you’ll need:
Key Takeaways:
- Regular maintenance and troubleshooting can keep your window air conditioner running smoothly, saving you money on costly repairs and ensuring a cool and comfortable home environment.
- Prioritize safety by following recommended precautions, such as powering off the air conditioner, wearing protective gear, and seeking professional help when uncertain about repairs.
Read more: What Is A Window Air Conditioner
Common Issues with Window Air Conditioners
Window air conditioners may experience a variety of common issues that can affect their performance and efficiency. By understanding these issues, you can quickly diagnose and repair the problem, saving you time and money. Here are some of the most common issues with window air conditioners:
- Lack of Cooling: One of the main issues homeowners face with window air conditioners is a lack of cooling. This can be caused by a dirty air filter, clogged condenser coils, or a malfunctioning fan motor.
- Strange Noises: Unusual noises coming from your window air conditioner can indicate a problem. This can range from a squealing or grinding noise, which may indicate a worn-out fan belt, to a buzzing or rattling sound, which may be caused by loose or broken components.
- Water Leaks: If you notice water leaking from your window air conditioner, it could be due to a blocked drain pan or a clogged drainage system. This can lead to water damage and mold growth if not addressed promptly.
- Electrical Issues: Problems with electrical components, such as a faulty thermostat, capacitor, or wiring, can result in the air conditioner not turning on or properly regulating the temperature.
- Poor Airflow: Insufficient airflow can reduce the overall cooling capacity of your window air conditioner. This can be caused by a dirty air filter, obstructed vents, or a malfunctioning fan motor.
- Frozen Evaporator Coils: If the evaporator coils freeze, your window air conditioner will not be able to cool the room effectively. This can occur due to restricted airflow or a refrigerant leak.
By identifying the specific issue you’re facing with your window air conditioner, you can take the necessary steps to troubleshoot and resolve the problem. In the following sections, we will guide you through the repair and maintenance tasks needed for each common issue. Remember to always prioritize your safety by following the recommended safety precautions.
Tools and Materials Needed
Before you begin repairing or maintaining your window air conditioner, it’s important to gather the necessary tools and materials. Having these items on hand will make the process smoother and more efficient. Here’s a list of what you’ll need:
- Screwdriver: A set of screwdrivers will be essential for removing screws and securing components.
- Adjustable Wrench: An adjustable wrench will come in handy for loosening or tightening nuts and bolts.
- Socket Set: A socket set will be useful for removing and installing various parts of the air conditioner.
- Shop Vacuum: A shop vacuum will help you remove dust, debris, and blockages from the air conditioner.
- Fin Comb: A fin comb is a specialized tool that can straighten bent fins on the condenser coils.
- Coil Cleaner: A coil cleaner solution or foam will help you effectively clean the condenser coils.
- Lubricant: A lubricant suitable for motors and bearings will be necessary for lubricating the fan motor and bearings.
- Replacement Parts: Depending on the specific issue with your air conditioner, you may need to have replacement parts on hand. This can include air filters, fan motors, capacitors, thermostats, and electrical wiring components.
- Protective Gear: To ensure your safety, it’s important to wear protective gear, such as safety goggles, gloves, and a mask, to protect yourself from dust, debris, and cleaning solutions.
Having these tools and materials readily available before starting the repair or maintenance process will save you time and prevent any unnecessary delays. Now that you have everything you need, let’s move on to the next section where we’ll cover the safety precautions you should take.
Safety Precautions
When working on your window air conditioner, it’s crucial to prioritize your safety. Here are some important safety precautions to keep in mind:
- Power off the Air Conditioner: Before starting any repairs or maintenance tasks, make sure to turn off the power to your window air conditioner. Unplug it from the electrical outlet or switch off the circuit breaker that supplies power to the unit. This will protect you from electrical shocks and prevent any accidental damage to the air conditioner.
- Protective Gear: Always wear appropriate protective gear, such as safety goggles, gloves, and a mask, to guard against dust, debris, and cleaning solutions. This will prevent any potential harm to your eyes, hands, or respiratory system.
- Secure the Air Conditioner: If you need to remove the air conditioner from the window for repairs, make sure to do so safely. Enlist the help of a second person to ensure the unit is properly supported and doesn’t fall during the removal process.
- Work on a Stable Surface: When working on your air conditioner, choose a stable and flat surface. This will prevent any accidental slips or falls that could result in injuries.
- Avoid Contact with Moving Parts: Be cautious when working with fan motors, belts, or other moving parts. Do not touch them while the unit is in operation or while performing repairs.
- Use Caution with Cleaning Solutions: If you’re using cleaning solutions, ensure that you follow the manufacturer’s instructions. Avoid contact with your skin or eyes, and work in a well-ventilated area to minimize exposure to fumes.
- Disconnect Power Source: When working on electrical components, always disconnect the power source to prevent electrical shocks. Exercise caution when handling wiring, capacitors, or other electrical parts.
- Refer to Manufacturer’s Manual: Consult your window air conditioner’s manufacturer manual for specific safety guidelines and instructions. Each unit may have unique safety precautions that you should be aware of.
- When in Doubt, Call a Professional: If you’re uncertain or uncomfortable performing certain repairs or tasks, it’s best to seek the assistance of a professional technician. They have the expertise and experience to handle complex issues safely.
By following these safety precautions, you can minimize the risk of accidents or injuries while working on your window air conditioner. Now that you’re aware of the necessary safety measures, let’s proceed to the step-by-step instructions for troubleshooting and fixing common issues with your window air conditioner.
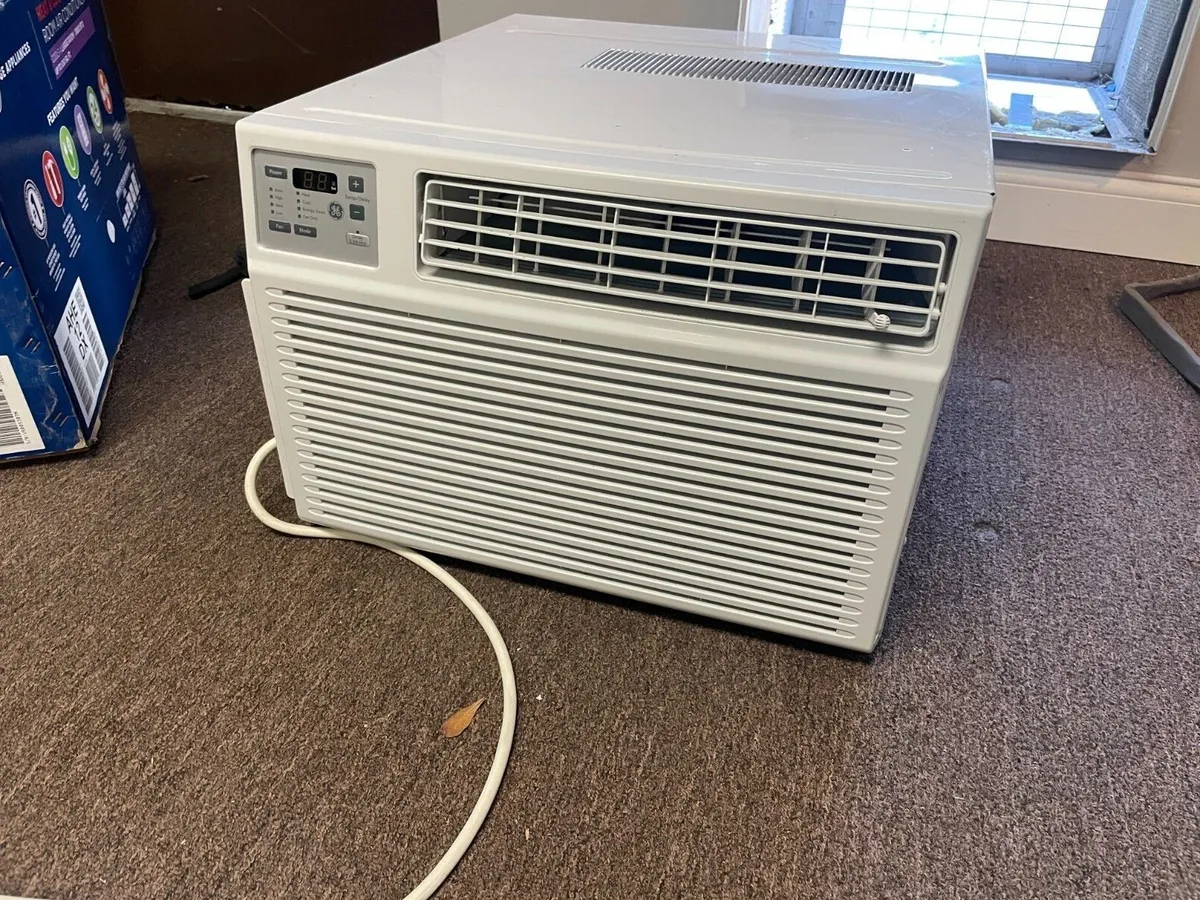
Step 1: Power off the Air Conditioner
Before you begin any repair or maintenance work on your window air conditioner, it is crucial to power off the unit to ensure your safety. Follow these steps to properly turn off your air conditioner:
- Turn off the Air Conditioner: Locate the control panel on your window air conditioner and switch it to the “off” position. This will stop the unit from running and prevent any electrical mishaps during the repair process.
- Unplug the Air Conditioner: Once the unit is turned off, unplug it from the electrical outlet. This will eliminate the risk of accidental power surges or electrical shocks while you work on the air conditioner.
- Switch off the Circuit Breaker: If your window air conditioner is hardwired or the power outlet is not easily accessible, you can switch off the circuit breaker that supplies power to the unit. Locate the corresponding breaker in your electrical panel and switch it to the “off” position.
- Double-Check the Power Supply: After turning off the air conditioner and unplugging it, test the unit by turning on the air conditioner controls. If the unit doesn’t turn on, it indicates that the power supply has been successfully disconnected.
By following these steps, you have successfully powered off your window air conditioner, ensuring your safety throughout the repair and maintenance process. Always remember to exercise caution and prioritize safety when working with electrical appliances.
Read more: How To Insulate A Window Air Conditioner
Step 2: Cleaning the Air Filters
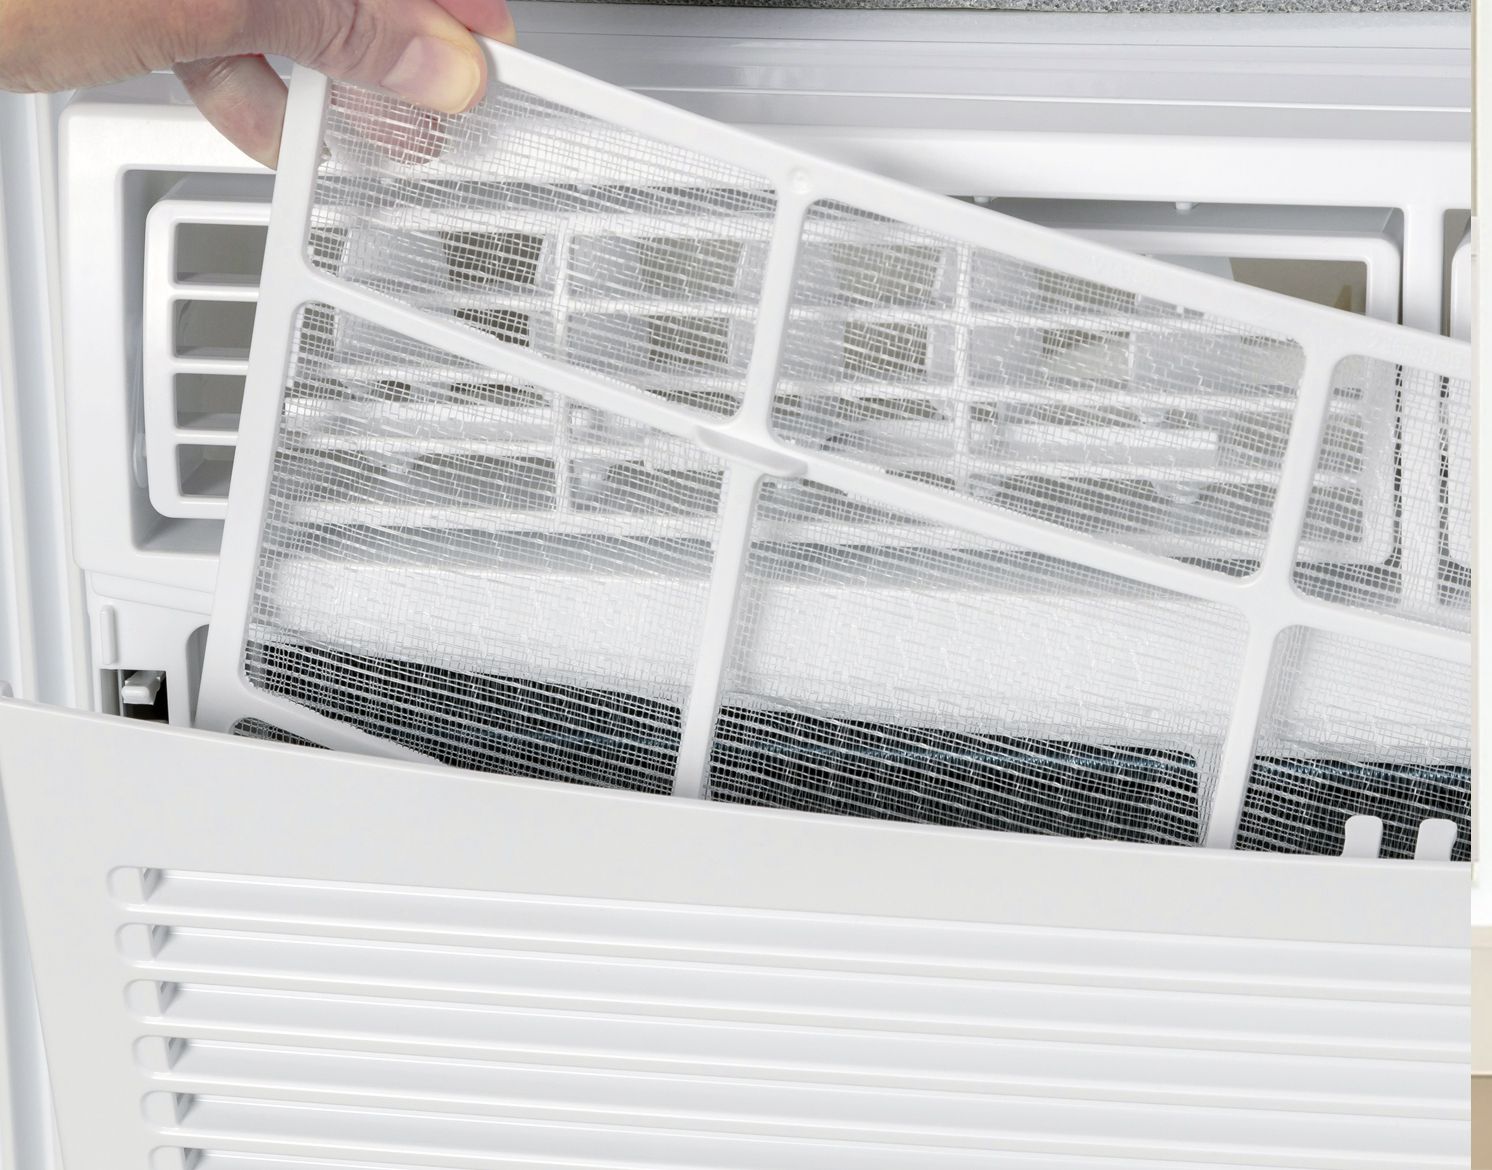
Cleaning the air filters of your window air conditioner is an important maintenance task that should be done regularly to ensure proper airflow and efficient cooling. Follow these steps to clean the air filters effectively:
- Locate the Air Filters: The air filters are usually located behind the front grille or on the side of your window air conditioner. Refer to the manufacturer’s manual if you’re unsure about the exact location.
- Remove the Filters: Gently remove the air filters from the unit. Depending on the model, they may slide out or require unlatching.
- Inspect the Filters: Take a close look at the air filters for any signs of dirt, dust, or debris buildup. Clogged filters can block airflow and decrease the efficiency of your air conditioner.
- Clean the Filters: If the filters are lightly soiled, you can use a vacuum cleaner with a brush attachment to remove the dirt and dust. For more stubborn dirt and grime, wash the filters with warm water and a mild detergent. Gently scrub the filters and rinse thoroughly to ensure they are clean.
- Dry the Filters: Once the filters are clean, allow them to air dry completely before reinstalling. Make sure they are fully dry to prevent mold or mildew growth.
- Reinstall the Filters: Once the filters are completely dry, slide them back into their respective slots or latch them securely. Ensure they are properly aligned and in the correct direction, as indicated by arrows or labels on the filters.
- Test the Air Conditioner: Turn on the air conditioner and check if the airflow has improved. You should notice increased airflow and better cooling performance after cleaning the air filters.
Cleaning the air filters of your window air conditioner regularly (typically every month or as recommended by the manufacturer) will maintain optimal efficiency and extend the lifespan of the unit. It will also help improve the air quality in your home by removing dust and allergens. Now that you’ve cleaned the air filters, let’s move on to the next step of the troubleshooting process.
Step 3: Cleaning the Condenser Coils
Cleaning the condenser coils of your window air conditioner is an essential maintenance task that helps improve cooling efficiency and prevent issues like overheating. Follow these steps to clean the condenser coils effectively:
- Turn off the Air Conditioner: Before you start cleaning the condenser coils, make sure the air conditioner is powered off and unplugged to ensure your safety.
- Access the Condenser Coils: Depending on your window air conditioner model, the condenser coils may be located behind the front grille or accessible through a separate panel. Consult the manufacturer’s manual for specific instructions on accessing the coils.
- Remove Debris: Carefully remove any visible debris, such as leaves, twigs, or pet hair, from the condenser coils. You can use a soft brush or a vacuum cleaner with a brush attachment for this task.
- Apply Coil Cleaner: If the coils are heavily soiled or covered in dirt and grime, it’s recommended to use a coil cleaner solution or foam. Follow the manufacturer’s instructions and apply the cleaner evenly over the coils.
- Allow Dwell Time: Let the coil cleaner sit on the coils for the recommended time specified by the manufacturer. This allows the cleaner to break down and loosen any stubborn dirt or debris on the coils.
- Rinse the Coils: After the dwell time, rinse the condenser coils thoroughly with water. You can use a garden hose or a spray bottle to rinse away the cleaner and any remaining dirt. Ensure that the water flows in the opposite direction of the coils to remove all debris effectively.
- Dry the Coils: Once the coils are rinsed, allow them to air dry completely before reassembling the air conditioner. Make sure they are completely dry to prevent any issues caused by moisture.
- Reassemble the Air Conditioner: Put the front grille or panel back in place, ensuring it is properly secured. Make sure all screws or latches are tightened to keep the unit’s components in position.
- Test the Air Conditioner: Plug in the air conditioner and turn it on to check if the cooling performance has improved. You should notice better airflow and enhanced cooling efficiency after cleaning the condenser coils.
Regularly cleaning the condenser coils of your window air conditioner (typically every 2-3 months) will help maintain optimal cooling performance and prolong the lifespan of the unit. It will also ensure that airflow is not restricted by dirt or debris, allowing your air conditioner to operate efficiently. With the condenser coils clean and functioning smoothly, let’s move on to the next step.
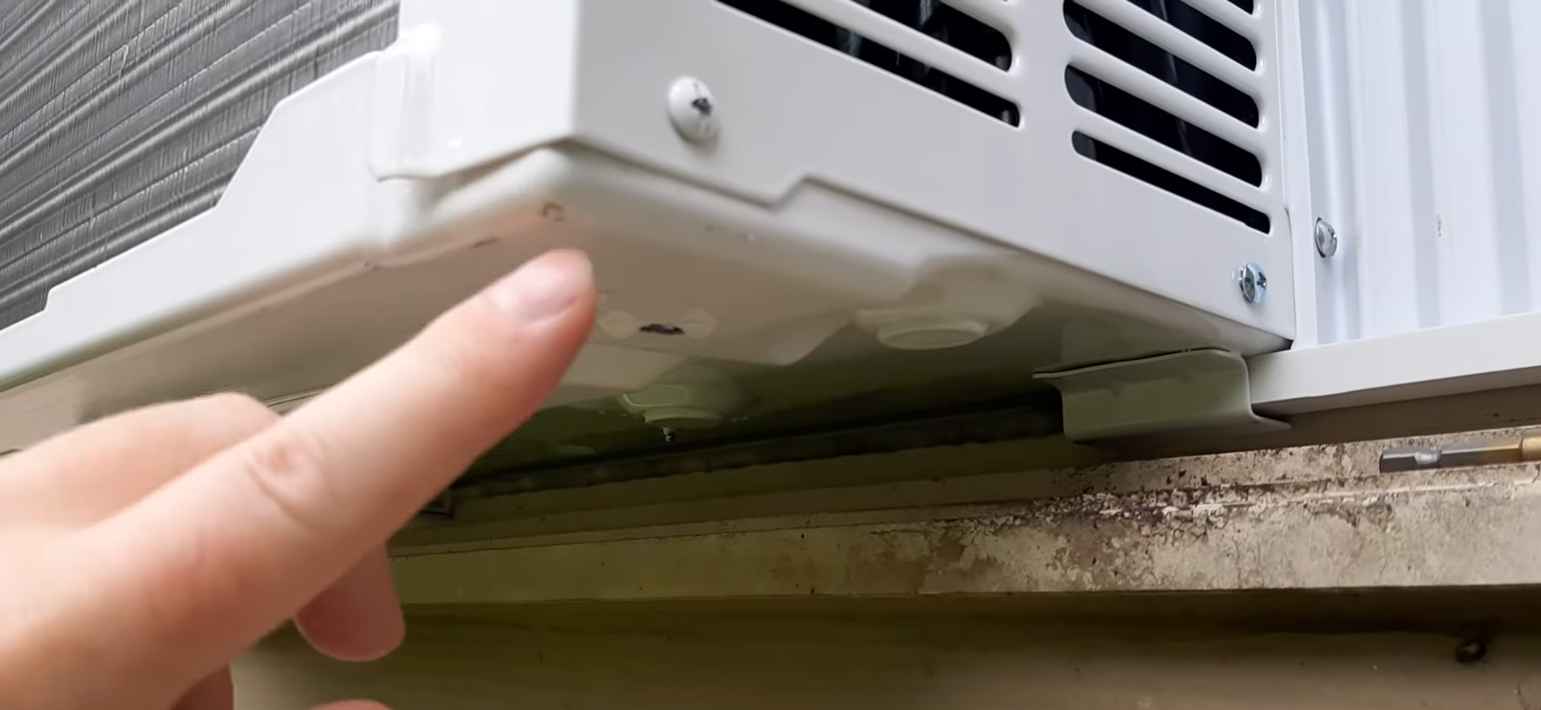
Step 4: Checking and Cleaning the Drain Pan and Drainage System
The drain pan and drainage system in your window air conditioner play a crucial role in removing condensation and preventing water damage. Over time, these components can become clogged with dirt, algae, or debris, affecting their proper functioning. Follow these steps to check and clean the drain pan and drainage system:
- Turn off the Air Conditioner: Before you begin, make sure the air conditioner is powered off and unplugged for safety.
- Locate the Drain Pan and Drainage System: The drain pan is usually located at the bottom rear of the air conditioner, while the drainage system consists of a drain tube or pipes that carry the condensate water away from the unit. Refer to the manufacturer’s manual if you’re unsure about their exact location.
- Inspect the Drain Pan: Look for any signs of standing water, dirt, or debris in the drain pan. Also, check for cracks or damage that may prevent proper drainage.
- Clean the Drain Pan: If the drain pan is dirty, remove it carefully and clean it with warm water and a mild detergent. Scrub the pan gently to remove any buildup or algae. Rinse the pan thoroughly to ensure it’s clean.
- Check the Drainage System: Inspect the drain tube or pipes for any blockages or obstructions. Use a small brush or pipe cleaner to remove any debris or algae buildup. If the drain tube is excessively dirty, you can also rinse it with a mixture of vinegar and water to help remove stubborn deposits.
- Reassemble the Drain Pan and Drainage System: Once the drain pan and drainage system are clean, reassemble them carefully. Ensure that the drain pan is securely placed and that the drain tube properly connected to allow for proper drainage.
- Test the Drainage: Pour a small amount of water into the drain pan to check if it drains properly. The water should flow freely through the drain tube or pipes and away from the unit. If you notice any blockages or slow drainage, repeat the cleaning process or consult a professional for assistance.
Regularly checking and cleaning the drain pan and drainage system of your window air conditioner (once every month) will ensure proper water removal and prevent issues like water leaks or overflow. By keeping these components clean and functioning effectively, you can avoid water damage and maintain the efficiency of your air conditioner. With the drain pan and drainage system clean, let’s move on to the next step in troubleshooting your window air conditioner.
Regularly clean or replace the air filter in your window air conditioner to ensure proper airflow and efficient cooling. This simple maintenance task can help prevent issues and extend the lifespan of your unit.
Step 5: Inspecting and Replacing the Fan Motor
The fan motor in your window air conditioner is responsible for circulating air throughout the unit, aiding in the cooling process. Over time, the fan motor may wear out or become faulty, resulting in poor airflow or strange noises. Follow these steps to inspect and replace the fan motor if needed:
- Turn off the Air Conditioner: Before starting any work on the fan motor, make sure the air conditioner is powered off and unplugged for safety purposes.
- Access the Fan Motor: Depending on your window air conditioner model, the fan motor may be located behind the front grille or accessible through a separate panel. Consult the manufacturer’s manual for instructions on accessing the fan motor.
- Inspect the Fan Motor: Carefully examine the fan motor for any signs of damage, such as frayed wires, loose connections, or excessive dirt buildup. Listen for unusual noises, excessive vibration, or lack of movement when the unit is turned on.
- Test the Fan Motor: With the air conditioner turned on, observe the fan motor closely. The fan blades should rotate smoothly and evenly. If the fan motor does not operate correctly or exhibits signs of damage, it may need to be replaced.
- Replace the Fan Motor: If the fan motor is defective, it’s recommended to replace it with a new one. Disconnect the wires leading to the fan motor, remove any mounting screws or brackets, and carefully remove the old fan motor from the unit. Install the new fan motor in the exact reverse manner, following the manufacturer’s instructions.
- Securely Mount the Fan Motor: Ensure that the new fan motor is securely mounted and properly aligned. Reattach any mounting screws or brackets, and connect the wires according to the wiring diagram provided by the manufacturer.
- Test the Air Conditioner: Plug in the air conditioner, turn it on, and observe the fan motor’s operation. The fan blades should rotate smoothly, providing adequate airflow for cooling. If the fan motor is functioning well, you have successfully replaced it.
Inspecting and replacing the fan motor when necessary ensures proper airflow and the efficient operation of your window air conditioner. If you’re unsure about performing this task, it’s best to seek the assistance of a professional technician. By maintaining a functional fan motor, you can optimize the cooling performance of your air conditioner. With the fan motor in good working condition, let’s move forward to the next step.
Read more: How To Remove A Window Air Conditioner
Step 6: Lubricating the Fan Motor and Bearings
Lubricating the fan motor and bearings of your window air conditioner can help reduce friction and noise, prolonging the lifespan of the motor and ensuring smooth operation. Follow these steps to lubricate the fan motor and bearings:
- Turn off the Air Conditioner: Before lubricating the fan motor and bearings, make sure the air conditioner is powered off and unplugged for safety purposes.
- Locate the Fan Motor: The fan motor is usually located behind the front grille or accessible through a separate panel on your window air conditioner. Consult the manufacturer’s manual for specific instructions on accessing the fan motor.
- Identify Lubrication Points: Look for small oil ports or access points on the fan motor or bearings. These are usually marked with a label or indicated in the manufacturer’s manual.
- Use the Appropriate Lubricant: Check the manufacturer’s guidelines for the recommended type of lubricant to use. Typically, lightweight motor oil or lubricating grease is used for fan motors and bearings. Avoid using excessive amounts of lubricant, as it can lead to residue buildup or damage the motor.
- Apply Lubricant: Using a dropper or a small brush, apply a few drops of lubricant to each designated oil port or access point. Be careful not to over-lubricate, as it may cause the lubricant to spread onto sensitive electrical components.
- Rotate the Fan Blades: After applying the lubricant, manually rotate the fan blades a few times to distribute the lubricant evenly and ensure smooth movement.
- Reassemble the Air Conditioner: Put the front grille or panel back in place, ensuring it is properly secured. Make sure all screws or latches are tightened to keep the unit’s components in position.
- Test the Air Conditioner: Plug in the air conditioner, turn it on, and observe the fan motor’s operation. You should notice smoother and quieter operation, indicating that the lubricant has effectively reduced friction and improved performance.
Lubricating the fan motor and bearings of your window air conditioner is an important maintenance task that should be done annually or as recommended by the manufacturer. It helps extend the lifespan of the fan motor and ensures smooth and efficient operation. If you’re unsure about performing this task, it’s best to consult a professional technician. With the fan motor and bearings lubricated, let’s move on to the next step in troubleshooting your window air conditioner.
Step 7: Testing and Replacing the Capacitor
The capacitor in your window air conditioner is an important component that helps start the fan and compressor motors. Over time, capacitors can fail or become faulty, causing issues like the air conditioner not turning on or irregular motor operation. Follow these steps to test and replace the capacitor if necessary:
- Turn off the Air Conditioner: Before working on the capacitor, ensure that the air conditioner is powered off and unplugged for safety purposes.
- Locate the Capacitor: The capacitor is usually located near the fan motor or compressor. It is a small cylindrical or oval-shaped component with multiple wires attached to it.
- Discharge the Capacitor: Capacitors store electrical energy even when the air conditioner is turned off. To discharge the capacitor and avoid electrical shocks, carefully use an insulated screwdriver to short the terminals by touching both at the same time.
- Test the Capacitor: If you have a multimeter or a capacitor tester, set it to the capacitance testing mode. Disconnect the wires from the capacitor and touch the probes of the multimeter to the corresponding terminals. The multimeter should display the capacitance value. If the reading is significantly lower than the rated capacitance, it indicates a faulty capacitor that needs to be replaced.
- Replace the Capacitor: If the capacitor fails the test or shows signs of physical damage, it needs to be replaced. Take note of the capacitor’s specifications, including the capacitance value and voltage rating, before purchasing a replacement. Disconnect the old capacitor by carefully removing the wires, and install the new capacitor in its place. Reattach the wires to the appropriate terminals, ensuring proper alignment.
- Reassemble the Air Conditioner: Put any panels or covers back in place, ensuring they are securely attached. Double-check that all screws or latches are tightened to maintain the integrity of the unit.
- Test the Air Conditioner: Plug in the air conditioner, turn it on, and observe the operation of the fan and compressor motors. If the new capacitor is functioning correctly, you should notice improved motor operation and the air conditioner should start smoothly.
Testing and replacing the capacitor in your window air conditioner can solve issues related to the motor not starting or irregular operation. If you’re unsure about performing this task, it’s recommended to consult a professional technician. With a properly functioning capacitor, let’s move on to the next step in troubleshooting your window air conditioner.
Step 8: Checking and Replacing the Thermostat
The thermostat in your window air conditioner is responsible for regulating the temperature and controlling the cooling cycle. If you’re experiencing issues with temperature control or the air conditioner not turning on/off properly, the thermostat may be the culprit. Follow these steps to check and replace the thermostat if necessary:
- Turn off the Air Conditioner: Before working on the thermostat, make sure the air conditioner is powered off and unplugged to ensure your safety.
- Locate the Thermostat: The thermostat is typically located on the front panel of your window air conditioner, accessible from the room side.
- Check the Thermostat Settings: Look at the thermostat settings and ensure that they are properly adjusted. If the temperature control or fan speed settings are incorrect, adjust them accordingly and test if the air conditioner responds appropriately.
- Inspect for Physical Damage: Examine the thermostat for any visible physical damage, such as cracks, loose connections, or signs of corrosion. Damaged or corroded components may interfere with the proper functioning of the thermostat.
- Test the Thermostat: If the thermostat is not functioning correctly or if there are no visible issues, you can test it using a multimeter. Set the multimeter to the resistance or continuity testing mode. Disconnect the thermostat wires and touch the probes to the corresponding terminals. The multimeter should display a reading indicating continuity. If there is no continuity or the reading is inconsistent, it indicates a faulty thermostat that needs to be replaced.
- Replace the Thermostat: If the thermostat fails the test or shows signs of physical damage, it’s time to replace it. Purchase a compatible replacement thermostat, following the specifications provided by the manufacturer. Disconnect the old thermostat carefully, noting the wire connections, and install the new thermostat in its place. Reconnect the wires to their corresponding terminals according to the wiring diagram.
- Reassemble the Air Conditioner: Put the front panel or cover back in place, ensuring it is securely attached. Ensure that all screws or latches are tightened to maintain the integrity of the unit.
- Test the Air Conditioner: Plug in the air conditioner, turn it on, and observe the temperature control and cooling cycle. If the new thermostat is functioning correctly, the air conditioner should respond to temperature adjustments and cycle on/off as intended.
Checking and replacing the thermostat can resolve issues related to temperature control and the proper functioning of your window air conditioner. If you’re uncertain about performing this task, it’s best to seek the assistance of a professional technician. With a functioning thermostat, let’s move on to the next step in troubleshooting your window air conditioner.
Step 9: Inspecting and Repairing the Electrical Wiring
Inspecting and repairing the electrical wiring of your window air conditioner is crucial for ensuring safe and reliable operation. Faulty or damaged wiring can lead to issues such as power supply problems or electrical hazards. Follow these steps to inspect and repair the electrical wiring:
- Turn off the Air Conditioner: Before working on the electrical wiring, make sure the air conditioner is powered off and unplugged for safety purposes.
- Locate the Electrical Wiring: The electrical wiring of your window air conditioner is usually found inside the unit, behind the front grille or accessible through a separate panel. Consult the manufacturer’s manual for specific instructions on accessing the wiring.
- Inspect the Wiring: Carefully examine the wiring for any signs of damage, such as frayed or exposed wires, loose connections, or burned insulation. Ensure that all connections are secure and free from corrosion.
- Repair or Replace Damaged Wiring: If you notice any damaged wiring, it needs to be repaired or replaced. Cut off any frayed or exposed wires, ensuring the cuts are clean and straight. Use wire strippers to strip a small portion of insulation from the ends of the wires, and then securely reconnect them using wire connectors or electrical tape. If the damage is extensive or if you’re unsure about the repair, it’s recommended to consult a professional technician.
- Reassemble the Air Conditioner: Put the front grille or panel back in place, ensuring it is properly secured. Double-check that all screws or latches are tightened to maintain the integrity of the unit.
- Test the Air Conditioner: Plug in the air conditioner, turn it on, and observe its operation. Ensure that the unit powers on and functions properly. Pay close attention to the electrical wiring to ensure there are no sparks, overheating, or abnormal behavior.
Inspecting and repairing the electrical wiring of your window air conditioner should only be done if you have experience and knowledge in working with electrical systems. If you’re uncertain or uncomfortable performing this task, it’s best to seek the assistance of a professional technician. Working with electricity can be dangerous, and improper repairs can lead to further issues or electrical hazards. With the electrical wiring inspected and repaired, let’s move on to the final step in troubleshooting your window air conditioner.
Read more: How To Seal A Window Air Conditioner
Step 10: Restoring Power and Testing the Air Conditioner
After completing the necessary repairs and maintenance tasks on your window air conditioner, it’s time to restore power and test the unit to ensure that everything is functioning properly. Follow these steps to restore power and test the air conditioner:
- Double-Check all Connections: Before restoring power, review all the repairs and maintenance tasks you have performed. Make sure that all electrical connections are secure, wires are properly connected, and all components are properly reassembled.
- Plug in the Air Conditioner: Insert the air conditioner’s plug into the electrical outlet. Ensure that the outlet is in good condition and properly grounded. Do not use extension cords or power strips, as they may not provide sufficient power and can be a safety hazard.
- Turn on the Air Conditioner: Locate the control panel or power switch on the air conditioner and turn it on. Adjust the temperature settings to the desired level and set the fan speed according to your preference.
- Listen and Observe: As the air conditioner starts running, listen for any abnormal noises or sounds. Observe the fan and compressor motors for smooth operation. Ensure that cool air is being produced and that the temperature is dropping as expected.
- Check for Proper Airflow: Stand in front of the air conditioner and feel the airflow. It should be strong and consistent. Check that the air vents are not obstructed and that air is being properly distributed throughout the room.
- Monitor for a Stable Operation: Keep an eye on the air conditioner’s operation for about 15-30 minutes to ensure that it is running steadily without any issues or fluctuations in performance. Pay attention to any changes in temperature or unusual behavior.
- Perform Routine Maintenance: After testing the air conditioner, continue with routine maintenance tasks, such as periodically cleaning or replacing the air filters, and maintaining a clean and clutter-free area around the unit.
By restoring power and testing the air conditioner, you can verify that your repairs and maintenance tasks have been successful. If you notice any issues or abnormalities during the testing process, review the steps you took and consult a professional technician if necessary.
Remember to regularly inspect and maintain your window air conditioner to keep it functioning optimally and efficiently. Following a maintenance schedule will help prevent future issues and extend the lifespan of your unit, providing you with comfortable and reliable cooling for years to come.
Congratulations! You have successfully troubleshooted and tested your window air conditioner. Enjoy the cool and comfortable environment it provides!
Conclusion
Taking care of your window air conditioner through regular maintenance and troubleshooting is essential for ensuring optimal performance and longevity. By following the steps outlined in this guide, you can address common issues and keep your air conditioner running smoothly.
We started by discussing the common issues that can arise with window air conditioners, including lack of cooling, strange noises, water leaks, electrical problems, poor airflow, and frozen evaporator coils. By understanding these issues, you can quickly identify and resolve them.
We then provided a comprehensive list of tools and materials you’ll need for the repair and maintenance tasks. It’s important to have these items readily available to ensure a smooth and efficient process.
To prioritize your safety, we emphasized the importance of following safety precautions throughout the repair and maintenance tasks. This includes powering off the air conditioner, wearing protective gear, and exercising caution when working with electrical components.
We then went through a step-by-step guide for troubleshooting and fixing common issues with your window air conditioner. This included cleaning the air filters, condenser coils, drain pan, and drainage system, as well as inspecting and replacing the fan motor, lubricating the fan motor and bearings, testing and replacing the capacitor, checking and replacing the thermostat, inspecting and repairing the electrical wiring, and restoring power and testing the air conditioner.
Finally, we concluded by emphasizing the importance of regular maintenance and routine checks to keep your window air conditioner in optimal condition. By following these guidelines, you can extend the lifespan of your unit, improve its cooling efficiency, and save money on costly repairs.
Remember, if you are unsure about any repair or maintenance task, it is always best to consult a professional technician. They have the expertise and experience to handle complex issues and ensure your safety.
By taking care of your window air conditioner and addressing issues promptly, you can enjoy a cool and comfortable home all summer long. So, put your newfound knowledge to use and keep your window air conditioner running at its best!
Frequently Asked Questions about How To Fix A Window Air Conditioner
Was this page helpful?
At Storables.com, we guarantee accurate and reliable information. Our content, validated by Expert Board Contributors, is crafted following stringent Editorial Policies. We're committed to providing you with well-researched, expert-backed insights for all your informational needs.