Articles
How To Fix Siding On House
Modified: August 31, 2024
Learn effective methods and techniques for fixing the siding on your house with informative articles. Discover step-by-step guides and expert advice to restore your home's exterior.
(Many of the links in this article redirect to a specific reviewed product. Your purchase of these products through affiliate links helps to generate commission for Storables.com, at no extra cost. Learn more)
Introduction
Having damaged siding on your house can be both unsightly and potentially harmful to the structure. Whether it’s due to years of wear and tear, severe weather conditions, or accidental damage, addressing the issue promptly is crucial to maintaining the integrity of your home. Fixing siding may seem like a daunting task, but with the right tools, materials, and know-how, you can tackle the project with confidence.
In this article, we will guide you through the process of fixing the siding on your house. We will provide step-by-step instructions on how to assess the damage, gather the necessary tools and materials, remove the damaged siding, prepare the replacement siding, install the new siding, and add the finishing touches. Additionally, we will share some maintenance and prevention tips to help you keep your siding in excellent condition for years to come.
Before we begin, it’s important to note that if you’re uncomfortable with heights or unsure about your ability to handle the repairs, it’s always advisable to seek professional assistance. Safety should be your top priority during any home improvement project.
So, grab your toolbox and let’s get started on restoring your house’s siding to its former glory!
Key Takeaways:
- Properly assessing the damage and gathering the necessary tools and materials are crucial steps in successfully fixing the siding on your house. By following these initial steps, you can ensure a smooth and efficient repair process.
- Regular maintenance and preventive measures are essential for prolonging the lifespan of your siding and preventing future damage. By incorporating these tips into your routine, you can keep your siding in excellent condition for years to come.
Read more: How To Install Siding On House
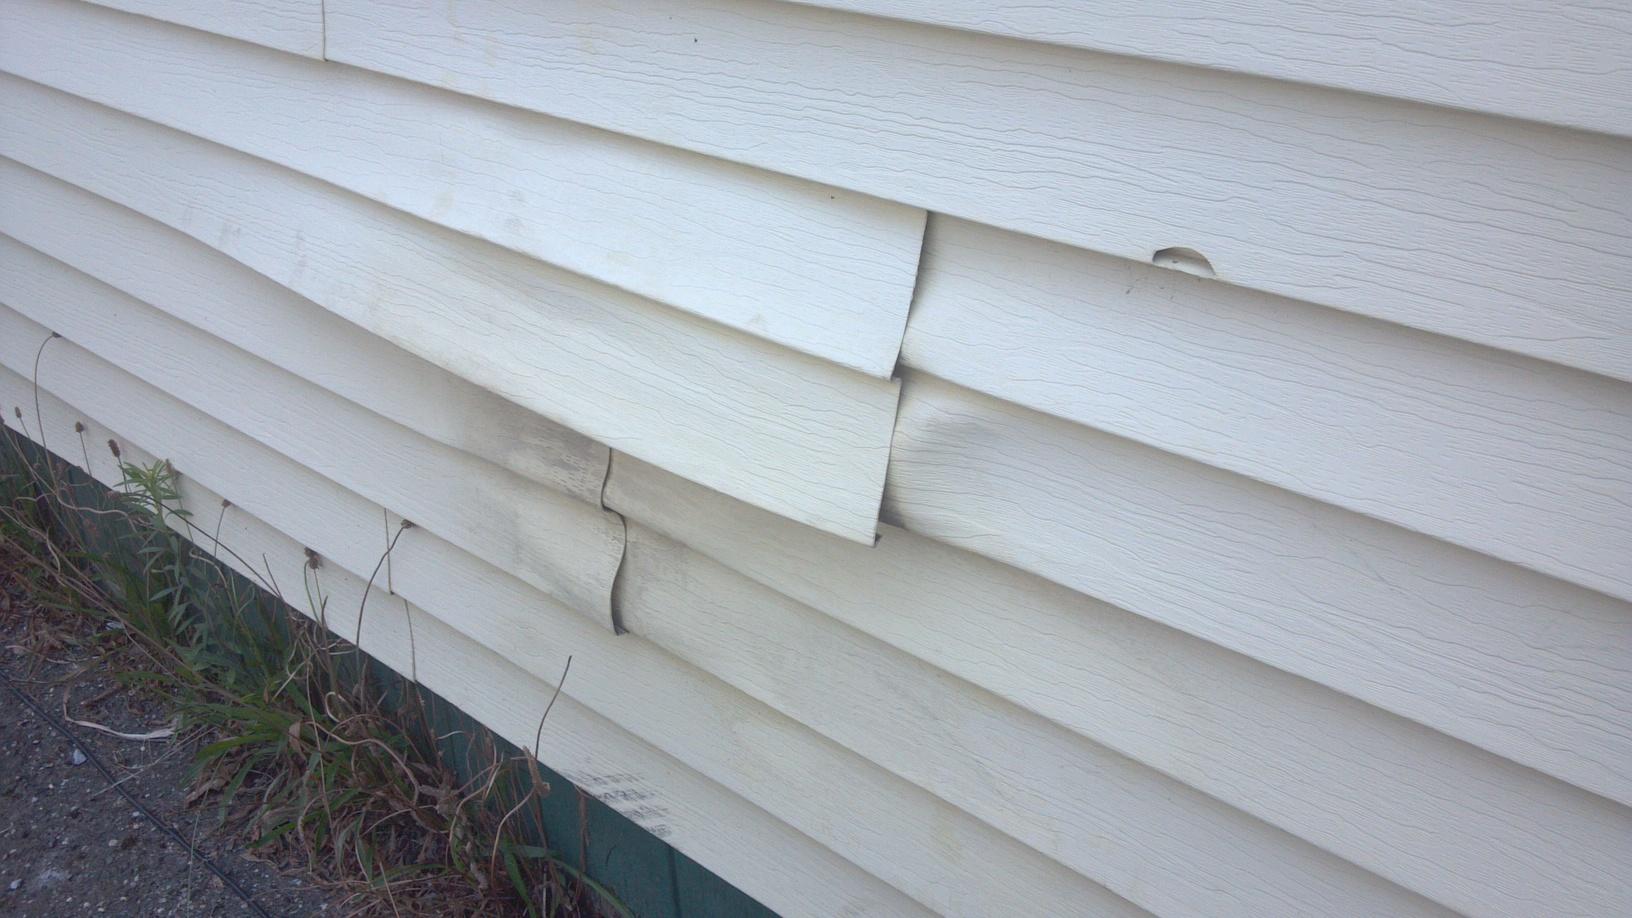
Assessing the Damage
The first step in fixing the siding on your house is to assess the extent of the damage. This will help you determine the scope of the repair and what materials you will need.
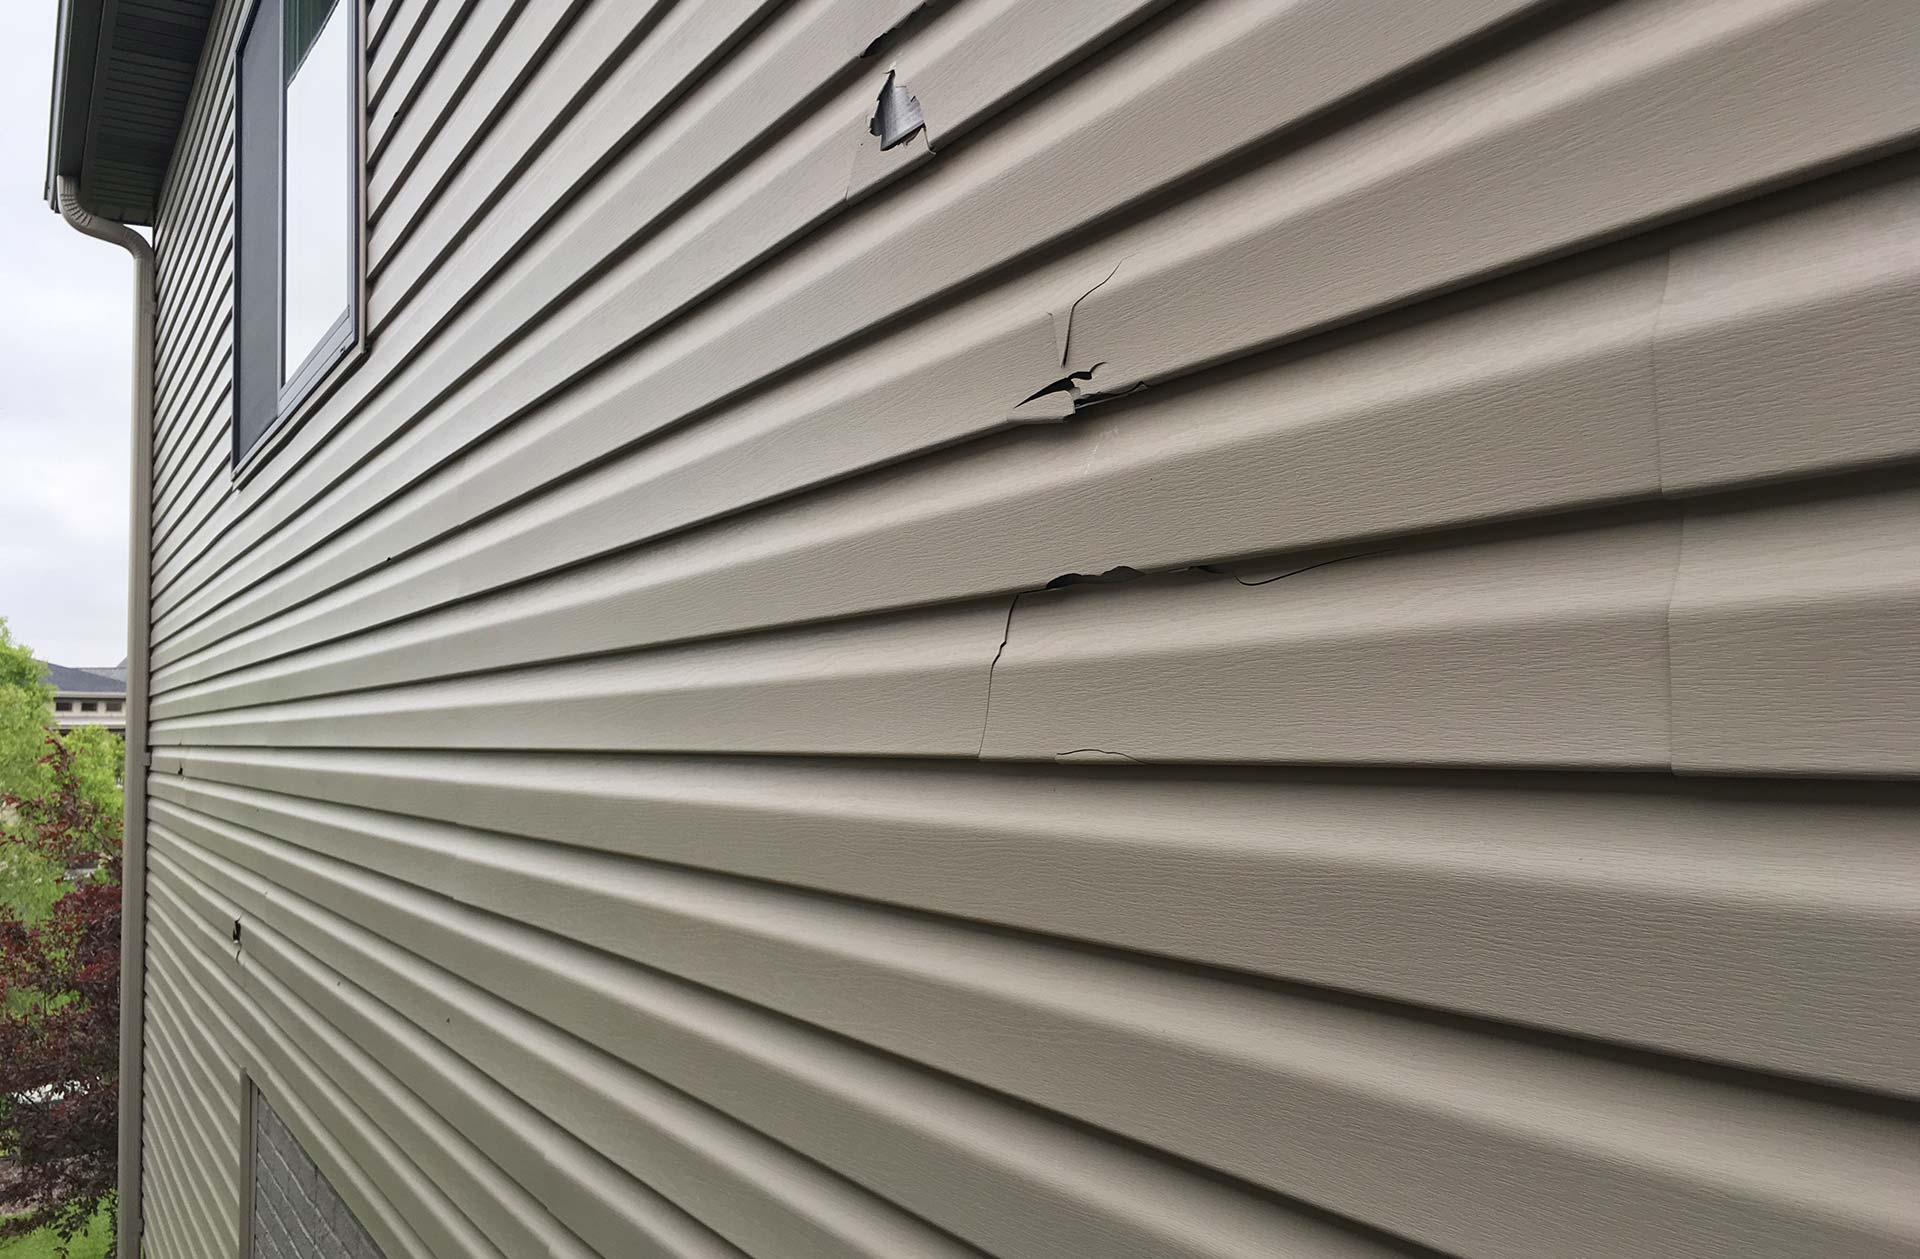
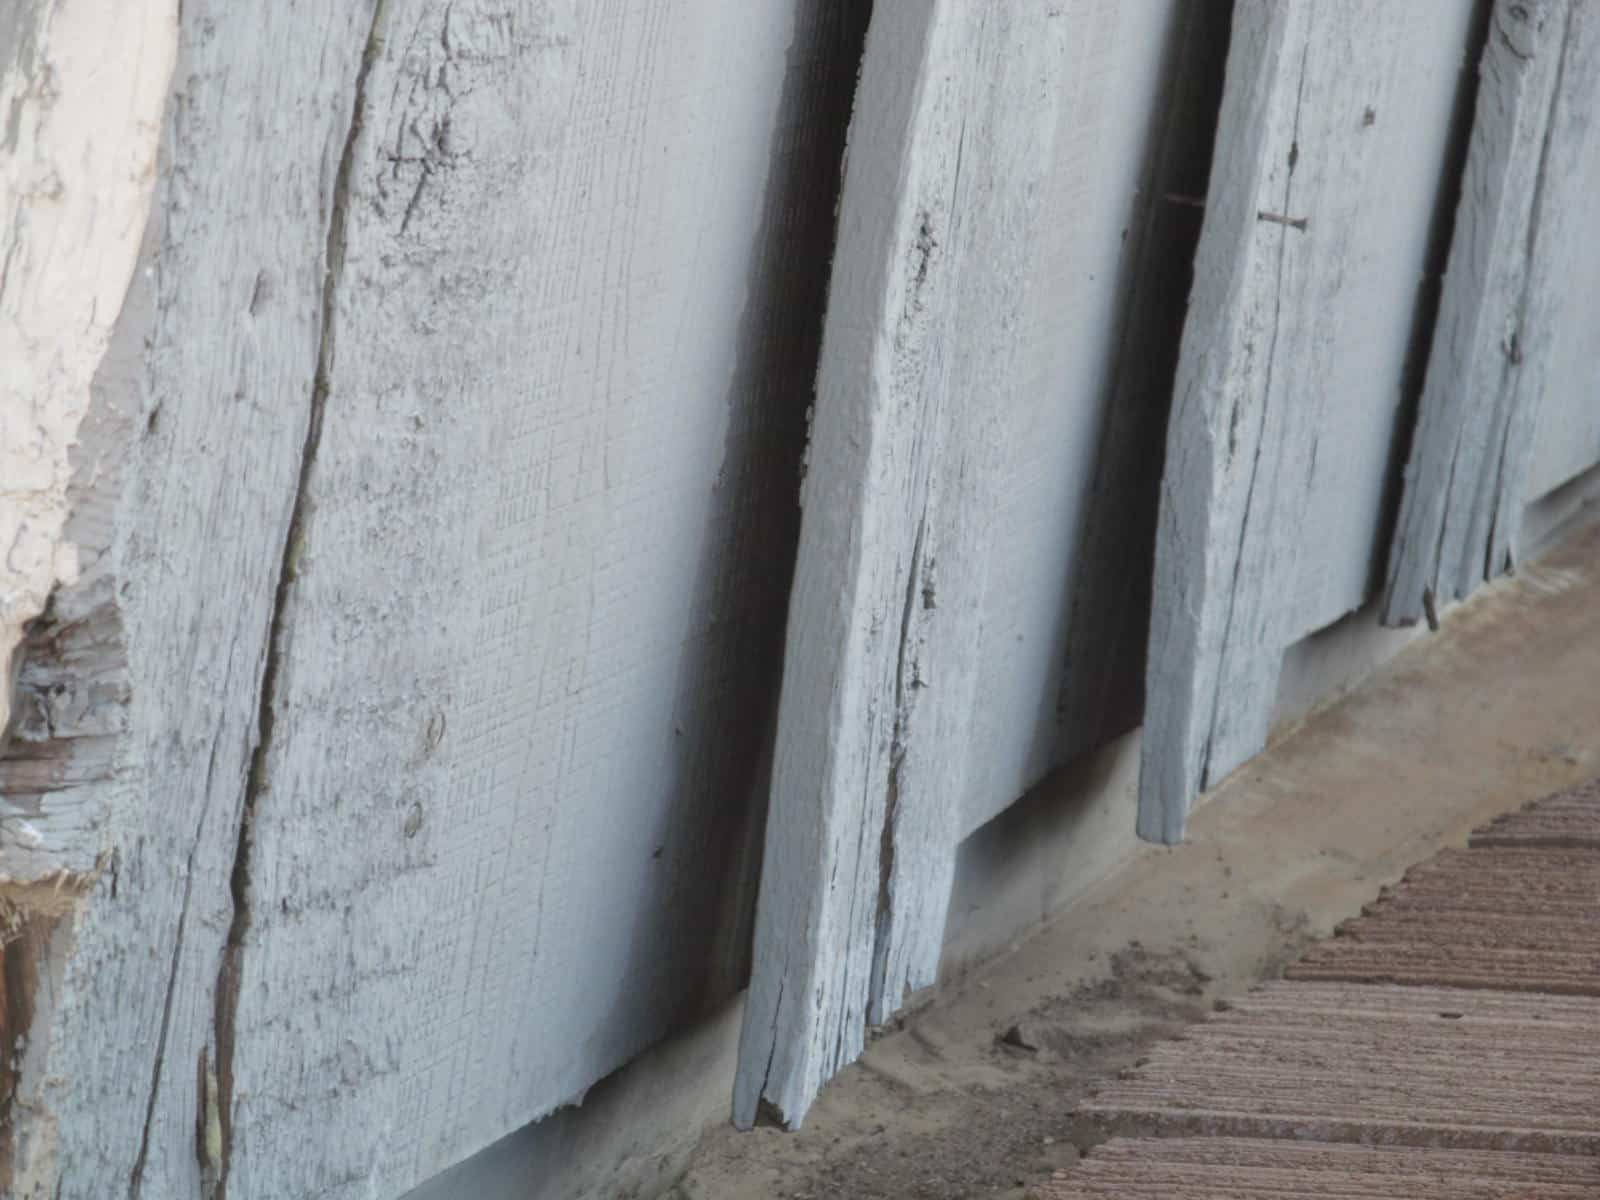
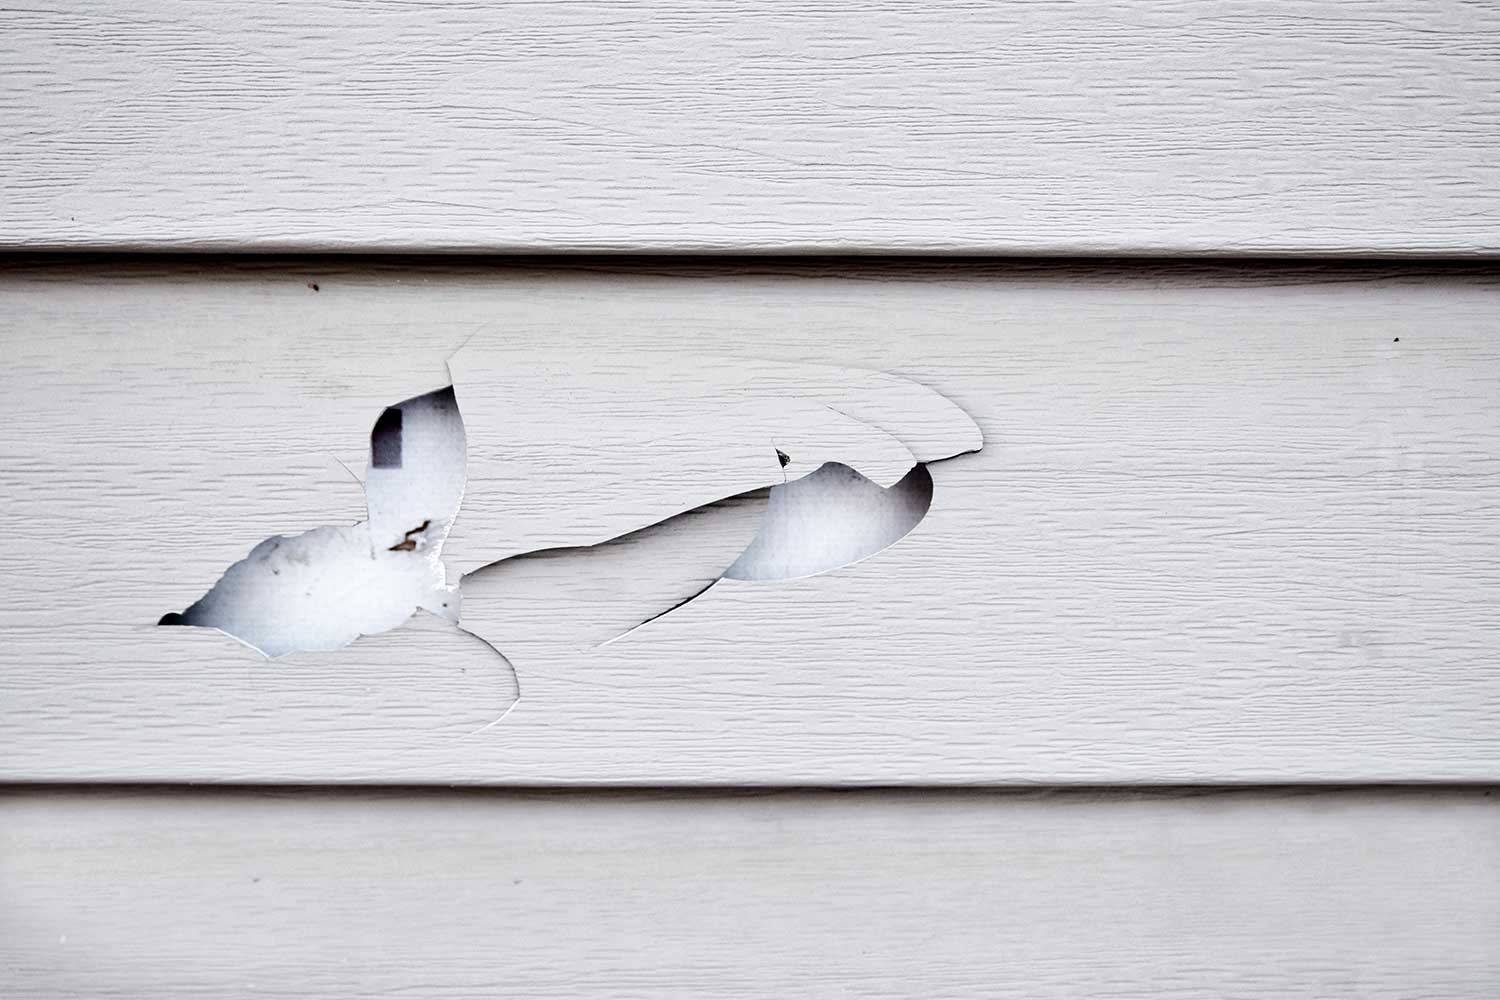
Begin by visually inspecting the siding for any obvious signs of damage, such as cracks, holes, or loose panels. Take note of the areas where the damage is most severe. It’s essential to evaluate the underlying cause of the damage as well. It could be due to water infiltration, pest infestation, or simply old age.
Next, gently press on the siding to check for any soft spots or areas that give under pressure. These could indicate rot or decay and will likely require more extensive repairs or even replacement.
If you notice any mold or mildew growth on the siding, it’s crucial to address the underlying issue to prevent further damage and potential health risks. Mold and mildew growth are often signs of excess moisture, so identifying and resolving the source is essential.
Once you have a clear understanding of the extent and cause of the damage, take measurements of the affected areas. This will help you determine the amount of replacement siding you will need. If the damage is widespread or covering a large area, it may be more cost-effective and efficient to replace the entire section of siding rather than trying to fix individual pieces.
By carefully assessing the damage, you can plan the repair process effectively and ensure you have all the necessary tools and materials on hand. Remember, if you’re unsure about the severity or cause of the damage, it’s always best to consult with a professional before proceeding.
Gathering the Necessary Tools and Materials
Before you begin fixing the siding on your house, it’s essential to gather all the necessary tools and materials. This will ensure that you have everything you need at your fingertips, saving you time and frustration during the repair process.
Here are the tools and materials you’ll need:
- Screwdriver or Pry Bar: These tools will help you remove any screws or nails securing the damaged siding.
- Utility Knife: A utility knife will be useful for cutting and trimming the siding.
- Hammer: You may need a hammer to gently tap the siding into place during the installation process.
- Level: A level will help you ensure that the new siding is installed correctly and is straight.
- Tape Measure: Accurate measurements are crucial when cutting and installing replacement siding.
- Replacement Siding: Purchase the appropriate type and color of siding that matches the existing siding on your house.
- Siding Nails or Screws: Depending on the type of siding, you’ll need either nails or screws to secure the new siding in place.
- Sealant or Caulk: This will be necessary to seal any gaps or joints between the siding pieces for proper weatherproofing.
- Protective Gear: To ensure your safety, consider wearing gloves, safety glasses, and a dust mask while working with the siding and any related materials.
Take the time to gather all of these tools and materials before starting the repair process. You can find most of these items at your local hardware store or home improvement center. It’s always a good idea to have some extra siding pieces and nails or screws on hand in case you encounter unforeseen issues during the repair.
By being prepared with the necessary tools and materials, you’ll have a smoother and more efficient repair experience, leading to a successful outcome.
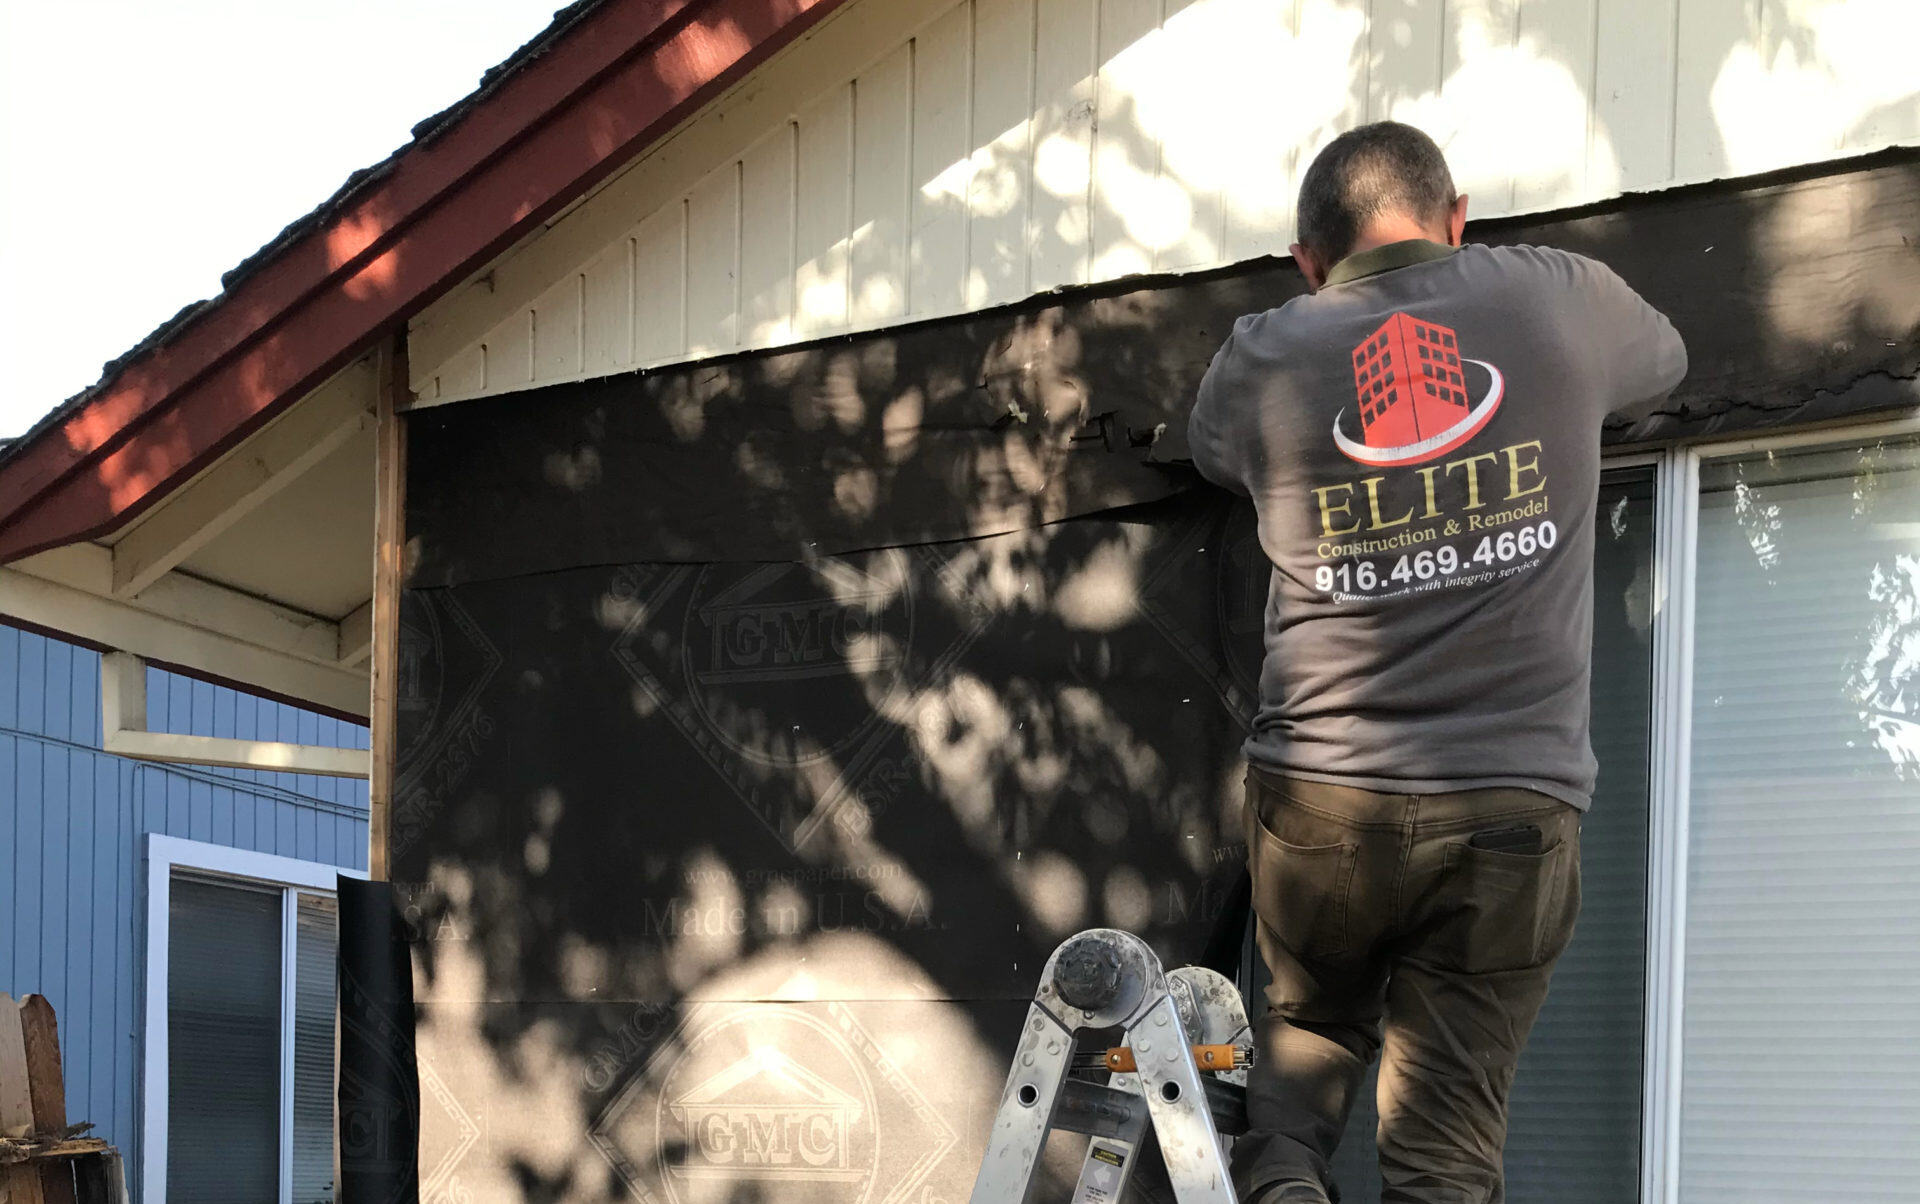
Removing Damaged Siding
Once you have assessed the damage and gathered all the necessary tools and materials, it’s time to start removing the damaged siding from your house. This step is essential to create a clean and stable surface for installing the replacement siding.
Here’s how to remove the damaged siding:
- Start by locating the seams or joints between the siding panels. This is where the individual pieces are connected.
- If your siding has overlapping panels, slide a putty knife or pry bar between the overlapping pieces. Gently pry the top panel away from the lower panel to reveal the nails or screws holding it in place.
- Using a screwdriver or pry bar, carefully remove the nails or screws that are securing the damaged piece of siding. Be cautious not to damage the surrounding siding panels.
- Once the nails or screws are removed, gently pull the damaged siding away from the house. If the siding is stubborn or stuck, use the pry bar to loosen it further. Be careful not to exert too much force, as you don’t want to cause any additional damage.
- Continue removing all the damaged siding panels, working from the top down. Take your time and be gentle to avoid any accidental breakage.
- If you encounter any stubborn pieces that don’t come off easily, you can try using a heat gun to soften the adhesive or a small saw to cut through the siding.
- Once all the damaged siding has been removed, inspect the underlying wall for any signs of further damage, such as rot, mold, or insect infestation. If necessary, address these issues before proceeding with the installation of the replacement siding.
Remember to take proper safety precautions throughout the process, such as wearing protective gear and avoiding unnecessary risks. It’s also a good idea to keep the removed siding pieces in case you need them as references for sizing or color matching when installing the new siding.
By following these steps, you’ll successfully remove the damaged siding and prepare the area for the next phase of the repair process.
Preparing the Replacement Siding
After removing the damaged siding from your house, the next step is to prepare the replacement siding. This involves measuring, cutting, and ensuring the new siding is ready for installation.
Here’s how to prepare the replacement siding:
- Measure the length and width of the area where the replacement siding will be installed. Use a tape measure and record the measurements accurately. Double-check your measurements to ensure they are correct.
- Transfer the measurements onto the replacement siding piece. Use a pencil or marker to mark the measurements directly on the siding. Take into account any overlapping or underlapping necessary for proper alignment with the existing siding.
- Using a utility knife or a saw, carefully cut the replacement siding piece along the marked lines. Follow a straight edge to ensure clean and accurate cuts. Take your time to ensure the cuts are precise.
- If the replacement siding requires any additional holes or notches, such as for utility lines or vents, carefully measure and mark these areas. Use a drill or appropriate cutting tool to create the necessary openings.
- Once the replacement siding piece is cut and prepared, inspect it for any rough edges or imperfections. Sand down any rough areas and make sure the edges are smooth.
- If the replacement siding piece needs to match the color of the existing siding, consider applying a coat of paint or stain to the cut edges or the entire piece before installation. Allow the paint or stain to dry completely according to the manufacturer’s instructions.
It’s important to ensure that the replacement siding is properly sized and prepared before installing it. This will not only make the installation process easier but also ensure a seamless and professional-looking repair.
By following these steps, you’ll be ready to install the replacement siding and bring your house one step closer to a complete facade restoration.
Inspect the siding for any signs of damage, such as cracks, warping, or rot. Replace any damaged sections and ensure proper installation to prevent future issues.
Read more: How To Wash House Siding
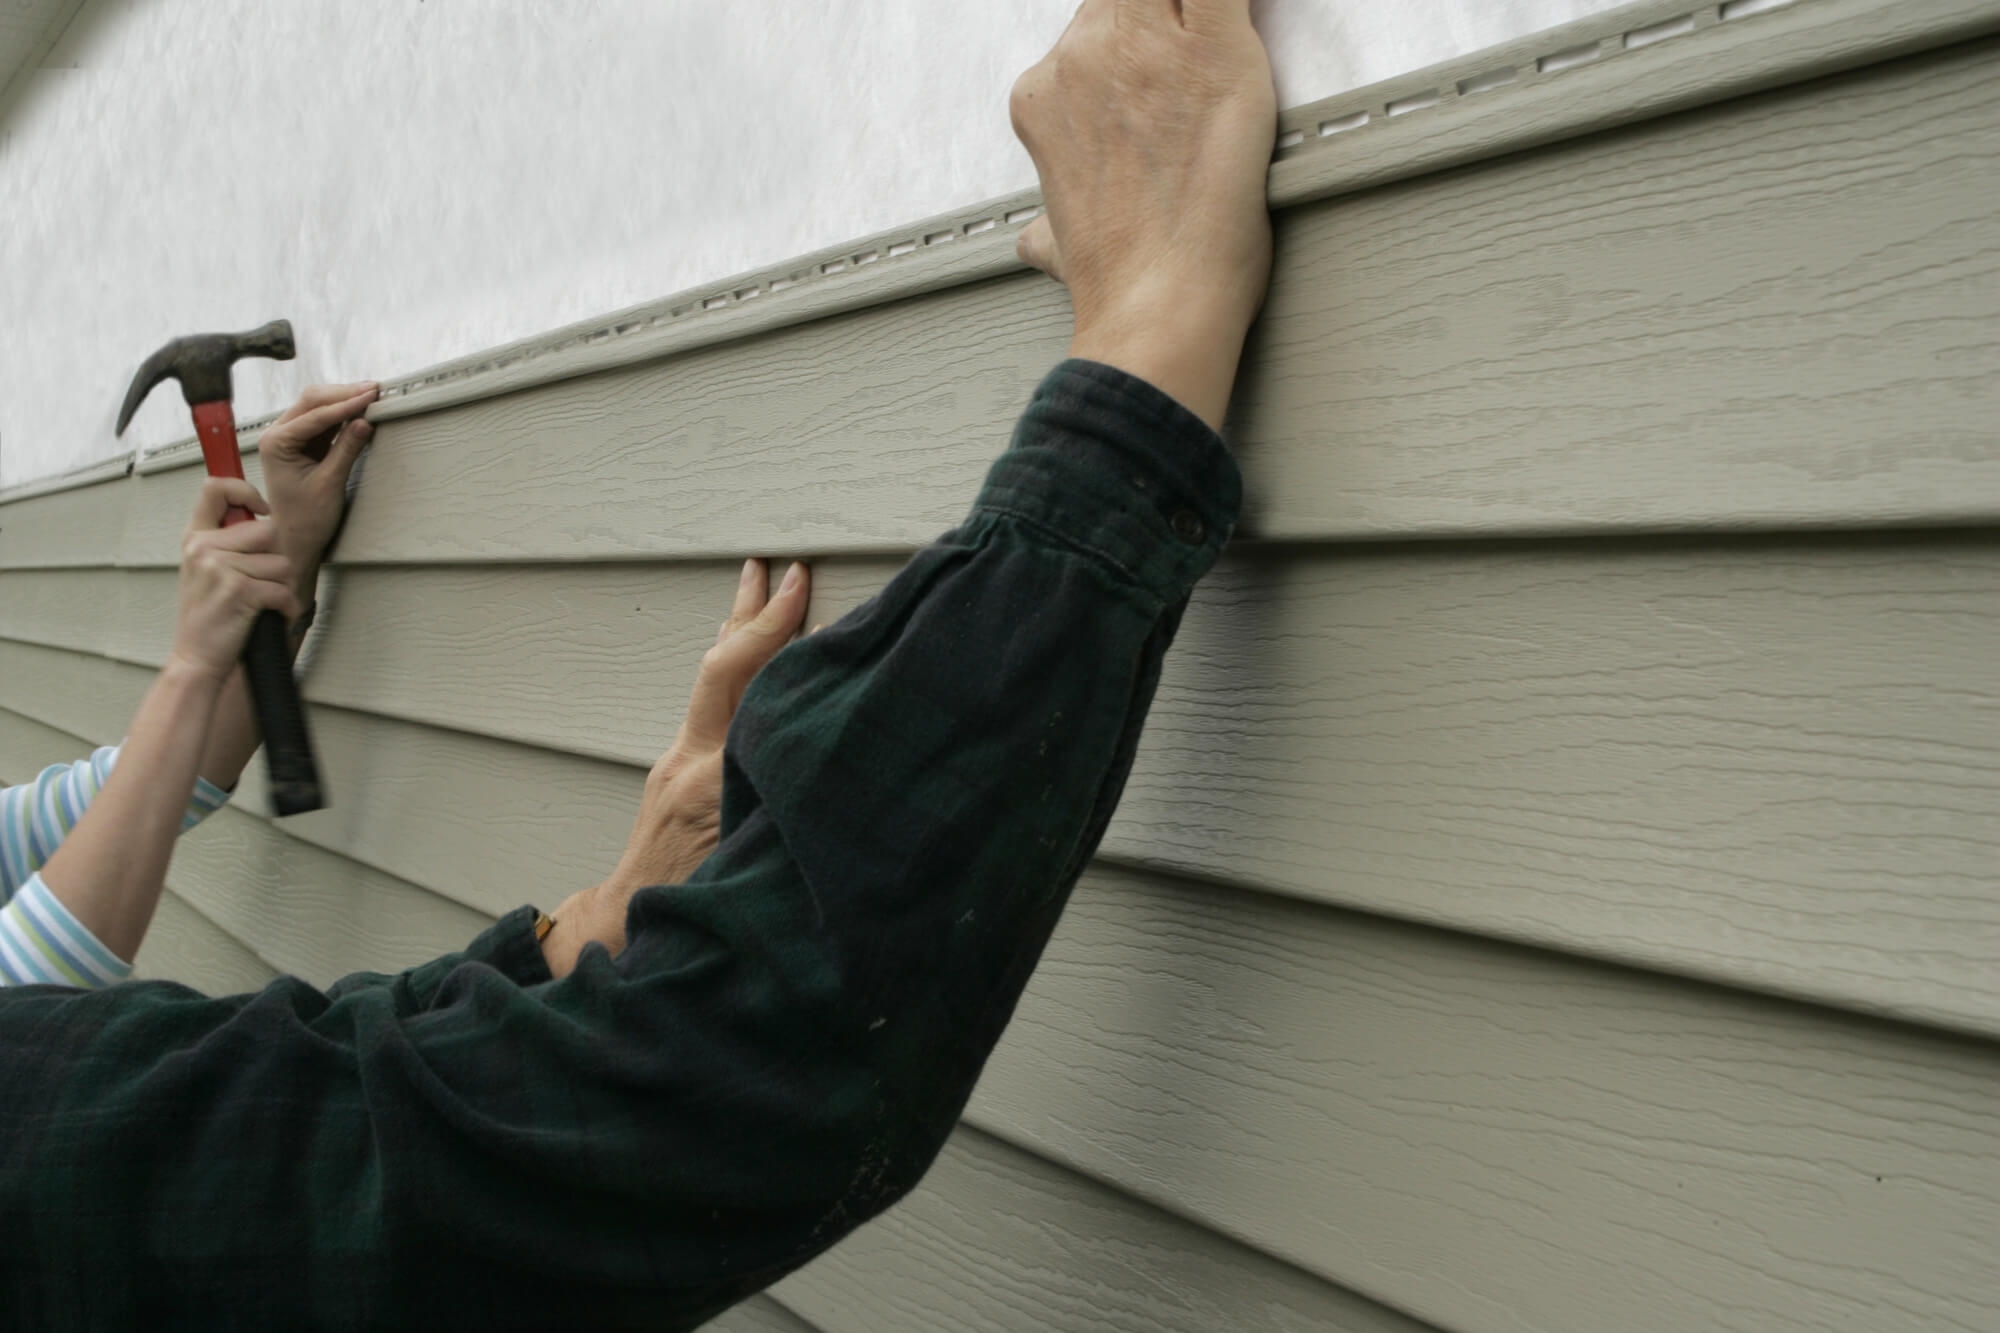
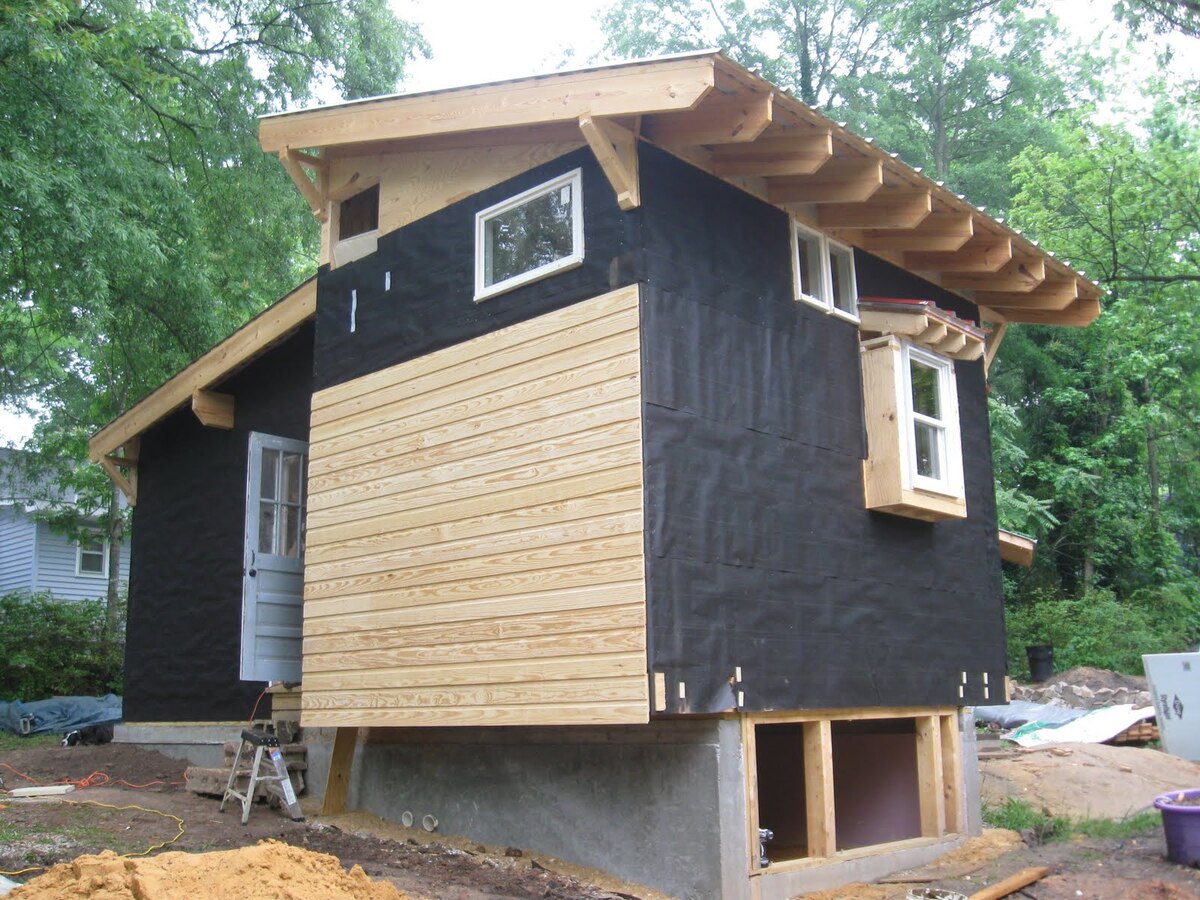
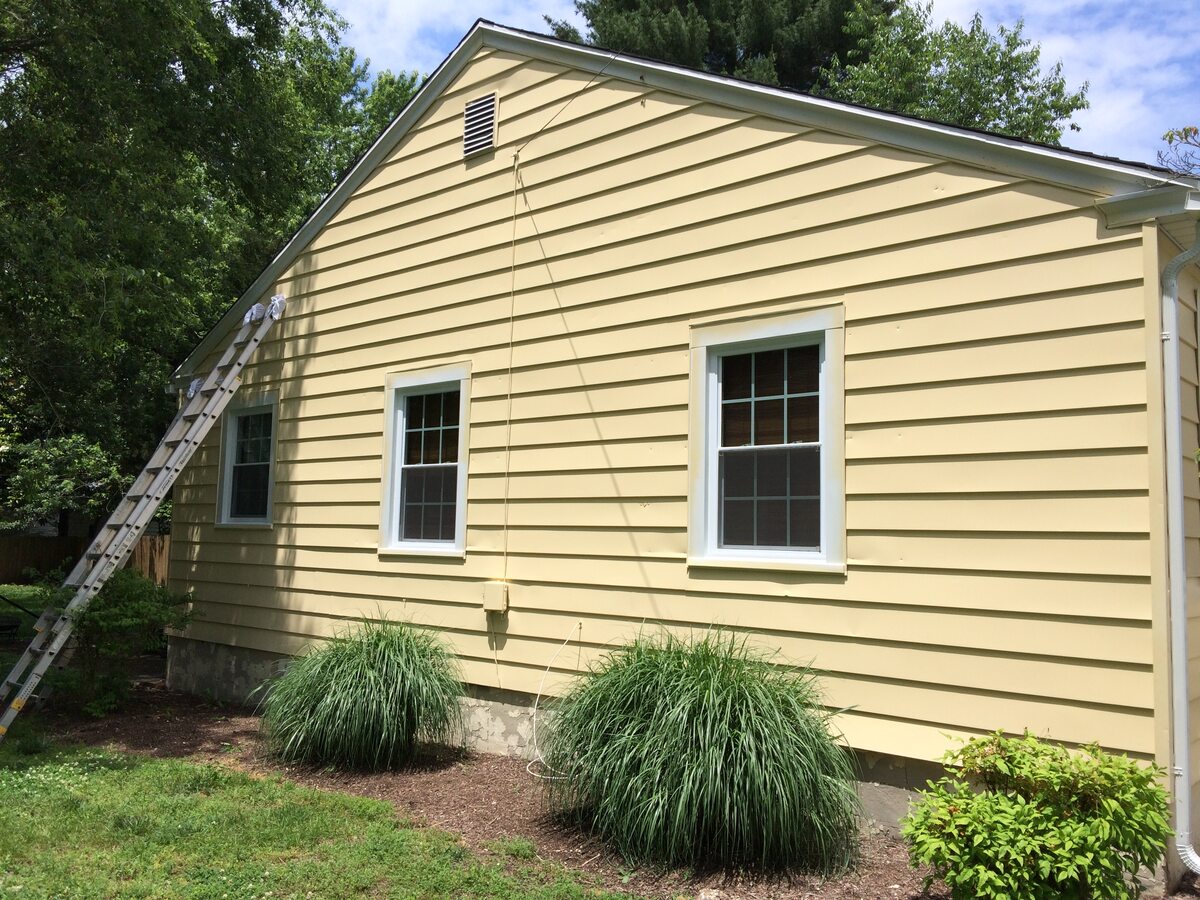
Installing the Replacement Siding
With the damaged siding removed and the replacement siding prepared, it’s time to move on to the installation phase. Installing the replacement siding requires careful attention to detail to ensure a proper fit and seamless integration with the existing siding.
Here’s how to install the replacement siding:
- Begin by positioning the replacement siding piece in the area where it will be installed. Ensure that it aligns properly with the surrounding siding and any overlapping or underlapping areas.
- Using a level, check that the replacement siding is straight and level. Adjust as necessary to ensure a precise installation.
- Secure the replacement siding in place by using the appropriate nails or screws. Place them through the pre-existing nail or screw holes or create new holes if required. Make sure the fasteners are driven in firmly but not excessively to avoid damaging the siding.
- If the replacement siding does not have pre-drilled holes for nails or screws, use a drill or hammer and nail punch to create pilot holes before fastening it in place.
- Continue installing the replacement siding piece by piece, paying close attention to alignment and ensuring a tight fit between the pieces. Check the levelness periodically to maintain consistency throughout the installation.
- If necessary, trim or adjust the replacement siding to accommodate any obstructions, such as windows, doors, or corners. Use a saw or utility knife for precise cuts.
- Once all the replacement siding pieces are installed, inspect the overall appearance for any gaps or misalignments. Use a sealant or caulk to fill in any gaps between the replaced siding and the existing siding, ensuring a weatherproof and seamless finish.
It’s crucial to take your time during the installation process and maintain attention to detail. Properly installed replacement siding will provide not only an aesthetically pleasing result but also ensure long-lasting durability and protection for your house.
Now that you’ve successfully installed the replacement siding, it’s time to add the finishing touches to complete the repair process.
Finishing Touches
After installing the replacement siding, it’s important to give attention to the finishing touches to ensure a polished and professional-looking repair. These final steps will help to blend the new siding seamlessly with the existing siding and enhance the overall appearance of your house.
Here are some finishing touches to consider:
- Clean the newly installed siding and the surrounding area. Remove any debris, dust, or fingerprints from the surface of the siding to give it a clean and fresh look.
- Inspect the entire siding, both the replaced sections and the existing siding, for any imperfections or damage. Use touch-up paint or stain to address any small chips or color discrepancies.
- Apply a protective coating to the replacement siding and the entire siding surface, if needed. This can help to protect the material from weather elements, enhance its longevity, and maintain its appearance over time.
- Consider adding trim or molding to the edges of the replacement siding to provide a finishing touch and create a seamless transition between the new and existing siding.
- Take a step back and assess the overall appearance of the repaired siding. Make any necessary adjustments or touch-ups to ensure a cohesive and visually pleasing result.
- Finally, step back and admire your completed work. A well-executed repair will enhance the curb appeal of your home and provide peace of mind knowing that your siding is in good condition.
Remember that maintenance and regular inspections are essential to keep your siding in optimal condition. Stay vigilant for any signs of damage or wear, and address them promptly to prevent further issues.
By paying attention to these finishing touches, you can achieve a professional and flawless-looking repair that seamlessly blends the new siding with the existing siding, bringing your house back to its former glory.
Maintenance and Prevention Tips
Proper maintenance and preventive measures are key to prolonging the lifespan of your siding and preventing future damage. By incorporating these tips into your regular routine, you can keep your siding in excellent condition for years to come.
Here are some maintenance and prevention tips for your siding:
- Inspect your siding at least once a year. Look for signs of damage, such as cracks, warped panels, or loose siding. Address any issues promptly to prevent further damage.
- Clean your siding regularly to remove dirt, dust, and debris. Use a soft brush or sponge and mild detergent to cleanse the surface. Avoid abrasive cleaners that could scratch or damage the siding.
- Trim tree branches or foliage near your house to prevent them from rubbing against or damaging the siding. This will also reduce the risk of leaves and debris accumulating on the siding.
- Keep gutters and downspouts clean and free of debris to ensure proper drainage. Clogged gutters can lead to water overflow, which can seep into the siding and cause damage over time.
- Inspect the caulking and sealant around windows, doors, and other openings near the siding. Replace any worn-out or cracked caulking to maintain a watertight seal and prevent water infiltration.
- Be mindful of your landscaping activities. Avoid spraying harsh chemicals or fertilizers near the siding, as they can cause discoloration or damage to the material.
- If you live in an area prone to severe weather conditions, consider installing storm shutters or protective barriers to shield your siding from potential damage caused by wind, hail, or flying debris.
- Schedule regular professional inspections of your siding. A trained expert can identify underlying issues that may not be immediately visible and provide guidance on maintenance and repairs.
- Stay vigilant for signs of moisture intrusion, such as mold or mildew growth, peeling paint, or a musty smell near the siding. Address any water-related issues promptly to prevent further damage or potential health risks.
- Consider applying a protective coating or sealant to your siding to enhance its durability and resistance to weathering.
Following these maintenance and prevention tips will help ensure that your siding remains in top condition, protecting your home and maintaining its aesthetic appeal for years to come.
Remember, prevention is key, and taking proactive steps to maintain and care for your siding will save you time, effort, and potentially costly repairs in the future.
Conclusion
Fixing the siding on your house is a crucial part of home maintenance and can greatly enhance the overall appearance and durability of your home. Whether you’re dealing with minor damage or facing a major repair project, following the proper steps and utilizing the right tools and materials will help you achieve successful results.
In this article, we have guided you through the process of fixing the siding on your house. We started by assessing the damage and gathering the necessary tools and materials. We then walked you through the steps of removing the damaged siding, preparing the replacement siding, installing it properly, and adding the finishing touches.
Additionally, we emphasized the importance of regular maintenance and shared prevention tips to keep your siding in great condition. By incorporating these tips into your routine, you’ll be able to protect your siding from damage and prolong its lifespan.
While fixing the siding on your house can be a challenging task, it is definitely within reach with the right knowledge and preparation. However, if you’re uncomfortable or unsure about taking on the repairs yourself, it’s always wise to consult a professional to ensure the job is done safely and effectively.
Remember, the siding on your house not only serves a functional purpose by protecting your home from the elements but also contributes to its aesthetic appeal. By maintaining and repairing your siding, you’re not just preserving the integrity of your house, but also investing in its value and curb appeal.
So, don’t wait any longer. Take action and fix that damaged siding to restore your home’s beauty and ensure its protection for years to come. With the guidance provided in this article, you now have the knowledge and tools to embark on this project with confidence.
Frequently Asked Questions about How To Fix Siding On House
Was this page helpful?
At Storables.com, we guarantee accurate and reliable information. Our content, validated by Expert Board Contributors, is crafted following stringent Editorial Policies. We're committed to providing you with well-researched, expert-backed insights for all your informational needs.


0 thoughts on “How To Fix Siding On House”