Home>Home Maintenance>How To Install Central Air Conditioner
Home Maintenance
How To Install Central Air Conditioner
Modified: August 26, 2024
Learn how to install a central air conditioner with our comprehensive home maintenance guide. Save money and stay cool this summer with our step-by-step instructions.
(Many of the links in this article redirect to a specific reviewed product. Your purchase of these products through affiliate links helps to generate commission for Storables.com, at no extra cost. Learn more)
Introduction
Welcome to our comprehensive guide on how to install a central air conditioner! Having a central air conditioning system in your home can greatly improve your comfort, especially during the hot summer months. Whether you’re replacing an old unit or installing a brand new one, this step-by-step guide will walk you through the process of installing a central air conditioner in your home.
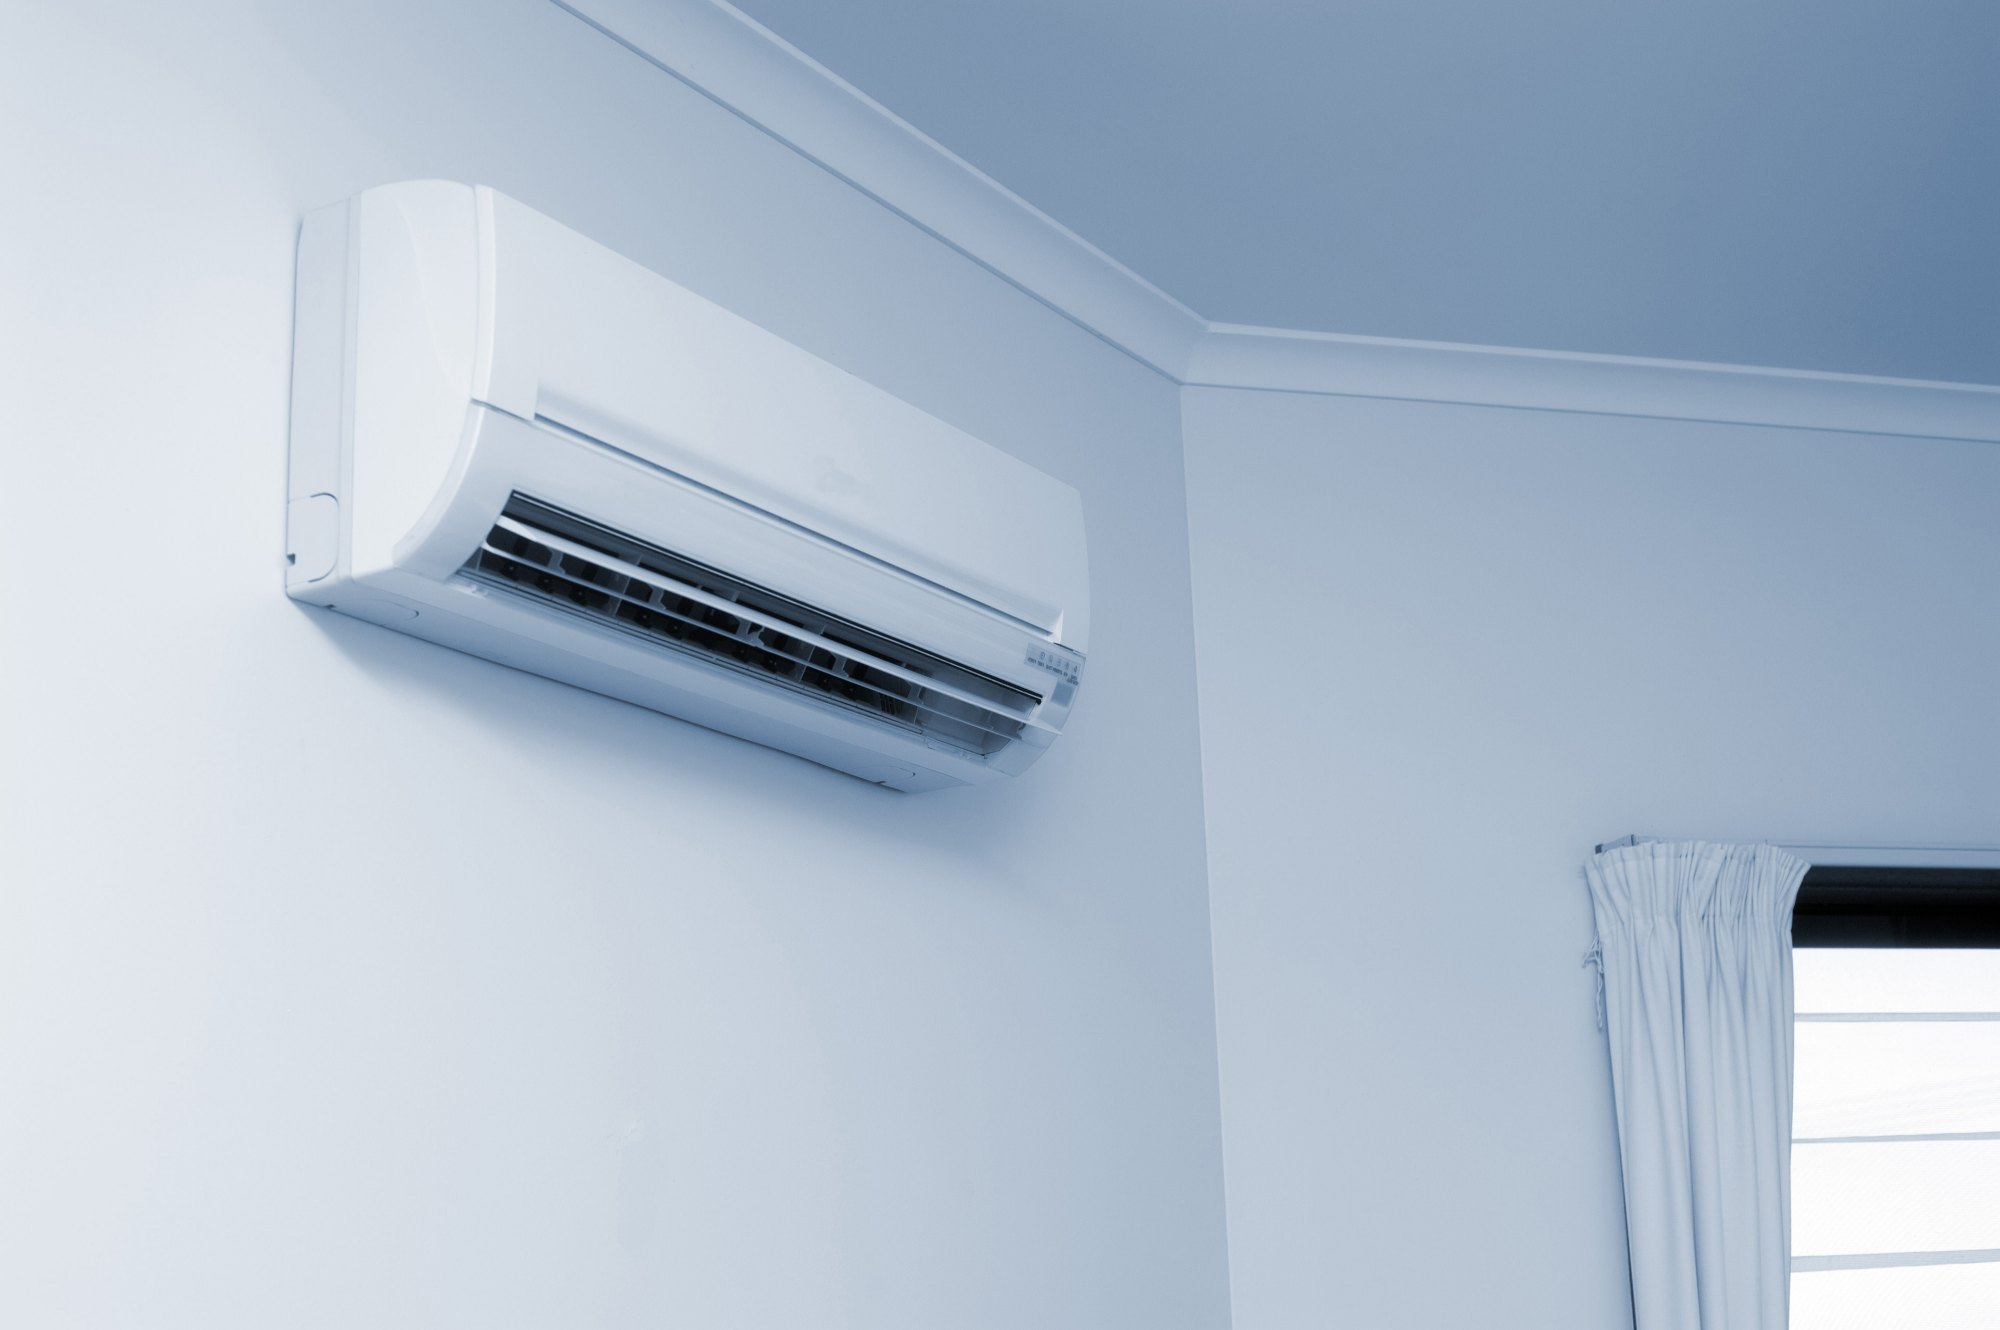
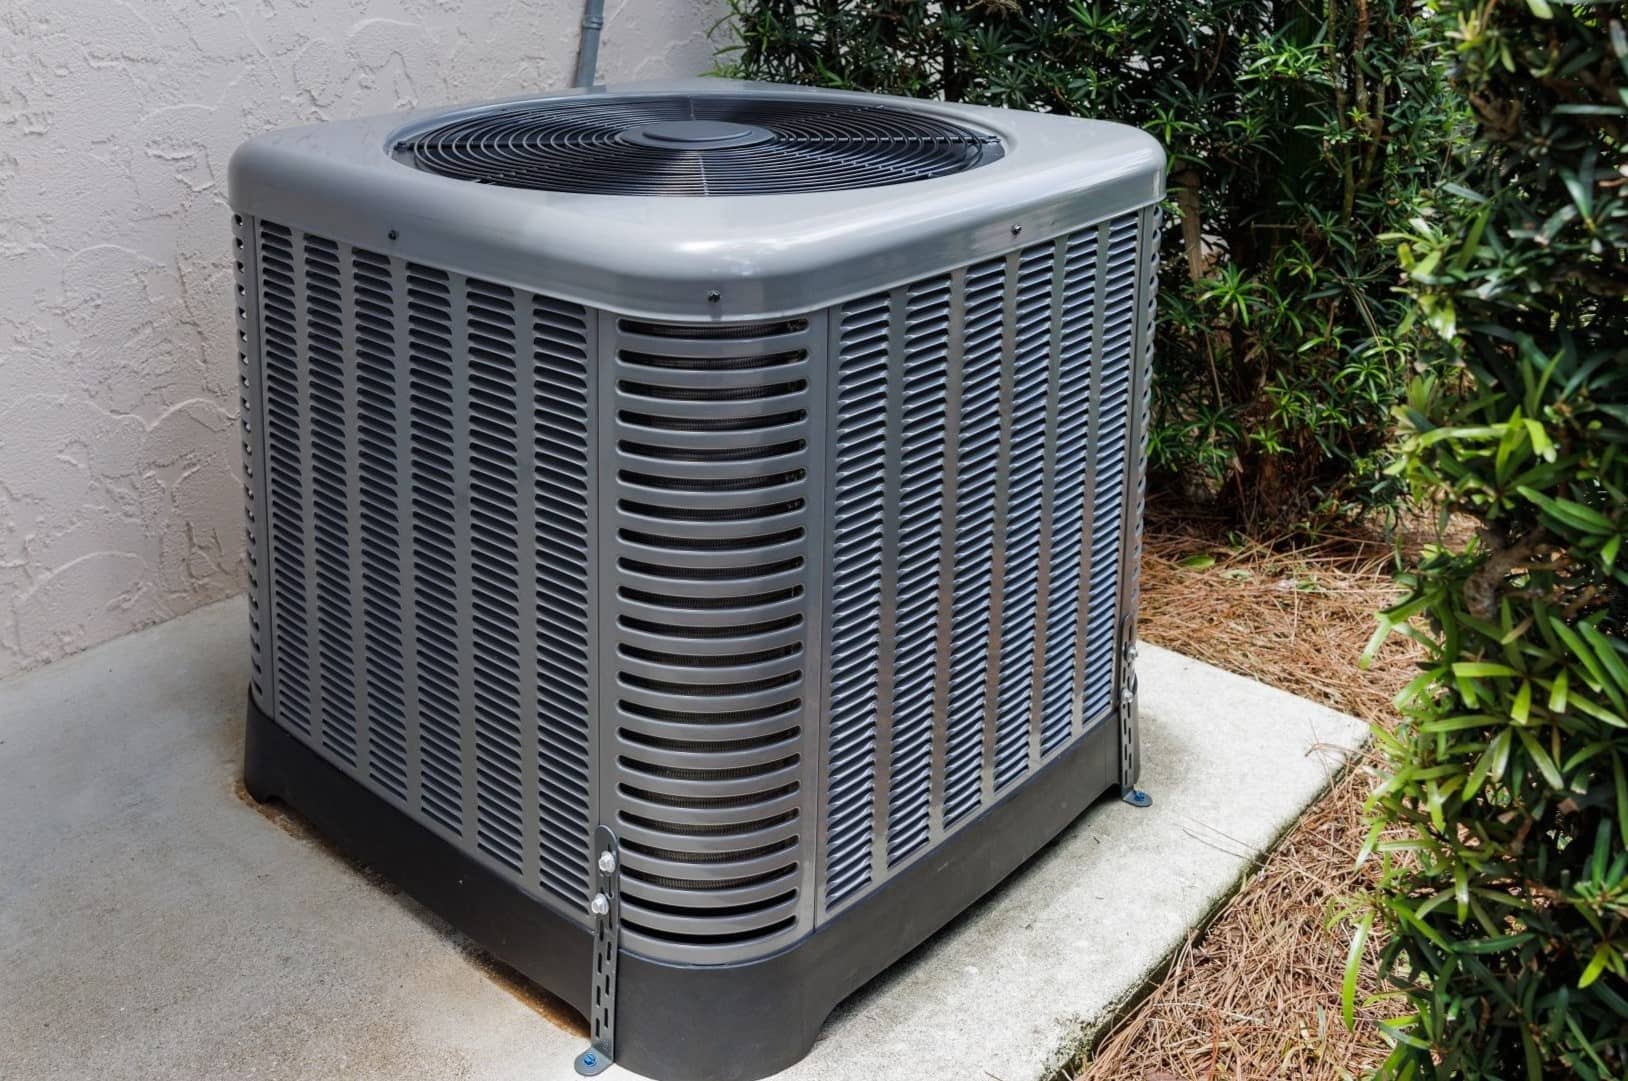
A central air conditioner works by extracting heat from the air inside your home and releasing it outside. It consists of three main components: the condenser unit, the evaporator coil, and the air handler. The condenser unit is typically located outside the house and is responsible for cooling the refrigerant. The evaporator coil, on the other hand, is located inside the house and is responsible for removing heat from the air. Lastly, the air handler blows the cooled air into the ductwork, which distributes it throughout your home.
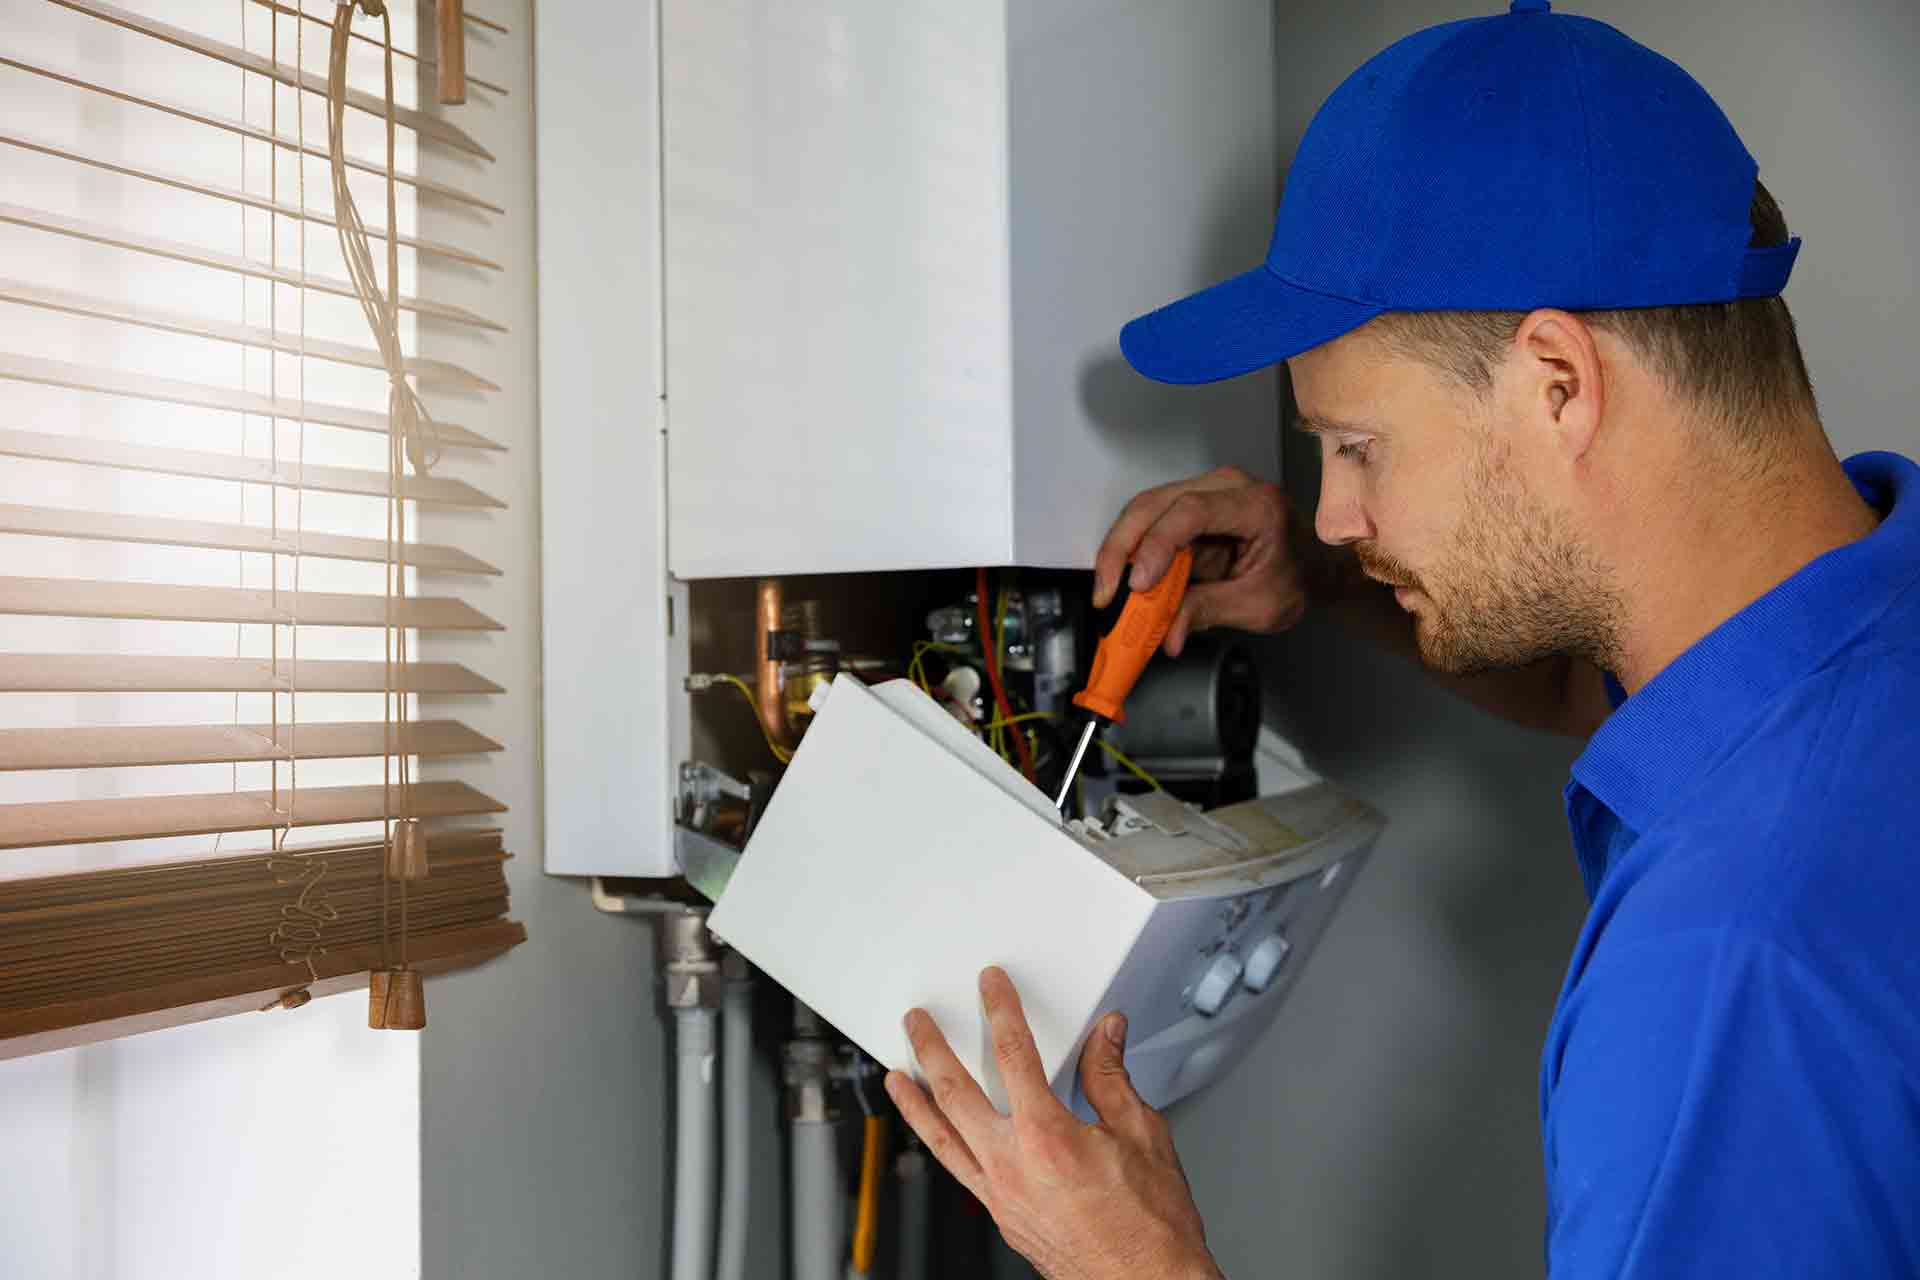
Before we dive into the installation process, it’s important to note that installing a central air conditioner can be a complex task that requires a certain level of technical knowledge. If you’re not confident in your abilities, it’s always best to hire a professional HVAC technician to ensure a proper and safe installation. However, if you’re a DIY enthusiast and want to tackle the installation yourself, this guide will provide you with the necessary steps to get the job done.
Ready to get started? Let’s dive into the first step: determining the right system for your home.
Key Takeaways:
- Choosing the right central air conditioning system for your home is crucial. Consider factors like cooling capacity, energy efficiency, system type, and additional features to ensure optimal cooling efficiency and comfort.
- Proper installation of each component, including the condenser unit, evaporator coil, air handler, and refrigerant lines, is essential for the efficient and effective operation of your central air conditioning system. Thorough testing and regular maintenance are key to ensuring long-term performance and comfort.
Read more: How To Choose A Central Air Conditioner
Step 1: Determine the Right System for Your Home
Choosing the right central air conditioning system for your home is crucial to ensure optimal cooling efficiency and comfort. There are a few factors you need to consider before making your decision:
- Cooling capacity: The cooling capacity of an air conditioner is measured in British Thermal Units (BTUs) and determines the amount of cooling it can provide. To determine the right cooling capacity for your home, you’ll need to calculate the square footage of the area you want to cool. Generally, you will need around 20 BTUs per square foot, but factors like insulation, ceiling height, and the number of windows in the room can impact this calculation. It’s important to choose a system with the appropriate cooling capacity to avoid inefficiencies or inadequate cooling.
- Energy efficiency: Opt for an air conditioner with a high Seasonal Energy Efficiency Ratio (SEER) rating. SEER measures the cooling output of the system compared to the energy input. The higher the SEER rating, the more energy-efficient the system is. A higher SEER rating may result in a higher upfront cost, but it will save you money in the long run by reducing your energy bills.
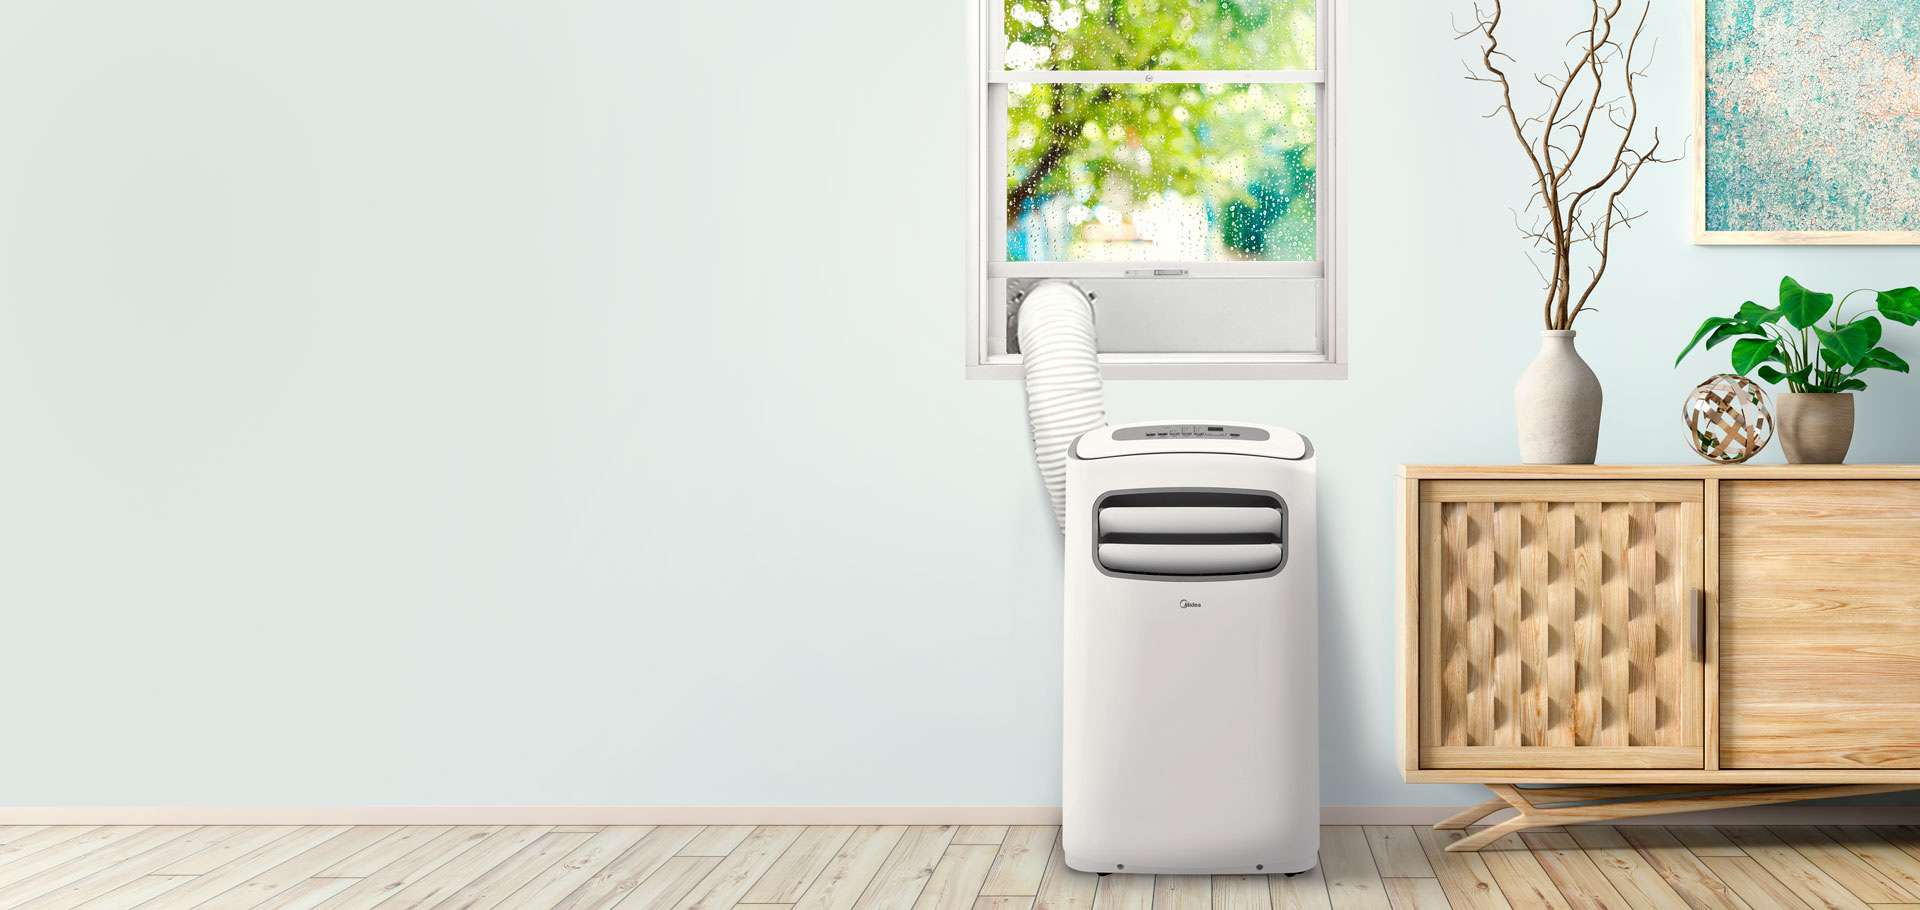
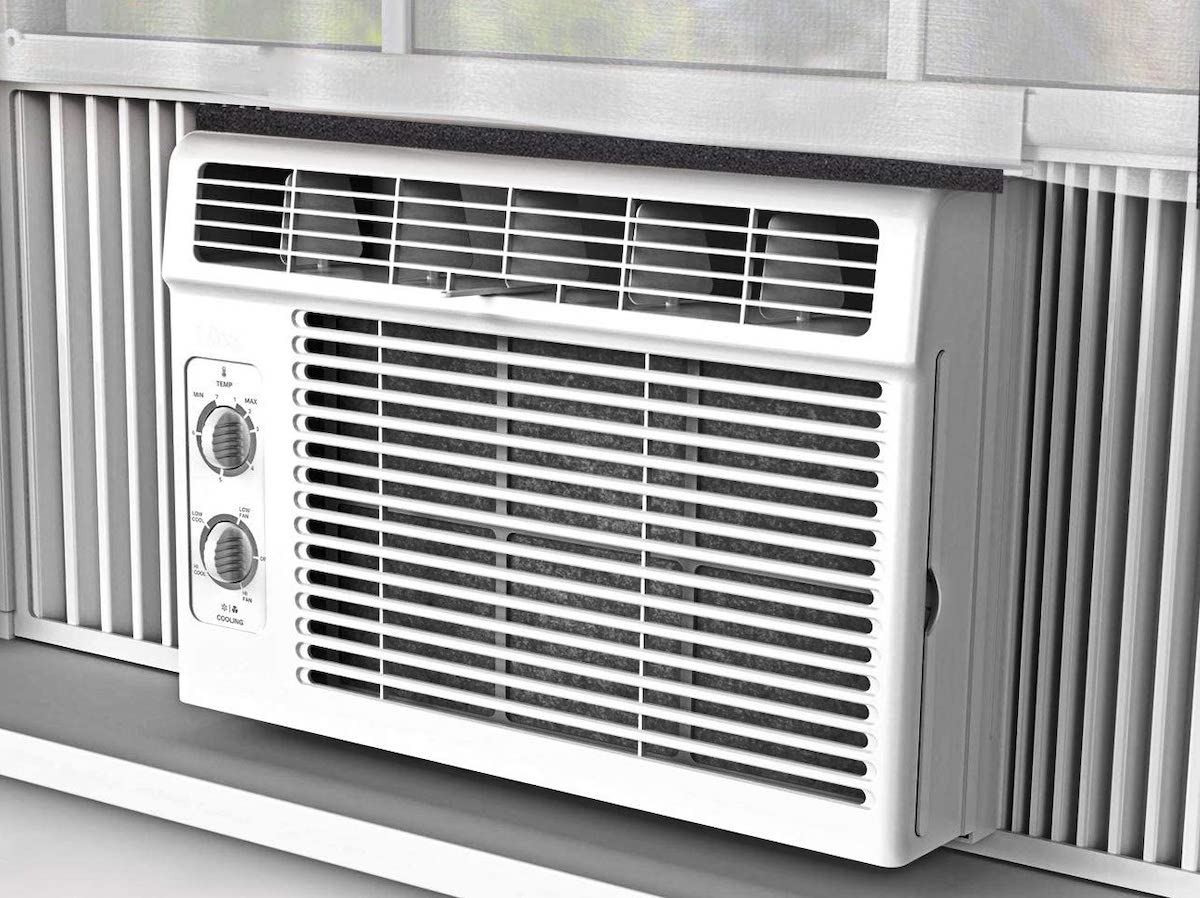
- System type: There are different types of central air conditioning systems, including split systems and packaged systems. Split systems consist of an outdoor unit (the condenser) and an indoor unit (the evaporator coil and air handler), connected by refrigerant lines. Packaged systems have all the components housed in a single unit, typically located on the roof or at the side of the house. Consider the available space in your home and choose the system type that suits your needs.
- Additional features: Modern air conditioners come with various features such as programmable thermostats, humidity control, and air purification. Decide which additional features are important to you and choose a system that meets your requirements.
Once you have determined the right system for your home, it’s time to move on to the next step: calculating the required cooling capacity.
Step 2: Calculate the Required Cooling Capacity
Calculating the required cooling capacity of your central air conditioner is essential to ensure that your system can effectively cool your home. To determine the appropriate cooling capacity, follow these steps:
- Calculate the square footage: Measure the length and width of each room you want to cool. Multiply the two dimensions to get the square footage of each room. If the room has an irregular shape, divide it into smaller sections and calculate their square footage separately.
- Consider other factors: Take into account additional factors that can affect the cooling capacity, such as ceiling height, insulation, and the number of windows in each room. Taller ceilings or poor insulation may require a higher cooling capacity, while rooms with many windows may need extra cooling to compensate for heat gain.
- Add up the square footage: Add up the square footage of all the rooms you want to cool to get the total square footage.
- Convert square footage to cooling capacity: Multiply the total square footage by 20 BTUs to estimate the required cooling capacity. For example, if the total square footage is 1,500, the recommended cooling capacity would be 30,000 BTUs.
Keep in mind that this calculation provides a general guideline for cooling capacity. It’s always a good idea to consult with an HVAC professional to ensure accuracy and account for any unique requirements of your home.
Once you have determined the cooling capacity, you can proceed to the next step: choosing the suitable location for installation.
Step 3: Choose the Suitable Location for Installation
Choosing the right location for the installation of your central air conditioner is crucial for its efficient and effective operation. Here are some factors to consider when selecting the suitable location:
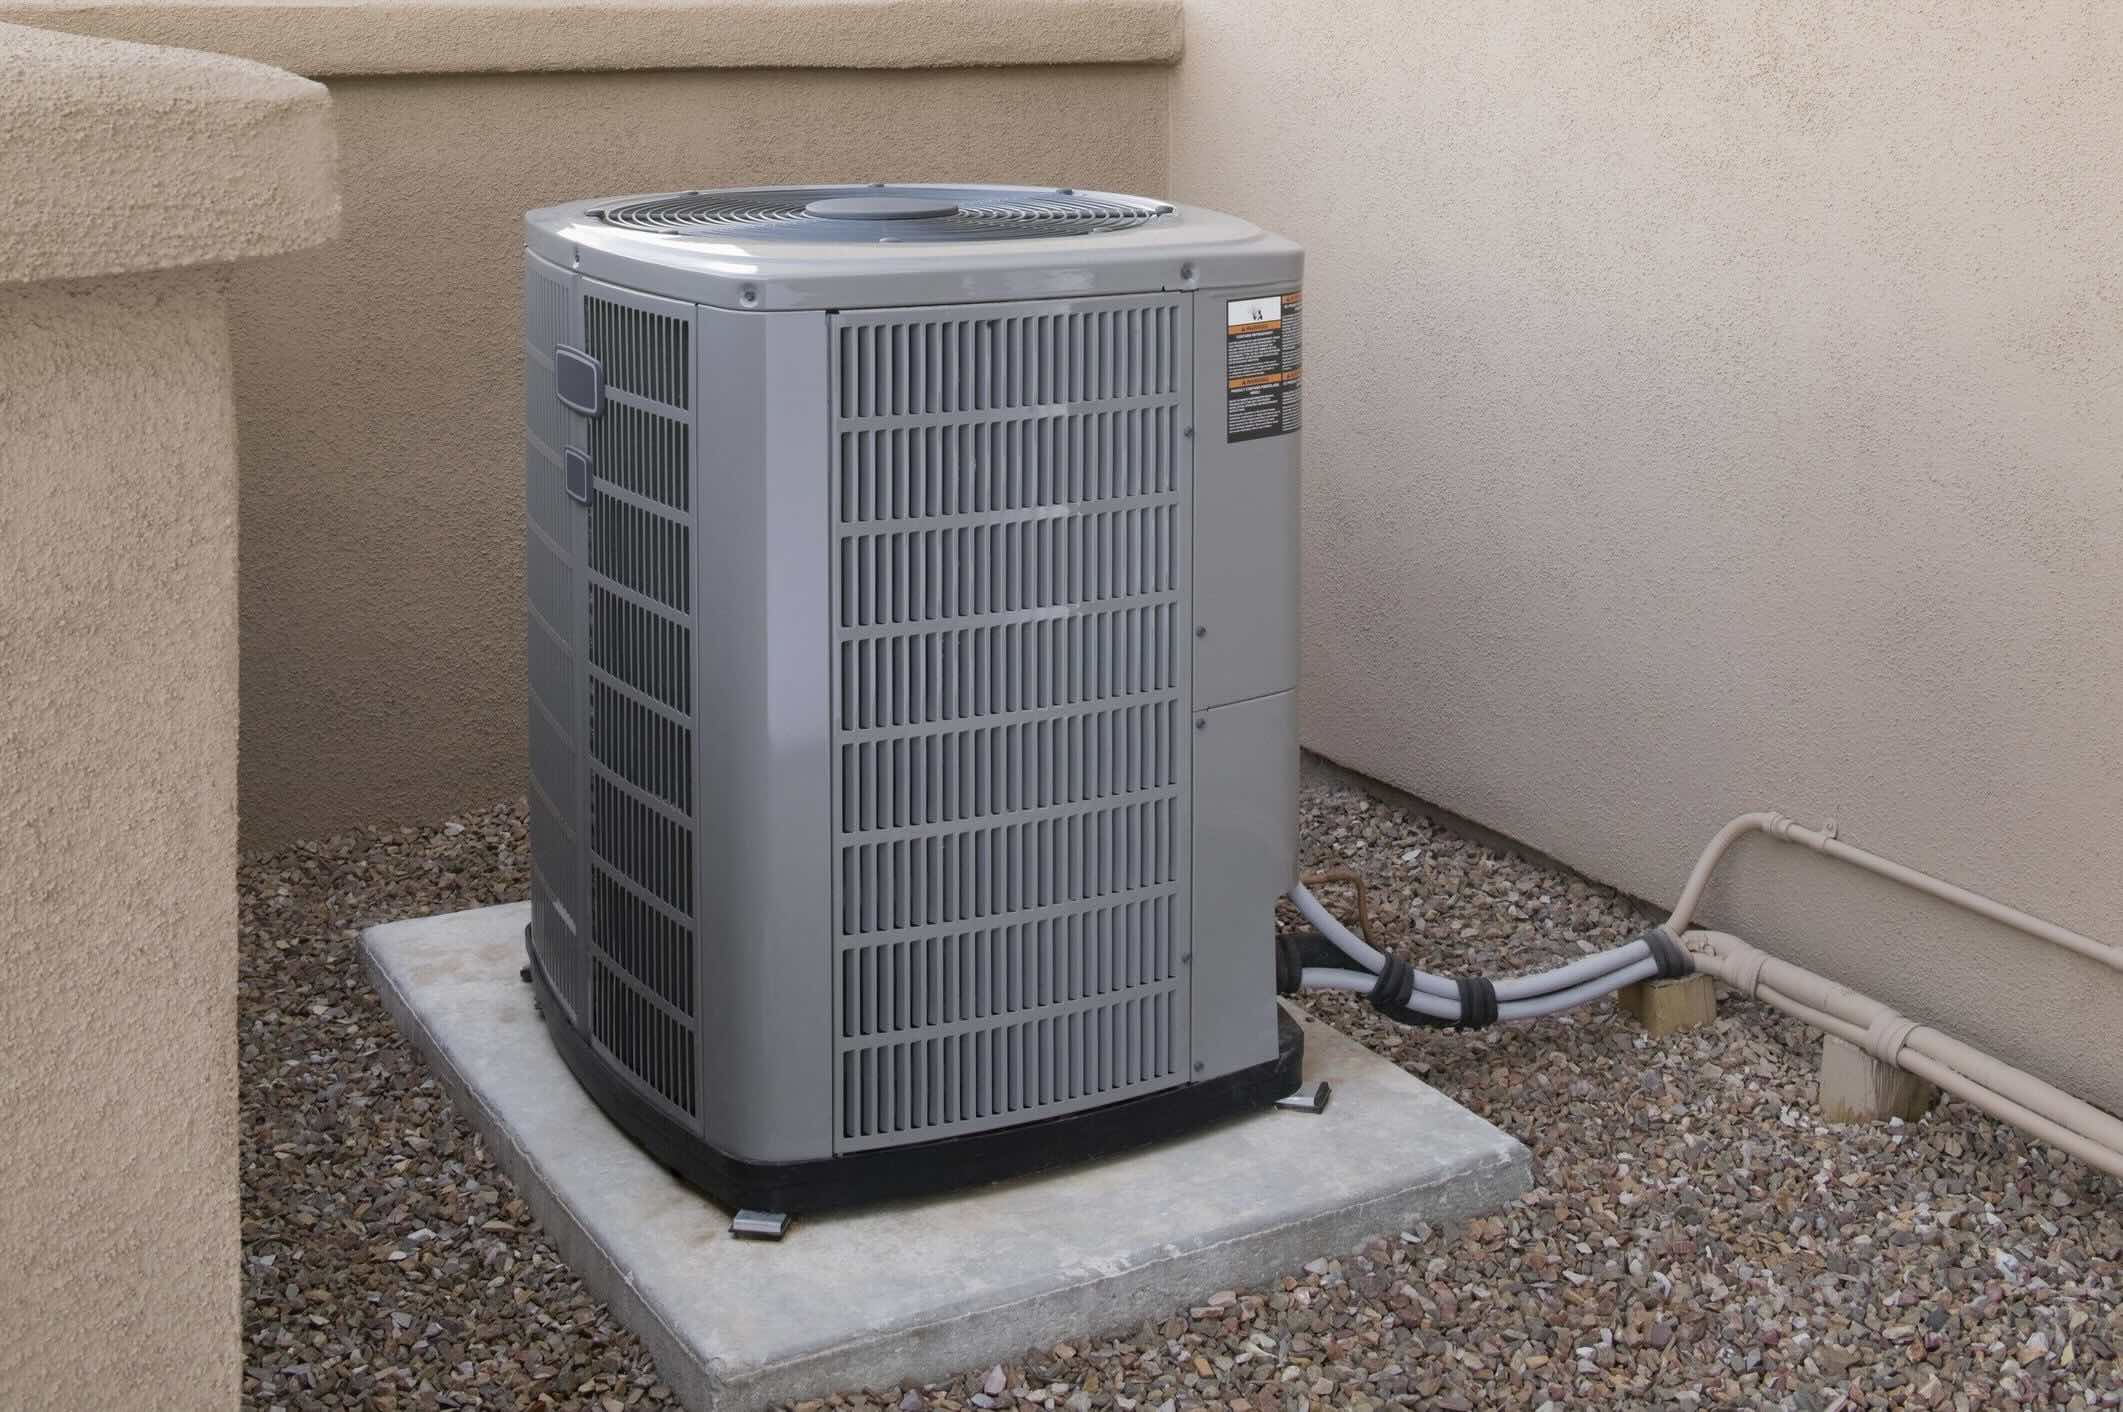
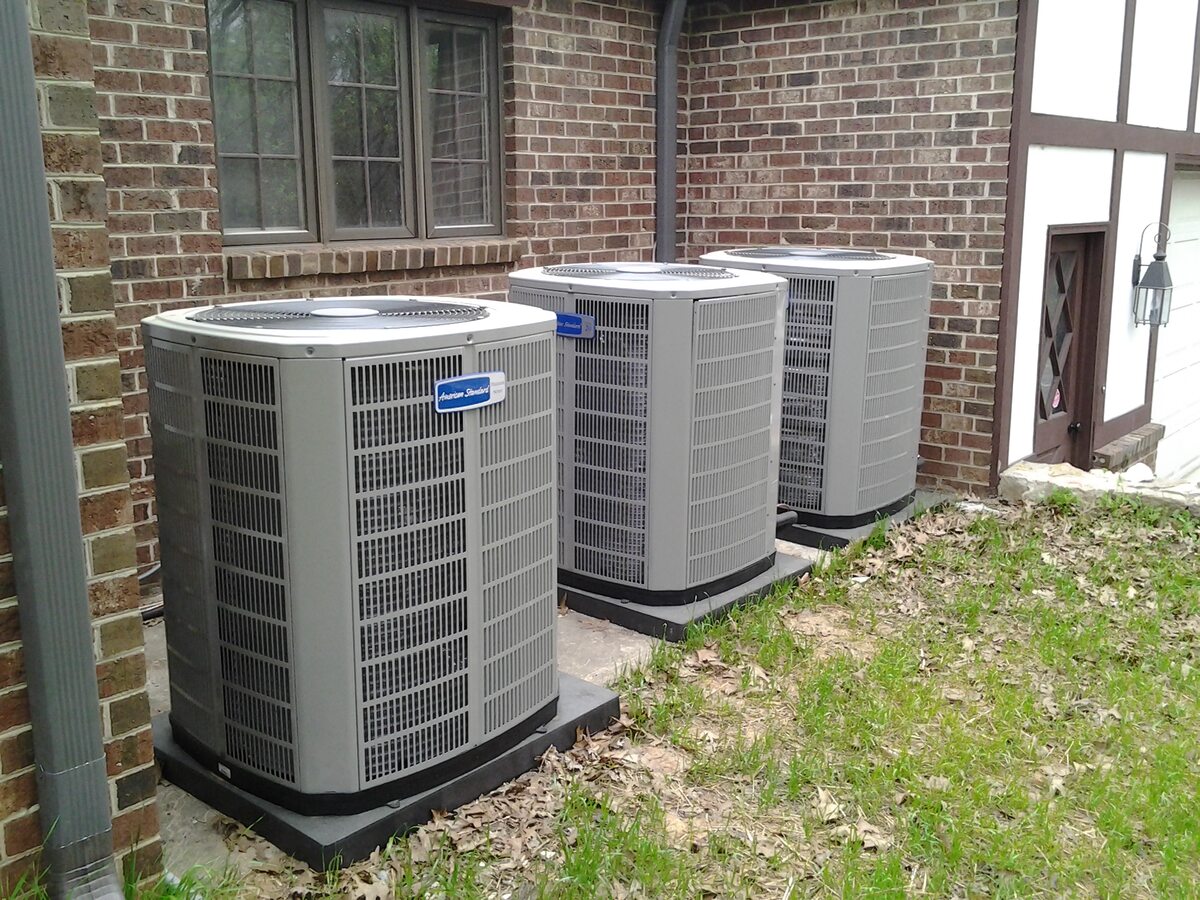
- Outdoor unit (condenser): The outdoor unit, also known as the condenser, should be installed in an open, well-ventilated area. Ensure that there is ample space around the unit for proper air circulation. Avoid installing it in areas that are prone to excessive dust, debris, or obstructions that could hinder its performance.
- Indoor unit (evaporator coil and air handler): The indoor unit should be placed in a central location, preferably in a utility room or a spacious area such as the basement or attic. It should be easily accessible for maintenance and repairs. Consider factors such as noise level and airflow when determining the installation location.
- Refrigerant lines: The refrigerant lines that connect the indoor and outdoor units should be as short and straight as possible, with minimal bends or turns. Avoid installing them in areas exposed to direct sunlight or extreme temperatures, as it can impact their efficiency and performance.
- Electrical and plumbing connections: Ensure that the installation location has access to the necessary electrical and plumbing connections required for the central air conditioner. It should be close to an electrical outlet and have proper drainage for condensate removal.
- Noise considerations: Consider the noise level produced by the unit and choose a location that minimizes its impact. Keep the outdoor unit away from bedrooms or other quiet areas to avoid any disturbances.
Once you have identified the suitable location for installation, make sure to measure the available space to ensure that the selected central air conditioner will fit properly. With the location finalized, it’s time to move on to the next step: preparing the installation area.
Step 4: Prepare the Installation Area
Before you start installing your central air conditioner, it’s important to properly prepare the installation area. Here are the steps to follow:
- Clean the area: Clear the installation area of any dirt, debris, or obstructions. Remove any plants, shrubs, or objects that may hinder the installation process or obstruct the airflow around the outdoor unit.
- Level the ground: Ensure that the ground where the outdoor unit will be placed is level. Use a spirit level to check for any unevenness. If needed, level the ground by adding or removing soil as necessary.
- Provide a stable base: Place a concrete pad or a sturdy platform as a base for the condenser unit. This will provide stability and prevent vibrations. Make sure the base is level and properly supports the weight of the unit.
- Plan for airflow: Ensure that there is proper clearance around the outdoor unit for adequate airflow. Refer to the manufacturer’s guidelines for the recommended clearance distances on all sides of the condenser.
- Check for accessibility: Make sure that the installation area allows for easy access to both the indoor and outdoor units for maintenance, repairs, and regular cleaning.
- Consider weather protection: If you live in an area with harsh weather conditions, consider providing additional weather protection for the outdoor unit. This can include using a cover or constructing a shelter to shield it from heavy rain, snow, or extreme temperatures.
By properly preparing the installation area, you ensure a stable and suitable environment for your central air conditioner. With the installation area ready, you can now proceed to the next step: installing the condenser unit.
Read more: How To Clean A Central Air Conditioner
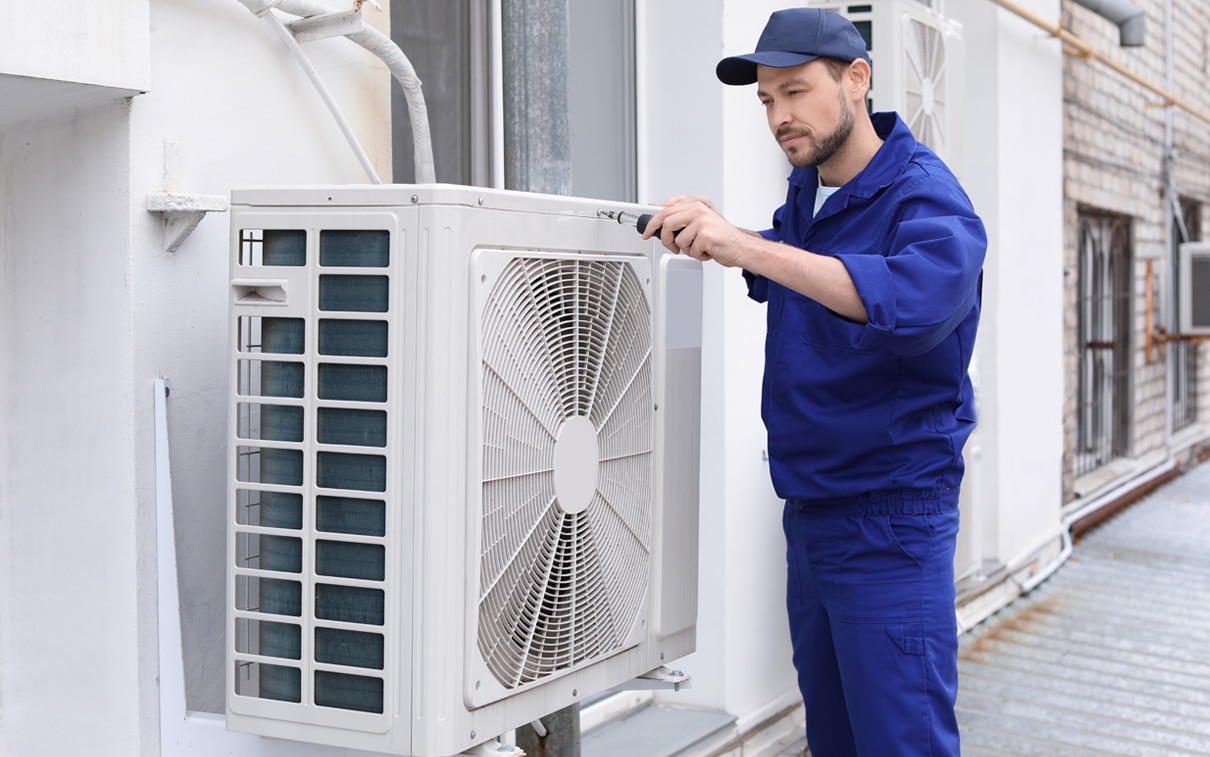
Step 5: Install the Condenser Unit
Installing the condenser unit is a crucial step in the process of installing your central air conditioner. Follow these steps to ensure a proper installation:
- Place the condenser: Carefully transport the condenser unit to the prepared installation area. Lift it onto the concrete pad or platform, ensuring that it is level and stable.
- Secure the condenser: Use anchor bolts or brackets to secure the condenser unit to the concrete pad or platform. This will prevent the unit from moving or vibrating during operation.
- Connect the refrigerant lines: Connect the refrigerant lines to the condenser unit following the manufacturer’s instructions. Make sure to tighten all fittings properly to avoid any leaks.
- Insulate the refrigerant lines: Wrap the refrigerant lines with insulation to prevent heat gain or loss as the refrigerant flows between the condenser and the evaporator coil. Use appropriate insulation materials and secure them with tape or clamps.
- Connect the condensate drain: Install the condensate drain line, ensuring that it slopes downward to allow proper drainage. Connect the drain line to a suitable drainage system or a designated drain pipe.
- Connect the electrical wiring: Hire a licensed electrician to connect the electrical wiring for the condenser unit. This ensures that the electrical connection is done safely and meets local codes and regulations.
- Test the unit: Before proceeding to the next step, test the condenser unit to ensure that it is running properly. Check for proper airflow, listen for any unusual noises, and verify that the refrigerant lines are not leaking. If you notice any issues, consult a professional HVAC technician.
By following these steps carefully, you can successfully install the condenser unit of your central air conditioner. With the condenser unit in place, you can move on to the next step: installing the evaporator coil.
Make sure to properly size your central air conditioner for your home. An undersized unit won’t cool effectively, while an oversized unit will cycle on and off frequently, leading to higher energy costs and potential damage to the system.
Step 6: Install the Evaporator Coil
Installing the evaporator coil is an essential part of the central air conditioning installation process. Here’s a step-by-step guide on how to install the evaporator coil:
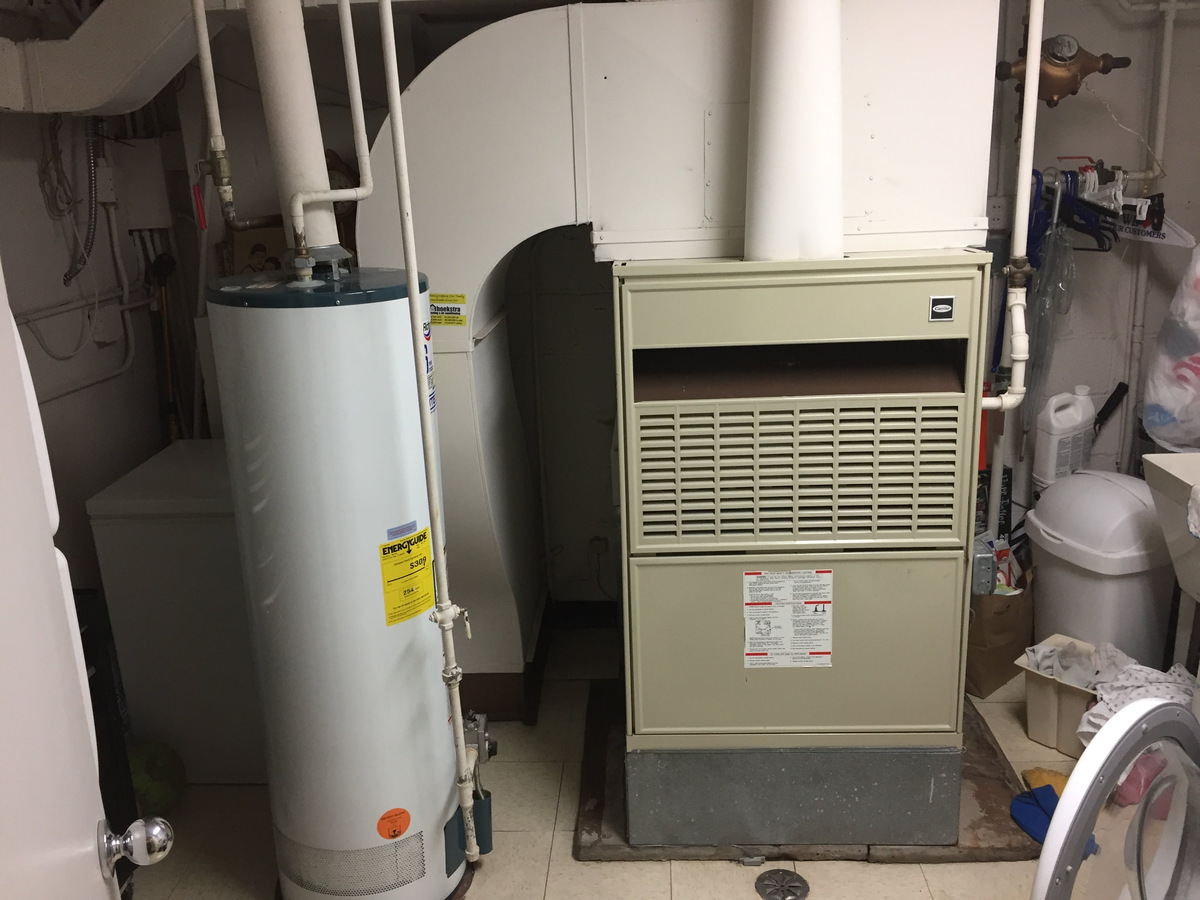
- Locate the installation area: Identify the location inside your home where the evaporator coil will be installed. It is usually placed above the furnace in the utility room or basement.
- Prepare the area: Clear the installation area of any obstructions and ensure there is enough space to accommodate the size of the evaporator coil unit.
- Position the evaporator coil: Carefully position the evaporator coil above the furnace, ensuring it is level and aligned with the ductwork.
- Connect the refrigerant lines: Connect the refrigerant lines from the condenser unit to the evaporator coil. Follow the manufacturer’s instructions and make sure to tighten all fittings securely to prevent any leaks.
- Connect the condensate drain: Install and connect the condensate drain line to the evaporator coil. Ensure that the drain line slopes downward to allow for proper drainage and connect it to the designated drain pipe or drainage system.
- Secure the evaporator coil: Use appropriate brackets or mounting hardware to secure the evaporator coil to the furnace or the surrounding structure. This will ensure stability and prevent any vibrations during operation.
- Insulate the refrigerant lines: Wrap the refrigerant lines and fittings with insulation to prevent heat gain or loss and to improve energy efficiency. Secure the insulation using tape or clamps.
- Connect the electrical wiring: Hire a licensed electrician to connect the electrical wiring for the evaporator coil. This step ensures a safe and proper electrical connection, adhering to local electrical codes and regulations.
- Test the system: Once the installation is complete, test the central air conditioning system to ensure that the evaporator coil is functioning properly. Check for proper airflow, listen for any unusual noises, and verify that there are no refrigerant leaks.
Following these steps will help ensure a successful installation of the evaporator coil for your central air conditioning system. Once the evaporator coil is installed, you can proceed to the next step: connecting the refrigerant lines.
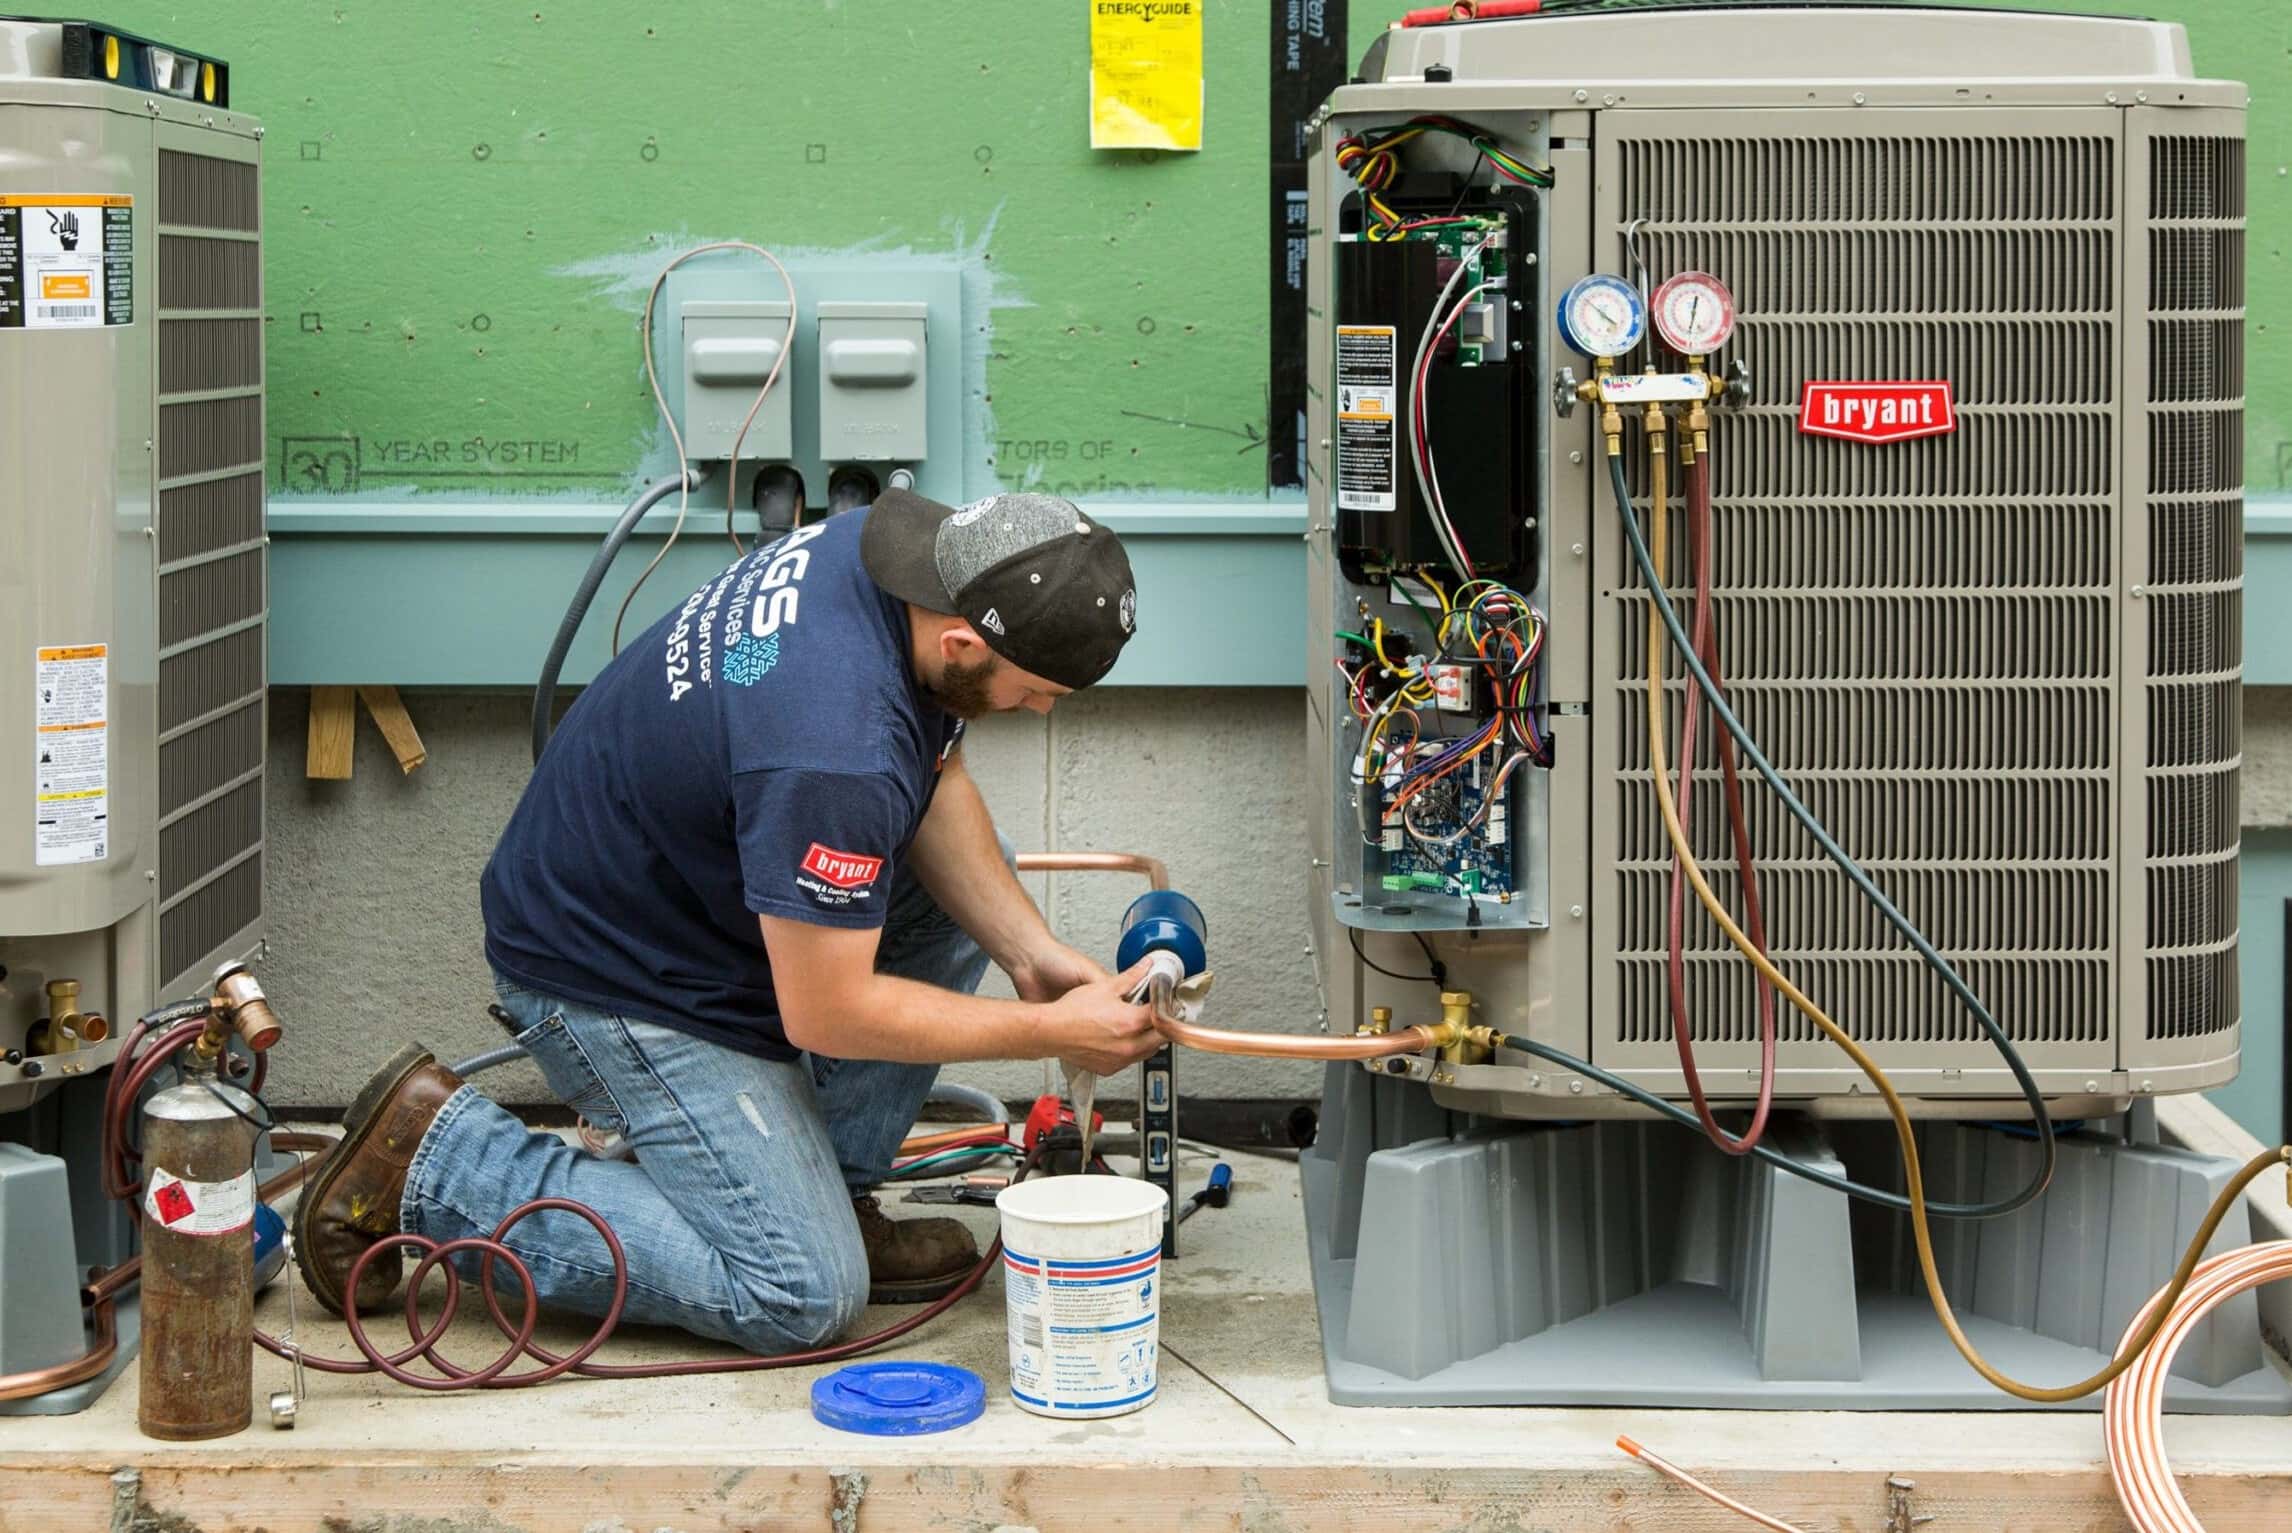
Step 7: Connect the Refrigerant Lines
Connecting the refrigerant lines is a critical step in the installation of your central air conditioning system. These lines allow the refrigerant to flow between the condenser unit and the evaporator coil. Follow these steps to properly connect the refrigerant lines:
- Confirm the type of refrigerant: Determine the type of refrigerant specified for your system, such as R-410A or R-22, and ensure you have the correct refrigerant lines for the specific type.
- Cut the refrigerant lines: Using a tubing cutter or a similar tool, carefully cut the refrigerant lines to the required lengths. Make clean, straight cuts to ensure proper connections.
- Remove burrs and debris: Use a deburring tool or a small file to remove burrs and sharp edges from the cut ends of the refrigerant lines. This will ensure smooth and secure connections.
- Attach the fittings: Install the appropriate fittings on each end of the refrigerant lines, ensuring they are fully tightened. Refer to the manufacturer’s instructions for the specific fittings required for your system.
- Braze or flare the connections: Depending on the type of fittings and connections, you may need to either braze or flare the ends of the refrigerant lines. Brazing involves using a torch to create a strong, permanent bond between the fittings and the pipes, while flaring involves creating a wider opening at the end of the pipe for connection.
- Apply refrigerant line insulation: Once the connections are in place, wrap the refrigerant lines with insulation to prevent heat gain or loss. Use insulation designed for HVAC systems and secure it with tape or clamps.
- Test for leaks: After the connections and insulation are in place, perform a thorough leak test. Apply a soapy water solution to the fittings and connections, and check for any bubbles. If you detect any leaks, address them promptly to ensure the system operates efficiently.
Properly connecting the refrigerant lines is crucial for the efficient and effective operation of your central air conditioning system. Once the lines are connected, you can proceed to the next step: installing the air handler.
Step 8: Install the Air Handler
The installation of the air handler is a critical step in the process of installing your central air conditioning system. The air handler is responsible for blowing the cooled air into your home’s ductwork. Follow these steps to properly install the air handler:
- Locate the installation area: Identify the designated area where the air handler will be installed. It is typically installed in the utility room, attic, or basement.
- Prepare the area: Clear the installation area and ensure there is enough space to accommodate the size of the air handler unit. Remove any obstructions or debris that could hinder the installation process.
- Position the air handler: Carefully position the air handler in the installation area, ensuring it is level and aligned with the ductwork.
- Secure the air handler: Use mounting brackets or appropriate hardware to secure the air handler to the surrounding structure or platform. This ensures stability and prevents any vibrations during operation.
- Connect the ductwork: Connect the ductwork to the air handler, ensuring a secure and airtight connection. Use duct tape or appropriate clamps to seal the joints and prevent any air leakage.
- Connect the air filter: Install the air filter in the designated location within the air handler. Follow the manufacturer’s instructions for proper installation and make sure it is securely in place.
- Connect the electrical wiring: Hire a licensed electrician to connect the electrical wiring for the air handler. This step ensures a safe and proper electrical connection, adhering to local electrical codes and regulations.
- Test the system: Once the air handler is installed, test the central air conditioning system to ensure that the air handler is functioning properly. Check for proper airflow, listen for any unusual noises, and verify that the air filter is clean and correctly installed.
By following these steps carefully, you can ensure a successful installation of the air handler for your central air conditioning system. With the air handler in place, you can move on to the next step: connecting the electrical wiring.
Read more: How Does A Central Air Conditioner Work?
Step 9: Connect the Electrical Wiring
Connecting the electrical wiring is a crucial step in the installation of your central air conditioning system. It ensures the proper functioning and safety of the system. Here’s a step-by-step guide on how to connect the electrical wiring:
- Hire a licensed electrician: It is highly recommended to hire a licensed electrician to handle the electrical connections. They have the expertise and knowledge to ensure a safe and compliant installation.
- Ensure power is turned off: Before starting any electrical work, ensure that the power to the designated circuit is turned off. This can be done by turning off the corresponding breaker in your main electrical panel.
- Refer to manufacturer’s instructions: Consult the manufacturer’s instructions for the specific wiring requirements of your central air conditioning system. Follow the provided diagrams and guidelines to properly identify and connect the necessary wiring components.
- Prepare the wiring components: Gather the required wiring components, such as wires, connectors, and electrical tape. Ensure that they are of the appropriate gauge and type specified by the manufacturer.
- Connect the wires: Connect the wires according to the manufacturer’s instructions. This typically involves connecting the power wires (hot, neutral, and ground) from the electrical panel to the corresponding terminals on the air conditioning unit. Use wire connectors to secure the connections and cover them with electrical tape.
- Properly ground the system: Grounding the air conditioning system is essential for safety purposes. Connect the grounding wire from the electrical panel to the designated grounding point on the unit, following the manufacturer’s instructions.
- Double-check the connections: After connecting all the wires, carefully double-check each connection to ensure they are secure and properly insulated. Make sure there are no exposed wires or loose connections that could pose a safety hazard.
- Test the system: Once the electrical connections are made, turn the power back on and test the central air conditioning system. Verify that all components are functioning properly and take note of any abnormalities.
Remember, proper electrical wiring is crucial for the safe and efficient operation of your central air conditioning system. It’s always best to consult a licensed electrician to ensure compliance with electrical codes and regulations. With the electrical wiring connected, you can now move on to the final step: testing the system and ensuring proper operation.
Step 10: Test the System and Ensure Proper Operation
Once all the components of your central air conditioning system are installed, it’s time to test the system and ensure its proper operation. Follow these steps to thoroughly test your system:
- Adjust thermostat settings: Set your thermostat to the desired temperature and turn on the cooling mode. Ensure that the thermostat is functioning properly and accurately reflecting the temperature in your home.
- Monitor airflow: Check the airflow from the air vents in each room to ensure that cool air is being distributed evenly. If you notice weak airflow or uneven cooling, it may indicate an issue that needs to be addressed.
- Listen for abnormal noises: Pay attention to any unusual noises coming from the system. Clanking, squealing, or grinding sounds may indicate a problem with the motor, fan, or other components. If you hear any concerning noises, contact a professional for further inspection.
- Check for leaks: Inspect the refrigerant lines and connections for any signs of leakage. Look for oil stains or wet spots around the fittings. If you suspect a refrigerant leak, consult a professional HVAC technician to address the issue promptly.
- Verify temperature and cooling consistency: Measure the temperature in different areas of your home to ensure that the system is cooling evenly. Use a thermometer and compare the readings to make sure there are no significant variations.
- Inspect condensate drain: Check the condensate drain line to ensure that it is functioning properly. Verify that there is proper drainage and no signs of clogging or water leakage.
- Monitor energy consumption: Observe your energy consumption to ensure that the system is operating efficiently. If you notice a significant increase in your energy bills or suspect inefficiencies, consider scheduling an energy audit or consulting an HVAC professional.
- Schedule regular maintenance: Maintain your central air conditioning system by scheduling regular professional maintenance. This helps maximize efficiency, identify issues early on, and extend the lifespan of your system.
By following these steps and performing thorough testing, you can ensure that your central air conditioning system is properly installed and functioning optimally. If you encounter any issues or have concerns about the system’s performance, it’s recommended to consult a professional HVAC technician for further evaluation and assistance.
Congratulations on successfully installing your central air conditioner, and may you enjoy cool and comfortable indoor spaces for years to come!
Conclusion
Congratulations on completing the installation of your central air conditioner! By following the step-by-step guide provided in this article, you have successfully installed a system that will provide efficient and effective cooling for your home. Through careful planning, proper preparation, and attention to detail, you have ensured the smooth installation of each component, including the condenser unit, evaporator coil, air handler, and refrigerant lines.
Remember, if at any point during the installation process you felt unsure or uncomfortable, it’s always best to consult a professional HVAC technician. They have the knowledge and experience to handle complex installations and ensure safety and efficiency.
With your central air conditioner installed, it’s crucial to regularly maintain and service the system to keep it running optimally. Schedule annual maintenance visits with an HVAC professional to check for any issues, clean the system, and make necessary adjustments. This will not only improve the efficiency of your system but also extend its lifespan.
Additionally, consider implementing energy-saving practices throughout your home to maximize the efficiency of your central air conditioning system. This includes using programmable thermostats, sealing any air leaks, improving insulation, and maintaining proper ventilation.
We hope that this guide has provided valuable insights and guidance on how to install a central air conditioner. Enjoy the comfort and coolness of your home, and may your central air conditioning system provide you with years of reliable and efficient cooling.
Frequently Asked Questions about How To Install Central Air Conditioner
Was this page helpful?
At Storables.com, we guarantee accurate and reliable information. Our content, validated by Expert Board Contributors, is crafted following stringent Editorial Policies. We're committed to providing you with well-researched, expert-backed insights for all your informational needs.