Home>Home Maintenance>How To Install A Kenmore Air Conditioner
Home Maintenance
How To Install A Kenmore Air Conditioner
Modified: March 7, 2024
Learn how to install a Kenmore air conditioner with this comprehensive home maintenance guide. Stay cool and comfortable all summer long!
(Many of the links in this article redirect to a specific reviewed product. Your purchase of these products through affiliate links helps to generate commission for Storables.com, at no extra cost. Learn more)
Introduction
Welcome to our comprehensive guide on how to install a Kenmore air conditioner. As the temperatures start to rise, having a reliable and efficient cooling system in your home becomes essential. Installing an air conditioner can provide comfort and relief during those hot summer months.
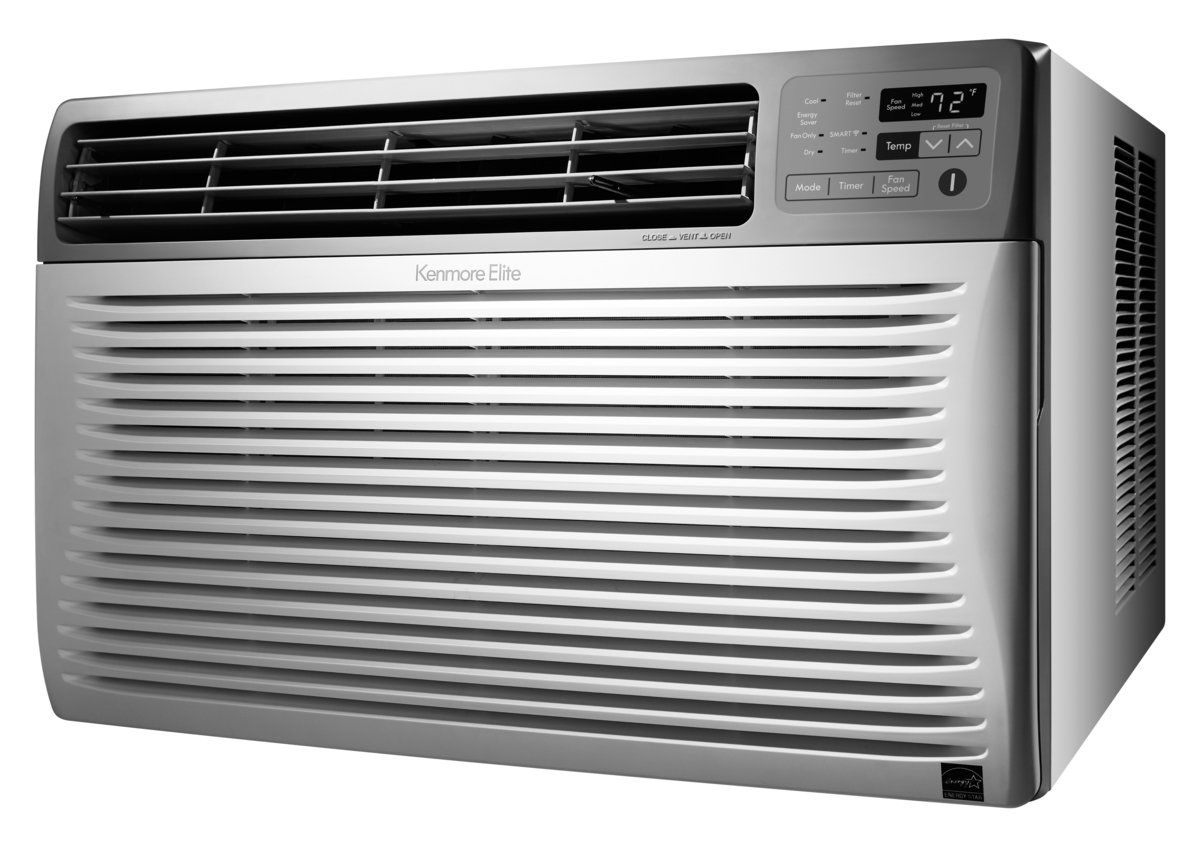
Kenmore is a trusted brand known for its high-quality appliances, including air conditioning units. Installing a Kenmore air conditioner is a straightforward process that you can easily do yourself, saving you time and money on professional installation.
In this guide, we will take you through the step-by-step process of installing a Kenmore air conditioner. We will cover everything from gathering the necessary tools and materials to troubleshooting tips and maintenance guidelines. So, let’s get started!
Key Takeaways:
- Installing a Kenmore air conditioner is a straightforward DIY process that requires gathering the right tools, choosing the best location, and following step-by-step instructions for a cool and comfortable home.
- Regular maintenance, such as cleaning filters and checking for leaks, ensures your Kenmore air conditioner operates efficiently and lasts longer, providing relief from the heat all summer.
Read more: How To Install A Portable Air Conditioner
Step 1: Gather the Necessary Tools and Materials
Before you begin the installation process, it’s important to ensure that you have all the required tools and materials handy. This will help you streamline the installation and avoid any unnecessary delays. Here’s a list of the essential tools and materials you’ll need:
- A Kenmore air conditioner unit: Ensure that you have the correct model and size of the air conditioner for your space. Refer to the manufacturer’s specifications for guidance.
- A mounting bracket: This is necessary to support the weight of the air conditioner unit. The bracket should be compatible with your specific Kenmore model.
- Screws and anchors: These will be used to secure the mounting bracket to the window frame or wall.
- A screwdriver: Depending on the type of screws used, you may need a Phillips or flathead screwdriver.
- A level: This will help ensure that the air conditioner unit is installed evenly and properly.
- Tape measure: Use a tape measure to accurately measure the dimensions of the installation area.
- Window sealing foam or weatherstripping: This material helps create a tight seal around the air conditioner unit, preventing drafts and maximizing energy efficiency.
- A power drill: You may need a power drill to create pilot holes for the screws and anchors.
- A utility knife: This will come in handy for cutting window sealing foam or weatherstripping.
It’s essential to have all the necessary tools and materials ready before you begin the installation process. This will ensure a smooth and efficient installation, allowing you to enjoy your Kenmore air conditioner in no time.
Step 2: Choose the Right Location for Installation
Choosing the right location for installing your Kenmore air conditioner is crucial for optimal performance and efficiency. Here are some factors to consider when selecting the installation spot:
- Window suitability: Kenmore air conditioners are designed to fit most standard windows. Ensure that the window you choose is structurally sound and can accommodate the size and weight of the unit.
- Electrical accessibility: The chosen location should have easy access to an electrical outlet. Avoid using extension cords or power strips, as they may not provide sufficient power and can be a safety hazard.
- Avoid direct sunlight: Installing the air conditioner in a window that receives direct sunlight can decrease its efficiency. Choose a window on a side of the house that is shaded or less exposed to the sun.
- Avoid obstructions: Make sure that there are no obstructions such as trees, bushes, or outdoor furniture that may interfere with the installation or obstruct the airflow of the unit.
- Proximity to a support structure: It is important to install the air conditioner near a window frame or wall for stability and support. This will prevent any unnecessary strain on the unit and ensure it remains securely in place.
Take your time to assess different windows or areas in your home that meet the above criteria. Once you’ve selected the most suitable location, move on to the next step of the installation process.
Step 3: Prepare the Installation Area
Now that you’ve chosen the right location for your Kenmore air conditioner, it’s time to prepare the installation area. This step involves ensuring that the area is clean, clear, and ready for the installation process. Here’s what you need to do:
- Clean the window area: Thoroughly clean the window sill, frame, and surrounding area. Remove any dirt, dust, or debris that may interfere with the installation or affect the performance of the air conditioner.
- Remove any obstacles: Clear the area surrounding the window of any furniture, curtains, or other objects that may hinder the installation. This will provide you with enough working space and make the installation process easier.
- Measure the window opening: Using a tape measure, measure the width, height, and depth of the window opening. This measurement will help you determine if the Kenmore air conditioner will fit properly.
- Check the window integrity: Inspect the window for any damage or gaps that may impact the installation. If necessary, repair or seal any cracks or holes before proceeding.
- Ensure proper ventilation: Proper airflow is crucial for the optimal functioning of the air conditioner. Check that there is ample ventilation around the window area to allow the unit to draw in fresh air and expel hot air efficiently.
By taking the time to prepare the installation area, you’ll create an ideal environment for installing your Kenmore air conditioner. This will contribute to a smooth and successful installation process, setting the stage for maximum cooling comfort in your home.
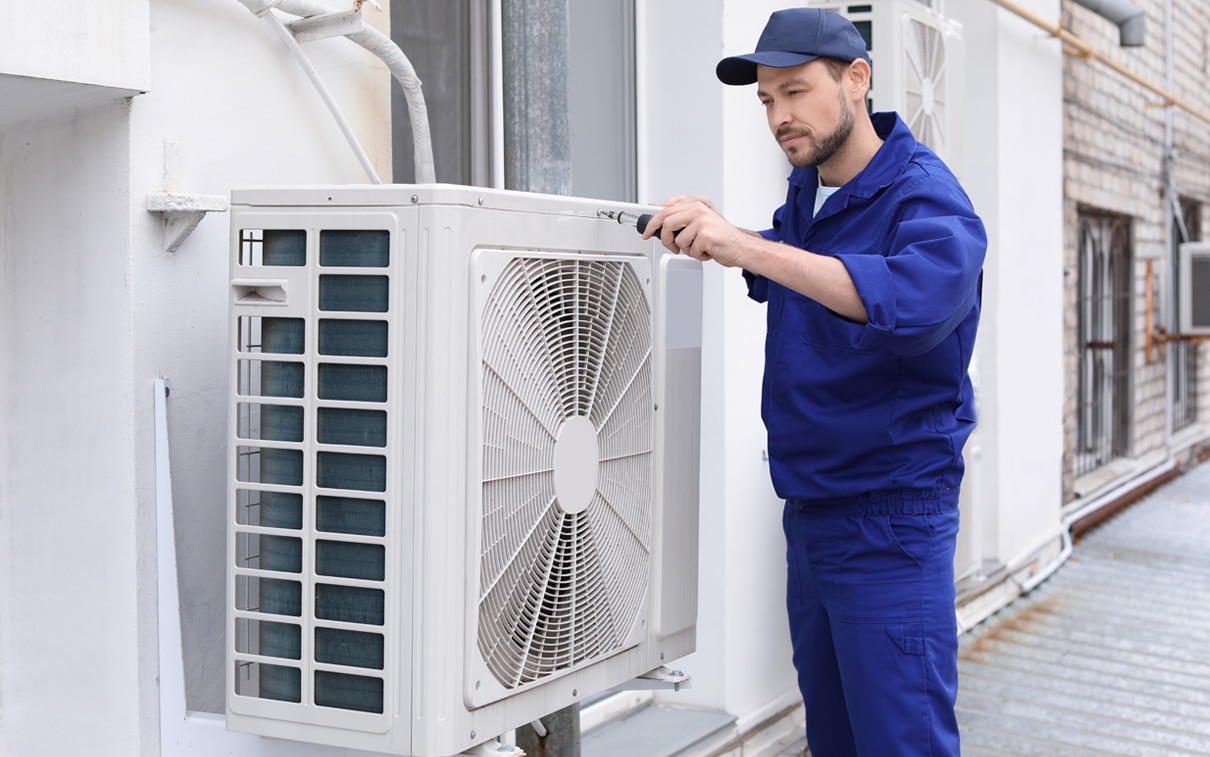
Step 4: Install the Mounting Bracket
Installing the mounting bracket is an essential step in securely placing your Kenmore air conditioner. The mounting bracket provides support and stability to the unit, preventing it from shifting or falling. Follow these steps to properly install the mounting bracket:
- Read the manufacturer’s instructions: Before starting the installation, carefully review the instructions provided by Kenmore specific to your model. This will give you a clear understanding of the installation process.
- Position the mounting bracket: Determine the appropriate height for the mounting bracket based on the window opening and the size of your air conditioner. Use a level to ensure that the bracket is perfectly horizontal.
- Mark the screw holes: Once you have determined the position of the mounting bracket, mark the locations of the screw holes on the window frame or wall. These holes will be used to attach the bracket.
- Drill pilot holes: Use a power drill to carefully drill pilot holes in the marked locations. The size of the pilot holes should match the size of the screws provided with the bracket.
- Attach the mounting bracket: Using the screws and anchors provided, attach the mounting bracket to the window frame or wall. Make sure the bracket is securely fastened to provide proper support for the air conditioner.
- Double-check the level: After attaching the mounting bracket, use the level again to confirm that it is still horizontal. Making adjustments at this stage will help ensure the air conditioner sits correctly and functions optimally.
Once the mounting bracket is properly installed, you can proceed to the next step of inserting the air conditioner into the window opening. The secure mounting bracket will provide a sturdy base for the unit, giving you peace of mind and allowing for trouble-free operation.
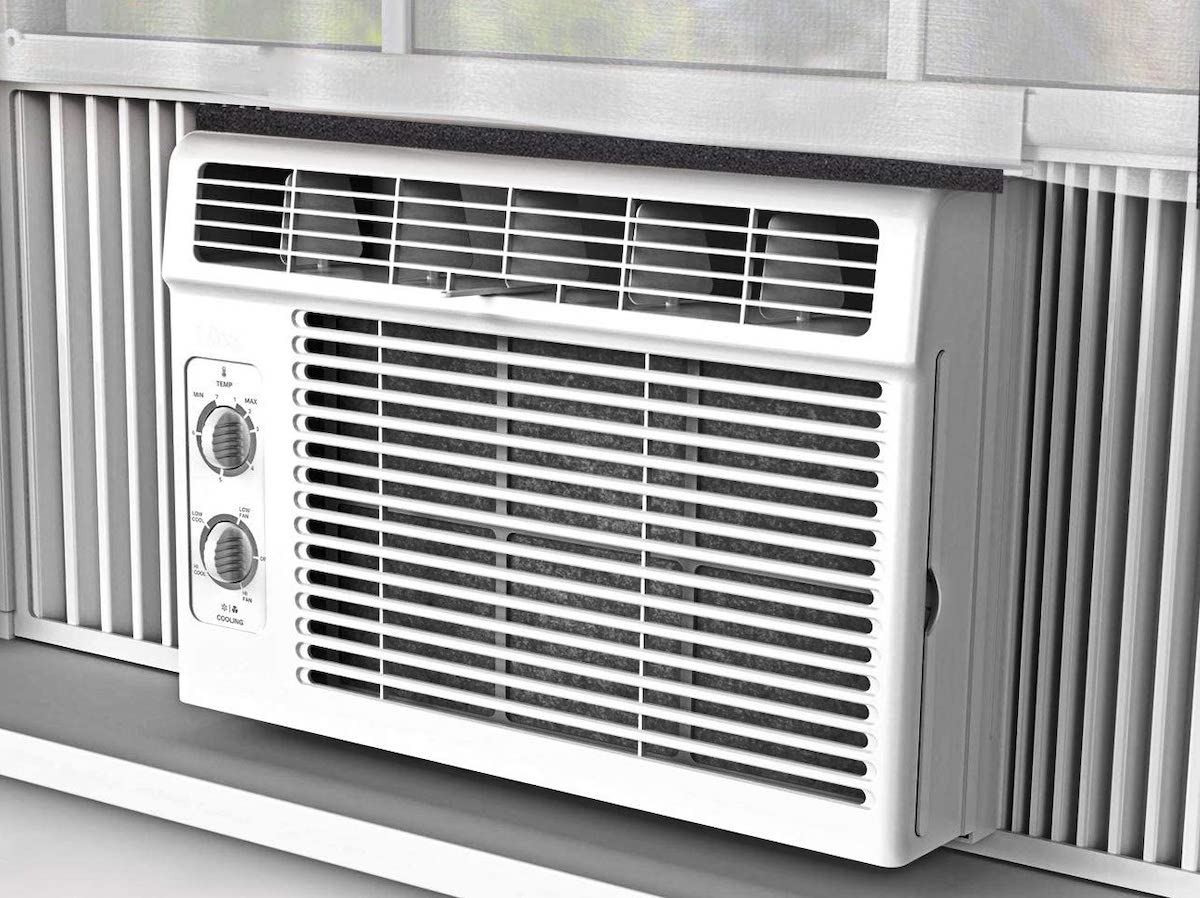
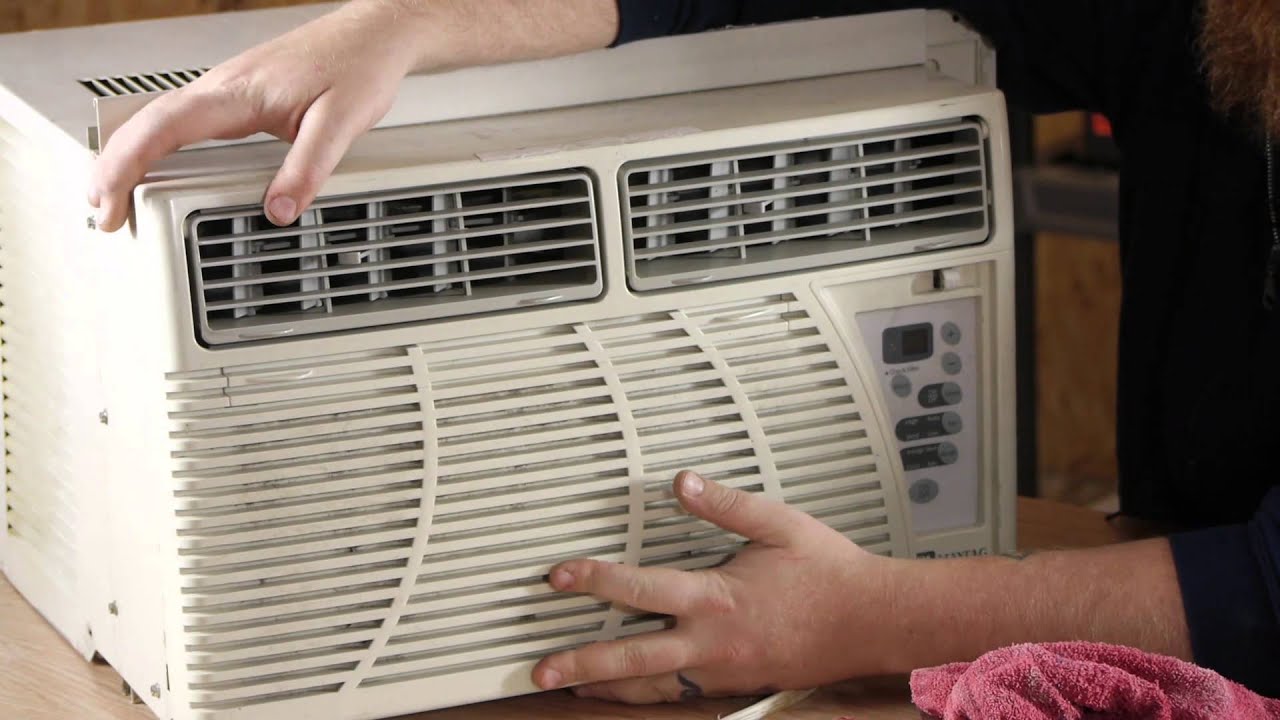
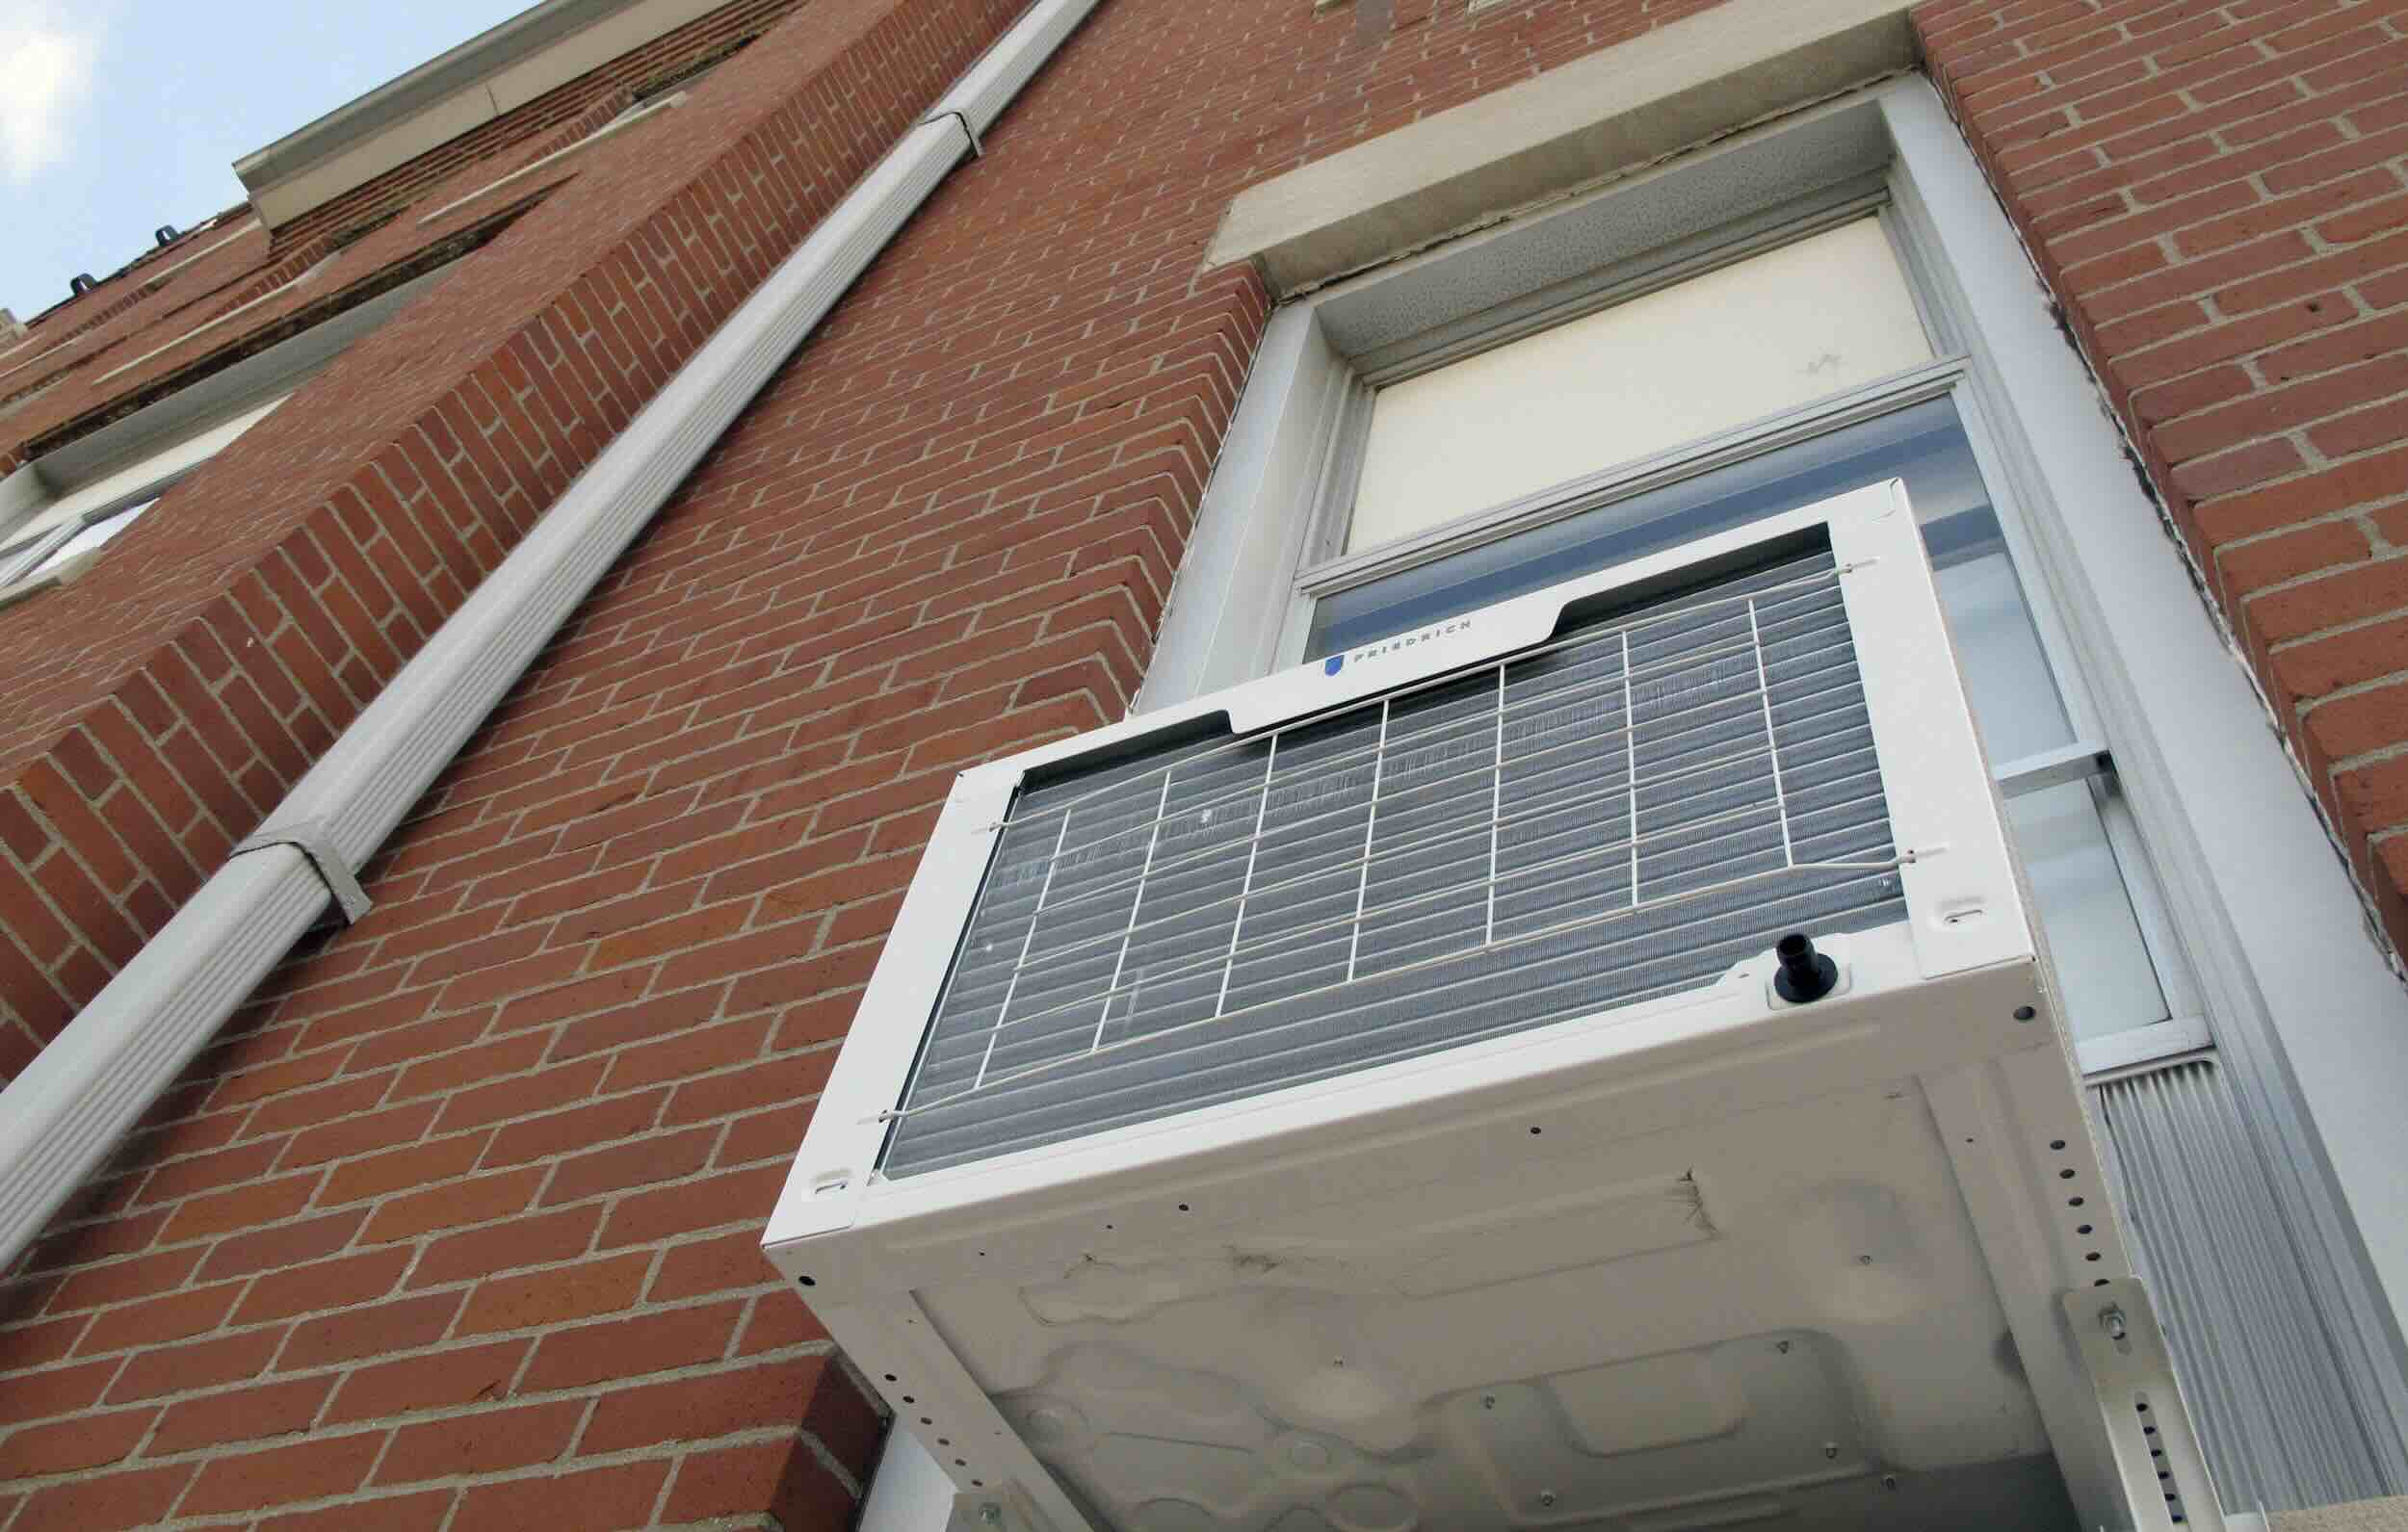
Step 5: Insert the Air Conditioner into the Window Opening
With the mounting bracket securely in place, it’s time to insert your Kenmore air conditioner into the window opening. This step requires careful positioning and alignment to ensure a proper fit. Follow these steps to correctly insert the air conditioner:
- Open the window: Lift the lower sash of the window and make sure it is fully open. If there are any window screens or obstacles, remove them to create a clear path for the air conditioner.
- Remove the sash seal: Some windows may have a sash seal or weatherstripping that needs to be removed before installation. Check the manufacturer’s instructions or remove any visible strips to create space for the air conditioner.
- Place the air conditioner on the mounting bracket: Carefully position the Kenmore air conditioner onto the mounting bracket. Align it with the window opening, ensuring that it sits evenly on the bracket.
- Slide the side curtains: Most Kenmore air conditioners come with adjustable side curtains that can be extended to fit the width of your window. Extend the curtains on each side to fill any gaps between the unit and the window frame.
- Close the window onto the air conditioner: Gently lower the upper sash of the window onto the top of the air conditioner. Make sure the window is securely closed and creates a tight seal around the unit.
Take your time during this step to ensure that the air conditioner is properly positioned and aligned within the window opening. The correct placement will allow for efficient cooling and minimize any air leakage.
Note: Some Kenmore air conditioner models may have variations in the installation process. Always refer to the manufacturer’s instructions specific to your unit for the most accurate guidance.
Before installing a Kenmore air conditioner, make sure to measure the window opening to ensure the unit will fit properly. Also, check the electrical outlet to ensure it can handle the unit’s power requirements.
Step 6: Secure the Air Conditioner in Place
Once the air conditioner is inserted into the window opening, it’s important to secure it properly to ensure stability and prevent any movement. Follow these steps to securely fasten your Kenmore air conditioner:
- Locate the support brackets: Most Kenmore air conditioners come with support brackets that attach to the window frame. These brackets help stabilize the unit and prevent it from shifting.
- Extend and position the support brackets: Extend the support brackets to the appropriate length so that they reach the window frame. Position them against the sides of the air conditioner, ensuring they are evenly spaced and provide support.
- Screw the brackets into place: Use the provided screws to attach the support brackets to the window frame. Make sure the brackets are firmly secured and provide sufficient support for the air conditioner.
- Adjust the curtains: Ensure that the side curtains are properly aligned with the window frame and create a tight seal around the air conditioner unit. Adjust them as needed to eliminate any gaps or air leaks.
- Check for stability: Give the air conditioner a gentle shake to test its stability. It should remain securely in place without any wobbling or movement. If necessary, reposition the support brackets or tighten the screws for added stability.
Properly securing the air conditioner in place is essential for safe and efficient operation. It helps prevent accidents, such as the unit falling out of the window, and ensures that the air conditioner functions optimally.
Note: The specific method of securing the air conditioner may vary depending on the model and design. Always refer to the manufacturer’s instructions for accurate, model-specific guidance.
Step 7: Connect the Air Conditioner to the Power Source
With the air conditioner securely in place, the next step is to connect it to a power source. Follow these steps to properly connect your Kenmore air conditioner:
- Locate the power cord: Find the power cord attached to the air conditioner unit. The cord is typically located at the back or side of the unit.
- Check the electrical requirements: Before plugging in the air conditioner, ensure that the electrical outlet can accommodate the power needs of the unit. Refer to the manufacturer’s instructions for the specific voltage and amperage requirements.
- Unroll and straighten the power cord: Ensure that the power cord is unrolled and free of any knots or tangles. Straighten the cord to allow for easy and safe connection.
- Plug in the air conditioner: Insert the power cord into a nearby electrical outlet. Push the plug in until it fits snugly into the outlet. Make sure the outlet is properly grounded and in good condition.
- Turn on the air conditioner: Once the air conditioner is connected to the power source, locate the power button or switch on the unit. Press or flip the switch to turn on the air conditioner.
It is important to ensure that the electrical connection is secure and that the power source can handle the air conditioner’s power requirements. Following these steps will help you properly connect your Kenmore air conditioner to the power supply.
Remember, if you have any concerns or are unsure about the electrical connection, it is always recommended to consult a licensed electrician for assistance.
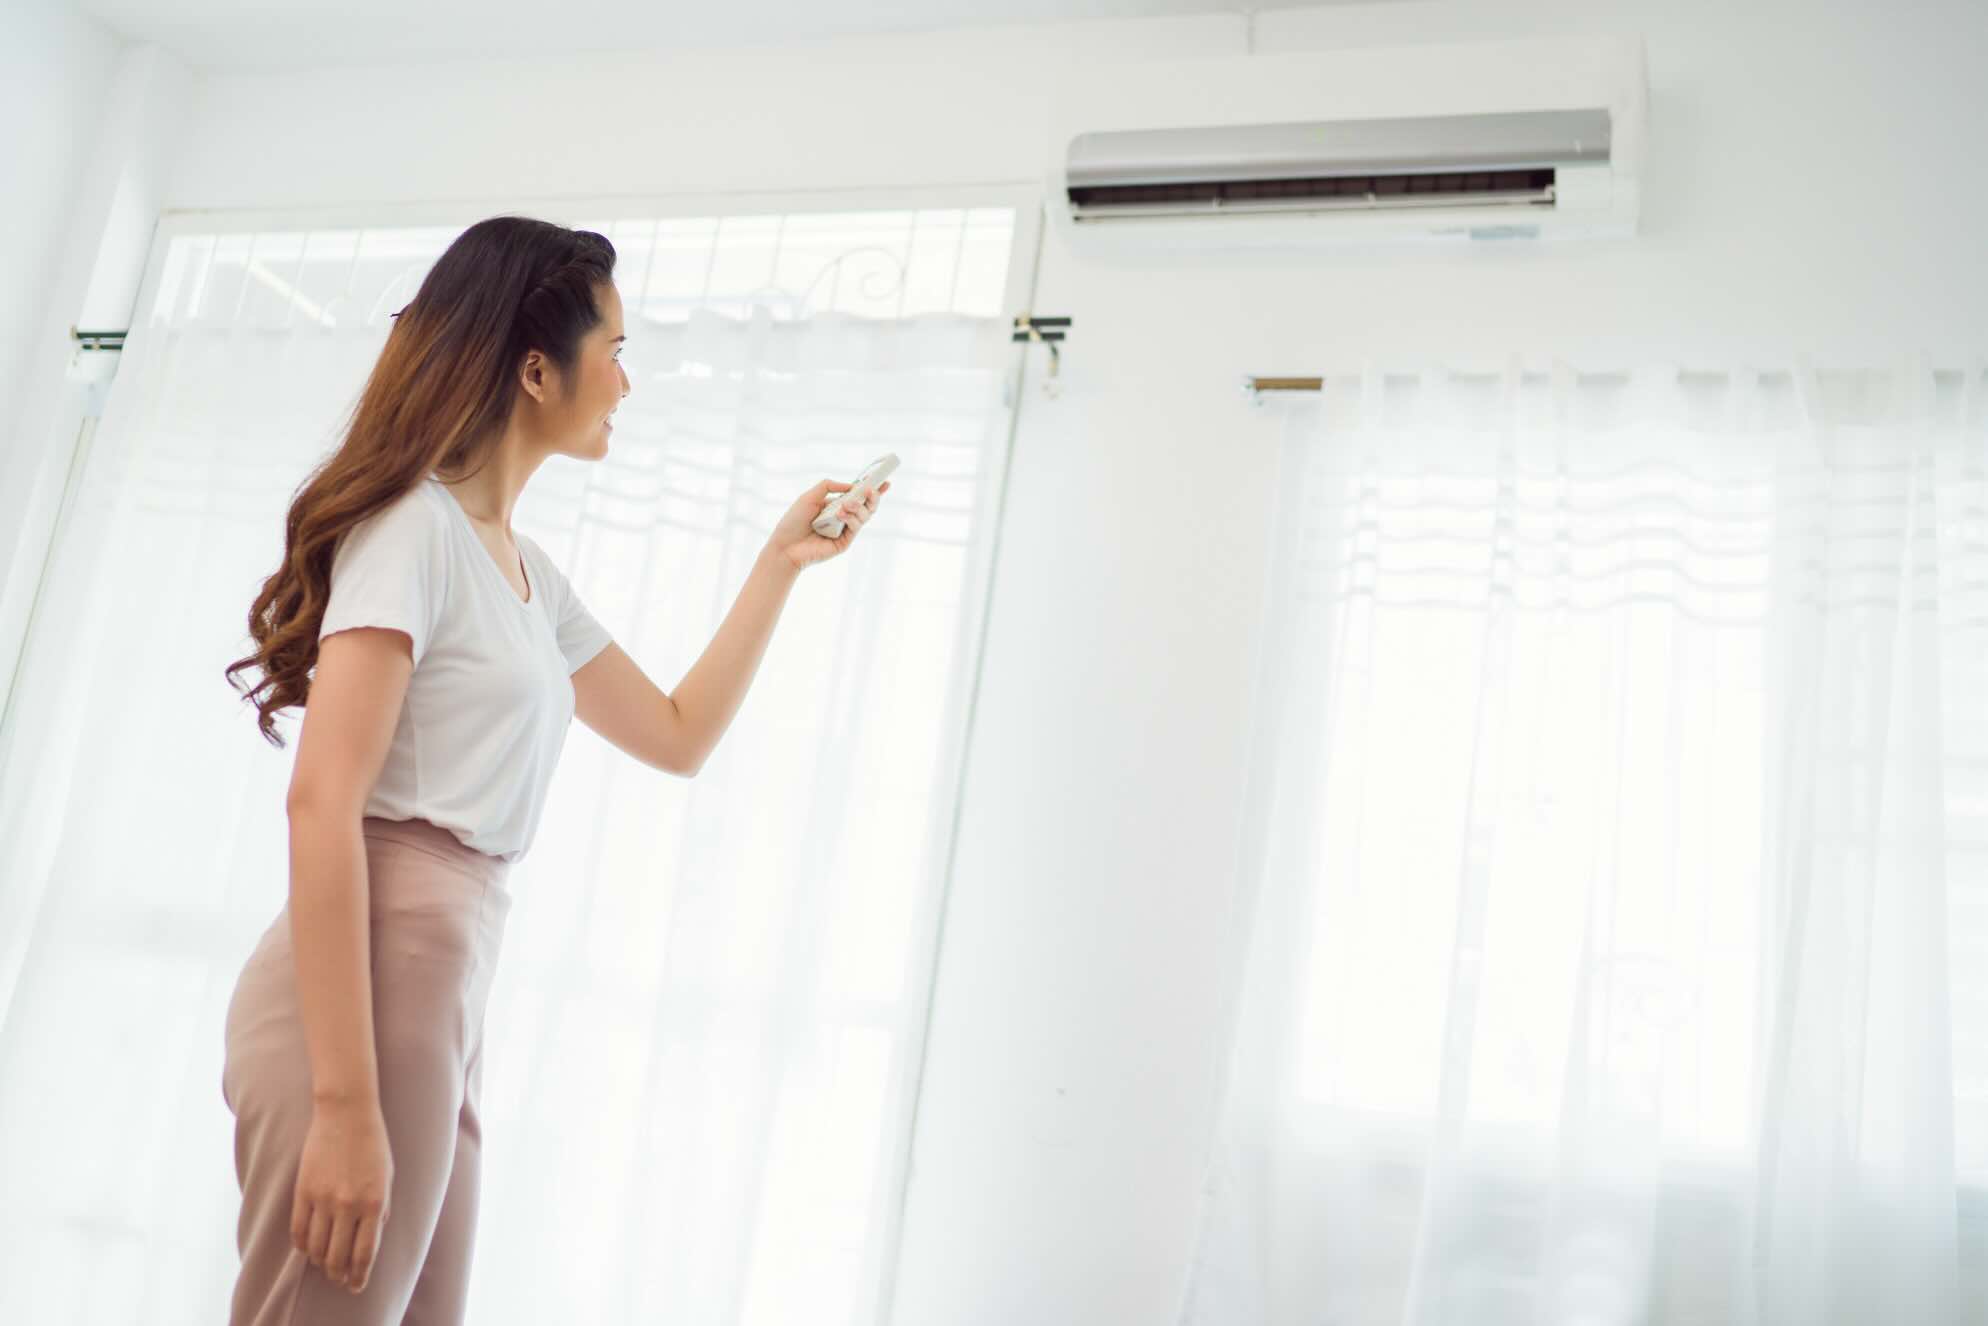
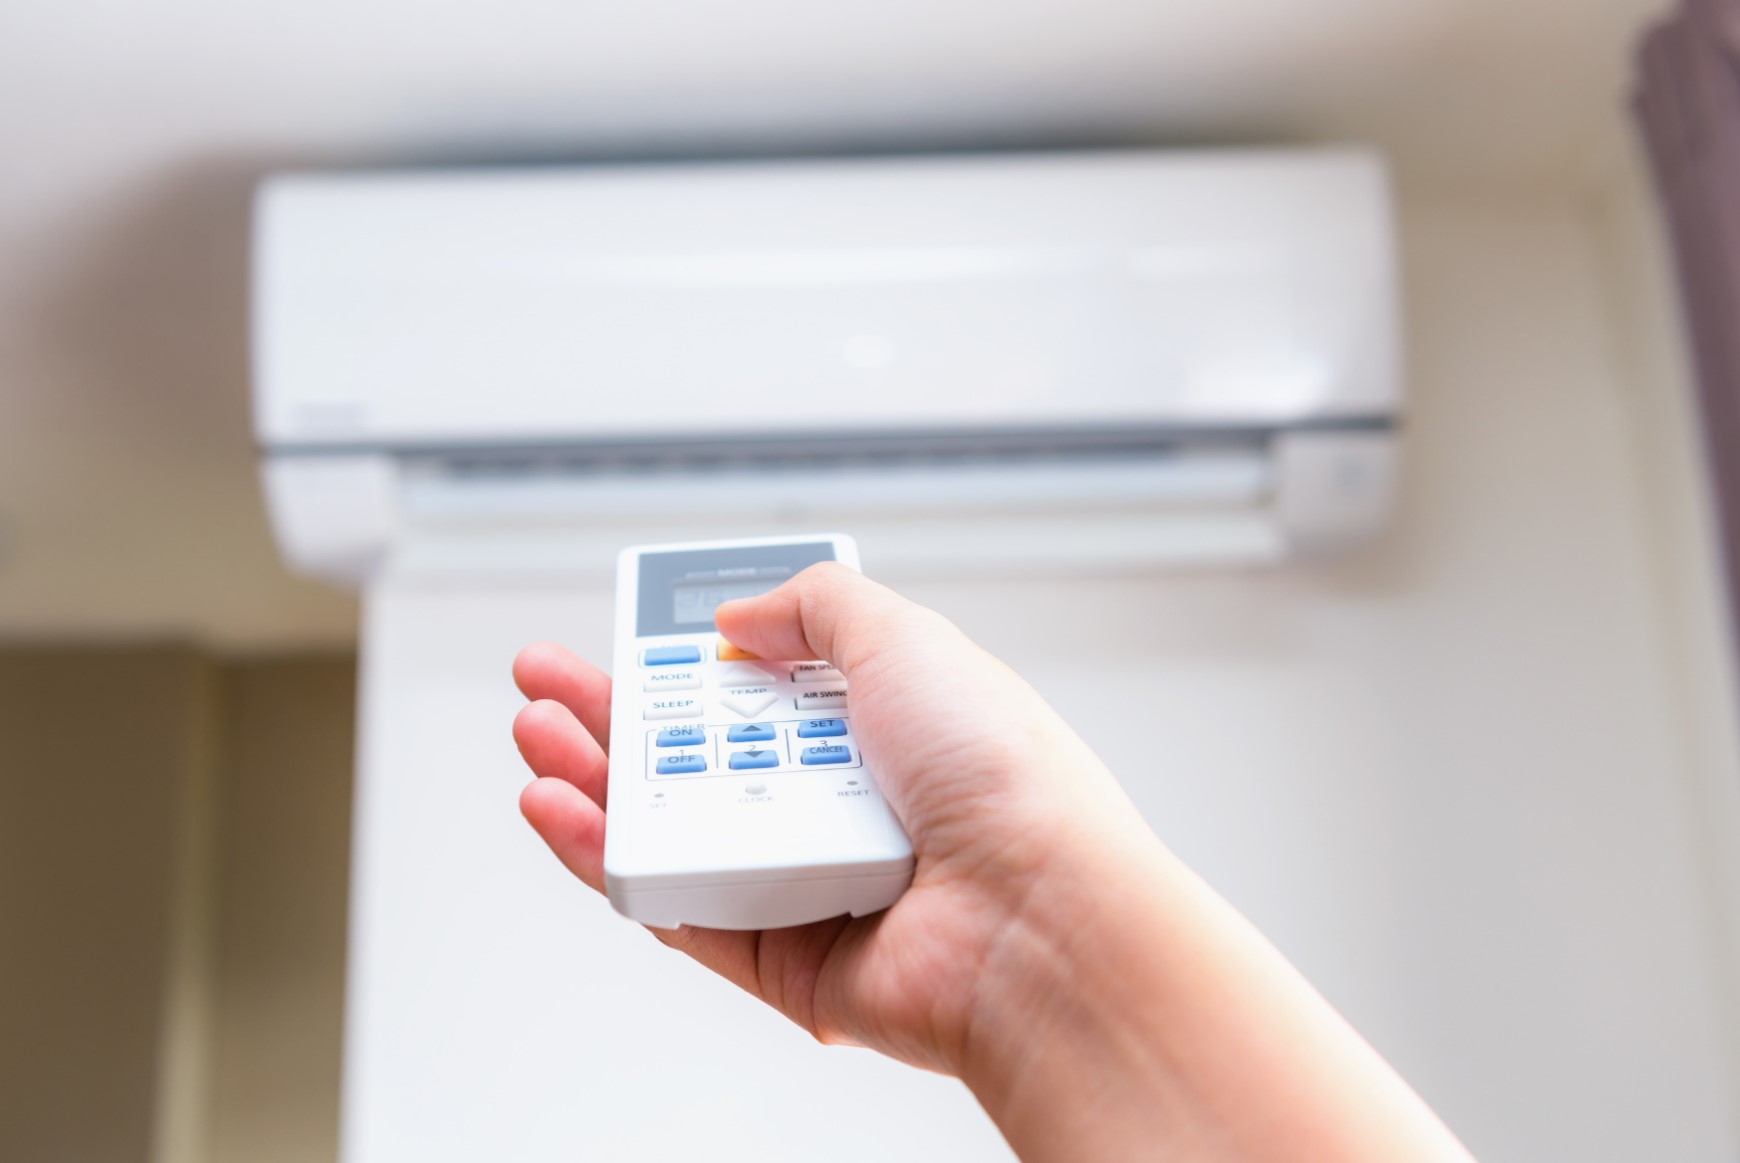
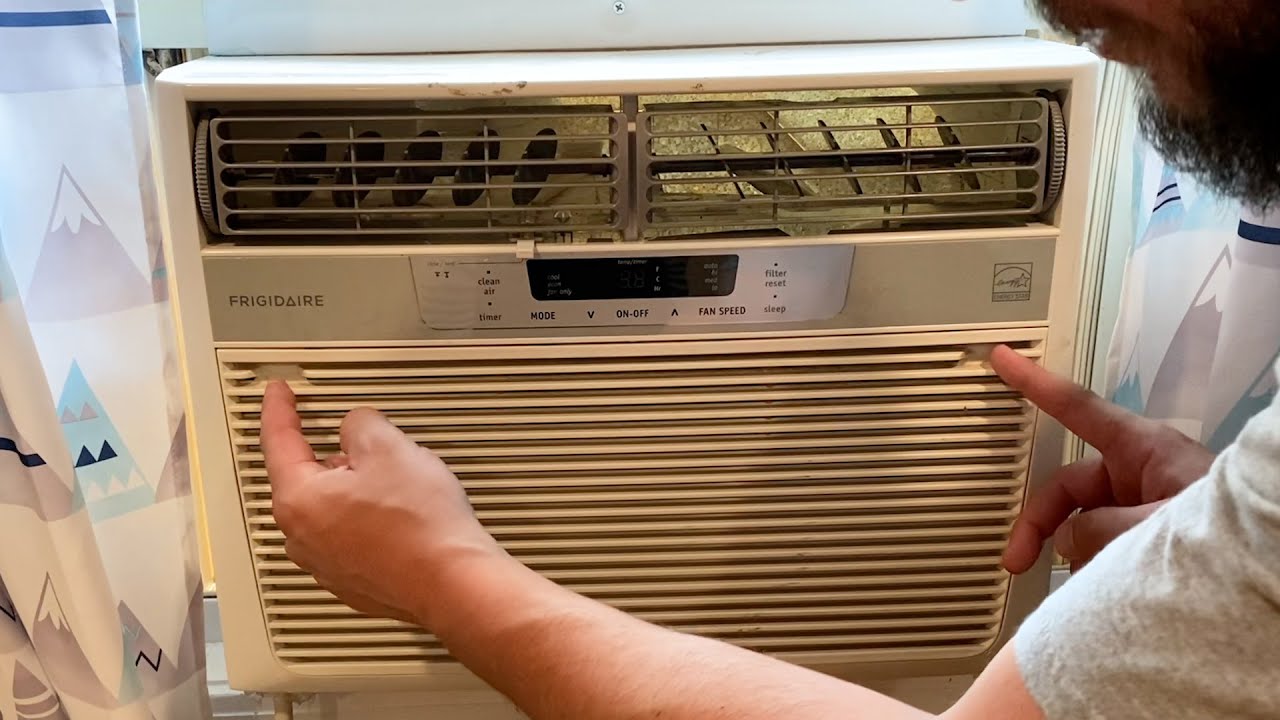
Step 8: Adjust the Air Conditioner Settings
Now that your Kenmore air conditioner is connected to the power source, it’s time to adjust the settings to ensure optimal comfort and energy efficiency. Follow these steps to adjust the air conditioner settings:
- Read the user manual: Familiarize yourself with the control panel and functions of your specific Kenmore air conditioner by reading the user manual. This will give you a better understanding of the available settings and how to adjust them.
- Set the desired temperature: Use the temperature control buttons on the air conditioner to set the desired temperature in your room. You can typically choose between a range of temperatures, depending on the model.
- Select the operating mode: Kenmore air conditioners usually offer different operating modes, such as cool, fan, or energy-saving mode. Choose the mode that best suits your needs and preferences.
- Adjust the fan speed: Most models allow you to adjust the fan speed to your liking. Options may include low, medium, and high settings. Consider the noise level and airflow when selecting the appropriate fan speed.
- Use the timer function: If your Kenmore air conditioner has a timer feature, you can set it to turn on or off at specific times. This is useful for energy-saving purposes or for cooling your room before you arrive home.
- Explore additional features: Some air conditioners come with extra features like sleep mode, dehumidification, or air purification. Take the time to explore these features and adjust them as needed.
By adjusting the settings of your Kenmore air conditioner, you can create a comfortable indoor environment while maximizing energy efficiency. Experiment with different settings to find the ideal balance that suits your needs and preferences.
Remember to refer to the user manual for detailed instructions on adjusting the settings specific to your Kenmore air conditioner model.
Step 9: Test the Air Conditioner
After adjusting the settings of your Kenmore air conditioner, it’s time to test its functionality and ensure that it is cooling your space effectively. Follow these steps to test your air conditioner:
- Set the air conditioner to the desired temperature: Use the temperature control buttons to set the air conditioner to the desired cooling temperature. Start with a slightly lower temperature than the current room temperature.
- Turn on the air conditioner: Press the power button or switch on the air conditioner to activate it. You should hear the unit start up and feel cool air coming from the vents.
- Wait for the air conditioner to cool the room: Give your air conditioner some time to cool the room. It may take a few minutes for the temperature to start dropping and for you to feel the full cooling effect.
- Check for cool airflow: Stand near the air conditioner vents and ensure that cool air is blowing out. If the air feels warm or if there is weak airflow, double-check the settings and make sure the unit is operating correctly.
- Monitor temperature and comfort: As the air conditioner continues to run, keep an eye on the room temperature and how comfortable you feel. Adjust the settings as needed to maintain the desired temperature and comfort level.
Testing your air conditioner allows you to ensure that it is cooling properly and maintaining a comfortable environment in your home. If you experience any issues or if the air conditioner is not performing as expected, refer to the troubleshooting section in the user manual or consult with a professional for assistance.
Regular testing and monitoring of your Kenmore air conditioner will help ensure its longevity and efficiency, providing you with a cool and comfortable living space throughout the hot summer months.
Step 10: Maintenance and Troubleshooting Tips
To keep your Kenmore air conditioner running smoothly and efficiently, it’s important to perform regular maintenance and address any potential issues that may arise. Here are some maintenance and troubleshooting tips to help you keep your air conditioner in top shape:
- Clean or replace the air filters: Regularly clean or replace the air filters to maintain proper airflow and maximize the cooling efficiency of your air conditioner. Refer to the user manual for instructions on how to access and clean the filters.
- Clean the condenser coils: Over time, dirt and debris can accumulate on the condenser coils, reducing the unit’s efficiency. Use a soft brush or vacuum cleaner to gently remove any dirt and improve the airflow around the coils.
- Check for any water leaks: Periodically inspect the unit for any water leaks or excessive condensation. If you notice any leaks, it may indicate a problem with the drainage system. Consult the user manual or a professional for assistance.
- Inspect the power cord and plug: Regularly check the power cord for any signs of damage or fraying. Also, ensure that the plug is securely inserted into the electrical outlet to prevent any power issues.
- Keep the surrounding area clean: Clear away any debris, dust, or obstructions around the air conditioner to ensure proper airflow and prevent blockages.
- Ensure proper insulation: Double-check the window sealing foam or weatherstripping to ensure it provides a tight seal. This will prevent air leakage and improve energy efficiency.
- Refer to the troubleshooting section: If you encounter any issues or have concerns about your Kenmore air conditioner, consult the troubleshooting section in the user manual. It may provide guidance on common problems and their solutions.
- Seek professional assistance if needed: If you are unable to resolve an issue or if your air conditioner requires professional maintenance or repairs, contact a qualified technician who specializes in Kenmore air conditioners.
By following these maintenance and troubleshooting tips, you can extend the lifespan of your Kenmore air conditioner and ensure optimal performance. Regular maintenance will not only keep your air conditioner running efficiently but also help identify and address any potential problems before they escalate.
Remember to always refer to the user manual specific to your model for detailed maintenance instructions and safety precautions.
Conclusion
Congratulations! You have successfully installed your Kenmore air conditioner and are now ready to enjoy a cool and comfortable atmosphere in your home. By following the step-by-step guide provided in this article, you have learned how to gather the necessary tools and materials, choose the right location, prepare the installation area, install the mounting bracket securely, insert the air conditioner into the window opening, connect it to the power source, adjust the settings, test its functionality, and maintain it for optimal performance.
Installing a Kenmore air conditioner not only provides relief from the heat but also offers you energy-efficient cooling. Regular maintenance, such as cleaning the filters and condenser coils, will help your air conditioner operate efficiently and extend its lifespan. Remember to consult the user manual for specific instructions and guidance tailored to your Kenmore air conditioner model.
If you encounter any issues or have concerns about your air conditioner, don’t hesitate to refer to the troubleshooting section in the user manual or seek professional assistance. An expert technician can provide the necessary expertise to resolve any complex issues and ensure your air conditioner continues to function at its best.
We hope this guide has been informative and helpful in your installation process. Enjoy the comfort and convenience that your Kenmore air conditioner brings, and stay cool all summer long!
Frequently Asked Questions about How To Install A Kenmore Air Conditioner
Was this page helpful?
At Storables.com, we guarantee accurate and reliable information. Our content, validated by Expert Board Contributors, is crafted following stringent Editorial Policies. We're committed to providing you with well-researched, expert-backed insights for all your informational needs.