Home>Home Maintenance>How To Install An Air Conditioner
Home Maintenance
How To Install An Air Conditioner
Modified: March 7, 2024
Learn how to properly install an air conditioner in your home with our easy-to-follow guide. Ensure your home-maintenance is up to par with our step-by-step instructions.
(Many of the links in this article redirect to a specific reviewed product. Your purchase of these products through affiliate links helps to generate commission for Storables.com, at no extra cost. Learn more)
Introduction
Welcome to our comprehensive guide on how to install an air conditioner in your home. As the temperature rises, having a properly functioning air conditioning unit becomes crucial for maintaining a comfortable indoor environment. Whether you’re looking to replace an old unit or install a new one, this step-by-step guide will walk you through the process.
Installing an air conditioner may seem daunting at first, but with the right tools, equipment, and knowledge, you can do it yourself and save on installation costs. Before you begin, it is important to ensure that you have the necessary skills and take necessary precautions to handle electrical wiring and heavy equipment safely. If you are unsure or uncomfortable with any step of the process, it is always recommended to seek the assistance of a professional.
In this guide, we’ll cover everything from determining the suitable location for the air conditioner to connecting the electrical wiring. By following these steps, you’ll be able to enjoy the cool and refreshing air from your air conditioner in no time.
So let’s get started and learn how to install an air conditioner like a pro!
Key Takeaways:
- Choosing the right location for your air conditioner is crucial for efficient cooling. Consider factors like accessibility, support, and avoiding direct sunlight or heat sources to ensure optimal performance.
- Gathering the necessary tools and preparing the installation area are essential for a successful air conditioner installation. Clean the area, secure the window frame (for window units), and check the electrical supply for compatibility.
Read more: How To Install A Portable Air Conditioner
Step 1: Determine the Suitable Location for the Air Conditioner
The first and most important step in installing an air conditioner is to find the perfect location for it. Choosing the right spot will ensure optimal cooling efficiency and make the installation process smoother. Here are some factors to consider:
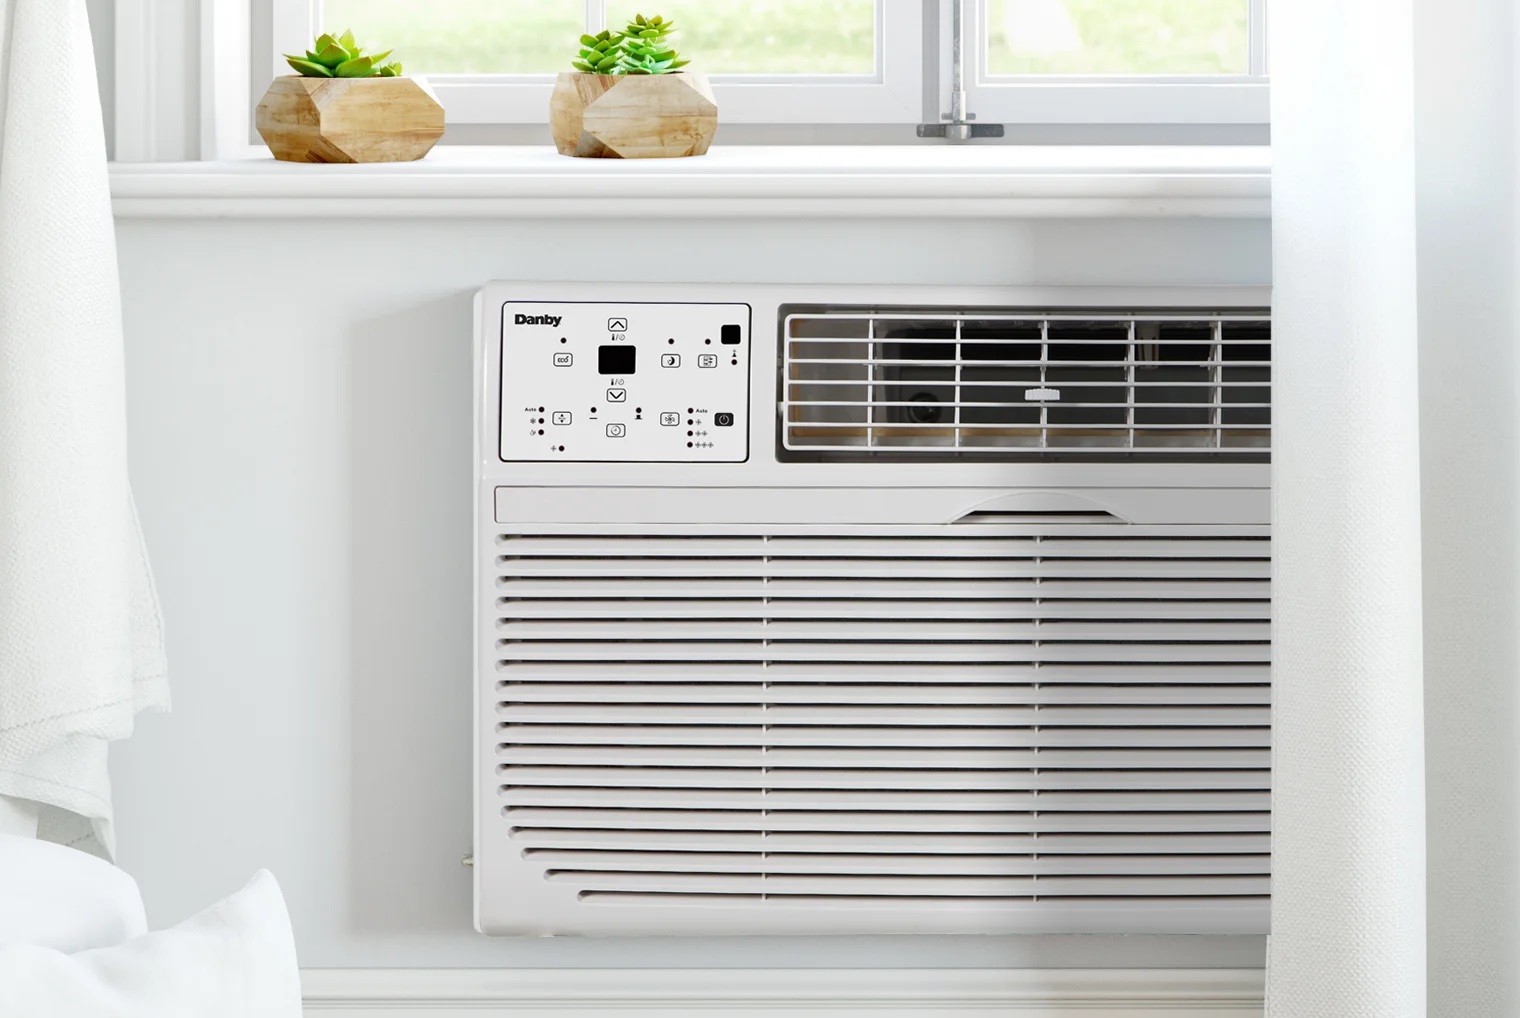
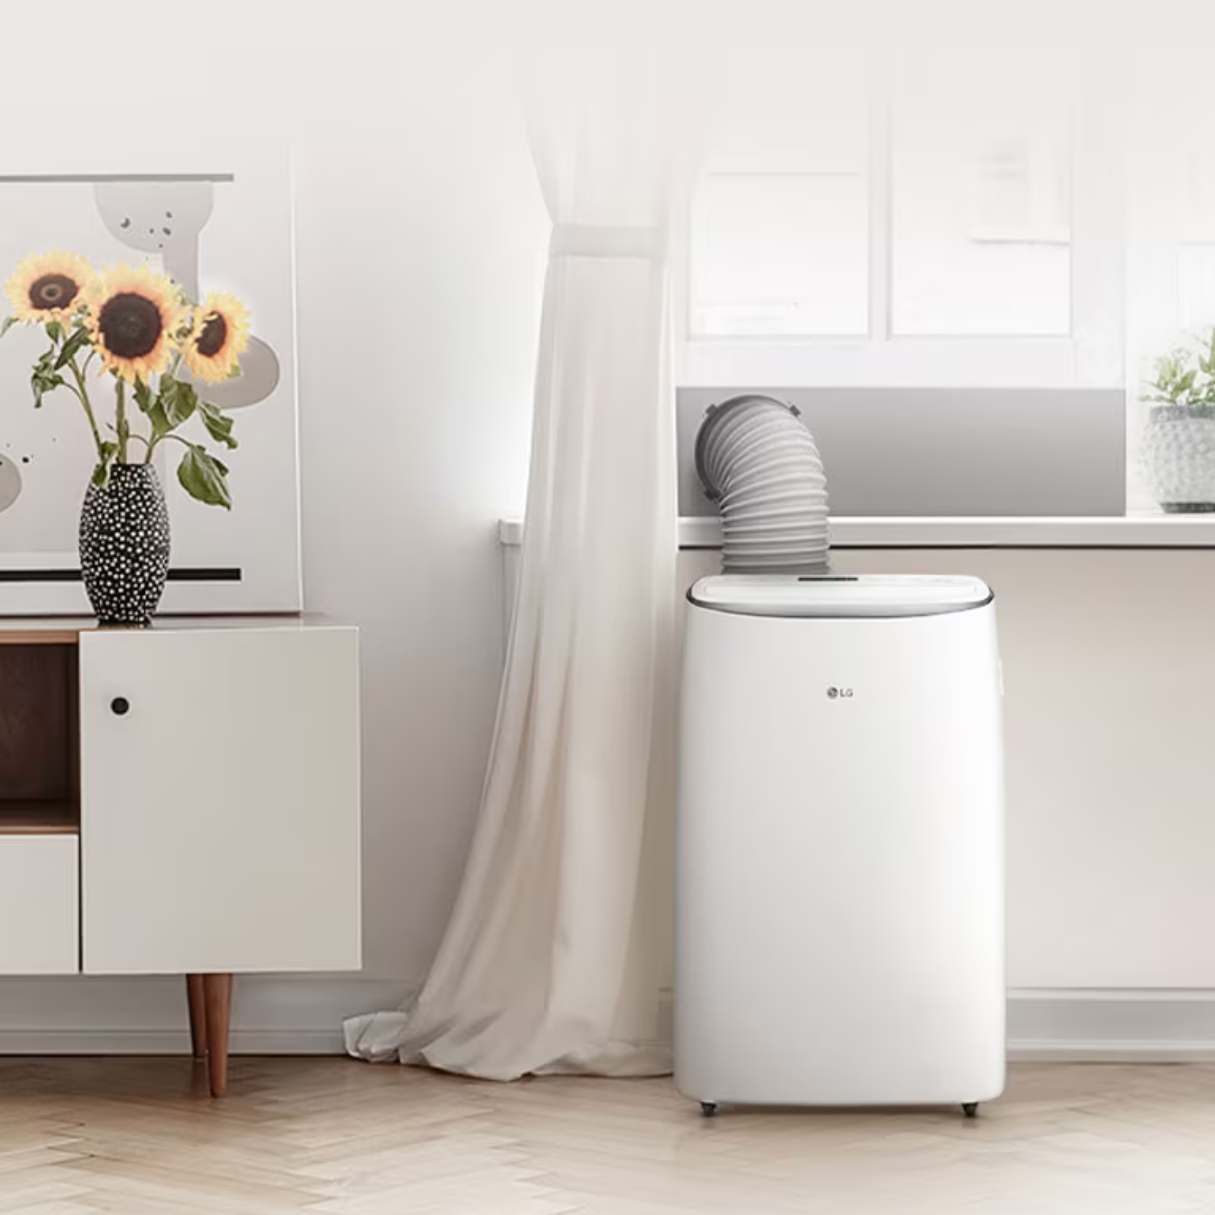
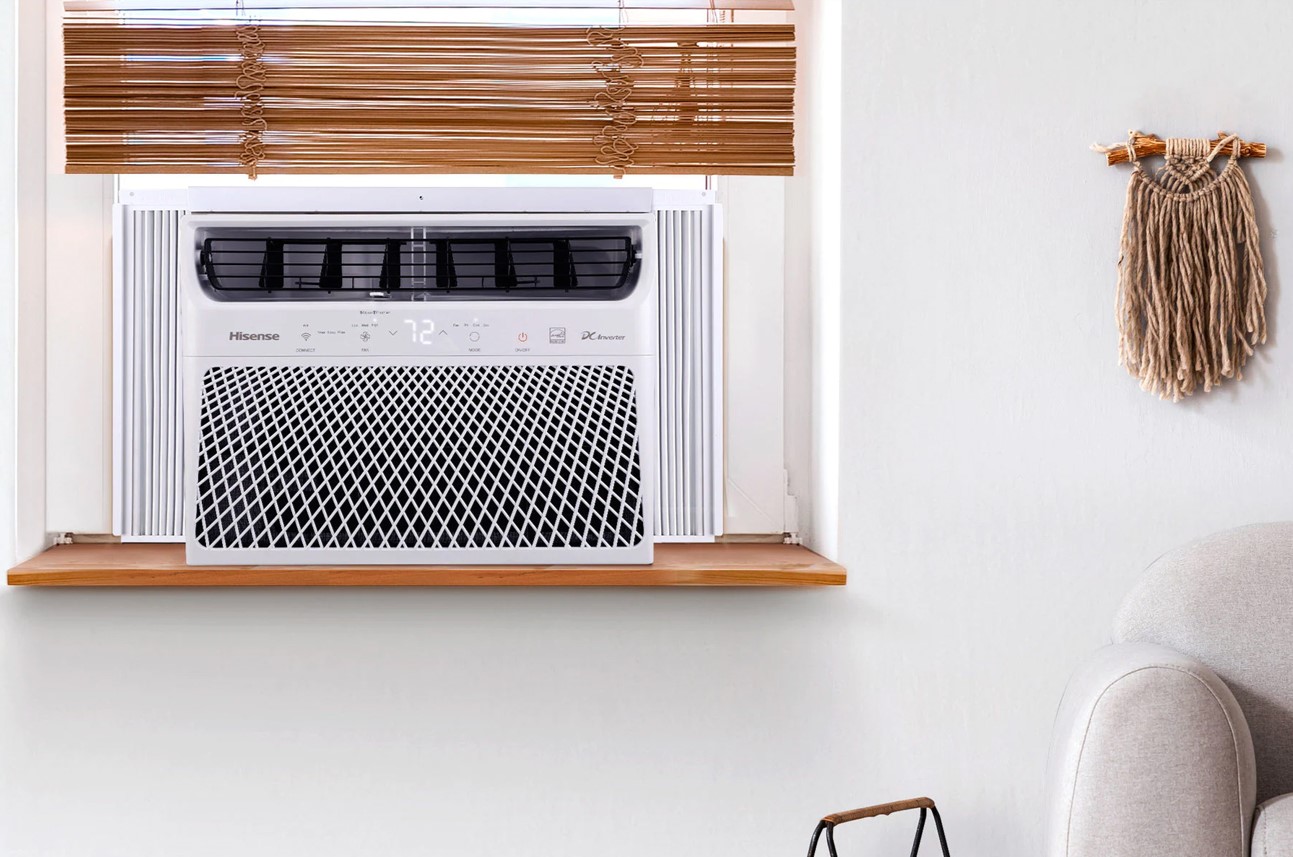
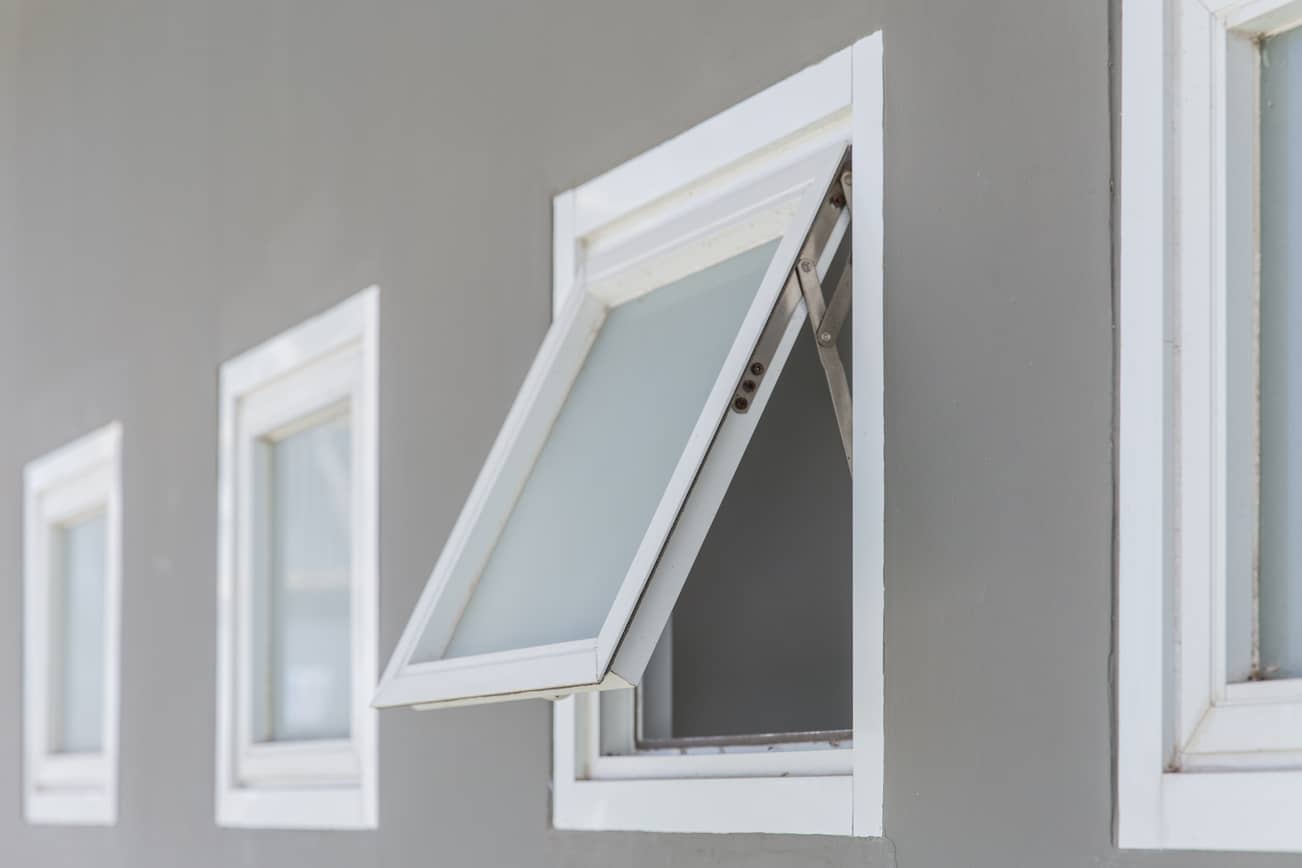
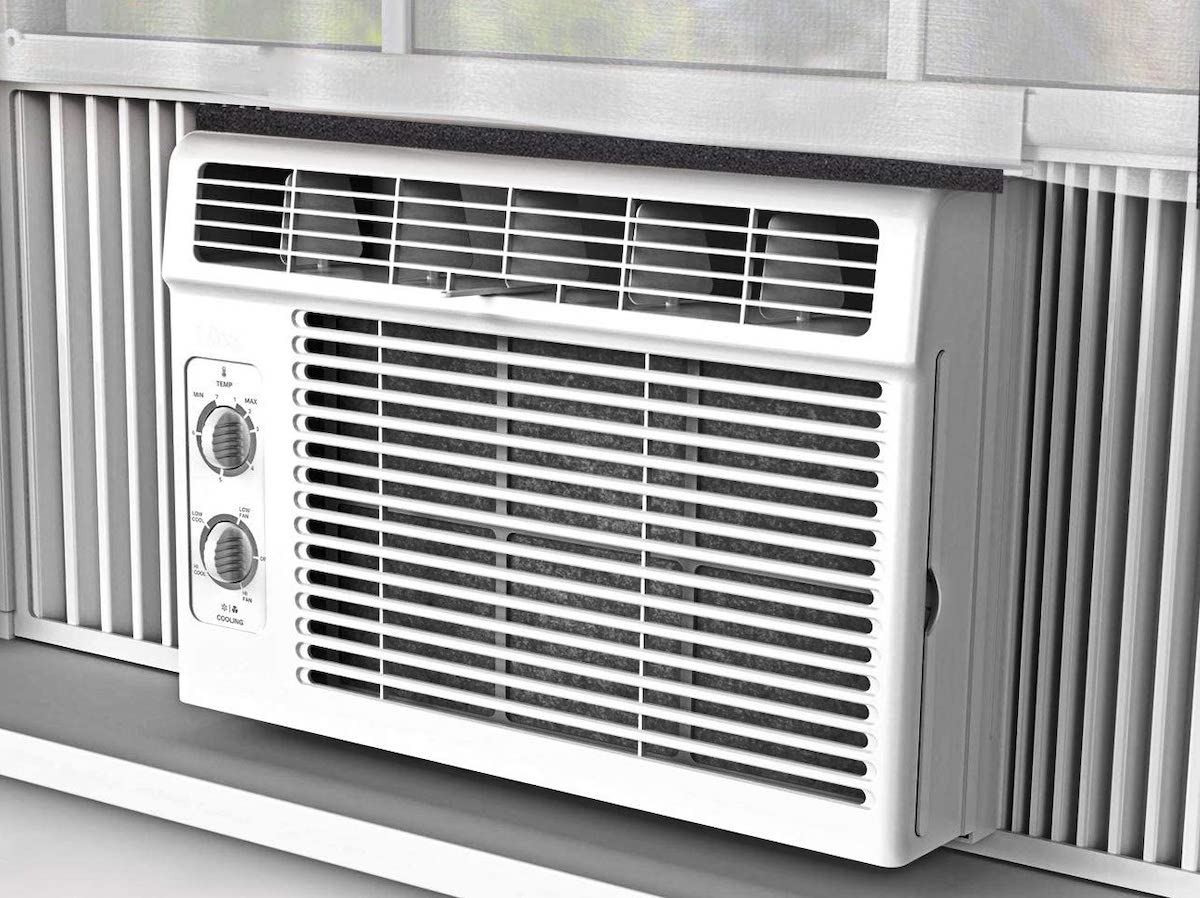
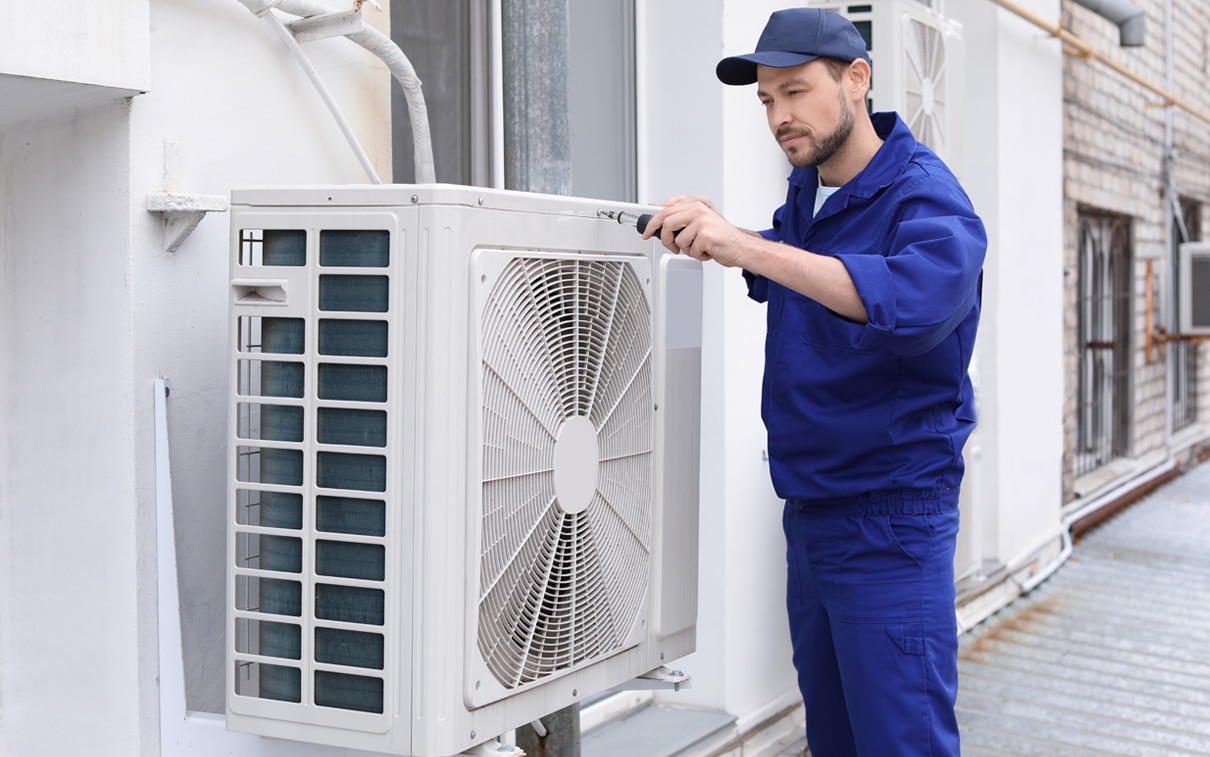
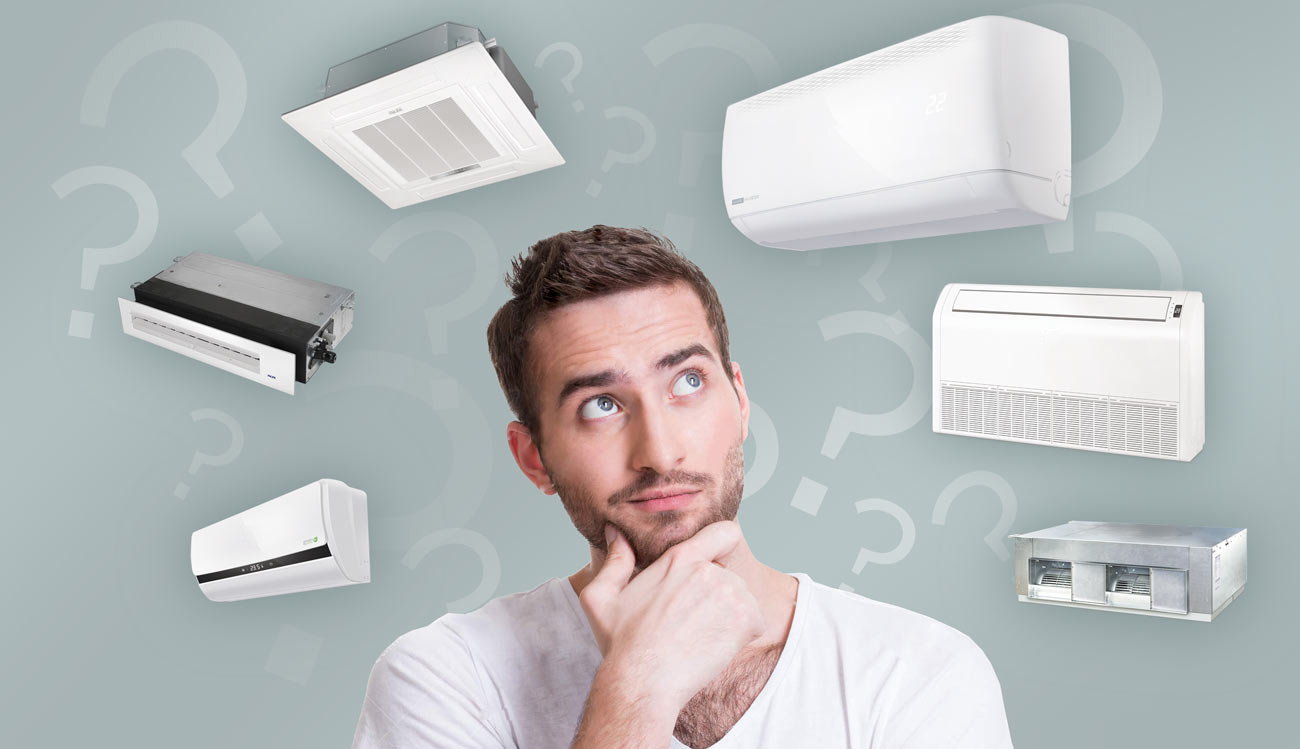
- Indoor vs. outdoor: Depending on the type of air conditioner you have, you’ll need to decide whether it will be installed indoors or outdoors. Split-system air conditioners typically have an indoor unit and an outdoor condenser unit, while window units are installed on a window frame. Determine which type you have and plan accordingly.
- Cooling requirements: Consider the areas in your home that require cooling the most. Ideally, the air conditioner should be installed in a central location that can efficiently distribute cool air throughout the space. This will help maintain a consistent and comfortable temperature in all rooms.
- Accessibility: Ensure that the chosen location allows easy access for maintenance, cleaning, and repairs. The air conditioner’s filters and coils will require regular cleaning, so make sure there is enough space around the unit to perform these tasks without any hindrance.
- Adequate support: Make sure the chosen location has a sturdy surface to support the weight of the air conditioner. An unstable or weak support can lead to vibrations, noise, and even damage to the unit. If necessary, install a mounting bracket or a support platform to ensure stability.
- Avoid direct sunlight: Installing the air conditioner in direct sunlight can cause it to work harder and reduce its efficiency. Choose a location that is shaded or install shades or awnings to minimize direct exposure to the sun.
- Avoid heat sources: Keep the air conditioner away from any heat sources, such as lamps, appliances, or direct airflow from heating vents. These sources can interfere with the cooling process and reduce the overall efficiency of the unit.
By taking these factors into consideration, you’ll be able to identify the most suitable location for your air conditioner. This will not only ensure optimal cooling but also make the installation process easier and more efficient.
Step 2: Gather Necessary Tools and Equipment
Before you begin the installation process, it’s important to gather all the necessary tools and equipment. Having everything on hand will save you time and ensure a smooth installation process. Here are the essential tools and equipment you’ll need:
- Tape measure: Measure the dimensions of the installation area to ensure proper fit for your air conditioner unit.
- Screwdriver set: A set of screwdrivers, including both flathead and Phillips head, will be useful for removing old units, securing brackets, and tightening screws.
- Impact drill/driver: An impact drill/driver will make it easier to drill holes for brackets and mount the unit securely.
- Level: Use a level to ensure that the air conditioner unit is properly aligned and balanced during installation.
- Pliers: Pliers will come in handy for gripping and twisting wires during the electrical connections.
- Wire stripper: You’ll need a wire stripper to remove the insulation from the electrical wires and make proper connections.
- Electrical tester: An electrical tester will help ensure that the power is off before making any electrical connections, providing an added level of safety.
- Mounting brackets: Depending on the type of air conditioner unit you have, you may need to install mounting brackets to provide support and stability.
- Sealant: Use a weatherproof sealant to seal any gaps or openings around the installation area to prevent air leakage.
- Insulation foam tape: Insulation foam tape is used to create a tight seal between the air conditioner unit and the mounting frame, reducing air leakage and improving energy efficiency.
These are the basic tools and equipment required for most air conditioner installations. However, it’s important to refer to your specific unit’s installation manual for any additional tools or requirements.
Once you have gathered all the necessary tools and equipment, you’ll be ready to move on to the next step of the installation process. With everything prepared, you can ensure a smooth and hassle-free installation.
Step 3: Prepare the Installation Area
Now that you have determined the suitable location and gathered the necessary tools and equipment, it’s time to prepare the installation area for the air conditioner. Proper preparation will ensure a stable and secure installation. Here’s what you need to do:
- Clean the area: Start by cleaning the installation area. Remove any dust, dirt, or debris that may interfere with the installation or affect the performance of the air conditioner. A clean area will also help prevent any obstructions in the unit’s airflow.
- Clear obstructions: Remove any furniture, curtains, or other items that are blocking the chosen location for the air conditioner. This will provide clear access and make the installation process easier.
- Secure the window frame (for window units): If you are installing a window unit, make sure the window frame is secure. Check for any loose or damaged parts and repair them if necessary. A stable window frame will prevent air leaks and ensure the unit remains securely in place.
- Check the electrical supply: Ensure that the electrical supply is compatible with the air conditioner unit you are installing. Check the voltage and amperage requirements specified in the manufacturer’s instructions. If needed, consult an electrician to make any necessary adjustments or upgrades to the electrical system.
- Plan for proper drainage: Determine the drainage method for the air conditioner. Some units require a drain pipe or hose to remove condensation, while others may utilize a self-evaporative system. Ensure that the installation area allows for proper drainage and consider any necessary modifications, such as installing a drainpipe or a condensate pump.
- Protect the area: Consider using drop cloths or plastic sheets to protect the surrounding area from dust, debris, or accidental spills during the installation process.
- Measure and mark: Use a tape measure and level to measure and mark the installation area according to the specifications provided in the air conditioner’s instruction manual. This will ensure precise placement and alignment of the unit.
By taking the time to properly prepare the installation area, you’ll set the stage for a successful air conditioner installation. Careful attention to detail will ensure a stable, secure, and efficient cooling system for your home.
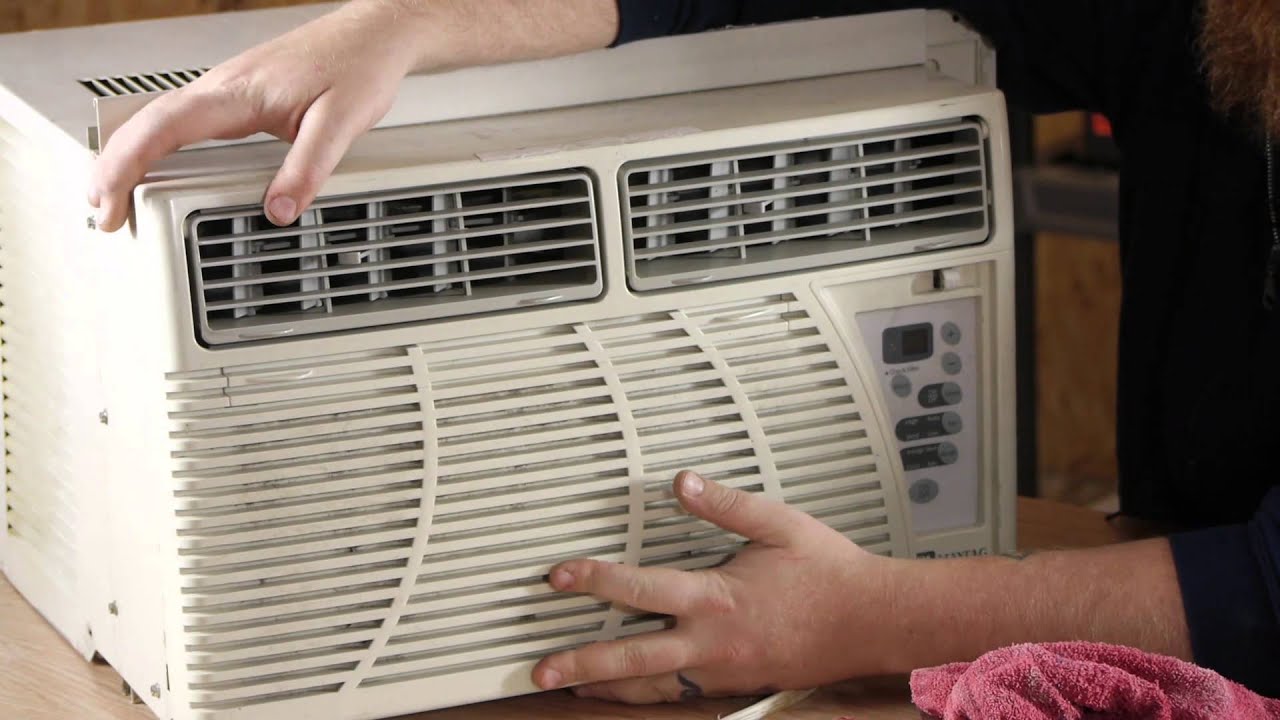
Step 4: Install the Mounting Bracket
With the installation area prepared, it’s time to install the mounting bracket for your air conditioner. The mounting bracket provides stability and support for the unit, ensuring it stays securely in place. Here’s how to install the mounting bracket:
- Refer to the manufacturer’s instructions: Consult the air conditioner’s installation manual to understand the specific requirements for installing the mounting bracket. Different models may have varying instructions, so it’s important to follow the manufacturer’s guidelines.
- Position the bracket: Position the mounting bracket on the wall or window frame at the designated height, ensuring it is level. Use a level to double-check the bracket’s alignment to ensure proper installation.
- Mark the screw holes: Once the bracket is properly positioned, use a pencil or marker to mark the screw holes on the wall or window frame. Make sure these marks are clearly visible and aligned with the holes on the bracket.
- Drill pilot holes: Using an appropriate drill bit, drill pilot holes at the marked positions. The size of the drill bit should match the size of the screws provided with the mounting bracket.
- Attach the bracket: Align the bracket with the drilled pilot holes and secure it in place using the provided screws. Use a screwdriver or a drill to tighten the screws, ensuring a sturdy and secure attachment.
- Check stability: Once the bracket is installed, give it a gentle shake to check its stability. It should be firmly affixed to the wall or window frame, without any wobbling or noticeable movement.
- Follow any additional instructions: Some air conditioner units may require additional steps or adjustments for mounting the bracket. Refer to the manufacturer’s instructions for any specific requirements and follow them accordingly.
By completing this step, you have successfully installed the mounting bracket, providing a secure base for your air conditioner unit. With the bracket in place, you are now ready to move on to the next step of the installation process.
Make sure to properly measure the space where you want to install the air conditioner to ensure it will fit. Also, check the electrical requirements and make sure you have the necessary tools and equipment before starting the installation process.
Step 5: Secure the Air Conditioner Unit onto the Bracket
Now that the mounting bracket is installed, it’s time to secure the air conditioner unit onto it. This step will ensure that the unit remains stable and properly aligned. Here’s how to securely attach the air conditioner unit to the bracket:
- Refer to the manufacturer’s instructions: Before proceeding, carefully review the air conditioner’s manual for specific instructions on how to attach the unit to the mounting bracket. Different models may have variations in the installation process, so it’s important to follow the manufacturer’s guidelines.
- Position the unit: Lift the air conditioner unit and carefully position it onto the mounting bracket. Align the unit’s mounting holes with the holes on the bracket, ensuring a proper fit.
- Insert and tighten the screws: Insert the screws provided with the unit into the mounting holes and tighten them securely using a screwdriver or a drill. Make sure the screws are tightened evenly to ensure a balanced and stable attachment.
- Check for stability: Once the unit is securely attached, give it a gentle shake to ensure that it is stable and doesn’t move or wobble. If you notice any instability, check the screws for proper tightening or consult the manufacturer’s instructions for troubleshooting.
- Follow any additional instructions: Some air conditioner units may have additional requirements for securing the unit onto the bracket, such as using additional support brackets or brackets connecting the indoor and outdoor units. Refer to the manufacturer’s instructions for any specific recommendations and follow them accordingly.
- Ensure proper air flow: Before finalizing the installation, ensure that there is proper airflow around the air conditioner unit. Remove any obstructions such as curtains, furniture, or debris that might block the airflow and hinder the unit’s performance.
By completing this step, you have successfully secured the air conditioner unit onto the mounting bracket. The unit should now be sturdily attached and properly aligned, ready for the next step in the installation process.
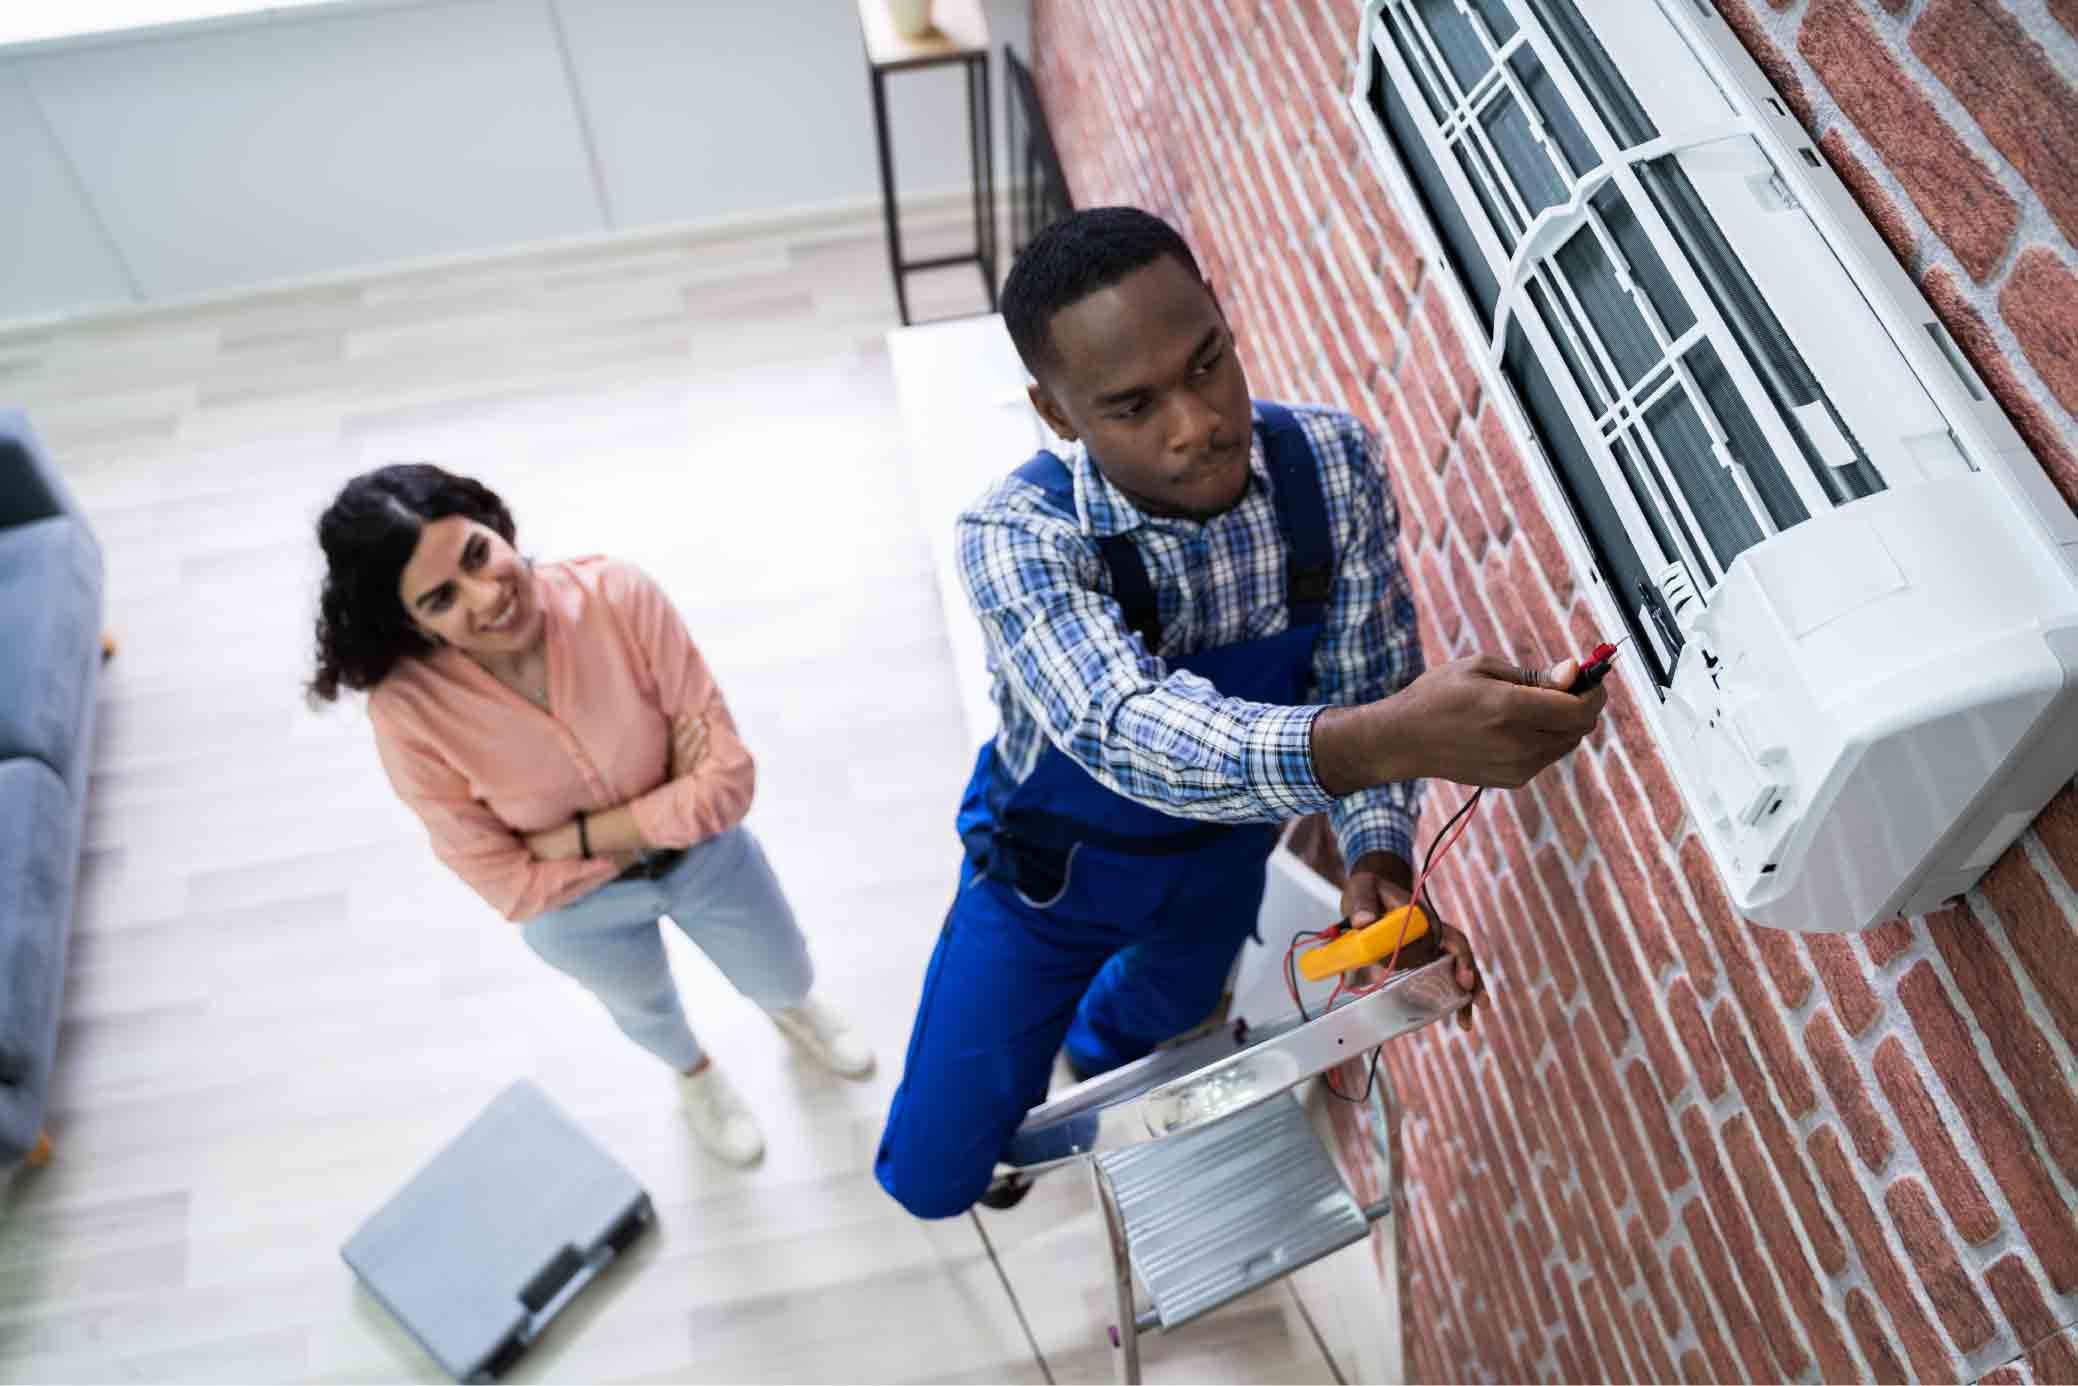
Step 6: Connect the Electrical Wiring
Connecting the electrical wiring is a critical step in the air conditioner installation process. It ensures that the unit receives the necessary power supply for operation. Here’s a step-by-step guide on how to connect the electrical wiring:
- Turn off the power: Before starting any electrical work, make sure to turn off the power to the area where you will be installing the air conditioner. Locate the circuit breaker or fuse box and switch off the corresponding circuit to ensure safety during the wiring process.
- Refer to the manufacturer’s instructions: Every air conditioner unit has specific wiring requirements, so it’s crucial to carefully read and follow the manufacturer’s instructions. These instructions will provide clear guidelines on how to connect the electrical wiring.
- Prepare the electrical wiring: Strip the insulation from the electrical wires using a wire stripper to expose the bare wire for connections. If necessary, separate and label the wires to ensure the correct connections later on.
- Locate the electrical panel: Find the electrical panel on the air conditioner unit. This panel typically houses the main power supply connections and may require removing a cover or panel to access.
- Make the connections: Connect the corresponding wires according to the manufacturer’s instructions. Typically, there will be three main connections: the hot wire (usually colored black), the neutral wire (usually colored white), and the ground wire (usually colored green or bare copper). Ensure a secure and tight connection for each wire.
- Use wire nuts or electrical connectors: To secure the electrical connections, twist the exposed ends of the wires together and cover them with wire nuts or electrical connectors. Tighten the wire nuts securely to ensure a reliable connection.
- Test the connections: After making the electrical connections, use an electrical tester to verify that there is no power flowing through the wires. This step is essential for safety and to avoid accidental electrical shocks during the installation process.
- Secure the panel: Once all the electrical connections are made and tested, secure the electrical panel back onto the air conditioner unit, ensuring it is properly aligned and fastened.
- Double-check the connections: Before proceeding, double-check all the connections to ensure they are tightly secured and properly insulated. Loose or faulty connections can cause electrical issues or damage the air conditioner unit.
By following these steps carefully and consulting the manufacturer’s instructions, you will be able to safely and successfully connect the electrical wiring for your air conditioner unit. Once the wiring is connected, you can move on to the next step and complete the installation process.
Step 7: Test the Air Conditioner
After completing the installation of the air conditioner unit and connecting the electrical wiring, it’s time to test the unit to ensure proper functioning. Testing the air conditioner will ensure that it cools effectively, operates smoothly, and addresses any potential issues before regular use. Here’s how to test the air conditioner:
- Turn on the power: Switch on the circuit breaker or fuse that supplies power to the air conditioner unit. This will provide the necessary electrical power for the unit to operate.
- Set the thermostat: Adjust the thermostat or temperature settings to a lower temperature than the current room temperature. This will activate the air conditioner and initiate the cooling process.
- Listen for proper operation: Listen for any unusual noises coming from the air conditioner unit during startup and operation. The unit should run smoothly and quietly, indicating proper functioning. If you notice any strange or loud noises, it may indicate a problem that requires further investigation or adjustment.
- Check for proper airflow: Feel for the airflow coming from the air conditioner vents. It should be a strong and consistent flow of cool air. If the airflow is weak or inconsistent, it may indicate a blockage or a problem with the unit’s fan or air ducts.
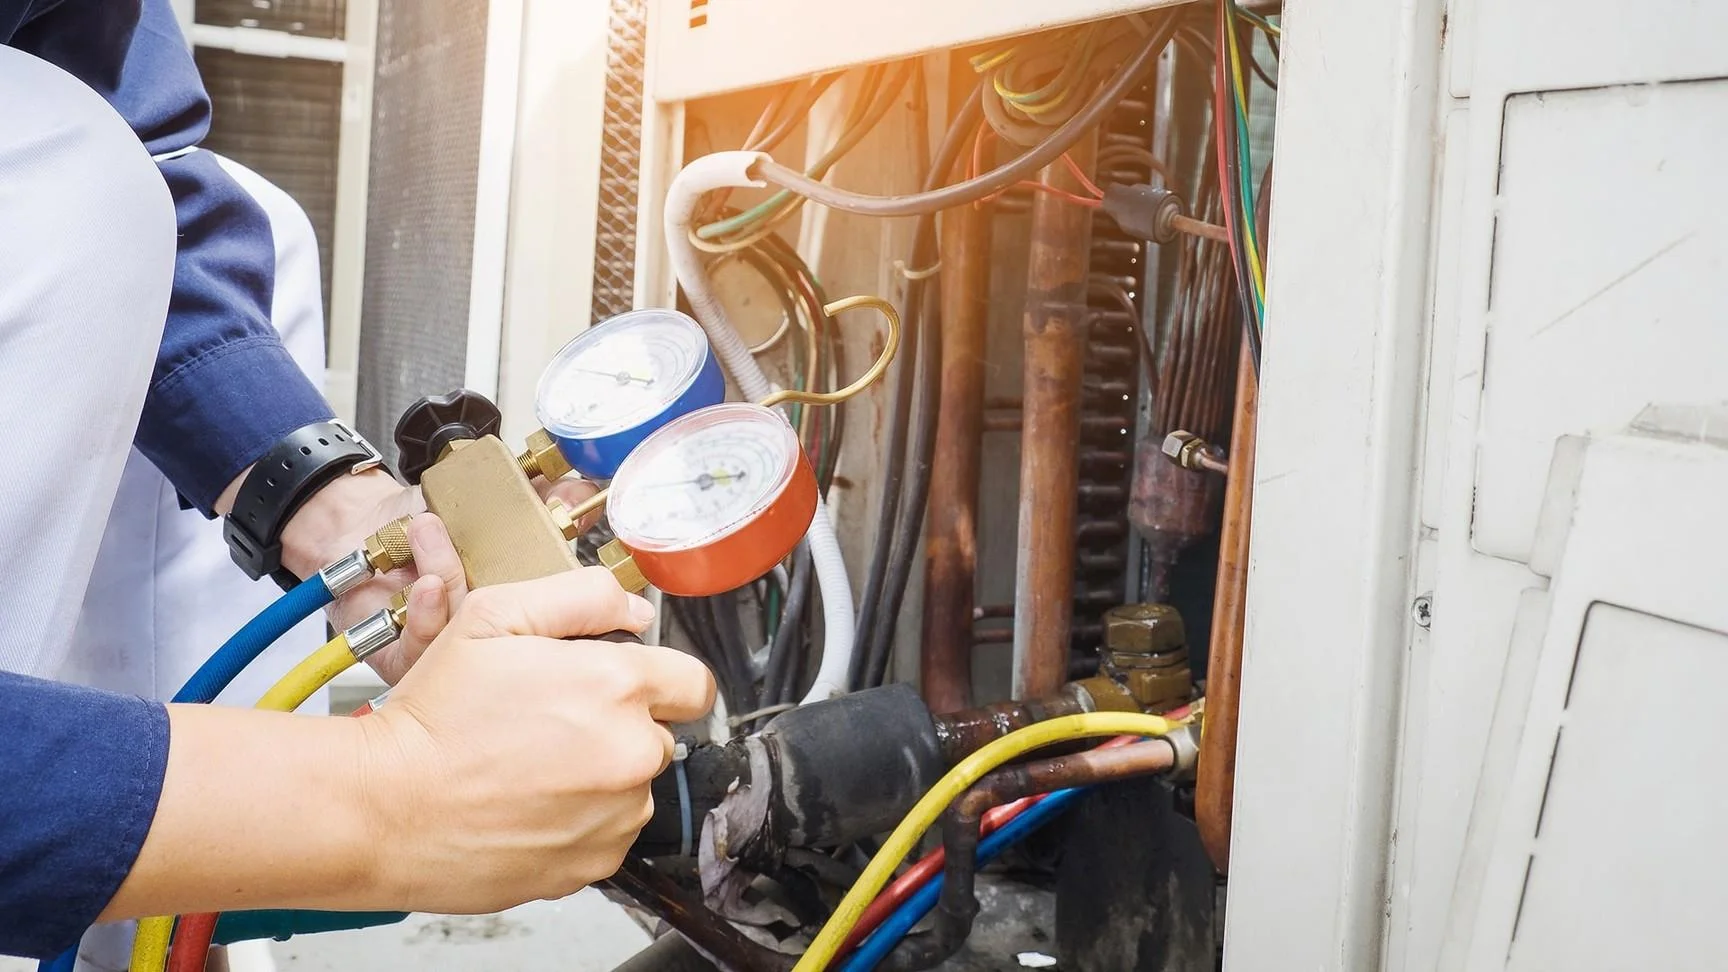
- Monitor cooling performance: Allow the air conditioner to run for a while and monitor the cooling performance. Check if the temperature in the room begins to decrease and if the air conditioner maintains a comfortable and consistent cool temperature. If the unit is unable to cool the room or if the temperature fluctuates, there may be an issue with the air conditioner’s refrigerant levels or thermostat calibration.
- Inspect for leaks and condensation: Check around the air conditioner unit for any signs of leaks or excessive condensation. Leaks or excessive condensation could indicate a refrigerant or drainage issue that needs addressing. If you notice any leaks, consult a professional for assistance.
- Test the different modes and features: Experiment with different settings, modes, and features of the air conditioner to ensure they function properly. This may include adjusting fan speeds, exploring sleep modes, or testing additional features such as timers or remote controls.
- Keep an eye on energy consumption: Monitor your energy consumption while the air conditioner is running. If you notice a significant increase in energy usage, it may indicate an inefficiency or problem with the unit. Consider scheduling regular maintenance checks to optimize efficiency and reduce energy consumption.
By thoroughly testing the air conditioner unit, you can identify any potential issues, ensure optimal performance, and make any necessary adjustments before relying on it for regular cooling. If you encounter any problems during testing, consult the manufacturer’s instructions or seek assistance from a professional to address the issue.
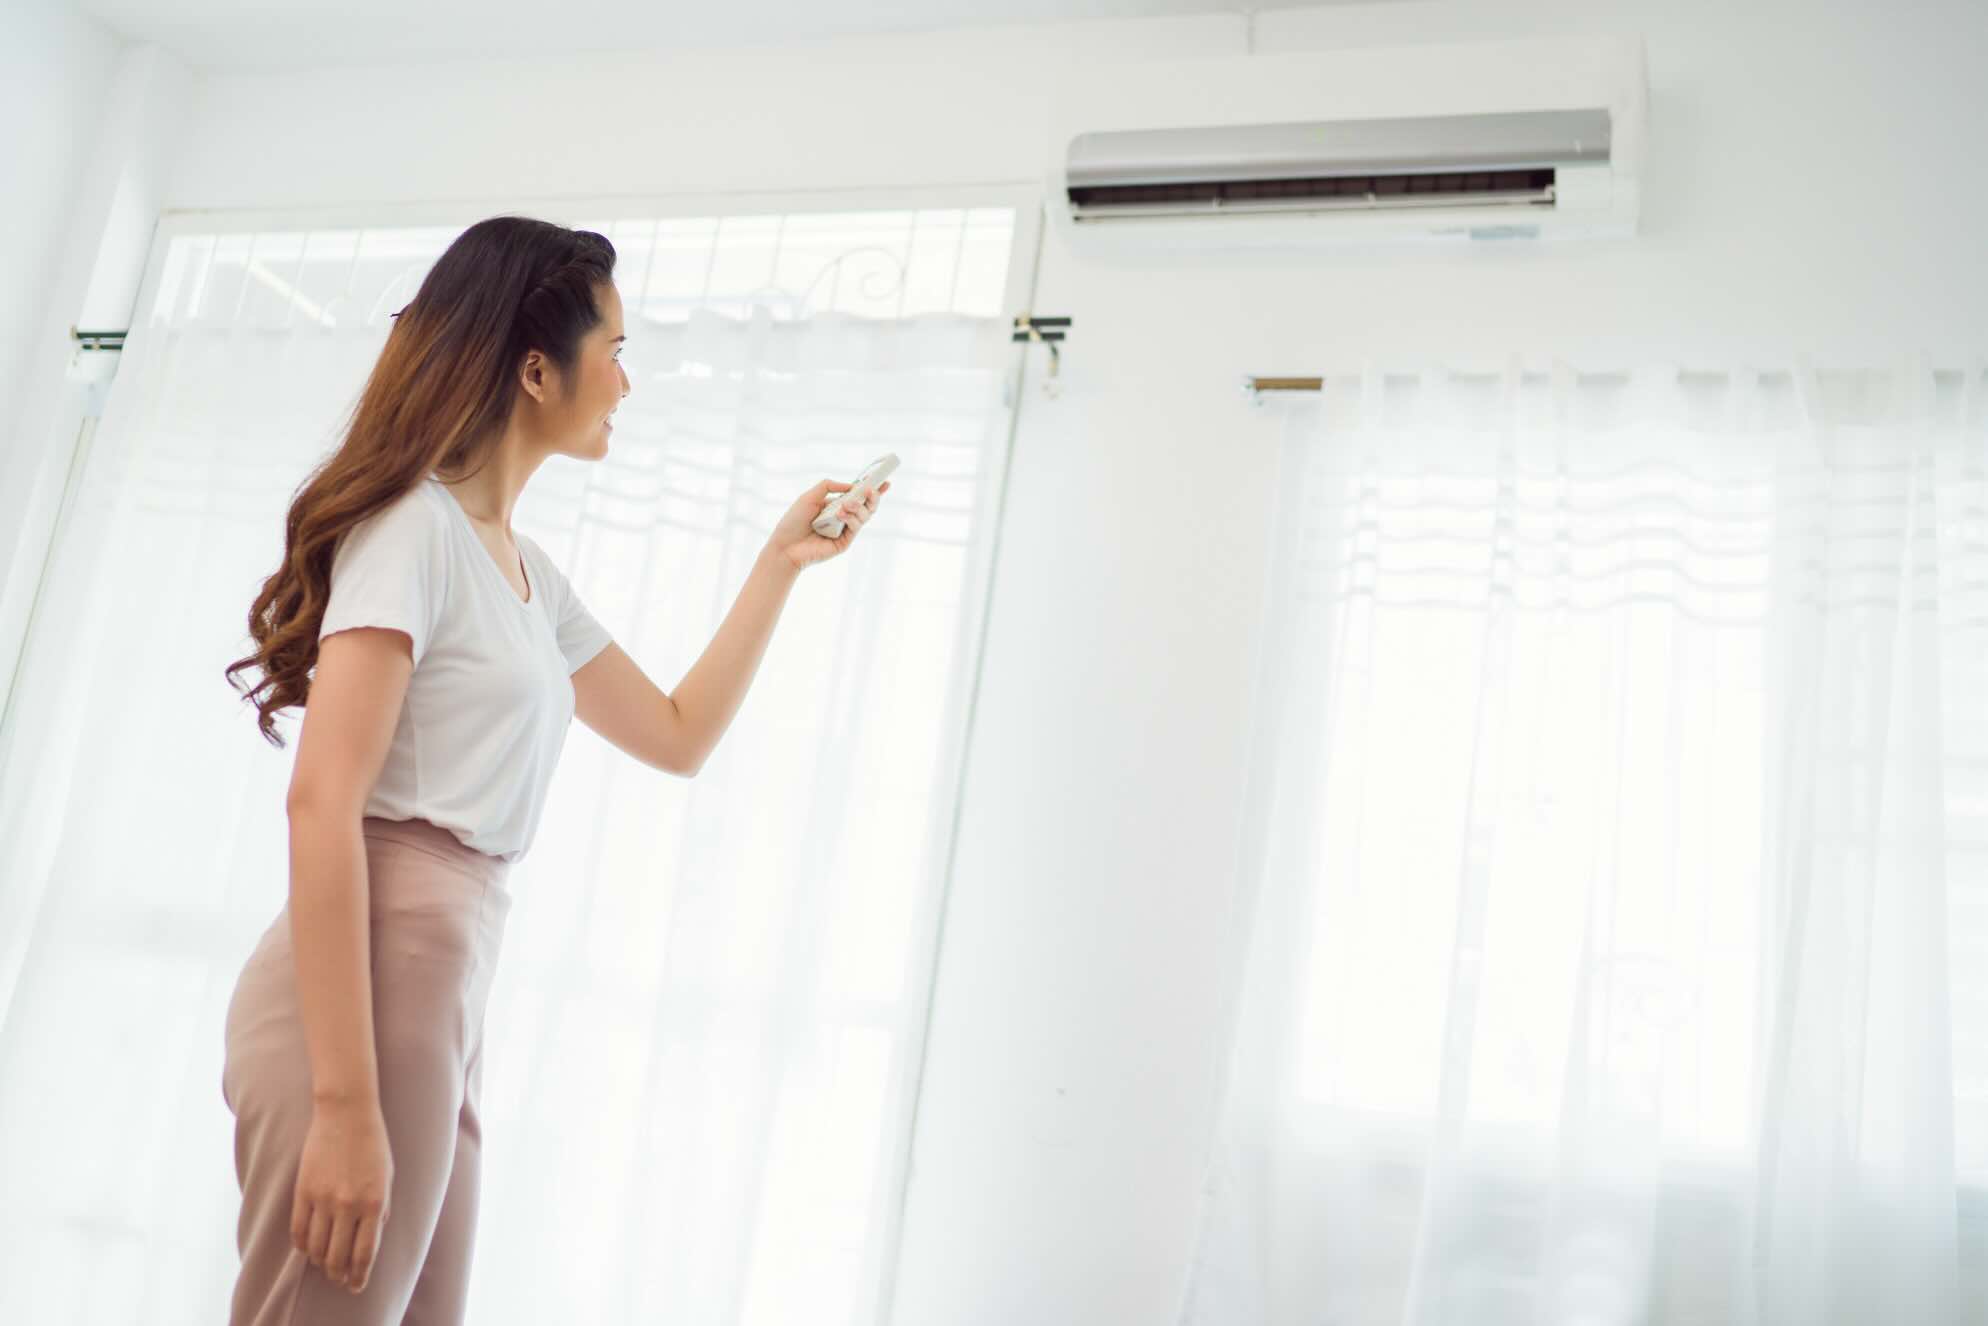
Step 8: Adjust the Settings and Enjoy the Cool Air
After successfully testing the air conditioner and ensuring its proper functionality, it’s time to make the necessary adjustments and start enjoying the cool and refreshing air it provides. Here are the final steps in the installation process:
- Set your desired temperature: Adjust the thermostat or temperature settings to your desired level of comfort. You can choose a temperature that suits your preference and allows for efficient cooling. It’s recommended to set the temperature a few degrees higher when you’re away from home to save energy.
- Explore different modes and settings: Familiarize yourself with the different modes and settings available on your air conditioner unit. You may have options such as fan mode, sleep mode, or energy-saving mode. Experiment with these modes to find the one that works best for your needs.
- Use a programmable thermostat: If your air conditioner unit is equipped with a programmable thermostat, take advantage of this feature. Program the thermostat to automatically adjust the temperature based on your schedule, saving energy while ensuring a comfortable environment when you’re at home.
- Keep the filters clean: Regularly clean or replace the air filters to ensure proper airflow and maintain the efficiency of the air conditioner. Clogged or dirty filters can restrict airflow and reduce the unit’s cooling capacity. Follow the manufacturer’s instructions on how to clean or replace the filters.
- Maintain regular maintenance: Schedule regular maintenance checks for your air conditioner unit. This will help ensure its longevity, efficiency, and optimal performance. A professional technician can inspect and tune up the unit, making any necessary adjustments or repairs.
- Consider energy-saving practices: Implement energy-saving practices to maximize efficiency and reduce your energy consumption. Use blinds or curtains to block direct sunlight, seal any air leaks around windows and doors, and avoid setting the temperature too low, as each degree lower can significantly increase energy usage.
- Enjoy the cool air: Finally, sit back, relax, and enjoy the cool and comfortable environment provided by your newly installed air conditioner. Bask in the refreshing air and relish in the relief it brings from hot and humid weather.
By adjusting the settings and following these final steps, you can fully enjoy the benefits of your air conditioner unit and create a comfortable indoor environment. Regular maintenance and responsible use will ensure its longevity and efficiency for years to come.
Conclusion
Congratulations! You have successfully learned how to install an air conditioner in your home. By following the step-by-step guide provided in this article, you have gained the knowledge and confidence to tackle this home improvement project on your own. Installing an air conditioner not only provides relief from hot and humid weather but also enhances the comfort and quality of your indoor living spaces.
Throughout the installation process, you learned how to determine the suitable location for the air conditioner, gather the necessary tools and equipment, prepare the installation area, install the mounting bracket, connect the electrical wiring, test the unit, and adjust the settings for optimal performance. These steps ensure a secure, efficient, and smooth installation process.
Remember, safety should always be a priority when working with electrical wiring and heavy equipment. If you ever feel unsure or uncomfortable during the installation process, it is recommended to seek the assistance of a qualified professional to avoid any potential risks or damages.
Once your air conditioner is installed and operating, regularly maintaining the unit, keeping the filters clean, and practicing energy-saving habits will maximize its performance and energy efficiency. Schedule routine maintenance checks by a professional technician to ensure that your air conditioner operates at its best year after year.
Now that you have successfully installed your air conditioner, you can enjoy the cool and refreshing air it provides, creating a comfortable and enjoyable living environment. Sit back, relax, and relish in the relief it brings during the hot summer months.
Thank you for choosing our guide for your air conditioner installation journey. We hope you found this article helpful and informative. Stay cool and enjoy the benefits of your newly installed air conditioner!
Frequently Asked Questions about How To Install An Air Conditioner
Was this page helpful?
At Storables.com, we guarantee accurate and reliable information. Our content, validated by Expert Board Contributors, is crafted following stringent Editorial Policies. We're committed to providing you with well-researched, expert-backed insights for all your informational needs.