Home>Home Maintenance>How To Replace An Air Conditioner
Home Maintenance
How To Replace An Air Conditioner
Modified: March 7, 2024
Learn how to replace an air conditioner with our step-by-step guide. Save money on home maintenance and keep your space cool and comfortable.
(Many of the links in this article redirect to a specific reviewed product. Your purchase of these products through affiliate links helps to generate commission for Storables.com, at no extra cost. Learn more)
Introduction
Replacing an air conditioner is a task that homeowners may need to tackle at some point to ensure their home remains cool and comfortable during the hot summer months. Whether you are upgrading to a more energy-efficient model or your current unit is on its last legs, knowing how to replace an air conditioner can save you time and money.
While hiring a professional may be an option for some, learning the fundamentals of installing a new air conditioner can be empowering and give you the confidence to handle home maintenance projects on your own. In this article, we will guide you through the step-by-step process of replacing an air conditioner, from turning off the power to testing the new unit.
Before we jump into the details, it’s important to note that working with electrical systems can be dangerous if you are not experienced or comfortable doing so. If you have any doubts or concerns about your ability to safely handle the power supply, it’s best to consult with a licensed electrician or HVAC professional.
With that said, if you’re ready to take on the challenge and save some money in the process, let’s get started with the first step: turning off the power.
Key Takeaways:
- Save time and money by learning how to replace your own air conditioner. Prioritize safety and follow step-by-step instructions for a successful DIY project.
- Gain confidence in home maintenance by following the guide to replace an air conditioner. Remember to prioritize safety and seek professional help if unsure.
Read more: How To Replace An Air Conditioner Compressor
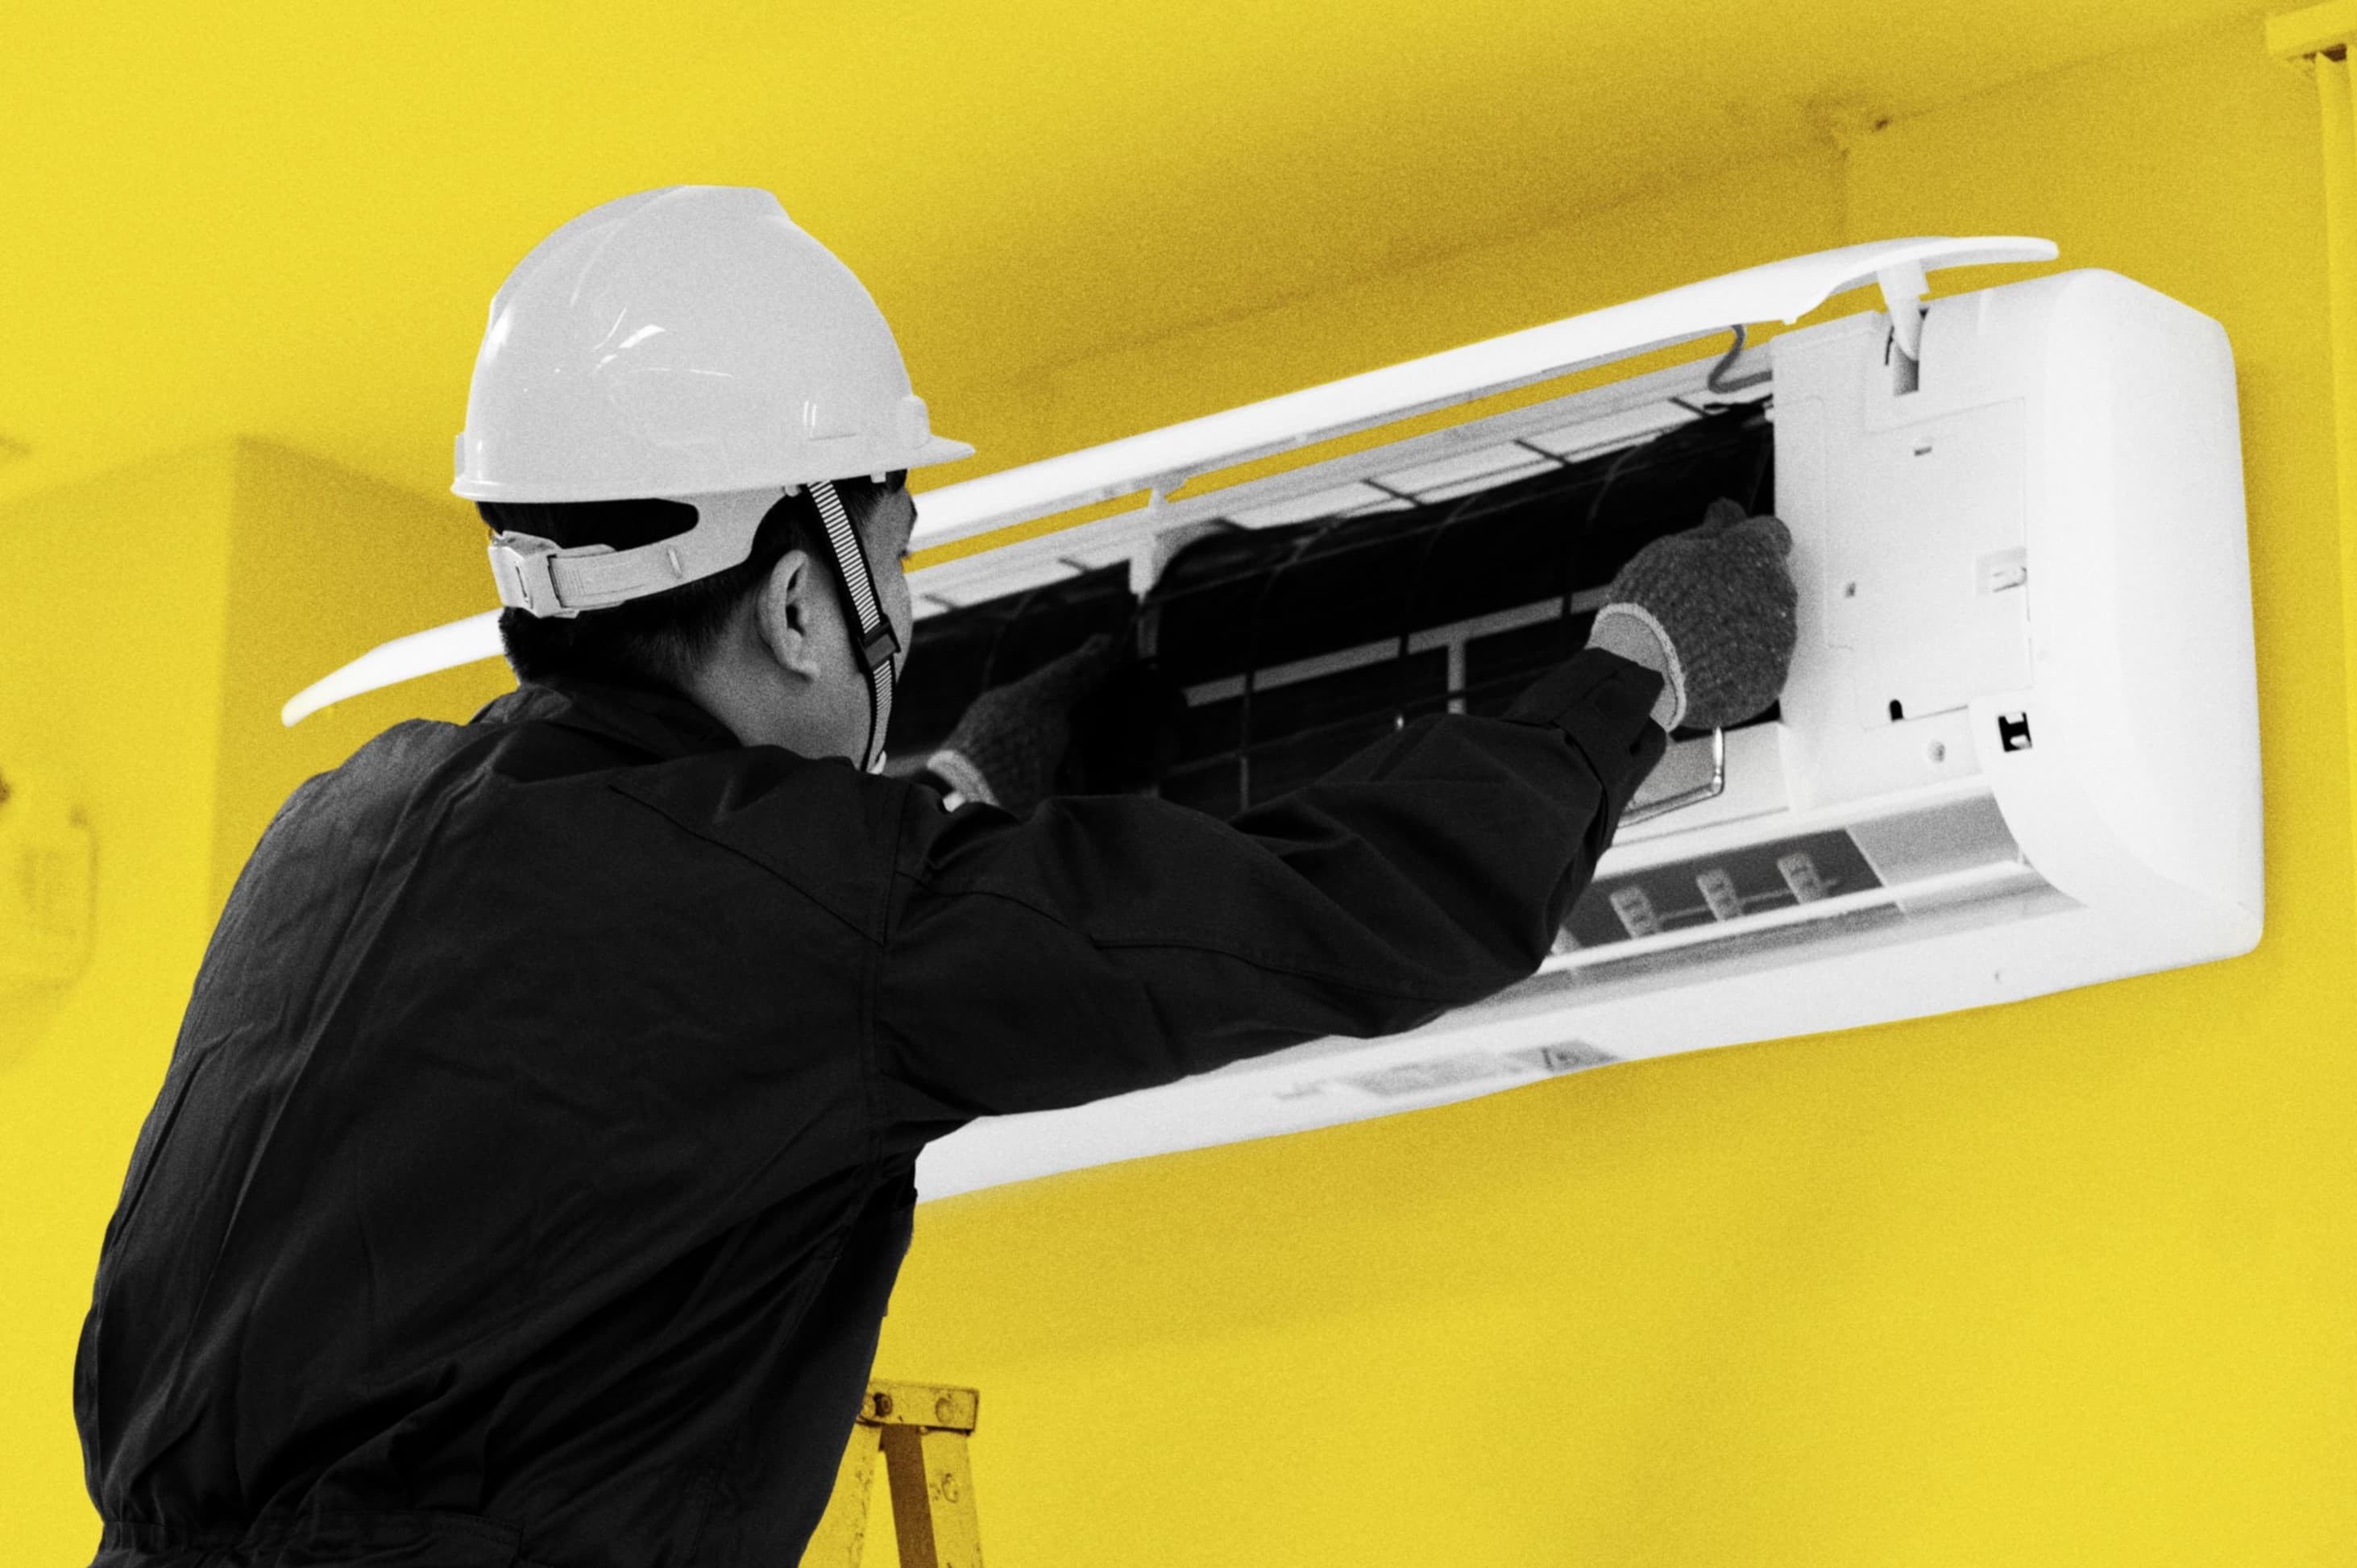
Step 1: Turn off the power
Before beginning any work on your air conditioner, it is crucial to ensure that the power is completely turned off. This step will help protect you from electrical shocks and prevent any damage to the system.
Here’s how you can safely turn off the power to your air conditioner:
- Locate the circuit breaker or the electrical disconnect switch for your air conditioner. These are usually found near the outdoor unit.
- Open the circuit breaker box or electrical panel cover.
- Identify the breaker or switch that controls the power supply to your air conditioner. It is often labeled as “AC” or “air conditioner.”
- Flip the switch or turn off the corresponding breaker to cut off the power supply.
Once you have turned off the power, it is recommended to place a piece of tape or a note over the switch or breaker to remind yourself and others that it should not be turned on while you are working on the air conditioner.
Remember, safety should always be a top priority when working with electrical systems. If you are unsure about any step or uncomfortable working with electricity, it is best to seek assistance from a professional.
With the power turned off, you can now proceed to the next step: removing the old air conditioner.
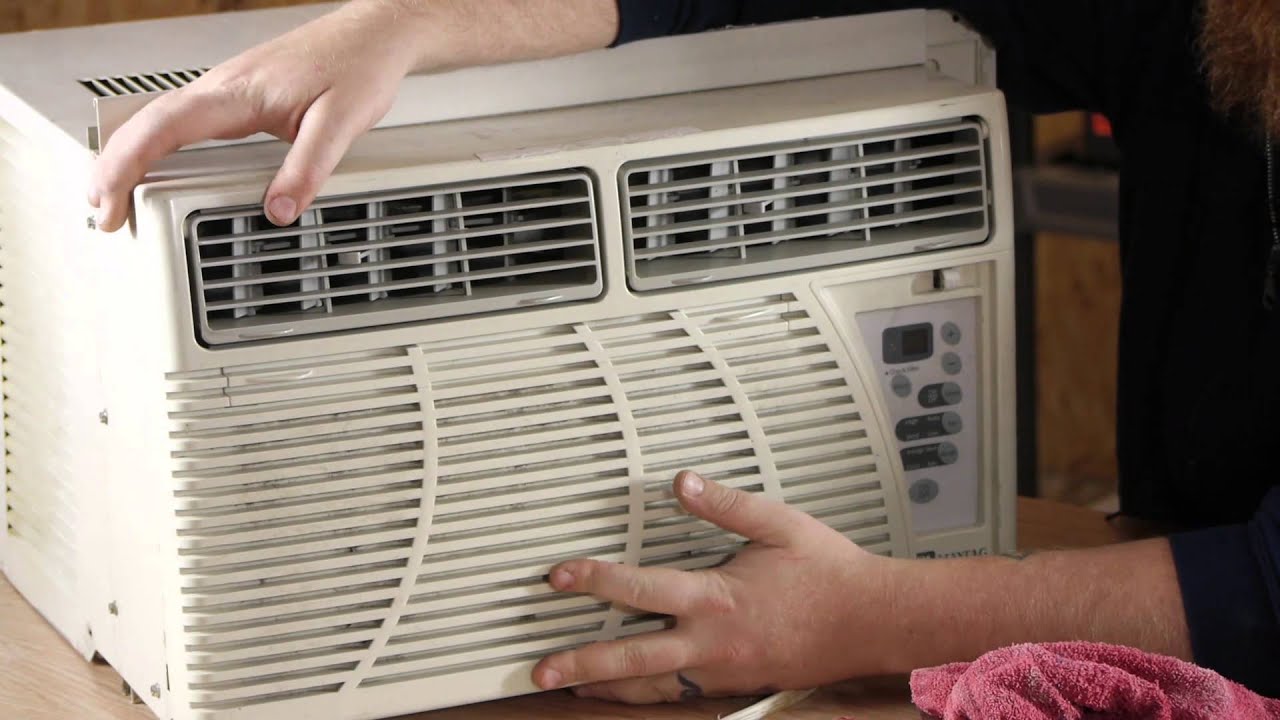
Step 2: Remove the old air conditioner
Now that the power is safely turned off, you can start removing the old air conditioner. Here’s a step-by-step guide to help you with the process:
- Start by removing the access panel or covers from the outdoor unit. These are typically secured with screws or clips.
- Using a screwdriver or wrench, disconnect the electrical wires connected to the unit. Be sure to note the color-coded wires and their corresponding terminals for easy reinstallation later.
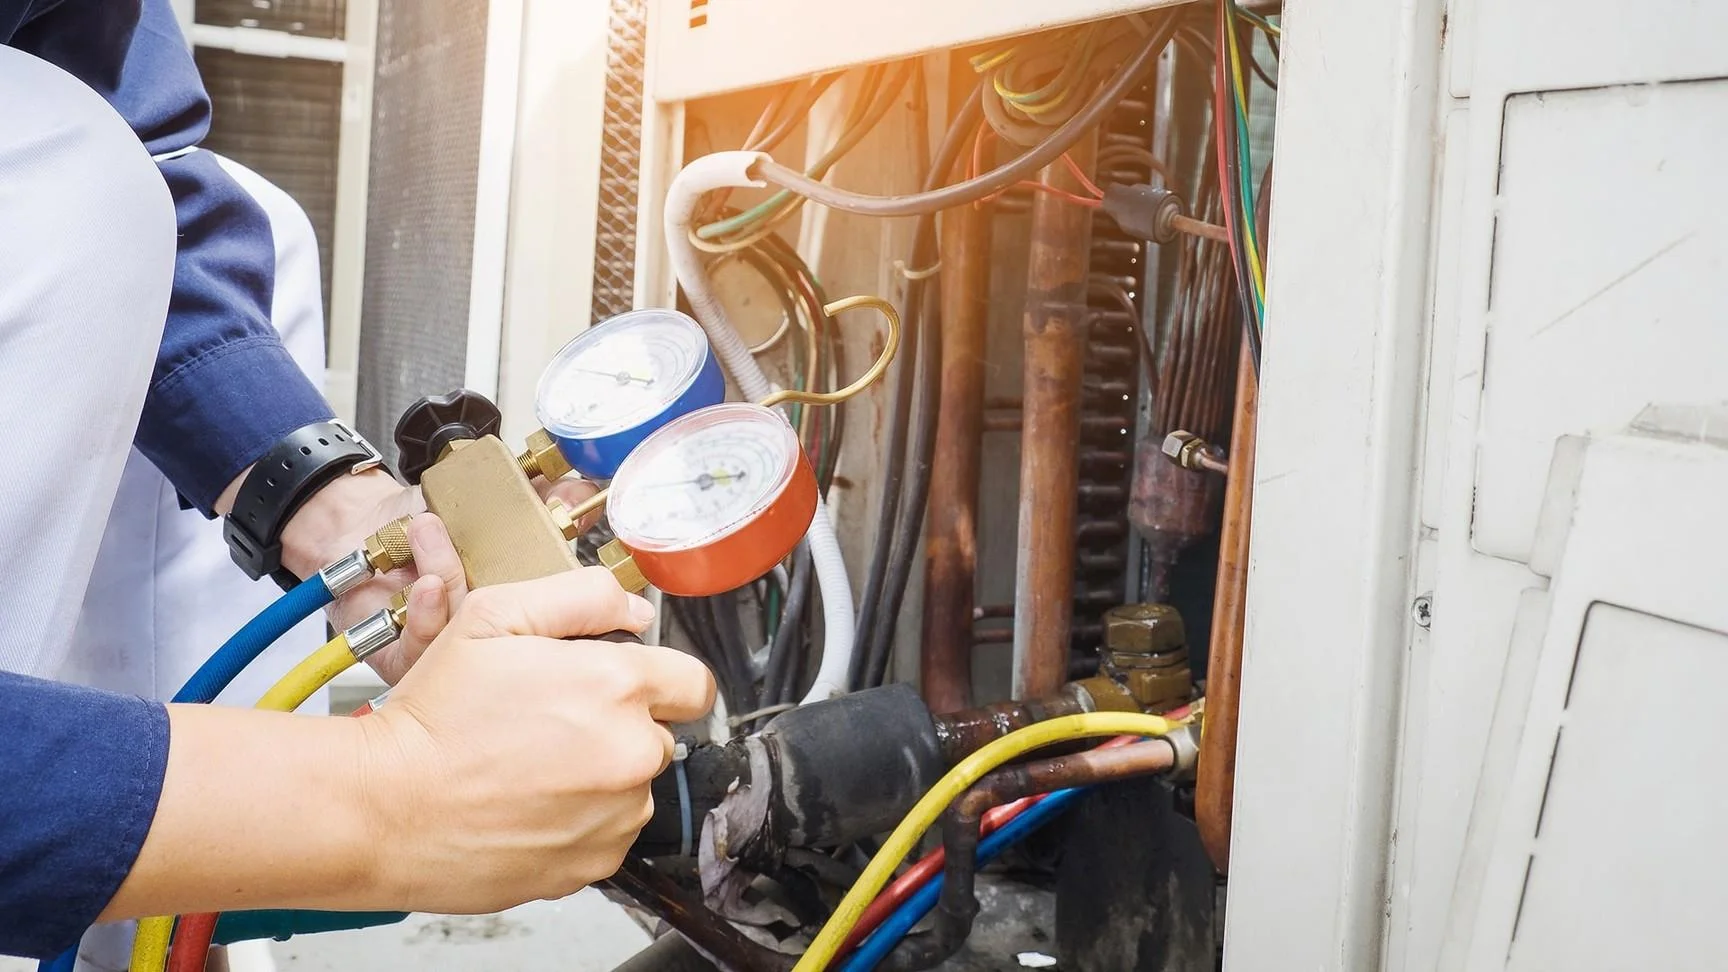
- Next, locate the refrigerant lines connected to the air conditioner. These are usually insulated copper pipes. Use an adjustable wrench to disconnect these lines from the unit. Be prepared for some refrigerant to escape when disconnecting the lines.
- Once the electrical wires and refrigerant lines are disconnected, carefully lift and remove the old air conditioner from its mounting brackets or platform. You may need assistance with this step, as air conditioners can be heavy.
- Place the old air conditioner in a safe and secure location, as it may contain refrigerant or other hazardous materials. Contact your local waste management or recycling center for proper disposal instructions.
With the old air conditioner removed, you are now ready to prepare for the installation of the new unit. Keep reading to learn about the next step: preparing the new air conditioner.
Step 3: Prepare the new air conditioner
With the old air conditioner removed, it’s time to prepare the new unit for installation. Proper preparation ensures a smooth and efficient installation process. Here’s what you need to do:
- Read the manufacturer’s instructions: Before you begin, carefully read and follow the manufacturer’s instructions that come with the new air conditioner. These instructions provide specific guidelines for your particular model.
- Inspect the new unit: Thoroughly inspect the new air conditioner for any visible damage or defects. Look for dents, bent fins, or any loose parts. If you notice any issues, contact the manufacturer or retailer for assistance.
- Prepare the mounting area: Ensure that the area where the new air conditioner will be installed is clean and free from debris. Remove any obstacles or obstructions that may hinder the installation process.
- Review the electrical requirements: Check the electrical requirements of the new air conditioner. Ensure that your home’s electrical system can handle the power requirements of the unit. If necessary, consult with a licensed electrician to make any necessary upgrades or adjustments.
- Prepare the refrigerant lines: If the new air conditioner does not come pre-charged with refrigerant, you will need to have a professional HVAC technician connect and charge the unit. Make arrangements for this service if required.
- Get the necessary tools and equipment: Gather all the tools and equipment you will need for the installation process. This may include a screwdriver, wrench, level, and duct tape, among others. Having everything ready beforehand will save you time and effort.
By following these preparation steps, you will be well-equipped to proceed with the installation of the new air conditioner. Continue reading to learn about the next step: installing the new air conditioner.
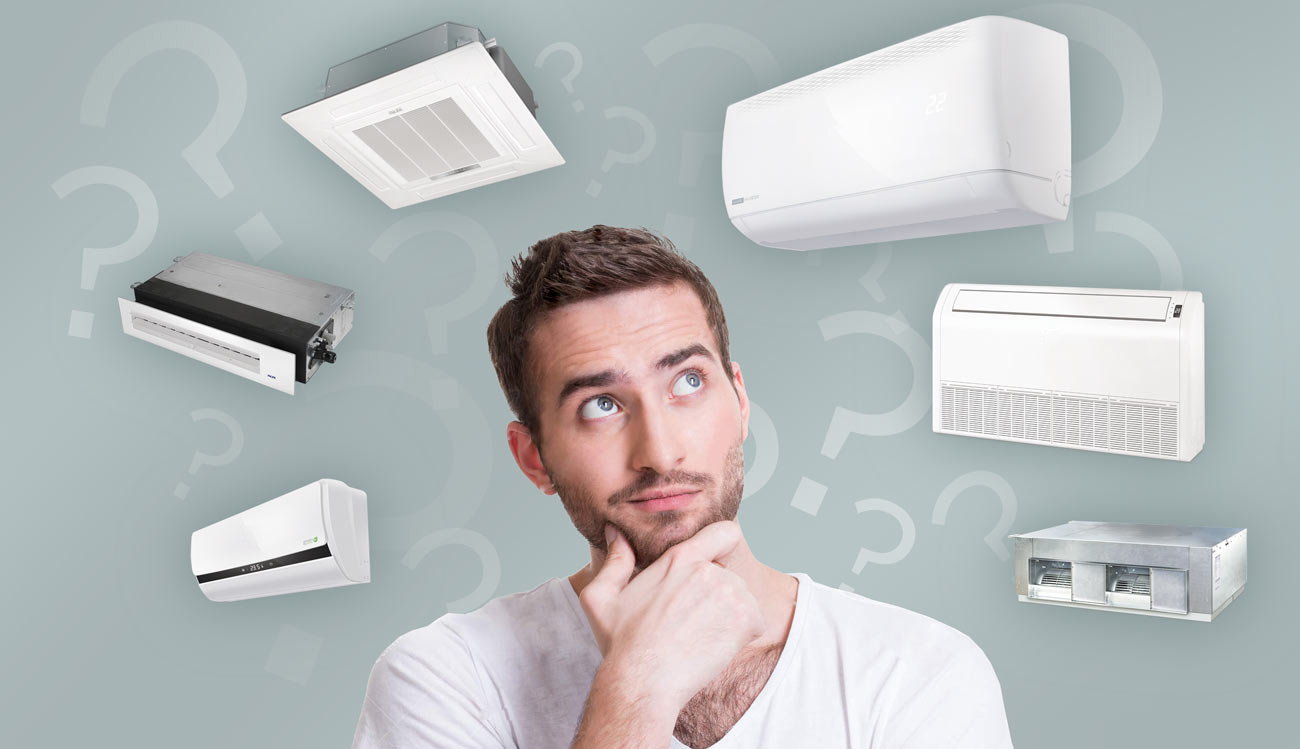
When replacing an air conditioner, make sure to properly size the new unit for your home to ensure efficient cooling and energy savings. Consult with a professional to determine the right size for your space.
Step 4: Install the new air conditioner
Now that you have prepared the new air conditioner, it’s time to install it. Proper installation ensures optimal performance and efficiency. Follow these steps to install the new unit:
- Position the unit: Carefully place the new air conditioner in the designated mounting area. Ensure that it is level and properly aligned with the mounting brackets or platform.
- Secure the unit: Once in position, securely fasten the new air conditioner to the mounting brackets or platform. Use screws or bolts provided by the manufacturer, following their instructions for proper installation.
- Connect electrical wires: Reconnect the electrical wires to the new air conditioner. Refer to your notes from the old unit to ensure you connect the wires correctly. Tighten any terminal connections as needed.
- Attach the refrigerant lines: If you disconnected the refrigerant lines during the removal of the old unit, now is the time to reconnect them to the new air conditioner. Use an adjustable wrench to tighten the connections, ensuring they are secure.
- Insulate the refrigerant lines: Wrap the refrigerant lines with insulation to prevent heat loss or gain. This will improve the efficiency of your air conditioner. Use duct tape or insulation tape to secure the insulation in place.
- Double-check all connections: Before proceeding, double-check all connections to ensure they are secure and properly tightened. This will help prevent any issues or leaks during operation.
Once you have completed the installation process, it’s time to move on to the final step: testing the new air conditioner.
Read more: How To Replace An RV Air Conditioner
Step 5: Test the new air conditioner
Congratulations on successfully installing the new air conditioner! The final step is to test the unit to ensure it is functioning correctly. Follow these steps to test your new air conditioner:
- Turn on the power: Go back to the circuit breaker or electrical disconnect switch and turn on the power supply to the air conditioner.
- Set the thermostat: Adjust the thermostat settings to a temperature lower than the current room temperature. This will trigger the air conditioner to start cooling.
- Listen for sounds: Pay attention to any unusual or loud sounds coming from the air conditioner. Slight humming or fan noises are normal, but any banging or grinding sounds could indicate a problem that needs further investigation.
- Feel the airflow: Check the air vents or registers to ensure that cool air is coming through. Place your hand near the vents to feel the airflow. If there is weak airflow or no airflow at all, there might be an issue with the installation that needs to be addressed.
- Monitor for leaks: Keep an eye out for any water leaks or condensation around the air conditioner. A small amount of condensation is normal, but excessive water or leaks could indicate drainage problems or other issues.
- Test different settings: Adjust the settings on your thermostat to test different cooling modes and fan speeds. Ensure that the air conditioner responds accordingly and provides the desired cooling effect.
If everything checks out during the testing phase, congratulations! You have successfully replaced and tested your new air conditioner. Enjoy the cool and refreshing air it provides. However, if you encounter any issues or notice any abnormalities, it’s best to contact a professional HVAC technician for further assessment and repairs.
By following the steps outlined in this article, you have gained the knowledge and confidence to replace an air conditioner on your own. Remember, it is essential to prioritize safety and consult with professionals if you are uncertain about any step of the process. With proper care and maintenance, your new air conditioner should keep your home cool and comfortable for years to come.
Thank you for reading, and we hope this guide has been helpful in your home maintenance journey!
Conclusion
Replacing an air conditioner may seem like a daunting task, but with the right knowledge and guidance, it can be a satisfying DIY project. In this article, we have walked you through the step-by-step process of replacing an air conditioner, from turning off the power to testing the new unit. By following these steps, you can save time and money while ensuring your home stays cool and comfortable.
Remember, safety should always be your top priority when working with electrical systems. If you are unsure or uncomfortable with any step, it is best to seek assistance from a professional HVAC technician or licensed electrician.
Throughout the process, we emphasized the importance of preparation, careful installation, and thorough testing. Taking the time to thoroughly read the manufacturer’s instructions and properly preparing the installation area will ensure a smooth and successful replacement. Testing the new air conditioner for proper functionality, airflow, and absence of leaks will give you peace of mind knowing that your HVAC system is operating efficiently.
If you encounter any difficulties or issues during the replacement process, it is always wise to consult with a professional. HVAC systems are complex, and a professional technician can provide the expertise needed to troubleshoot and address any problems.
By learning how to replace an air conditioner, you have gained a valuable skill that can save you money on installation costs and give you the confidence to tackle other home maintenance projects. Remember to stay informed about the latest energy-efficient models and technology to make informed choices for your home’s cooling needs.
We hope that this comprehensive guide has been helpful, and we wish you the best of luck in your air conditioner replacement project!
Frequently Asked Questions about How To Replace An Air Conditioner
Was this page helpful?
At Storables.com, we guarantee accurate and reliable information. Our content, validated by Expert Board Contributors, is crafted following stringent Editorial Policies. We're committed to providing you with well-researched, expert-backed insights for all your informational needs.