Home>Home Maintenance>How To Install A Wall-Mounted Air Conditioner
Home Maintenance
How To Install A Wall-Mounted Air Conditioner
Modified: March 7, 2024
Learn how to install a wall-mounted air conditioner in your home with this helpful home maintenance guide.
(Many of the links in this article redirect to a specific reviewed product. Your purchase of these products through affiliate links helps to generate commission for Storables.com, at no extra cost. Learn more)
Introduction
Welcome to our comprehensive guide on how to install a wall-mounted air conditioner. Keeping your home cool and comfortable during hot summer months is essential, and a well-installed air conditioning unit can make all the difference. Whether you’re looking to upgrade your current cooling system or tackling a DIY project, this step-by-step guide will provide you with the knowledge and confidence to successfully install a wall-mounted air conditioner.
Before we dive into the installation process, it’s important to note that while this guide is designed to be informative and helpful, it is always recommended to consult the manufacturer’s instructions and consider hiring a professional if you are uncertain about any aspect of the installation.
Installing a wall-mounted air conditioner requires careful planning, precise measurements, and attention to detail. By following these steps and considering important factors such as location, electrical connections, and safety precautions, you can ensure a successful installation and avoid any future issues or complications.
So, let’s get started and make your home a cool oasis during those sweltering summer days!
Key Takeaways:
- Proper preparation is essential for installing a wall-mounted air conditioner. Gather tools, check regulations, and assess electrical requirements to ensure a smooth and successful installation.
- Choosing the right location and securely mounting the unit are crucial for optimal performance. Consider airflow, structural integrity, and accessibility when selecting the installation spot.
Read more: How To Install A Wall Mount Sink
Step 1: Preparing for Installation
Before you begin the installation process, it’s crucial to prepare yourself and gather all the necessary tools and equipment. This will ensure a smooth and efficient installation.
1. Read the manufacturer’s instructions: Start by carefully reading the installation manual provided by the manufacturer. This will give you a clear understanding of the steps involved and any specific requirements for your particular wall-mounted air conditioner model.
2. Gather the necessary tools: Make sure you have all the tools you’ll need for the installation process. This may include a drill, screwdrivers, a level, a stud finder, a tape measure, a pencil, and safety equipment such as gloves and goggles. Having these tools readily available will save you time and frustration during the installation.
3. Check for local regulations: Before proceeding, familiarize yourself with any local regulations or building codes that may apply to the installation of an air conditioner. Some areas have specific guidelines regarding unit size, noise restrictions, and distance from neighboring properties. It’s important to adhere to these regulations to avoid any legal issues down the line.
4. Assess the electrical requirements: Determine whether your electrical system can support the power requirements of your air conditioner. If necessary, consult with an electrician to ensure your electrical circuit is properly equipped to handle the load. This will help prevent potential electrical issues and ensure safe operation of your unit.
5. Measure and plan the installation: Take accurate measurements of the wall where you plan to install the air conditioner. Consider factors such as the height, width, and depth of the unit and the distance from other structures such as windows or doors. This will help you choose an appropriate location and ensure the air conditioner fits properly.
By adequately preparing yourself and gathering the necessary tools and information, you’ll be well-equipped to navigate the installation process with confidence and ease.
Step 2: Choosing the Location
Choosing the right location for your wall-mounted air conditioner is crucial for optimal performance and efficiency. The decision should take into account several factors that will impact the unit’s functionality and comfort in your home.
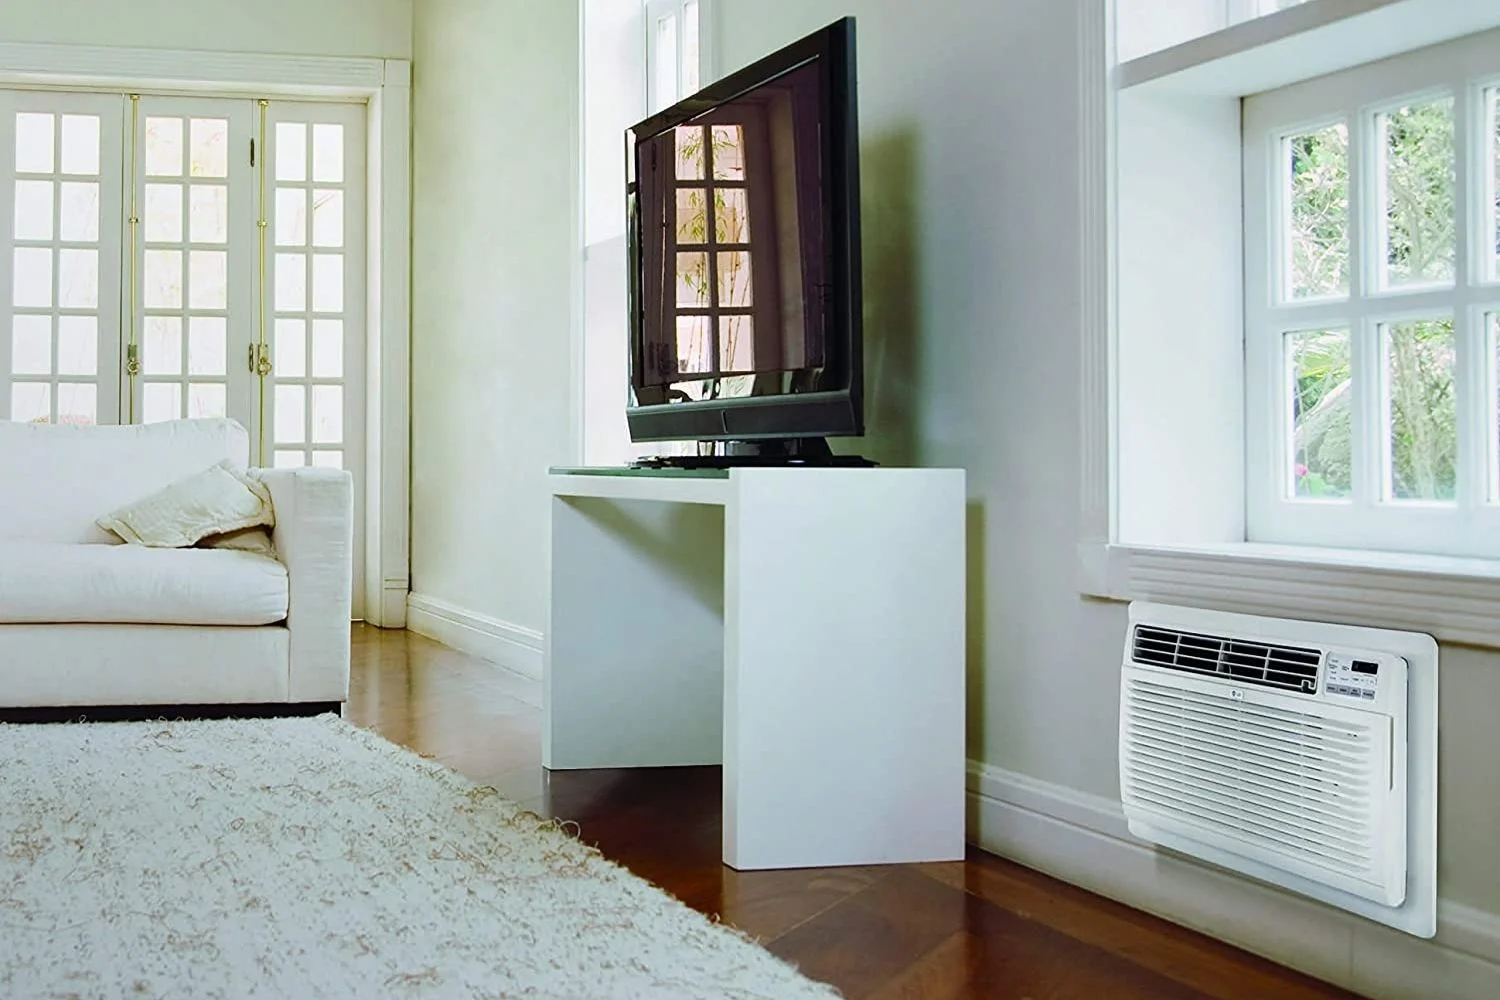
1. Consider the airflow: Look for a location that allows for proper airflow. Avoid placing the unit behind furniture or curtains, as this can restrict airflow and reduce the cooling effectiveness. Ensure that the chosen location provides adequate space for air circulation around the unit.
2. Evaluate the structural integrity: Assess the structural integrity of the wall where you plan to install the air conditioner. The wall should be sturdy enough to support the weight of the unit. Avoid walls with cracks, weak spots, or areas prone to moisture, as this can compromise the installation and potentially cause damage to your home.
3. Take noise into account: It’s important to consider the noise level produced by the air conditioner when selecting the installation spot. If the unit will be installed near a bedroom or living area, choose a location that minimizes noise disruption. Furthermore, ensure the unit is located far enough from neighboring houses or rooms to prevent noise complaints.
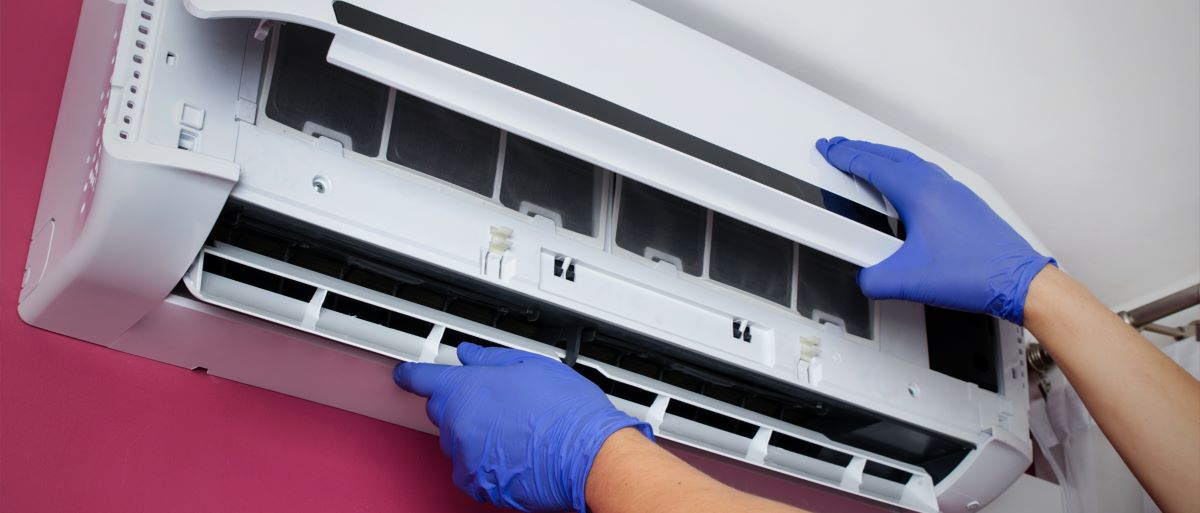
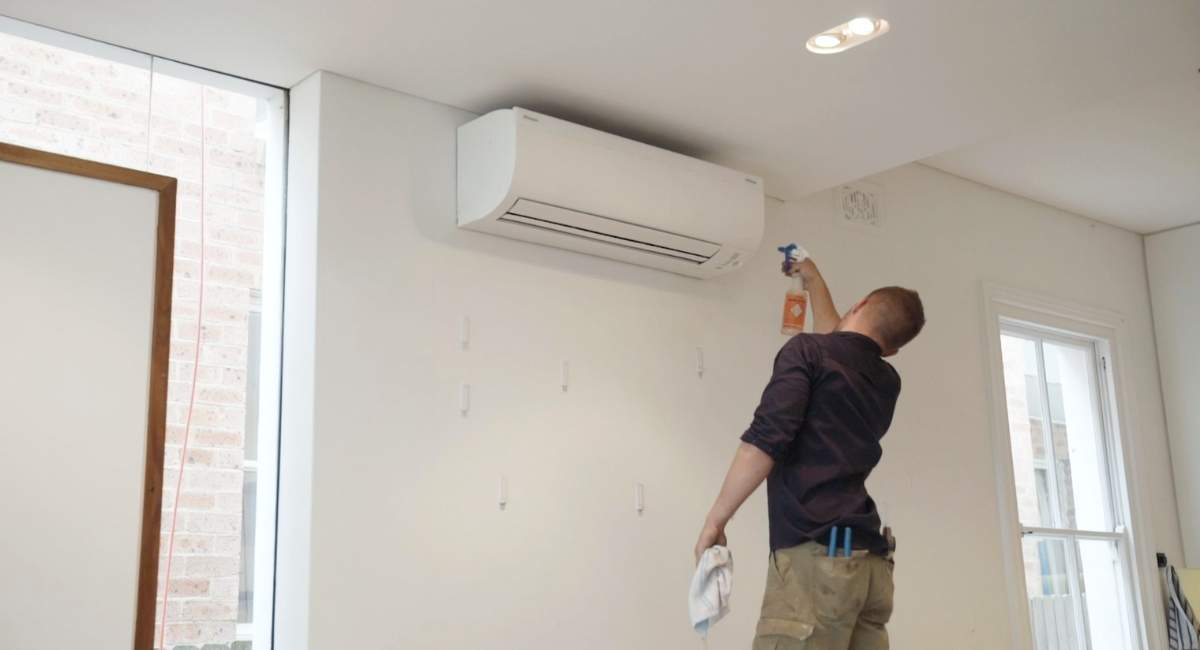
4. Assess the accessibility: Think about the accessibility of the unit for maintenance and servicing. The chosen location should allow for easy access for filter cleaning, repairs, and general maintenance. Avoid placing the unit in hard-to-reach areas that will make it challenging to perform routine upkeep.
5. Check for obstructions: Ensure that there are no obstructions such as trees, bushes, or other structures that could obstruct the airflow of the unit or impede access for future maintenance. Also, consider the positioning of windows and doors to prevent hot air from entering the room when they are opened.
By carefully considering these factors and selecting an optimal location, you can maximize the efficiency and performance of your wall-mounted air conditioner, providing cool and comfortable air throughout your home.
Step 3: Preparing the Wall
Before you start mounting the air conditioner, it’s essential to properly prepare the wall. This involves various steps to ensure a secure and stable installation.
1. Locate wall studs: Use a stud finder to locate the wall studs where you plan to mount the air conditioner bracket. The studs provide the necessary support to hold the unit’s weight. Mark the stud locations with a pencil for reference during the installation process.
2. Clear the area: Remove any objects or furniture from the installation area to create a clear and safe workspace. This will prevent any unnecessary obstacles and potential damage during the installation process.
3. Mark the bracket placement: Hold the air conditioner bracket against the wall, aligning it with the marked stud locations. Use a pencil to mark the screw hole positions on the wall. Double-check the alignment and make any necessary adjustments before proceeding.
4. Drill pilot holes: Using an appropriate drill bit, drill pilot holes into the marked positions on the wall. The size of the pilot holes should match the size of the screws provided with the air conditioner bracket. Take care not to drill too deeply to avoid damaging the wall or wiring behind it.
5. Install wall anchors if needed: If the wall does not have sufficient support or if the installation requires additional stability, use wall anchors to reinforce the mounting. Insert the wall anchors into the pilot holes and tap them gently until they are flush with the wall surface.
6. Attach the bracket: Securely attach the air conditioner bracket to the wall using the provided screws. Make sure the bracket is level and firmly anchored to the wall, ensuring a stable base for the air conditioner unit.
By properly preparing the wall and securing the bracket, you lay the foundation for a safe and reliable installation of your wall-mounted air conditioner. Take your time during this step to ensure everything is correctly aligned and securely attached, as it will greatly impact the success of the overall installation.
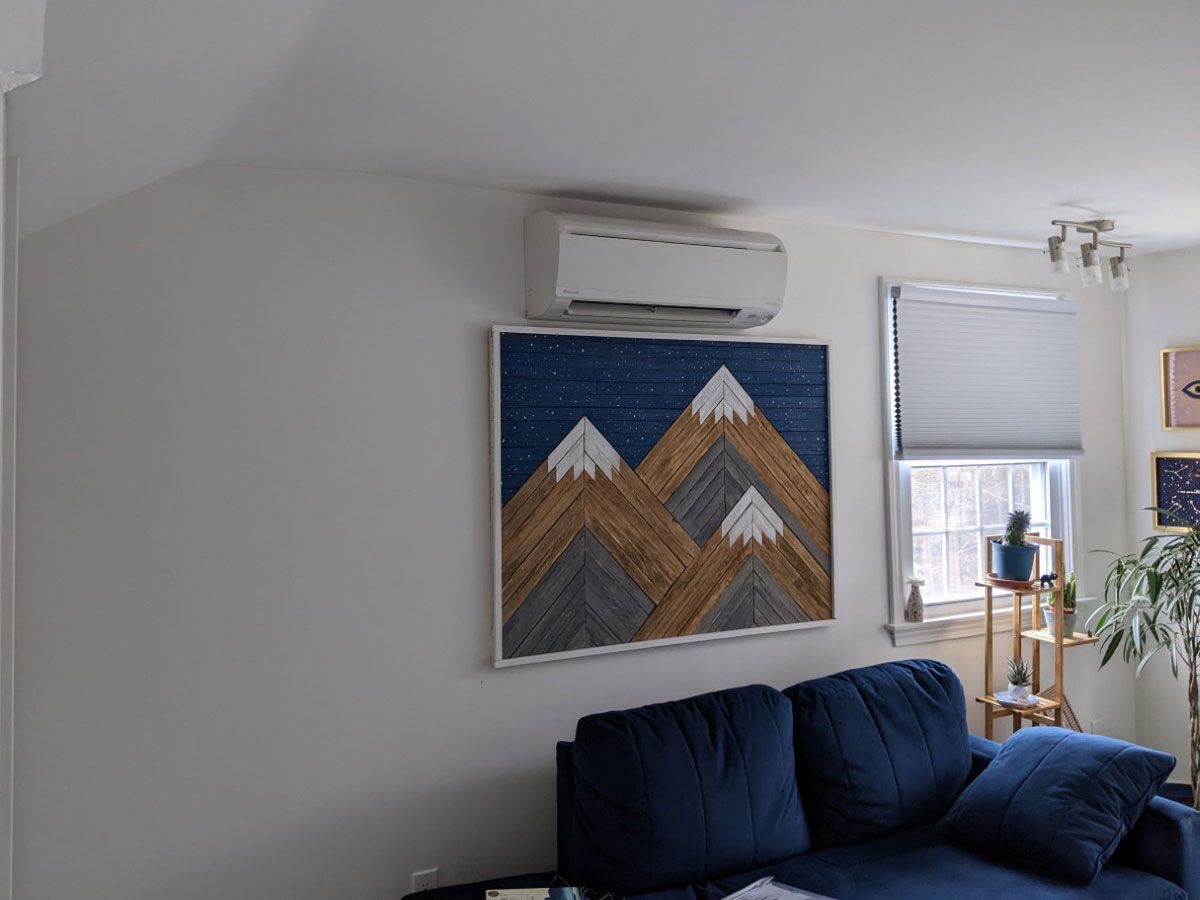
Step 4: Mounting the Air Conditioner Bracket
With the wall prepared, it’s time to install the air conditioner bracket. This crucial step ensures the stability and proper positioning of the unit.
1. Lift the air conditioner unit: Carefully lift the air conditioner unit and set it onto the bracket. Make sure it is securely aligned on the bracket and properly seated in place. The unit should rest evenly on the bracket without any tilting or instability.
2. Secure the unit to the bracket: Depending on the specific model of your air conditioner, there may be various methods to secure the unit to the bracket. Follow the manufacturer’s instructions to ensure the proper attachment. This may involve using screws, bolts, or clips provided with the unit.
3. Double-check the alignment: Once the unit is secured to the bracket, double-check the alignment to ensure it is level and centered. Use a level tool to verify that the unit is not tilted or leaning in any direction. Adjust as needed to achieve proper alignment.
4. Test the stability: Give the unit a gentle shake to test its stability. It should feel solid and secure on the bracket without any wobbling or movement. If you notice any instability, revisit the installation steps and make the necessary adjustments to ensure a secure mount.
5. Inspect for any gaps or leaks: Carefully examine the area around the unit and the bracket for any gaps or leaks. This is important to prevent drafts or moisture from seeping through. Seal any gaps or openings with appropriate sealant or weatherstripping to ensure a tight and insulated installation.
By properly mounting the air conditioner unit onto the bracket, you ensure a secure and stable installation. Take your time during this step to ensure everything is properly aligned and attached, as it will directly impact the unit’s performance and longevity.
Make sure to properly measure and level the mounting bracket before installing the wall-mounted air conditioner. This will ensure that the unit is securely and evenly attached to the wall.
Read more: How To Install Wall Mount Faucet
Step 5: Installing the Air Conditioner Unit
After mounting the air conditioner bracket, it’s time to install the air conditioner unit itself. This step will involve connecting the unit to the bracket and making sure everything is securely in place.
1. Align the unit: Position the air conditioner unit against the bracket, ensuring that it lines up with the mounting holes on the unit and the bracket. Double-check the alignment to ensure everything is properly positioned.
2. Secure the unit to the bracket: Depending on the specific model of your air conditioner, there may be different methods to secure the unit to the bracket. This may involve using screws, clips, or other attachment mechanisms. Follow the manufacturer’s instructions to securely fasten the unit to the bracket.
3. Test the movement: Once the unit is secured, gently test its movement by trying to tilt or sway it. It should be firmly attached to the bracket without any significant movement. If you notice any excessive movement, tighten the screws or clips further to ensure a stable installation.
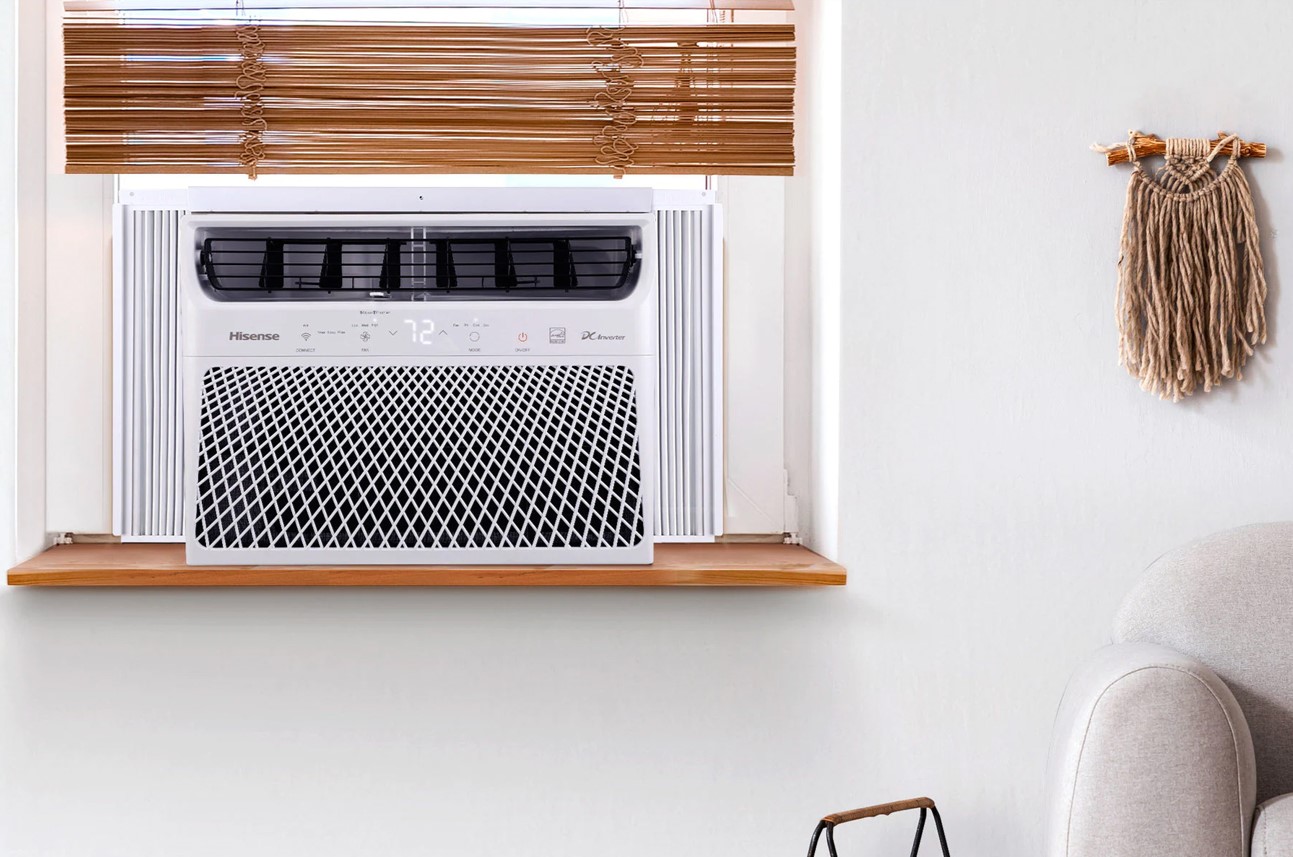
4. Check the airflow direction: Verify that the airflow direction of the air conditioner matches your desired configuration. Most units allow you to adjust the airflow direction manually. Make any necessary adjustments to direct the cool air where you need it most within your space.
5. Inspect for any gaps or leaks: Carefully examine the area around the unit, ensuring there are no gaps or leaks. Use weatherstripping or appropriate sealant to seal any openings to prevent drafts and moisture from entering or escaping.
6. Follow the manufacturer’s guidelines: It is crucial to follow any additional installation instructions provided by the manufacturer. This may include specific recommendations for electrical connections, drainage systems, or any additional features or accessories of the air conditioner unit.
By successfully installing the air conditioner unit onto the bracket, you are one step closer to enjoying a cool and comfortable indoor environment. Take the time to ensure everything is securely in place, and consult the manufacturer’s guidelines to ensure a proper installation.
Step 6: Connecting the Electrical Wiring
Connecting the electrical wiring is a crucial step in the installation process of a wall-mounted air conditioner. It ensures the unit receives the power it needs to function effectively and safely. It’s important to exercise caution and follow proper electrical guidelines to ensure a successful and secure connection.
1. Turn off the power: Before you begin connecting the electrical wiring, ensure that the power to the area is switched off. Locate the circuit breaker dedicated to the air conditioner unit and switch it off to prevent any electrical accidents or damage.
2. Verify the voltage requirements: Check the voltage requirements specified by the manufacturer for your air conditioner unit. Ensure that your electrical system meets these requirements to avoid any electrical issues. If necessary, consult a licensed electrician to ensure compatibility.
3. Run the electrical wiring: Carefully run the electrical wires from the air conditioner unit to the electrical box or outlet. It’s important to keep the wiring hidden and protected. Secure the wiring using appropriate clamps or conduit to prevent it from being damaged or becoming a safety hazard.
4. Make the connections: Strip the insulation from the wires and make the appropriate connections as per the manufacturer’s instructions. This typically involves connecting the wires from the unit to the corresponding wires in the electrical box or outlet. Use wire nuts or terminal connectors to securely fasten the connections.
5. Insulate the connections: Once the connections are made, wrap each individual wire connection with electrical tape or use heat shrink tubing to insulate and protect them. This step ensures the connections are secure and prevents any electrical hazards.
6. Secure the electrical box: If required, mount an electrical box near the air conditioner unit to house the wiring connections. Make sure the box is securely attached to the wall and provides adequate protection for the connections. Follow the manufacturer’s instructions for mounting and securing the electrical box.
7. Test the electrical connections: After making all the necessary electrical connections, carefully turn the power back on and test the air conditioner unit. Ensure that it powers up correctly and that all functions and controls are working as they should. If you encounter any issues, immediately turn off the power and check the connections.
By following these steps and carefully connecting the electrical wiring, you ensure a safe and reliable power supply for your wall-mounted air conditioner. If you are unsure or uncomfortable with handling electrical connections, it’s always best to consult a qualified electrician to ensure a proper and safe installation.
Step 7: Testing and Troubleshooting
After completing the installation and connecting the electrical wiring, it’s crucial to thoroughly test and troubleshoot the wall-mounted air conditioner. This step ensures that the unit is functioning properly, and any potential issues or concerns are addressed.
1. Power on the unit: Switch on the power to the air conditioner and observe if it powers up correctly. Listen for any unusual sounds or vibrations that may indicate a problem. If the unit doesn’t turn on or exhibits any unusual behavior, immediately turn off the power and investigate the issue before proceeding.
2. Check the airflow: Assess the airflow from the air conditioner vents. It should be strong and consistent. Place your hand in front of the vents to feel if the air is cool and refreshing. Uneven airflow or weak cooling may indicate a problem that needs to be addressed.
3. Monitor temperature control: Set the desired temperature on the air conditioner and ensure that it reaches and maintains the set temperature. If the temperature control is not functioning correctly or the unit does not reach the desired temperature, check for any calibration or sensor issues.
4. Inspect for leaks: Examine the unit and the surrounding area for any signs of water leaks or condensation. A wet or damp area may indicate a drainage or insulation problem. Address any leaks promptly to avoid potential damage to your home or the air conditioner unit.
5. Test additional features: If your air conditioner has additional features such as a remote control, timers, or different modes, test these functionalities to ensure they are working properly. Familiarize yourself with how these features operate and troubleshoot any issues that arise.
6. Troubleshoot common problems: If you encounter any issues or concerns during testing, refer to the troubleshooting section of the manufacturer’s manual. Follow the suggested steps to identify and resolve common problems such as inadequate cooling, unusual noise, or error messages on the unit’s display.
7. Seek professional help if needed: If you encounter persistent issues or if you are unsure about any aspect of the installation or troubleshooting process, it is advisable to seek professional help. A qualified technician can diagnose and resolve any complex issues and ensure your wall-mounted air conditioner operates efficiently and safely.
By thoroughly testing and troubleshooting your newly installed wall-mounted air conditioner, you can address any potential problems early on and enjoy a properly functioning cooling system. Regular maintenance and periodic checks will help extend the lifespan of your unit and ensure optimal performance throughout its usage.
Conclusion
Congratulations! You have successfully learned how to install a wall-mounted air conditioner. By following the steps outlined in this comprehensive guide, you have equipped yourself with the knowledge and confidence to tackle this home maintenance project.
Remember, installing a wall-mounted air conditioner requires careful planning, precise measurements, and attention to detail. Preparing the wall, choosing the right location, and securely mounting the unit are crucial steps that lay the foundation for a successful installation. Connecting the electrical wiring and thoroughly testing the unit ensure its proper functionality and performance.
Throughout the installation process, it’s essential to consult the manufacturer’s instructions and consider hiring a professional if you encounter any difficulties or uncertainties. Safety should always be a top priority when handling electrical wiring and working at heights.
With your newfound knowledge, you can create a cool retreat from the summer heat, providing comfort and relaxation in your home. Be sure to regularly maintain and service your air conditioner to extend its lifespan and maximize its efficiency.
Thank you for following this guide on how to install a wall-mounted air conditioner. Stay cool and enjoy the benefits of a comfortable indoor environment!
Frequently Asked Questions about How To Install A Wall-Mounted Air Conditioner
Was this page helpful?
At Storables.com, we guarantee accurate and reliable information. Our content, validated by Expert Board Contributors, is crafted following stringent Editorial Policies. We're committed to providing you with well-researched, expert-backed insights for all your informational needs.