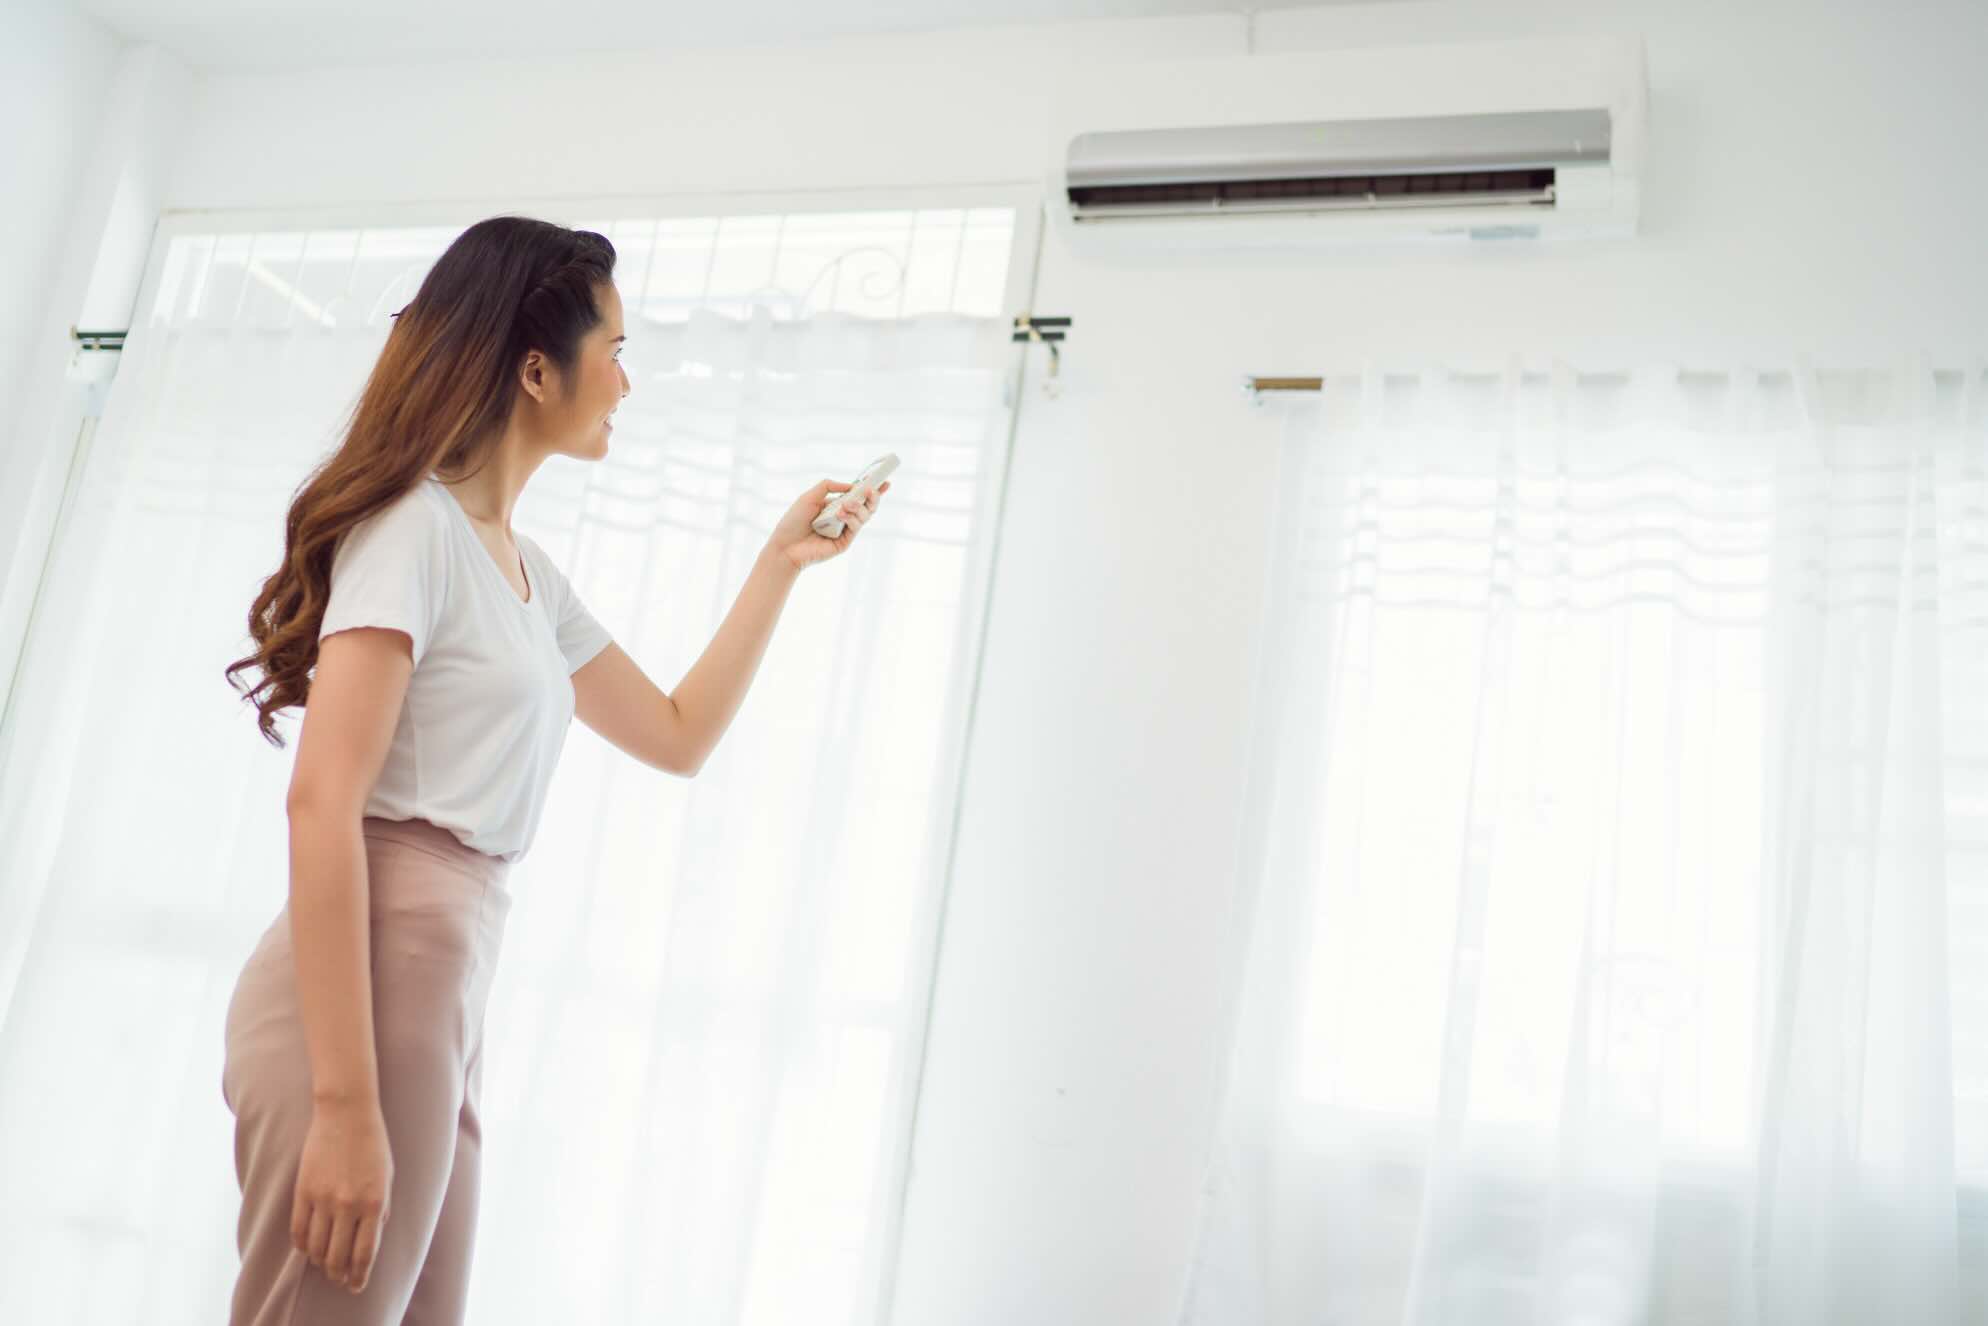
Home>Home Maintenance>How To Put In An Air Conditioner Filter

Home Maintenance
How To Put In An Air Conditioner Filter
Modified: October 21, 2024
Learn the essential steps for installing an air conditioner filter in your home. Maintain optimal air quality with this simple home maintenance task.
(Many of the links in this article redirect to a specific reviewed product. Your purchase of these products through affiliate links helps to generate commission for Storables.com, at no extra cost. Learn more)
Introduction
When it comes to maintaining a comfortable and healthy home environment, one crucial aspect to consider is the air quality. A properly functioning air conditioner can ensure that the air circulating in your home is clean and free from dust, allergens, and other pollutants. To achieve this, it is important to regularly clean and replace the air conditioner filter.
The air conditioner filter plays a vital role in capturing and trapping dust, pollen, pet dander, and other airborne particles, preventing them from recirculating in your home. Over time, however, the filter becomes clogged and less effective, reducing the efficiency of your air conditioner and potentially causing air quality issues.
In this article, we will guide you through the process of putting in an air conditioner filter. Whether you are a seasoned DIY enthusiast or a homeowner looking to tackle a simple home maintenance task, this step-by-step guide will help you keep your air conditioner running smoothly and improve the air quality in your home.
Key Takeaways:
- Regularly replacing your air conditioner filter is crucial for maintaining clean and cool air in your home. Follow the safety precautions and step-by-step guide to ensure optimal performance.
- Prioritize safety by turning off the power and wearing protective gear when putting in an air conditioner filter. Keep your home’s air quality at its best with these simple maintenance steps.
Safety Precautions
Before you begin the process of putting in an air conditioner filter, it is important to prioritize your safety. Here are a few key safety precautions to keep in mind:
- Turn off the power: Before starting any maintenance work on your air conditioner, switch off the power from the main electrical panel or disconnect the unit from its power source. This will help prevent any electrical accidents or injuries.
- Wear protective gear: It is recommended to wear gloves and safety goggles to protect your hands and eyes from any debris or contaminants that may be present in the filter or filter slot.
- Work in a well-ventilated area: To ensure proper airflow and ventilation, perform the filter replacement in a well-ventilated area. This will help prevent any accumulation of harmful gases or fumes.
- Follow manufacturer’s instructions: Read and follow the manufacturer’s instructions specific to your air conditioner model. This will provide you with important safety guidelines and installation procedures specific to your unit.
- Dispose of old filter properly: When removing the old filter, make sure to dispose of it properly according to local regulations. If the filter is reusable, clean it before storing or reinstalling it.
By taking these safety precautions, you can ensure a safe and secure environment while working on your air conditioner filter. Now that we have covered the necessary safety measures, let’s move on to the next steps of putting in an air conditioner filter.
Step 1: Turn Off the Air Conditioner
Before starting the process of putting in an air conditioner filter, it is essential to turn off the unit. This is important to prevent any accidents or damage while handling the filter. Here’s how you can do it:
- Locate the power switch or circuit breaker for your air conditioner. It is usually located near the outdoor unit or in your electrical panel.
- If you have a power switch, flip it to the “off” position. If you can’t find a dedicated power switch, you may need to switch off the circuit breaker that controls the air conditioner.
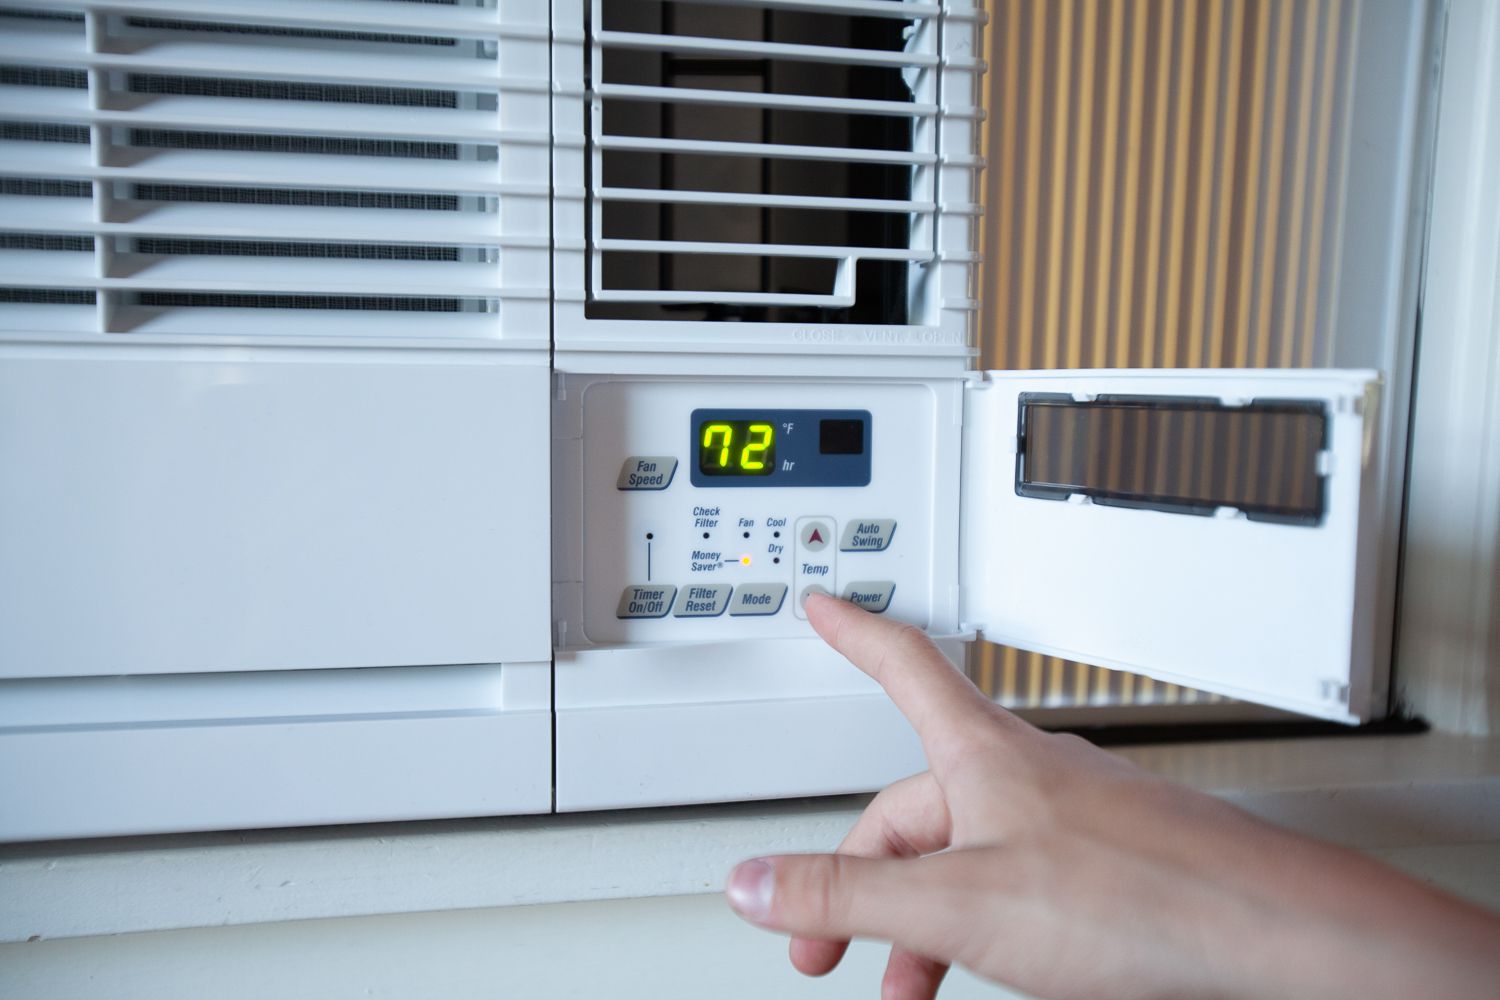
- Double-check that the air conditioner is indeed turned off by adjusting the thermostat settings to ensure that the system does not start during the filter replacement process.
Turning off the air conditioner is a crucial step to protect yourself and avoid any accidents or damage to the unit. Once you have confirmed that the air conditioner is switched off, you can proceed to the next step of putting in an air conditioner filter.
Step 2: Locate the Air Conditioner Filter Slot
Once the air conditioner is turned off, the next step is to locate the air conditioner filter slot. The filter slot is where the filter is housed within the air conditioner unit. Here’s how you can find it:
- Refer to the user manual: If you have the user manual for your air conditioner unit, it will usually provide detailed information about the location of the filter slot. Consult the manual to determine its exact position.
- Check the air conditioner unit: In many cases, the filter slot is located in or near the return air grille. This grille is usually on the wall or ceiling and is responsible for drawing in the air to be cooled or heated. Look for a removable cover or panel in close proximity to this grille.
- Inspect the air handler unit: If you have a central air conditioning system, the air handler unit is where the filter slot is typically located. The air handler is usually located in the basement, attic, or utility closet. Look for a designated compartment or compartment access panel on the air handler unit.
- Consult a professional: If you are having trouble locating the filter slot or if you are unsure about accessing it, it is recommended to contact a professional HVAC technician for assistance. They will be able to help you locate the filter slot and guide you through the process.
Once you have successfully located the air conditioner filter slot, you are ready to move on to the next step of putting in an air conditioner filter.
Step 3: Remove the Old Air Conditioner Filter
Now that you have located the air conditioner filter slot, it’s time to remove the old filter. Removing the old filter is essential as it may be clogged with dust and debris, impacting the efficiency of your air conditioner. Follow these steps to remove the old air conditioner filter:
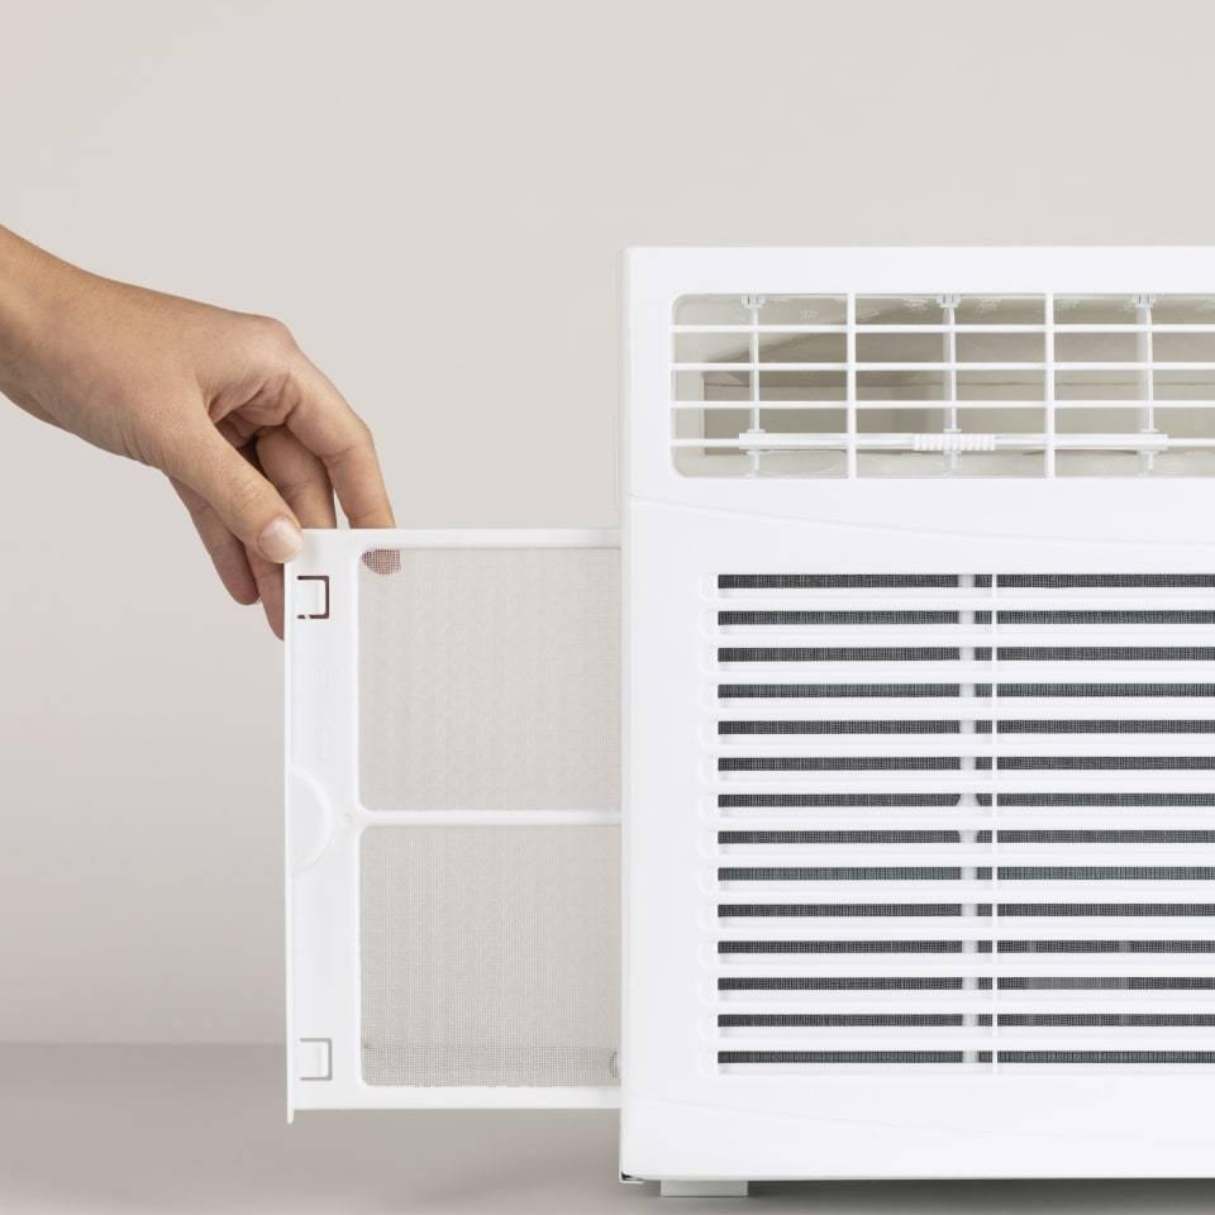
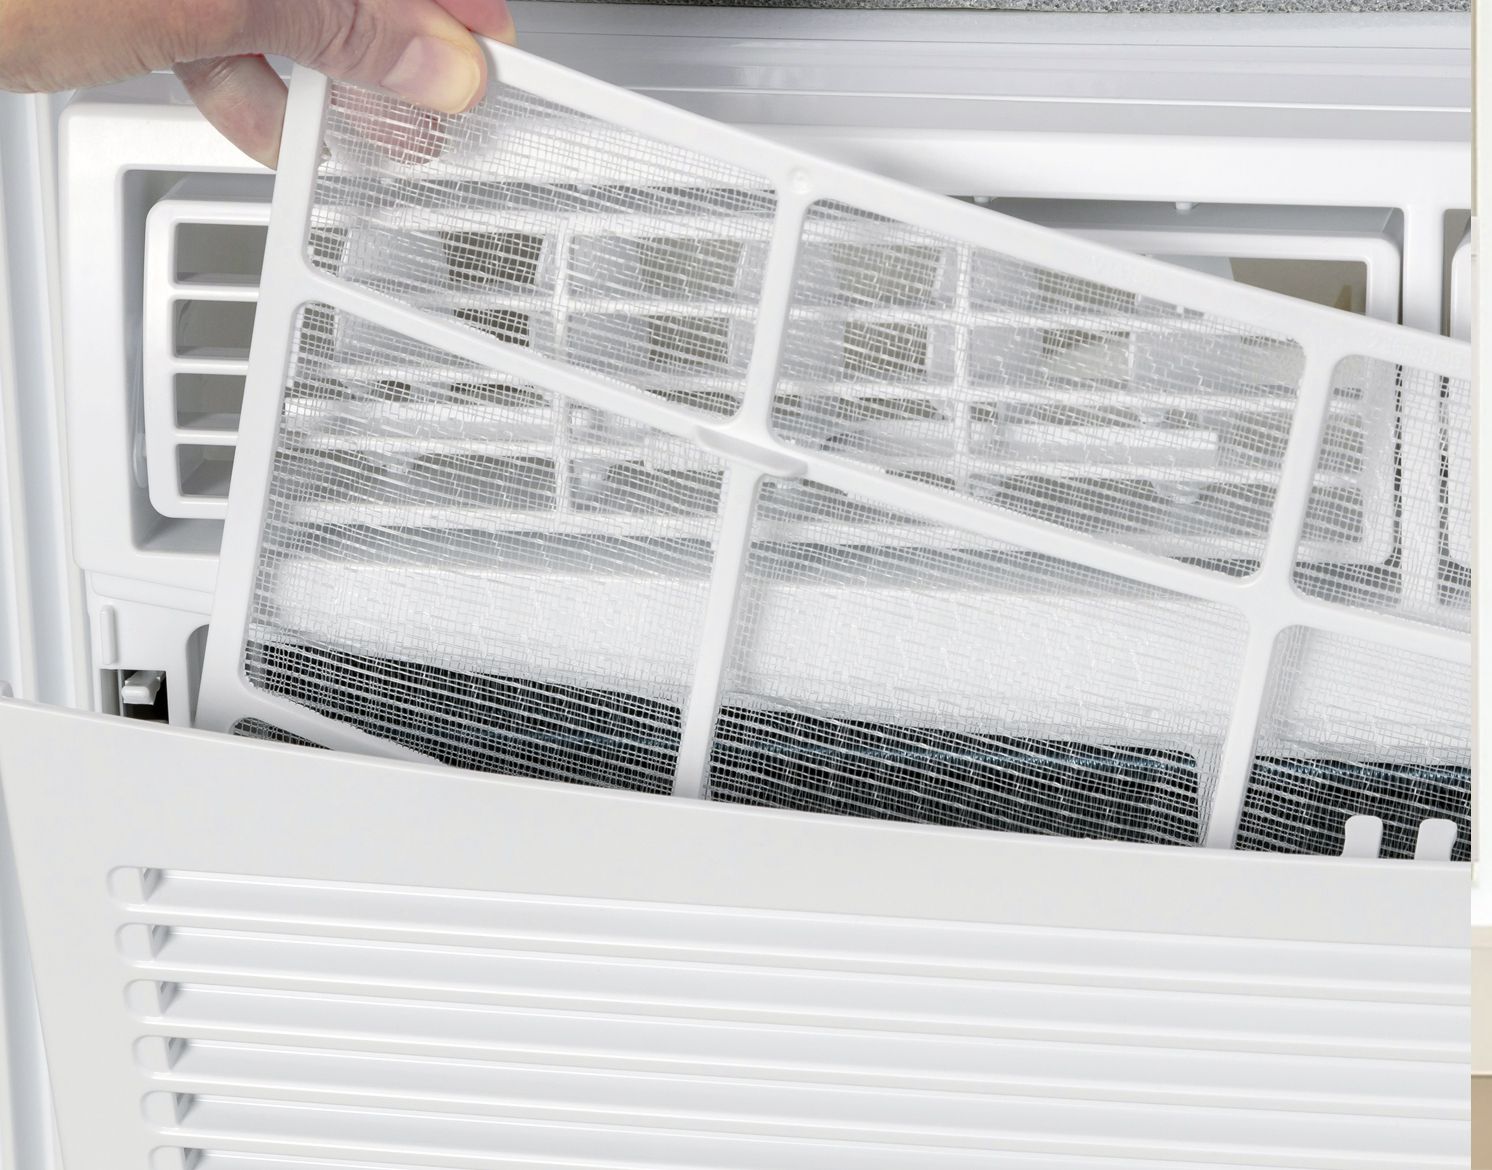
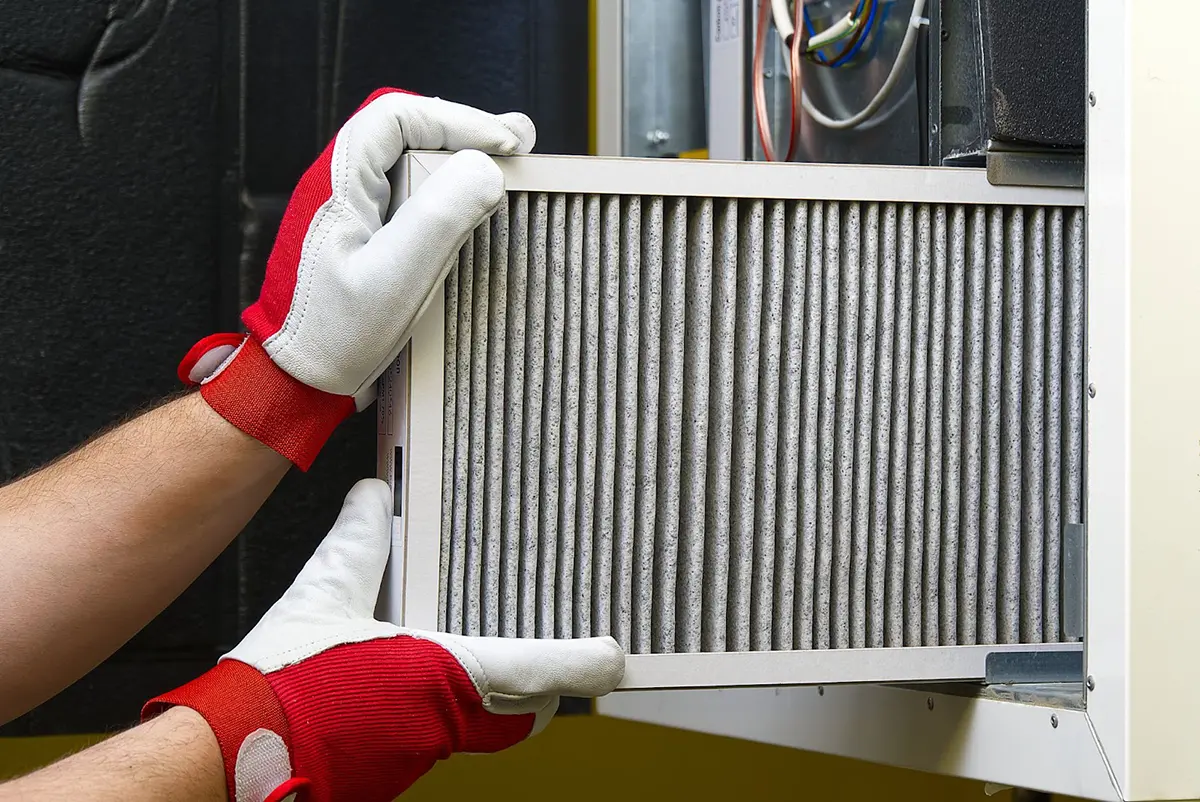
- Carefully remove the cover or panel that is securing the filter in place. This may involve undoing clips, screws, or sliding the cover off.
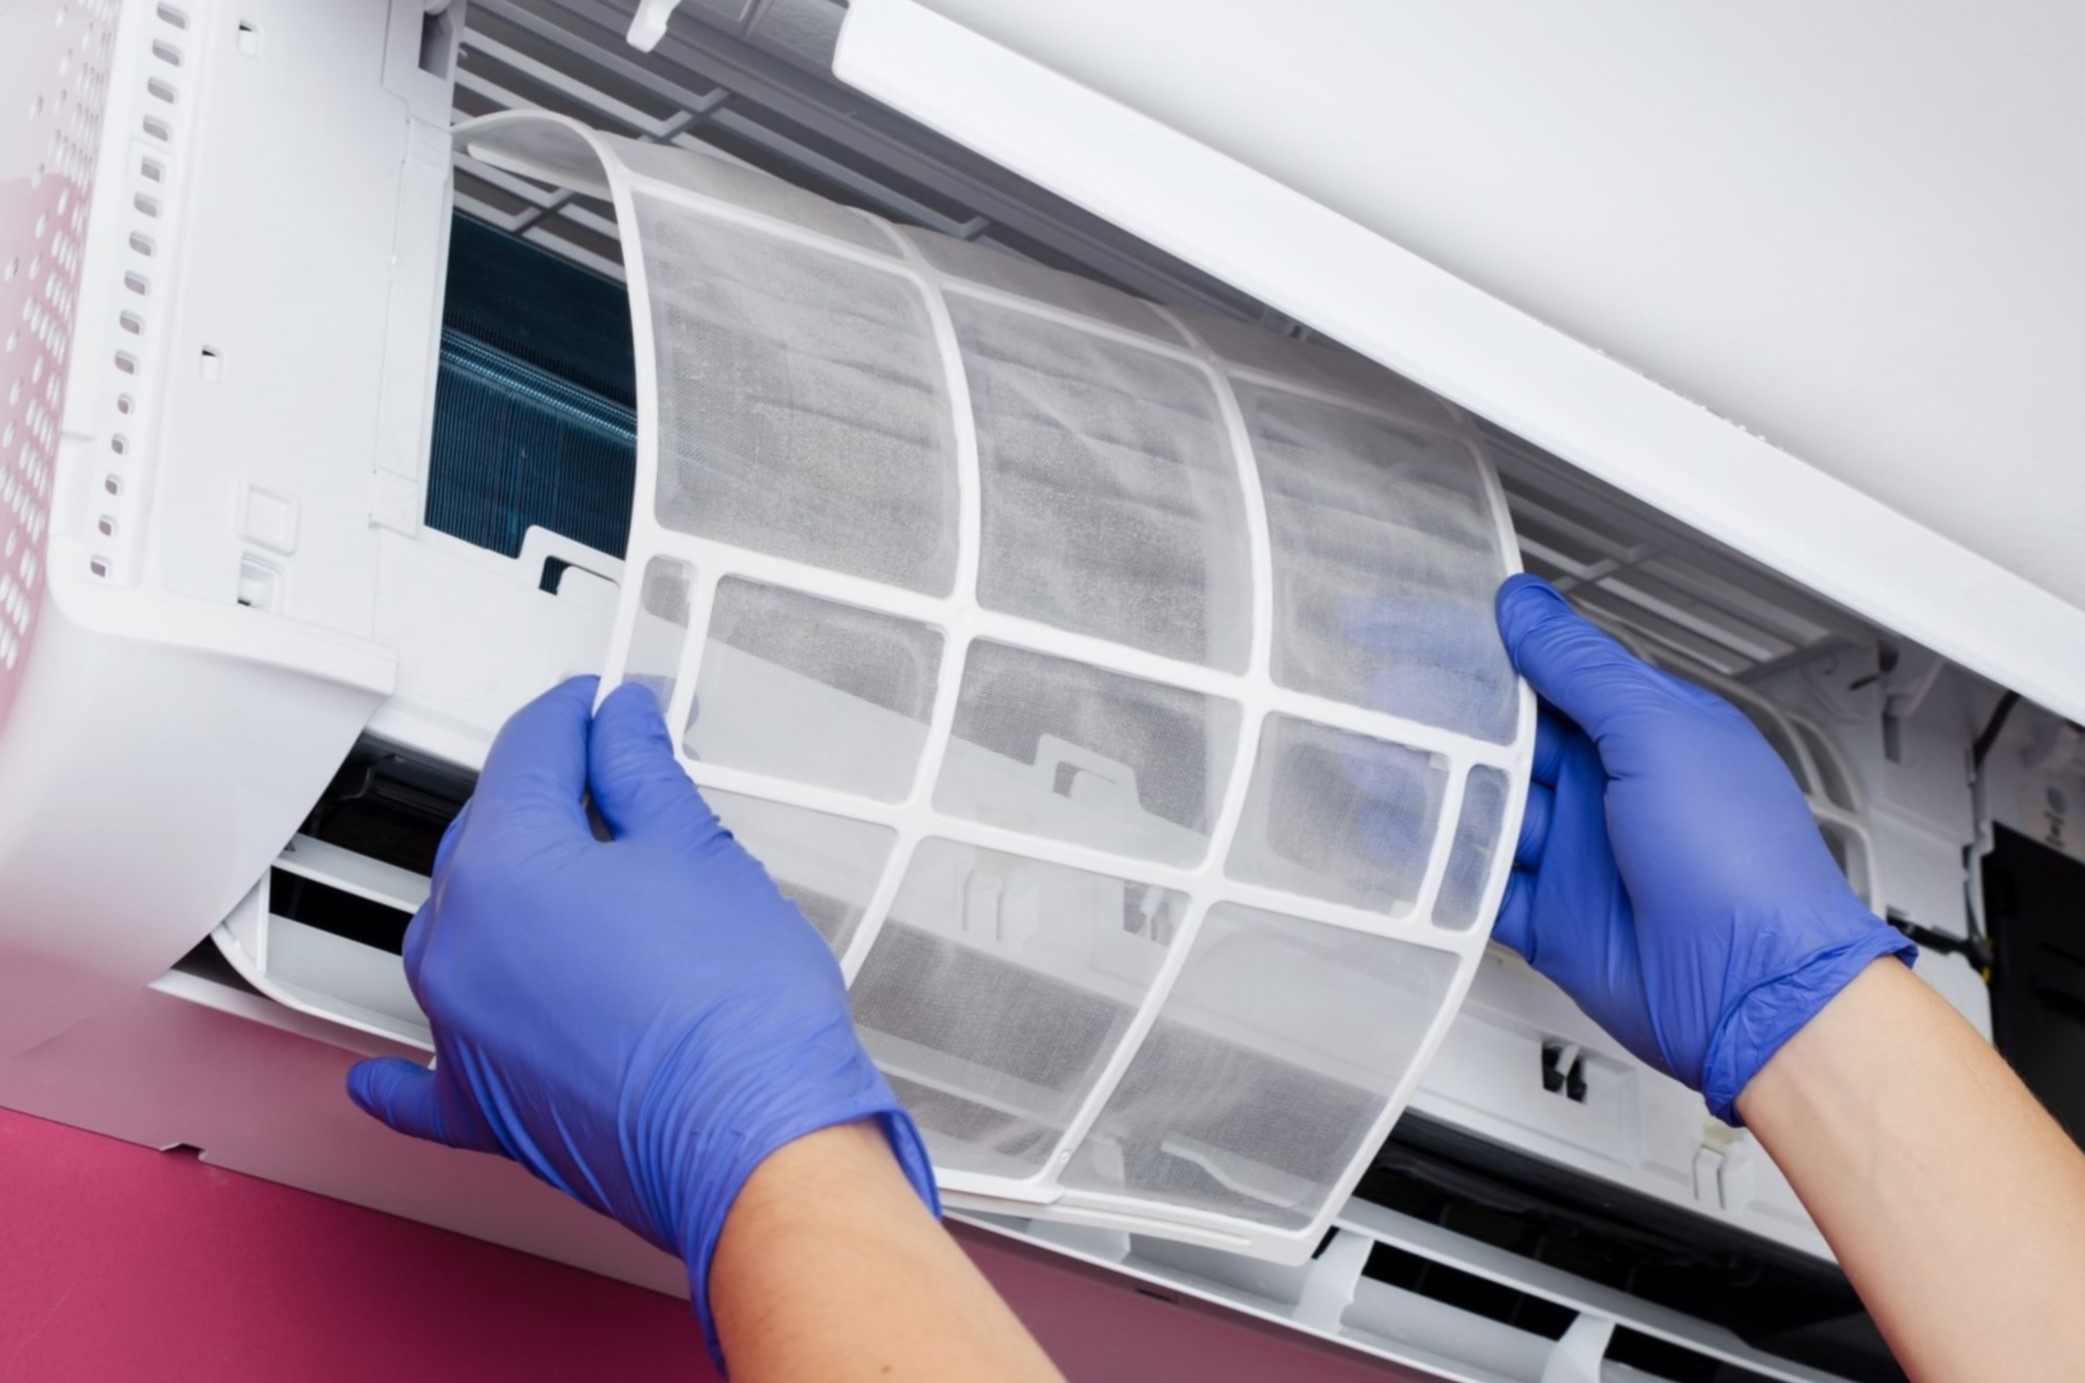
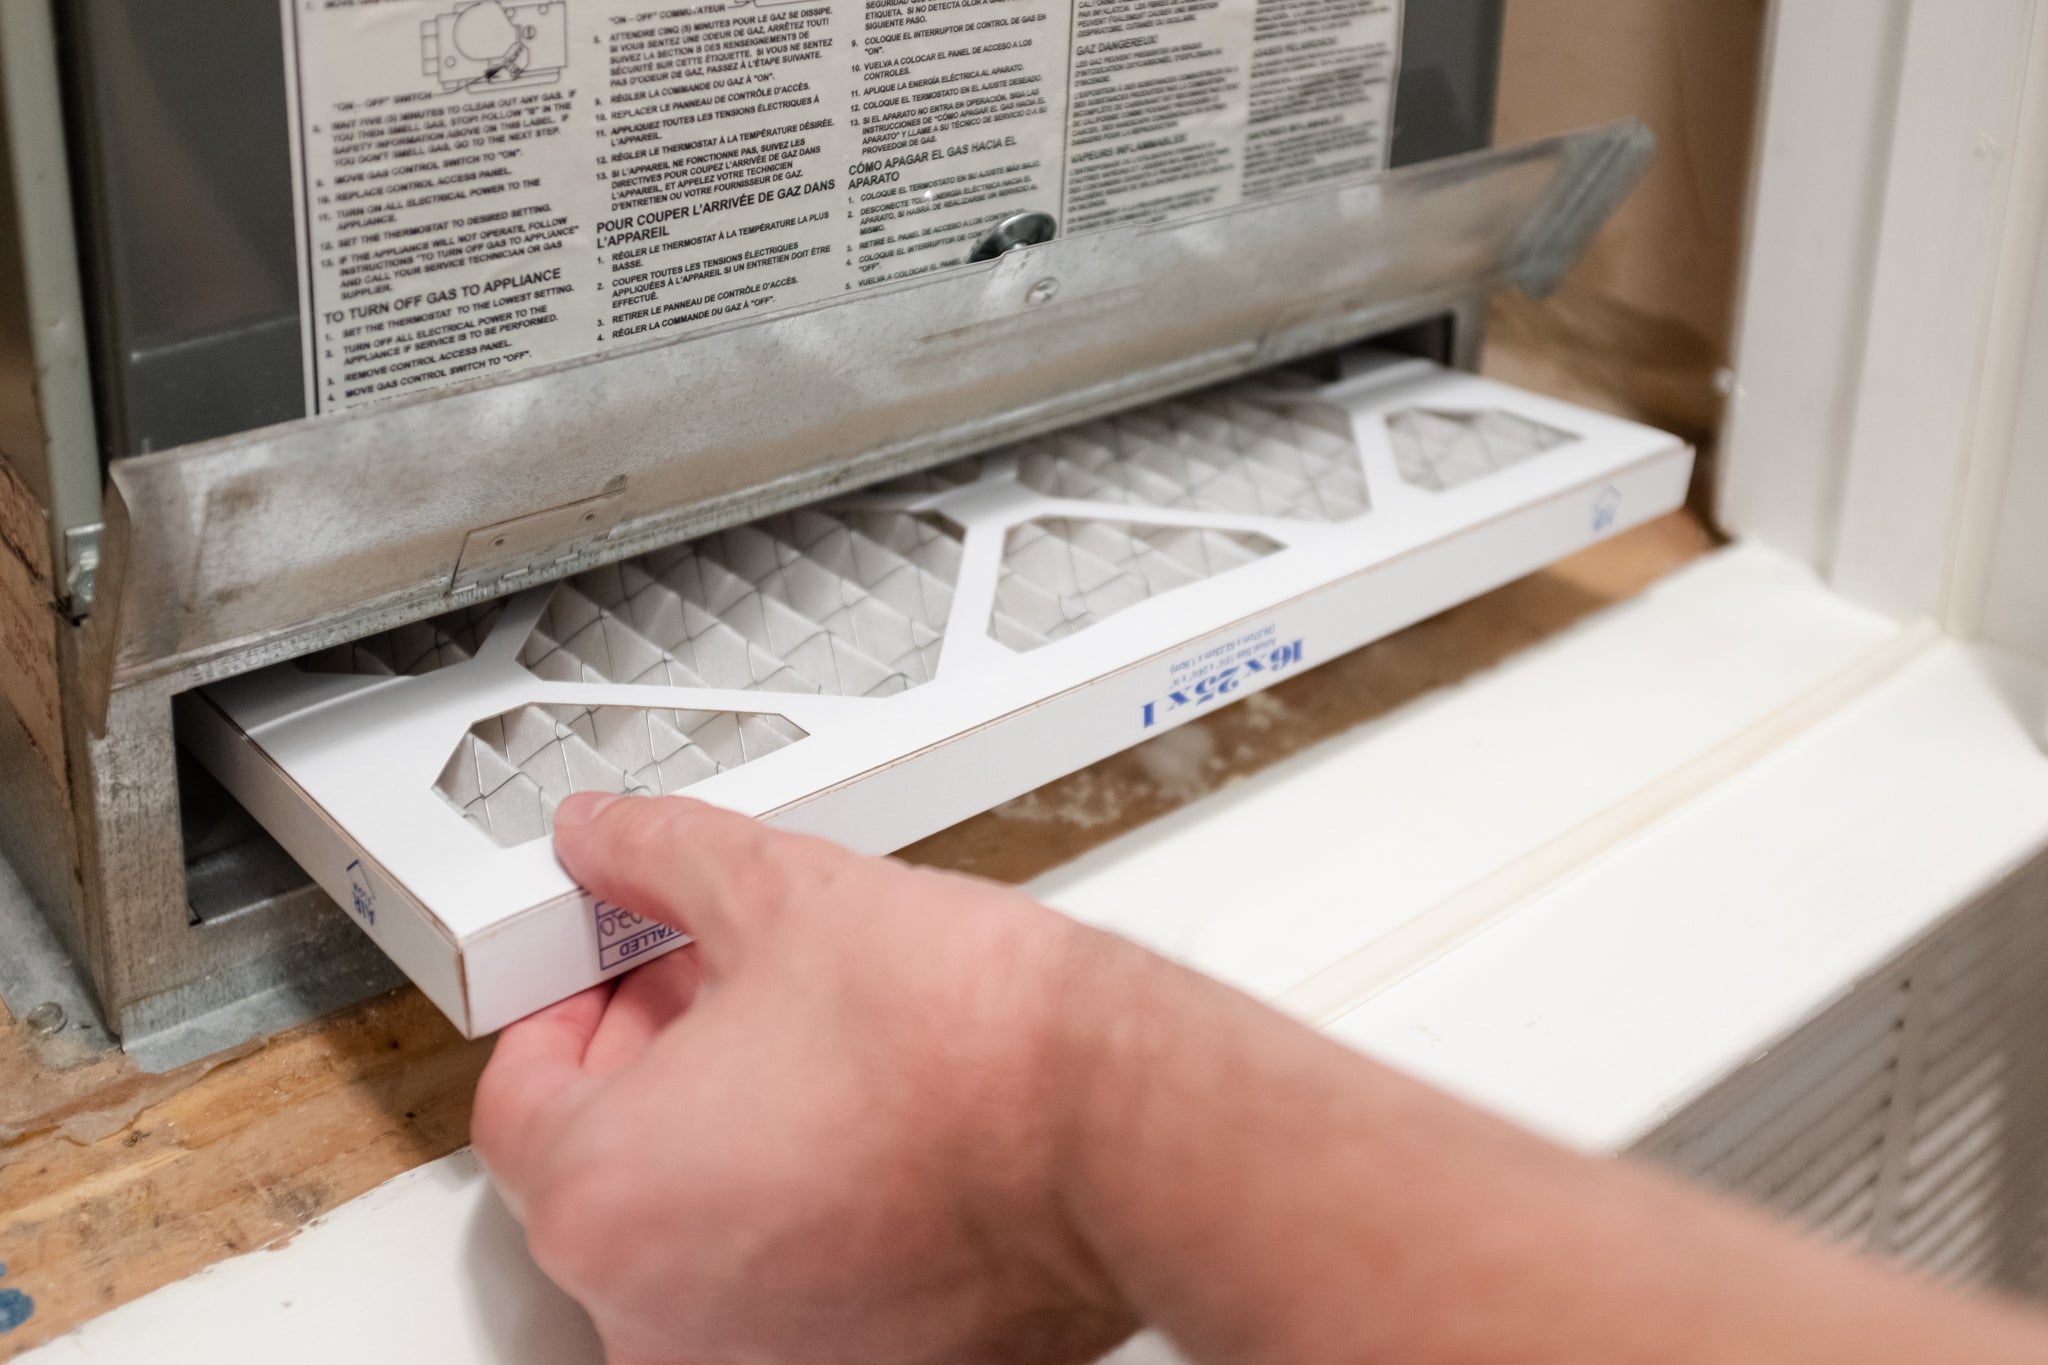
- Gently slide the old filter out of the filter slot. Take note of the orientation of the filter so that you can install the new one correctly.
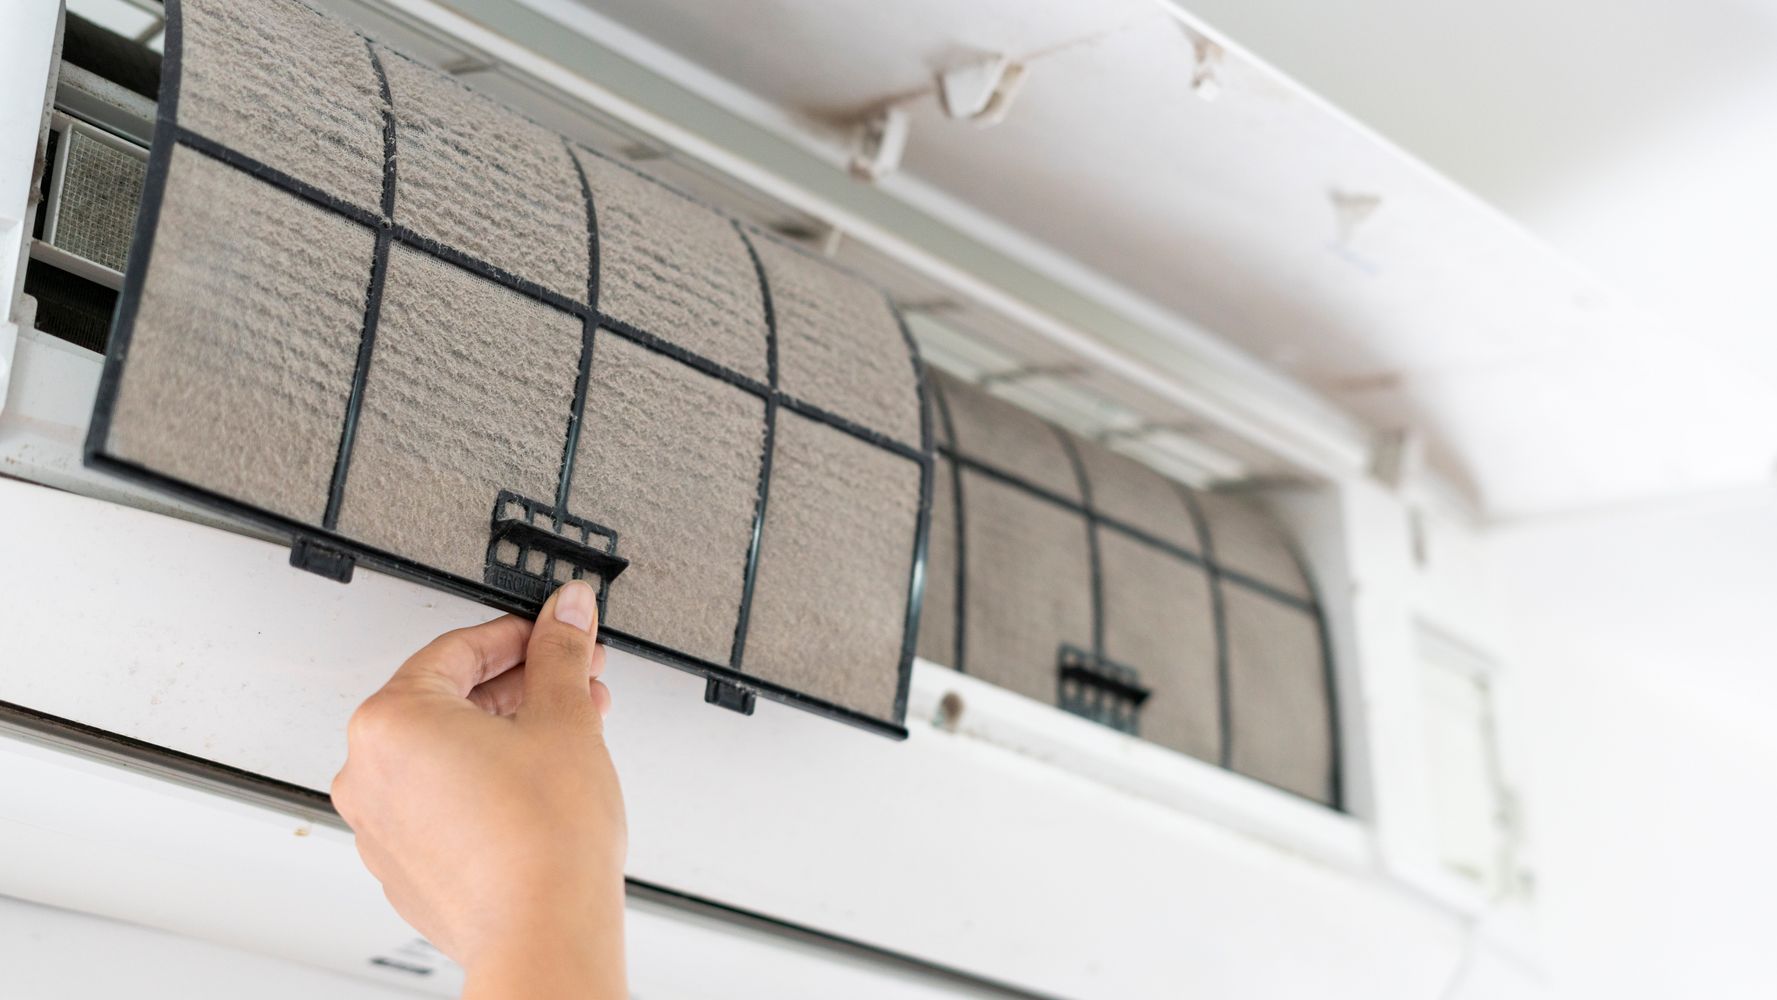
- Inspect the old filter for any signs of damage or excessive dirt buildup. If the filter is damaged beyond repair or excessively dirty, it’s time to replace it with a new one.
- Dispose of the old filter properly, following local regulations. If the filter is reusable and in decent condition, you may choose to clean it before storing or reinstalling it.
Removing the old air conditioner filter is a crucial step in maintaining proper air quality and HVAC system performance. Once the old filter has been removed, you can proceed to the next step of putting in a new air conditioner filter.
When putting in an air conditioner filter, make sure to check the direction of the airflow arrows on the filter. Slide the filter into place, making sure it fits snugly. Regularly replace the filter to keep your air conditioner running efficiently.
Step 4: Clean the Filter Slot
Before installing the new air conditioner filter, it’s important to clean the filter slot to ensure optimal performance and air circulation. Over time, dust and debris can accumulate in the slot, obstructing airflow and decreasing efficiency. Follow these steps to clean the filter slot:
- Inspect the filter slot for any visible dirt, dust, or debris. Use a flashlight to get a clear view of the interior.
- Use a soft brush or vacuum cleaner with a brush attachment to gently remove any loose debris or dust that may be present. Be careful not to damage any components or fins in the process.
- If there is noticeable buildup or stubborn dirt, you can use a mild detergent mixed with water to clean the area. Dip a soft cloth or sponge into the soapy water and gently scrub the filter slot. Be sure to wring out any excess water to avoid moisture damage.
- Rinse the filter slot with clean water to remove any soap residue. Again, make sure to avoid excessive moisture.
- Allow the filter slot to dry completely before proceeding to the next step. You can use a clean cloth or paper towel to absorb any remaining moisture.
Cleaning the filter slot will help ensure proper airflow and prevent any potential blockages. Once you have cleaned and dried the filter slot, you are ready to move on to the next step of putting in the new air conditioner filter.
Step 5: Install the New Air Conditioner Filter
With the filter slot cleaned and prepared, it’s time to install the new air conditioner filter. Here’s how you can do it:
- Take the new air conditioner filter out of its packaging and inspect it for any damage or defects. Ensure that it is the correct size and type for your air conditioning unit.
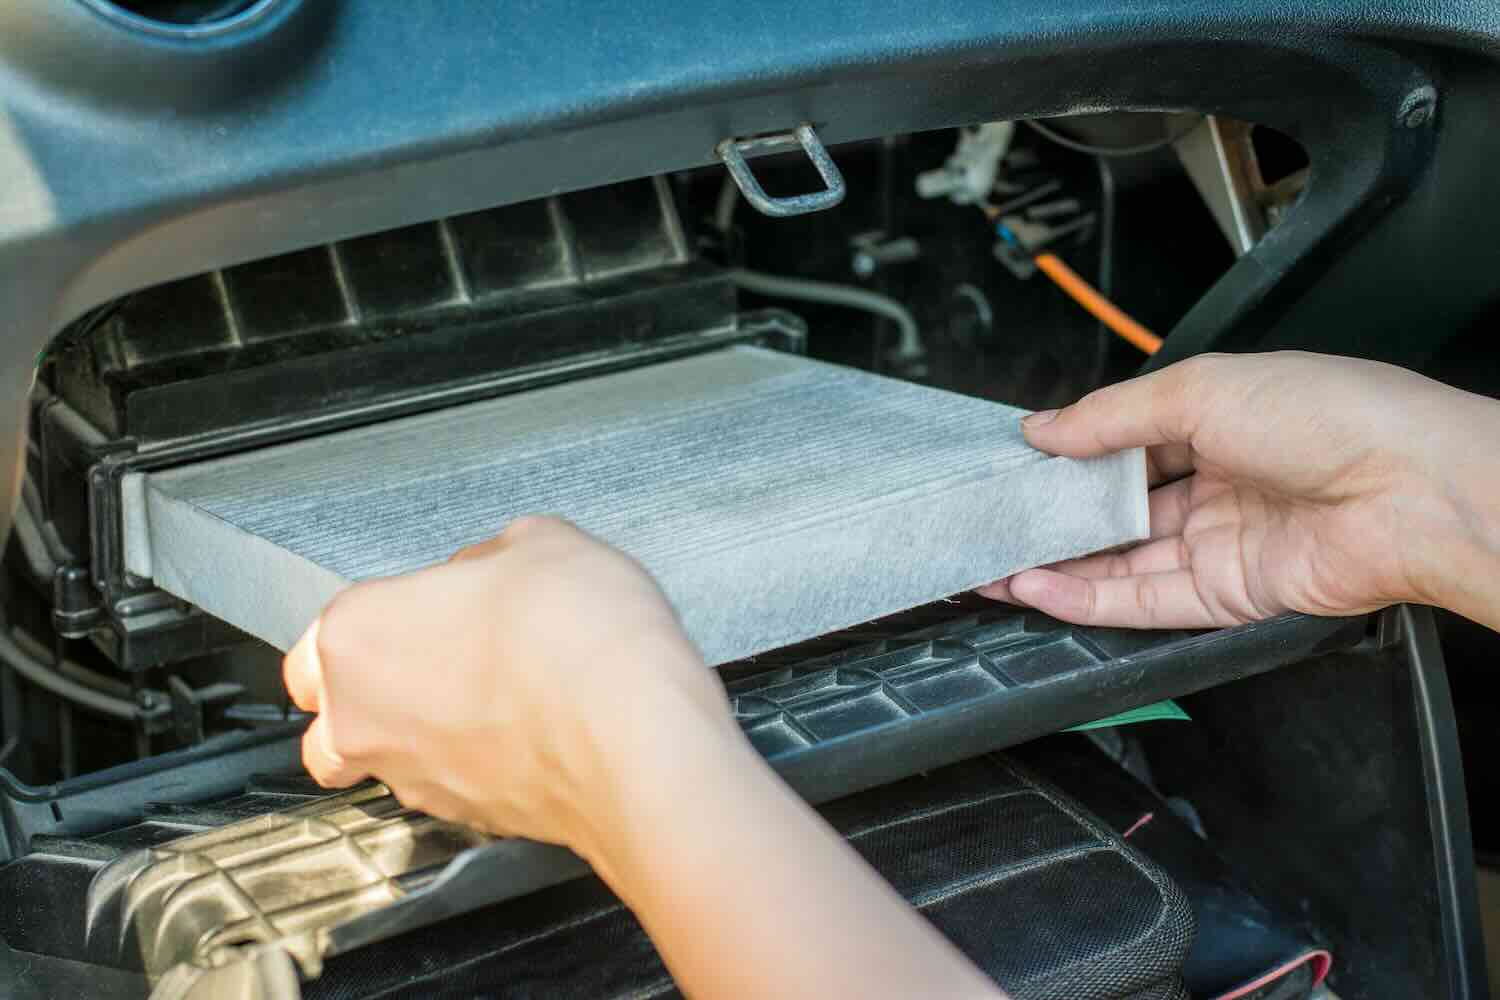
- Check the filter for any directional markings or arrows indicating the correct orientation. Typically, the filter will have an arrow indicating the direction of airflow. It is important to install the filter in the correct direction to ensure optimal performance.
- Gently slide the new filter into the filter slot, aligning it with the directional markings or arrows. Make sure that it fits securely and does not leave any gaps or spaces.
- Replace the cover or panel that secures the filter in place. Ensure that it is properly fastened to prevent any air leakage.
Installing a new air conditioner filter is a straightforward process, but it is important to follow the manufacturer’s instructions and ensure proper alignment. A correctly installed filter will effectively trap dust and allergens, improving indoor air quality and helping your air conditioning system operate efficiently.
Now that you have successfully installed the new air conditioner filter, you are almost done. Just one more step remains to complete the process.
Step 6: Turn On the Air Conditioner
After completing the installation of the new air conditioner filter, the final step is to turn on the air conditioner. Here’s what you need to do:
- Double-check that the filter is properly installed and securely in place.
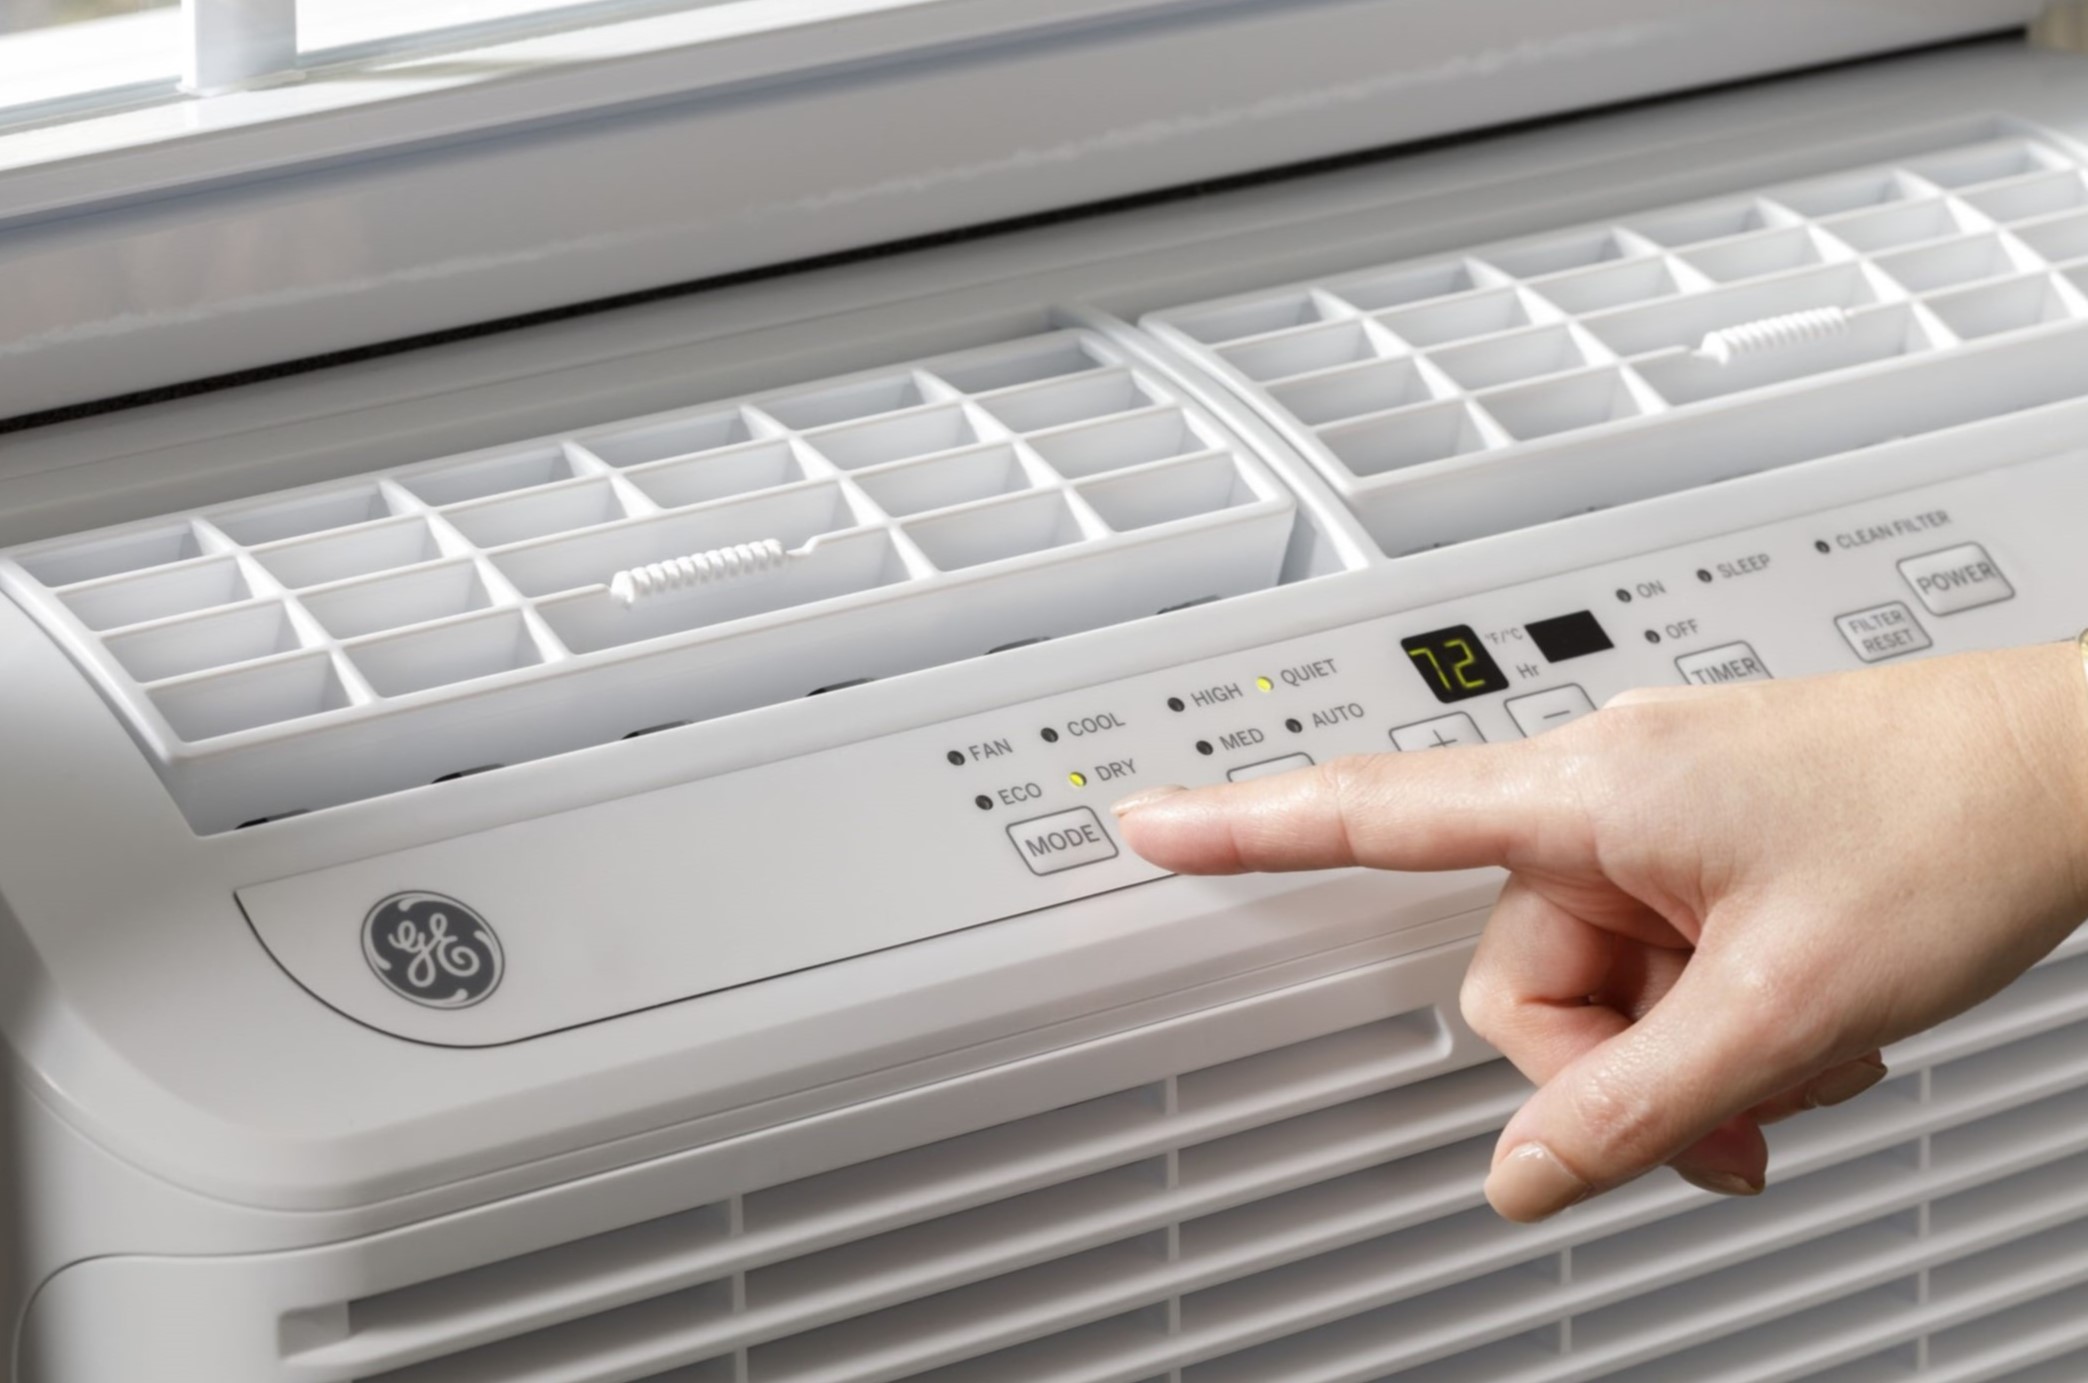
- Go to the thermostat and adjust the settings to your desired temperature and cooling mode.
- Switch on the power to the air conditioner unit. If you turned off the circuit breaker, switch it back on, or if you used a dedicated power switch, turn it on.
- Listen for the sound of the air conditioner starting up and feel for the cool air coming from the vents. This indicates that the system is functioning properly and that the new filter is allowing for proper airflow.
- If you notice any strange noises or issues with the air conditioner, such as inadequate airflow or warm air, turn off the unit immediately and consult a professional technician for assistance.
By following these steps, you can ensure that your air conditioner is properly functioning with the new filter in place. Remember to regularly check and replace the filter according to the manufacturer’s recommendations, as this will help maintain optimal air quality and system performance.
Congratulations! You have successfully completed the process of putting in an air conditioner filter. Enjoy the cool and clean air provided by your well-maintained air conditioning system!
Conclusion
Maintaining a clean and efficient air conditioner is vital for creating a comfortable and healthy home environment. By regularly cleaning and replacing the air conditioner filter, you can ensure that your system operates at its best and provides you with clean, cool air.
In this article, we have walked you through the step-by-step process of putting in an air conditioner filter. From turning off the unit and locating the filter slot to removing the old filter, cleaning the filter slot, installing the new filter, and finally turning on the air conditioner, each step plays a crucial role in the maintenance of your system.
Remember to prioritize your safety by following the recommended safety precautions throughout the process. Taking the time to turn off the power, wear protective gear, and work in a well-ventilated area will ensure that you can complete the task without any risk to yourself or the equipment.
Regularly inspecting and changing the air conditioner filter will not only improve the performance and efficiency of your system but also contribute to better air quality in your home. The filter captures and traps dust, pollen, pet dander, and other pollutants, preventing them from recirculating and potentially causing respiratory issues or allergies.
Don’t forget to consult the user manual specific to your air conditioner model for any additional instructions or recommendations. And if you encounter any difficulty or have concerns about the process, it is always a good idea to seek the assistance of a professional HVAC technician.
With these steps and precautions in mind, you can confidently put in an air conditioner filter, ensuring that your system continues to provide you with cool, clean air for years to come.
Now that you've mastered installing an air conditioner filter, why not delve deeper into maintaining your appliance's efficiency? Discover top picks for water filters with our guide on the best GE refrigerator water filter MWF replacements for 2024. Keeping your fridge in tip-top shape is just as crucial as caring for your air conditioning system, ensuring all your home appliances are running smoothly.
Frequently Asked Questions about How To Put In An Air Conditioner Filter
Was this page helpful?
At Storables.com, we guarantee accurate and reliable information. Our content, validated by Expert Board Contributors, is crafted following stringent Editorial Policies. We're committed to providing you with well-researched, expert-backed insights for all your informational needs.

