Articles
How To Remove Air Lock In Water Pump
Modified: October 19, 2024
Learn effective methods for removing air lock in a water pump with these insightful articles. Discover helpful tips and techniques to ensure smooth functioning of your water pump.
(Many of the links in this article redirect to a specific reviewed product. Your purchase of these products through affiliate links helps to generate commission for Storables.com, at no extra cost. Learn more)
Introduction
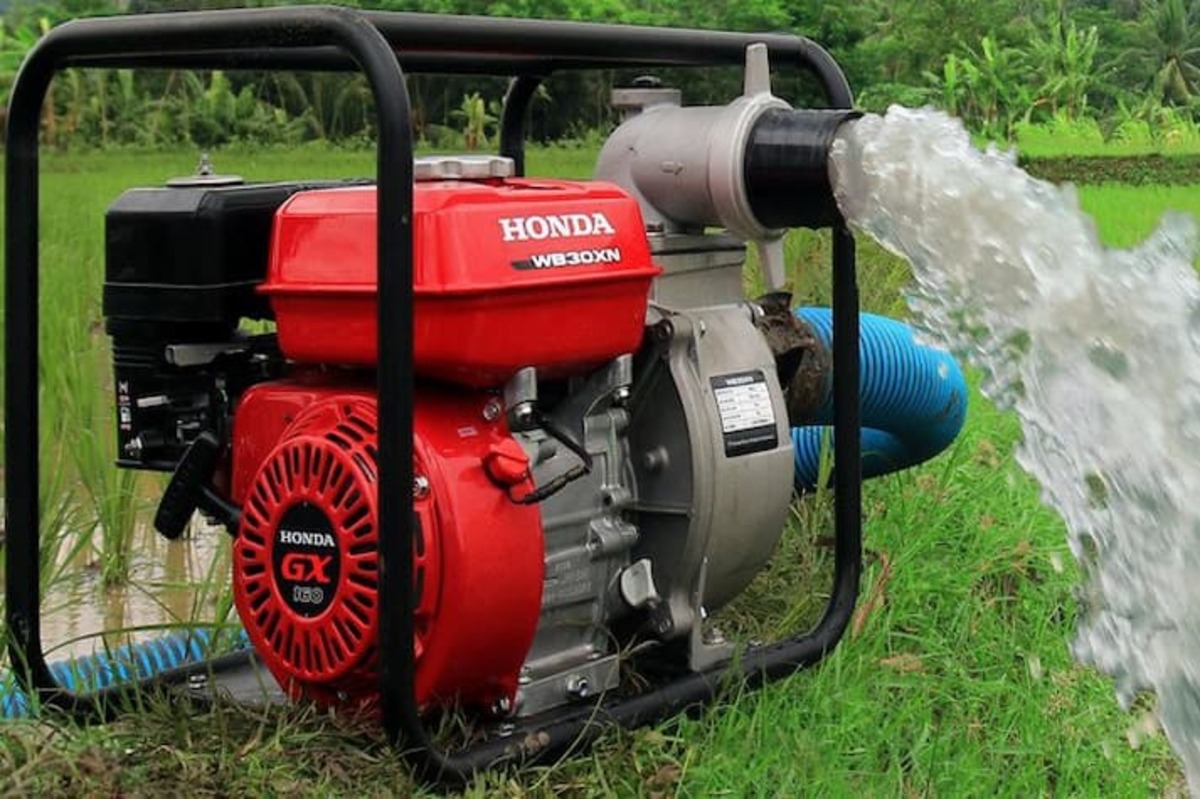
An air lock in a water pump can be a frustrating issue that disrupts the flow of water and hinders the proper functioning of the pump. It occurs when air gets trapped within the pump system, preventing the pump from effectively pulling in water. This can lead to reduced water pressure, sputtering faucets, or even a complete loss of water flow.
Fortunately, there are several methods to remove an air lock in a water pump. In this article, we will explore these methods and provide step-by-step instructions to help you resolve the issue and restore the smooth operation of your water pump.
Before we delve into the solutions, let’s first understand the causes and symptoms of an air lock in a water pump.
Key Takeaways:
- Don’t let an air lock disrupt your water pump! Use the bleed valve, reverse water flow, or manual priming methods to restore normal water flow. Remember to prioritize safety and follow manufacturer’s instructions.
- Prevent common mistakes like neglecting power shutdown, opening valves too quickly, and skipping regular maintenance. By taking precautions and avoiding errors, you can effectively remove air locks and keep your water pump running smoothly.
Read more: How To Remove Water Pump Pulley?
Understanding Air Lock in Water Pump
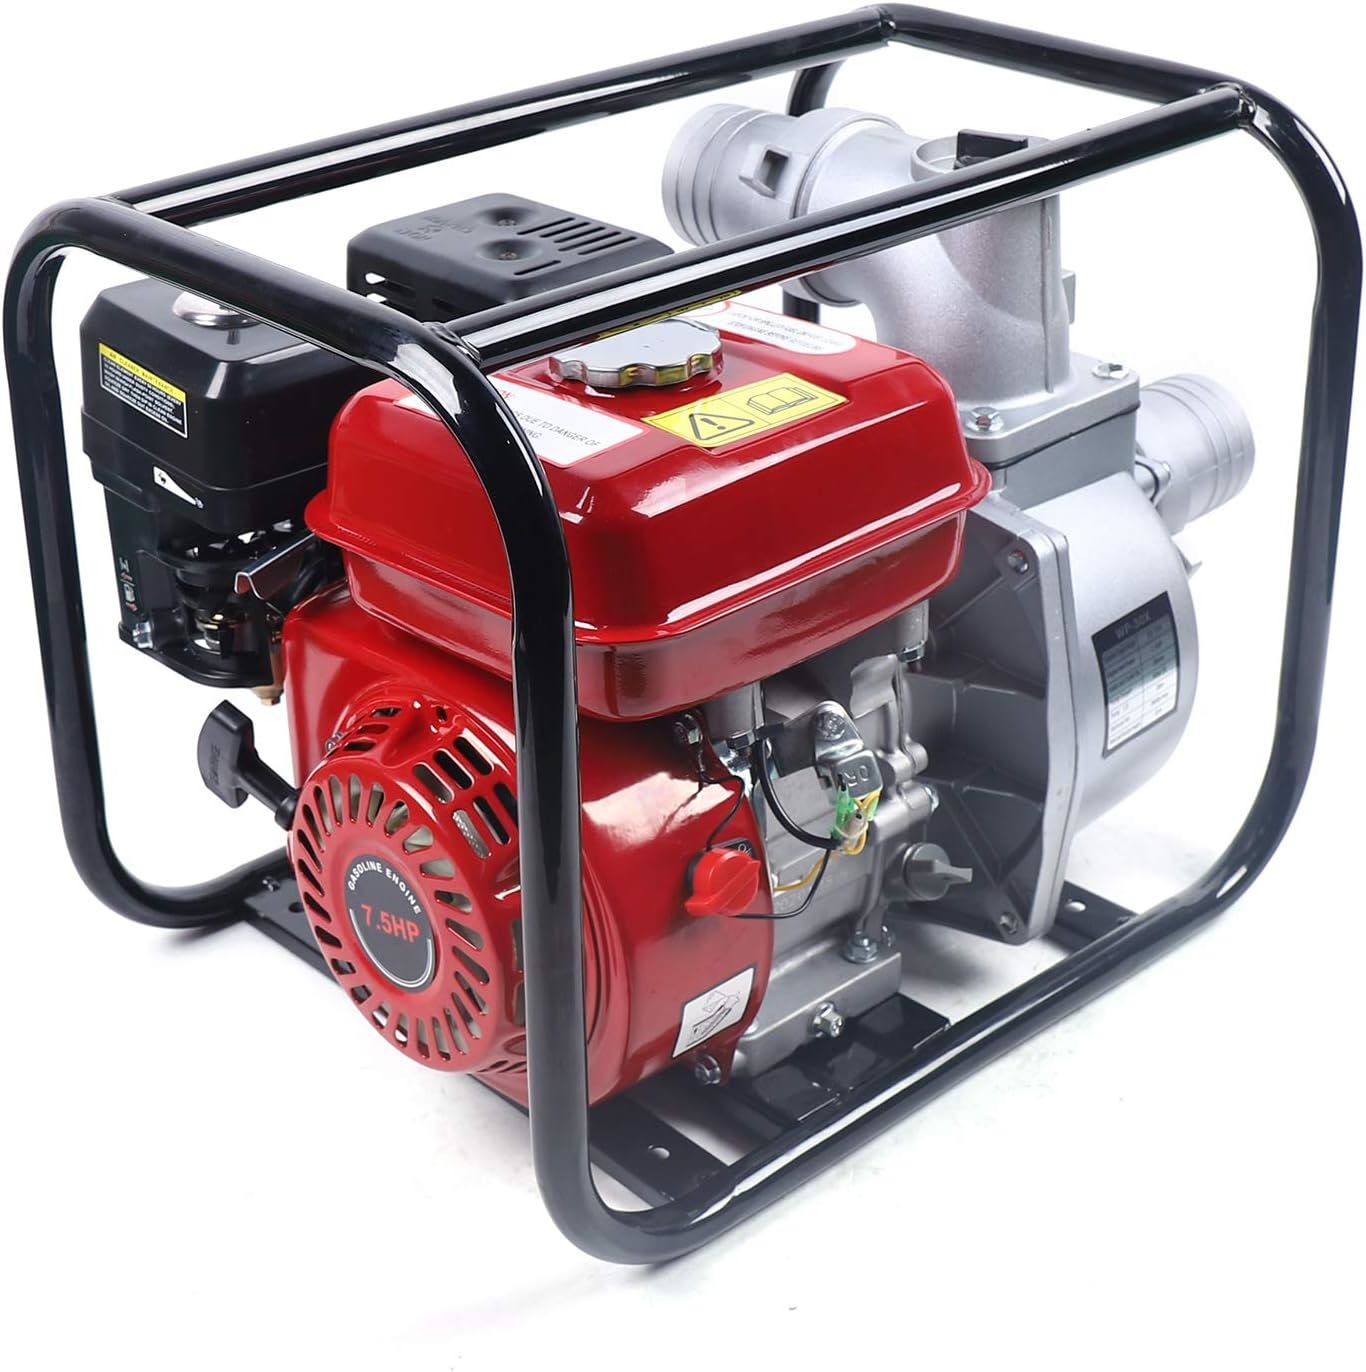
An air lock in a water pump occurs when air becomes trapped in the pump system, disrupting the flow of water. This can happen due to a variety of reasons, such as a dry pump, improper installation, or a sudden interruption in water supply.
When a pump is operating normally, it creates suction that pulls water into the system. However, if air gets trapped within the pump, it creates a barrier that prevents the pump from effectively drawing in water. As a result, the pump may experience reduced water pressure or complete loss of water flow.
An air lock can be more common in certain types of water pump systems, such as those with long horizontal pipe sections or systems that have been recently installed or repaired. Additionally, situations where the water level in the source is lower than the pump can also contribute to the formation of air locks.
It is important to address an air lock in a water pump promptly as it can cause damage to the pump and other components of the system. Furthermore, prolonged air lock can lead to overheating of the pump motor and decreased efficiency.
Now that we understand the basics of an air lock in a water pump, let’s move on to the next section where we will discuss the common symptoms that indicate the presence of an air lock in your system.
Symptoms of an Air Lock
Identifying the symptoms of an air lock in your water pump is crucial for accurately diagnosing the issue. Here are some common signs that indicate the presence of an air lock:
- Reduced water pressure: If you notice a sudden decrease in water pressure throughout your plumbing system, it could be a sign of an air lock. The trapped air prevents the smooth flow of water, leading to lower water pressure at taps, showers, or other water outlets.
- Sputtering faucets: When there is an air lock, you may experience intermittent bursts of water from your faucets. The water may sputter or come out in uneven spurts due to the presence of air within the system.
- No water flow: In severe cases, the air lock can completely block the flow of water, resulting in no water coming out when you turn on a tap or shower. This can be particularly frustrating and inconvenient.
- Noise from the pump: If you hear unusual sounds coming from your water pump, such as gurgling or vibrating noises, it could be an indication of air trapped in the system. This happens as the air passes through the pump and causes vibrations.
- Failed self-priming: Some water pumps are equipped with self-priming mechanisms that automatically remove air from the system. If the self-priming feature fails to work, it may be a sign of a persistent air lock issue.
If you observe any of these symptoms, it is highly likely that your water pump is affected by an air lock. The next step is to take precautions before attempting to remove the air lock, which we will discuss in the following section.
Precautions before Removing an Air Lock
Before attempting to remove an air lock in your water pump, it is important to take certain precautions to ensure your safety and prevent any damage to the pump or plumbing system. Here are some important steps to follow:
- Turn off the power: Before you do anything, make sure to turn off the power supply to the water pump. This will prevent any accidental electrical shocks or damage to the pump motor during the air lock removal process.
- Locate the bleed valve: Most water pumps have a bleed valve that is designed to release trapped air from the system. Locate this valve, which is usually located near the top of the pump or on the plumbing line connected to the pump.
- Prepare necessary tools: Gather the necessary tools and equipment you may need to remove the air lock, such as a wrench, pliers, or a bucket to collect water. Having the right tools readily available will make the process more efficient.
- Read the manufacturer’s instructions: Consult the user manual or guidelines provided by the pump manufacturer. Different types of pumps may have specific instructions for dealing with air locks, so it’s essential to familiarize yourself with the recommended procedures.
- Ensure proper ventilation: When releasing air from the system, it is common for water to flow out as well. Ensure there is adequate ventilation in the area to prevent damage from water spray or splashing.
- Have a backup water source: It is advisable to have a backup water source available, such as a bucket of water or an alternative water supply, in case the main water supply is disrupted during the air lock removal process.
Following these precautions will help you approach the air lock removal process safely and effectively. In the next sections, we will explore different methods that can be used to remove an air lock in a water pump.
Method 1: Using a Bleed Valve
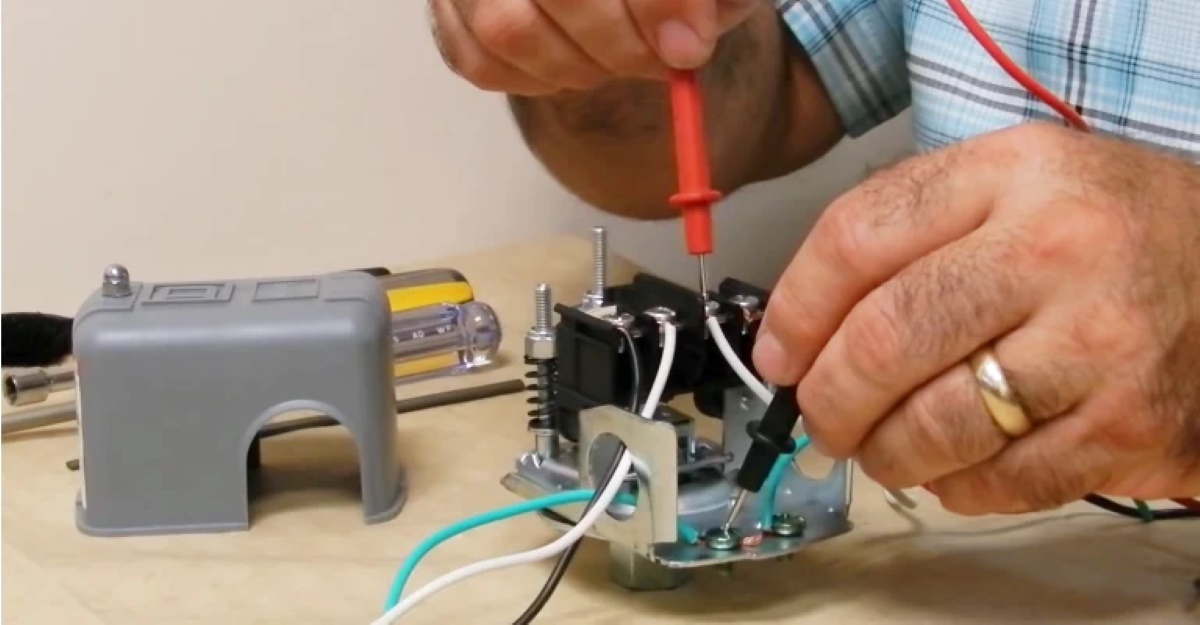
One of the most common methods to remove an air lock in a water pump is by using the bleed valve, also known as the air release valve. This valve is designed specifically for releasing trapped air from the pump system. Follow the steps below to use this method:
- Locate the bleed valve: As mentioned earlier, the bleed valve is typically located near the top of the water pump or on the plumbing line connected to the pump. Identify the valve and ensure it is easily accessible.
- Prepare a container: Place a container, such as a bucket or a pan, under the bleed valve to collect any water or air that is released during the process.
- Slowly open the valve: Using a wrench or pliers, slowly open the bleed valve in a counterclockwise direction. Be cautious not to open it too quickly, as it can cause water to spray out forcefully.
- Release the trapped air: As you open the bleed valve, you will likely hear a hissing sound as trapped air escapes from the system. Keep the valve open until you see a steady flow of water coming out without any air bubbles.
- Close the valve: Once you have successfully released the air, close the bleed valve by turning it clockwise. Make sure the valve is tightly closed to prevent any further air entry into the system.
- Turn on the pump: After closing the bleed valve, turn on the power supply to the water pump and check if the water flow is back to normal. If the air lock has been successfully removed, the pump should now be able to draw water without any issues.
Using the bleed valve method is often effective in removing air locks from water pumps. However, if this method does not work, or if your water pump does not have a bleed valve, there are alternative methods you can try, which we will explore in the following sections.
To remove an air lock in a water pump, try bleeding the air by loosening the bleed screw or valve on the pump. This will release the trapped air and allow the pump to function properly.
Read more: How To Remove Fan From Water Pump Dodge Ram
Method 2: Reversing the Water Flow
If the bleed valve method does not work or if your water pump does not have a bleed valve, you can try reversing the water flow to remove the air lock. This method involves using an external water source to push the trapped air out of the system. Follow the steps below to reverse the water flow:
- Prepare an external water source: Connect a length of hose to a faucet or another water source that is separate from the pump system. Ensure that the hose is long enough to reach the water pump’s intake or supply line.
- Turn off the power: Before connecting the hose, make sure to turn off the power supply to the water pump to avoid any electrical hazards.
- Attach the hose: Connect one end of the hose to the external water source and the other end to the water pump’s intake or supply line. Secure the connections tightly to prevent any leaks.
- Open the external water source: Slowly open the faucet or valve of the external water source to allow water to flow through the hose and into the water pump’s system. This will create pressure and force the air out of the pump.
- Purge the air: As water flows through the system, you may notice air bubbles coming out of the pump. Continue to purge the air until a steady flow of water is achieved without any air bubbles.
- Disconnect the hose: Once the air lock has been released and water is flowing smoothly, turn off the external water source and disconnect the hose from the pump’s intake or supply line.
- Turn on the pump: After disconnecting the hose, turn on the power supply to the water pump and check if the water flow is back to normal. The air lock should be removed, and the pump should be functioning properly again.
Reversing the water flow can be an effective method for removing an air lock in a water pump, especially when other methods have been unsuccessful. If this method does not work for your specific situation, there is one more method you can attempt, which we will explore next.
Method 3: Using a Manual Priming
If the previous methods did not work, or if your water pump does not have a bleed valve and reversing the water flow is not feasible, you can try using a manual priming technique to remove the air lock. This method involves manually forcing water into the pump to displace the trapped air. Follow the steps below to use this method:
- Turn off the power: Before you begin, ensure that the power supply to the water pump is turned off to avoid any electrical accidents.
- Locate the priming port: Look for the priming port on the water pump. This is usually a small opening designed specifically for allowing water to enter the pump manually.
- Prepare a container of water: Fill a bucket or container with clean water. You will use this water to manually prime the pump.
- Submerge the priming port: Submerge the priming port in the container of water. Make sure the port is completely covered with water.
- Turn on the power: After submerging the priming port, turn on the power supply to the water pump.
- Trigger the pump: Activate the pump by turning it on or activating the switch. As the pump starts running, it will draw water from the priming port and into the pump system.
- Monitor the water flow: Keep an eye on the water flow coming out of the pump. You may notice air bubbles initially, but continue running the pump until a steady flow of water is achieved without any air.
- Close the priming port: Once the air lock is removed and water is flowing smoothly, turn off the power supply to the water pump and close the priming port.
- Turn on the pump: After closing the priming port, turn on the power supply to the water pump and check if the water flow is back to normal. The air lock should be resolved, and the pump should be operating correctly.
Using a manual priming technique can be a helpful method for removing an air lock when other approaches have failed. Remember to exercise caution and follow the manufacturer’s instructions for your specific water pump.
Now that you are familiar with different methods to remove an air lock in a water pump, let’s move on to the next section where we will discuss common mistakes to avoid during this process.
Common Mistakes to Avoid
When attempting to remove an air lock in a water pump, it is important to be mindful of certain common mistakes that can potentially cause further complications. By avoiding these mistakes, you can ensure a smoother and safer process. Here are some common mistakes to avoid:
- Not turning off the power: Always turn off the power supply to the water pump before performing any maintenance or attempting to remove an air lock. This will prevent any electrical accidents or damage to the pump.
- Opening the bleed valve too quickly: If you are using the bleed valve method, be cautious not to open the valve too quickly. Opening it too fast can result in water spraying out forcefully, potentially causing injury or water damage.
- Overlooking the manufacturer’s instructions: Each water pump may have specific instructions and guidelines for dealing with air locks. Take the time to read the manufacturer’s instructions and follow them accordingly to avoid any unnecessary errors.
- Not preparing a container: Whether you are using the bleed valve method or reverse flow method, always have a container ready to collect water and air that may be expelled from the system. This will prevent water from splashing or causing damage to surrounding areas.
- Neglecting proper ventilation: When releasing air and water from the system, ensure that the area is well-ventilated to prevent the accumulation of fumes or moisture. Proper ventilation is essential for your safety and the well-being of the pump.
- Not checking for leaks: After removing the air lock and restoring water flow, thoroughly check for any leaks in the plumbing system or around the pump. Address any leaks immediately to prevent further damage or water wastage.
- Skipping regular maintenance: Regular maintenance of your water pump can help prevent air locks and other issues. Follow the manufacturer’s recommended maintenance schedule and perform routine checks to keep your pump running smoothly.
By avoiding these common mistakes, you can increase the likelihood of successfully removing an air lock in your water pump and maintaining its optimal performance.
Now that we have covered the common mistakes to avoid, let’s conclude the article in the next section.
Conclusion
An air lock in a water pump can be a frustrating issue that disrupts the flow of water and affects the functionality of the pump. However, with the right knowledge and methods, you can effectively remove an air lock and restore normal water flow.
In this article, we explored different methods for removing air locks in water pumps, including using a bleed valve, reversing the water flow, and manual priming. Each method has its advantages and should be attempted based on the specific circumstances and features of your water pump.
Before attempting to remove an air lock, it is crucial to take precautions such as turning off the power, locating the necessary valves or priming ports, and preparing containers to collect water and air. Following these precautions will help ensure your safety and prevent any further damage to the pump or plumbing system.
While removing an air lock, it is essential to be aware of common mistakes, such as not following the manufacturer’s instructions, opening valves too quickly, or neglecting leaks. By avoiding these mistakes, you can streamline the process and achieve a successful resolution for your water pump.
Regular maintenance of your water pump is also vital in preventing air locks and other issues from occurring. Following the manufacturer’s recommended maintenance schedule and performing routine checks can help keep your pump in optimal condition.
In conclusion, by understanding the causes and symptoms of air locks, taking precautions, and utilizing effective methods, you can effectively remove air locks in water pumps and ensure the smooth and efficient operation of your system. If you are unsure or uncomfortable with performing these tasks, it is always recommended to seek professional assistance to avoid any potential risks.
Now that you've got the knack for tackling air lock issues in water pumps, why not extend your know-how to other aspects of household upkeep? Regular home maintenance keeps your living space in top shape and prevents costly repairs. Dive into our detailed guide on essential upkeep tasks that every homeowner should consider. You'll learn not only the what and the why but also the how of keeping your home running smoothly all year round.
Frequently Asked Questions about How To Remove Air Lock In Water Pump
Was this page helpful?
At Storables.com, we guarantee accurate and reliable information. Our content, validated by Expert Board Contributors, is crafted following stringent Editorial Policies. We're committed to providing you with well-researched, expert-backed insights for all your informational needs.


0 thoughts on “How To Remove Air Lock In Water Pump”