Home>Home Maintenance>How To Remove An Air Conditioner From A Wall Sleeve
Home Maintenance
How To Remove An Air Conditioner From A Wall Sleeve
Modified: March 7, 2024
Learn how to safely and efficiently remove an air conditioner from a wall sleeve with our step-by-step guide. Perfect for home maintenance enthusiasts.
(Many of the links in this article redirect to a specific reviewed product. Your purchase of these products through affiliate links helps to generate commission for Storables.com, at no extra cost. Learn more)
Introduction
Welcome to our comprehensive guide on how to remove an air conditioner from a wall sleeve. Whether you’re replacing your old unit or need to remove it for maintenance or repairs, we’re here to help you navigate the process step by step.
Having a wall-mounted air conditioner can be a convenient and efficient way to cool your home. However, there are times when you may need to remove the unit, whether it’s due to a malfunction, renovations, or simply wanting to upgrade to a newer model. By following our guidelines, you’ll be able to remove your air conditioner safely and effectively, minimizing any potential damage to your wall or the unit itself.
Before we begin, it’s important to note that removing an air conditioner from a wall sleeve can require some physical strength and technical know-how. If you don’t feel comfortable or confident doing it yourself, it’s always best to seek professional assistance.
Now, let’s dive into the step-by-step process of removing an air conditioner from a wall sleeve.
Key Takeaways:
- Safely remove an air conditioner from a wall sleeve by following step-by-step instructions and using the right tools. Prioritize safety and seek professional help if unsure.
- After removal, cover the wall hole for insulation, clean and store the air conditioner properly to maintain its efficiency and prolong its lifespan.
Read more: How To Remove Freon From An Air Conditioner
Tools and Materials Needed
Before getting started, gather the following tools and materials:
- Phillips screwdriver
- Flathead screwdriver
- Adjustable wrench
- Pliers
- Electrical tape
- Painters tape or plastic sheeting
- Clean cloth or rag
- Caulking gun (if necessary)
- Matching paint (if necessary)
Having these tools on hand will ensure that you have everything you need to safely and efficiently remove the air conditioner from the wall sleeve.
Additionally, it’s important to consider the safety precautions before starting the removal process. Make sure to wear protective gloves and safety glasses to safeguard yourself from any potential injuries.
Now that you have the necessary tools and materials ready, let’s move on to the step-by-step process of removing an air conditioner from a wall sleeve.
Step 1: Shut off the Power
Before you begin removing the air conditioner from the wall sleeve, it’s crucial to shut off the power to prevent any electrical accidents. Here’s how:
- Locate the electrical panel in your home.
- Identify the circuit breaker that controls the power supply to the air conditioner unit.
- Switch off the circuit breaker corresponding to the air conditioner.
- To ensure the power is completely off, try turning on the air conditioner to verify that it no longer functions.
Double-checking that the power is off will prevent any potential electric shocks or damage to the air conditioner unit during the removal process. Safety should always be the top priority.
Once you’ve confirmed that the power is shut off, you’re ready to move on to the next step: removing the front cover of the air conditioner.
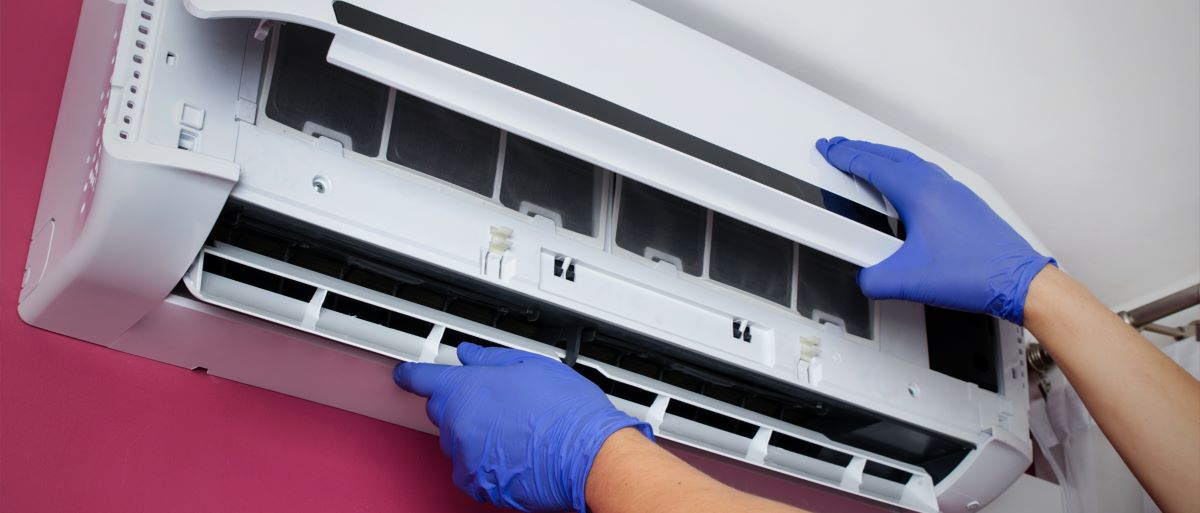
Step 2: Remove the Front Cover
Now that you have ensured the power is off, it’s time to remove the front cover of the air conditioner. Follow these steps:
- Locate the fasteners or screws that secure the front cover in place.
- Using a Phillips screwdriver or a flathead screwdriver, carefully remove the screws or fasteners that hold the front cover in place.
- Set aside the screws or fasteners in a safe place to ensure they don’t get lost.
- Gently pull the front cover away from the air conditioner unit.
- If the front cover is connected by clips or hooks, carefully disengage them and set the cover aside.
Removing the front cover will provide you with access to the internal components of the air conditioner, making it easier to disconnect the electrical connections in the next step.
Remember to handle the front cover with care to avoid causing any damage. If you’re having difficulty removing the front cover, consult the user manual for your specific air conditioner model or seek professional assistance.
With the front cover removed, you’re now ready to proceed to step 3: disconnecting the electrical connections.
Step 3: Disconnect the Electrical Connections
Before removing the air conditioner from the wall sleeve, you need to disconnect the electrical connections. Follow these steps:
- Locate the electrical wires that are connected to the air conditioner unit.
- Using an adjustable wrench or pliers, loosen the wire nuts that secure the electrical wires together.
- Once the wire nuts are loose, carefully disconnect the electrical wires from each other.
- Wrap each exposed wire end with electrical tape to prevent any accidental contact.
It’s crucial to take precautions and ensure the electrical connections are properly disconnected and secured. This will prevent any electrical hazards during the removal process.
Note: If you’re unfamiliar with electrical work or don’t feel confident in disconnecting the electrical connections yourself, it’s best to seek professional assistance to avoid any potential risks.
With the electrical connections safely disconnected, you can now proceed to step 4: unscrewing and removing the mounting brackets.
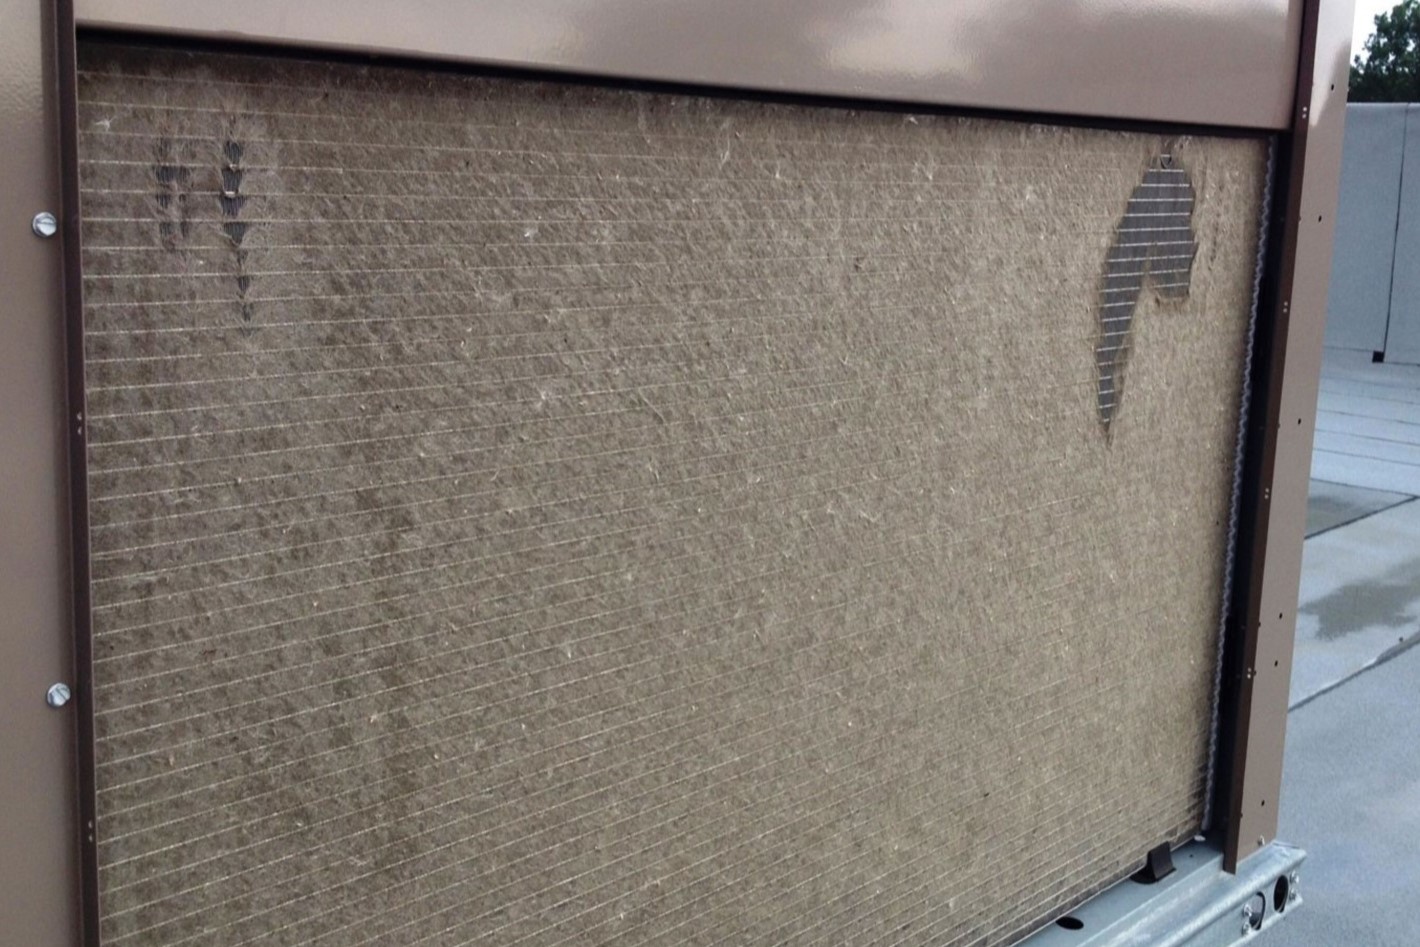
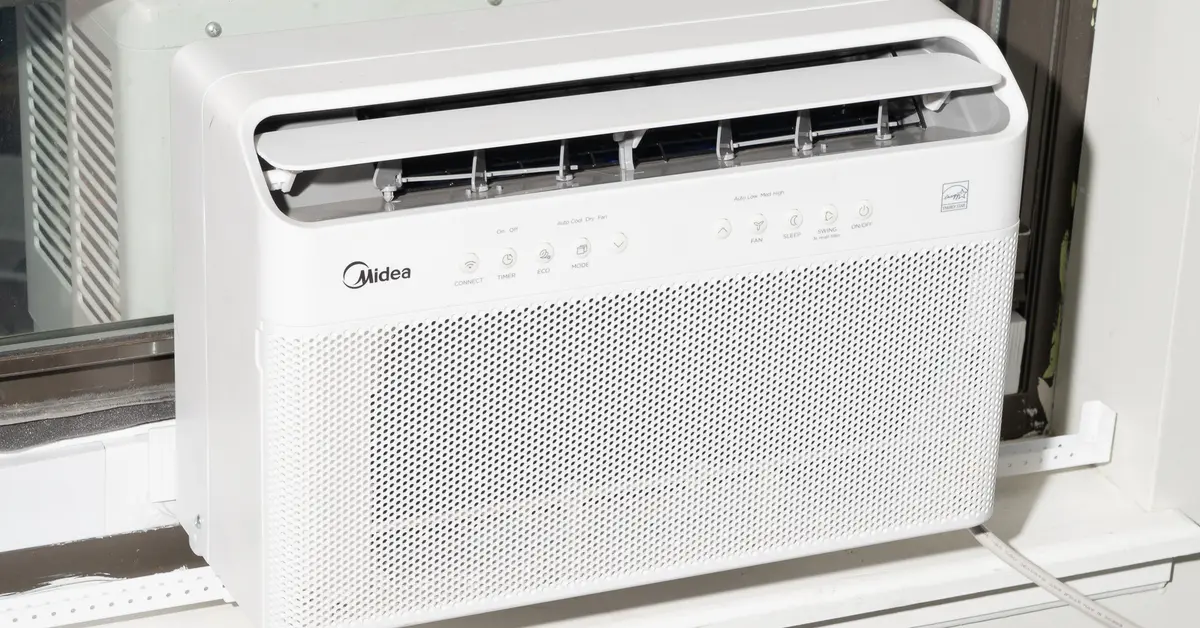
Before removing an air conditioner from a wall sleeve, make sure to turn off the power to the unit. Then, carefully remove the screws holding the unit in place and gently pull it out of the sleeve. Be sure to have someone help you as air conditioners can be heavy.
Step 4: Unscrew and Remove the Mounting Brackets
Next, you’ll need to unscrew and remove the mounting brackets that secure the air conditioner to the wall sleeve. Follow these steps:
- Identify the mounting brackets located on either side of the air conditioner unit.
- Using a Phillips screwdriver, carefully remove the screws that secure the mounting brackets in place.
- Set aside the screws in a safe place to avoid misplacing them.
- Gently wiggle and lift the air conditioner unit to detach it from the wall sleeve.
- If the unit is difficult to remove, double-check to ensure all the screws are fully detached from the mounting brackets.
Removing the mounting brackets allows the air conditioner to be separated from the wall sleeve, making it easier to slide it out in the next step. Take care not to drop or mishandle the unit during this process to avoid any damage.
If you encounter any difficulties or the air conditioner unit doesn’t budge, it may be helpful to consult the user manual or seek professional assistance to ensure it is safely and properly removed.
Now that the mounting brackets are removed, let’s move on to step 5: sliding the air conditioner out of the wall sleeve.
Step 5: Slide the Air Conditioner Out of the Wall Sleeve
Now that the mounting brackets have been removed, it’s time to slide the air conditioner out of the wall sleeve. Follow these steps:
- Ensure you have a firm grip on the air conditioner unit.
- Gently pull the air conditioner towards you, sliding it out of the wall sleeve.
- If the unit is heavy or difficult to slide, consider enlisting the help of another person to safely remove it.
- Slowly and carefully maneuver the air conditioner to avoid scratching or damaging the wall or the unit.
- Set the air conditioner down on a soft surface, such as a clean cloth or rug, to prevent any scratches or damage.
It’s important to handle the air conditioner with care during this step to avoid any injuries or accidents. If you encounter resistance while sliding the unit out, double-check to ensure that there are no remaining screws or obstructions.
Once the air conditioner is successfully removed from the wall sleeve, you’re ready to move on to step 6: covering the hole in the wall.
Step 6: Cover the Hole in the Wall
After removing the air conditioner from the wall sleeve, it’s important to cover the hole in the wall to maintain insulation and prevent drafts. Follow these steps to cover the hole:
- Inspect the hole to assess its size and condition.
- If there are any loose debris or dirt, clean the area using a clean cloth or brush.
- If the hole is relatively small, you can use painter’s tape or plastic sheeting to cover it temporarily.
- For larger holes or if you want a more permanent cover, consider using a piece of plywood or drywall to fit over the hole.
- If necessary, cut the plywood or drywall to match the size of the hole.
- Apply a layer of caulk around the edges of the hole to create a seal and promote insulation.
- Secure the plywood or drywall over the hole using screws or nails.
- Smooth out any rough edges and use spackle or joint compound to fill in any gaps or imperfections.
- Allow the caulk and spackle to dry completely before proceeding.
By covering the hole in the wall, you’ll not only maintain the aesthetics of the room but also improve energy efficiency and prevent air leaks.
Once the hole is securely covered, proceed to step 7: cleaning and storing the removed air conditioner.
Step 7: Clean and Store the Removed Air Conditioner
After successfully removing the air conditioner from the wall sleeve, it’s important to clean and store it properly before deciding on its next use. Follow these steps to clean and store the unit:
- Start by wiping down the exterior of the air conditioner unit with a clean cloth or rag to remove dust and debris.
- Inspect the fins and coils for any dirt or debris buildup. Use a soft brush or vacuum cleaner with a brush attachment to gently clean them.
- If the filters are removable, carefully take them out and clean them with warm, soapy water. Allow them to fully dry before reinstalling.
- Inspect the condensate drain for any clogs or blockages. Clear away any debris to ensure proper drainage.
- If there are any visible signs of damage or wear, consider contacting a professional for repairs or replacement before storing the unit.
- Once the air conditioner is clean and dry, find a cool, dry storage space for it. Ideally, store it in an upright position to prevent any oil leakage from the compressor.
- Cover the air conditioner with a plastic sheet or a breathable fabric cover to protect it from dust and debris.
- If you plan on storing the unit for an extended period, it’s advisable to remove the batteries from the remote control to prevent corrosion.
Properly cleaning and storing the removed air conditioner will help prolong its lifespan and ensure it’s in good condition for future use.
Congratulations! You have successfully completed the process of removing an air conditioner from a wall sleeve. Whether you plan on replacing the unit, performing repairs, or simply need temporary removal, following these steps will help you navigate the process safely and efficiently.
Remember, if you’re unsure or uncomfortable with any step of the process, it’s always best to seek professional assistance. And don’t forget to refer to the user manual for your specific air conditioner model for any additional instructions or guidelines.
Thank you for reading, and we hope this guide has been helpful to you!
Conclusion
Removing an air conditioner from a wall sleeve can seem like a daunting task, but with the right tools and knowledge, it can be a straightforward process. By following the step-by-step guide we have provided, you will be able to safely and efficiently remove your air conditioner unit.
Remember to always prioritize safety throughout the removal process. Ensure that the power is shut off before starting, use the appropriate tools, and take precautions to prevent any injuries or accidents.
Once you have successfully removed the air conditioner, it’s essential to cover the hole in the wall to maintain insulation and prevent drafts. Choose the appropriate method based on the size of the hole and your desired level of permanence.
Cleaning and storing the air conditioner is also an important step. Properly cleaning the unit will help maintain its efficiency and prolong its lifespan. Find a cool and dry storage space, cover the unit to protect it from dust, and ensure it is stored in an upright position to prevent any oil leakage from the compressor.
Whether you are replacing your air conditioner, performing repairs, or simply need to temporarily remove it, following these steps will ensure that the process is carried out smoothly and successfully.
We hope that this comprehensive guide has provided you with the knowledge and confidence to remove an air conditioner from a wall sleeve. Remember to consult the user manual for your specific air conditioner model and seek professional assistance if you are unsure or uncomfortable with any step.
Thank you for reading, and we wish you the best in your air conditioner removal journey!
Frequently Asked Questions about How To Remove An Air Conditioner From A Wall Sleeve
Was this page helpful?
At Storables.com, we guarantee accurate and reliable information. Our content, validated by Expert Board Contributors, is crafted following stringent Editorial Policies. We're committed to providing you with well-researched, expert-backed insights for all your informational needs.