Home>Home Maintenance>How To Clean A Window Air Conditioner Without Removing It
Home Maintenance
How To Clean A Window Air Conditioner Without Removing It
Modified: March 7, 2024
Learn how to clean your window air conditioner at home without the hassle of removing it. Keep your home comfortable and cool with this simple home maintenance guide
(Many of the links in this article redirect to a specific reviewed product. Your purchase of these products through affiliate links helps to generate commission for Storables.com, at no extra cost. Learn more)
Introduction
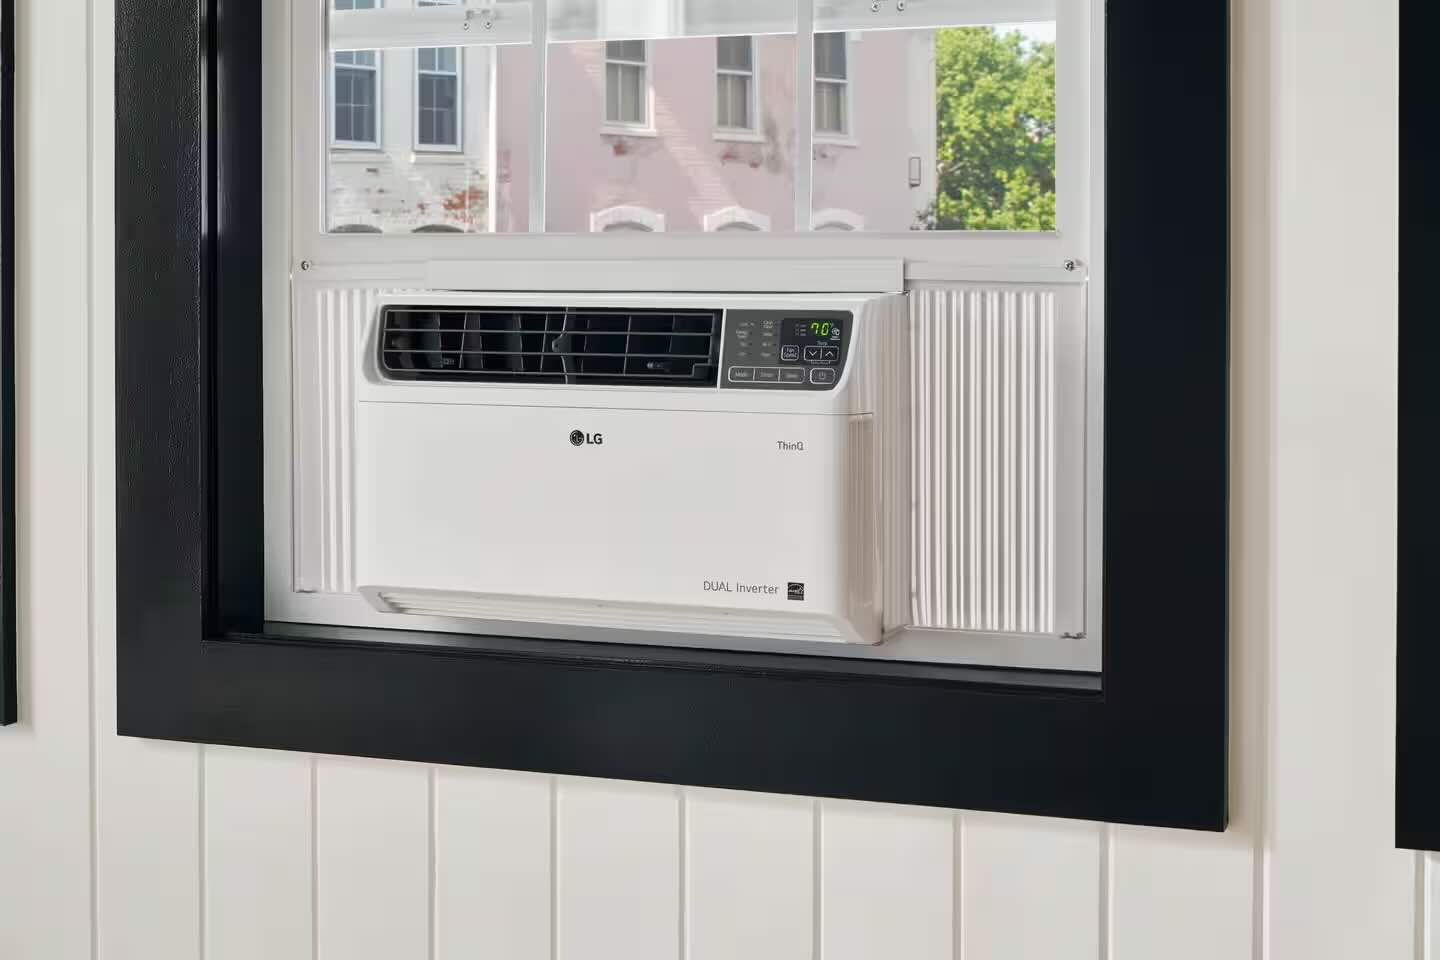
Welcome to our guide on how to clean a window air conditioner without removing it. Window air conditioners are a popular cooling solution for homes, apartments, and offices. They provide efficient cooling and are relatively easy to install. However, like any other appliance, they require regular maintenance to function optimally.
Regular cleaning of your window air conditioner helps to improve its performance, extend its lifespan, and ensure that the air it blows is clean and free from dust and allergens. While it is recommended to remove the unit from the window for a more thorough cleaning, it can be a cumbersome and time-consuming task. This guide will provide you with step-by-step instructions on how to clean your window air conditioner without having to remove it.
By following these steps, you can effectively remove dirt, dust, and debris from your window air conditioner, improving its efficiency and preventing potential issues down the line. So, let’s dive in and learn how to clean your window air conditioner without the hassle of removing it.
Key Takeaways:
- Regularly cleaning your window air conditioner without removing it can improve its efficiency, extend its lifespan, and ensure clean, allergen-free air circulation in your living space.
- Prioritize safety by shutting off the power, wearing protective gear, and following manufacturer’s instructions when cleaning your window air conditioner. Regular maintenance ensures optimal performance and longevity.
Read more: How To Clean A Window Air Conditioner
Why Clean Your Window Air Conditioner?
Keeping your window air conditioner clean is crucial for several reasons. Firstly, a clean air conditioner will perform more efficiently, saving you energy and reducing your electricity bills. When the coils and filters of your unit are clogged with dirt and debris, it restricts the airflow and makes the compressor work harder to cool the air. This not only puts a strain on the unit but also increases your energy consumption.
In addition to improved efficiency, regular cleaning also helps to maintain a healthier indoor environment. Over time, dirt, dust, and mold can accumulate on the filters and evaporator coils of your air conditioner. When the air blows through these dirty components, it can carry allergens and dirt particles into your living space, leading to respiratory issues and allergies. By cleaning your window air conditioner, you can ensure that the air it circulates is clean and free from contaminants.
Another reason to regularly clean your window air conditioner is to prolong its lifespan. When your air conditioner is dirty, it has to work harder to cool the air, putting unnecessary stress on its components and reducing its overall lifespan. By cleaning the coils, filters, and other parts of your unit, you can remove the dirt and debris that can cause damage and help your air conditioner last longer.
Furthermore, neglecting to clean your window air conditioner can lead to potential issues and costly repairs. If the drainage hole of your unit becomes clogged with dirt and debris, it can cause water to back up and damage the interior components. Additionally, when the evaporator coils are coated with dirt and dust, it can result in reduced cooling capacity and potential ice buildup.
Overall, cleaning your window air conditioner is essential for optimal performance, energy efficiency, indoor air quality, and longevity. Now that we understand the importance of cleaning, let’s move on to the tools and materials you’ll need for the task.
Tools and Materials Needed
Before you begin cleaning your window air conditioner, it’s important to gather all the necessary tools and materials. Having everything prepared will make the cleaning process more efficient and ensure that you have everything you need at hand. Here’s a list of the tools and materials you’ll need:
- Soft brush or vacuum cleaner with a brush attachment
- Screwdriver or appropriate tool to remove the front cover
- Mild detergent or air conditioner coil cleaner
- Water spray bottle
- Clean cloth or sponge
- Gloves to protect your hands
- Bucket or large container for collecting water
- Protective goggles
The soft brush or vacuum cleaner with a brush attachment will be used to remove any loose dirt and debris from the filters, coils, and fan blades. It’s important to choose a brush or attachment that is gentle to avoid damaging the delicate components of the air conditioner.
A screwdriver or appropriate tool will be needed to remove the front cover of the air conditioner. This will allow you access to the filters and coils for cleaning.
For cleaning the coils, you can use a mild detergent or an air conditioner coil cleaner, depending on the level of dirt and grime. Be sure to choose a cleaning solution that is safe for use on air conditioners and follow the manufacturer’s instructions for dilution and application.
A water spray bottle will come in handy for spraying water onto the coils and other components to rinse off the cleaning solution and dislodged dirt.
A clean cloth or sponge can be used to wipe down the exterior of the air conditioner and remove any dirt or stains.
Wearing gloves is recommended to protect your hands from any debris or cleaning chemicals that may irritate or harm your skin.
A bucket or large container will be needed to collect the water that may drip or drain from the air conditioner during the cleaning process.
Finally, wearing protective goggles is advisable to shield your eyes from any debris or cleaning solution that may splash or get airborne during cleaning.
Now that you have gathered all the necessary tools and materials, it’s time to move on to the safety precautions you should keep in mind before starting the cleaning process.
Safety Precautions
Before you begin cleaning your window air conditioner, it’s important to prioritize your safety. Here are some safety precautions to keep in mind:
- Shutting off the power: Before you start cleaning, make sure to turn off the power supply to the air conditioner. This can be done by switching off the circuit breaker or unplugging the unit from the electrical outlet. This will prevent any accidental electric shocks while working on the components.
- Protective gear: Wear gloves and protective goggles to shield your hands and eyes from any debris, cleaning solutions, or splashing water. These items will help prevent any injuries or irritation during the cleaning process.
- Stable support: Ensure that your air conditioner is securely supported in the window frame or bracket before starting the cleaning process. This will prevent any accidental falls or damage to the unit.
- Sturdy ladder or step stool: If you need to access higher parts of the air conditioner, use a sturdy ladder or step stool. Make sure it is placed on a stable surface and follow proper ladder safety guidelines to minimize the risk of falling.
- Adequate ventilation: While cleaning, ensure that the area is well-ventilated to prevent the accumulation of fumes or cleaning solution vapors. If necessary, open windows or use fans to improve air circulation.
- Manufacturer’s instructions: Always refer to the manufacturer’s instructions and guidelines for cleaning your specific model of window air conditioner. Following the recommended cleaning techniques and safety precautions will ensure that you do not accidentally damage the unit.
- Water drainage: Be aware of water drainage from the air conditioner during the cleaning process. Use a bucket or large container to collect the water that may drip or drain out to prevent any water damage to the surrounding area.
- Caution with electrical components: Avoid direct contact with electrical parts of the air conditioner. If there is any doubt or concern about electrical safety, it is best to consult a professional technician.
By adhering to these safety precautions, you can minimize the risk of accidents, injuries, and damage to your window air conditioner. Now that you are equipped with the necessary safety measures, let’s move on to the step-by-step process of cleaning your window air conditioner without removing it.
Step 1: Shutting Off the Power
Before you begin cleaning your window air conditioner, it is important to ensure that the power supply to the unit is shut off. This will help prevent any accidents or electric shocks while working on the components. Follow these steps to safely turn off the power:
- Locate the circuit breaker: Depending on the setup of your home, your air conditioner may have a dedicated circuit breaker or may be connected to a shared circuit. Locate the appropriate circuit breaker in your electrical panel.
- Switch off the circuit breaker: Once you have identified the circuit breaker, switch it off. This will cut off the power supply to the air conditioner. It is a good practice to label the circuit breaker corresponding to your air conditioner for easier identification in the future.
- Alternatively, unplug the unit: If your air conditioner is plugged into an electrical outlet, you can simply unplug it. However, make sure to do this only if you can safely reach the outlet without straining or risking your safety.
- Double-check the power: To ensure that the power is indeed off, try turning on your air conditioner. If it does not start up, you can proceed with the cleaning process knowing that the power is successfully shut off.
By taking the time to properly shut off the power to your window air conditioner, you reduce the risk of electrical accidents and ensure a safe working environment. With the power off, you can now move on to the next step of removing the front cover of your unit.
Read more: How To Clean GE Window Air Conditioner
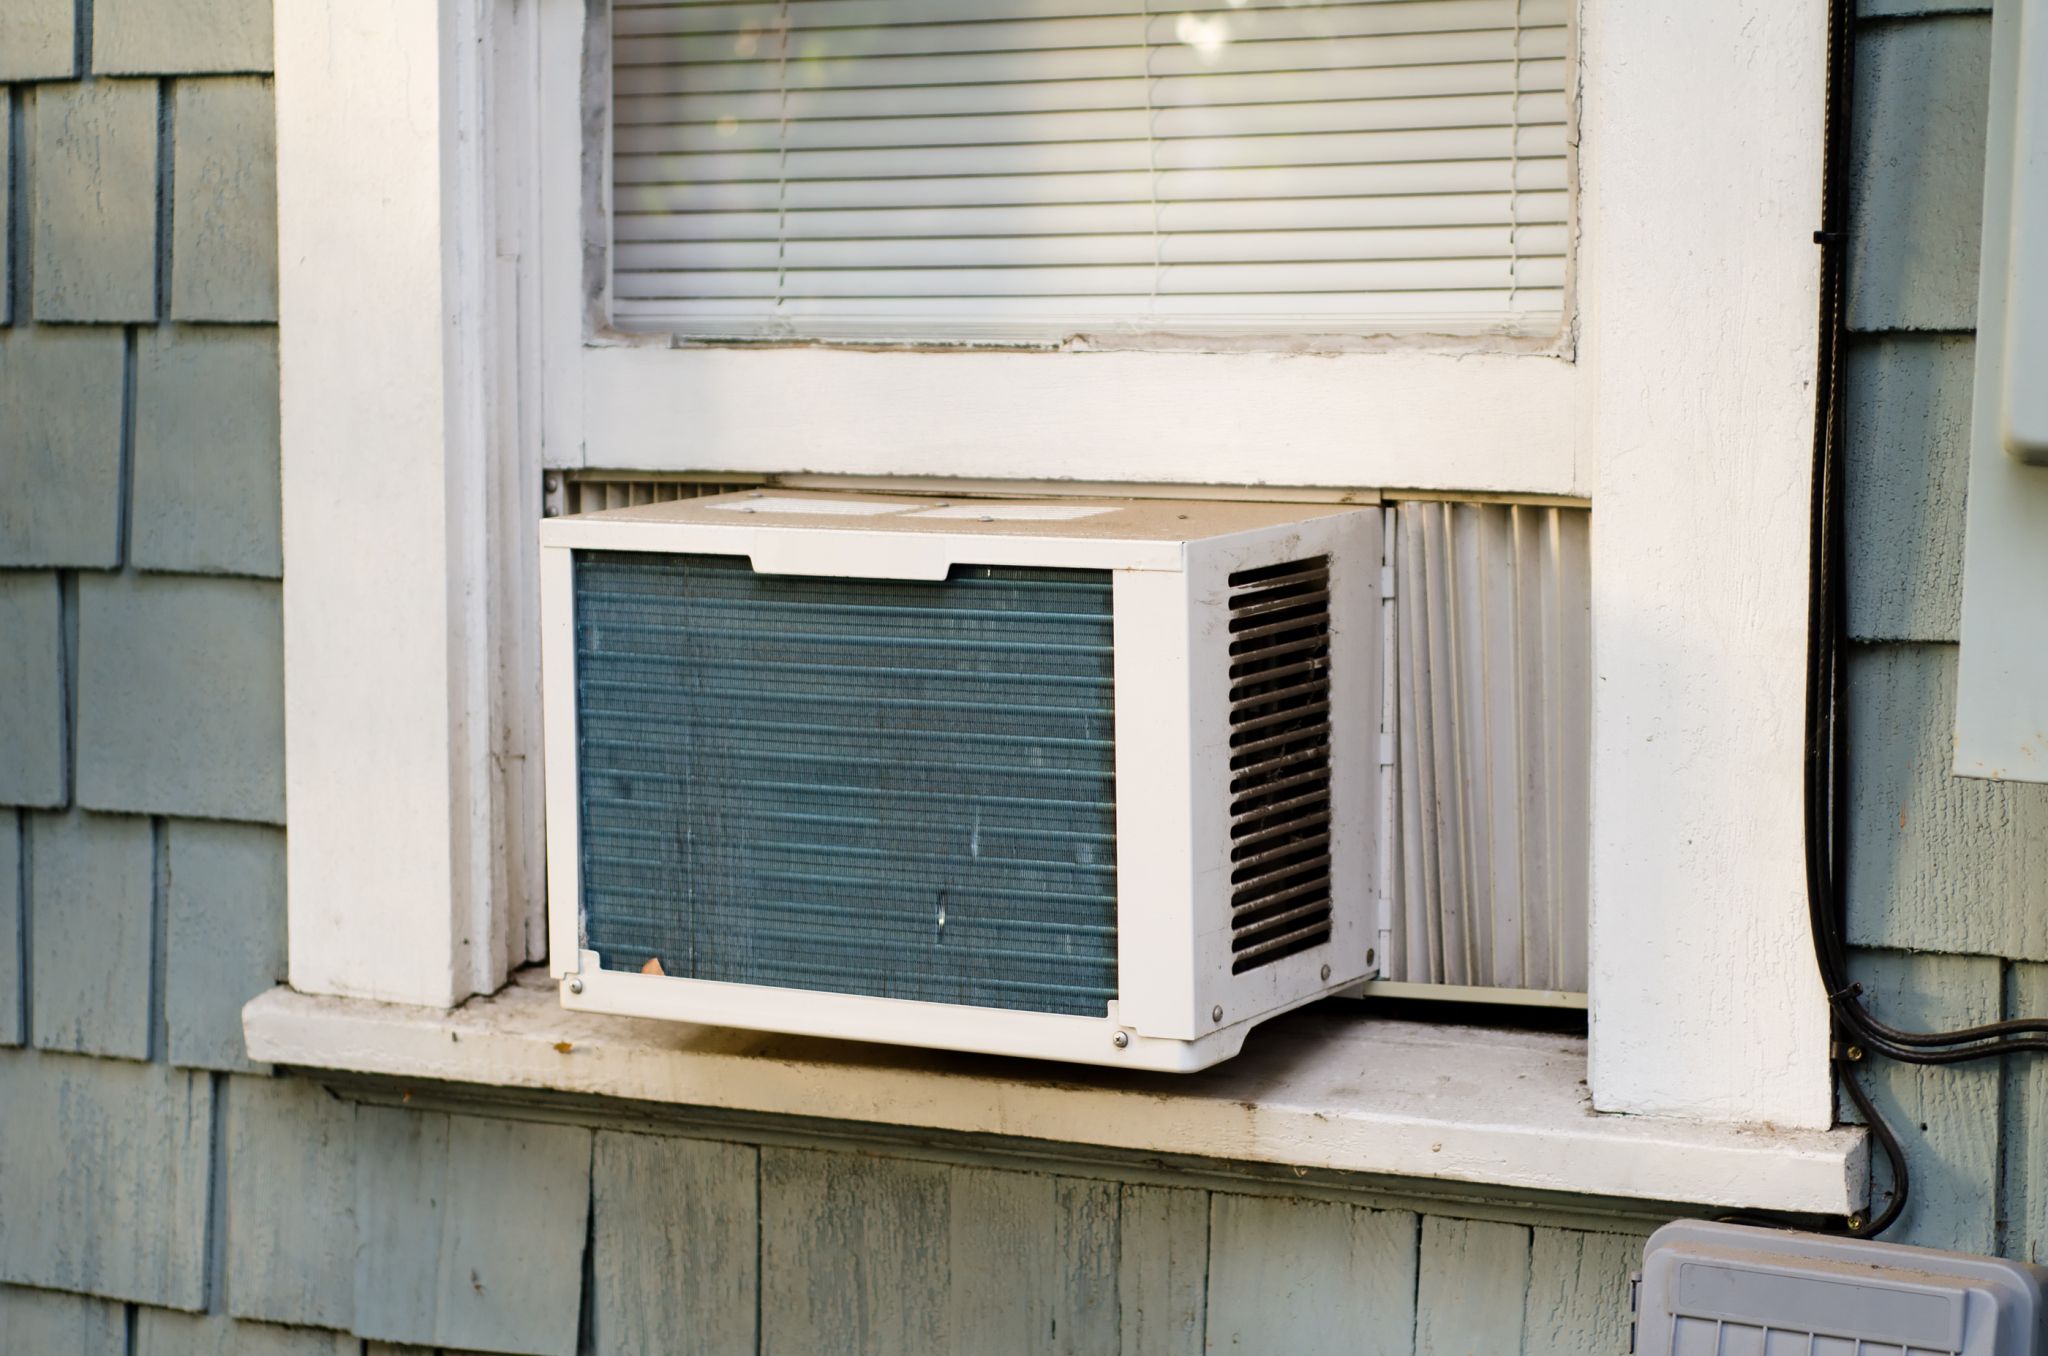
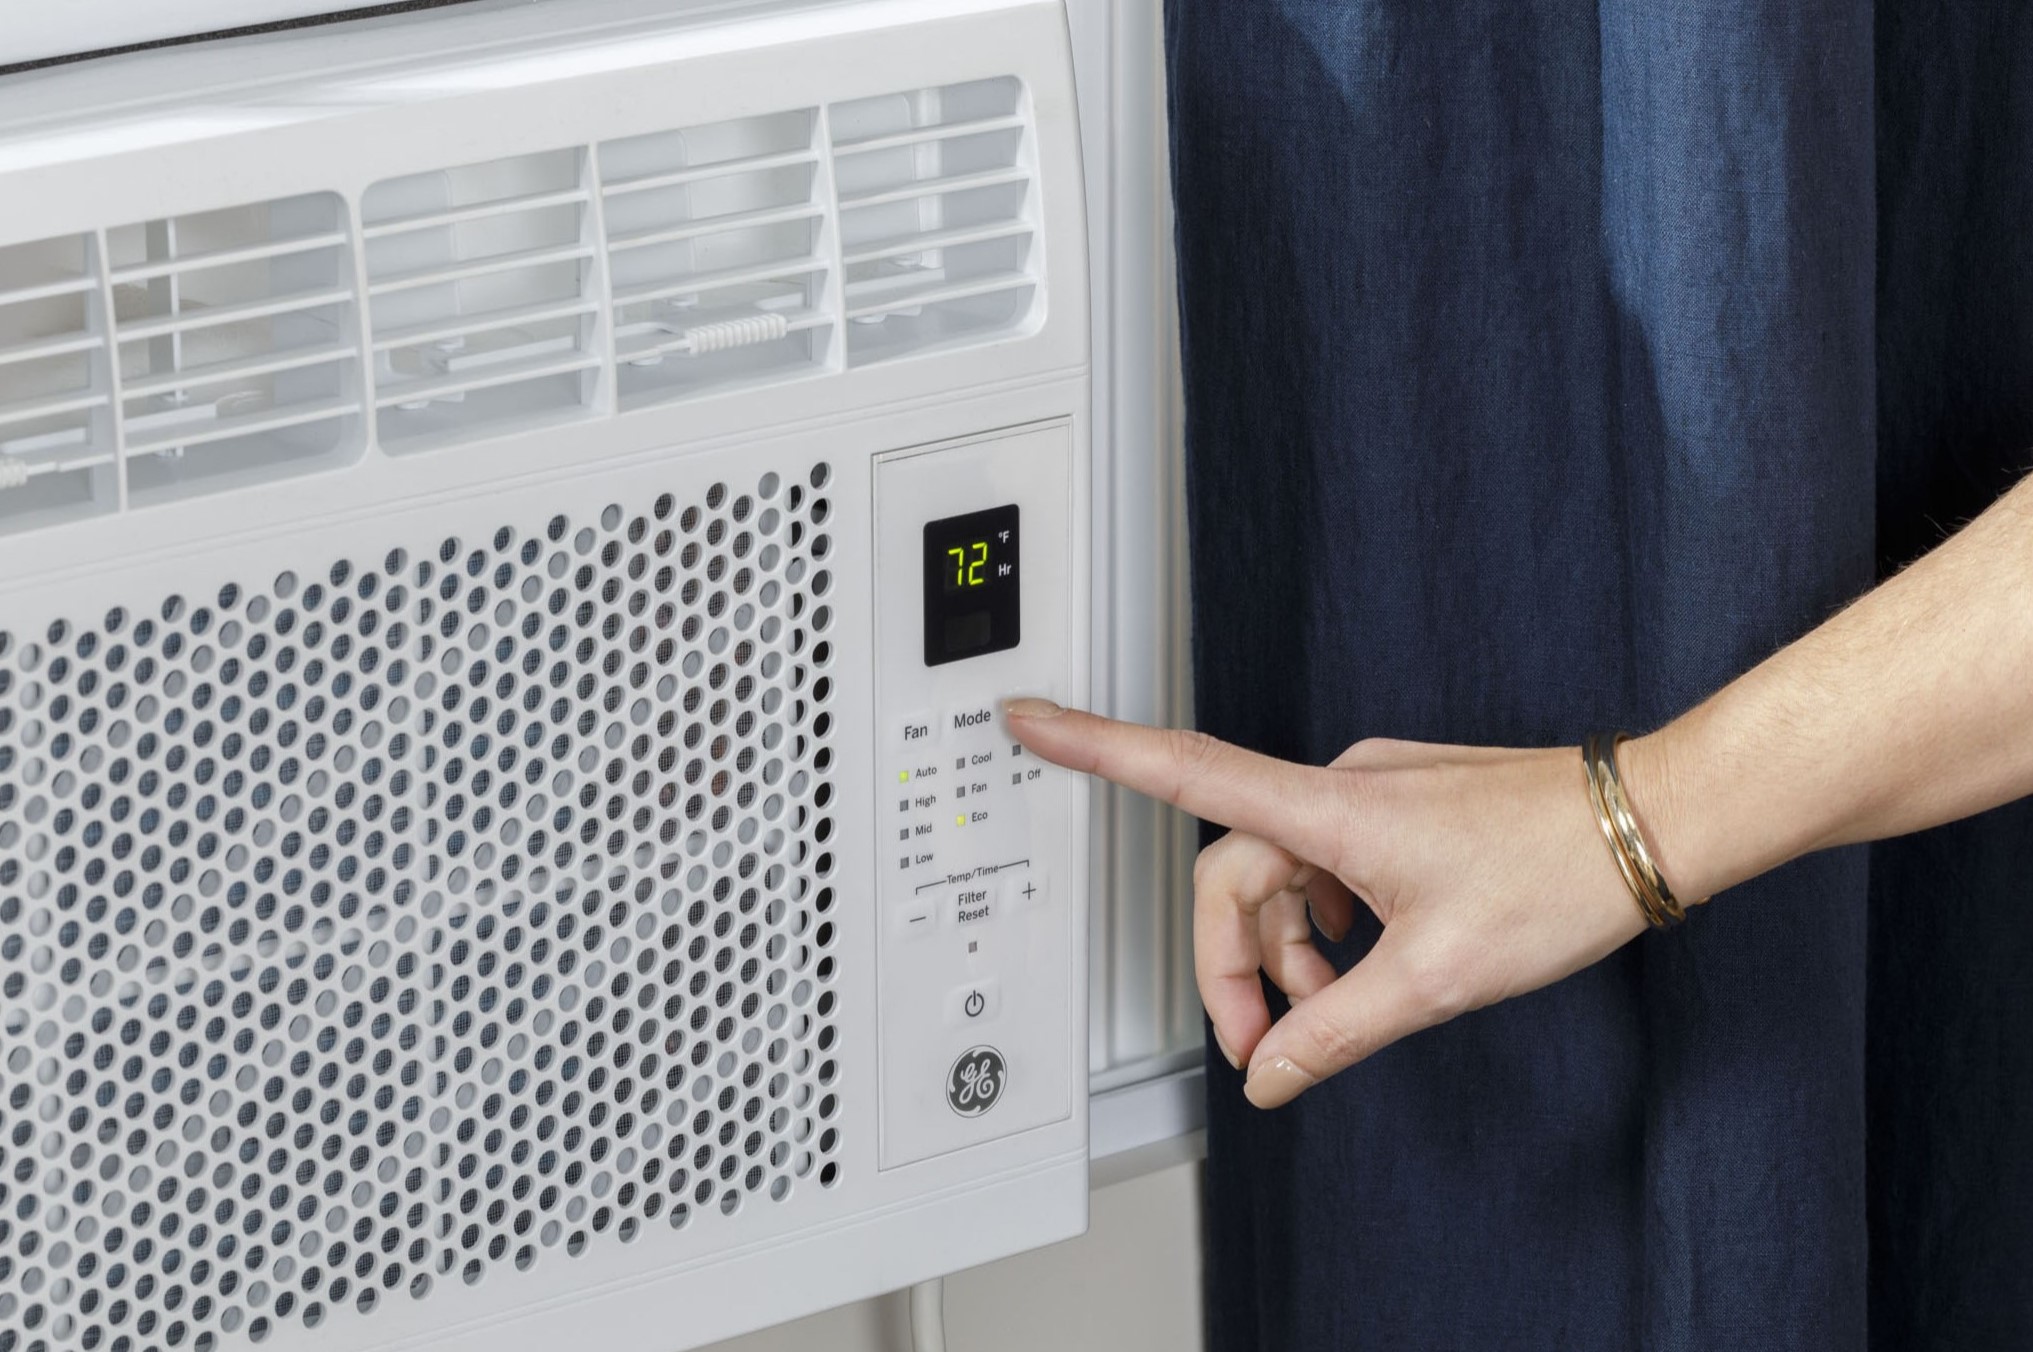
Step 2: Removing the Front Cover
With the power to your window air conditioner shut off, you can now proceed to remove the front cover. The front cover gives you access to the filters and coils, which are the key components that require cleaning. Follow these steps to safely remove the front cover:
- Locate the fasteners: Examine the front cover of your air conditioner and identify the fasteners that hold it in place. These can be screws, clips, or latches, depending on the model of your unit.
- Use the appropriate tool: Depending on the type of fasteners, use a screwdriver or the appropriate tool to loosen or remove them. Be sure to keep track of any screws or fasteners and set them aside in a safe place to avoid losing them.
- Gently remove the front cover: Once the fasteners are removed, gently pull or slide the front cover away from the unit. Be cautious not to force it or cause any damage. If you encounter any resistance, double-check for any remaining fasteners that may still be attached.
- Set aside the front cover: Place the front cover in a safe and clean area, away from any dirt or debris. You can cover it with a cloth or plastic sheet to keep it protected while you clean the other components of the air conditioner.
By following these steps, you can easily remove the front cover of your window air conditioner, gaining access to the filters and coils for cleaning. Now that the front cover is removed, we can move on to the next step: cleaning the filters.
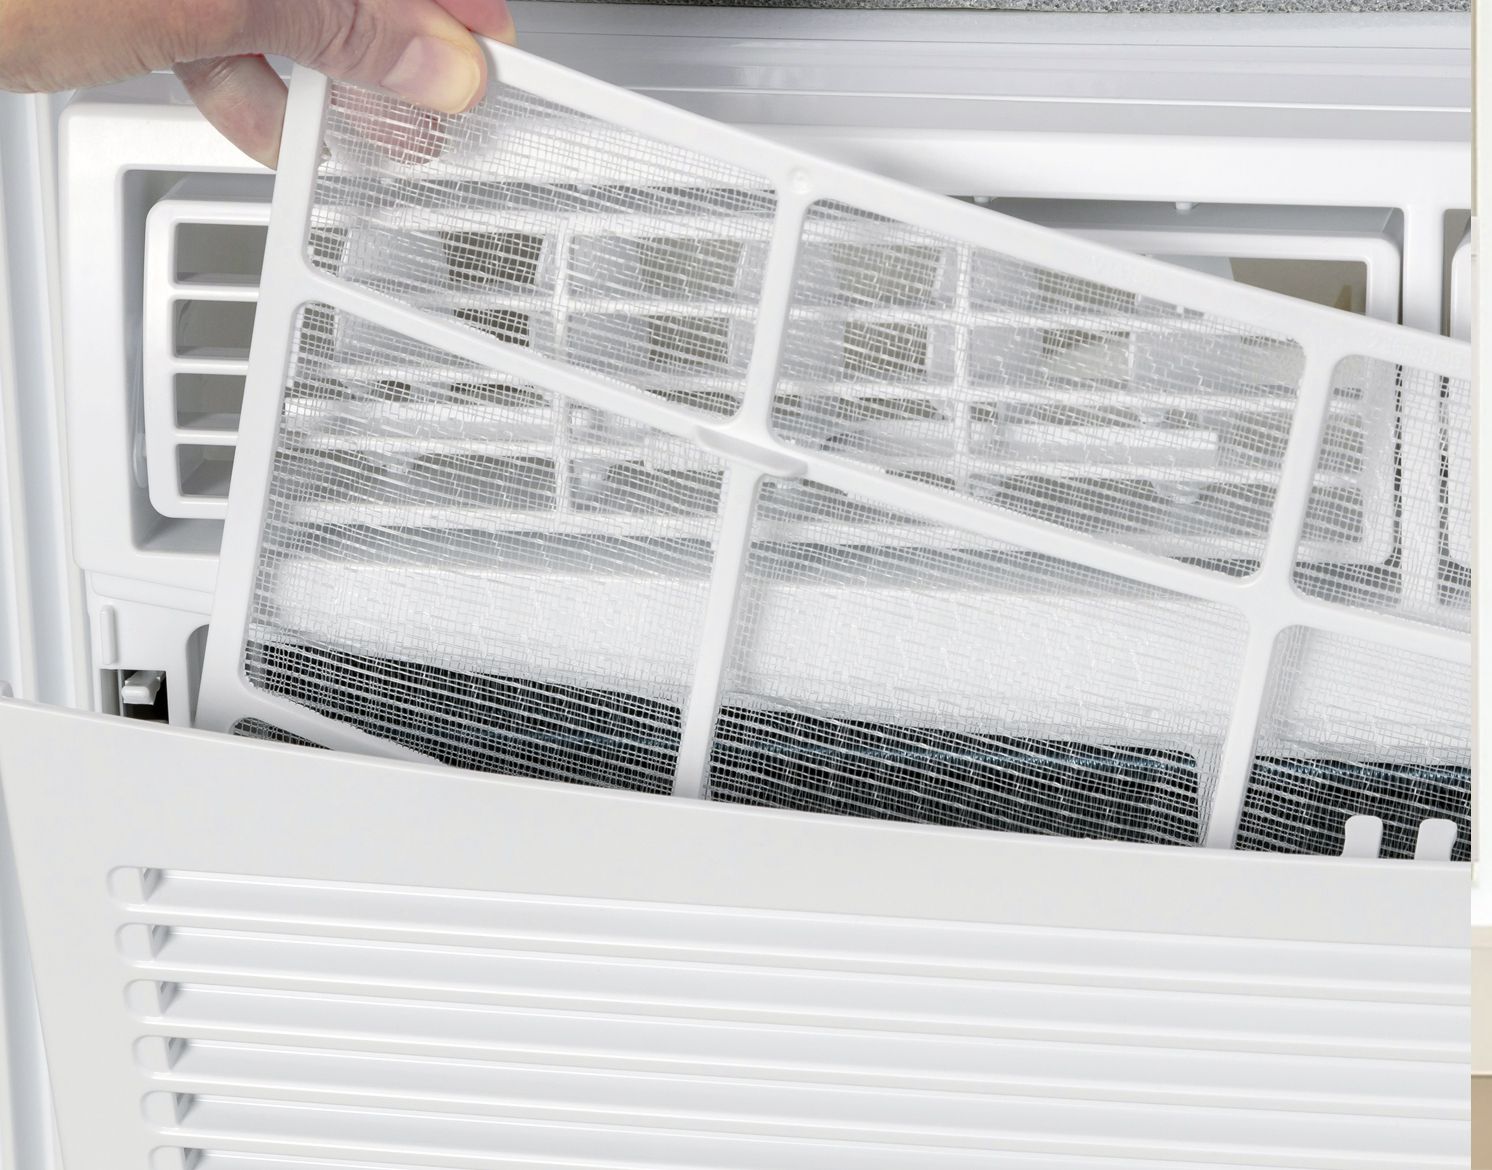
Step 3: Cleaning the Filter
Now that you have removed the front cover, it’s time to focus on cleaning the filter of your window air conditioner. The filter plays a crucial role in trapping dust, dirt, and other airborne particles, ensuring that the air blown by the unit is clean and free from contaminants. Follow these steps to clean the filter:
- Locate the filter: Look for the filter, which is typically located behind the front cover. It may be a mesh screen or a foam filter, depending on the model of your air conditioner.
- Remove the filter: Depending on the design of your air conditioner, you may need to slide or pull the filter out from its slot. Take care not to damage the filter during this process.
- Inspect the filter: Examine the filter for any visible dirt, dust, or debris. If it appears to be heavily clogged, you may want to consider replacing it with a new filter for optimal performance. If it is still in good condition, continue with the cleaning process.
- Clean the filter: To clean the filter, you have a few options. If it is a foam filter, you can rinse it under running water until the water runs clear. Gently squeeze out any excess water and allow the filter to air dry completely before reinserting it. If it is a mesh screen filter, you can either vacuum it with a brush attachment or rinse it under running water, ensuring that all dirt and debris are removed. Allow the filter to dry completely before reattaching it.
- Reinsert the filter: Once the filter is clean and dry, carefully reinsert it back into its original position. Ensure that it is snugly fitted and properly aligned. This will prevent any air leaks and ensure efficient filtration.
By regularly cleaning the filter of your window air conditioner, you can maintain good indoor air quality and optimize the unit’s performance. Clean filters also help to prolong the lifespan of your air conditioner. With the filter cleaned and reinserted, we can now move on to the next step: cleaning the coils.
Use a vacuum with a brush attachment to clean the air filter and vents. Wipe down the exterior with a damp cloth and mild detergent. Use a fin comb to straighten any bent fins for better airflow.
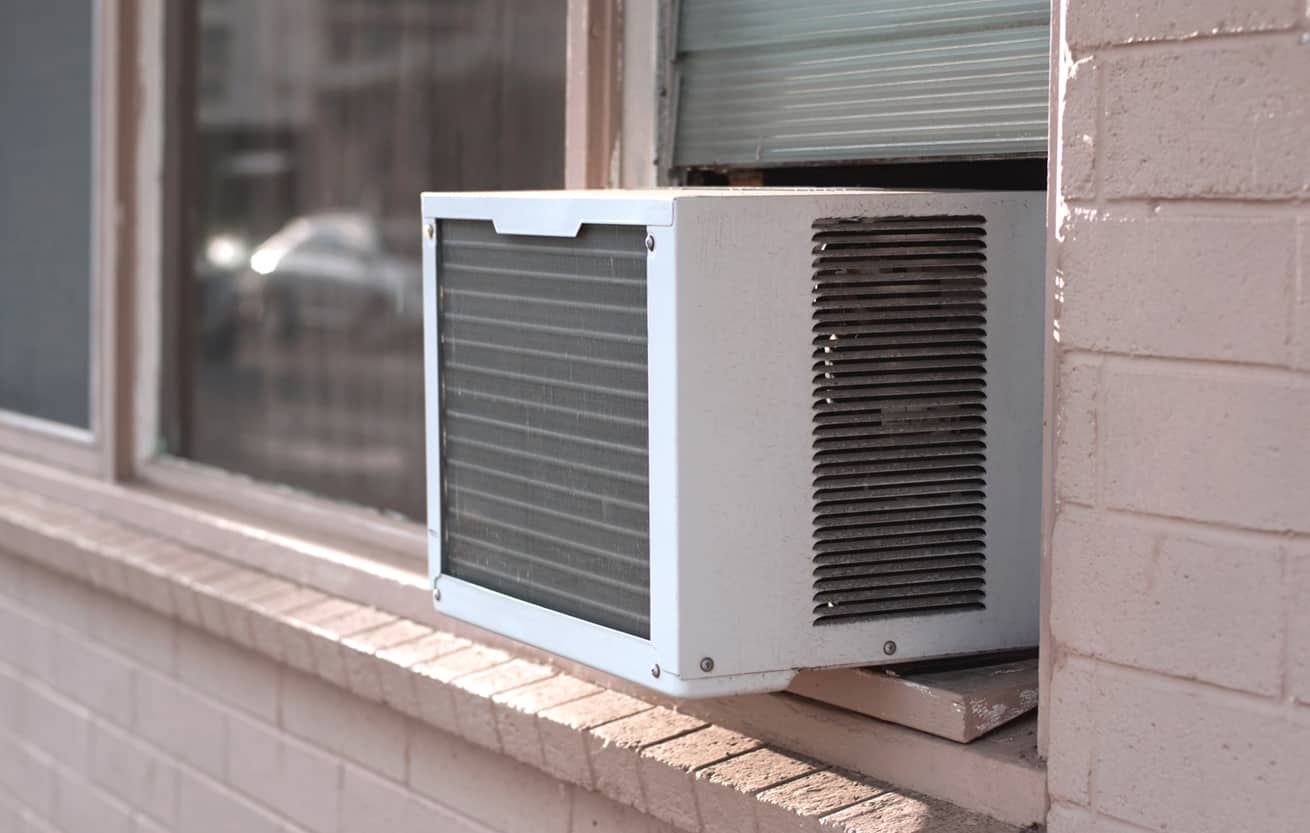
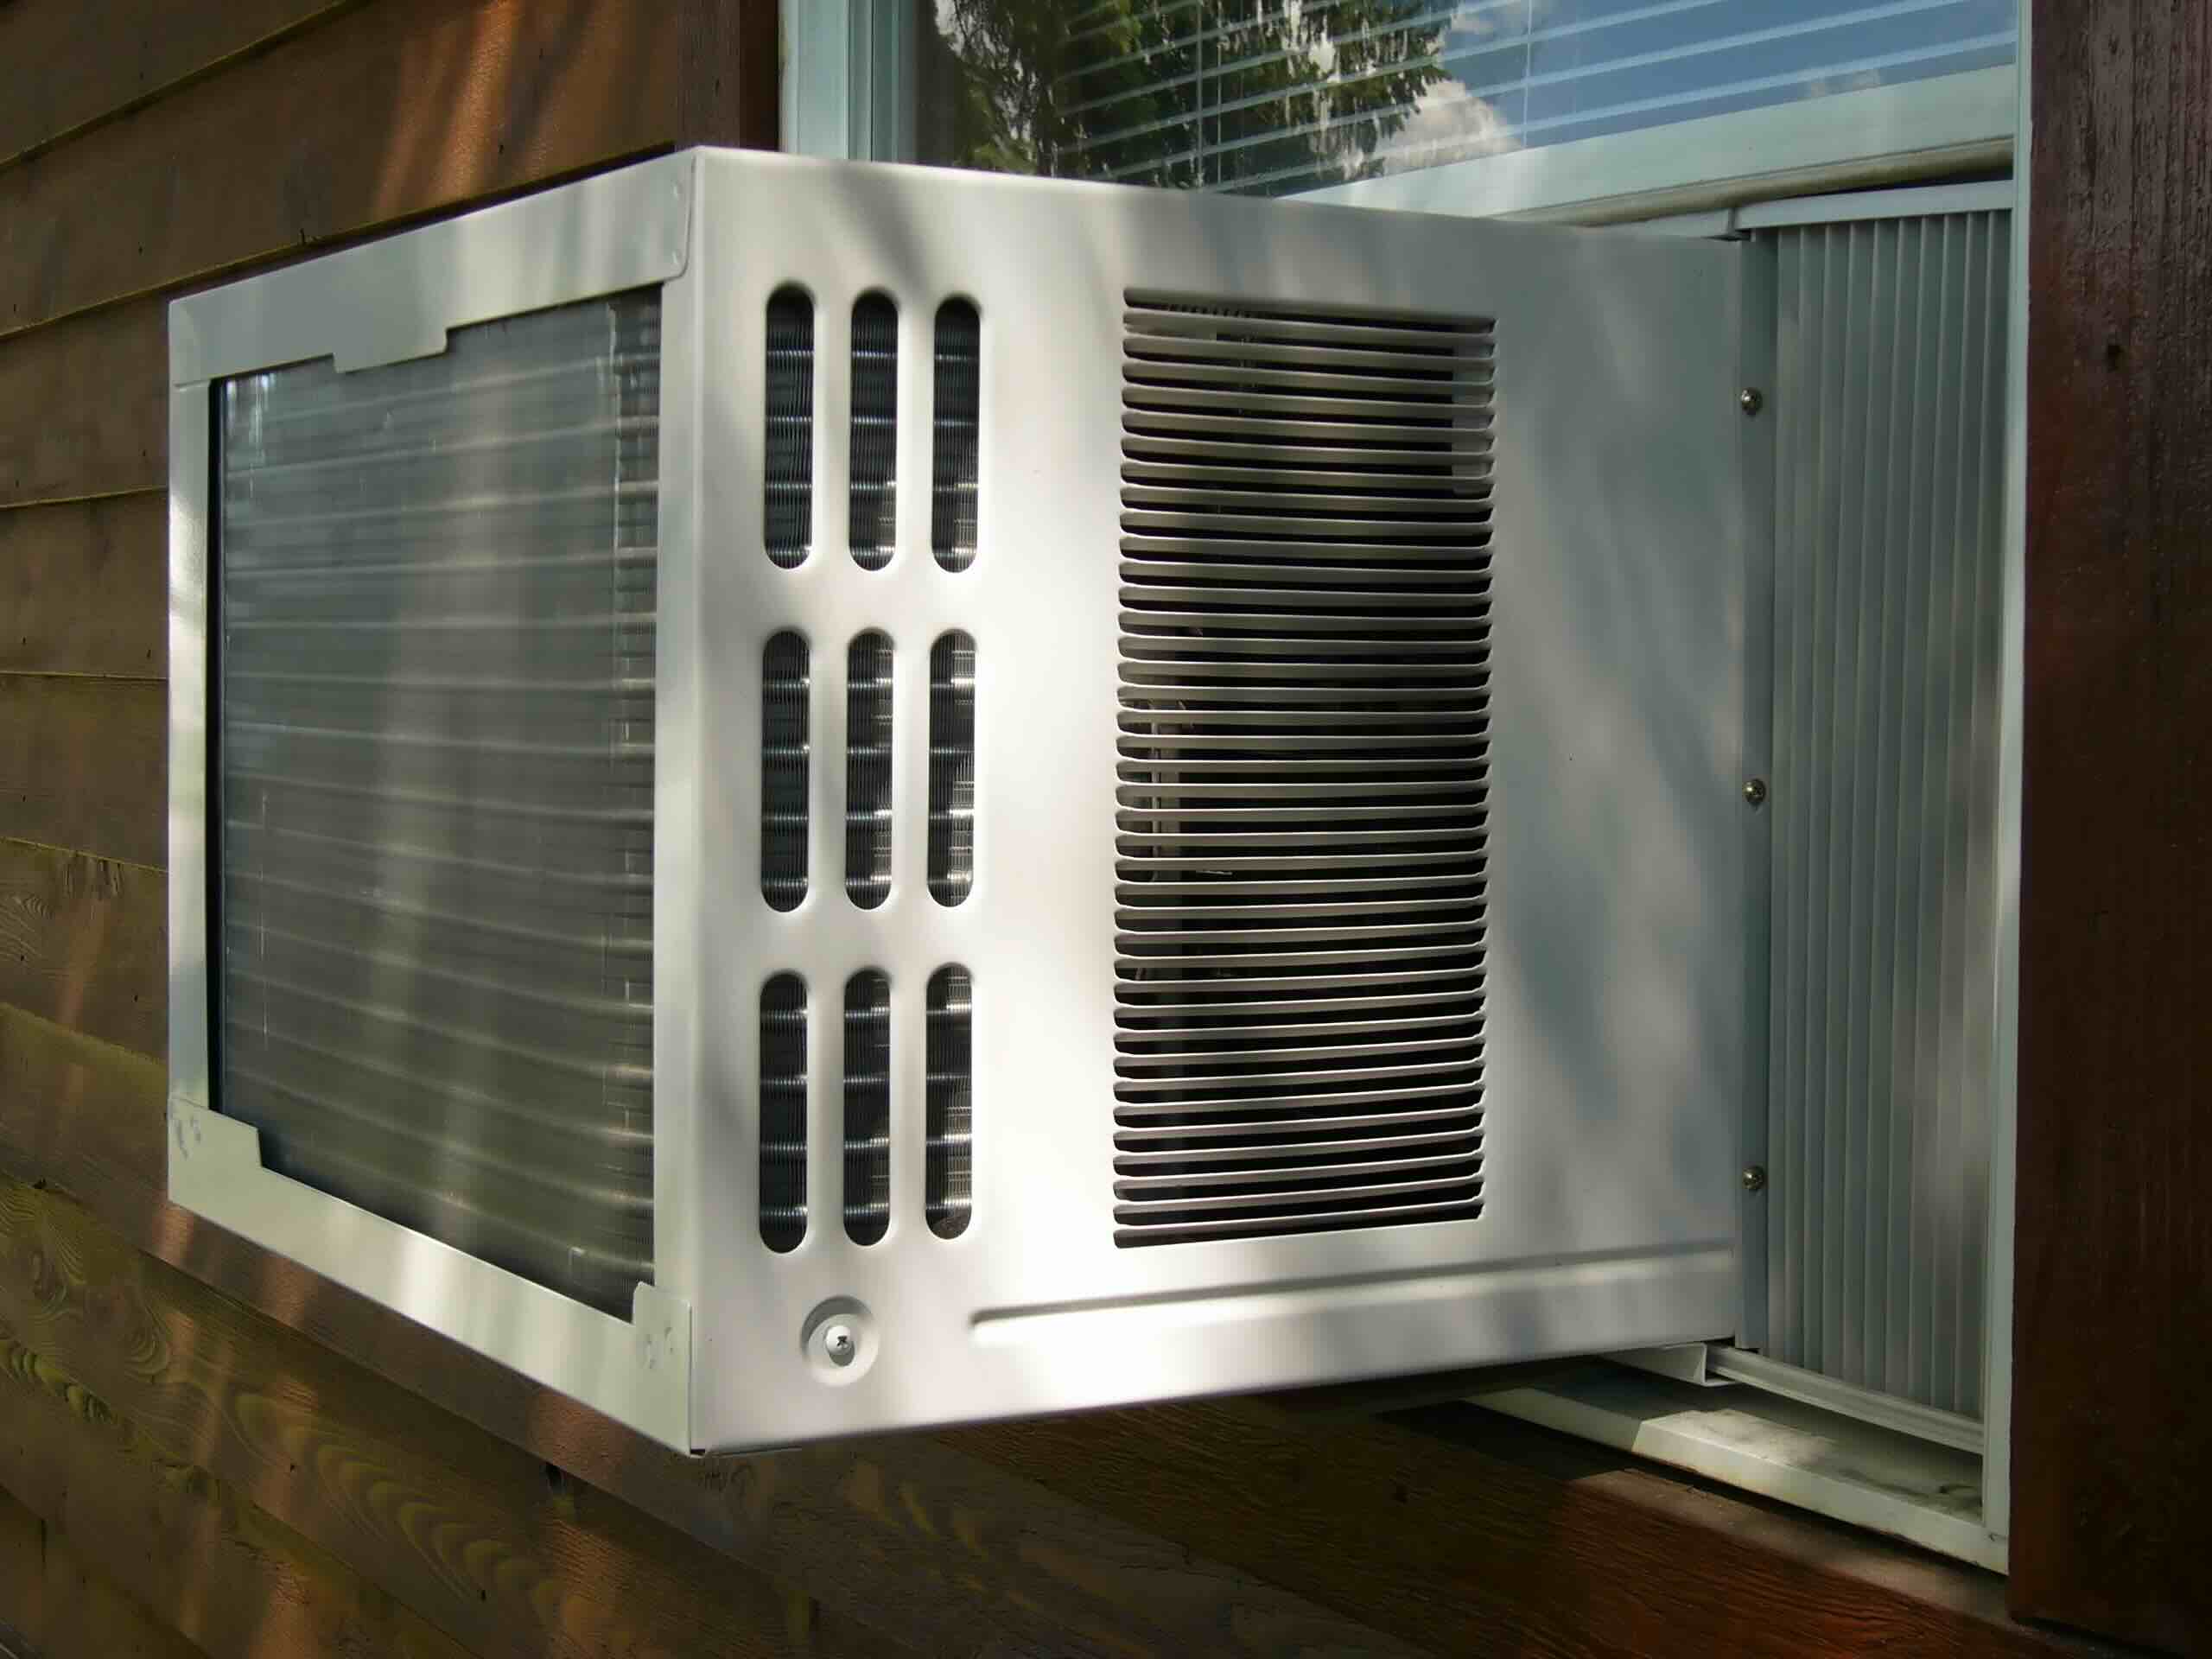
Step 4: Cleaning the Coils
Now that the filter is clean and back in place, it’s time to focus on cleaning the coils of your window air conditioner. The coils, both the evaporator coil and the condenser coil, play a crucial role in the cooling process. Over time, they can accumulate dirt, dust, and grime, which hinder their efficiency. Follow these steps to effectively clean the coils:
- Prepare the cleaning solution: Depending on the level of dirt and grime, you can either use a mild detergent mixed with water or an air conditioner coil cleaner, following the manufacturer’s instructions. Dilute the detergent or coil cleaner in a spray bottle and set it aside.
- Access the coils: Locate the coils behind the front cover of your air conditioner. They are usually located near the bottom or back of the unit. If necessary, refer to the manufacturer’s instructions to identify the exact location of the coils.
- Apply the cleaning solution: Spray the cleaning solution onto the coils, ensuring that they are well-covered. Be careful not to oversaturate the coils. Allow the cleaning solution to sit for a few minutes to loosen the dirt and grime.
- Clean the coils: Using a soft brush or vacuum cleaner with a brush attachment, gently scrub or vacuum the coils to remove the loosened dirt and grime. Be thorough but careful not to bend or damage the delicate fins of the coils.
- Rinse the coils: Once the coils are scrubbed or vacuumed, use a water spray bottle to rinse off the cleaning solution and any remaining dirt. Direct the water spray carefully to avoid excessive moisture reaching electrical components.
- Dry and inspect the coils: Use a clean cloth or sponge to gently dry off any excess moisture from the coils. Take this opportunity to inspect the coils for any signs of damage, such as bent fins or corrosion. If you notice any issues, it may be necessary to consult a professional technician for repairs.
By regularly cleaning the coils of your window air conditioner, you can ensure optimal cooling performance and energy efficiency. Clean coils also help prevent issues such as reduced cooling capacity and ice buildup. With the coils clean and inspected, we can now move on to the next step: cleaning the drainage hole.
Step 5: Cleaning the Drainage Hole
As you continue to clean your window air conditioner, it’s important not to neglect the drainage hole. This small opening allows water that accumulates inside the unit to drain out. Over time, the drainage hole can become clogged with dirt, debris, or even mold, leading to stagnant water and potential damage to your air conditioner. Follow these steps to properly clean the drainage hole:
- Locate the drainage hole: The drainage hole is typically located at the back or bottom of your window air conditioner. Check the manufacturer’s instructions for the exact location of the drainage hole on your specific model.
- Inspect the drainage hole: Examine the drainage hole for any visible dirt, debris, or mold. If you notice any obstructions, it’s essential to clean them out to ensure proper drainage.
- Use a soft brush or pipe cleaner: Depending on the size of the drainage hole, you can use a soft brush or a pipe cleaner to gently remove any debris or mold. Be careful not to force anything into the hole and avoid using sharp objects that may damage the unit.
- Flush with water: After removing the visible debris, use a water spray bottle or a gentle stream of water from a faucet to flush out the drainage hole. This will help ensure that it is clear of any remaining obstructions.
- Dry excess moisture: After flushing the drainage hole, use a clean cloth or sponge to absorb any excess moisture. It’s important to make sure the area around the drainage hole is dry to prevent any water damage or mold growth.
By properly cleaning the drainage hole of your window air conditioner, you can prevent water accumulation, which can lead to damage and malfunctions. A clear drainage hole will ensure that water is effectively drained from the unit, enhancing its performance and longevity. With the drainage hole cleaned, we can now move on to the next step: cleaning the fan blades.
Step 6: Cleaning the Fan Blades
As you continue to clean your window air conditioner, it’s important not to overlook the fan blades. The fan blades are responsible for circulating the cooled air throughout the room. Over time, they can accumulate dust and dirt, which can impact the airflow and efficiency of your unit. Follow these steps to properly clean the fan blades:
- Locate the fan blades: The fan blades are usually located behind the front cover of the air conditioner. They are commonly positioned near the evaporator coils or condenser coils. Identify the fan blades before proceeding with the cleaning process.
- Gently remove any loose debris: Use a soft brush or vacuum cleaner with a brush attachment to remove any loose dust or debris from the fan blades. Be cautious not to bend or damage the blades during this process.
- Apply a mild detergent solution: Mix a small amount of mild detergent with water to create a cleaning solution. Dampen a clean cloth or sponge with the solution and gently wipe down each fan blade, removing any stubborn dirt or grime. Take care not to get the motor or electrical components wet.
- Rinse off the detergent: Use a water spray bottle or a damp cloth to rinse off any residue from the detergent. Make sure to thoroughly rinse each fan blade to avoid leaving behind any cleaning solution.
- Dry the fan blades: After rinsing, use a clean cloth or towel to carefully dry the fan blades. Ensure that they are completely dry before reassembling the unit. This helps prevent the accumulation of moisture, which could lead to rust or damage to the fan blades.
By cleaning the fan blades of your window air conditioner, you can maintain optimal airflow and ensure efficient cooling performance. Clean fan blades also help reduce noise levels and prolong the lifespan of your unit. With the fan blades cleaned and dried, we can now move on to the next step: cleaning the exterior of the air conditioner.
Step 7: Cleaning the Exterior
As the final step in cleaning your window air conditioner, it’s important to give attention to the exterior of the unit. The exterior can accumulate dust, dirt, and other debris over time, impacting not only its appearance but also its overall performance. Follow these steps to effectively clean the exterior:
- Prepare a cleaning solution: Mix a mild detergent with warm water in a bucket or basin. Make sure the detergent is suitable for use on the surface of your air conditioner. Again, refer to the manufacturer’s instructions for any specific recommendations.
- Dampen a cloth or sponge: Dip a clean cloth or sponge into the cleaning solution, ensuring it is thoroughly dampened but not dripping with water.
- Gently scrub the exterior: Starting from the top of the unit, use the damp cloth or sponge to gently scrub the exterior surface. Pay attention to any areas that may have accumulated dirt or stains. Avoid using excessive force or abrasive materials that could scratch or damage the surface.
- Remove stubborn stains or grime: For any particularly stubborn stains or grime, you may need to use a soft-bristled brush or a toothbrush to gently scrub the affected areas. Be careful not to apply too much pressure that could dent or scratch the surface.
- Rinse off the cleaning solution: Once you have finished scrubbing, use a water spray bottle or a damp cloth to rinse off the cleaning solution from the exterior. Ensure that all traces of detergent are thoroughly removed.
- Dry the exterior: Use a clean towel or cloth to dry the exterior of the air conditioner. Take care to remove any excess moisture and ensure that the surfaces are completely dry before reassembling and operating the unit.
By regularly cleaning the exterior of your window air conditioner, you can not only maintain its appearance but also prevent dirt and debris from affecting its performance. A clean and well-maintained exterior will contribute to the overall efficiency and longevity of your unit. With the exterior cleaned and dried, we can now proceed to the final step: reassembling the unit.
Step 8: Reassembling the Unit
Now that you have thoroughly cleaned all the components of your window air conditioner, it’s time to reassemble the unit. Follow these steps to ensure that everything is properly put back together:
- Retrieve the front cover: Begin by retrieving the front cover that you set aside earlier. Make sure it is clean and free from any dirt or debris.
- Align and secure the front cover: Carefully align the front cover with the unit and gently slide or push it back into place. Ensure that it fits snugly and securely. If there were any screws, clips, or latches that you removed to detach the cover, reattach them as necessary.
- Reinsert the filter: Take the clean and dry filter and carefully slide or push it back into its designated slot. Ensure that it is properly aligned and snugly fitted.
- Double-check the components: Before powering on the air conditioner, double-check that all components, including the filter and front cover, are securely in place. This will help prevent any issues or malfunctions during operation.
- Turn on the power: Once you have confirmed that everything is properly reassembled, you can turn on the power to your window air conditioner. Restore power by switching on the circuit breaker or plugging the unit back into the electrical outlet.
- Test the functionality: After the power is turned on, test the functionality of your air conditioner. Check if the unit is blowing cool air and if it is operating smoothly. If there are any concerns or issues, refer to the manufacturer’s instructions or consider seeking professional assistance.
By following these steps and properly reassembling your window air conditioner, you can ensure that it operates efficiently and effectively. Regular maintenance and cleaning will help prolong the lifespan of your unit and contribute to a cool and comfortable living environment. Now that you have successfully cleaned and reassembled your window air conditioner, congratulations on a job well done!
If you have any additional questions or concerns regarding the operation or maintenance of your air conditioner, don’t hesitate to consult the manufacturer’s instructions or contact a professional technician.
Conclusion
Cleaning your window air conditioner without removing it may seem like a daunting task, but with the right knowledge and approach, it can be a manageable and rewarding process. Regular maintenance and cleaning of your air conditioner are essential for optimal performance, energy efficiency, and maintaining good indoor air quality.
In this comprehensive guide, we have walked you through the step-by-step process of cleaning your window air conditioner without removing it. From shutting off the power to reassembling the unit, each step has been outlined to ensure a thorough and effective cleaning process.
By following these steps, you can remove dirt, dust, and debris from important components such as the filters, coils, fan blades, drainage hole, and exterior of your air conditioner. Regular cleaning helps improve efficiency, prevent potential issues, extend the lifespan of your unit, and ensure that the air circulated is clean and free from allergens.
Throughout the cleaning process, we emphasized the importance of safety precautions, such as shutting off the power, wearing protective gear, and being cautious when working with electrical components.
Remember, each model of window air conditioner may have specific cleaning instructions and guidelines, so always consult the manufacturer’s instructions and recommendations to ensure you are cleaning your unit properly.
Now that you are equipped with the knowledge and techniques to clean your window air conditioner, it’s time to put it into action. Take the necessary steps to regularly maintain and clean your air conditioner for optimal performance and a comfortable living environment.
By investing time into the cleanliness and maintenance of your window air conditioner, you can enjoy cool and clean air year-round while prolonging the life of your unit.
So, don’t neglect your window air conditioner’s cleanliness and maintenance. Start implementing these cleaning steps today and reap the benefits of a efficiently running and long-lasting cooling system.
Frequently Asked Questions about How To Clean A Window Air Conditioner Without Removing It
Was this page helpful?
At Storables.com, we guarantee accurate and reliable information. Our content, validated by Expert Board Contributors, is crafted following stringent Editorial Policies. We're committed to providing you with well-researched, expert-backed insights for all your informational needs.