Home>Home Maintenance>How To Remove An Air Conditioner
Home Maintenance
How To Remove An Air Conditioner
Modified: March 7, 2024
Learn how to remove an air conditioner safely with our step-by-step guide. Proper home-maintenance tips for removing your AC unit and ensuring a smooth process.
(Many of the links in this article redirect to a specific reviewed product. Your purchase of these products through affiliate links helps to generate commission for Storables.com, at no extra cost. Learn more)
Introduction
Welcome to our comprehensive guide on how to remove an air conditioner. Whether you’re replacing your old unit, making repairs, or simply preparing for the winter months, knowing how to safely and effectively remove your air conditioner is essential. Removing an air conditioner requires careful planning and execution to avoid any damage or injuries.
In this article, we will walk you through the step-by-step process of removing an air conditioner, including the necessary safety precautions, tools and materials needed, and detailed instructions for each stage of the removal process. By following this guide, you can ensure a smooth and hassle-free removal experience.
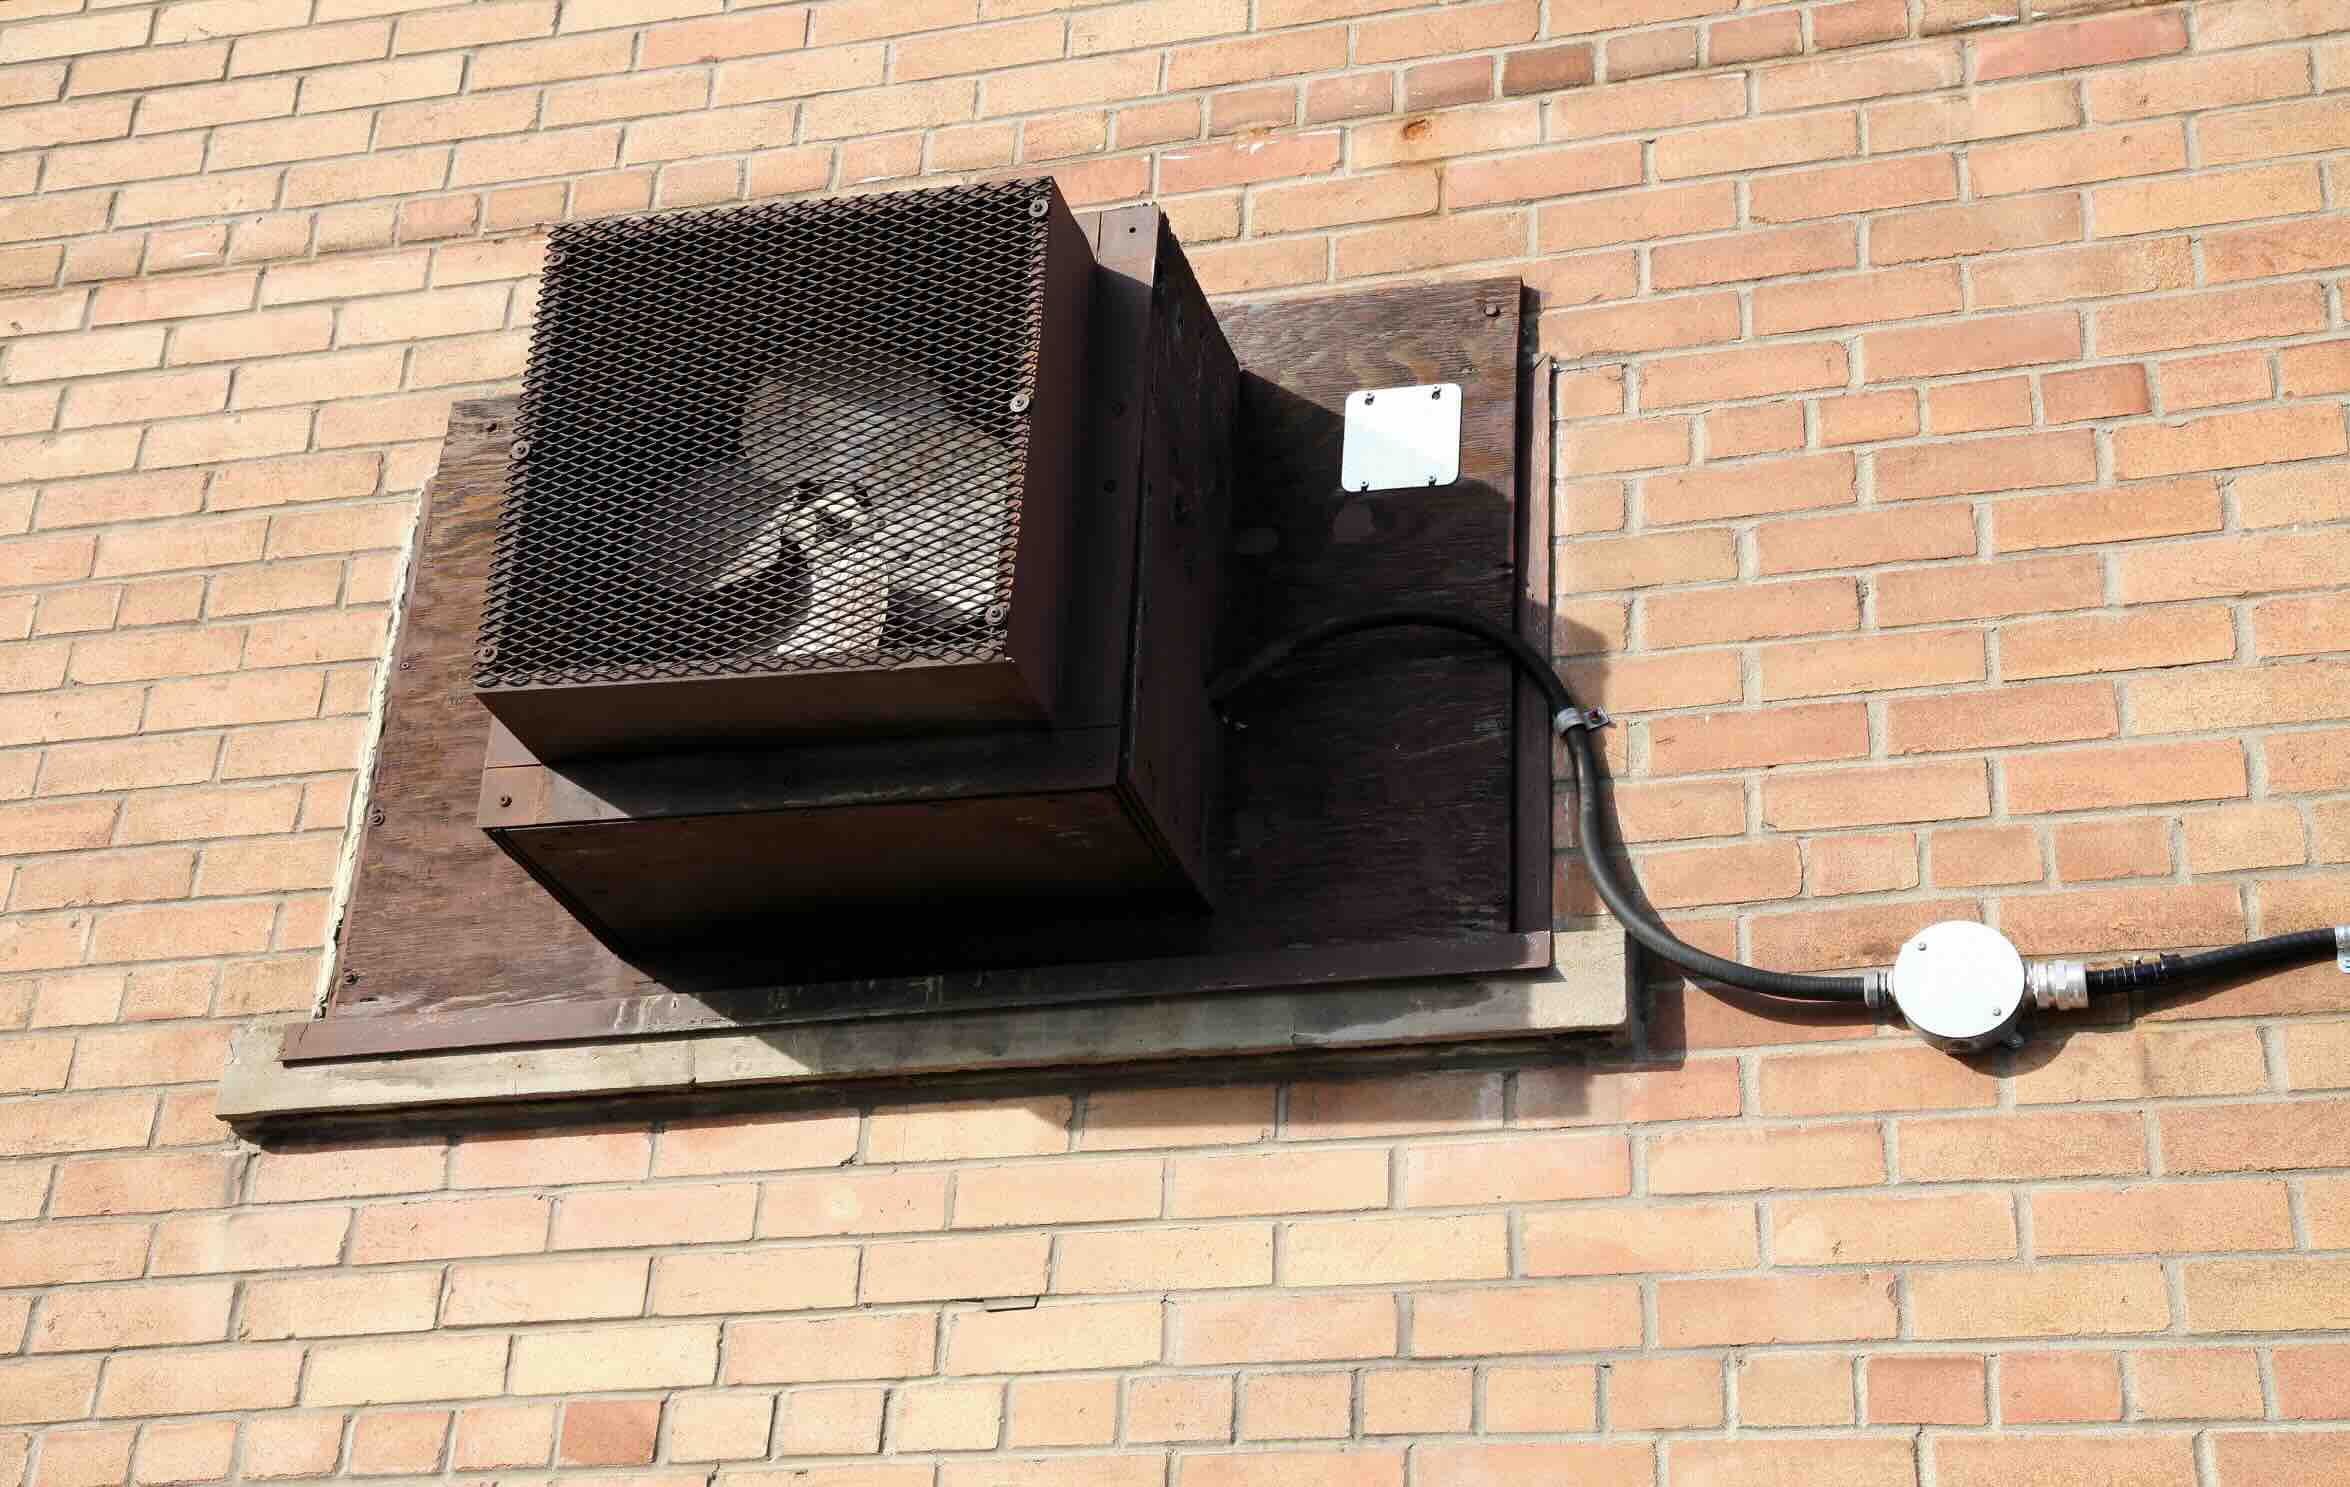
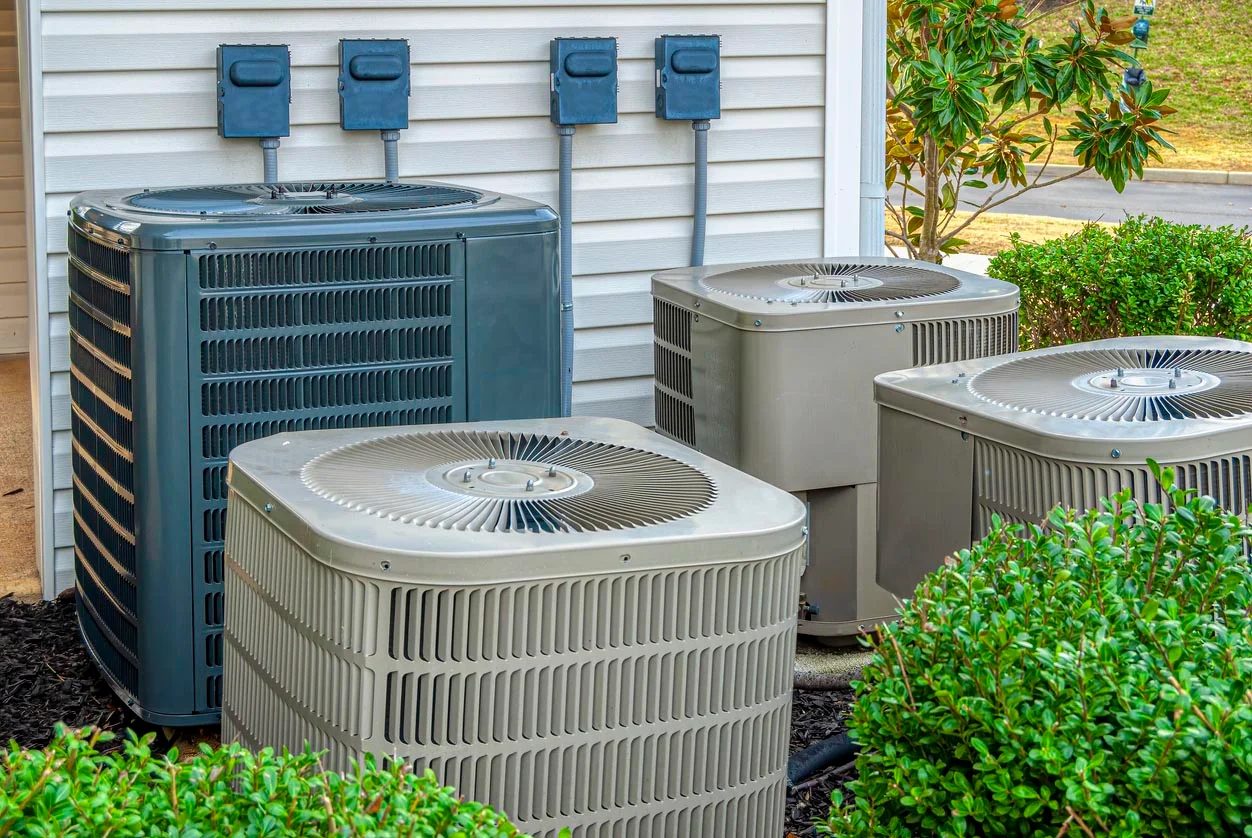
Before we dive into the process, please note that this guide assumes you have a window or wall-mounted air conditioner. If you have a different type of air conditioner, such as a ductless mini-split system or a central air conditioning unit, the removal process may vary. It’s always best to consult the manufacturer’s manual or seek professional assistance if you’re unsure.
Now, let’s get started on removing your air conditioner!
Key Takeaways:
- Safely remove an air conditioner by following step-by-step instructions, prioritizing safety, and gathering necessary tools and materials. Properly sealing the opening and cleaning the unit ensures a smooth removal process.
- Prioritize safety, gather tools, and follow detailed steps to safely remove an air conditioner. Seal the opening and clean the unit for future use, ensuring a hassle-free removal experience.
Read more: How To Remove Freon From An Air Conditioner
Safety Precautions
Before you begin the process of removing your air conditioner, it’s important to prioritize safety. Follow these precautions to ensure a safe and incident-free removal:
- Turn off the power: Before starting any work, shut off the power supply to the air conditioner unit. This will prevent any accidental electrical shock during the removal process. Locate the circuit breaker or disconnect switch dedicated to the air conditioner and turn it off.
- Wear protective gear: To protect yourself from potential injuries, make sure to wear gloves and safety goggles. These will shield your hands and eyes from sharp edges, debris, and other hazards.
- Recruit a helper: Removing an air conditioner can be challenging and potentially dangerous if done alone. It’s recommended to have a helper to assist you in lifting and supporting the unit, minimizing the risk of strain or injury.
- Secure the area: Clear the area around the air conditioner of any obstacles, such as furniture or decorations, to ensure a safe workspace. This will help prevent any tripping hazards and provide ample room for maneuvering during the removal process.
- Check for refrigerant leakage: If your air conditioner uses a refrigerant, check for any signs of leakage before removing the unit. If you detect a leak or suspect a problem, it’s best to contact a professional to handle the refrigerant removal and disposal.
- Follow manufacturer guidelines: Consult the manufacturer’s manual for specific safety instructions pertaining to your air conditioner model. This will ensure you’re aware of any model-specific precautions or considerations during the removal process.
By following these safety precautions, you can minimize the risk of accidents and injuries while removing your air conditioner.
Tools and Materials Needed
When it comes to removing an air conditioner, having the necessary tools and materials on hand will make the process much smoother. Here are the tools and materials you’ll need:
- Screwdriver: A screwdriver with the appropriate Phillips or flat-head bits will be needed to remove any screws holding the air conditioner unit in place.
- Pliers and wire cutters: These tools will come in handy when disconnecting electrical connections and wires.
- Ratchet or spanner wrench: Depending on the type of mounting brackets used, you may need a ratchet or spanner wrench to unscrew the mounting screws.
- Duct tape or sealant: To seal the opening after removing the air conditioner, you’ll need duct tape or an appropriate sealant to prevent drafts, moisture, or pests from entering your home.
- Protective gloves and safety goggles: It’s essential to have protective gear to safeguard your hands and eyes from any sharp edges or debris.
- Drop cloth or tarp: Placing a drop cloth or tarp under the air conditioner unit will protect your floors or walls from any dirt, dust, or debris that may fall during removal.
- Cleaning supplies: After removing the air conditioner, you may need cleaning supplies such as a vacuum cleaner, duster, or cleaning solution to tidy up any accumulated dust or dirt.
- Helper: As mentioned earlier, having a helper will greatly assist in removing the air conditioner safely and efficiently.
Make sure to gather all the necessary tools and materials before you begin the removal process. This will save you time and ensure a smoother transition.
Step 1: Shut off the Power
Before you start removing the air conditioner, it is crucial to turn off the power supply to avoid any electrical hazards. Follow these steps to shut off the power:
- Locate the circuit breaker or disconnect switch: The circuit breaker or disconnect switch for the air conditioner is typically located near the unit or in the main electrical panel of your home. Refer to the manufacturer’s manual or consult an electrician if you’re unsure.
- Switch off the circuit breaker or disconnect switch: Once you have located the circuit breaker or disconnect switch, switch it off to cut off the power supply to the air conditioner. This will prevent any accidental electrical shocks while working on the unit.
- Double-check the power supply: After turning off the circuit breaker or disconnect switch, ensure that the power to the air conditioner is indeed off. You can do this by testing the unit to see if it still operates. If it doesn’t, then the power has been successfully shut off.
It’s important to note that some air conditioner models may have a separate power switch directly on the unit itself. If that is the case, make sure to switch off the power using that switch as well.
By shutting off the power, you’ll be able to work on the air conditioner safely without the risk of electrical accidents. Remember to proceed with caution and to always prioritize safety during the removal process.
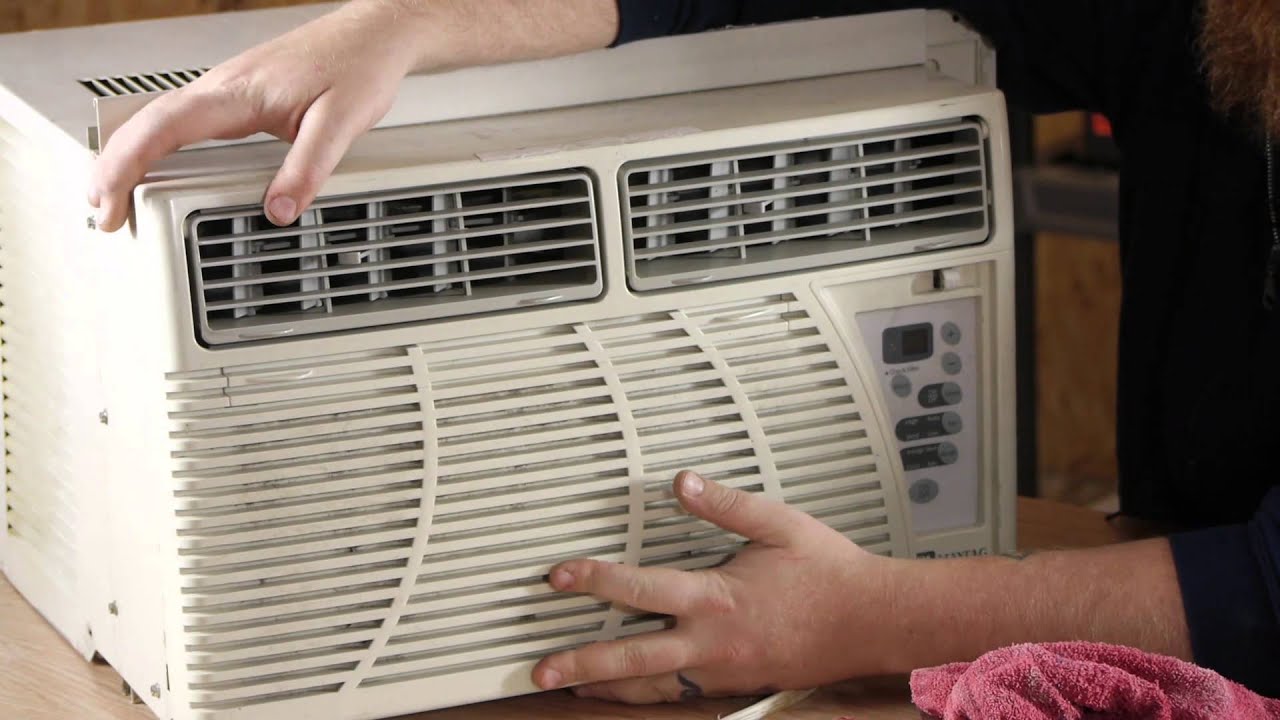
Step 2: Remove the Air Conditioner Cover
Once you have shut off the power, the next step is to remove the air conditioner cover. The cover protects the internal components of the unit from debris and weather elements. Follow these steps to remove the air conditioner cover:
- Inspect the cover: Before removing the cover, visually inspect it for any screws, clips, or fasteners holding it in place. Different air conditioner models may have different methods of securing the cover.
- Remove the screws or fasteners: Using a screwdriver or the appropriate tool, carefully remove any screws or fasteners securing the cover. Place the screws in a safe location to avoid misplacing them.
- Gently lift and slide off the cover: Once the screws or fasteners are removed, gently lift the cover straight up and slide it off. Be cautious not to force or damage any delicate components inside the unit.
- Set aside the cover: Place the air conditioner cover in a safe area away from the work zone. If the cover is dirty, consider cleaning it before storing it.
It’s important to note that some air conditioner covers may be heavier or bulkier than others. If you’re unable to lift or slide off the cover on your own, seek assistance to avoid any injuries.
Removing the air conditioner cover is an essential step in gaining access to the internal components of the unit. Make sure to keep the cover in a safe place until it’s time to reinstall it.
Step 3: Disconnect the Electrical Connections
With the air conditioner cover removed, the next step is to disconnect the electrical connections. This involves disconnecting the power supply and any other electrical wires connected to the unit. Follow these steps to safely disconnect the electrical connections:
- Identify the electrical connections: Locate the electrical connections on the air conditioner unit. These will typically include power cables and potentially other wires, such as thermostat or control wires.
- Turn off any additional switches: If there are any switches, buttons, or controls on the unit itself, such as a master power switch or thermostat, make sure to turn them off before proceeding.
- Disconnect the power supply: Using pliers or wire cutters, carefully disconnect the power supply wires. Depending on the wiring configuration, this may involve unscrewing terminal nuts or removing wire connectors.
- Detach other electrical connections: If there are any additional electrical connections, such as thermostat or control wires, carefully disconnect them as well. Take note of the wire colors and their respective positions to ensure proper reconnection later.
- Secure the disconnected wires: To prevent the wires from accidentally making contact and causing electrical hazards, secure the disconnected wires using electrical tape or wire connectors.
It’s crucial to exercise caution when working with electrical connections. If you’re unsure about the proper steps or handling electrical wires, it’s recommended to consult a professional electrician to ensure safe disconnection of the electrical connections.
By disconnecting the electrical connections, you’ll be ready for the next step of removing the air conditioner unit itself.
Before removing an air conditioner, make sure to turn off the power to the unit. Then, carefully disconnect the electrical and refrigerant lines before removing the unit from the window or wall. Be sure to have a partner to help with the heavy lifting.
Step 4: Unscrew the Mounting Brackets
Now that the electrical connections are safely disconnected, it’s time to unscrew the mounting brackets that secure the air conditioner unit in place. Follow these steps to unscrew the mounting brackets:
- Inspect the mounting brackets: Take a close look at the mounting brackets to identify the screws or bolts that are securing them to the window frame or wall. The number and location of the screws may vary depending on the air conditioner model.
- Choose the appropriate tool: Based on the type of screws or bolts used, select the appropriate tool, such as a screwdriver, ratchet, or spanner wrench, to unscrew the mounting brackets.
- Start unscrewing the brackets: Begin by loosening the screws or bolts that hold the mounting brackets. It’s important to support the air conditioner unit while loosening the screws to prevent it from falling or becoming unbalanced.
- Continue unscrewing all brackets: Once you’ve loosened the initial screws or bolts, continue unscrewing the remaining mounting brackets. Take your time to ensure that all screws or bolts are fully removed.
- Set aside the mounting brackets: Carefully set aside the screws or bolts and the mounting brackets in a safe location. You will need them if you plan on reinstalling the air conditioner unit in the future.
Make sure to work diligently and avoid rushing the process of unscrewing the mounting brackets. Take breaks when needed, and ensure that you have a firm grip on the air conditioner unit to prevent any accidents.
Once all the mounting brackets are unscrewed, you’re ready to move on to the next step of detaching the air conditioner unit itself.
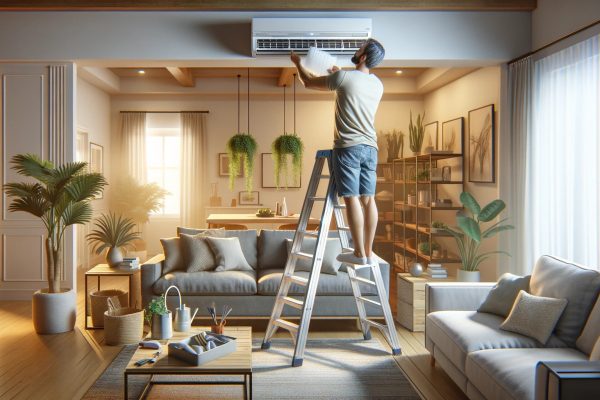
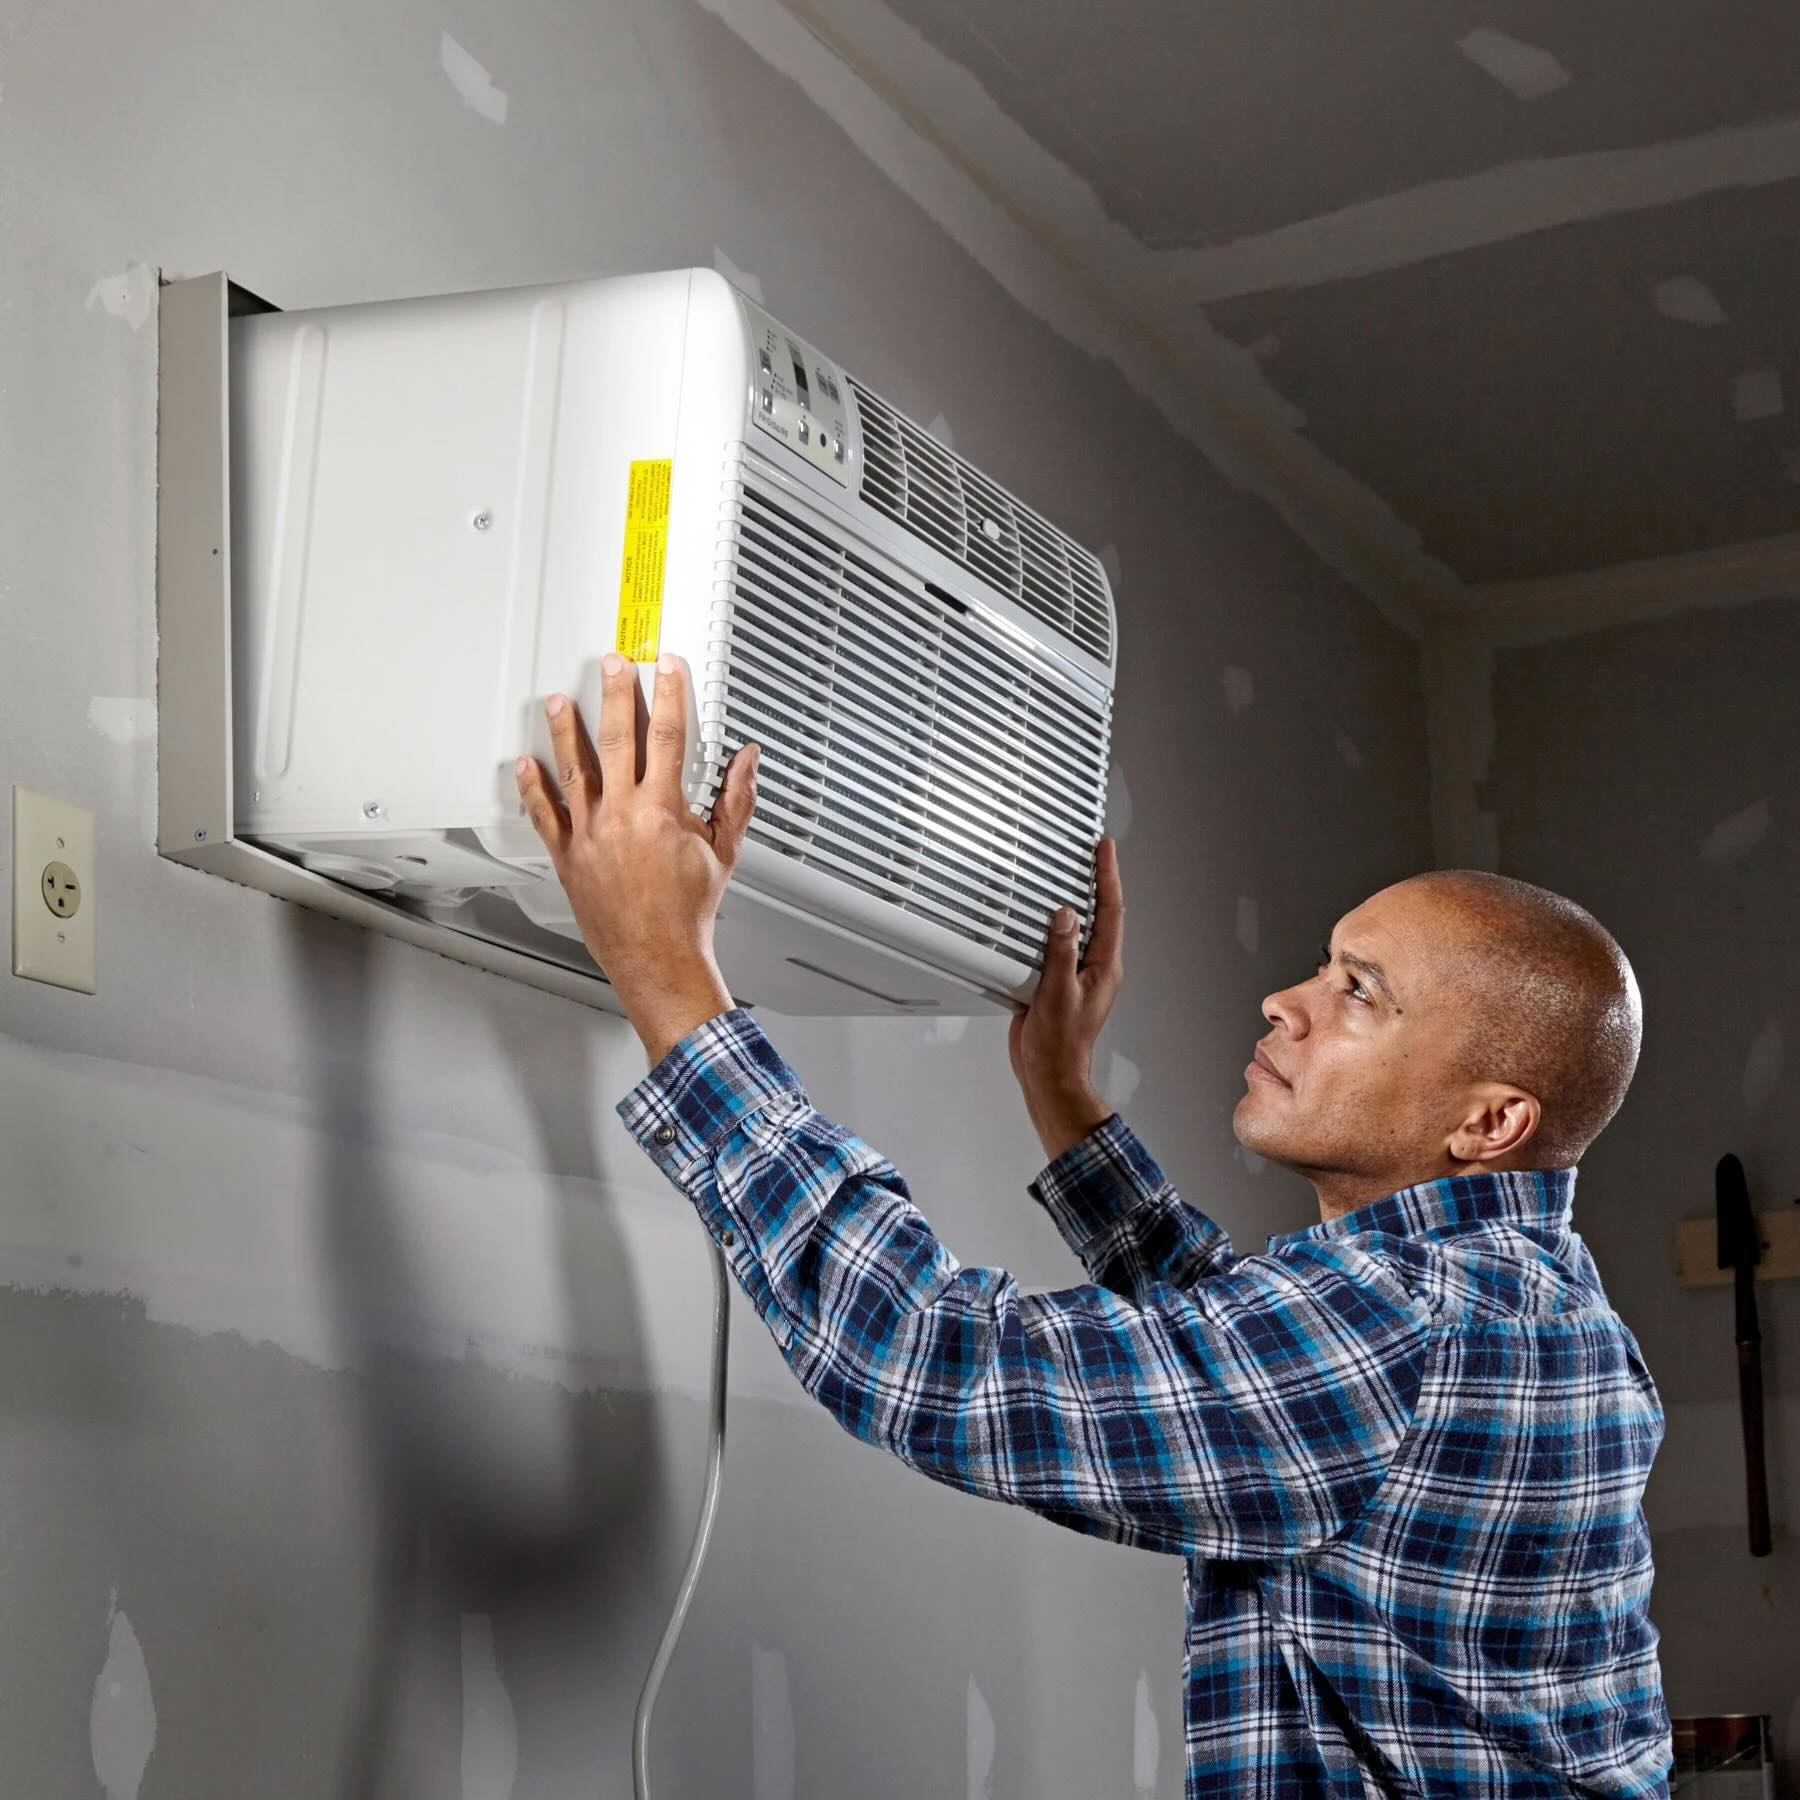
Step 5: Detach the Air Conditioner Unit
With the mounting brackets unscrewed, it’s time to detach the air conditioner unit from the window or wall. Follow these steps to safely detach the unit:
- Ensure a firm grip: Before attempting to detach the unit, make sure you have a secure grip on it. Air conditioner units can be heavy, so it’s important to have a helper assist in lifting and supporting the unit throughout the process.
- Check for any obstructions: Inspect the area around the air conditioner unit for any obstacles that could impede its removal. Clear away any furniture or other items that may block your path.
- Gently lift the unit: With a firm grip, carefully lift the air conditioner unit upwards while simultaneously guiding it away from the window or wall. Lift straight up to avoid dragging or scratching the unit against the surface.
- Lower the unit to the ground: Once the air conditioner unit is safely detached from the window or wall, carefully lower it to the ground. Use caution to prevent any sudden drops or mishandling of the unit.
- Transfer the unit to a safe location: Move the air conditioner unit to a secure location away from foot traffic and potential damage. Consider placing it on a drop cloth or tarp to protect the flooring or any other surfaces.
Remember, lifting and moving air conditioner units can be physically demanding. Use proper lifting techniques, take breaks when needed, and ask for assistance if necessary. Prioritizing safety and taking necessary precautions will help ensure a smooth and accident-free detachment process.
With the air conditioner unit detached, you’re ready to progress to the next step of sealing the opening left behind.
Step 6: Seal the Opening
After removing the air conditioner unit, it’s important to seal the opening to prevent drafts, moisture, and pests from entering your home. Follow these steps to properly seal the opening:
- Clean the area: Before sealing the opening, ensure that it is clean and free from any debris, dust, or dirt. Use a vacuum cleaner or duster to remove any loose particles.
- Measure the dimensions of the opening: Take accurate measurements of the width and height of the opening. This will help determine the appropriate size of material needed to seal it.
- Select a sealing material: There are various options to choose from when it comes to sealing materials, such as foam weatherstripping, silicone caulk, or window seal tape. Select a material that is suitable for the type of opening and provides effective insulation.
- Trim the sealing material to fit: Cut the selected sealing material to the appropriate size based on the measurements of the opening. Ensure that it fits snugly and covers the entire opening to create a tight seal.
- Apply the sealing material: Carefully place the sealing material along the perimeter of the opening, ensuring that it adheres securely. Press down firmly to create a tight bond between the material and the surface.
- Inspect the seal: Once the sealing material is applied, inspect the seal to ensure there are no gaps or areas that need further attention. Make any necessary adjustments or additions to improve the effectiveness of the seal.
Properly sealing the opening left behind by the air conditioner unit will not only prevent unwanted elements from entering your home but also help improve energy efficiency by minimizing drafts and heat loss.
Once the opening is sealed, you can move on to the next step of cleaning and storing the air conditioner unit.
Step 7: Clean and Store the Air Conditioner
Now that the air conditioner unit is safely removed and the opening is sealed, it’s time to clean and store the unit for future use or storage. Follow these steps to properly clean and store the air conditioner:
- Clean the exterior: Use a damp cloth or sponge to wipe down the exterior surface of the air conditioner. Remove any dirt, dust, or debris that may have accumulated on the unit. Pay special attention to the front grille and vents.
- Clean the air filters: Remove the air filters from the unit and clean them according to the manufacturer’s instructions. This may involve washing them with mild soap and water or vacuuming them to remove accumulated dirt and dust.
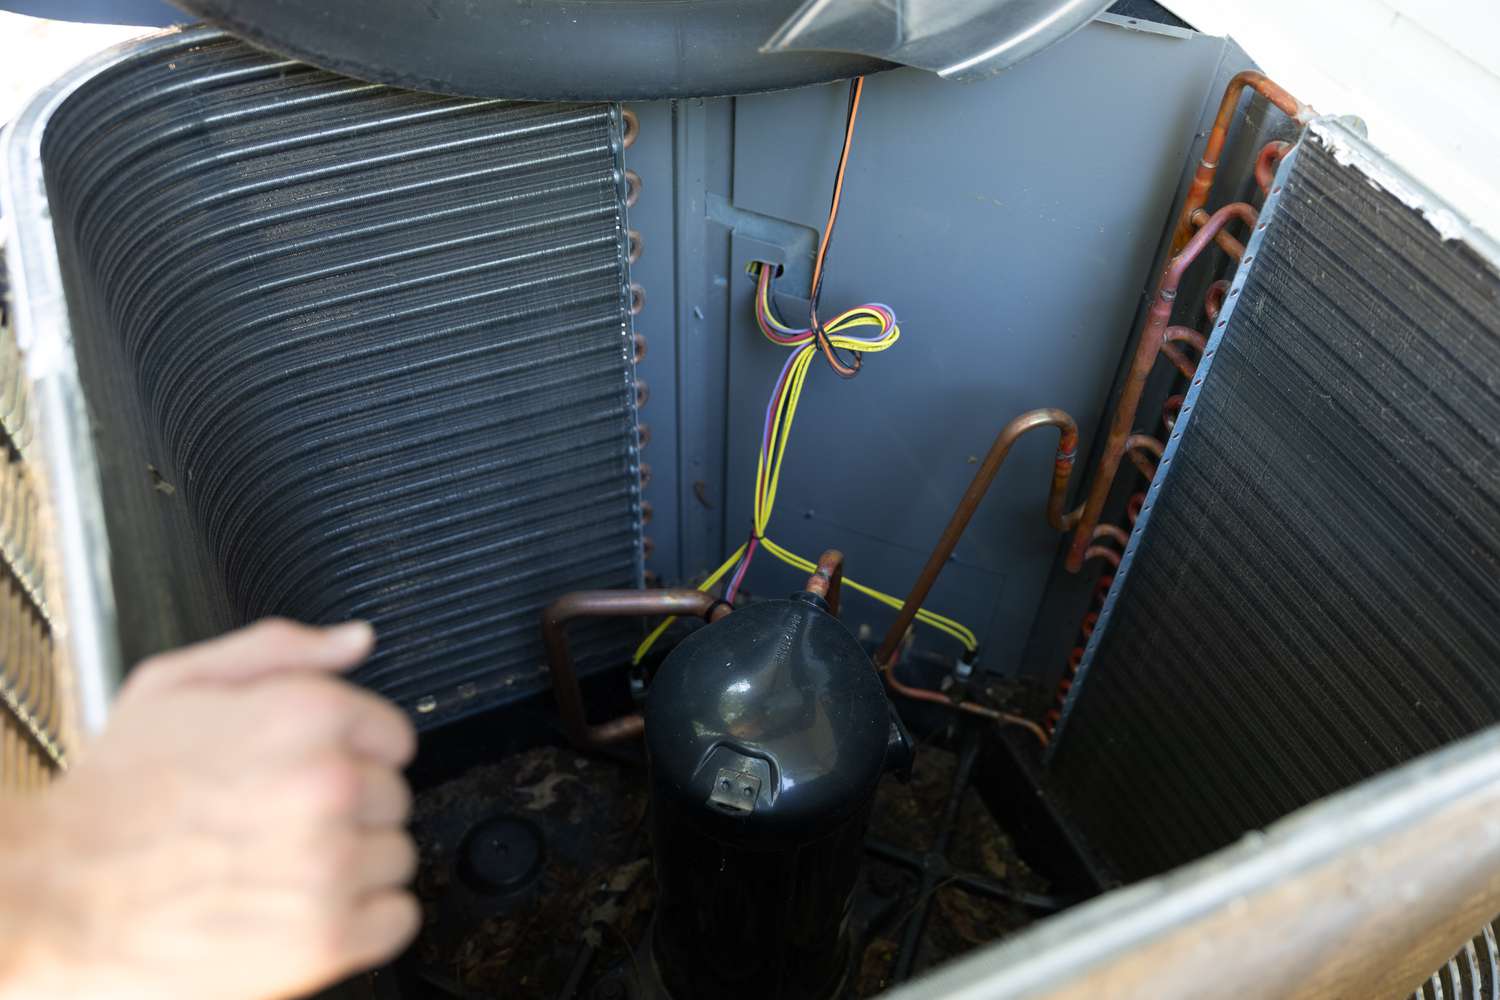
- Inspect the condenser coils: It’s essential to check the condenser coils for any dirt or debris buildup. If necessary, use a soft brush or a coil cleaning solution to gently clean the coils. Be cautious not to damage or bend the coils.
- Allow the unit to dry: After cleaning, allow the air conditioner unit to dry completely before storing it. This will prevent the growth of mold or mildew during storage.
- Wrap the unit: Use a plastic wrap or cover specifically designed for air conditioner units to protect it from dust and dirt while in storage. This will help prolong its lifespan and maintain its efficiency.
- Choose a suitable storage location: Store the air conditioner unit in a clean and dry area, such as a basement, garage, or storage room. Ensure that the storage space is free from extreme temperatures and protected from moisture and pests.
- Label and store any accessories: If there are any accessories or parts that were removed from the air conditioner during the removal process, label and store them together with the unit. This will make reinstallation or future use more convenient.
By properly cleaning and storing the air conditioner unit, you can ensure its longevity and maintain its performance for future use.
With the air conditioner unit cleaned and safely stored, you have successfully completed the process of removing and storing your air conditioner. Congratulations!
Remember to refer to the manufacturer’s manual for any specific instructions or recommendations regarding cleaning and storage of your particular air conditioner model.
Conclusion
Removing an air conditioner may seem like a daunting task, but with the right knowledge and approach, it can be done safely and effectively. By following the step-by-step guide outlined in this article, you can remove your air conditioner with confidence.
Throughout the process, we emphasized the importance of prioritizing safety and taking necessary precautions. Remember to shut off the power, wear protective gear, and seek assistance when needed. Adhering to these safety measures will help prevent accidents and injuries.
We also discussed the tools and materials necessary for the removal process, including screwdrivers, pliers, drop cloths, and cleaning supplies. Gathering these tools ahead of time will ensure a smoother and more efficient process.
Each step of the removal process was explained in detail, from shutting off the power and removing the air conditioner cover to disconnecting the electrical connections, unscrewing the mounting brackets, detaching the unit itself, sealing the opening, and finally, cleaning and storing the air conditioner.
By properly sealing the opening, you prevent drafts, moisture, and pests from entering your home. Cleaning and storing the air conditioner ensures its longevity and maintains its performance for future use.
Remember to consult the manufacturer’s manual for any specific instructions pertaining to your particular air conditioner model. If you’re unsure or uncomfortable with any part of the removal process, it’s always best to seek professional assistance.
With this comprehensive guide, you now have the knowledge and confidence to remove your air conditioner safely and effectively. By following these steps, you can complete the removal process smoothly and be ready for any maintenance or replacement needs that may arise.
Stay safe, and happy air conditioner removal!
Frequently Asked Questions about How To Remove An Air Conditioner
Was this page helpful?
At Storables.com, we guarantee accurate and reliable information. Our content, validated by Expert Board Contributors, is crafted following stringent Editorial Policies. We're committed to providing you with well-researched, expert-backed insights for all your informational needs.