Home>Home Maintenance>How To Run Drainage Pipe From Side Of House To Street
Home Maintenance
How To Run Drainage Pipe From Side Of House To Street
Modified: August 25, 2024
Learn how to run drainage pipe from the side of your house to the street for proper home maintenance. Find step-by-step instructions and expert tips to ensure efficient water drainage.
(Many of the links in this article redirect to a specific reviewed product. Your purchase of these products through affiliate links helps to generate commission for Storables.com, at no extra cost. Learn more)
Introduction
Welcome to our comprehensive guide on how to run drainage pipe from the side of your house to the street. Proper drainage is essential for maintaining the integrity of your home’s foundation and preventing water damage. Whether you’re dealing with excessive rainfall or poor soil drainage, installing a drainage system can help redirect water away from your property.
In this step-by-step tutorial, we will walk you through the process of assessing your drainage needs, determining the path and layout, digging the trench, installing the drainage pipe, connecting it to the house and street, backfilling the trench, and testing the system. With the right tools and knowledge, you can successfully install a drain system that will protect your home from water-related issues.
Please keep in mind that individual property situations may vary, and it is always recommended to consult with a professional if you have any doubts or concerns. Now, let’s dive in and learn how to effectively run drainage pipe from the side of your house to the street.
Key Takeaways:
- Proper drainage is crucial for protecting your home from water damage. Assess your property’s needs, plan the pipe’s path, and test the system to ensure effective water redirection.
- Installing a drainage system involves assessing needs, planning the layout, digging the trench, installing the pipe, connecting it, backfilling, and testing for functionality. Regular maintenance is key to preserving the system’s integrity.
Read more: How To Run Drainage Pipe Under A Driveway
Step 1: Assessing the drainage needs
The first step in running the drainage pipe from the side of your house to the street is to assess your drainage needs. This involves evaluating the current state of your property’s drainage system and identifying problem areas where water may be pooling or causing damage.
Start by observing how water flows during heavy rainfalls or when using irrigation systems. Look for signs of water accumulation, such as soggy spots in the yard, standing water near the foundation, or water seeping into basements or crawl spaces. These are indicators of poor drainage and areas that may require attention.
Next, consider the slope of your property. Ideally, water should naturally flow away from your house and towards the street. If you notice water pooling around your home, it may be due to improper grading or insufficient slope. In such cases, you may need to make adjustments to the landscape to ensure proper water flow.
Additionally, take note of any existing drainage systems, such as downspouts or French drains. Assess their effectiveness and identify any issues that need to be addressed. It’s important to integrate the new drainage pipe with any existing systems to create a cohesive and efficient network.
Lastly, consider the size and capacity of the drainage pipe you’ll need. This will depend on the amount of water you anticipate needing to redirect and the distance it needs to travel. A larger diameter pipe will be able to handle more volume, but make sure it’s compatible with your existing infrastructure.
By thoroughly assessing your drainage needs, you’ll have a better understanding of the specific challenges you need to address when running the drainage pipe. This will help you plan the layout and installation process more effectively.
Step 2: Determining the path and layout
Once you have assessed your drainage needs, the next step is to determine the path and layout for your drainage pipe. This involves carefully planning the route that the pipe will take from the side of your house to the street.
Start by identifying the best location for your drainage pipe in relation to your house and the street. Look for the most direct and efficient route that will allow water to flow smoothly without any obstructions. Avoid areas with underground utility lines, trees, or other structures that could hinder the installation process or potentially damage the pipe in the future.
Consider the terrain of your yard as well. If your property has a slope, it’s advantageous to utilize the natural slope to ensure proper water flow. In some cases, you may need to create a slight slope by adjusting the ground or adding a grading material to facilitate drainage.
When planning the layout, take into account any existing landscaping features, such as flower beds, shrubs, or trees. You want to avoid damaging these while excavating for the drainage pipe. Additionally, plan the location for any catch basins or grates where water will enter the drainage system.
As you determine the path, keep in mind the accessibility for future maintenance and repairs. It’s important to have easy access to the drainage pipe in case it gets clogged or requires maintenance in the future.
Once you have determined the path and layout for your drainage pipe, mark it out using stakes, string, or spray paint. This will serve as a visual guide during the excavation process and ensure that you stay on track.
By carefully planning the path and layout of your drainage pipe, you will ensure that water is efficiently directed away from your house to the street, minimizing the risk of water accumulation and potential damage.
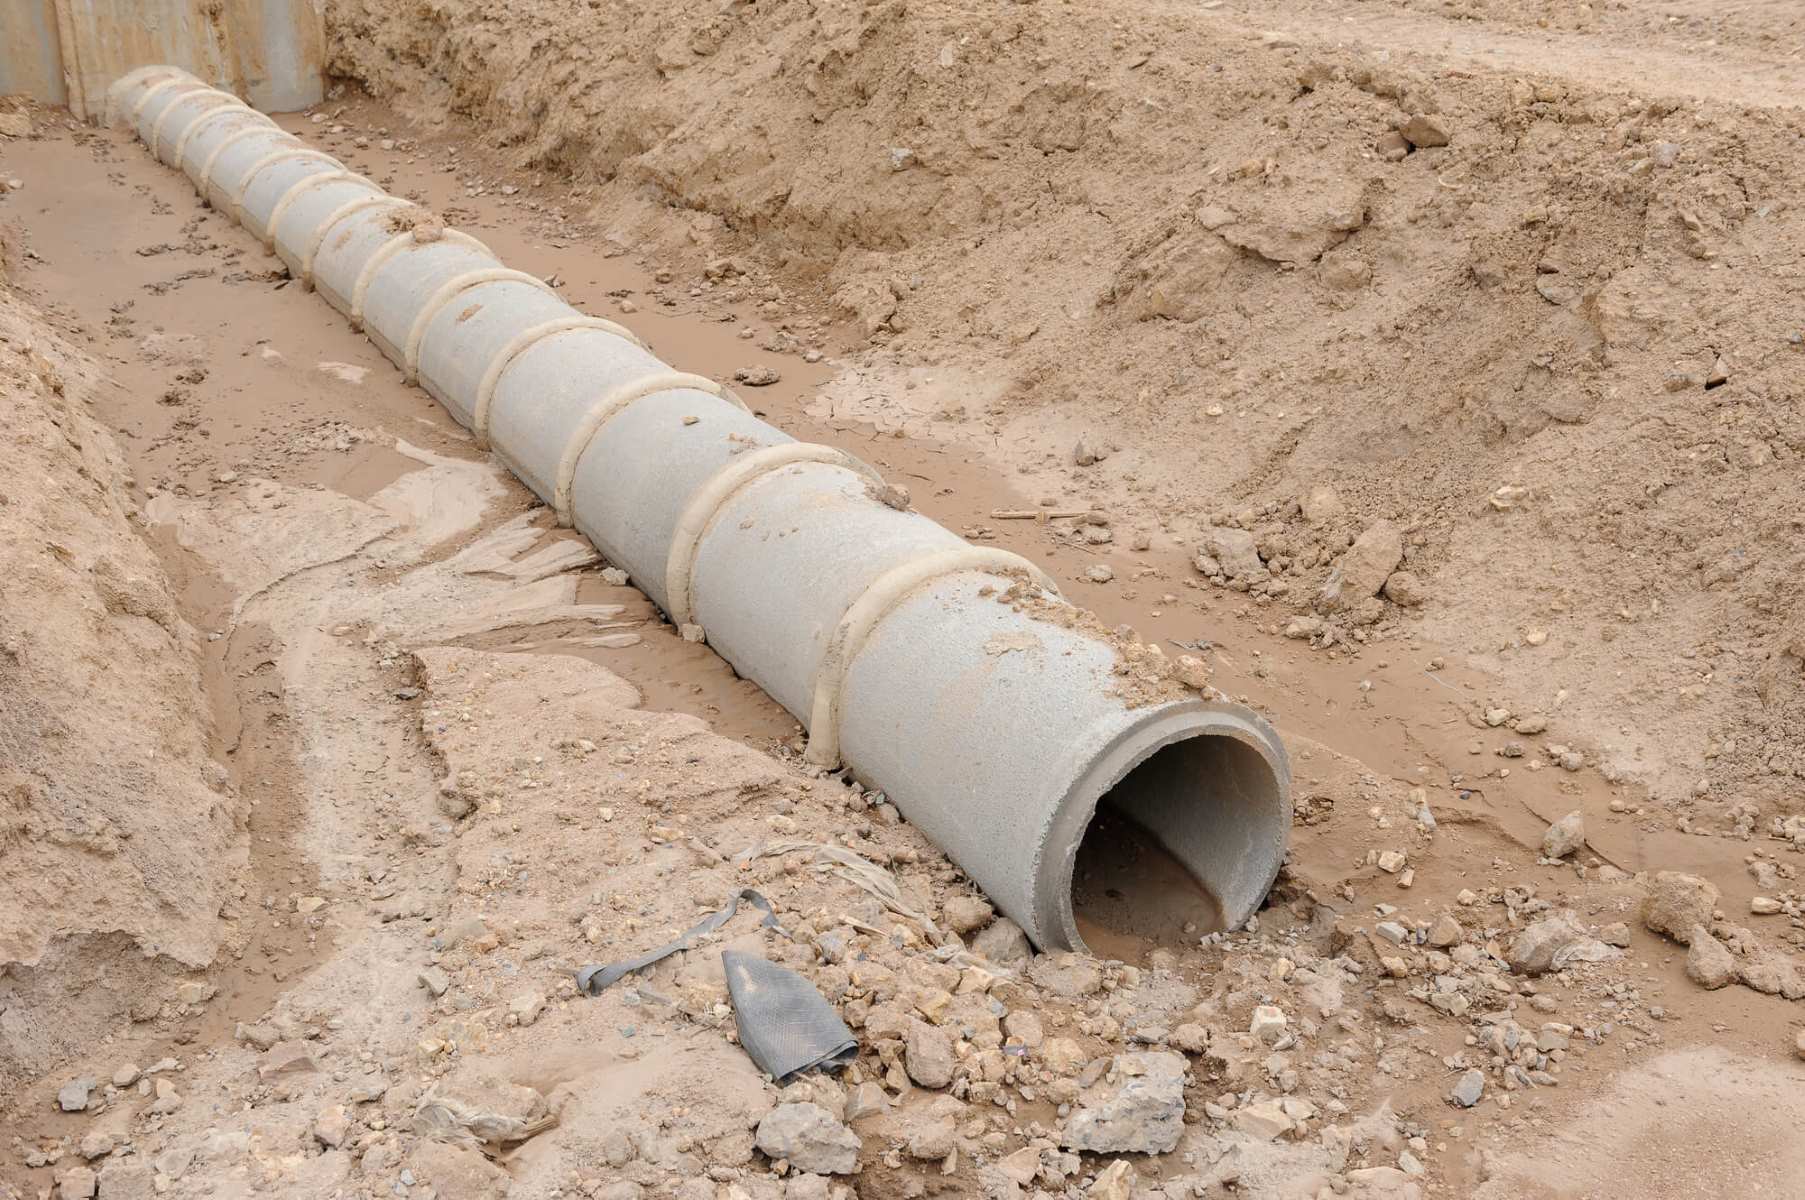
Step 3: Digging the trench
With the path and layout planned, it’s time to start digging the trench for your drainage pipe. This step is crucial as it allows for the proper installation and placement of the pipe.
Before you begin digging, make sure to check with your local utility companies to ensure that there are no buried utility lines in the excavation area. This will help prevent any accidents or damage to underground infrastructure.
Start by using a shovel or a trenching tool to remove the top layer of grass or soil along the marked path. Dig the trench to a depth and width that is suitable for the size of your drainage pipe. Typically, a depth of about 12 inches and a width of 8-10 inches should be sufficient for most residential drainage systems.
As you dig, it’s important to maintain a consistent slope along the trench. This slope should have a gradual slope of about 1/8 to 1/4 inch per linear foot, directing water towards the street. Use a level or a string line to ensure that the trench is properly sloped.
If you encounter any obstacles, such as tree roots or large rocks, you may need to remove or work around them. Take extra care to avoid damaging any existing utility lines or structures
As you dig the trench, keep the excavated soil in a designated area nearby. This will make the backfilling process easier once the drainage pipe is installed.
Continue digging the trench along the planned path until you reach the end point near the street. At the end point, you may need to create an outlet for the water to flow into the street, such as a catch basin or a grate.
Remember to take breaks when needed, as digging a trench can be physically demanding. Stay hydrated and pace yourself to ensure your safety and well-being during the process.
With the trench dug, you’re now ready to move on to the next step: installing the drainage pipe.
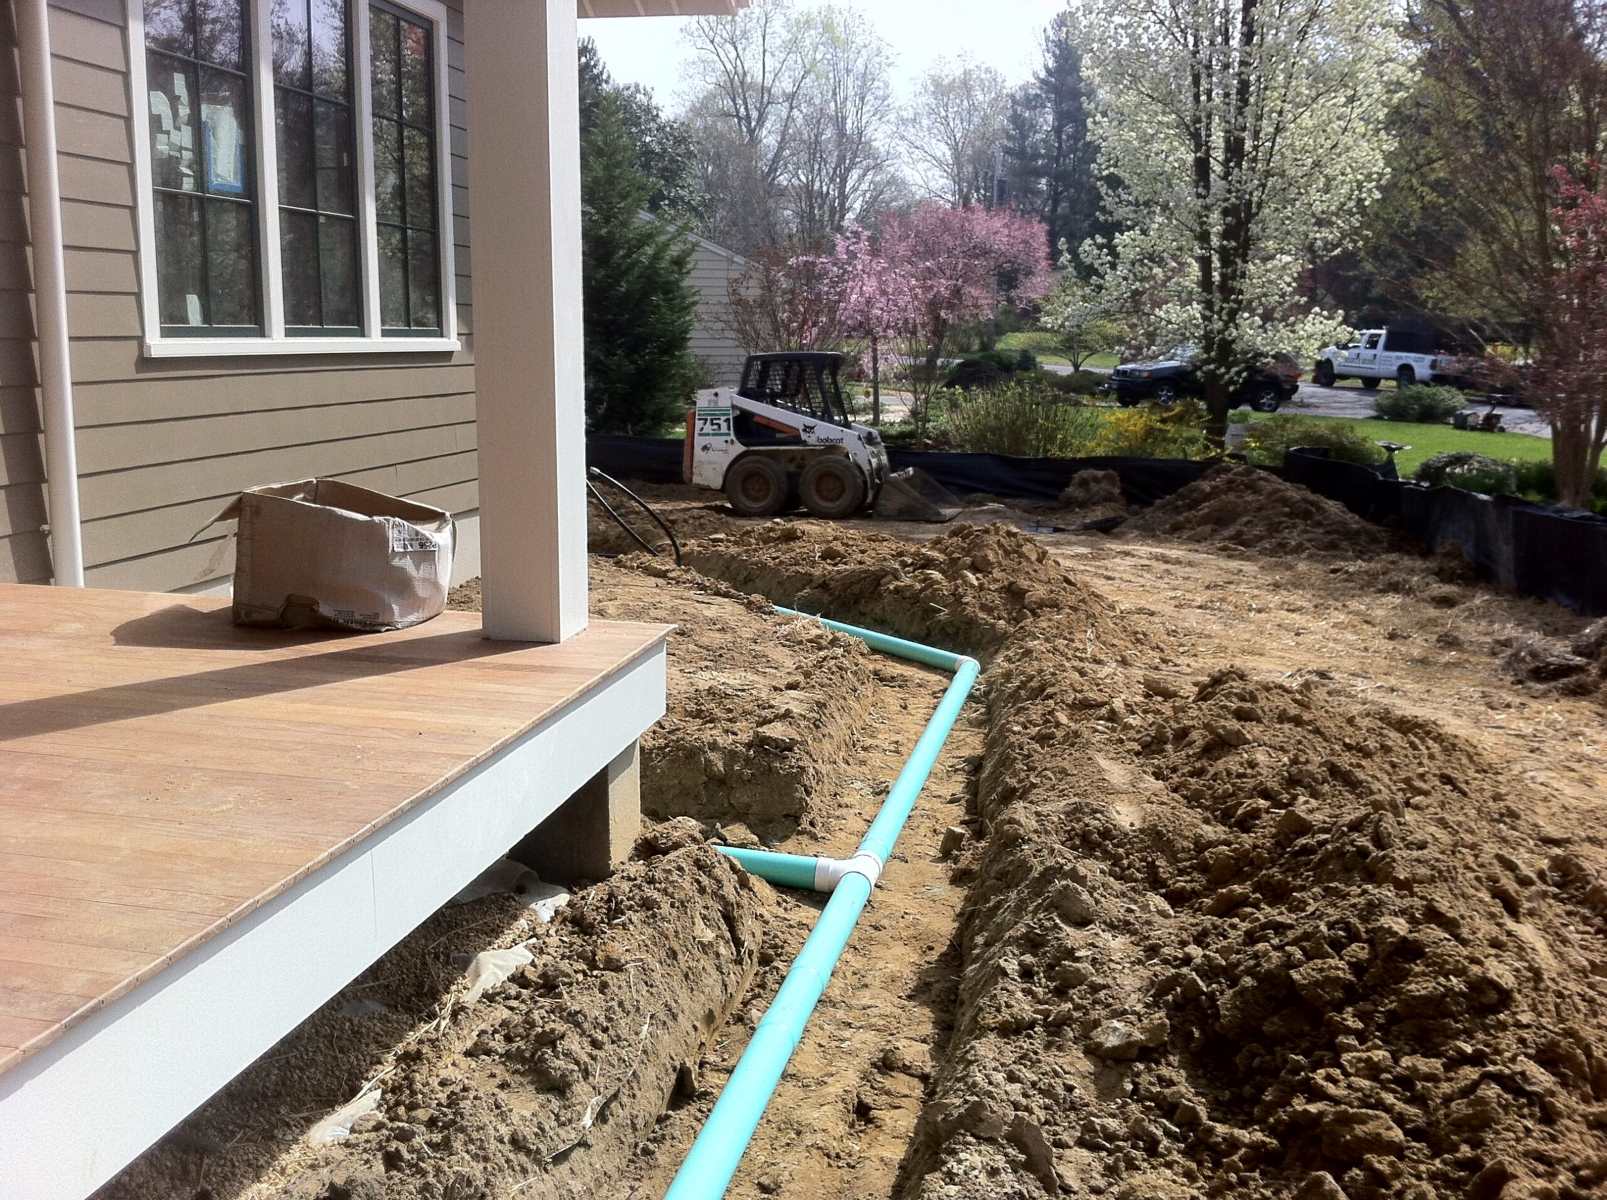
Step 4: Installing the drainage pipe
Now that you have completed the trench, it’s time to install the drainage pipe. This step involves placing the pipe in the trench and ensuring it is properly aligned and connected.
Begin by laying a layer of pea gravel or crushed stone at the bottom of the trench. This will provide a stable base for the pipe and aid in water drainage. Spread the gravel evenly along the length of the trench.
Next, carefully place the drainage pipe into the trench, ensuring that it follows the predetermined path and slope. The pipe should fit snugly in the trench without any excessive bending or gaps. If needed, use connectors or couplings to join multiple sections of pipe together.
For added stability and to prevent shifting, consider securing the pipe to the trench walls using stakes or brackets. This will help keep the pipe in place during backfilling and reduce the risk of future damage or displacement.
As you install the drainage pipe, take care to incorporate any necessary fittings or accessories. This may include elbow or T-joint fittings to change the direction of the pipe or cleanout access points for future maintenance.
Ensure that all connections are securely attached and watertight. This will help prevent leaks and ensure the efficiency of your drainage system. Use appropriate adhesive or sealer as needed to seal any joints or connections.
Once the drainage pipe is properly installed, backfill the trench with the excavated soil, ensuring that the soil is firmly packed around the pipe. Take care to avoid any excessive pressure or damage to the pipe during the backfilling process.
It’s important to note that if your drainage system requires multiple pipes or branches, make sure they are properly connected and aligned, providing a seamless flow of water from the house to the street.
With the drainage pipe installed, you can now move on to connecting it to the house and street, which will be covered in the next step.
Make sure to check local building codes and regulations before starting the project. Use a trenching shovel to dig a trench from the side of your house to the street, making sure it has a slight downward slope for proper drainage. Use PVC pipe and connectors to create a continuous pipe from the house to the street, and backfill the trench with gravel for stability.
Step 5: Connecting to the house and street
After successfully installing the drainage pipe, the next step is to connect it to both the house and the street. This will ensure proper water flow and evacuation from your property.
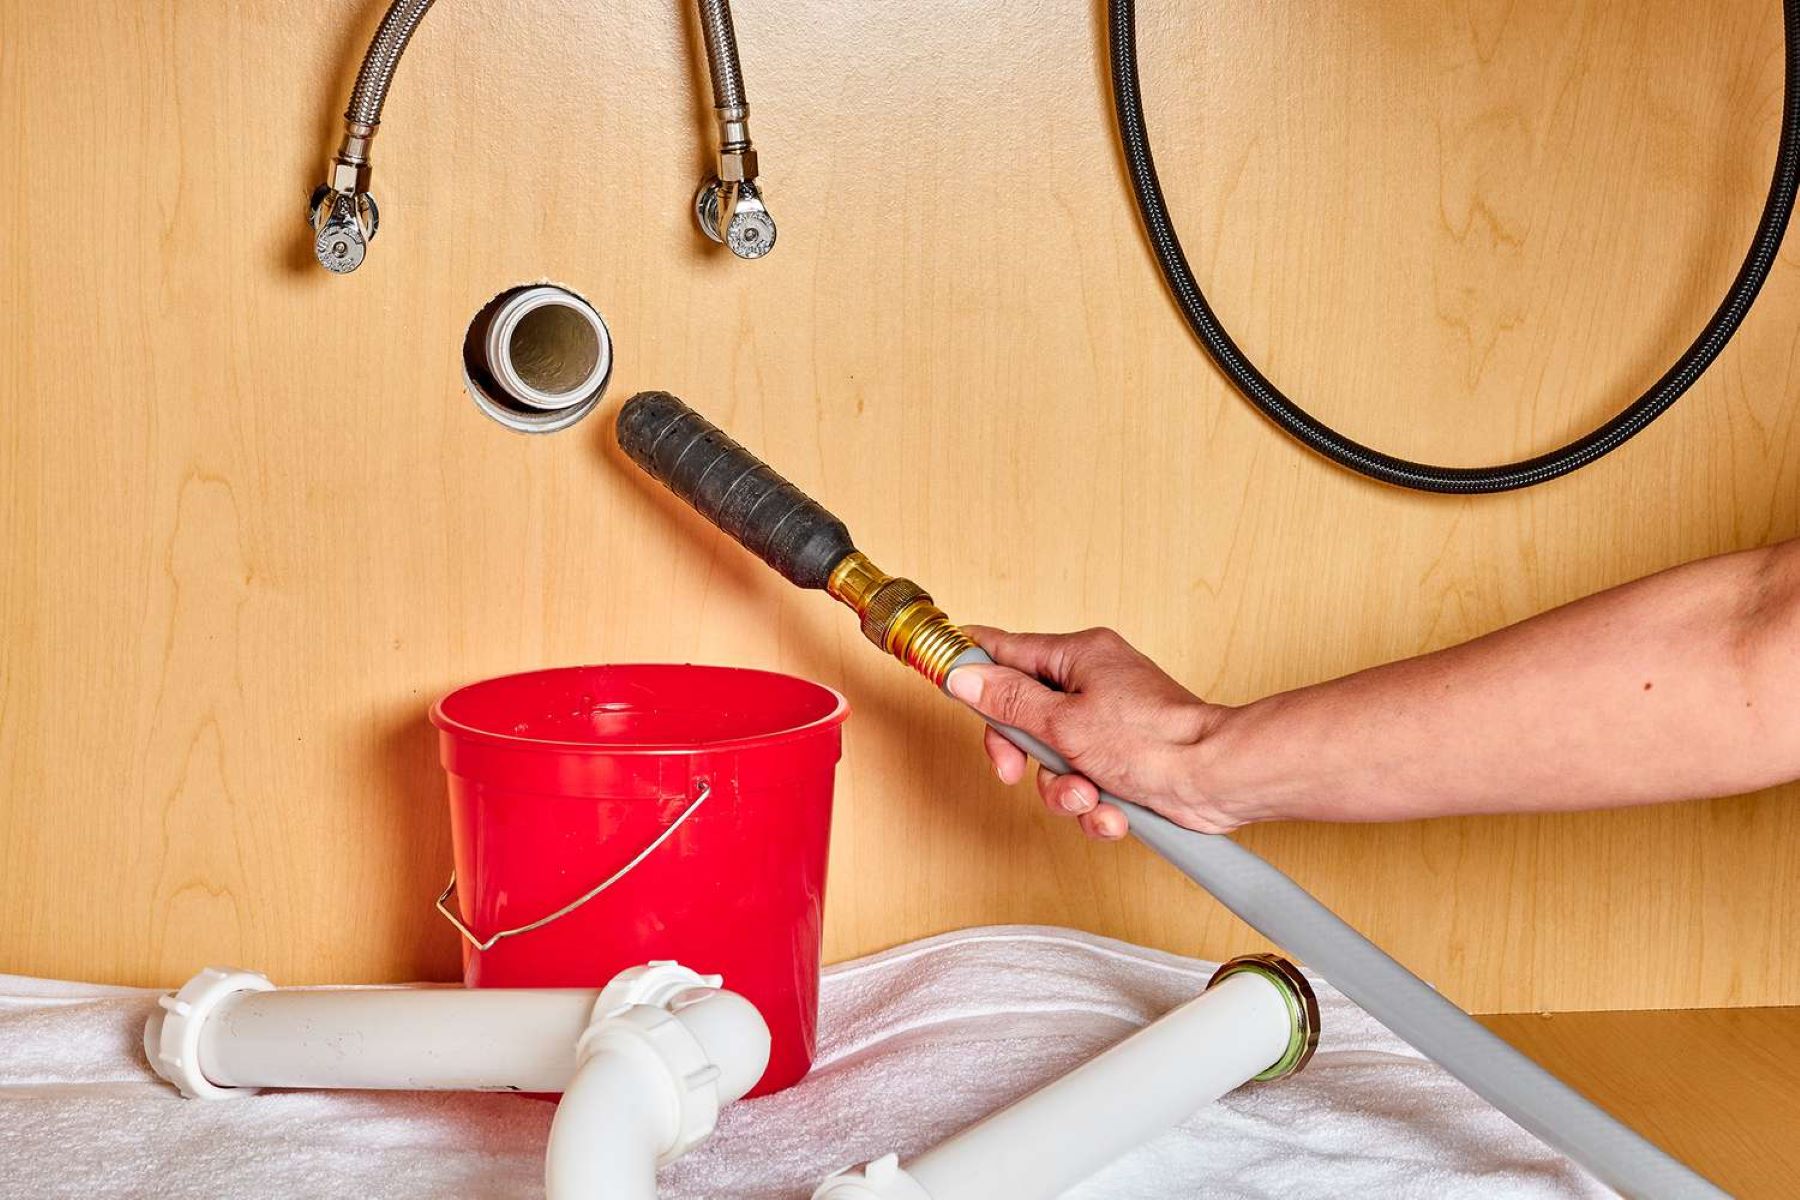
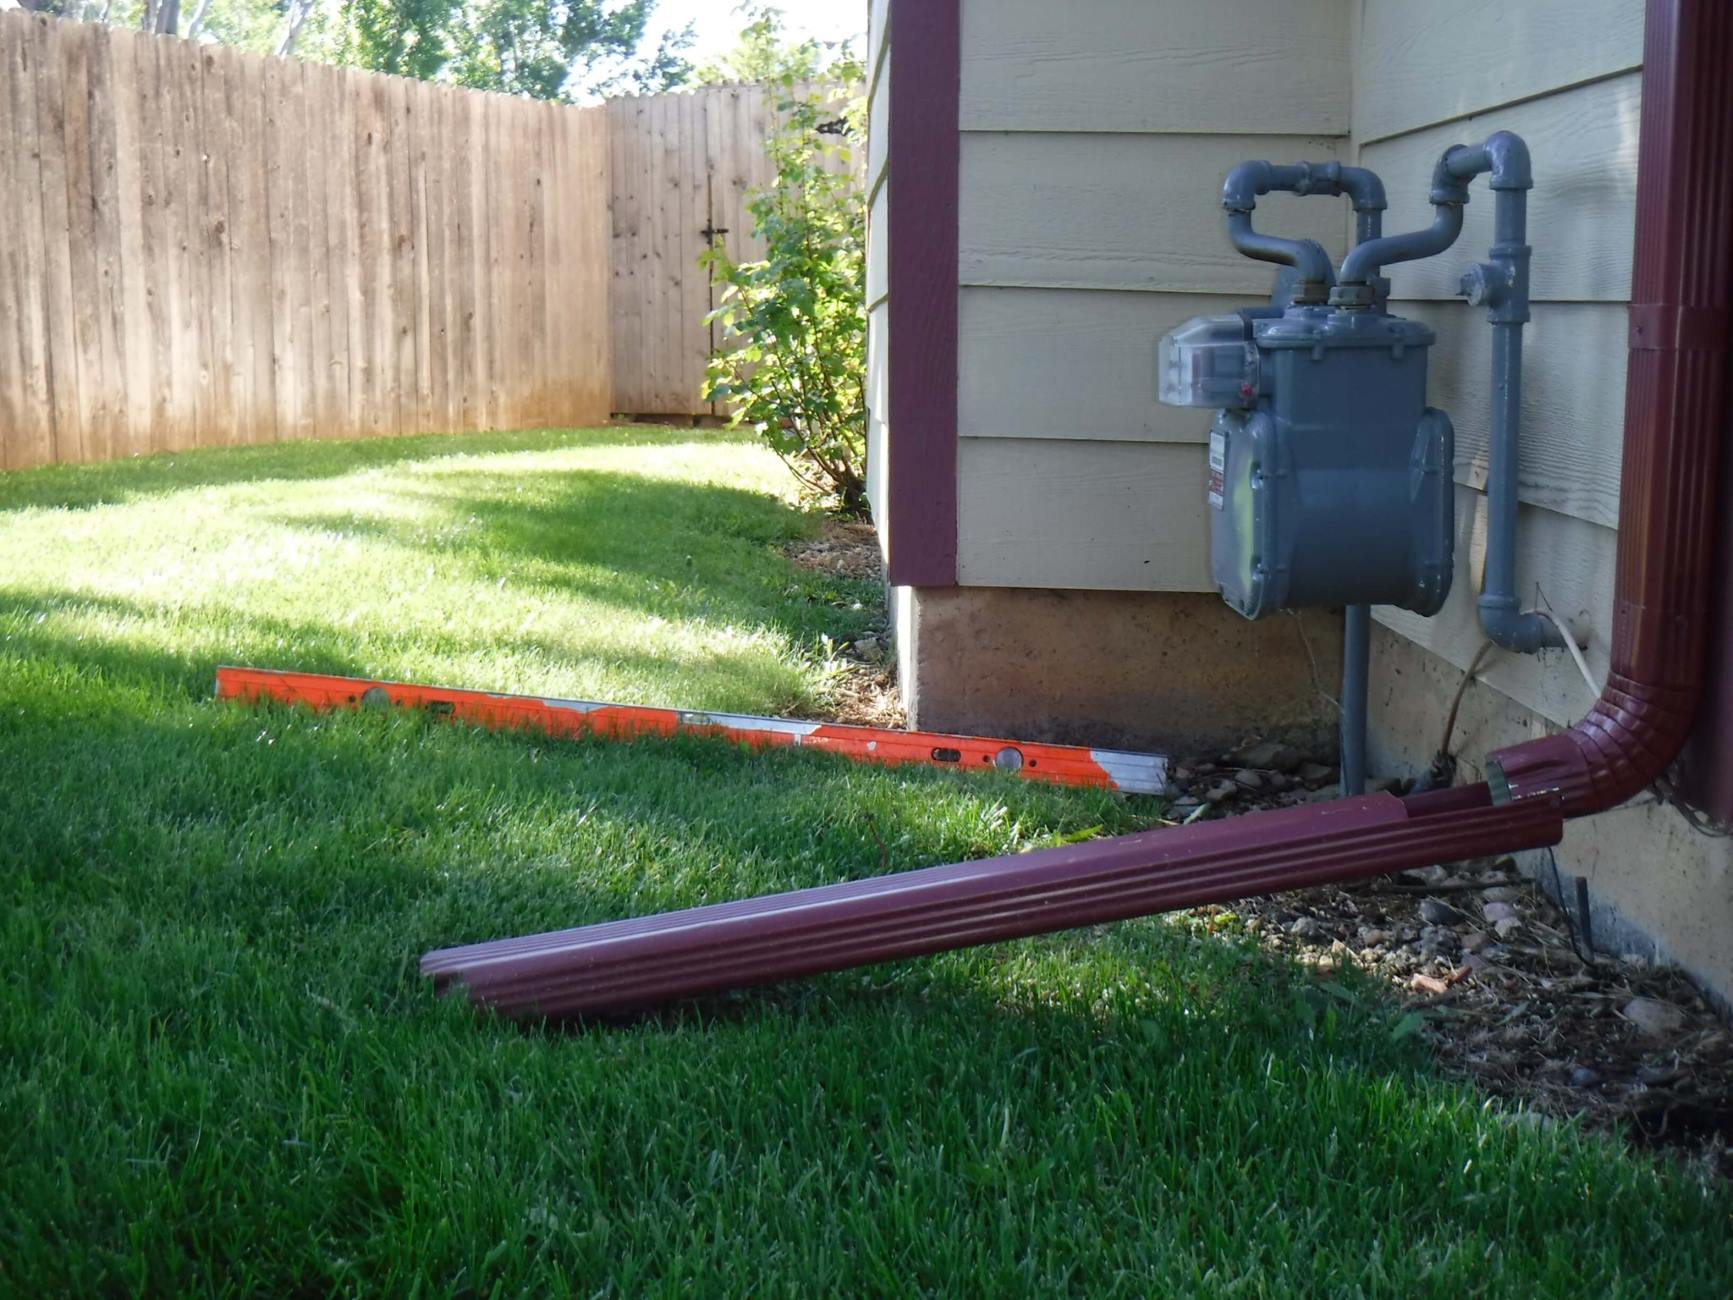
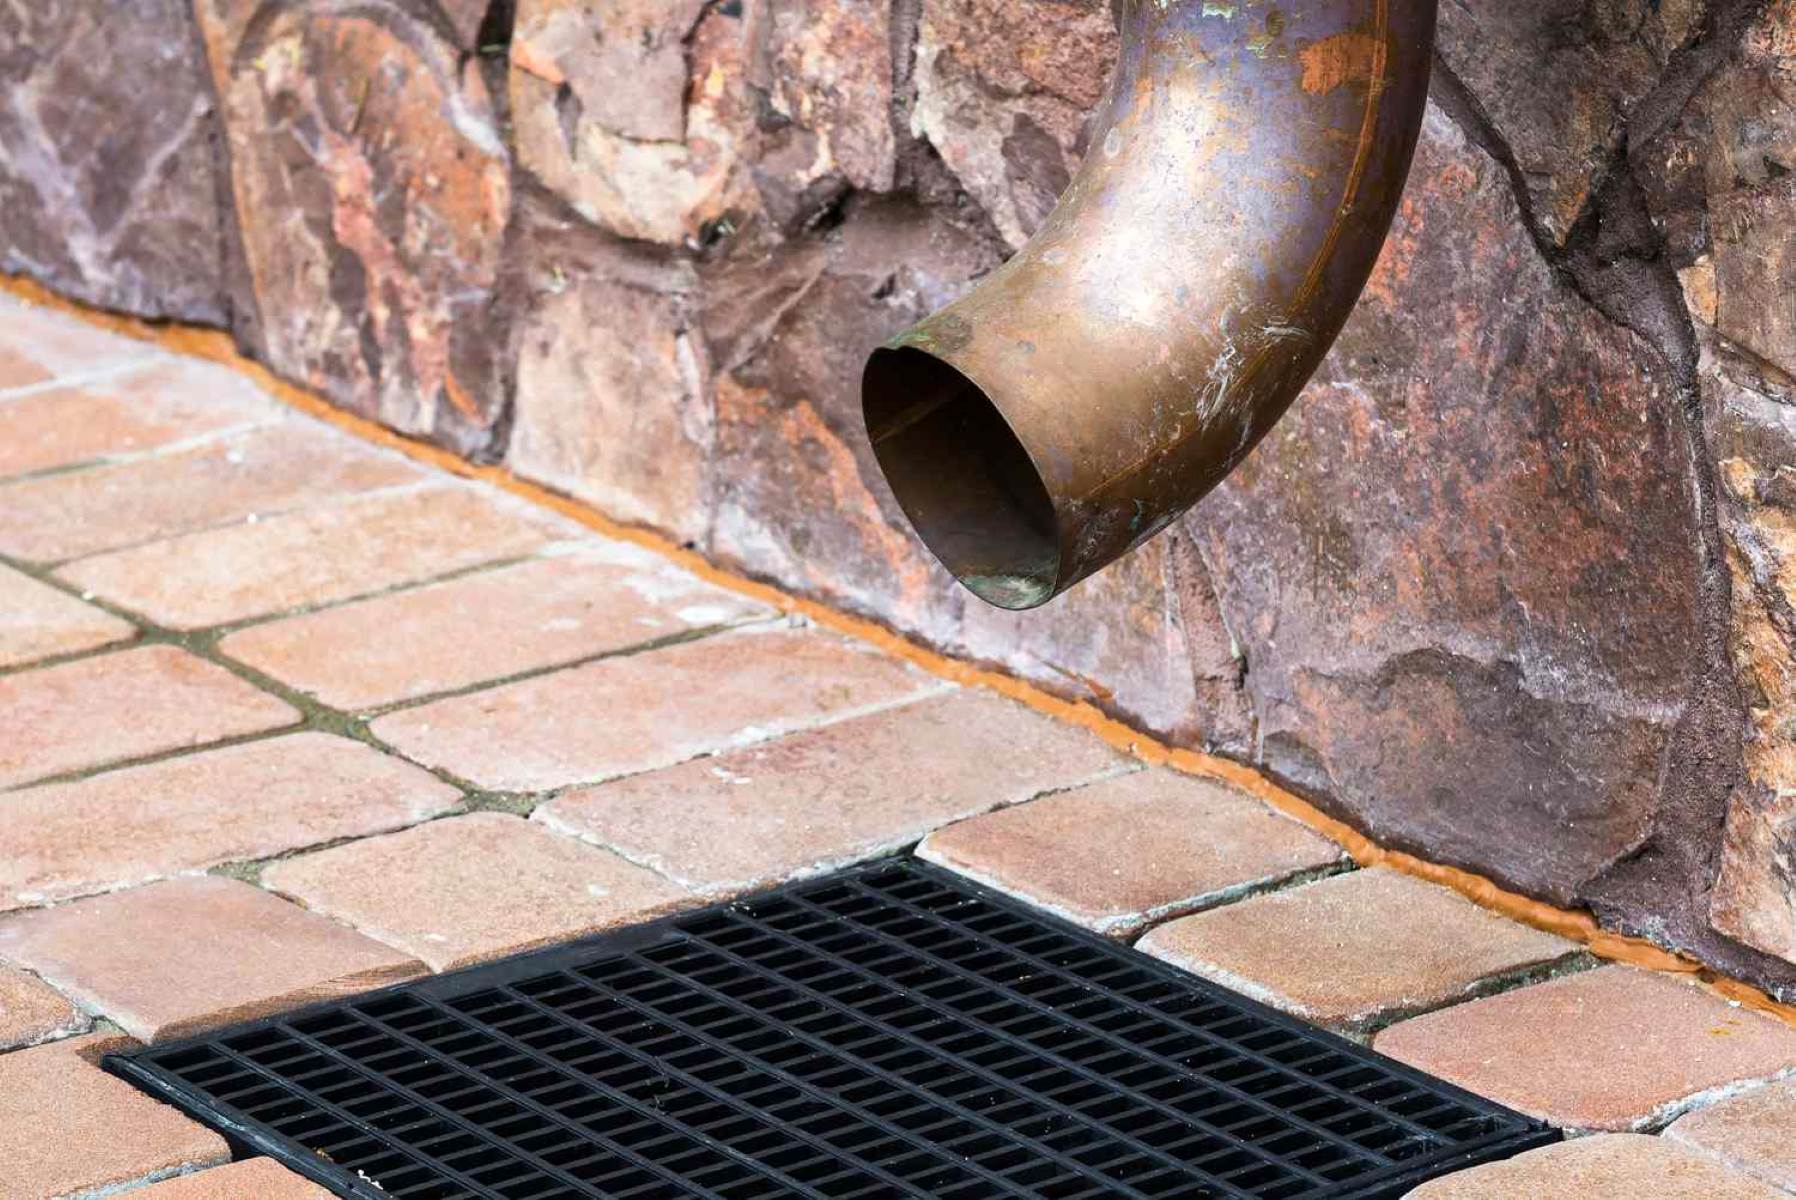
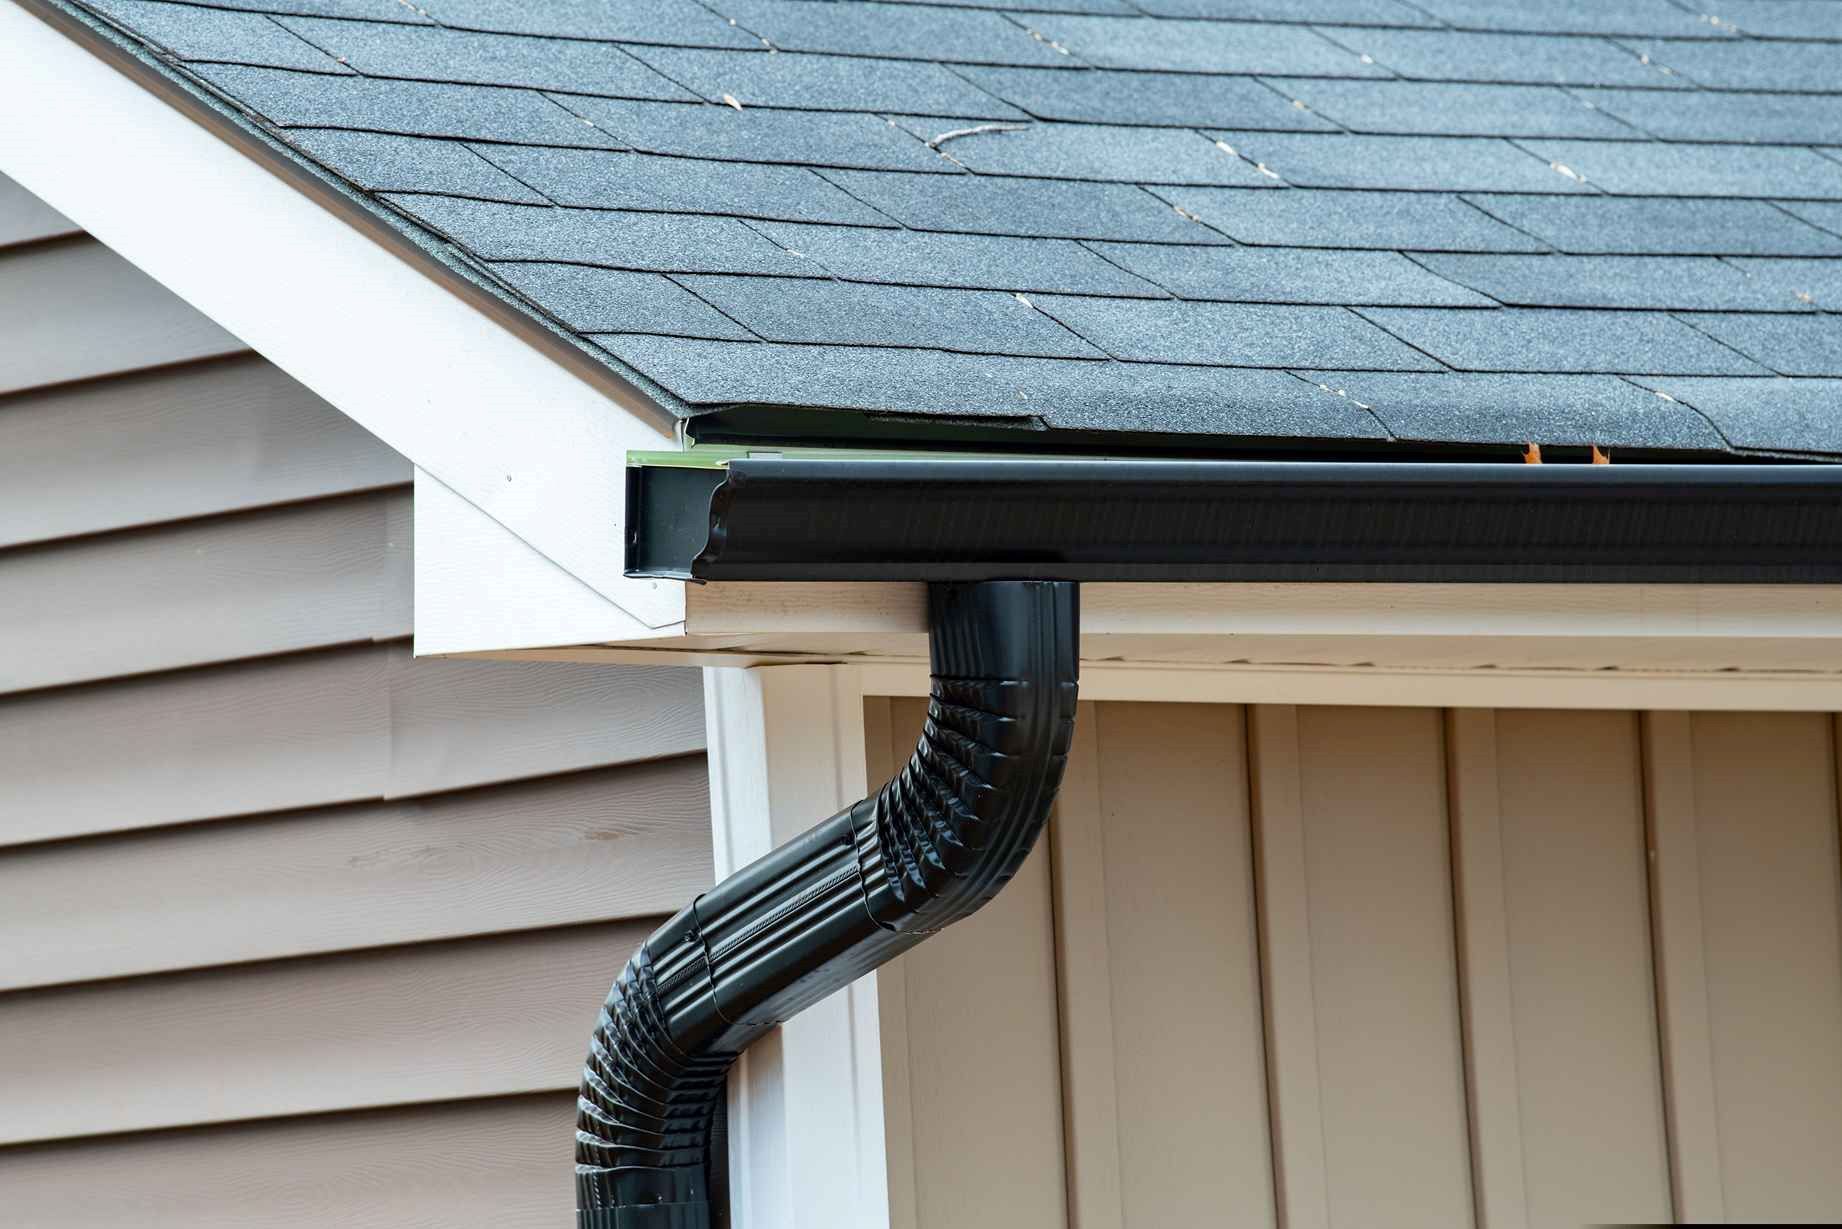
Start by connecting one end of the drainage pipe to the side of your house. This is typically done by attaching the pipe to an existing downspout or a gutter system. Ensure that the connection is secure and watertight to prevent any leaks.
If there is no existing downspout or gutter, consider installing a dedicated connector to redirect water from the house into the drainage pipe. This will prevent water from pooling next to your foundation and potentially causing damage.
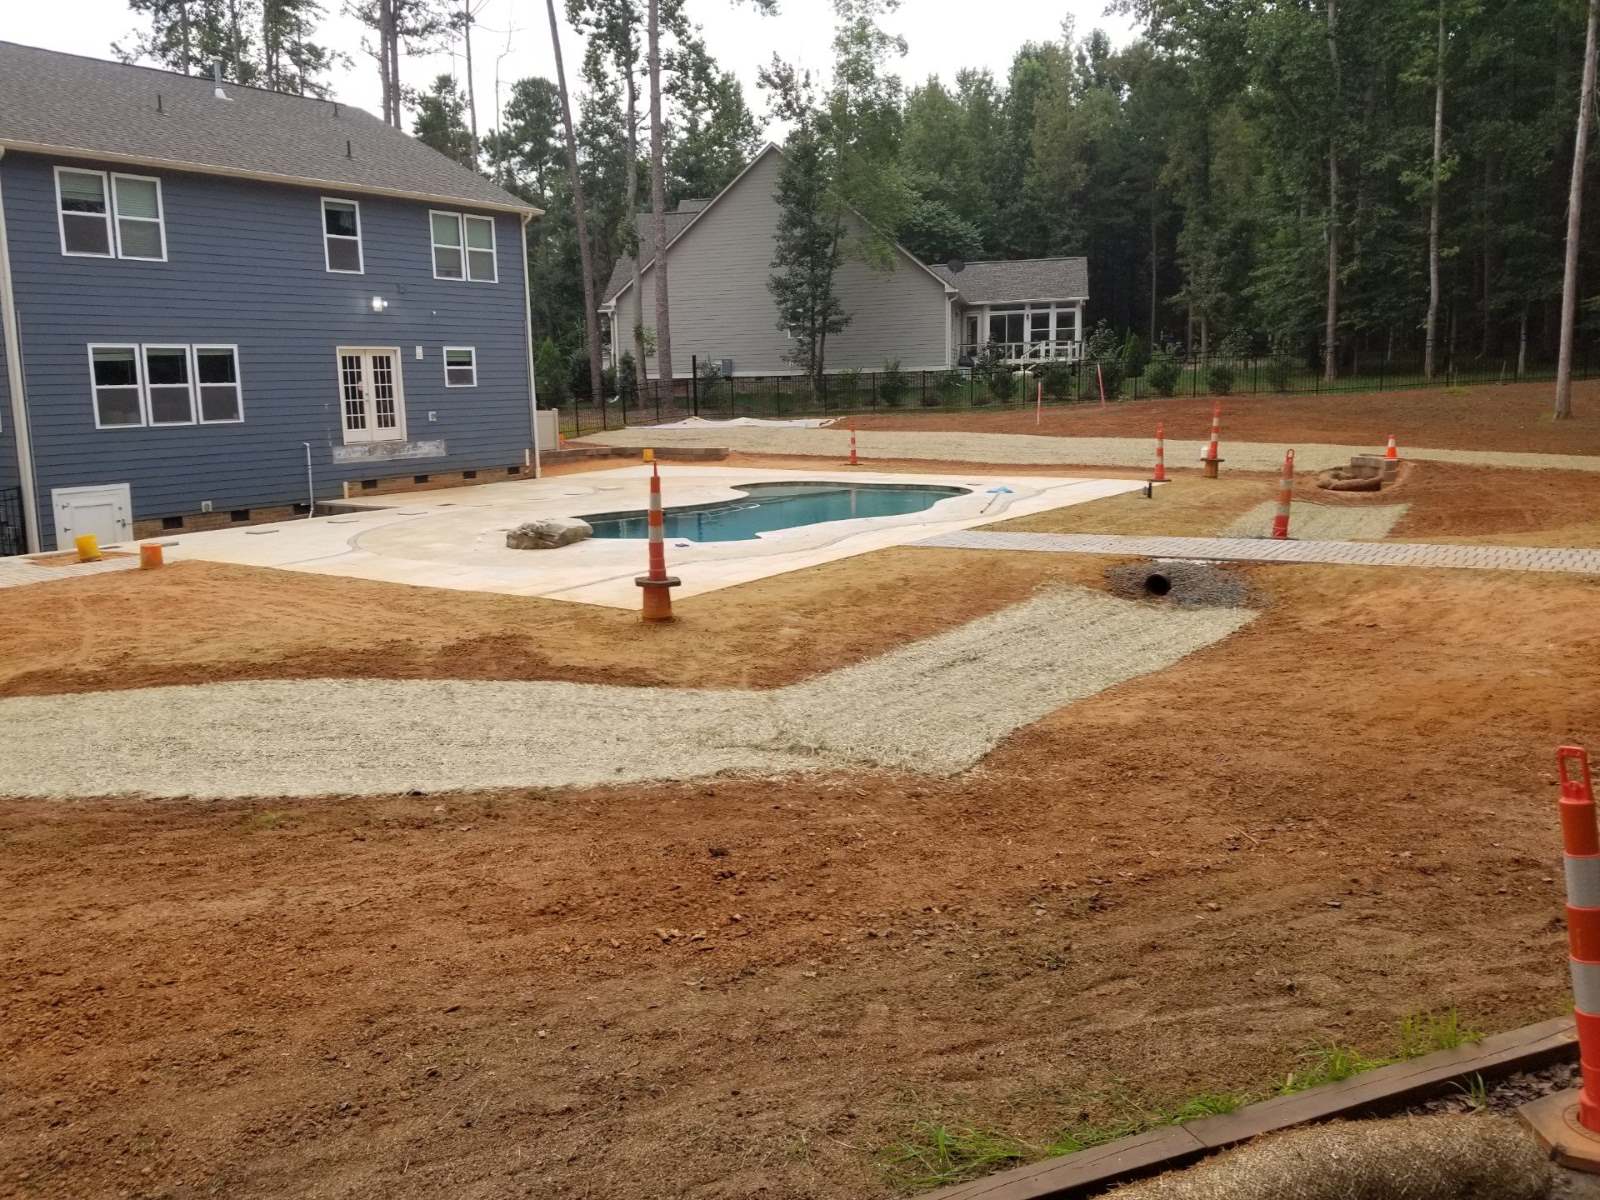
Next, move to the other end of the drainage pipe where it meets the street. Ensure that there is a proper outlet for the water to flow into. This can be accomplished through the installation of a catch basin, a grate, or by connecting the pipe directly to the existing street drainage system.
If you are installing a catch basin or a grate, make sure it is positioned in a way that allows easy access for maintenance and cleaning. This will prevent debris from clogging your drainage system and ensure its effectiveness over time.
Ensure that all connections are properly sealed and secure. This will help maintain the efficiency and functionality of the drainage system.
Once both ends of the drainage pipe are connected, do a thorough inspection to make sure everything is in place and functioning as expected. Check for any leaks or misalignments and address them immediately if found.
Remember, the goal is to create a seamless flow of water from your house to the street, eliminating any water accumulation or potential damage to your property.
Now that you have successfully connected the drainage pipe to both the house and the street, it’s time to move on to the next step: backfilling the trench.
Step 6: Backfilling the trench
With the drainage pipe properly connected to both the house and the street, the next step is to backfill the trench. Backfilling involves filling the trench with soil to cover the pipe and restore the landscape to its original condition.
Before you begin backfilling, ensure that the drainage pipe is secure and properly aligned. Check for any potential leaks or issues that need to be addressed before proceeding.
Start by using the excavated soil from the trench to fill in the space around the pipe. Fill the trench in layers, compacting the soil gently as you go to create a firm and stable surface.
Make sure to backfill the trench evenly to provide support and prevent any sagging or uneven settling of the soil. Avoid applying excessive pressure on the pipe during the backfilling process, as this can potentially damage it.
If needed, add additional soil to the trench to achieve the desired height and slope of the landscape. This will help direct water away from your house and towards the street.
As you backfill, periodically check the alignment and slope of the drainage pipe to ensure that it remains intact. Pay attention to any signs of shifting or movement, and address them immediately to maintain the integrity of the system.
Once the trench is completely backfilled, use a rake or a shovel to level the surface and restore the landscape to its original state. Remove any excess soil from surrounding areas and ensure that the surface is even and smooth.
It’s important to remember that the backfilling process may settle over time due to natural soil movement. Regularly inspect the area and make any necessary adjustments to maintain the proper slope and alignment of the drainage pipe.
With the trench properly backfilled, you’ve completed a significant step in the installation of your drainage system. The final step is to test and inspect the system, which we will cover in the next and final step.
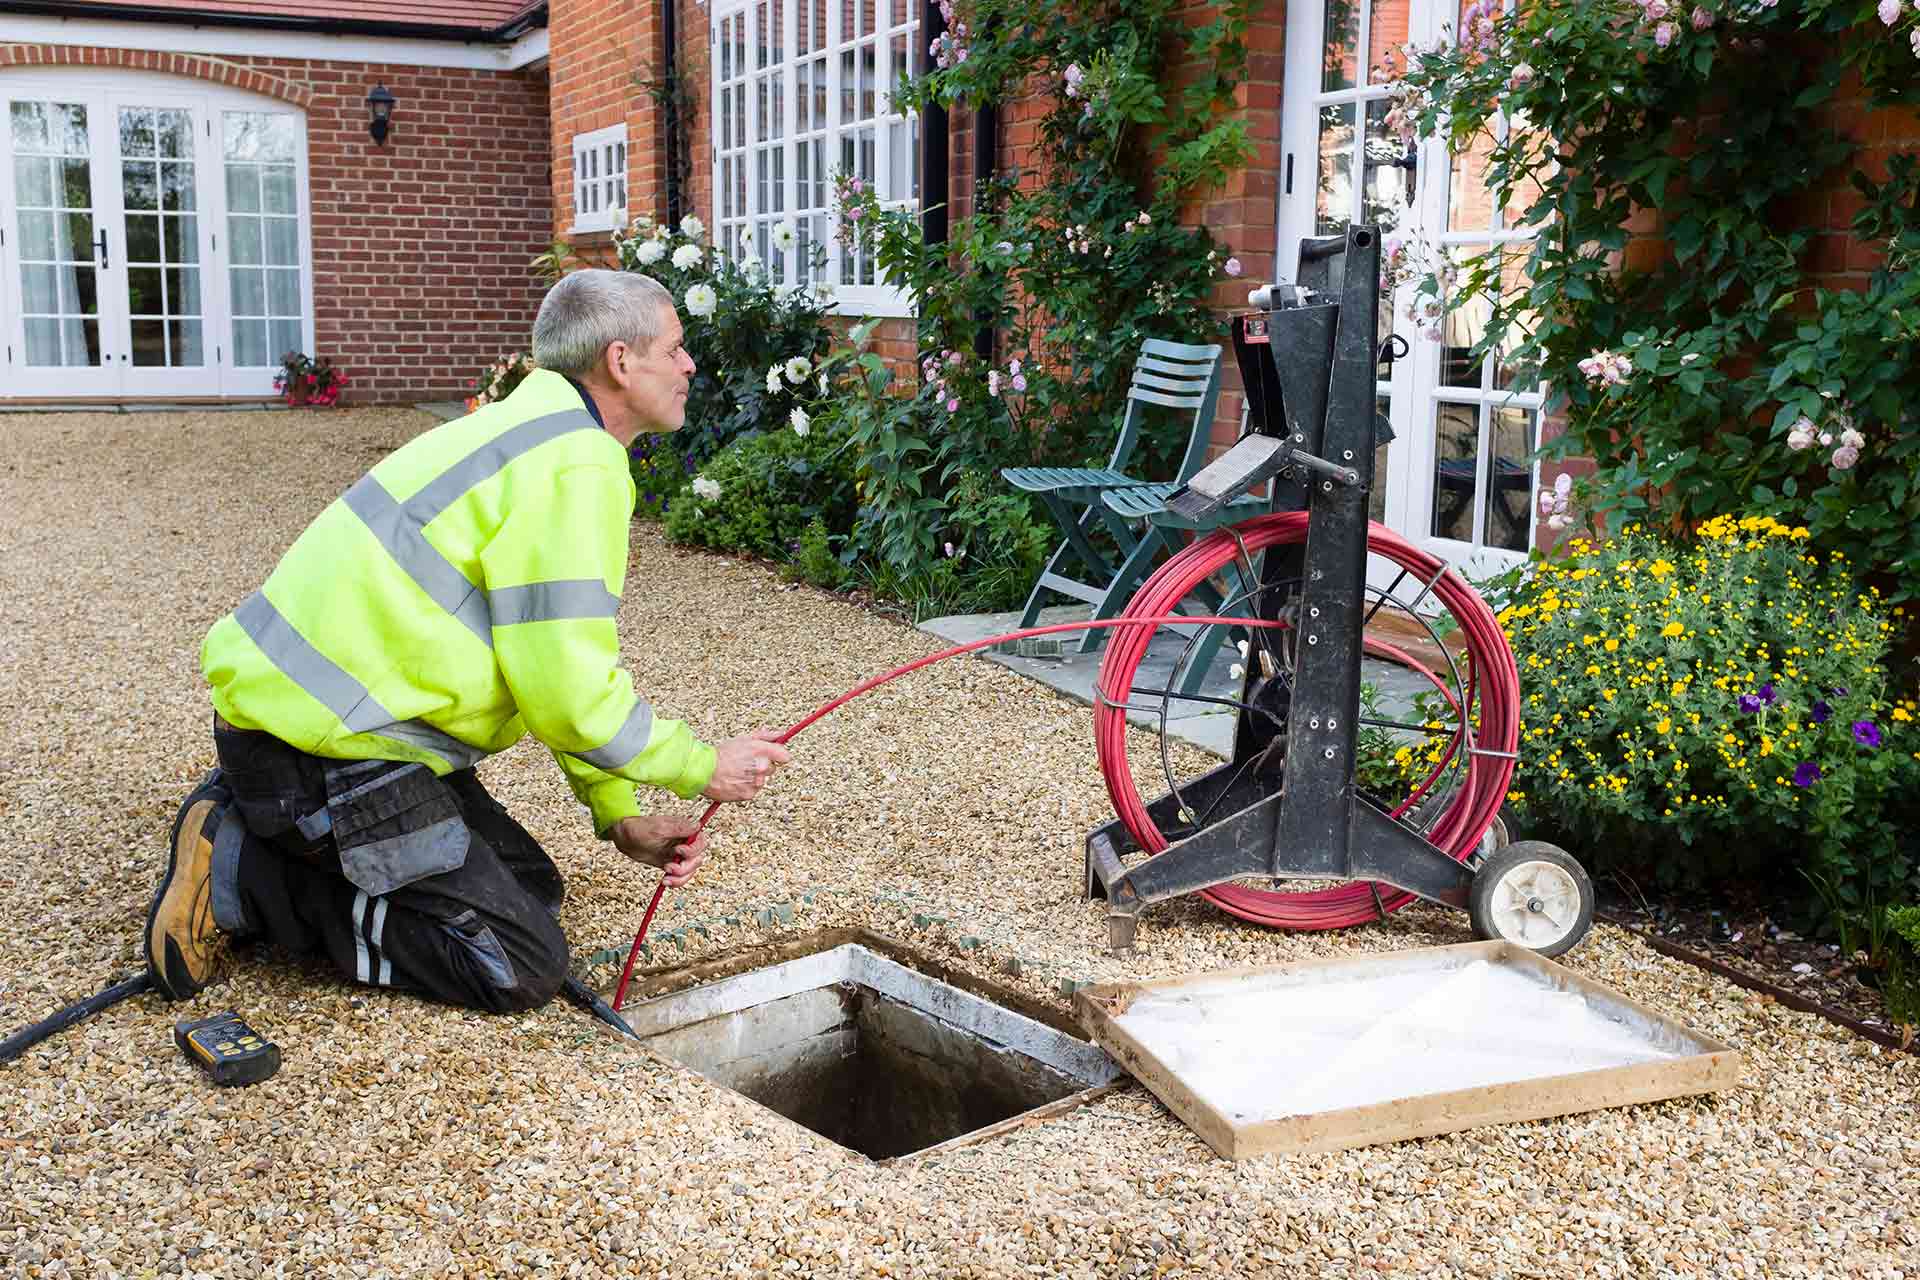
Step 7: Testing and inspecting the drainage system
Once you have completed the installation and backfilling of the drainage system, it’s crucial to test and inspect it to ensure its proper functionality. This step will help identify any potential issues or needed adjustments before the system is fully operational.
Start by running water through the system to simulate normal drainage conditions. This can be done by using a hose or by allowing rainfall to flow into the drainage pipe. Observe how the water flows through the system, paying attention to any areas of pooling, slow drainage, or leaks.
Inspect all connections, joints, and fittings for any signs of leakage or misalignment. Ensure that all components are securely attached and watertight. If you encounter any issues, address them promptly by replacing or repairing the affected parts.
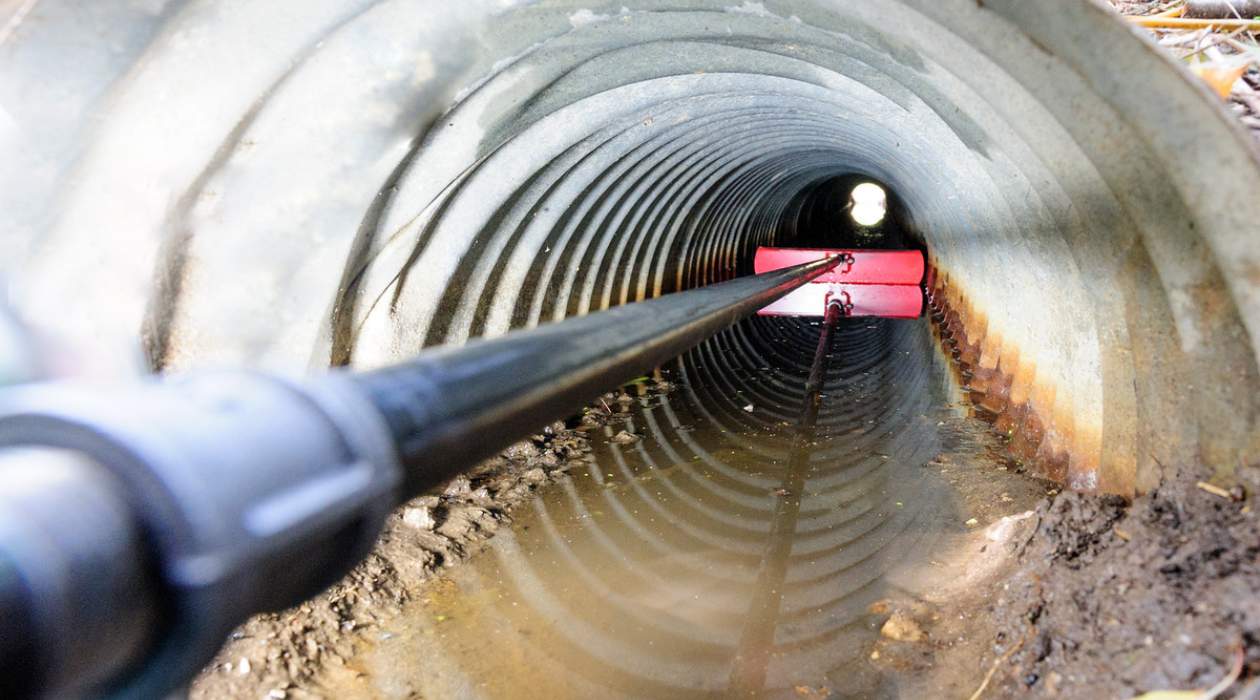
Check for any blockages in the drainage pipe by monitoring the water flow. If you notice any restrictions or slow drainage, it may indicate a clog in the pipe. In such cases, you may need to use a plumbing snake or a high-pressure water jet to clear out the blockage.
Inspect the outlets, such as catch basins or grates, to ensure that they are functioning correctly. Remove any debris or obstructions that may hinder the flow of water into the drainage system.
Continue monitoring the drainage system over time, especially during heavy rainfalls or periods of excessive water flow. Make note of any issues that arise and address them promptly to maintain the efficiency of the system.
Regular maintenance is key to preserving the integrity of your drainage system. This includes periodic cleaning of catch basins or grates to prevent clogs, as well as visual inspections to identify any signs of wear or damage.
By testing and inspecting your drainage system, you can ensure its proper functionality and address any potential problems before they escalate. This will help protect your property from water damage and maintain the effectiveness of the system in the long run.
Congratulations! By completing this final step, you have successfully installed and tested a drainage system that will help safeguard your home from water-related issues.
Conclusion
Installing a drainage system from the side of your house to the street is a crucial step in maintaining the integrity of your property and protecting it from water damage. By following the steps outlined in this comprehensive guide, you can effectively redirect water away from your home and ensure proper drainage.
Throughout this guide, we have discussed the importance of assessing your drainage needs, determining the path and layout, digging the trench, installing the drainage pipe, connecting it to the house and street, backfilling the trench, and testing the system. Each step plays a vital role in creating a functional and efficient drainage system.
Remember to assess your property’s drainage needs and consider factors such as water pooling, slope, and existing drainage systems. Plan the path and layout of the drainage pipe carefully, avoiding obstacles and ensuring easy access for maintenance. Take the time to dig the trench correctly and install the pipe securely, making necessary connections and fittings along the way.
Once the installation is complete, backfill the trench and test the system to ensure proper functionality. Monitor the drainage system regularly and address any issues or blockages promptly to maintain its effectiveness.
It’s important to note that every property is unique, and it’s always recommended to consult with a professional if you have any doubts or concerns during the installation process.
By following these steps and implementing a well-designed drainage system, you can protect your home’s foundation, prevent water damage, and maintain the overall safety and health of your property.
We hope this guide has been informative and helpful in your quest to run a drainage pipe from the side of your house to the street. Now, go ahead and tackle this home improvement project with confidence!
Frequently Asked Questions about How To Run Drainage Pipe From Side Of House To Street
Was this page helpful?
At Storables.com, we guarantee accurate and reliable information. Our content, validated by Expert Board Contributors, is crafted following stringent Editorial Policies. We're committed to providing you with well-researched, expert-backed insights for all your informational needs.


0 thoughts on “How To Run Drainage Pipe From Side Of House To Street”