Articles
How To Run Drainage Pipe Under A Driveway
Modified: August 28, 2024
Learn how to run drainage pipe under a driveway with our informative articles. Get step-by-step instructions and expert tips for a successful installation.
(Many of the links in this article redirect to a specific reviewed product. Your purchase of these products through affiliate links helps to generate commission for Storables.com, at no extra cost. Learn more)
Introduction
Drainage is an essential aspect of any property to prevent water buildup and potential damage. When it comes to running drainage pipes under a driveway, it can be a challenging task that requires careful planning and execution. However, with the right materials, tools, and techniques, it is possible to successfully install a drainage pipe without damaging your driveway.
In this article, we will walk you through the step-by-step process of running a drainage pipe under your driveway. We will discuss the materials and tools you will need, as well as provide detailed instructions on how to prepare the area, dig a trench, install the pipe, connect it to the drainage system, backfill the trench, and test the drainage system. By following these guidelines, you can ensure effective water flow and prevent water-related issues on your property.
Before we dive into the installation process, it is important to note that if you’re unsure about any step or feel uncomfortable with the task, it’s always best to consult with a professional for assistance. Now, let’s get started with the materials and tools needed for this project.
Key Takeaways:
- Proper planning, preparation, and installation are crucial for successfully running a drainage pipe under your driveway. By following the step-by-step process and ensuring thorough testing, you can effectively manage water flow and protect your property from potential damage.
- It’s essential to use quality materials, accurate measurements, and secure connections when installing a drainage pipe. Regular monitoring and maintenance of the system will help ensure long-term functionality and peace of mind.
Materials and Tools Needed
Before embarking on the project, gather the necessary materials and tools to ensure a smooth and efficient installation. Here’s a list of what you’ll need:
- Drainage pipe: Choose a durable and corrosion-resistant pipe, such as PVC or HDPE.
- Perforated pipe: If you’re dealing with excess water or heavy soil conditions, a perforated pipe can help improve drainage efficiency.
- Trenching shovel: A sturdy shovel with a narrow blade will be essential for digging the trench.
- Pipe cutter: Use a pipe cutter designed for your chosen pipe material to ensure clean, precise cuts.
- Gravel: Select a suitable gravel material for backfilling the trench and ensuring proper drainage.
- Fabric sock: A fabric sock or sleeve helps to prevent soil and debris from entering the perforations of a perforated pipe.
- Gloves and safety glasses: Protect your hands and eyes while handling tools, materials, and excavation.
- Tape measure: Accurate measurements are crucial for determining the size and length of the drainage pipe and the trench.
- Pipe connectors and fittings: Depending on your drainage system layout, you may require connectors and fittings for joining pipes together or creating turns.
- Marking spray paint: Use marking paint to outline the trench route and mark any utilities or obstacles to avoid during excavation.
- Hand tamper or compactor: Use a hand tamper or compactor to compact the soil around the pipe and ensure stability.
By having these materials and tools ready, you’ll be well-prepared to tackle the drainage pipe installation under your driveway. Next, we’ll discuss the step-by-step process of running the drainage pipe.
Step 1: Determine the Best Route for the Drainage Pipe
The first step in running a drainage pipe under your driveway is to determine the most suitable route for the pipe. This step requires careful consideration of factors such as the slope of the terrain, the location of existing drainage systems, and any obstacles or utilities that may be in the way.
Start by examining the surrounding landscape and identifying the lowest point where water tends to accumulate. This is typically the ideal location for your drainage pipe to ensure proper water flow. Additionally, take note of any existing drainage systems on your property, such as gutters or downspouts, as you may want to connect the new pipe to these systems for efficient water management.
Next, assess the area where the driveway is located. Look for any utilities, such as gas lines or water pipes, that may be running underground. It’s crucial to avoid these utilities when digging the trench for your drainage pipe to prevent any damage or safety hazards. If you’re unsure about the location of these utilities, contact your local utility companies to mark their positions before proceeding.
Once you have determined the best route for the drainage pipe, use marking spray paint to outline the trench’s path. Start from the lowest point and follow the natural slope of the terrain. Take into account any turns or bends that may be necessary to navigate around obstacles.
By carefully planning and determining the route for your drainage pipe, you’ll ensure optimal water flow and avoid any potential obstacles or hazards. In the next step, we’ll discuss how to prepare the area before digging the trench.
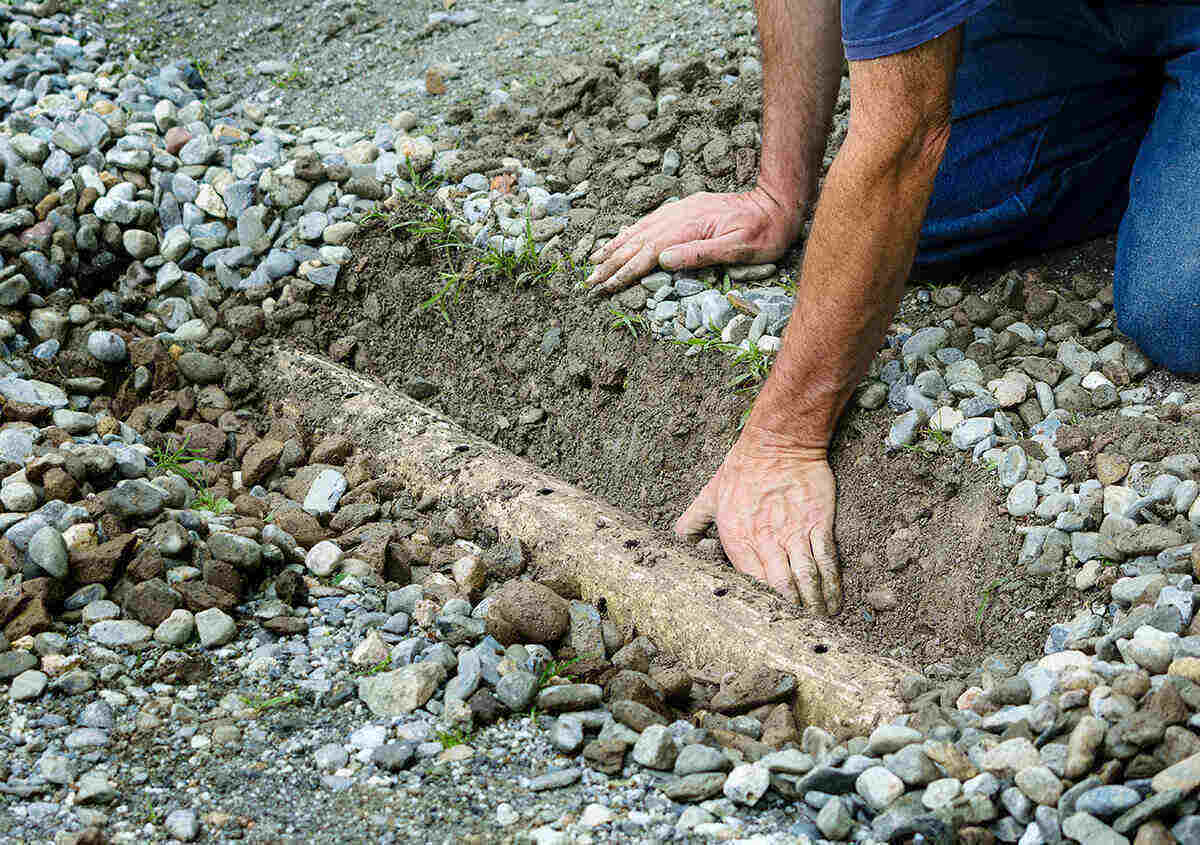
Step 2: Prepare the Area
Before you begin digging the trench for the drainage pipe, it’s essential to properly prepare the area to ensure a successful installation.
First, clear the area of any debris, such as rocks, roots, or vegetation, that may obstruct the excavation process. Trim any overhanging branches or bushes that may interfere with your work space.
Once the area is clear, mark the boundaries of the trench using the previously outlined spray paint. This will provide a clear visual guide for digging and ensure that you stay on track during the excavation process.
If your driveway is made of asphalt or concrete, take extra caution to protect it during the installation. Place plywood sheets or boards on top of the driveway surface to prevent damage from heavy equipment or sharp tools. Secure the plywood with sandbags or weights to keep it in place.
Additionally, if there are any utility lines, such as water or irrigation lines, running through the area, it’s crucial to locate and mark their positions. This will prevent accidental damage during excavation. If you are unsure about the location of underground utilities, consider hiring a professional utility locator service to mark them for you.
Lastly, ensure that you have easy access to the work area and that there is enough space for maneuvering equipment and materials. This will facilitate a smooth and efficient installation process.
By properly preparing the area before digging the trench, you’ll minimize the risk of encountering obstacles and ensure the safety of your driveway and any utilities in the vicinity. In the next step, we’ll discuss how to dig the trench for the drainage pipe.
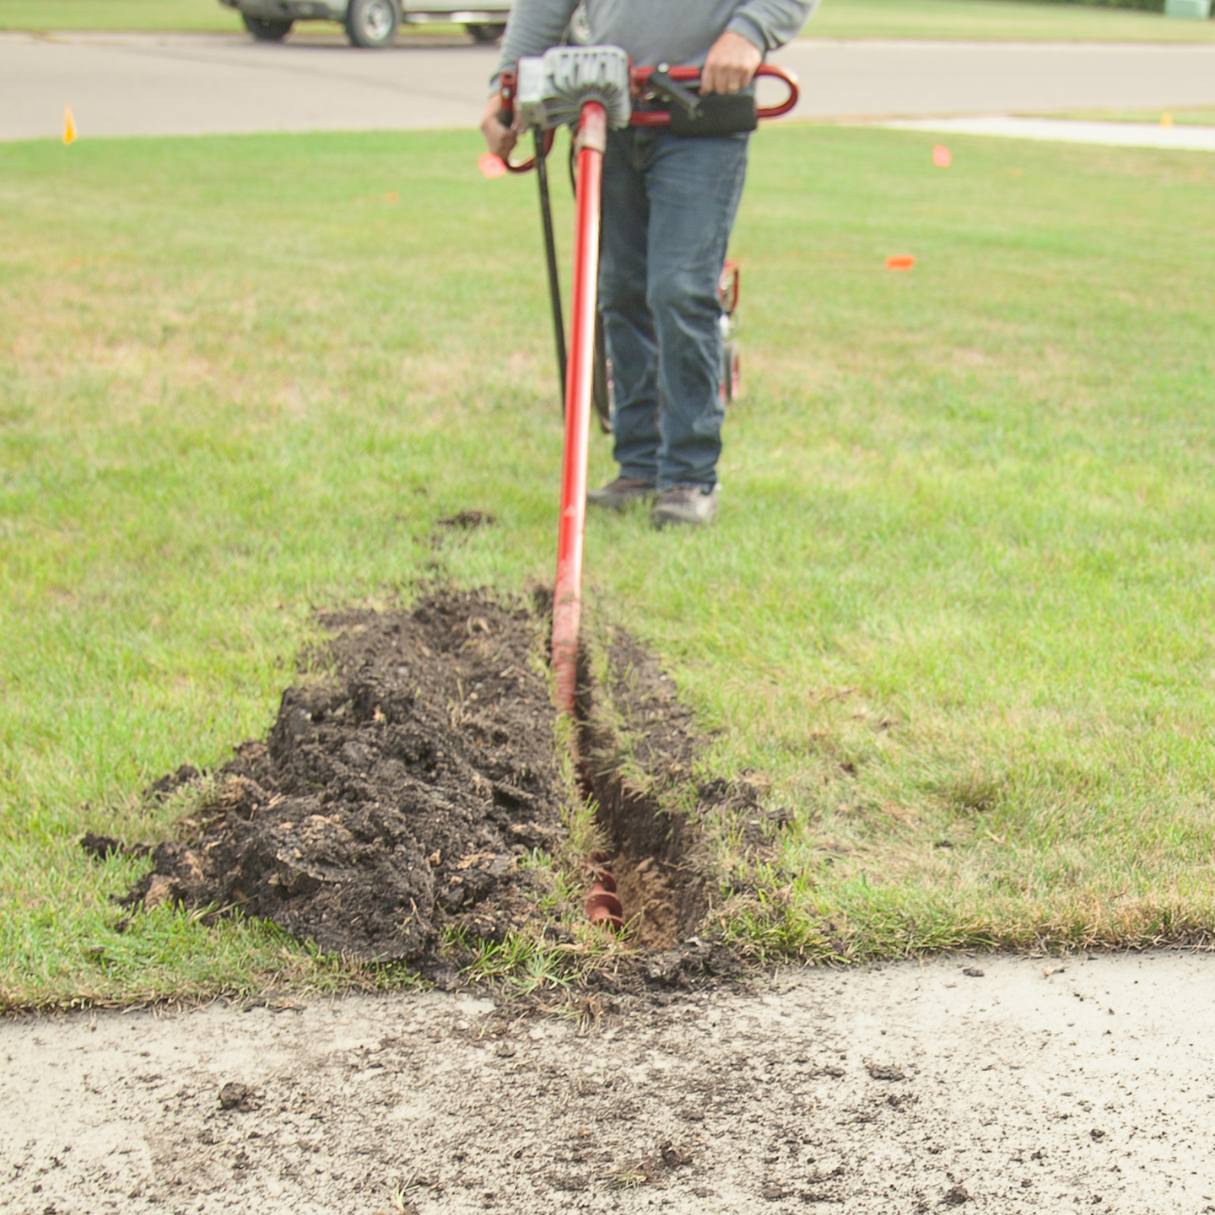
Step 3: Dig a Trench
Once the area is properly prepared, it’s time to dig the trench for the drainage pipe. The size and depth of the trench will depend on the diameter of the pipe and the slope of the terrain.
Start by using a trenching shovel to dig a trench along the previously outlined path. Begin at the lowest point and continue along the natural slope of the terrain. The depth of the trench should allow for proper pipe installation and backfilling, typically around 12 to 18 inches deep. However, refer to local building codes or consult a professional for specific depth requirements in your area.
Ensure that the trench has a consistent width and slope. A width of 6 to 8 inches is usually sufficient for most drainage pipes. Use a level and a string line to verify that the trench is even and maintaining the desired slope. This will facilitate proper water flow and prevent any pooling or blockages.
As you dig the trench, periodically check its width and depth to make sure they are consistent. Remove any rocks, roots, or other debris that may impede proper pipe placement. If the soil is compacted or hard to dig, moistening it with water can make the process easier.
If you encounter any obstacles, such as tree roots or large rocks, carefully work around them or consider adjusting the route of your trench if necessary. Remember to avoid utility lines by referring to the markings made earlier or consulting with professionals if needed.
As you dig the trench, keep the excavated soil nearby for later use in backfilling. This will reduce the amount of additional soil needed and help maintain the natural slope and aesthetics of your yard.
Once the trench is dug to the desired depth and width, visually inspect it to ensure it meets the required specifications. In the next step, we’ll discuss how to install the drainage pipe in the trench.
Before digging, check for any utility lines. Use a pipe bursting or directional boring method to run the drainage pipe under the driveway to avoid damaging the surface.
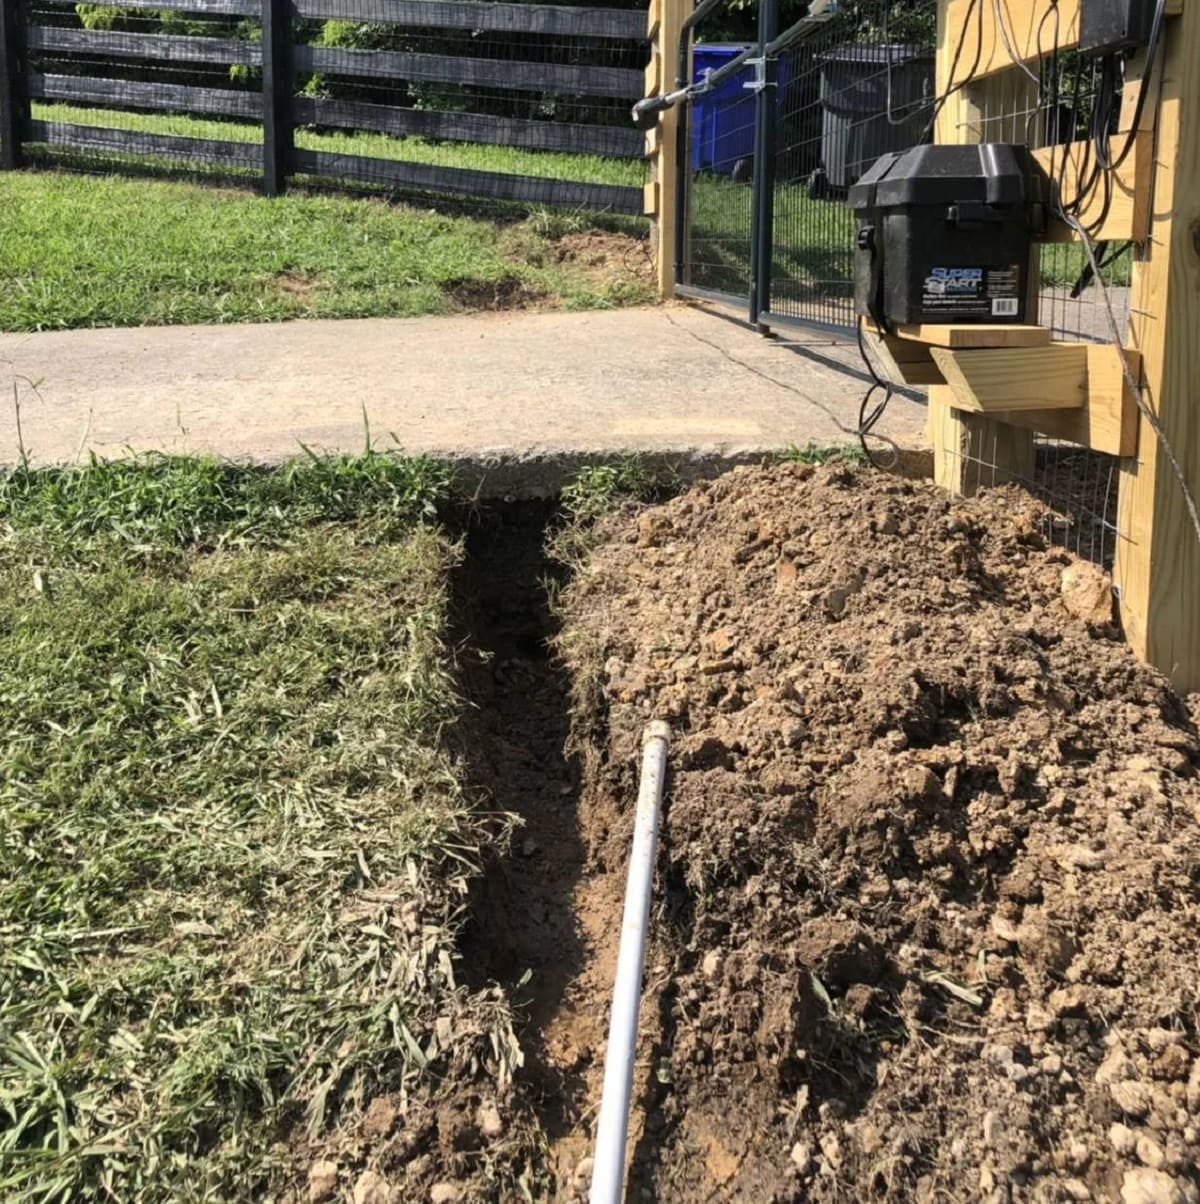
Step 4: Install the Drainage Pipe
With the trench dug and prepared, it’s time to install the drainage pipe. Follow these steps to ensure proper installation:
- Measure and cut the drainage pipe: Using a pipe cutter, measure and cut the drainage pipe to the required length. Ensure that the pipe fits securely within the trench.
- Add a fabric sock (if applicable): If you’re using a perforated pipe or dealing with fine soil that may easily clog the drainage system, wrap a fabric sock or sleeve around the pipe. This will act as a filter, preventing soil and debris from entering the pipe while allowing water to flow through.
- Place the drainage pipe in the trench: Carefully lower the drainage pipe into the trench, making sure it follows the desired route and maintains the proper slope. Make any necessary adjustments to the pipe’s position.
- Connect additional pipes (if needed): If your drainage system requires multiple pipes or connections, use pipe connectors and fittings to join them together as per your design. Ensure that all connections are secure and watertight.
- Position the pipe perforations correctly: If you’re using a perforated pipe, ensure that the perforations are facing downwards. This will allow water to enter the pipe and drain properly.
- Support the pipe: Place gravel or small rocks around the drainage pipe to provide stability and prevent shifting or settling over time. This will also aid in proper water flow within the pipe.
- Check the alignment and slope: Use a level and a string line to verify that the drainage pipe is properly aligned and maintains a consistent slope. This will help prevent any water pooling or blockages.
Once the drainage pipe is securely installed, take a moment to ensure that all connections and fittings are tight and secure. Double-check the alignment and slope of the pipe, as these factors are crucial for the proper functioning of the drainage system.
In the next step, we’ll discuss how to connect the drainage pipe to the existing or designated drainage system.
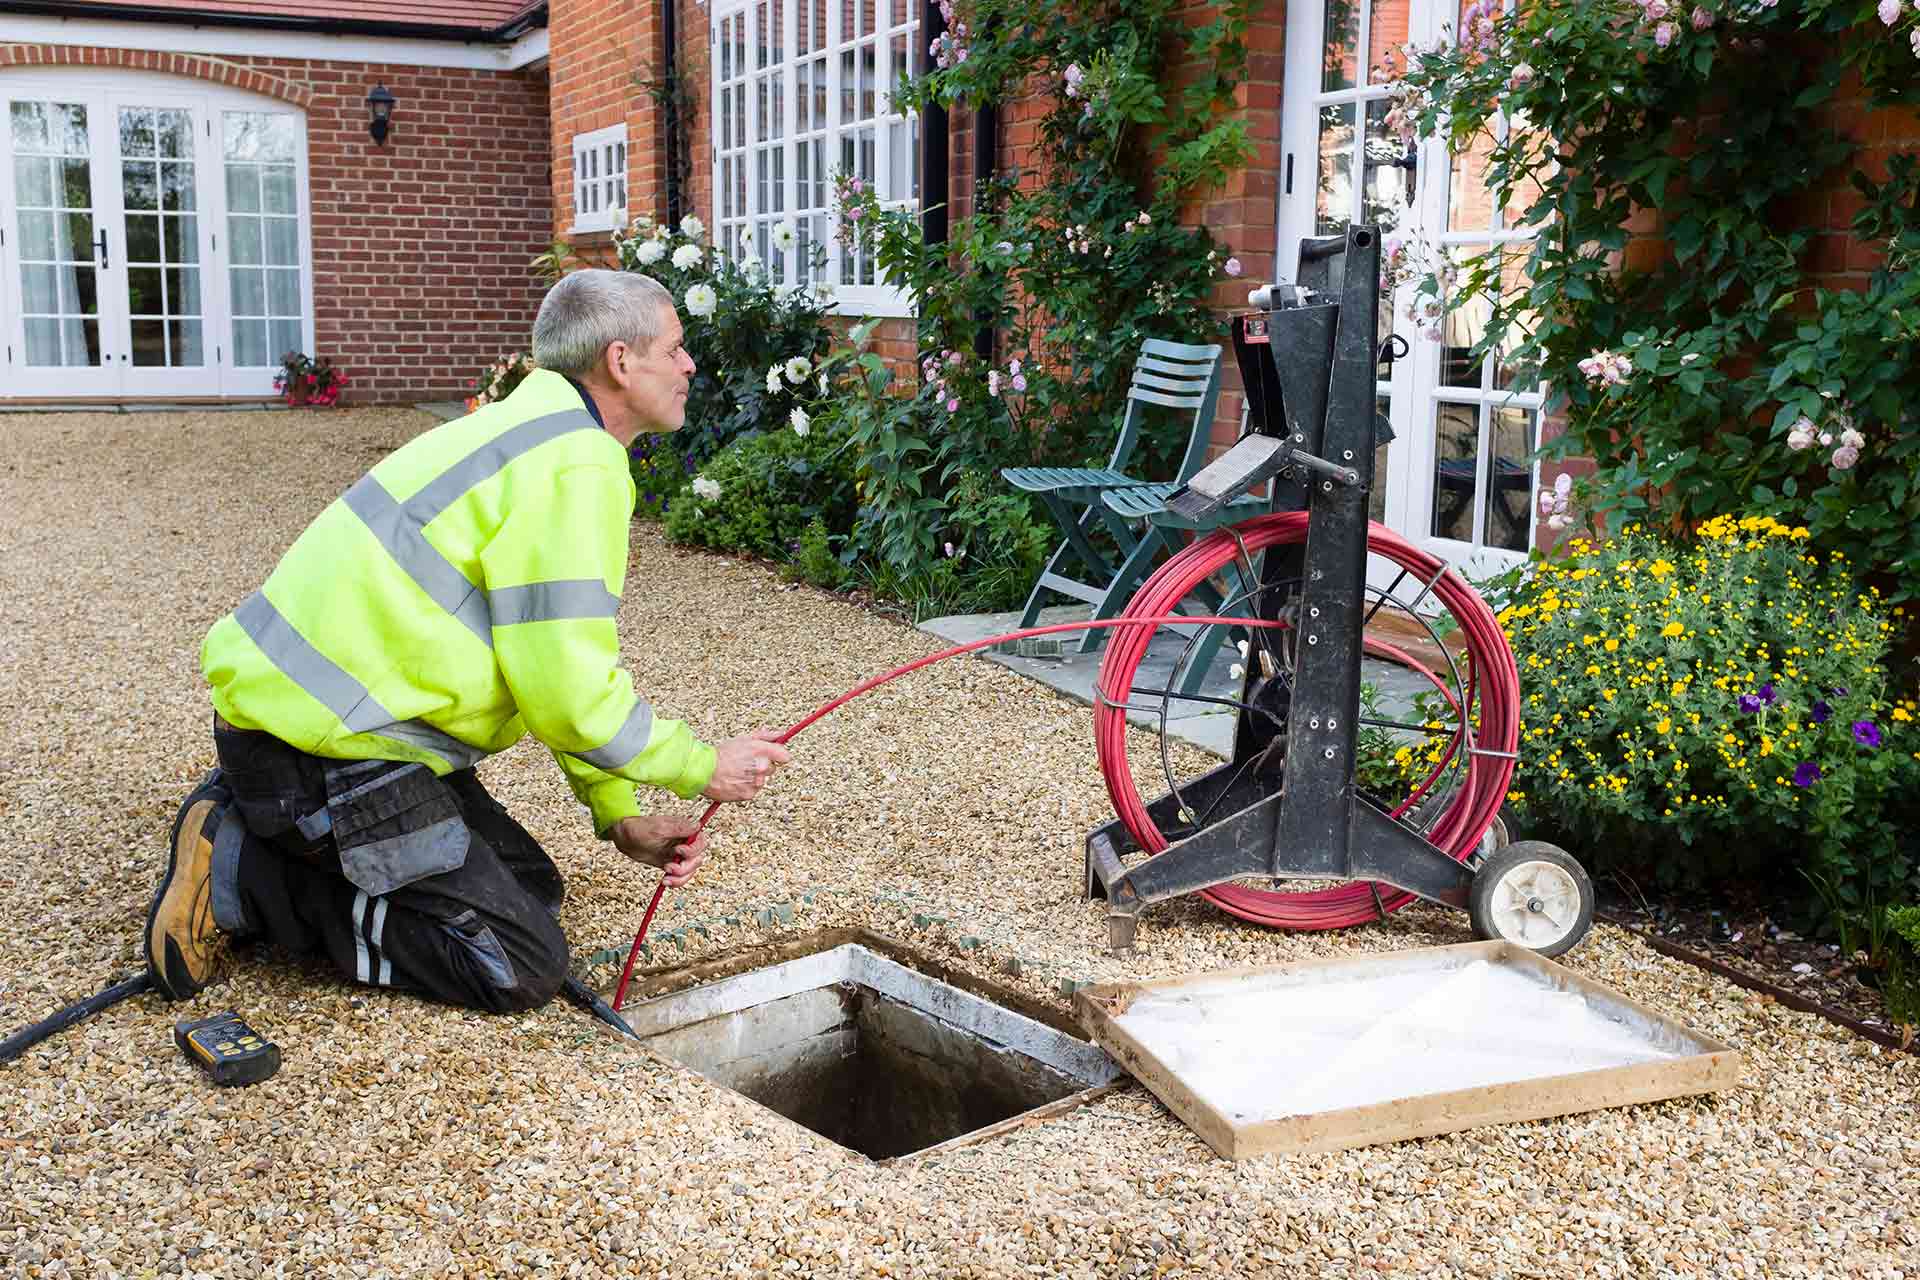
Step 5: Connect the Pipe to the Drainage System
Connecting the drainage pipe to the existing or designated drainage system is an essential step to ensure effective water flow and proper drainage. Follow these steps to connect the pipe:
- Locate the connection point: Determine where the drainage pipe will connect to the existing or designated drainage system. This may be a downspout, a catch basin, or another drainage pipe.
- Prepare the connection area: Clean the connection area by removing any debris or obstructions. If necessary, use a pipe cutter to make any adjustments to the existing system to accommodate the new connection.
- Attach the connector or fittings: Use the appropriate connector or fitting to join the drainage pipe to the existing system. Ensure that the connection is secure and watertight.
- Test the connection: Run water through the drainage system or pour water into the drainage pipe to test the connection. Check for any leaks or issues with the drainage flow.
- Make necessary adjustments: If you notice any leaks or improper water flow, make adjustments to the connection or fittings as needed. Ensure that all connections are properly sealed to prevent any leaks or water seepage.
Once the connection is complete and properly tested, visually inspect the entire drainage system to ensure that all connections are secure, there are no leaks, and the water flow is as desired. Take this opportunity to make any final adjustments or improvements to the system if necessary.
In the next step, we’ll discuss how to backfill the trench to complete the installation.
Step 6: Backfill the Trench
After the drainage pipe is properly installed and connected, it’s time to backfill the trench to secure the pipe and restore the surrounding area. Follow these steps to effectively backfill the trench:
- Start with a layer of gravel: Begin by placing a layer of gravel on top of the drainage pipe. This layer will act as a protective barrier and help with water distribution. Spread the gravel evenly and ensure that it covers the entire length of the pipe.
- Add soil gradually: Gradually add the excavated soil back into the trench. Start from the sides and work your way towards the center. Use a shovel or a hand tamper to compact the soil as you go. Compact the soil lightly to avoid damaging the pipe but ensure it is firm enough to provide stability.
- Continue filling the trench: Fill the trench completely, making sure there are no voids or air pockets. Compact the soil periodically to maintain stability and prevent settling in the future.
- Leave a slight slope: Maintain a slight slope along the backfilled area, allowing for proper water drainage away from the property. This will prevent water from pooling around the trench.
- Smooth out the surface: Once the trench is completely backfilled, use a rake or shovel to smooth out the surface. This will restore the aesthetics of the area and ensure a seamless transition between the trench and the surrounding landscape.
- Dispose of excess soil: If you have excess soil after backfilling the trench, dispose of it appropriately. You can use it for other landscaping purposes or consult local regulations for proper disposal methods.
It’s important to note that the backfilled soil may settle over time. Monitor the area regularly and add additional soil if necessary to maintain the desired slope and appearance.
With the trench properly backfilled, your drainage pipe installation is nearly complete. In the final step, we’ll discuss how to test the drainage system to ensure its functionality.
Step 7: Test the Drainage System
Testing the drainage system is a crucial step to ensure its proper functionality and effectiveness. Follow these steps to test the system:
- Inspect the entire system: Before conducting any tests, visually inspect the entire drainage system. Check for any visible leaks, loose connections, or signs of improper water flow.
- Run water through the system: Start by running water through the system to simulate typical water flow. You can do this by connecting a hose to the drainage pipe or pouring water directly into it.
- Observe water flow: As the water flows through the drainage system, closely observe its movement. Check for any signs of blockages, backflow, or pooling of water. The water should flow smoothly and quickly through the drainage pipe and exit the system without any issues.
- Check for proper drainage: After running water through the system, check the area surrounding the drainage pipe. Ensure that the water is effectively draining away from the property and is not causing any pooling or flooding in the immediate vicinity.
- Address any issues: If you encounter any issues during the testing process, such as slow water flow, blockages, or leaks, take the necessary steps to address and resolve them. This may involve adjusting the slope of the pipe, clearing any obstructions, or making improvements to the system.
Conducting a thorough test of the drainage system is crucial to identify any potential issues before they become major problems. By ensuring the proper functionality of the system, you can protect your property from water damage and maintain effective drainage.
If you notice any persistent issues or are uncertain about the performance of the drainage system, it’s wise to consult with a professional for further evaluation and assistance.
Congratulations! You have successfully completed the installation of a drainage pipe under your driveway. You can now enjoy the benefits of improved water management and peace of mind knowing that your property is protected from excess moisture.
Continue to monitor the drainage system regularly and address any maintenance or repairs as needed to ensure its long-term functionality.
With this comprehensive guide, you now have the knowledge and confidence to tackle a drainage pipe installation under your driveway. Happy draining!
Conclusion
The installation of a drainage pipe under your driveway can significantly improve water management on your property and prevent potential damage. By following the step-by-step guide outlined in this article, you can successfully run a drainage pipe under your driveway without compromising its integrity.
Throughout the process, we discussed the importance of planning the route for the drainage pipe, preparing the area, digging a trench, installing the pipe, connecting it to the drainage system, backfilling the trench, and testing the drainage system. Each step plays a crucial role in ensuring the effectiveness and longevity of the drainage system.
Remember to consider factors such as the slope of the terrain, the location of existing drainage systems, and any obstacles or utilities that may be in the way when planning the route for the pipe. Taking the time to properly prepare the area and protect your driveway during the installation process will help minimize potential damage and ensure a smooth installation.
When installing the drainage pipe, be sure to take accurate measurements, use quality materials, and provide proper support for the pipe. Connect the pipe securely to the existing or designated drainage system, and test the system thoroughly to ensure its functionality.
By completing these steps diligently, you can create an effective drainage system that will efficiently carry water away from your property and protect it from potential water-related issues.
However, it’s important to note that if you’re unsure about any step or feel uncomfortable with the task, it’s always best to consult with a professional for assistance. They can provide expert guidance and ensure that the installation meets all safety and regulatory requirements.
With proper installation and maintenance, your new drainage system will provide you with peace of mind, reduce the risk of water damage, and help keep your property dry and free from excess moisture. So go ahead and take on the challenge, and enjoy the benefits of a well-functioning drainage system under your driveway.
Now that you've mastered installing drainage pipes, why not spruce up your outdoor space with some creative barriers? Our guide on landscaping options offers vibrant garden fence ideas that can transform any yard into a charming retreat. Or, if you're feeling handy, check out our comprehensive tips on DIY home improvement projects. These can help upgrade your living space without breaking the bank.
Frequently Asked Questions about How To Run Drainage Pipe Under A Driveway
Was this page helpful?
At Storables.com, we guarantee accurate and reliable information. Our content, validated by Expert Board Contributors, is crafted following stringent Editorial Policies. We're committed to providing you with well-researched, expert-backed insights for all your informational needs.


0 thoughts on “How To Run Drainage Pipe Under A Driveway”