Home>Home Maintenance>How To Improve Drainage Around The House

Home Maintenance
How To Improve Drainage Around The House
Modified: March 7, 2024
Looking for ways to improve drainage around your house? Learn effective home maintenance tips to prevent water damage and protect your property.
(Many of the links in this article redirect to a specific reviewed product. Your purchase of these products through affiliate links helps to generate commission for Storables.com, at no extra cost. Learn more)
Introduction
Proper drainage is essential for maintaining the structural integrity of your home and preventing water damage. When water accumulates around the foundation, it can seep into the basement, causing mold, mildew, and even foundation issues. Inadequate drainage can also lead to erosion, flooding, and damage to landscaping.
In this article, we will explore various methods to improve drainage around your house. Whether you have a soggy yard or a wet basement, these tips will help you mitigate the effects of excess water and keep your home dry and safe.
By assessing the drainage problem, clearing obstructions, building proper slope, installing French drains, extending downspouts, using rain barrels, creating rain gardens, and maintaining a dry basement, you can effectively manage water runoff, protect your property, and create a healthier living environment.
Please note that before embarking on any major drainage improvement projects, it’s always a good idea to consult with a professional to assess your specific needs and ensure the best course of action for your home.
Key Takeaways:
- Proper drainage is crucial for preventing water damage and maintaining a healthy home. Assess drainage issues, clear obstructions, and use solutions like French drains and rain barrels to manage water runoff effectively.
- Maintaining a dry basement is essential for preventing mold and structural damage. Regularly inspect for leaks, improve exterior drainage, and control humidity to keep your basement dry and healthy.
Assessing the Drainage Problem
The first step in improving drainage around your house is to assess the existing problem areas. Walk around your property during or after a rainfall and take note of any areas where water tends to accumulate or flow towards your home. Signs of poor drainage include standing water, soggy soil, and erosion.
Identifying the source of the water is crucial. It could be due to poor grading, clogged gutters or downspouts, or natural factors like a high water table. Look for any signs of water damage inside your home, such as damp walls or a musty smell in the basement, as this can indicate issues with the drainage system.
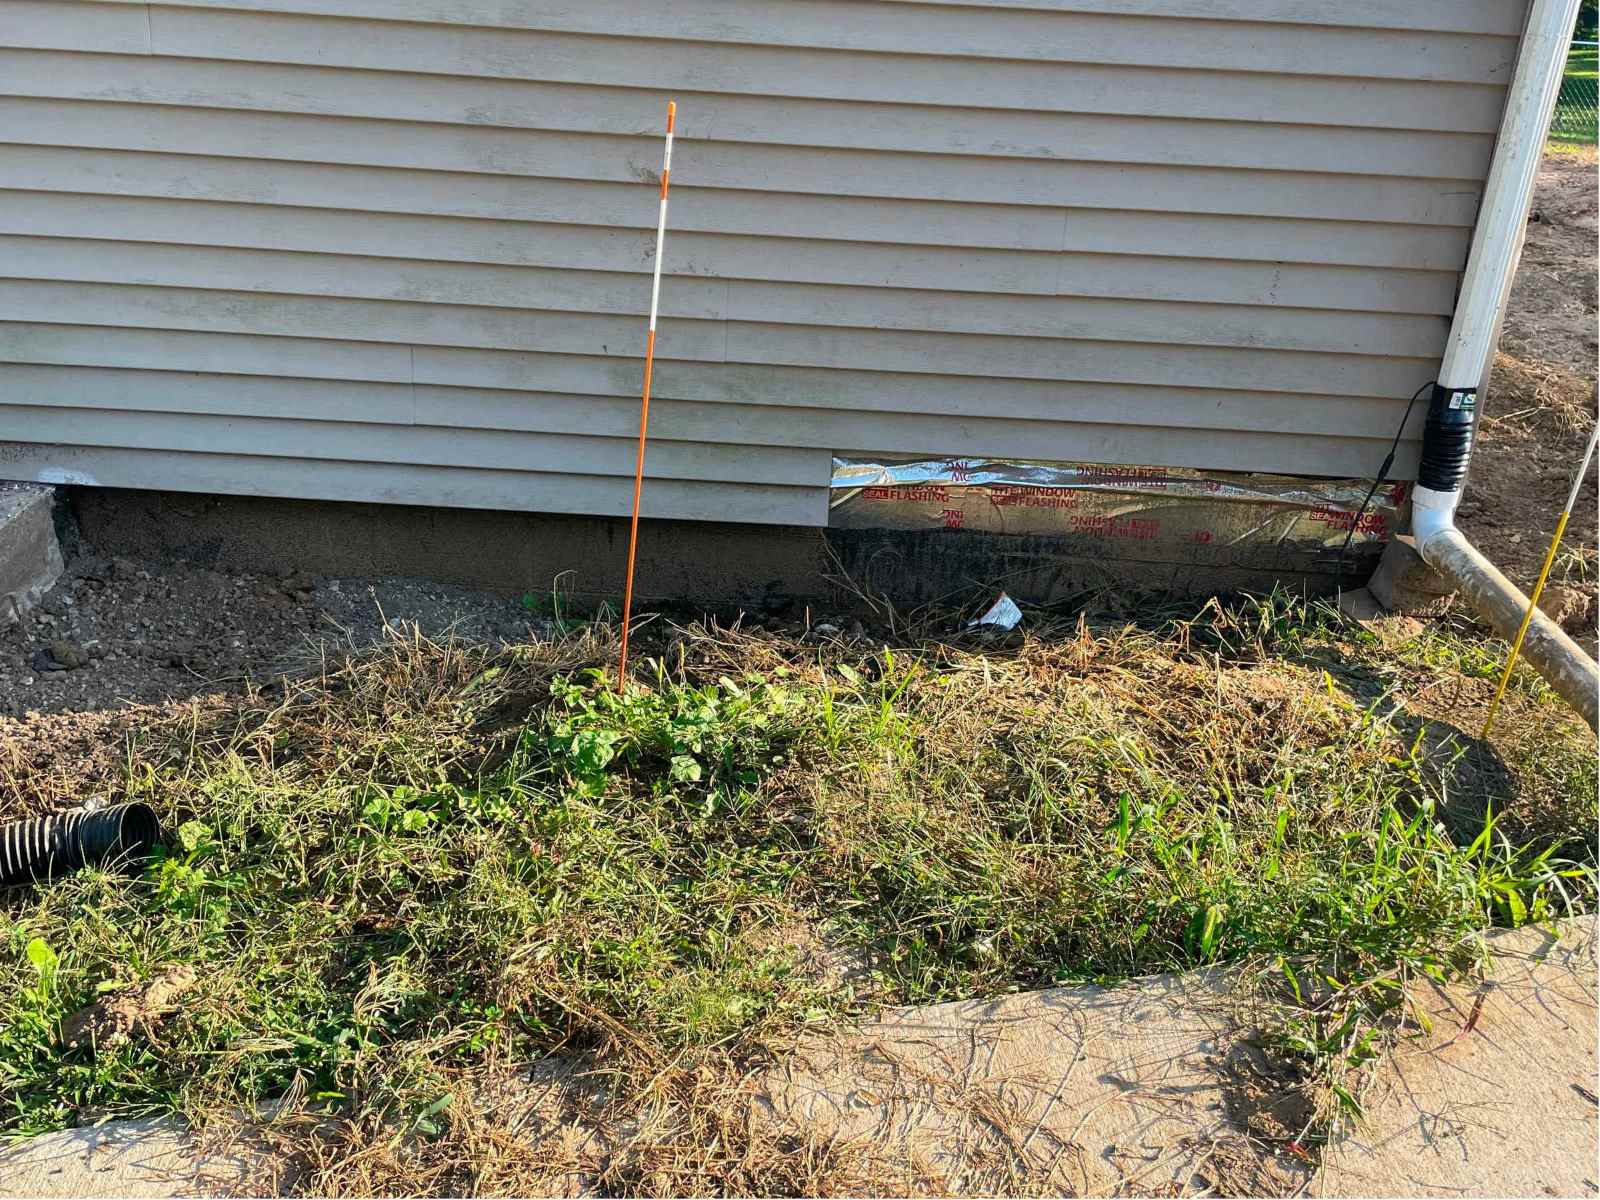
Observe how water flows through your yard and towards your house. Ideally, the terrain should slope away from the foundation, allowing water to naturally drain away. If you notice areas where the ground is sloping towards your home, it may be necessary to regrade the soil to redirect water flow.
Another essential aspect of assessing drainage is understanding the soil composition on your property. Different soil types have varying drainage characteristics. Sandy soil tends to drain quickly, while heavy clay soil retains water and is more prone to drainage problems. Understanding your soil’s properties will help determine the appropriate solutions for improving drainage.
Take measurements and gather as much information about your drainage issues as possible. This will assist you in developing a comprehensive plan to address the problem effectively. From here, you can move on to implementing the necessary measures to improve drainage and protect your home from excess water.
Clearing Obstructions
One common cause of poor drainage is the presence of obstructions that prevent water from properly flowing away from your home. It’s important to identify and remove these obstructions to improve the overall drainage system.
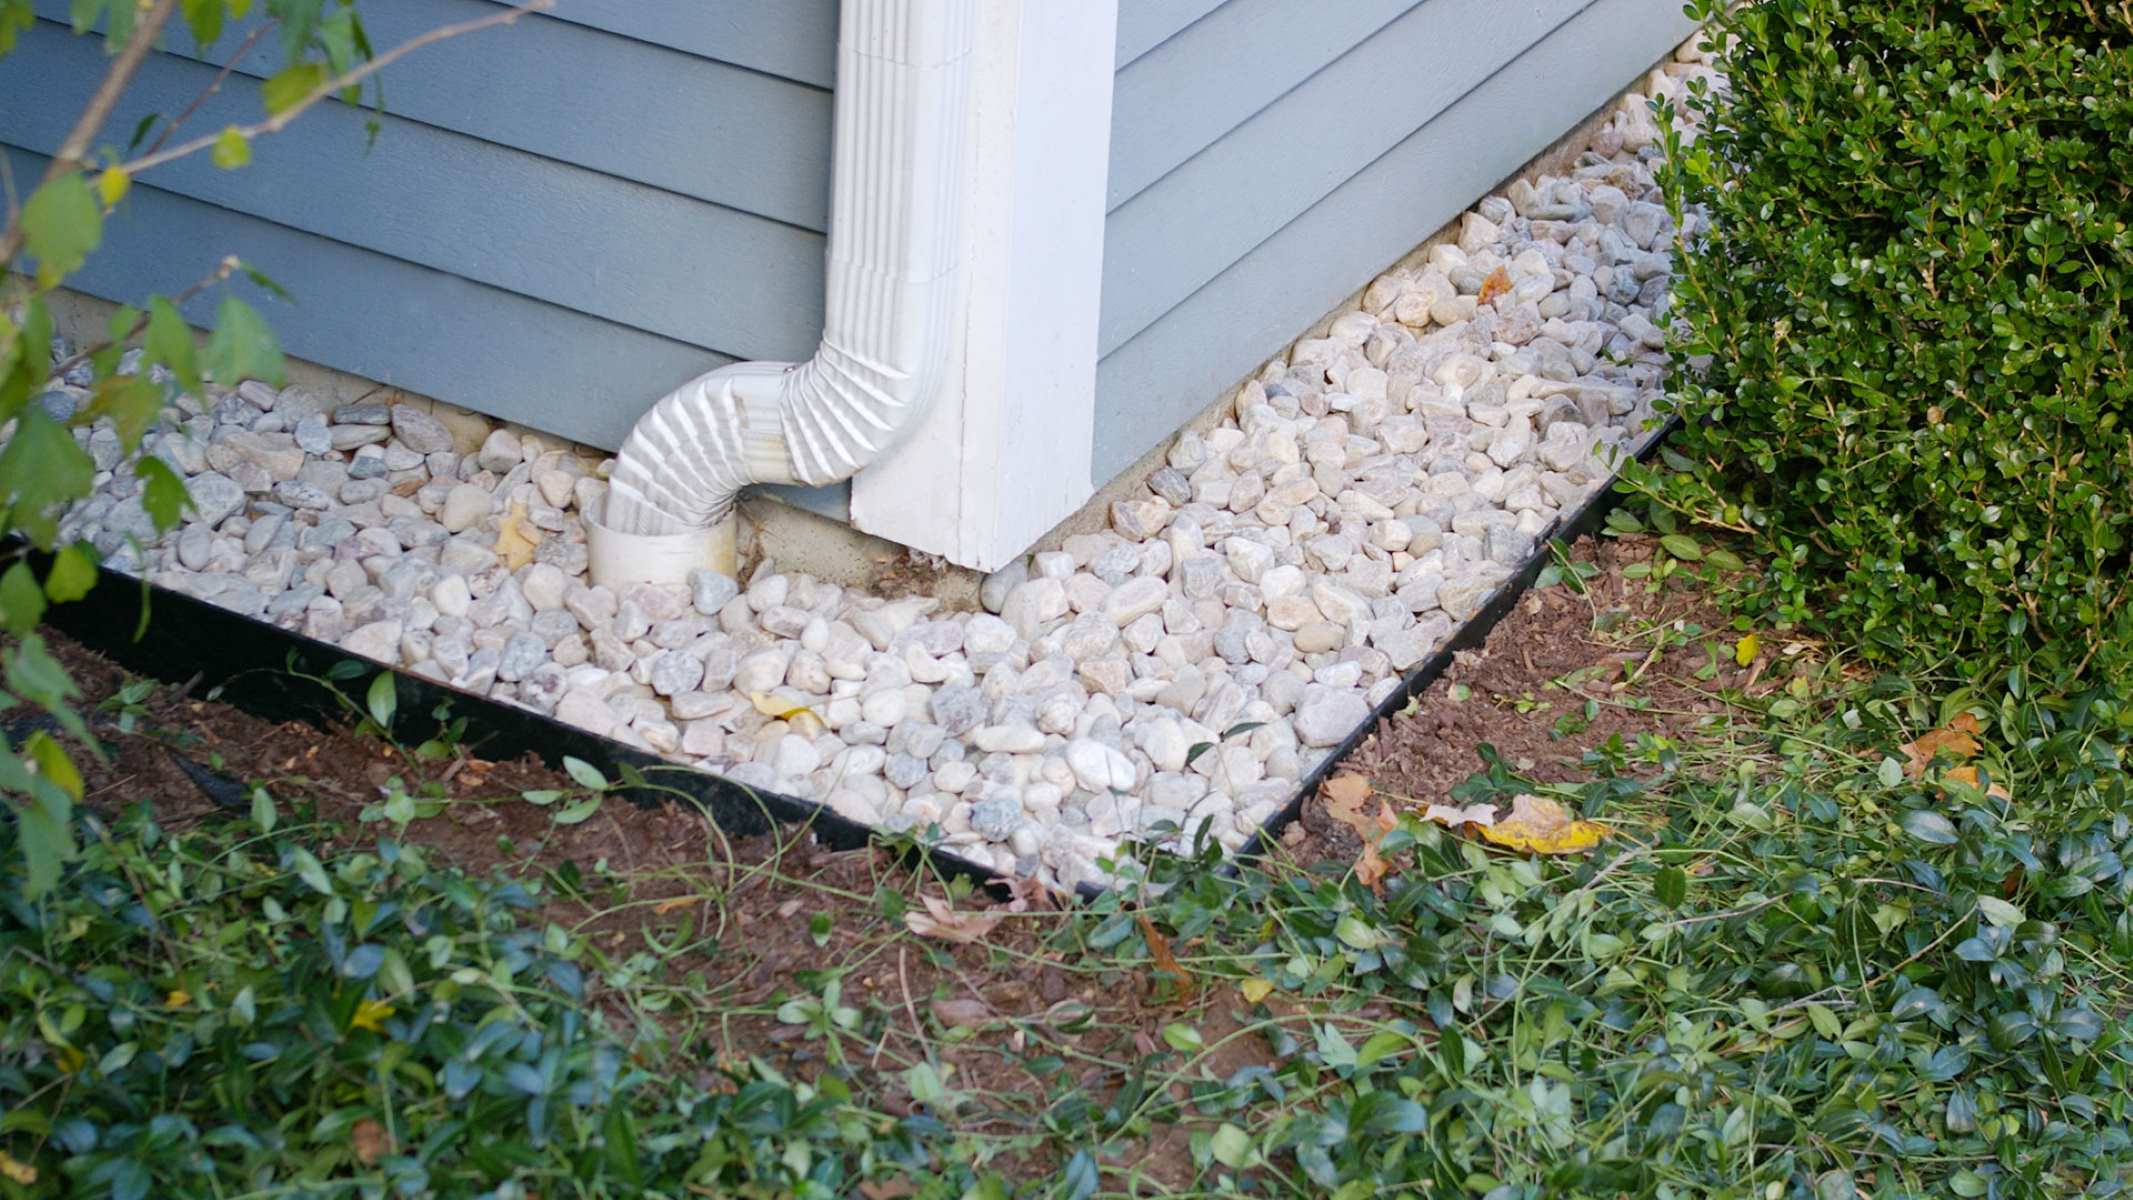
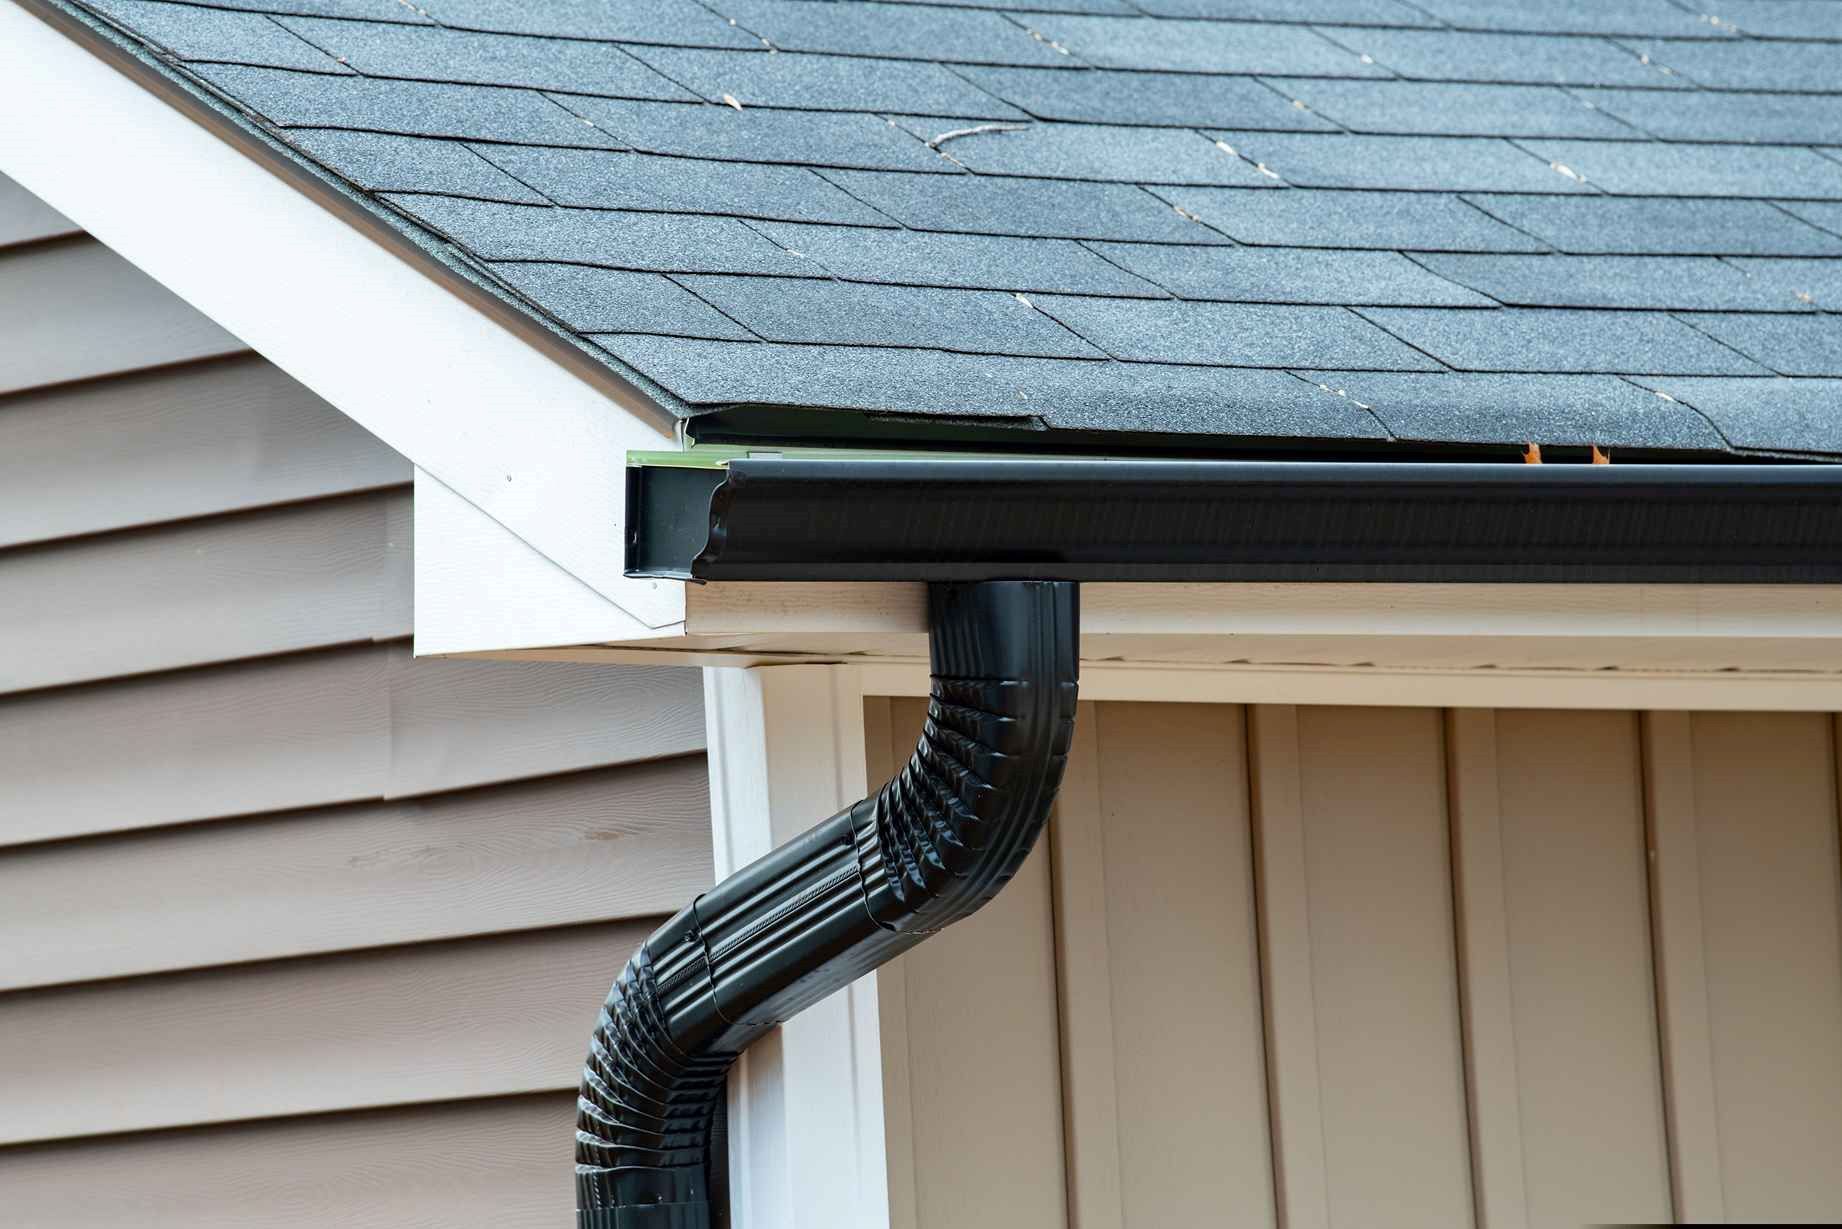
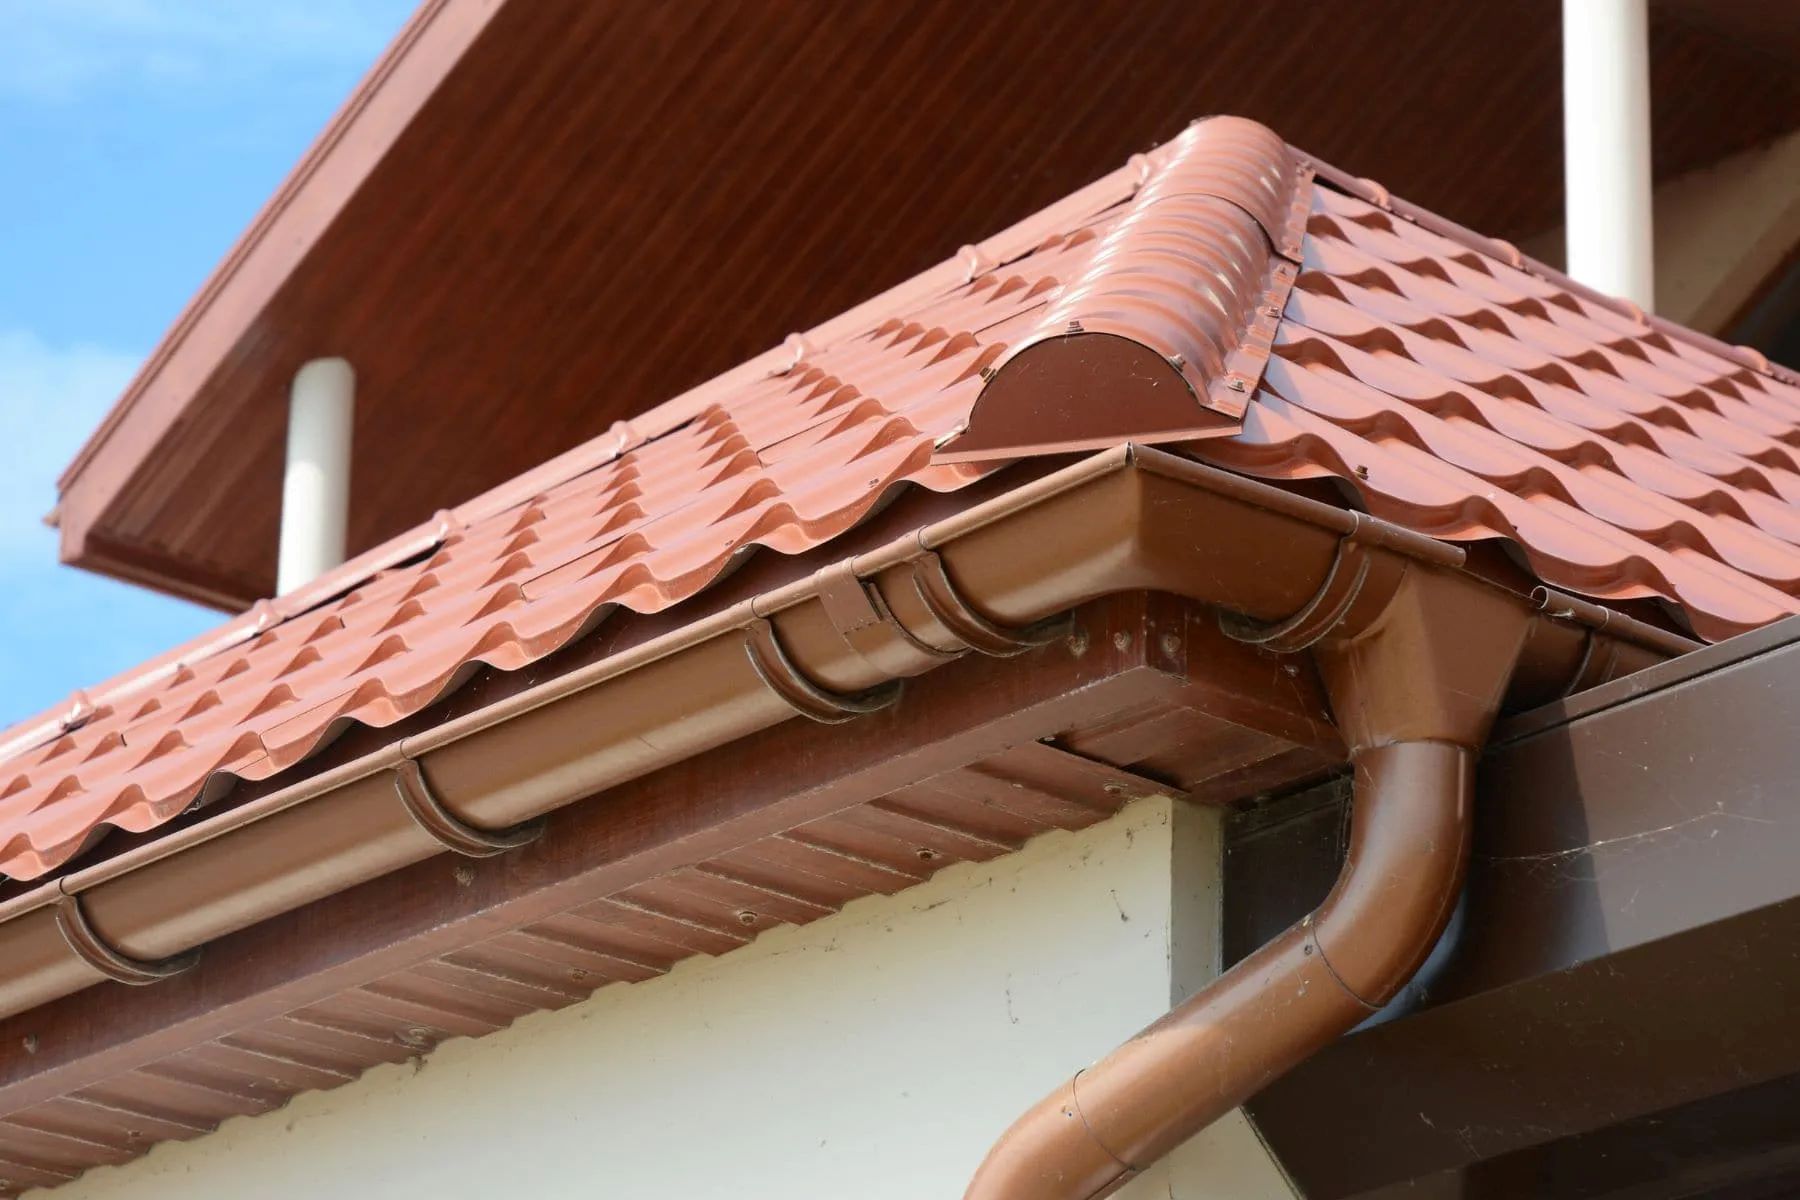
Start by inspecting your gutters and downspouts. Over time, leaves, branches, and debris can build up in the gutters, blocking the flow of water. This can lead to overflow, causing water to spill close to the foundation. Clean out your gutters regularly and ensure they are securely attached to the house. Repair any damaged sections or replace them if necessary.
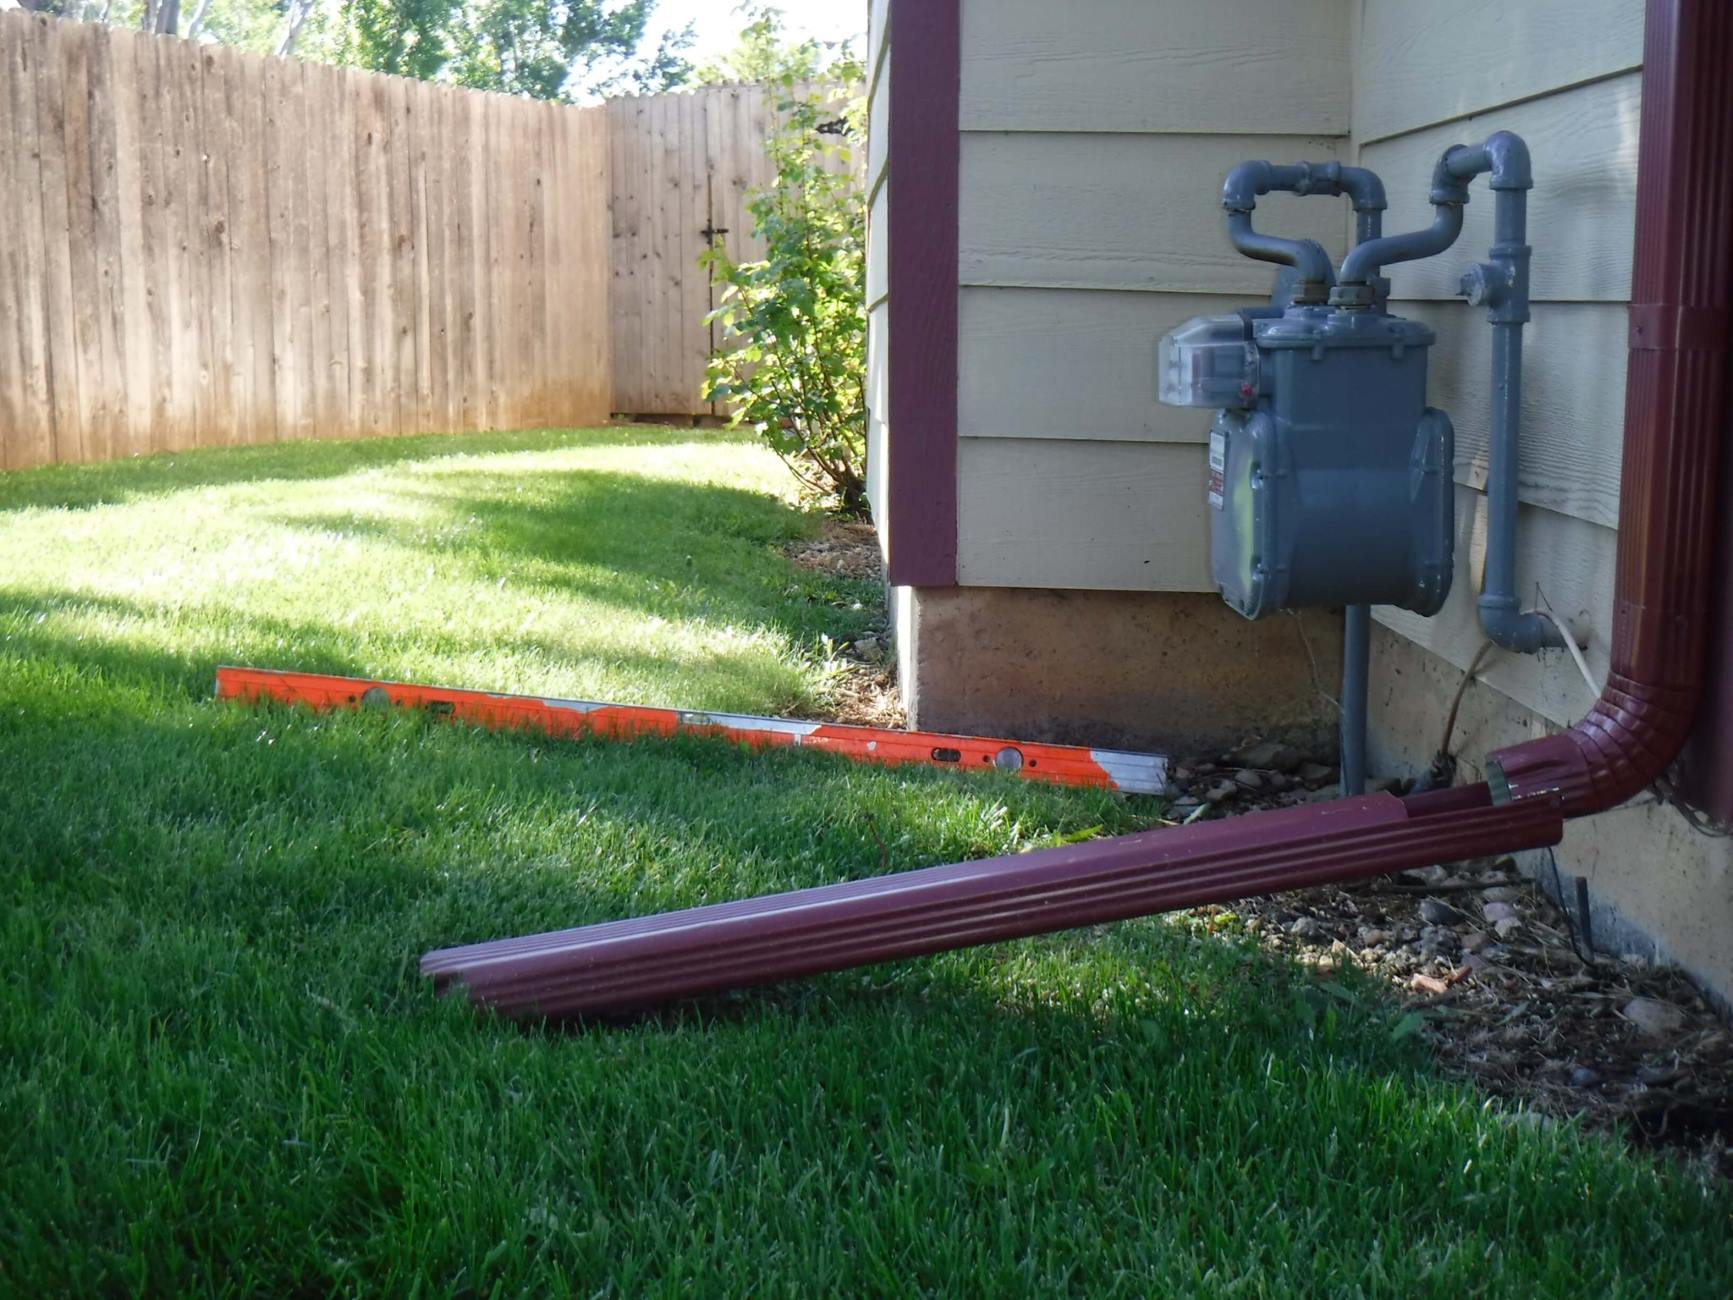
Next, check the downspouts to ensure they are clear and free of debris. Clear any clogs or obstructions that may be preventing water from properly draining away from the house. Consider extending the downspouts to direct water at least 3 feet away from the foundation. This will help prevent water from pooling near the house and causing damage.
In addition to clearing the gutters and downspouts, it’s important to assess the condition of your landscaping. Overgrown plants, shrubs, or trees can impede water flow and contribute to poor drainage. Trim back any branches or vegetation that may be obstructing the natural path of water. This will allow water to flow freely and prevent it from accumulating around the foundation.
Lastly, inspect the perimeter of your house for any blockages or obstructions. Check for debris, mulch, or other materials that may be impeding the proper flow of water. Clear away these obstructions to ensure water can easily drain away from your home.
By regularly clearing obstructions from your drainage system, you will promote better water flow and reduce the risk of water damage to your home. Remember to perform these maintenance tasks on a regular basis to keep your drainage system functioning optimally.
Building Proper Slope
Creating a proper slope around the foundation of your home is crucial for effective water drainage. The goal is to ensure that water flows away from the house instead of pooling near the foundation, which can lead to moisture issues and structural damage.
To build a proper slope, start by assessing the current level of the ground around your home. You can use a level or a laser level for more accurate measurements. Ideally, the ground should slope away from the foundation at a slope of at least 1 inch per foot for a minimum distance of 6 feet.
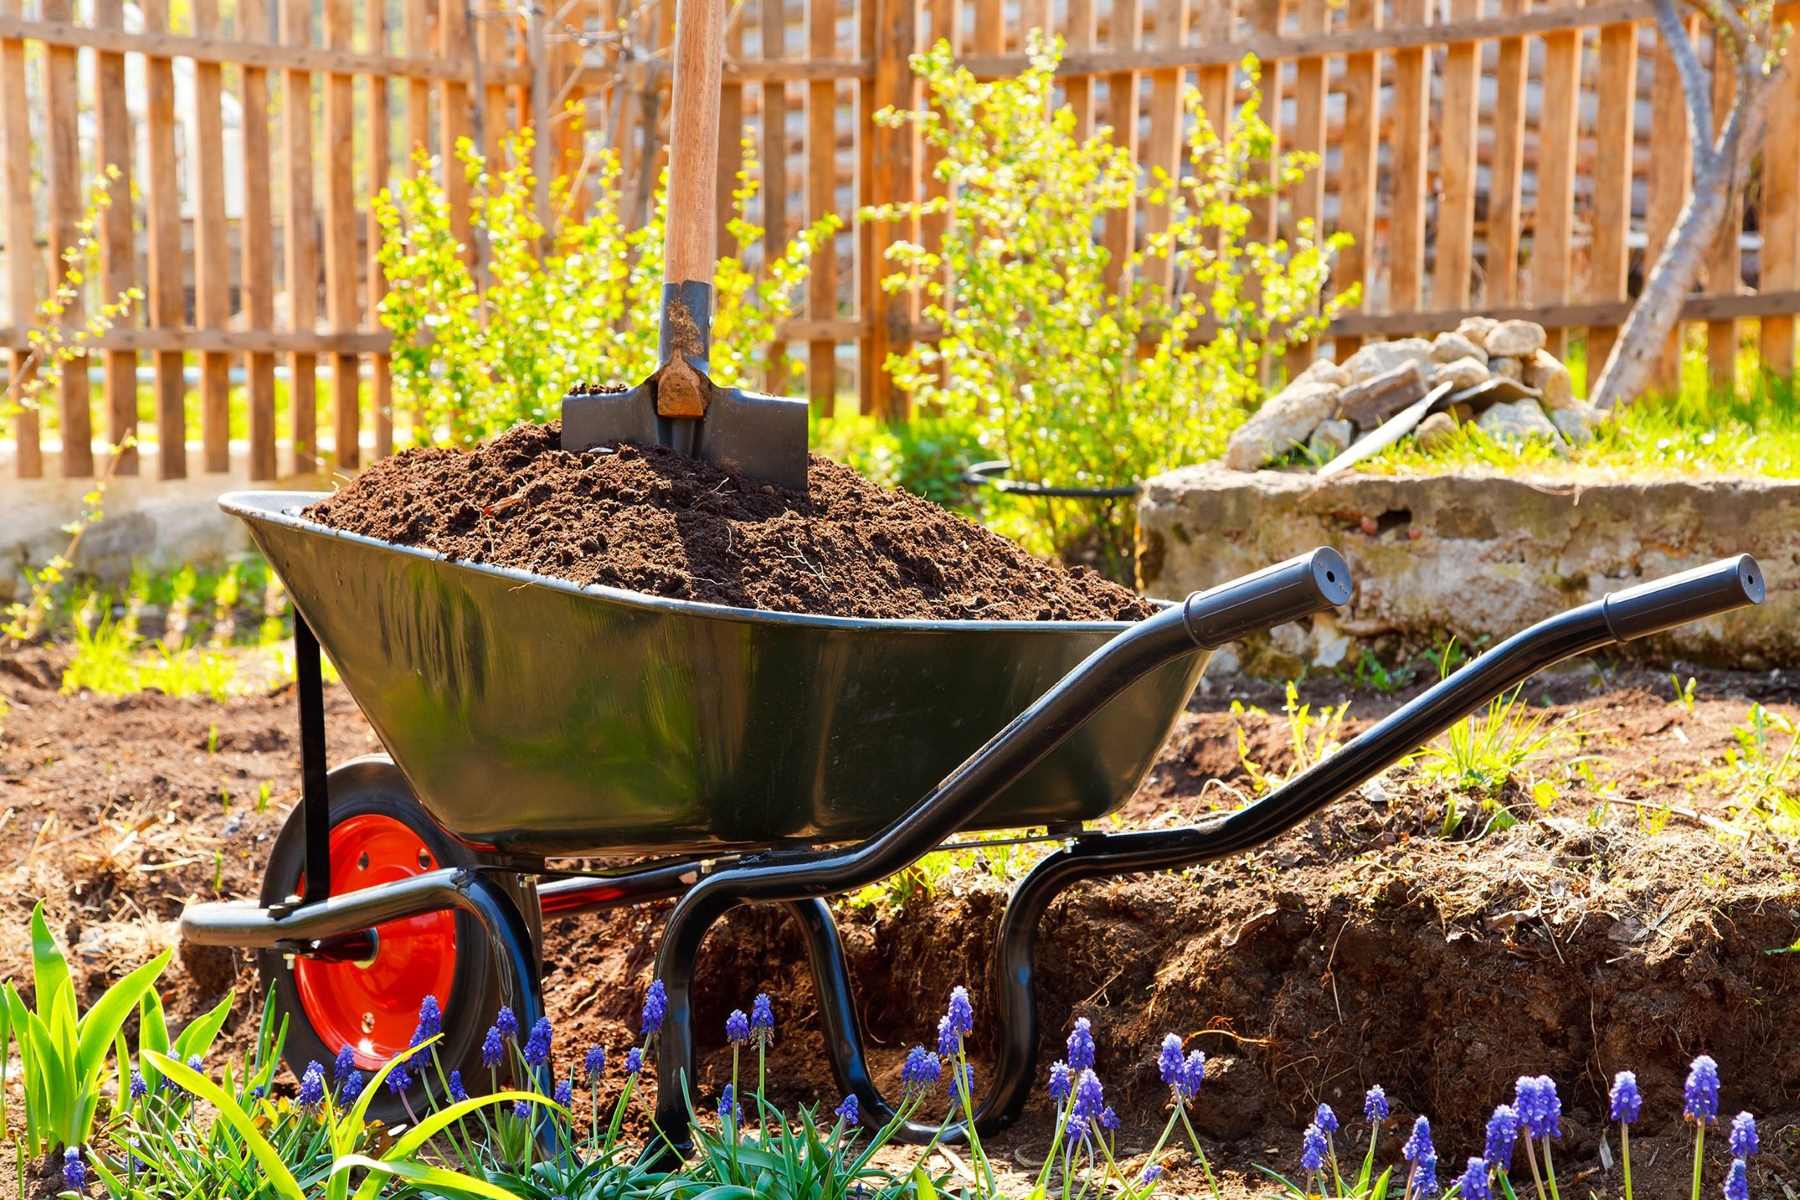
If you find that the ground is sloping towards your home, you will need to regrade the soil to create the appropriate slope. Begin by marking the desired slope with stakes or flags. Then, use a shovel or a grading rake to redistribute the soil. Remove excess soil from high spots and fill in low spots to achieve the desired slope.
During the regrading process, it’s important to be mindful of any existing landscaping features, such as flower beds or trees. Take care to protect these areas and avoid causing damage while reshaping the terrain. You may need to temporarily relocate plants or install retaining walls to prevent soil erosion.
After regrading, it’s beneficial to add a layer of topsoil to promote healthy plant growth and aid in water absorption. Spread a layer of topsoil evenly across the graded area and rake it to ensure a smooth surface.
Building a proper slope is a critical step in improving drainage around your house. It helps prevent water from accumulating near the foundation, reducing the risk of water damage and foundation issues. Regularly inspect and maintain the slope to ensure it remains intact and continues to effectively direct water away from your home.
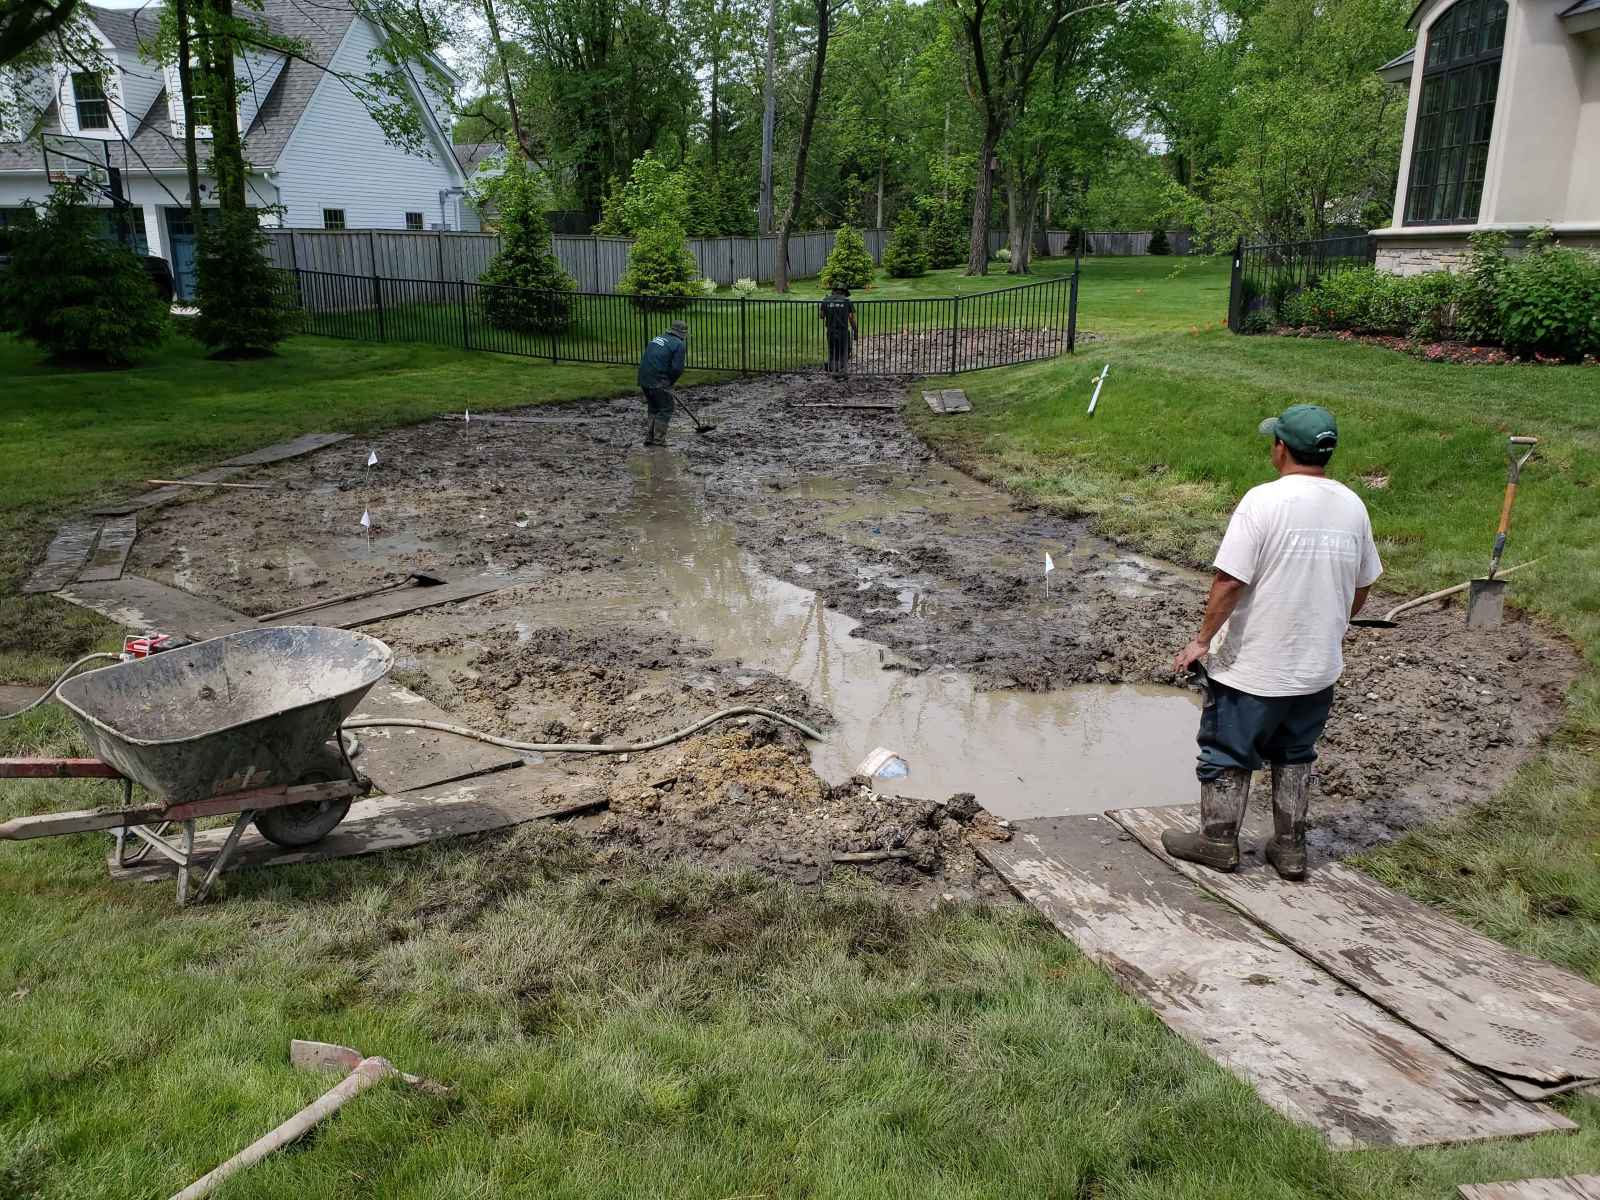
Installing French Drains
If you have persistent issues with water pooling or excessive moisture around your home, installing French drains can be an effective solution. French drains are subsurface drainage systems that capture and redirect water away from your property.
The first step in installing French drains is to determine the appropriate location for placement. Identify the areas where water tends to accumulate or where you need to alleviate excess moisture. These can include areas near the foundation, low-lying spots in the yard, or areas with poor soil drainage.
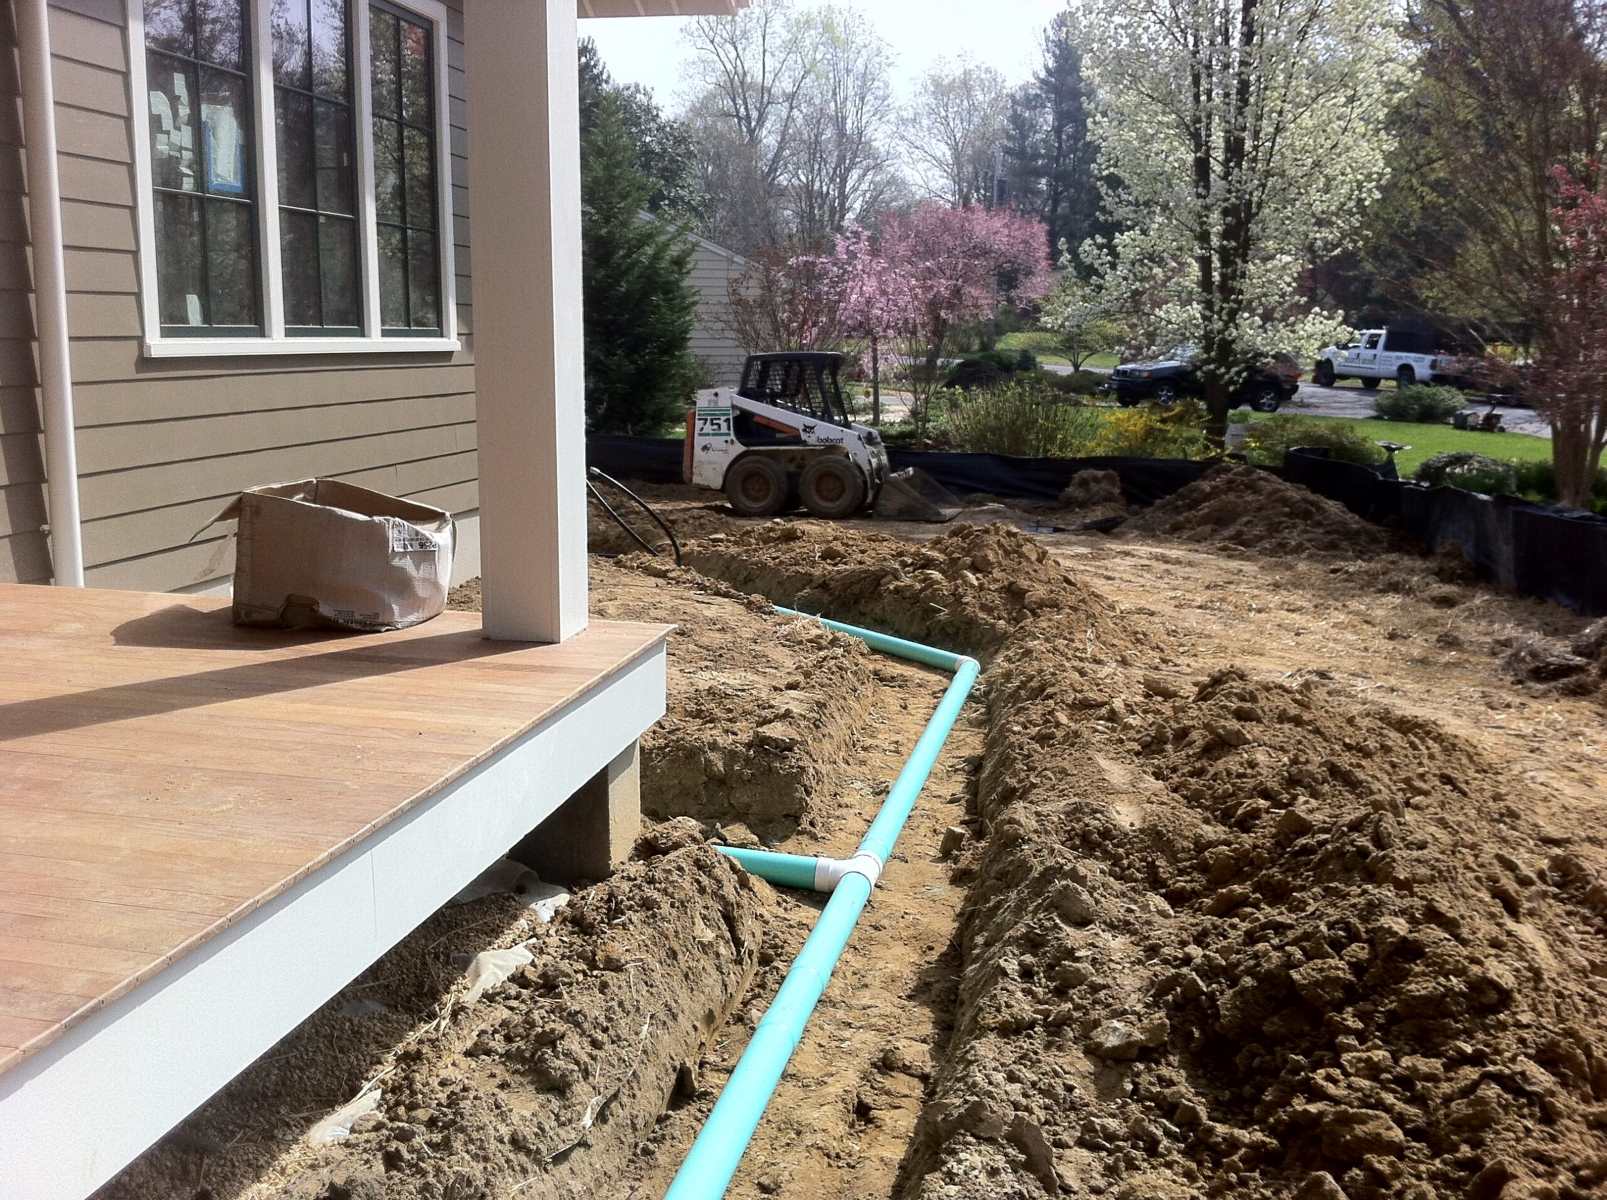
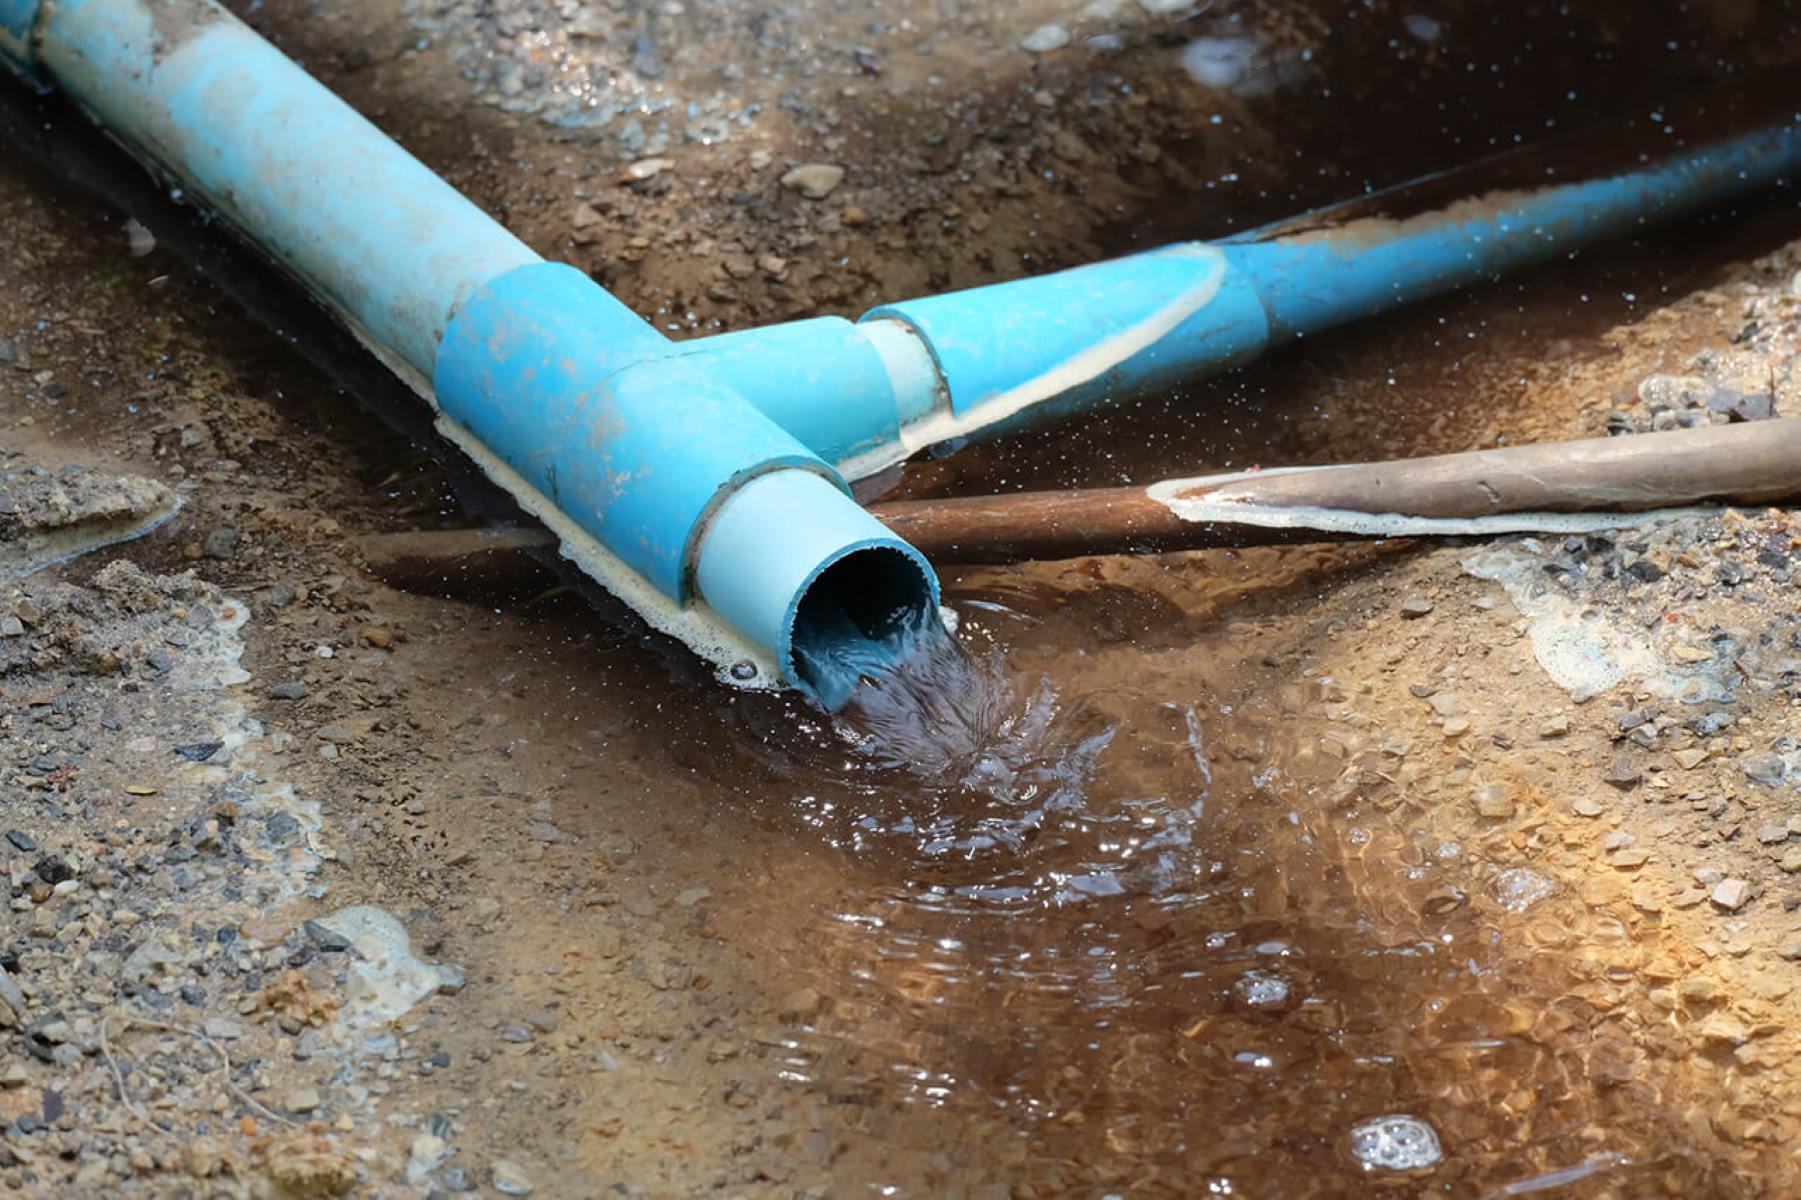
Once you have identified the locations, you can begin the installation process. Start by digging a trench along the desired path of the French drain. The trench should be approximately 12-18 inches deep and 6-8 inches wide.
Next, line the bottom of the trench with landscaping fabric to prevent soil and debris from clogging the drain over time. This fabric acts as a filter, allowing water to pass through while blocking sediment.
After laying the landscaping fabric, place a perforated pipe with drainage holes facing downwards along the center of the trench. This pipe will collect the water and channel it away from your home. Connect multiple sections of pipe if needed, ensuring a continuous flow.
Once the pipe is in place, fill the trench with a layer of gravel or crushed stone. The gravel helps to filter the water and prevent clogging while providing stability and support to the drainage system.
Finally, cover the gravel with another layer of landscaping fabric to prevent soil from entering the gravel and clogging the drain. Fill the remaining space in the trench with soil, ensuring it is evenly distributed and level with the surrounding ground.
Installing French drains can significantly improve the drainage around your home and prevent water damage. They are particularly useful in areas with heavy rainfall or poorly draining soils. Consult with a professional if you are unsure about the installation process or require assistance in planning and implementing the system.
Ensure that gutters and downspouts are clear of debris to allow for proper water flow away from the house. Consider adding extensions to downspouts to direct water even further away from the foundation.
Read more: How To Build A Drainage Ditch Around A House
Extending Downspouts
Properly functioning downspouts are essential for directing water away from your home and preventing it from pooling near the foundation. However, if your downspouts are too short and discharge water too close to your house, it can contribute to drainage issues and potential water damage.
Extending downspouts is a simple yet effective way to improve drainage around your home. By redirecting water away from the foundation, you can prevent water from seeping into basements or causing erosion in your yard.
Start by evaluating the current length of your downspouts. Ideally, they should discharge water at least 3 feet away from the foundation. If your downspouts are not long enough, you can easily extend them using downspout extensions or flexible drainpipe extensions.
To extend the downspouts, begin by removing the existing end piece. Attach the downspout extension or flexible drainpipe extension to the end of the downspout and secure it in place. Ensure that the extension is sloping downward away from your home to encourage water flow.
Next, position the extended downspout so that it directs water away from the foundation and towards an appropriate drainage area, such as a swale or a catch basin. You may need to dig a trench or create a channel for the water to follow. Ensure that the water is discharged in a location that will not cause issues for neighboring properties or create erosion problems.
Consider using splash blocks or downspout extensions with built-in diverters to further control the flow of water. Splash blocks can help disperse the water evenly and prevent erosion around the downspout area.
Regularly inspect your downspouts and extensions to ensure they remain clear of debris and functioning properly. Clean out any leaves, twigs, or other obstructions that may hinder the flow of water.
By extending your downspouts, you can effectively direct water away from your home and reduce the risk of water damage. This simple and affordable solution can have a significant impact on your home’s drainage system and overall protection against water-related issues.
Using Rain Barrels
Rain barrels are an eco-friendly solution that can help improve drainage around your house while conserving water. By collecting and storing rainwater, you can reduce the amount of runoff and alleviate the pressure on your drainage system.
Installing rain barrels is a relatively simple process. Start by selecting a suitable location for your rain barrel. Ideally, it should be near a downspout to easily capture water. Ensure the area is level, stable, and can support the weight of a full barrel.
Position the rain barrel under the downspout and cut the downspout to allow for water flow into the barrel. Install a diverter or a rain barrel kit to direct water into the barrel while preventing overflow and mosquitoes from breeding.
Regularly check and clean the rain barrel, especially the screens and filters, to prevent clogging. Use the collected rainwater for various purposes such as watering plants, washing outdoor equipment, or cleaning. It’s important to note that rainwater should not be consumed, so avoid using it for cooking or drinking purposes.
The use of rain barrels has several benefits. Firstly, they help reduce the strain on your drainage system, as excess rainwater is captured and stored. Secondly, by using rainwater for irrigation, you can reduce your dependence on municipal water sources and lower your water bills. Additionally, rainwater is free of chemicals and additives found in tap water, making it a more natural option for your plants.
When installing rain barrels, consider the size and number of barrels based on your needs and available space. Multiple rain barrels can be connected in series, allowing for increased storage capacity.
However, it’s important to keep in mind that rain barrels have limitations. During heavy rainfall, they can fill up quickly, and overflow may occur. Ensure the overflow outlet is properly connected to direct excess water away from your home and prevent pooling near the foundation.
By incorporating rain barrels into your drainage system, you can conserve water, reduce the burden on your drainage system, and have a sustainable water source for various outdoor needs.
Creating Rain Gardens
Rain gardens are beautiful and functional landscapes designed to capture and absorb excess rainwater. They serve as natural drainage systems that help prevent water runoff, improve water quality, and create habitats for beneficial insects and wildlife.
To create a rain garden, start by selecting an appropriate location in your yard. Choose a low-lying area where water tends to collect or flow during heavy rains. It should be at least 10 feet away from your home’s foundation to avoid any potential water damage.
Once you’ve identified the location, plan the size and shape of your rain garden. Consider the amount of rainfall your area receives and the capacity needed to capture and infiltrate the water effectively. The general rule of thumb is to aim for a rain garden that is approximately one-third the size of your roof area or the total area that drains onto it.
Next, prepare the area by removing any grass, weeds, or other vegetation. Dig a shallow depression, typically 6-8 inches deep, in the shape you’ve planned. Slope the sides of the rain garden gently to allow water to flow into it naturally. Use the soil you’ve removed to build up berms on the outer edges of the garden to contain the water.
Choose a variety of native plants that can tolerate both wet and dry conditions for your rain garden. These plants have deep roots that help absorb and filter water efficiently. Consider using a mix of flowers, grasses, shrubs, and even small trees to create an aesthetically pleasing and diverse rain garden.
When planting, arrange the plants according to their moisture needs, with those that thrive in wetter conditions towards the center of the rain garden and those that prefer drier conditions towards the edges. Mulch the planting area with organic mulch to retain moisture and suppress weed growth.
After planting, water your rain garden regularly until the plants are established. Once established, they should be able to survive on natural rainfall, reducing the need for additional irrigation.
Rain gardens not only help improve drainage around your house but also provide numerous environmental benefits. They help filter pollutants from rainwater, reduce erosion, and promote biodiversity by providing habitats for beneficial insects, birds, and other wildlife. Additionally, rain gardens can enhance the aesthetic appeal of your landscape, adding a beautiful and vibrant focal point to your yard.
Creating a rain garden is a great way to demonstrate your commitment to sustainable landscaping and water conservation while adding value to your property and protecting the environment.
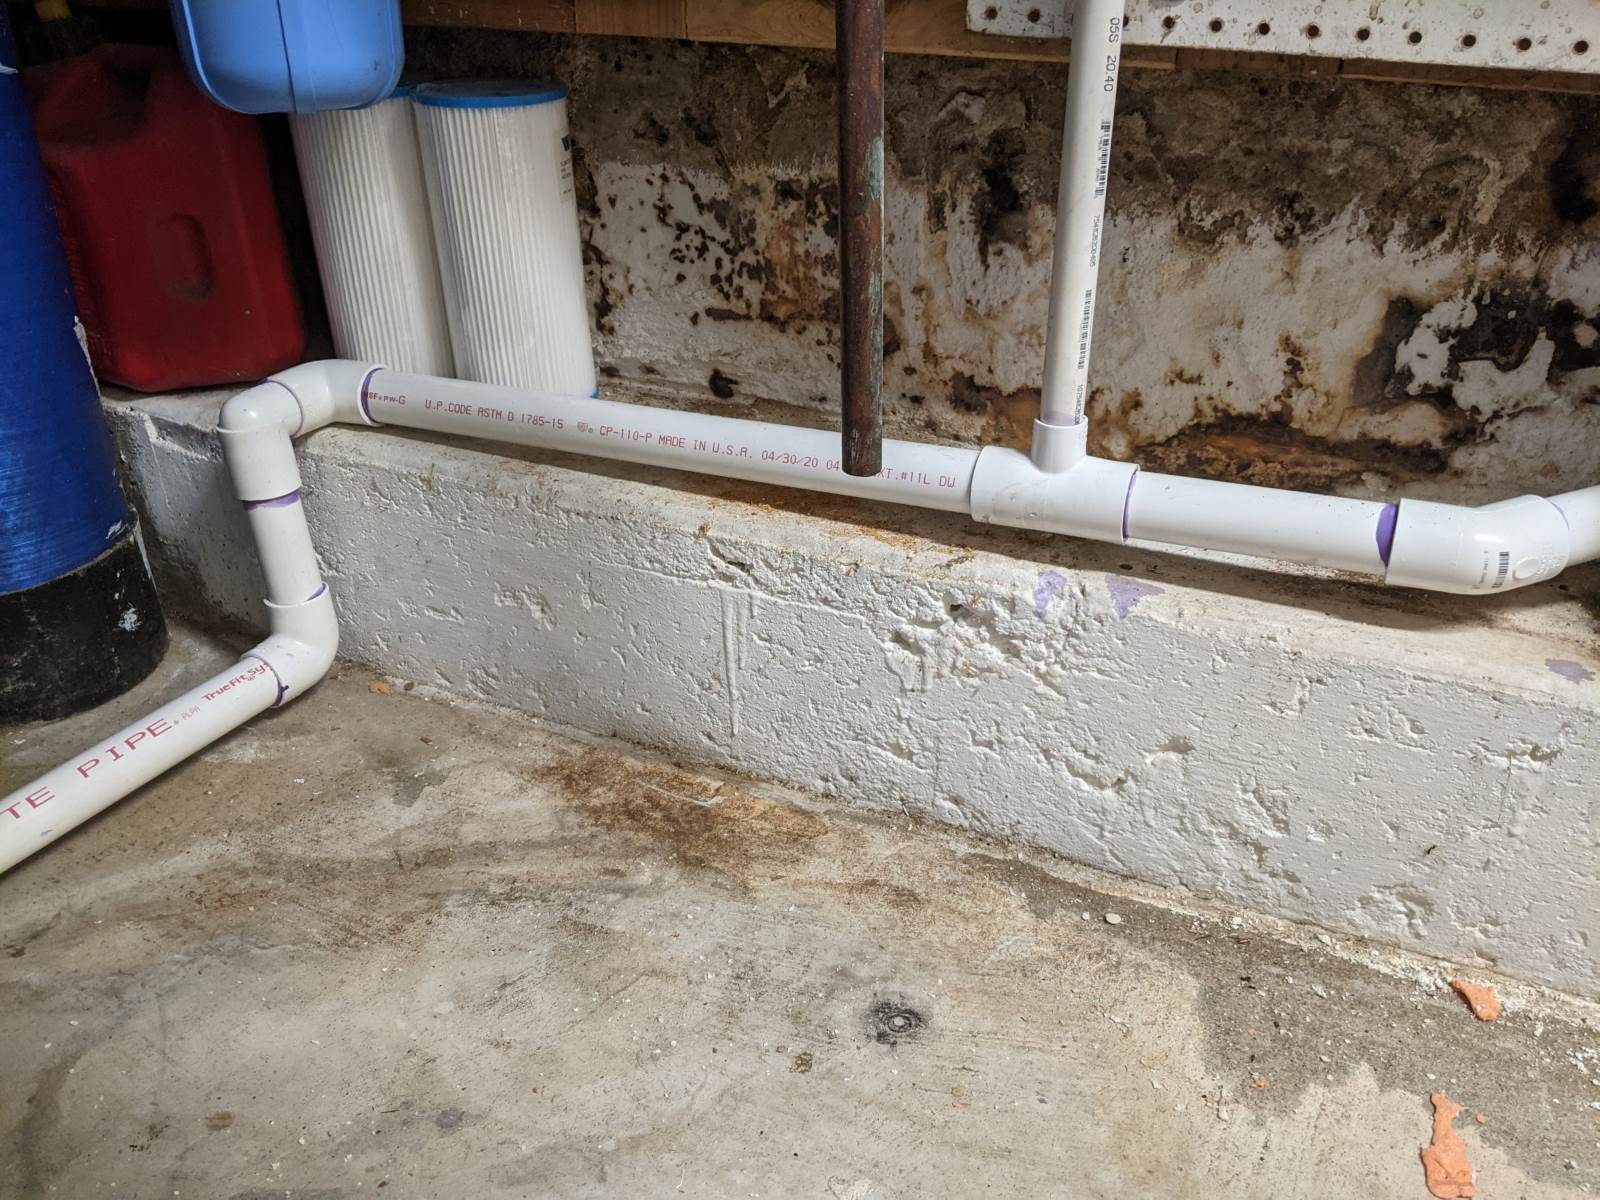
Maintaining a Dry Basement
A dry basement is essential for the overall health and stability of your home. Excess moisture can lead to mold, mildew, and structural damage. To maintain a dry basement, it’s important to address any potential sources of water intrusion and take preventive measures to keep moisture at bay.
Below are some key steps you can take to maintain a dry basement:
- Inspect for leaks: Regularly check for any signs of water leakage or seepage in your basement. Look for water stains on walls, damp spots on the floor, or any musty odors. If you notice any signs of a leak, address it promptly to prevent further damage.
- Seal cracks and gaps: Inspect the walls and floors of your basement for any cracks or gaps. Cracks can allow water to seep into your basement during heavy rains. Use a high-quality concrete sealant to seal any visible cracks and gaps. This will help prevent water infiltration.
- Improve exterior drainage: Ensure that the soil immediately surrounding your home slopes away from the foundation. This will prevent water from pooling near the basement walls. Regularly clean gutters and extend downspouts to direct water at least 3 feet away from the foundation.
- Install a sump pump: Consider installing a sump pump in your basement. It can help remove any excess water that may accumulate. A sump pump automatically activates when water levels rise, pumping out the water and keeping your basement dry.
- Control humidity: High humidity levels can contribute to moisture problems in the basement. Use a dehumidifier to keep humidity levels low. Additionally, ensure proper ventilation in the basement by opening windows or using exhaust fans to air out the space.
- Insulate pipes: Insulate any exposed pipes in your basement to prevent condensation. Condensation can lead to moisture buildup and potential water damage. Insulating the pipes will help maintain a dry environment.
- Regularly inspect and maintain: Regularly inspect your basement for any signs of water infiltration or moisture issues. Check the sump pump to ensure it is working properly. Clean and maintain gutters and downspouts to prevent clogs. Address any maintenance or repair needs promptly to prevent further damage.
By taking these preventive measures and staying vigilant, you can maintain a dry and healthy basement. However, if you continue to experience persistent water intrusion or moisture issues, it is recommended to consult with a professional to identify the underlying cause and determine the best course of action to resolve the problem.
Conclusion
Improving drainage around your house is essential for protecting your home from water damage, maintaining a healthy living environment, and preserving the integrity of your property. By implementing the various methods discussed in this article, you can effectively manage water runoff and mitigate the effects of excess water.
Assessing the drainage problem, clearing obstructions, building proper slope, installing French drains, extending downspouts, using rain barrels, creating rain gardens, and maintaining a dry basement are all viable solutions to improve drainage.
Regular maintenance and monitoring are crucial to ensure that your drainage system remains in good working order. Clear obstructions from gutters and downspouts, inspect your landscape for potential issues, and address any leaks or cracks promptly.
Remember to consider the unique characteristics of your property, such as soil type, landscaping, and climate, when implementing drainage solutions. Consulting with a professional can provide valuable guidance and ensure that the methods you choose are appropriate and effective for your specific needs.
By taking steps to improve drainage, you can minimize the risk of water damage, protect the structural integrity of your home, and create a healthier and more enjoyable living environment.
So don’t let water wreak havoc on your property – take control of your drainage and keep your home safe and dry!
Frequently Asked Questions about How To Improve Drainage Around The House
Was this page helpful?
At Storables.com, we guarantee accurate and reliable information. Our content, validated by Expert Board Contributors, is crafted following stringent Editorial Policies. We're committed to providing you with well-researched, expert-backed insights for all your informational needs.

0 thoughts on “How To Improve Drainage Around The House”