Home>Home Maintenance>How To Unfreeze An Air Conditioner Unit

Home Maintenance
How To Unfreeze An Air Conditioner Unit
Modified: March 7, 2024
Learn how to unfreeze your air conditioner unit with these easy home maintenance tips. Keep your space cool and comfortable all summer long.
(Many of the links in this article redirect to a specific reviewed product. Your purchase of these products through affiliate links helps to generate commission for Storables.com, at no extra cost. Learn more)
Introduction
Welcome to the ultimate guide on how to unfreeze an air conditioner unit. We all know how frustrating it can be when our air conditioner suddenly stops working, especially during hot summer months. One common issue that homeowners encounter is a frozen air conditioner unit, which can significantly impact the cooling efficiency and overall performance of the system.
In this article, we will explain the causes of a frozen air conditioner, identify the signs to look out for, and provide step-by-step instructions on how to safely thaw and troubleshoot the unit. By following these guidelines, you can save time and money by resolving the issue without having to call a professional.
Before we dive into the details, it’s important to note that if you are not comfortable working with your air conditioner or if the problem persists after following these steps, it’s best to contact a licensed HVAC technician. They have the expertise and tools to diagnose and repair any complex issues.
Now, let’s delve into the causes of a frozen air conditioner unit and how to identify if your unit is frozen.
Key Takeaways:
- Don’t panic if your air conditioner freezes! Follow simple steps to safely thaw and troubleshoot the unit, saving time and money. Remember to prioritize safety and regular maintenance for optimal performance.
- Recognize the signs of a frozen air conditioner, take safety precautions, and follow step-by-step instructions to thaw and troubleshoot the unit. Regular maintenance is key to preventing future freezing issues.
Read more: How To Unfreeze Air Conditioner
Understanding the Causes of Freezing
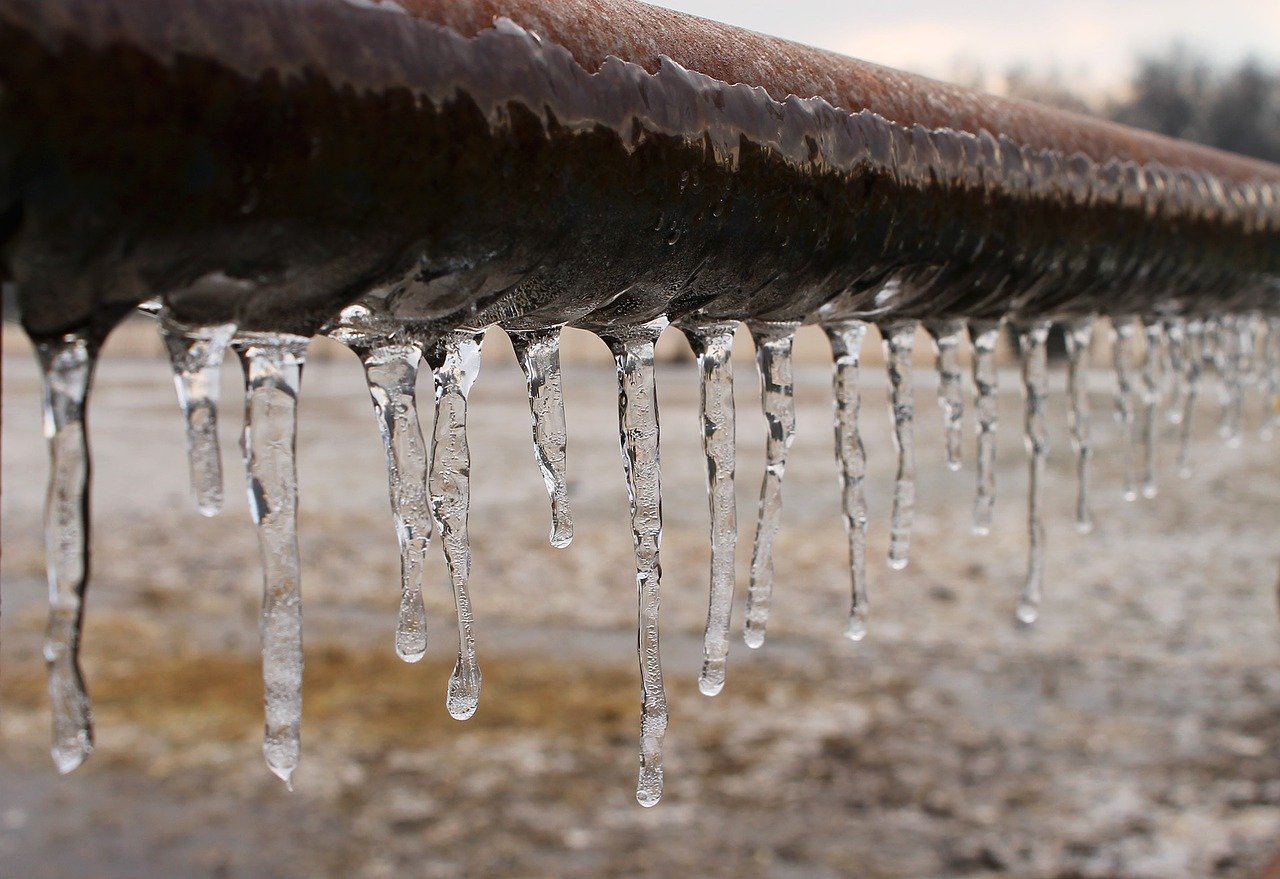
When an air conditioner freezes up, it means that the evaporator coil, which is responsible for absorbing heat from the air, has become covered in ice. This buildup of ice prevents proper airflow and hampers the cooling efficiency of the unit. But what are the factors that contribute to this freezing problem? Let’s take a closer look:
- Inadequate Airflow: One of the common reasons for a frozen air conditioner is restricted airflow. This can occur due to dirty or clogged air filters, closed or blocked vents, or a malfunctioning blower fan. When airflow is insufficient, it causes the evaporator coil to become too cold, leading to ice formation.
- Low Refrigerant Levels: Refrigerant is the substance that is responsible for absorbing and releasing heat in the cooling process. If the refrigerant levels are low, it can lead to a drop in pressure within the evaporator coil. This drop in pressure causes the coil to freeze up. Low refrigerant levels are often indicative of a leak in the system, which should be addressed promptly.
- Faulty Thermostat: A malfunctioning thermostat can cause the air conditioner to run continuously, without shutting off when the desired temperature is reached. This constant operation can result in the evaporator coil becoming excessively cold and producing ice buildup.
- Dirty Condenser Coils: The condenser coils are responsible for releasing heat from the air conditioner. If the coils are dirty or covered in debris, they can’t transfer heat effectively, and the refrigerant stays cold, leading to freezing of the evaporator coil.
These are just a few of the primary causes of a frozen air conditioner unit. It’s crucial to understand the root cause so that you can eliminate it and prevent future occurrences. In the next section, we will discuss the signs that indicate your air conditioner may be frozen.
Signs of a Frozen Air Conditioner
Recognizing the signs of a frozen air conditioner is essential in order to address the problem promptly and prevent any further damage to your unit. Here are some common signs that indicate your air conditioner may be frozen:
- Lack of Cool Air: One of the first signs you may notice is a significant reduction in the cool air being emitted from the vents. This can be due to the restricted airflow caused by the ice buildup on the evaporator coil.
- Ice Formation: If you notice ice forming on the indoor unit or along the refrigerant lines, it is a clear indication that your air conditioner is frozen. The ice may appear as a light frost or a more substantial buildup, depending on the extent of the problem.
- Inefficient Cooling: A frozen air conditioner will struggle to cool your home adequately. You may notice uneven cooling, with certain areas of your home feeling warmer than others. This lack of cooling efficiency is a result of the compromised airflow and reduced heat absorption caused by the ice on the evaporator coil.
- Water Leakage: As the ice on the evaporator coil starts to melt, it can cause water accumulation in and around the unit. This can lead to water leakage or puddling near the air conditioner. If you notice any water pooling, it’s crucial to address the issue as soon as possible to prevent any water damage to your home.
- Strange Sounds: A frozen air conditioner may produce strange sounds due to the strain on the system. You might hear hissing or bubbling noises coming from the unit, indicating that refrigerant levels are low or there is a leak in the system.
If you notice any of these signs, it’s important to take action to address the issue. Continuing to run your air conditioner while it is frozen can cause further damage and potentially result in a complete system breakdown. In the next section, we will discuss the safety precautions you should take before attempting to unfreeze your air conditioner unit.
Safety Precautions
Before embarking on the process of unfreezing your air conditioner, it is important to prioritize safety. Taking the necessary precautions will help prevent accidents and protect both yourself and your air conditioning system. Here are some vital safety measures to keep in mind:
- Turn off the System: The first step is to turn off the power supply to your air conditioner. Locate the main electrical panel in your home and switch off the circuit breaker that controls the AC unit. This ensures that you are working with a safe and de-energized system.
- Protective Gear: When dealing with your air conditioner, it’s advised to wear appropriate protective gear. This includes gloves to protect your hands and safety glasses to shield your eyes from any debris or water that may come loose during the process.
- Disconnect Power Source: As an extra precaution, disconnect the power source directly to the air conditioner unit. This can typically be done by unplugging it from the electrical outlet or shutting off the power switch located near the outdoor unit.
- Allow Time for Thawing: Once you’ve turned off the system and disconnected the power, give your air conditioner some time to thaw naturally. This may take several hours, depending on the severity of the ice buildup. Avoid using any heating devices or sharp objects to speed up the process, as this can cause damage to the unit.
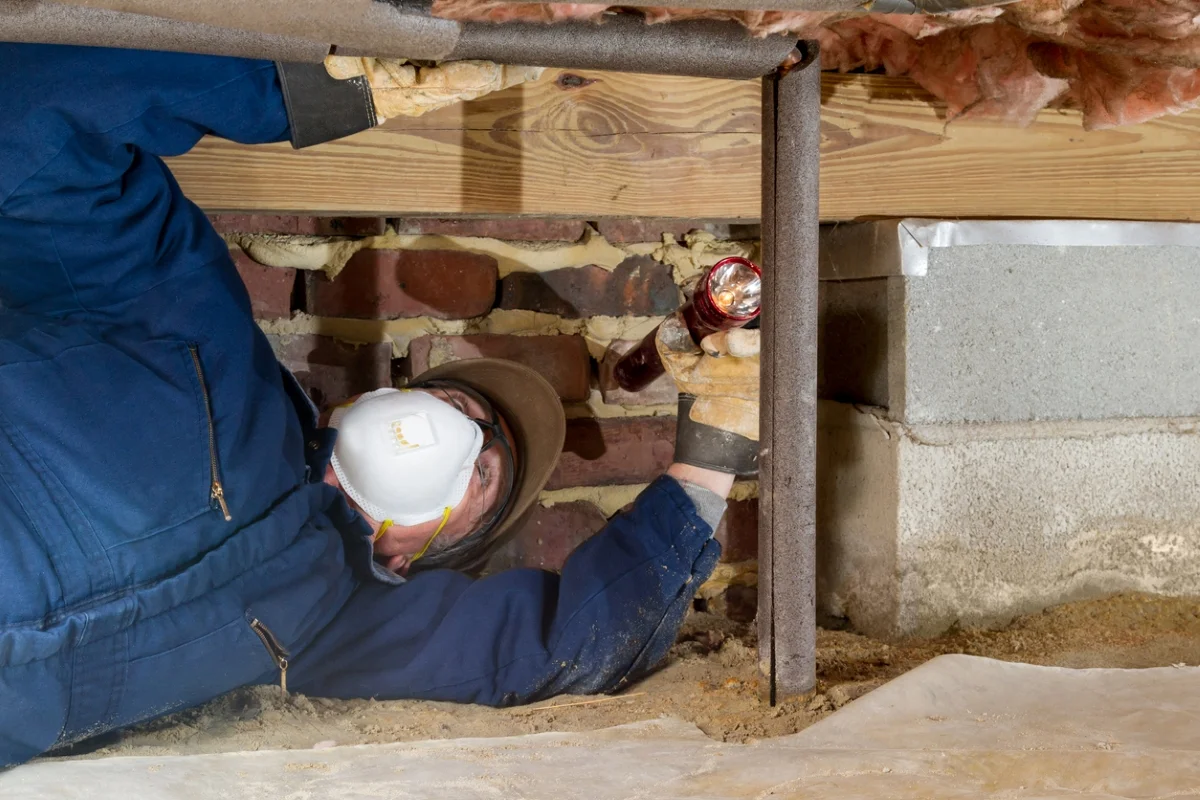
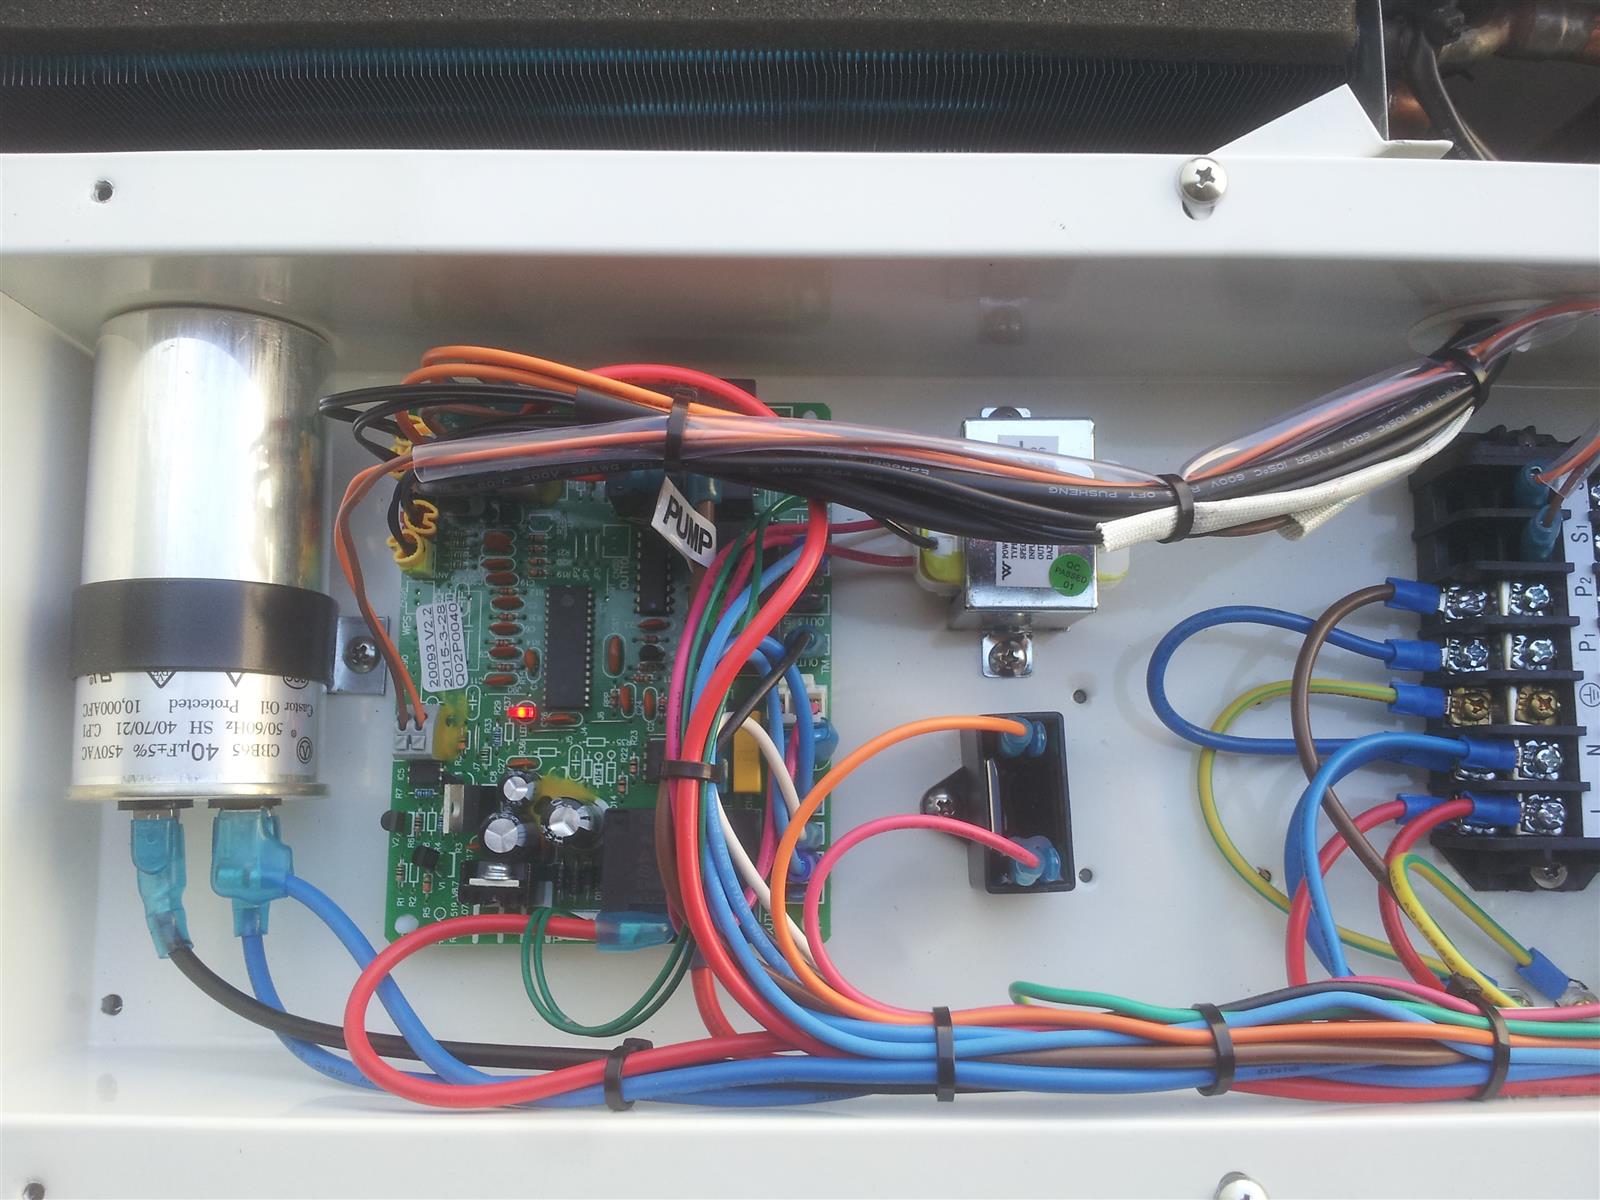
- Inspect Wiring and Components: While your air conditioner is thawing, visually inspect the wiring and components to ensure there are no obvious signs of damage. Look for frayed wires, loose connections, or any other visible issues. If you notice any significant problems, it’s best to contact a professional technician to address the repairs.
By following these safety precautions, you can minimize the risk of accidents and ensure a safe working environment while unfreezing your air conditioner unit. Once you have taken these steps, you can proceed to the next section, where we will cover the step-by-step process of unfreezing your air conditioner.
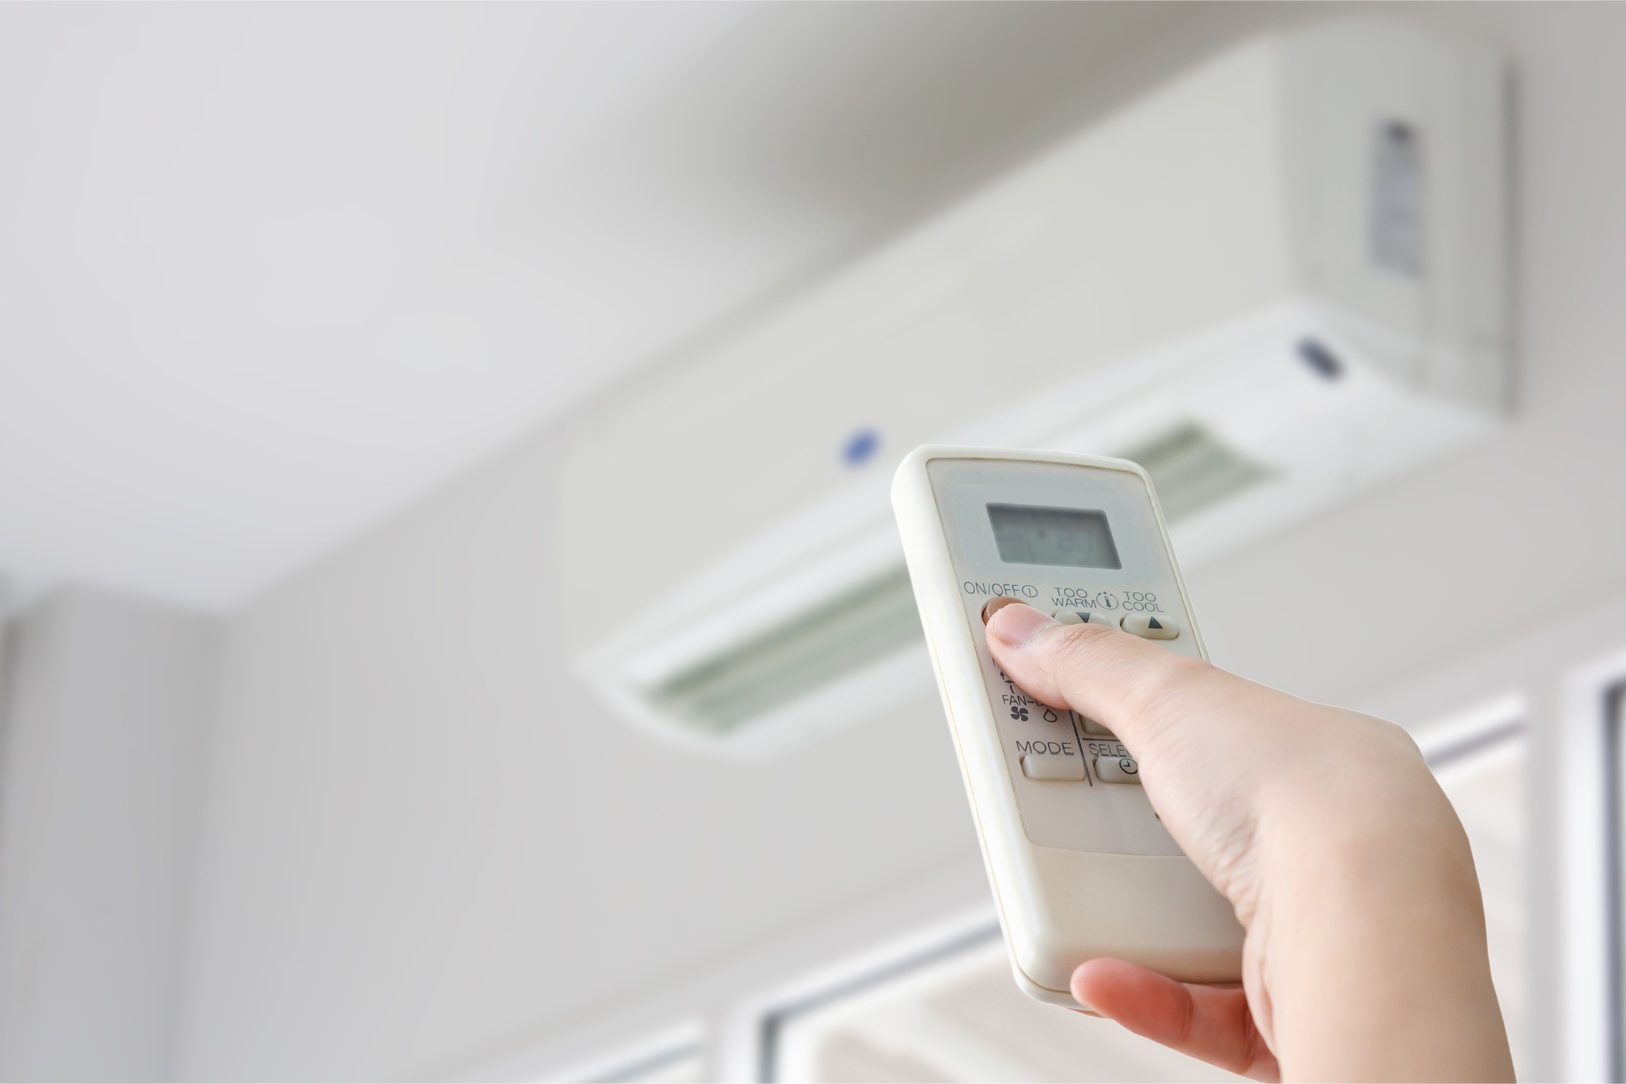
Step 1: Turn off the System
The first step to unfreeze your air conditioner unit is to turn off the system completely. This will ensure your safety while working on the unit and prevent any potential damage. Follow these steps to turn off the system:
- Locate the Thermostat: Find the thermostat in your home that controls the air conditioner. It is usually mounted on a wall in a central location.
- Set the Thermostat to “Off”: Adjust the settings on the thermostat to “Off” or “Cool Off” mode. This will stop the air conditioner from running and prevent it from freezing further.
- Turn off the Power: Locate the circuit breaker panel in your home. Look for the breaker that controls the air conditioner unit and switch it to the “Off” position. This will cut off the electrical power supply to the air conditioner.
- Confirm Power is Off: To ensure that the power is completely off, you can also try turning on the air conditioner from the thermostat. If it does not start, you can be sure that the power is successfully turned off.
- Disconnect the Power Source: For an extra level of safety, you can unplug the air conditioner from the electrical outlet or shut off the power switch located near the outdoor unit. This will prevent any accidental power surges while you work on the unit.
By turning off the system, you have eliminated the risk of electrical shock and can safely proceed with the next steps to unfreeze your air conditioner. Remember, it’s important to allow your unit to thaw naturally before attempting to troubleshoot further. In the next step, we will discuss the process of thawing the frozen unit.
Step 2: Thawing the Unit
Thawing your air conditioner unit is an important step in resolving the issue of a frozen system. The thawing process allows the ice to melt and restores proper airflow to the evaporator coil. Follow these steps to effectively thaw your air conditioner unit:
- Turn on the Fan: Switch the thermostat fan setting to “On” instead of “Auto.” This will activate the fan without activating the cooling function. The fan will help circulate warm air and expedite the thawing process.
- Remove Ice Buildup: If you notice any visible ice buildup on the unit or along the refrigerant lines, you can carefully remove it with a soft cloth or a hairdryer set on low heat. Be gentle to avoid causing any damage to the unit.
- Wait for Thawing: Allow your air conditioner unit to thaw naturally. This may take several hours, depending on the extent of the ice buildup. Avoid using any heating devices or sharp objects to speed up the process, as this can cause damage to the unit.
- Collect Water: Place towels or a bucket near the air conditioner to collect any melting ice or water. This will help prevent any water damage to your home. Check and empty the collected water regularly.
- Inspect for Leaks: While the unit is thawing, inspect the refrigerant lines and components for any signs of leaks. If you notice any leaks or damage, it’s best to contact a professional technician to address the issue.
Thawing your frozen air conditioner unit is a crucial step to restore its functionality and prevent further damage. Once the unit is completely thawed, you can proceed to the next step of inspecting and cleaning the air filters. We will cover that step in the following section.
Turn off the AC and let the ice melt. Check for clogged filters or low refrigerant. Clean the coils and ensure proper airflow around the unit.
Step 3: Inspecting Air Filters
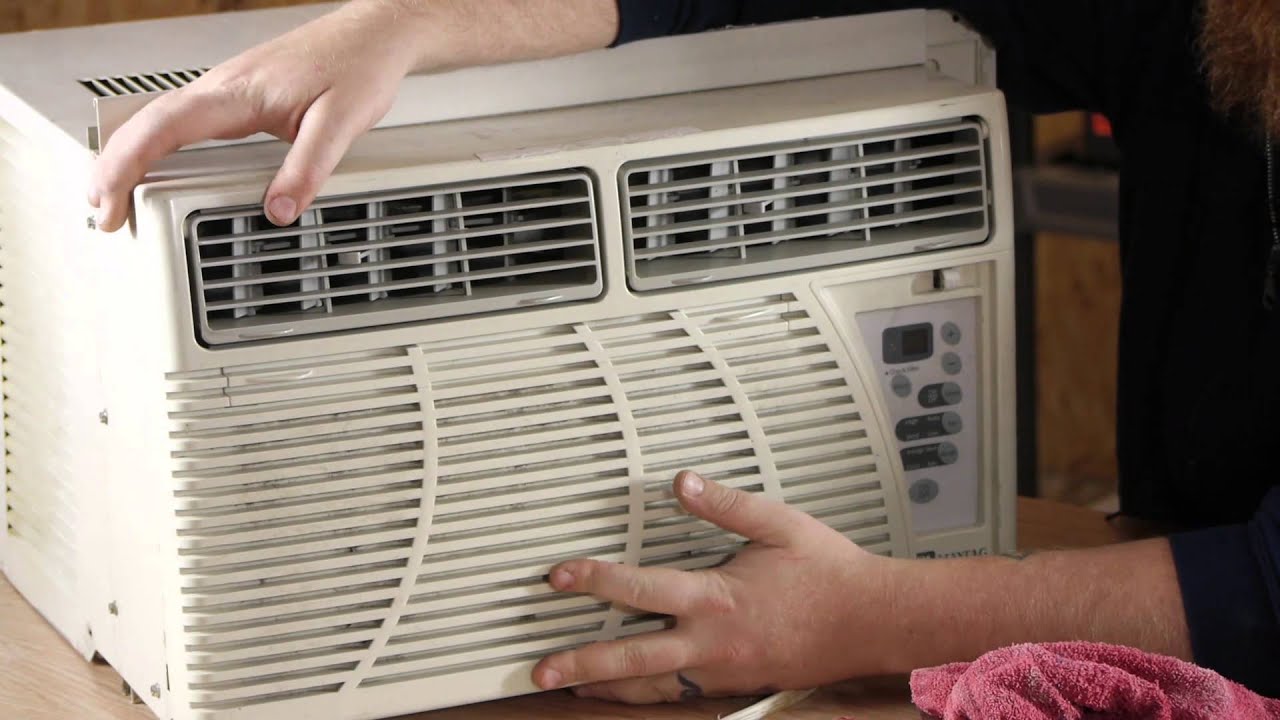
Inspecting and maintaining the air filters in your air conditioner is an important step in ensuring proper airflow and efficient cooling. Clogged or dirty air filters can restrict the airflow, leading to a frozen air conditioner unit. Follow these steps to inspect and clean or replace the air filters:
- Locate the Air Filters: The air filters are typically located behind the return air grille, which is either on the ceiling or the wall. In some units, the filters may be located directly in the air handler or furnace.
- Turn off the System: Before inspecting or working on the air filters, make sure to turn off the air conditioning system. This will prevent any potential accidents or injuries.
- Remove the Air Filters: Carefully remove the air filters from their housing. Depending on the type of air filters, you may need to unscrew or unlatch them.
- Inspect the Filters: Examine the air filters for any visible dirt, dust, or debris. If the filters are heavily clogged, they will need to be cleaned or replaced.
- Clean the Filters: If the air filters are reusable, use a vacuum cleaner or gently rinse them with water to remove the accumulated dirt and debris. Let them air dry completely before reinstalling.
- Replace the Filters: If the air filters are disposable and heavily soiled, it is recommended to replace them with new ones. Make sure to choose the correct size and type of filters for your air conditioner unit.
- Reinstall the Filters: Place the cleaned or new filters back into their housing, ensuring they are properly aligned and securely in place.
Regularly inspecting and cleaning or replacing the air filters is vital for the smooth operation of your air conditioner. It helps maintain proper airflow and prevents the accumulation of dirt and debris that can lead to system inefficiency and freezing. Once you have completed this step, you can move on to checking for refrigerant leaks in the next step.
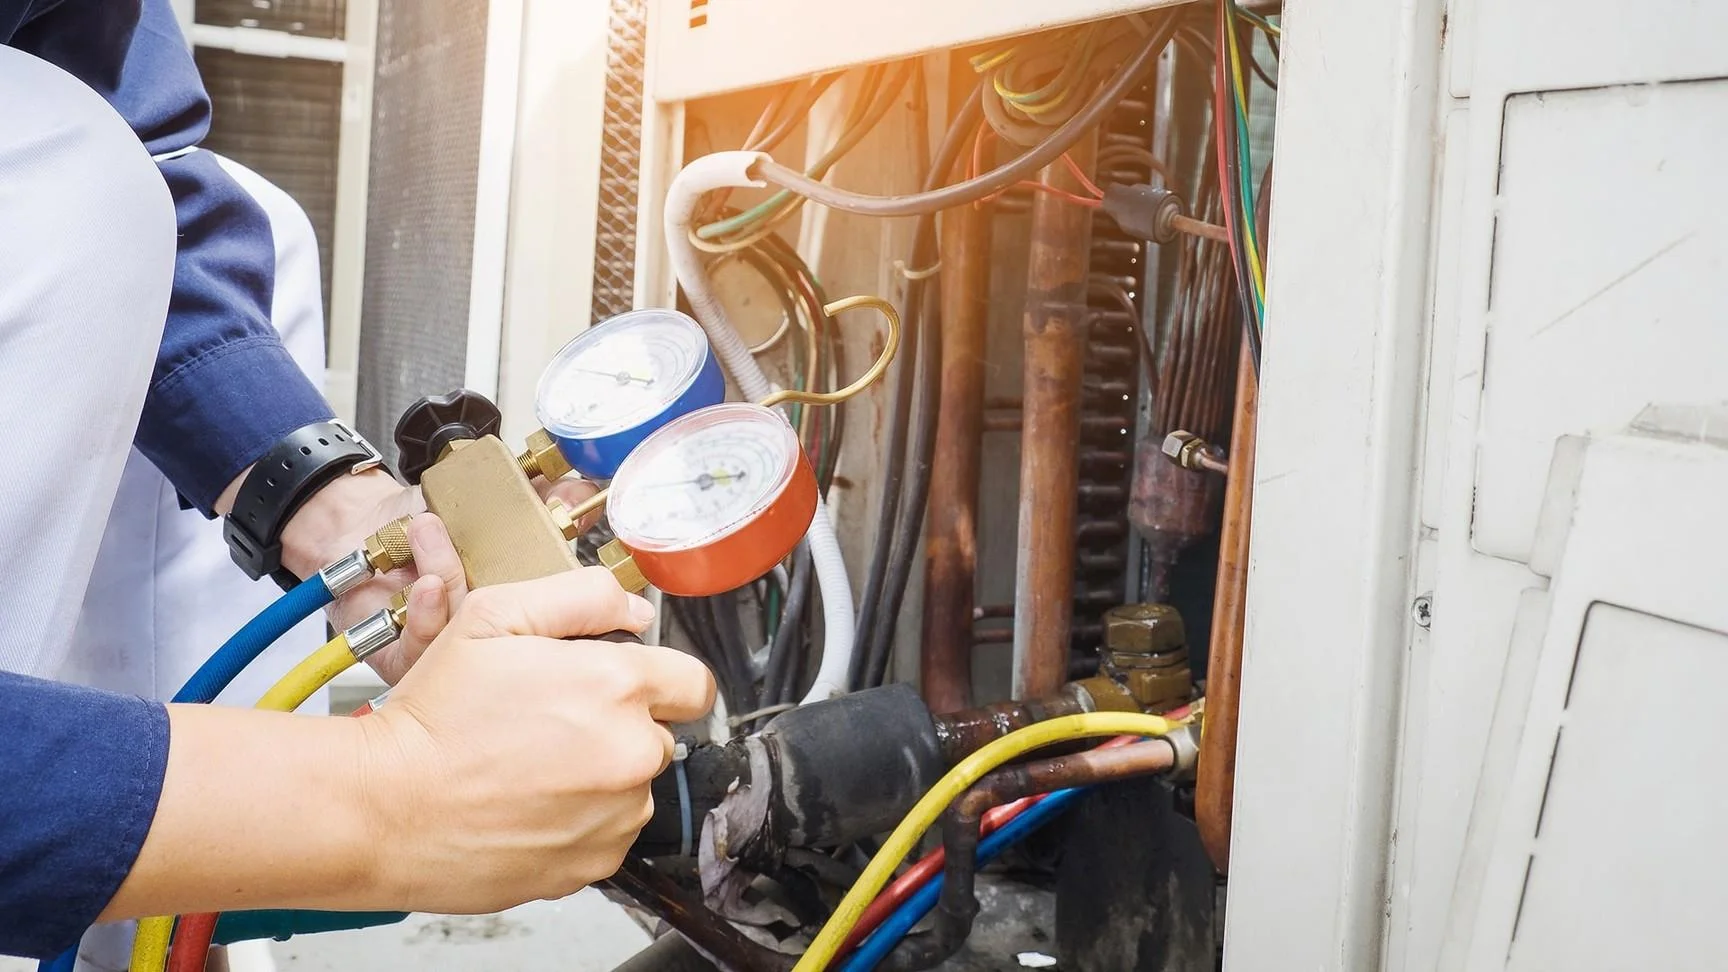
Step 4: Checking for Refrigerant Leaks
Checking for refrigerant leaks is an important step in troubleshooting a frozen air conditioner unit. Low refrigerant levels can cause the evaporator coil to freeze up. It is essential to identify and address any leaks to ensure optimal cooling performance. Follow these steps to check for refrigerant leaks:
- Prepare Safety Gear: Put on gloves and safety goggles to protect yourself from refrigerant and other potential hazards.
- Turn off the System: Before starting the inspection, make sure to turn off the air conditioner to prevent any electrical shock or injury.
- Locate the Refrigerant Lines: The refrigerant lines connect the indoor and outdoor units of your air conditioner. Inspect the lines visually to check for any signs of oil stains, bubbles, or excessive moisture, which may indicate a refrigerant leak.
- Use a Leak Detector: If visual inspection is inconclusive, you can use an electronic leak detector to pinpoint any refrigerant leaks. Follow the instructions provided with the detector for proper usage.
- Inspect Connections: Check the connections between the refrigerant lines and the indoor and outdoor units. Ensure that they are secure and free from any visible signs of leaks or damage.
- Listen for Hissing Sounds: Turn on the air conditioner and listen for any hissing or bubbling sounds near the refrigerant lines. These noises can indicate a refrigerant leak and should be addressed promptly.
- Seek Professional Help: If you suspect a refrigerant leak or are unsure about the inspection process, it is recommended to contact a licensed HVAC technician. They have the expertise and tools to detect and repair refrigerant leaks safely.
If you detect a refrigerant leak during the inspection, it is crucial to address the issue promptly. Refrigerant leaks not only cause the air conditioner to freeze but can also be harmful to the environment. Professional assistance should be sought to repair the leak and recharge the refrigerant properly. In the next step, we will discuss the importance of cleaning the condenser coils.
Step 5: Cleaning Condenser Coils
Cleaning the condenser coils of your air conditioner is an essential step in maintaining its efficiency and preventing freezing issues. Over time, the condenser coils can accumulate dirt, debris, and other contaminants, hindering their ability to release heat effectively. Follow these steps to clean the condenser coils:
- Turn off the System: Before you start cleaning the condenser coils, make sure to turn off the power to the air conditioner unit. This will ensure your safety during the process.
- Remove Debris: Carefully inspect the condenser unit, located outside your home. Remove any leaves, grass, or other debris that may have accumulated in or around the unit. Use a soft brush or a vacuum cleaner with a brush attachment for this purpose.
- Clean the Coils: Using a coil cleaner specifically designed for air conditioners, spray the cleaner onto the condenser coils. Follow the manufacturer’s instructions on the cleaner for the best results.
- Allow the Cleaner to Work: Let the coil cleaner sit on the coils for the recommended amount of time. This will help loosen and dissolve the dirt and grime on the coils.
- Rinse the Coils: After the cleaner has had time to work, thoroughly rinse the condenser coils with a hose. Start from the top and work your way down, ensuring that all the cleaner and debris are washed away.
- Inspect the Fins: Carefully inspect the aluminum fins on the condenser coils. If any of the fins are bent or damaged, use a fin comb or a soft brush to straighten them. This will help promote proper airflow through the coils.
- Remove Obstructions: Check for any obstructions around the condenser unit that may hinder the airflow. Trim any overgrown vegetation and maintain a clear space around the unit to ensure proper air circulation.
- Allow to Dry: Let the condenser coils dry completely before restoring power to the air conditioner unit. This will prevent any electrical issues and ensure the coils operate efficiently.
Regularly cleaning the condenser coils will maintain optimal cooling performance, improve energy efficiency, and help prevent freezing issues. Once you have completed this step, you can proceed to the final step of restarting the air conditioner.
Read more: How To Unfreeze AC
Step 6: Restarting the Air Conditioner
After following the previous steps to unfreeze and maintain your air conditioner, you’re now ready to restart the system and enjoy cool and comfortable air once again. Follow these steps to safely restart your air conditioner:
- Double-check: Before turning on the system, double-check that all the necessary steps from the previous steps have been completed. Ensure that the system is thawed, the air filters are clean or replaced, any refrigerant leaks have been addressed, and the condenser coils are cleaned.
- Turn on the System: Go to your thermostat, and set it to the desired cooling temperature. Switch the fan setting to “Auto” to allow the system to control the fan speed automatically.
- Gradually Lower the Temperature: Instead of immediately setting the thermostat to the lowest temperature, start with a slightly higher setting and gradually lower it until you reach your desired cooling level. This will prevent sudden strain on the system.
- Listen for Normal Operation: As the air conditioner starts up, listen for normal operation sounds, such as the fan running smoothly and the compressor engaging. If you notice any unusual noises, vibrations, or functional issues, it may indicate a problem that requires professional attention.
- Monitor for Proper Cooling: Give the air conditioner some time to cool your home. Monitor the airflow from the vents and ensure that it feels cold and consistent throughout the house. If you notice any uneven cooling or a lack of cool air, there may still be an issue that needs to be addressed.
- Maintain Regular Maintenance: After restarting your air conditioner, it’s crucial to establish a routine maintenance schedule. This includes regularly cleaning or replacing the air filters, inspecting the condenser coils, clearing any obstructions around the unit, and scheduling professional maintenance as recommended by the manufacturer.
By properly restarting your air conditioner and adhering to a regular maintenance routine, you can enjoy reliable cooling performance and avoid future freezing issues. Remember to monitor the system for any changes or problems and seek professional assistance if needed. With these steps completed, your air conditioner should be back up and running efficiently.
I hope this guide has been helpful in unfreezing your air conditioner and providing you with the knowledge to maintain its optimal functioning. Stay cool and comfortable!
Conclusion
Dealing with a frozen air conditioner unit can be a frustrating experience, but with the right knowledge and steps, you can safely resolve the issue and restore comfort to your home. This comprehensive guide has provided you with a step-by-step process to unfreeze your air conditioner and prevent future freezing problems. By understanding the causes of freezing, recognizing the signs, and taking safety precautions, you can effectively troubleshoot and resolve the issue yourself.
Turning off the system, thawing the unit, inspecting and cleaning the air filters, checking for refrigerant leaks, and cleaning the condenser coils are all essential steps in maintaining the efficiency and performance of your air conditioner. Regular maintenance, such as cleaning or replacing the air filters and scheduling professional service, will help prevent freezing issues and ensure optimal cooling throughout the year.
However, it’s important to note that if you are uncomfortable or unsure about any of the steps, it’s always best to seek professional assistance. A licensed HVAC technician has the expertise and specialized tools to diagnose and repair any complex issues with your air conditioner.
By following the tips and guidelines outlined in this guide, you can keep your air conditioner running smoothly, prevent freezing problems, and enjoy cool and comfortable air in your home. Remember, regular maintenance and prompt attention to any unusual signs or symptoms are key to keeping your air conditioner functioning efficiently for years to come.
We hope that this guide has been valuable to you, and that you now feel equipped to tackle the task of unfreezing your air conditioner unit. Stay cool and enjoy the refreshing comfort of a properly functioning air conditioner!
Frequently Asked Questions about How To Unfreeze An Air Conditioner Unit
Was this page helpful?
At Storables.com, we guarantee accurate and reliable information. Our content, validated by Expert Board Contributors, is crafted following stringent Editorial Policies. We're committed to providing you with well-researched, expert-backed insights for all your informational needs.