Home>Home Maintenance>How To Make Air Conditioner
Home Maintenance
How To Make Air Conditioner
Modified: March 7, 2024
Learn how to make your own air conditioner with this helpful home maintenance guide. Stay cool and save money with DIY AC!
(Many of the links in this article redirect to a specific reviewed product. Your purchase of these products through affiliate links helps to generate commission for Storables.com, at no extra cost. Learn more)
Introduction
Are you tired of sweltering in the summer heat? Want to find a cost-effective way to cool down your living space? Look no further! In this article, we will show you how to make your own air conditioner using simple materials that you can easily find around your home. Not only will this DIY air conditioner help you beat the heat, but it will also save you money on your energy bills. So, let’s get started!
Key Takeaways:
- Beat the heat on a budget! Make your own air conditioner using a cooler, fan, and ice packs. Stay cool and comfortable in small spaces without breaking the bank.
- DIY air conditioning made easy! Repurpose a cooler, add a fan, and enjoy the refreshing breeze. Stay cool without the high energy bills.
Read more: Who Makes Comfortmaker Air Conditioner
Materials Needed
Before we dive into the step-by-step process of making your own air conditioner, let’s gather all the materials you will need:
- A sturdy cooler box or a large plastic container
- A small desk fan or a computer fan
- Ice packs or frozen water bottles
- A sharp knife or a box cutter
- Duct tape or strong adhesive tape
- Electrical cord with a plug
- A power supply or an extension cord
Make sure you have these materials handy before you begin. You can easily find most of these items in your own home or purchase them from a local hardware store.
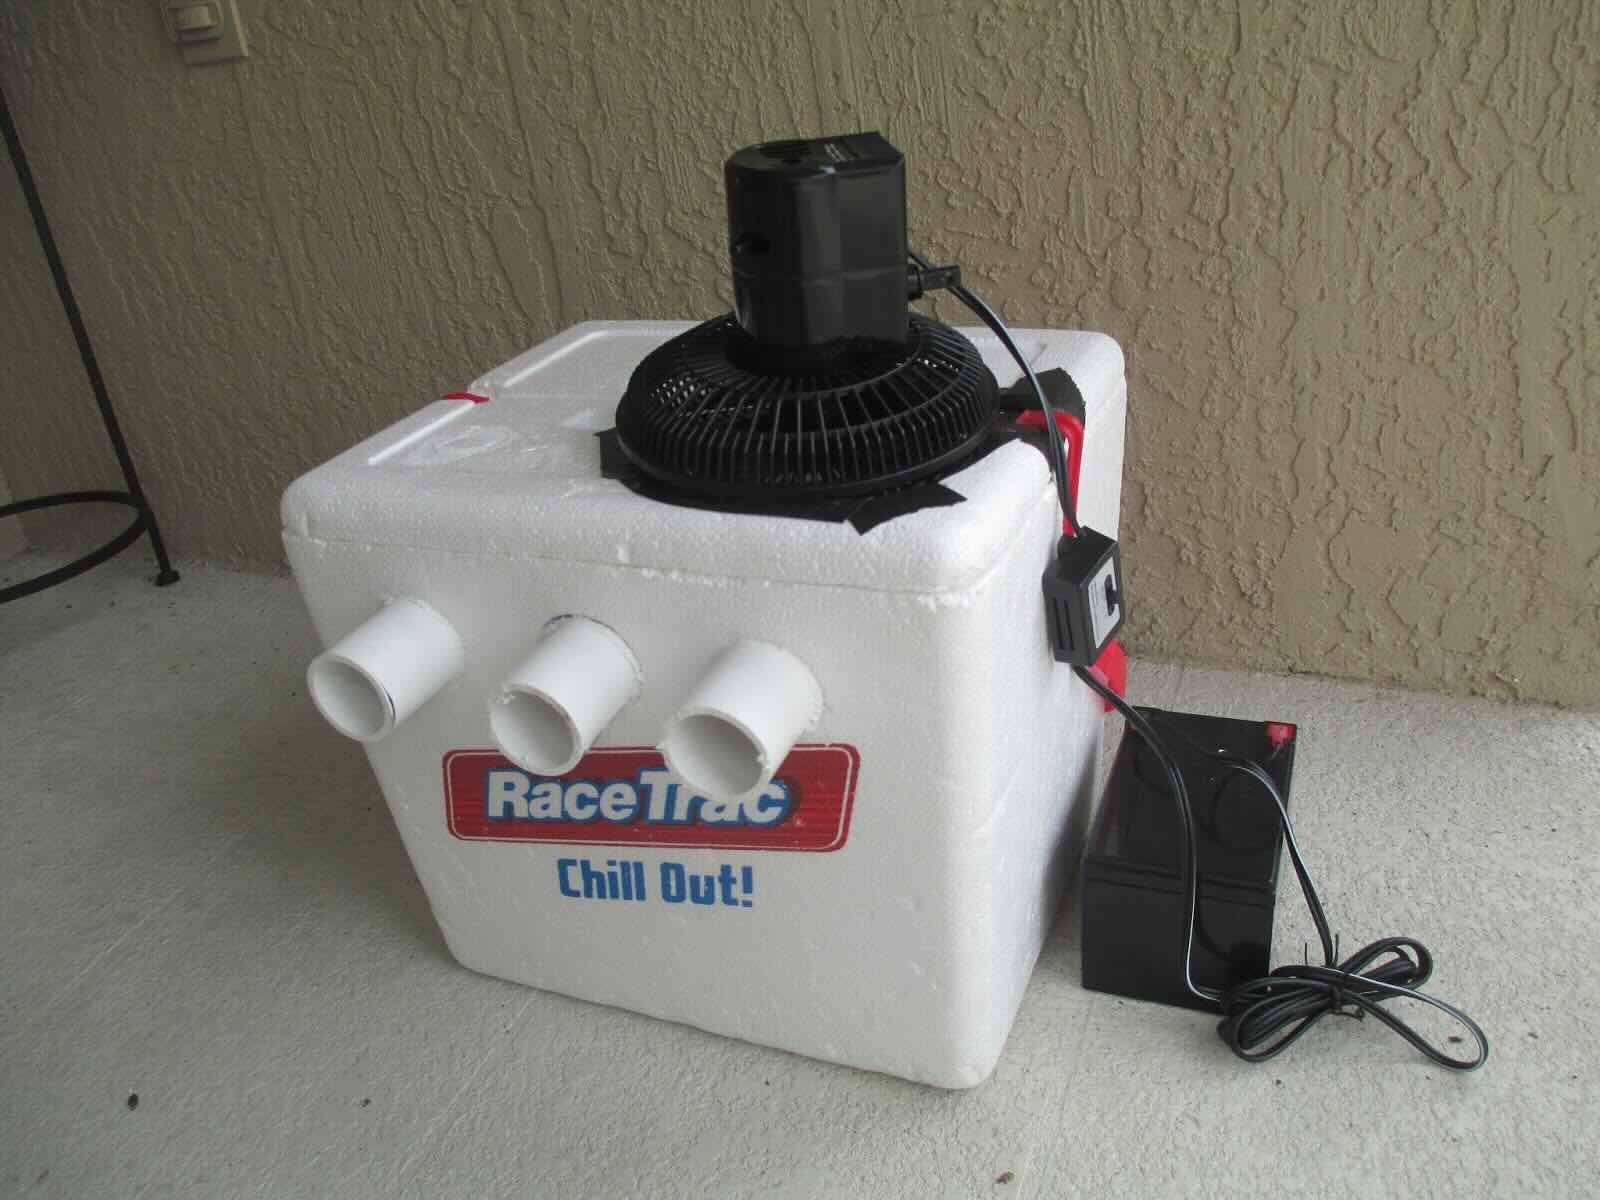
Step 1: Prepare the Cooler
The first step in making your own air conditioner is to prepare the cooler box or plastic container. Choose a sturdy container that is large enough to hold your fan and ice packs comfortably.
Start by cleaning the cooler thoroughly to remove any dirt or debris. You want to ensure that the air conditioner operates efficiently and remains hygienic.
Next, locate a suitable spot on the lid of the cooler where you will cut a hole for the air vent. Use a sharp knife or a box cutter to carefully cut out a circular or rectangular opening. The size of the opening should be slightly smaller than the diameter of your fan.
Once you have cut the hole, make sure to smooth the edges to avoid any sharp protrusions. This will prevent any accidents when handling the cooler.
Now, your cooler is ready to be transformed into an air conditioner!
Step 2: Create the Air Vent
With the hole prepared in the lid of your cooler, it’s time to create the air vent that will allow cool air to flow into your space.
To create the air vent, you will need to attach a duct or pipe to the hole in the lid. The size of the duct or pipe should match the size of the hole you cut.
If you have a flexible duct or tubing, it will be easier to manipulate and attach to the lid. Simply insert one end of the duct into the hole and secure it in place using duct tape or strong adhesive tape. Make sure the connection is secure and airtight to prevent any air leakage.
If you don’t have a flexible duct or tubing, you can create a makeshift vent using a cardboard tube or a large plastic bottle. Cut the tube or bottle in half lengthwise and attach it to the hole in the lid using tape or glue. Again, ensure that the connection is secure.
The air vent will serve as the pathway for the cool air to enter your room or living space. It’s important to have a properly sealed and stable vent to maintain the efficiency of your homemade air conditioner.
Once you have created the air vent, move on to the next step of the process.
Step 3: Insert the Cooling Fan
Now that you have the air vent in place, it’s time to insert the cooling fan into the cooler. The fan will circulate air and enhance the cooling effect of your homemade air conditioner.
First, place your fan on the inside edge of the cooler lid, aligning it with the hole you cut for the air vent. Ensure that the fan is facing inward, towards the inside of the cooler. This will ensure that the cool air is directed out through the vent.
If your fan has mounting brackets or clips, use them to secure the fan to the lid. If not, you can use duct tape or strong adhesive tape to hold the fan in place. Make sure the fan is securely attached to the lid and won’t move around during operation.
Take a moment to double-check that the fan is positioned correctly and that it is aligned with the air vent. This will ensure proper airflow and maximize the cooling effect.
Now that the fan is securely in place, it’s time to move on to the next step – arranging the ice packs.
When making an air conditioner, ensure proper insulation around the cooling coils to prevent heat loss and maximize efficiency.
Read more: How To Make My Air Conditioner Colder
Step 4: Arrange the Ice Packs
In this step, we will arrange the ice packs inside the cooler to create a cold air source for your homemade air conditioner.
Start by preparing several ice packs or frozen water bottles. The number of ice packs will depend on the size of your cooler and the level of cooling you desire. It’s recommended to have at least three to four ice packs for optimal cooling.
Place the ice packs inside the cooler around the fan, making sure to leave enough space for air circulation. Position the ice packs strategically to evenly distribute the cold air. You can place them on the sides, above, and below the fan.
It’s important to note that the ice packs will gradually melt as they cool the air. Therefore, it’s a good idea to have extras ready in the freezer, so you can replace them when needed.
Once you have arranged the ice packs, make sure the lid of the cooler is securely closed to keep the cold air trapped inside. This will help maintain a low temperature and prolong the cooling effect.
Now that the cooling element is in place, let’s move on to connecting the fan to the power supply.
Step 5: Connect the Fan to Power Supply
With the ice packs ready to provide the cooling effect, it’s time to connect the fan to a power supply.
Start by preparing an electrical cord with a plug. Ensure that the cord is long enough to reach a nearby power outlet without any tension or strain.
Locate the cable of your fan and identify the positive and negative wires. The positive wire is usually red or marked with a “+” sign, while the negative wire is typically black or marked with a “-” sign.
Strip the ends of the positive and negative wires using wire strippers or a sharp knife. Take caution not to damage the internal wiring while doing so.
Now, take the positive wire of the fan and the corresponding wire of the electrical cord and twist them together. Do the same with the negative wires. Make sure the connections are secure and properly insulated to prevent any electrical hazards.
Once the wires are joined, use electrical tape or wire connectors to seal and protect the connections. This will ensure the safety and stability of the power supply.
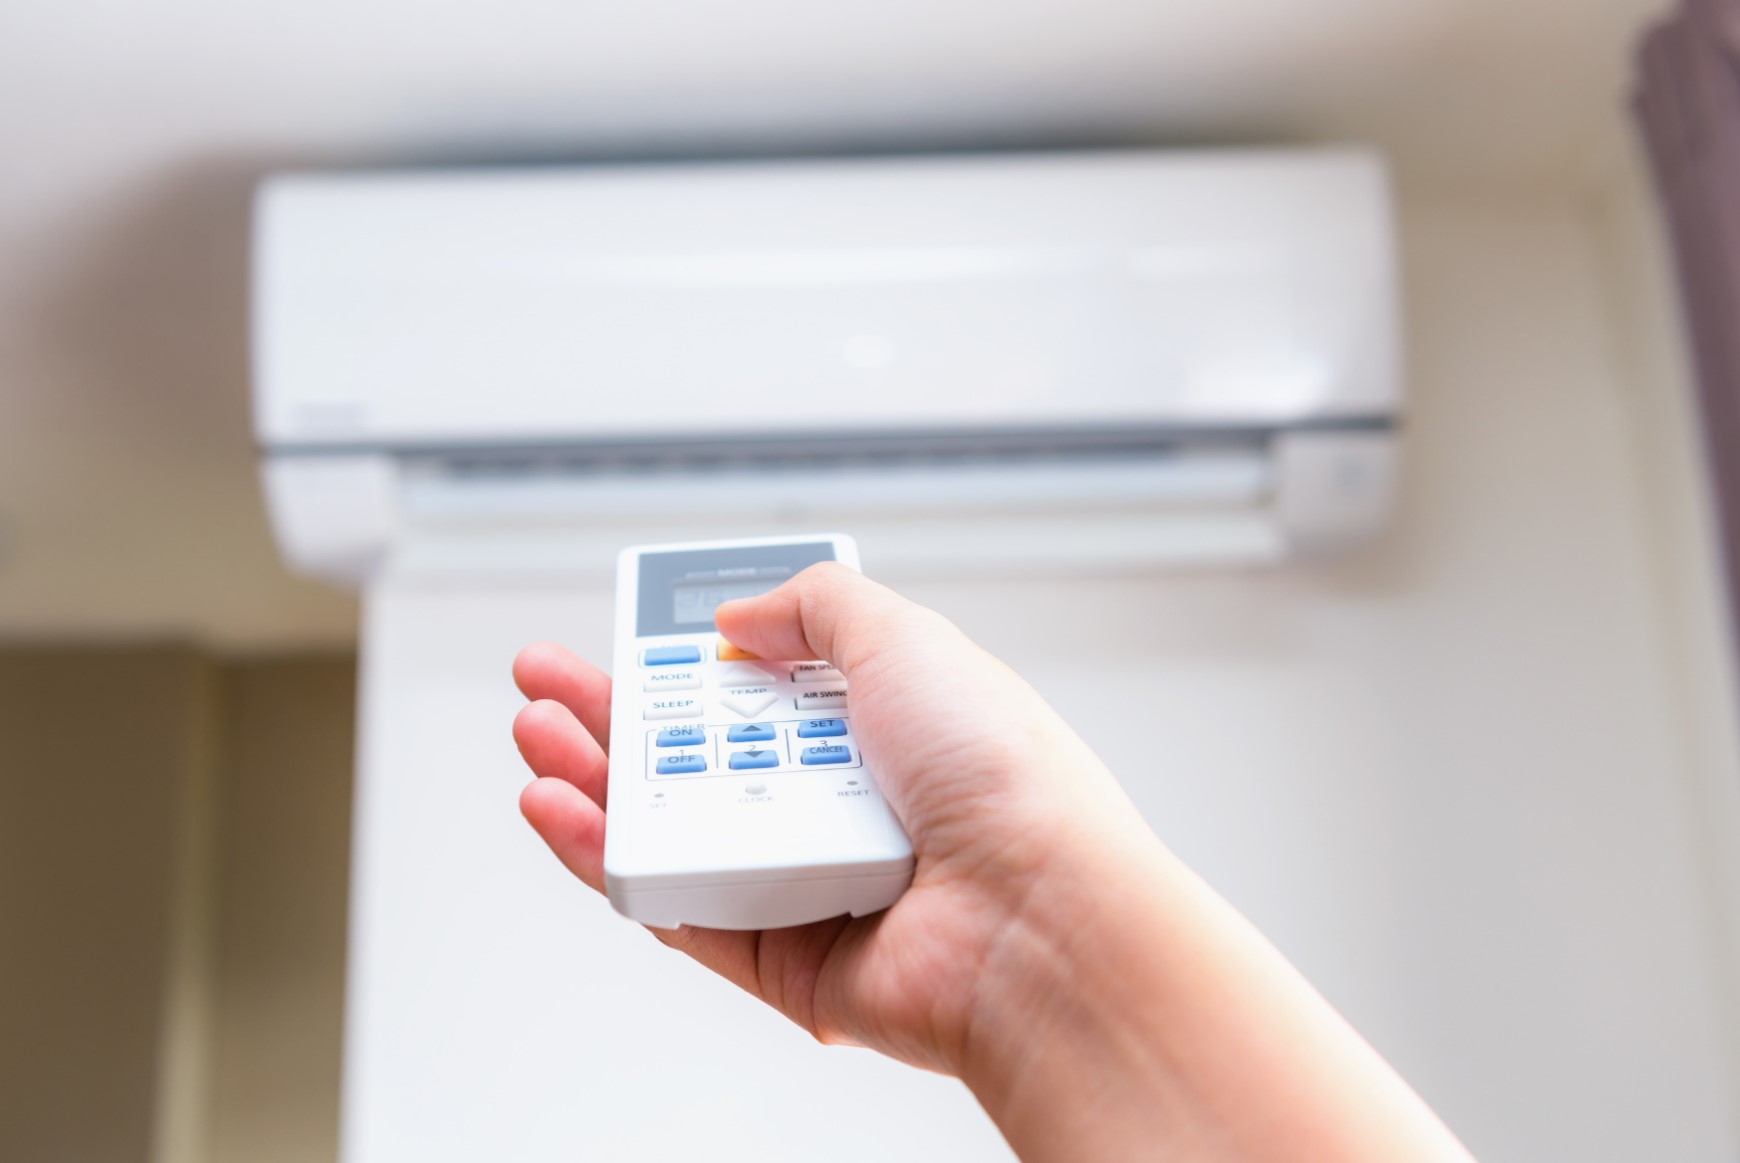
Finally, plug the electrical cord into a power source or an extension cord, and switch on the power. You should hear the fan starting to spin, circulating the cool air created by the ice packs.
Ensure that the power supply is stable and that there are no loose connections or exposed wires. Safety should always be a priority when working with electricity.
Congratulations! You have successfully connected the fan to the power supply.
Now, let’s move on to the final step – enjoying the cool air!
Step 6: Enjoy the Cool Air
Now that your DIY air conditioner is up and running, it’s time to sit back, relax, and enjoy the cool air it provides.
Position the air conditioner in a suitable spot in your room or living space. Placing it near a window or in front of an open doorway will help circulate the cool air throughout the area.
Sit or stand within proximity to the air conditioner, and feel the refreshing coolness as the fan blows the chilled air from the ice packs into your space. You can adjust the fan speed or direction to enhance your comfort level.
As the ice packs start to melt, be sure to replace them with fresh ones from the freezer. This will help maintain the cooling effect for a longer period.
Remember to keep the lid of the cooler closed when not in use to preserve the cold air and maximize efficiency. This will also prevent the ice from melting too quickly.
Enjoy the benefits of your homemade air conditioner for as long as you need relief from the heat. Whether it’s during a hot summer day, a stuffy night, or a heatwave, your DIY air conditioner will keep you cool and comfortable.
However, please note that this DIY solution is not a substitute for a professionally installed air conditioning unit for large spaces or extreme heat conditions. It is a cost-effective and temporary solution for personal cooling in smaller areas.
Now, go ahead and embrace the cool air provided by your homemade air conditioner!
Conclusion
Congratulations! You have successfully learned how to make your own air conditioner using simple materials and a few easy steps. This DIY cooling solution allows you to beat the heat and enjoy the comfort of cool air without breaking the bank.
By repurposing a cooler, adding a fan, and utilizing ice packs, you have created a budget-friendly air conditioning option. This homemade air conditioner is perfect for cooling small spaces such as bedrooms, offices, or dorm rooms.
Remember to always prioritize safety when working with electricity. Ensure that all connections are secure, wires are properly insulated, and the power supply is stable. Additionally, keep the lid of the cooler closed when not in use to maintain the cooling effect and prolong the life of the ice packs.
While this DIY air conditioner is a great temporary solution, please note that it may not be as powerful or effective as a professionally installed cooling system. For larger areas or extreme heat conditions, it’s recommended to seek the assistance of HVAC professionals.
Now, with your homemade air conditioner ready, sit back, relax, and enjoy the cool breeze on those hot summer days. Stay cool and comfortable without worrying about high energy bills.
So, why suffer in the heat when you can create your own cool oasis? Give this DIY air conditioner a try and beat the sweltering temperatures while staying within your budget.
Remember, keeping cool and comfortable doesn’t have to be complicated or expensive. With a little creativity and some basic materials, you can experience the joy of homemade air conditioning.
Enjoy the cool air and stay refreshed!
Frequently Asked Questions about How To Make Air Conditioner
Was this page helpful?
At Storables.com, we guarantee accurate and reliable information. Our content, validated by Expert Board Contributors, is crafted following stringent Editorial Policies. We're committed to providing you with well-researched, expert-backed insights for all your informational needs.