Home>Home Maintenance>How To Unclog An Air Conditioner Drain In A House
Home Maintenance
How To Unclog An Air Conditioner Drain In A House
Modified: August 17, 2024
Learn how to unclog an air conditioner drain in your house with these easy home maintenance tips. Keep your AC running smoothly and avoid costly repairs.
(Many of the links in this article redirect to a specific reviewed product. Your purchase of these products through affiliate links helps to generate commission for Storables.com, at no extra cost. Learn more)
Introduction
Welcome to “How to Unclog an Air Conditioner Drain in a House,” where we will guide you through the process of identifying and resolving clogged air conditioner drain issues. A properly functioning air conditioner is essential for maintaining a comfortable living environment, but a clogged drain can lead to reduced cooling efficiency, water damage, and even mold growth. By following the steps outlined below, you can unclog your air conditioner drain and ensure optimal performance.
As a homeowner, it’s important to understand the significance of maintaining your air conditioner’s drainage system. The drain pipe removes excess moisture produced by the cooling process, preventing it from building up inside your unit or leaking into your home. When the drain becomes clogged with debris, such as dirt, dust, and algae, water backs up and can cause various problems.
One of the most common signs of a clogged air conditioner drain is water leakage around your unit. If you notice excessive moisture or puddles forming near the indoor unit or any water stains on the walls or ceiling, it’s likely that the drain pipe is obstructed. Ignoring a clogged drain can lead to severe damage to your air conditioner and your property, costing you time and money in the long run.
Luckily, unclogging an air conditioner drain is a relatively simple process that can often be done on your own. Before you begin, gather the necessary tools and materials, which include a wet/dry vacuum, a mixture of vinegar and warm water, a pipe brush, and a towel or rag. With these tools in hand, you’re ready to get started on clearing that drain and restoring your air conditioner’s functionality.
In the following sections, we will outline a step-by-step guide to help you safely and effectively unclog your air conditioner drain. It’s crucial to follow each step carefully and employ the recommended safety precautions to avoid any mishaps or further damage.
So, let’s roll up our sleeves and dive into the process of unclogging an air conditioner drain to ensure your system operates efficiently and effectively.
Key Takeaways:
- Regularly unclogging your air conditioner drain prevents water damage, mold growth, and reduced cooling efficiency, ensuring a comfortable and healthy indoor environment.
- Use vinegar and warm water to flush the drain pipe, and a wet/dry vacuum to clear stubborn clogs, maintaining optimal functionality of your air conditioner.
Read more: How To Unclog Freezer Drain
Why is it important to unclog an air conditioner drain?
Keeping your air conditioner drain clean and free from clogs is crucial for several reasons. Let’s explore why it’s essential to unclog your air conditioner drain regularly.
1. Prevent water damage: When an air conditioner drain becomes clogged, it can no longer remove the excess moisture produced during the cooling process. As a result, water can accumulate and overflow, leading to water damage in your home. This can cause costly repairs and potential structural issues.
2. Avoid mold and mildew growth: Excess moisture that accumulates in a clogged drain provides a breeding ground for mold and mildew. These microscopic organisms can have detrimental effects on your indoor air quality and pose health risks, especially for individuals with allergies or respiratory issues. By unclogging the drain, you can prevent the growth of mold and maintain a healthy living environment.
3. Maintain optimal cooling efficiency: A clogged drain can impact the efficiency of your air conditioner. When the drain is obstructed, the unit has to work harder to remove moisture, which can strain the system and reduce its cooling capacity. By unclogging the drain, you ensure that your air conditioner operates at its full potential, providing efficient cooling and maintaining a comfortable indoor temperature.
4. Extend the lifespan of your air conditioner: Regular maintenance, including unclogging the drain, can significantly extend the lifespan of your air conditioner. When the drain is clear, the unit runs smoothly without unnecessary stress or strain on the components. This reduces the likelihood of breakdowns and the need for costly repairs or premature replacement of the system.
5. Save energy and reduce utility bills: A clogged air conditioner drain can lead to decreased energy efficiency. As the system works harder to remove moisture, it consumes more energy, resulting in higher utility bills. By unclogging the drain, your air conditioner can operate efficiently, saving energy and reducing your monthly electricity expenses.
Overall, unclogging an air conditioner drain is essential for maintaining a healthy and efficient cooling system. It helps prevent water damage, mold growth, and expensive repairs, while also improving the unit’s lifespan and energy efficiency. By taking the time to unclog your air conditioner drain regularly, you can ensure the optimal performance of your system and enjoy a comfortable indoor environment.
Signs of a clogged air conditioner drain
Recognizing the signs of a clogged air conditioner drain is vital for addressing the issue before it leads to more significant problems. Here are some common signs that indicate your air conditioner drain might be clogged:
1. Water leakage: The most apparent sign of a clogged drain is water leakage around your air conditioner. If you notice water pooling around the indoor unit or water stains on walls, ceilings, or floors near the unit, it’s a clear indication that the drain pipe is obstructed and water is unable to flow out properly.
2. Musty or foul odor: A clogged air conditioner drain can create a breeding ground for mold, mildew, and bacteria. These microorganisms produce a distinct, musty odor. If you detect a foul smell coming from your air conditioner or notice a persistent musty scent in the room, it could be a sign of mold growth due to a clogged drain.
3. Reduced cooling efficiency: When a drain is clogged, water backs up in the air conditioner unit, affecting its cooling capacity. If you notice that your air conditioner is not cooling as effectively as it used to or takes longer to reach the desired temperature, it could indicate a clogged drain causing reduced cooling efficiency.
4. Increased humidity: An obstructed drain prevents the air conditioner from effectively removing moisture from the air. As a result, you may notice increased humidity levels in your home. Excessive humidity can make your living space feel uncomfortable and sticky, leading to the growth of mold and mildew on surfaces.
5. Strange noises: A clogged drain can cause gurgling or bubbling sounds from your air conditioner unit. This occurs when air bubbles form in the condensate drain line as water tries to drain but encounters an obstruction. If you hear unusual noises coming from your air conditioner, it’s worth investigating the possibility of a clogged drain.
6. Frequent system shutdowns: When the drain is clogged, it can trigger a safety mechanism that shuts off the air conditioner to prevent water overflow and potential damage. If your air conditioner frequently shuts down on its own, it may be a sign of a clogged drain impeding the normal operation of the system.
It’s important to address these signs of a clogged air conditioner drain promptly to avoid further damage to your unit and your home. If you observe any of these signs, it’s recommended to follow the steps outlined in this article to unclog the drain and restore your air conditioner’s functionality.
Tools and materials needed
Before unclogging an air conditioner drain, it is essential to gather the necessary tools and materials. Having these items on hand will help ensure a smooth and efficient unclogging process. Here are the tools and materials you will need:
1. Wet/dry vacuum: A wet/dry vacuum is a versatile tool that can assist in clearing clogs from the air conditioner drain. Make sure the vacuum has a suction function capable of handling both wet and dry debris.
2. Mixture of vinegar and warm water: Vinegar is an effective natural cleaner that can help dissolve and remove dirt, algae, and other deposits that may be clogging the drain. Mix equal parts vinegar and warm water to create a cleaning solution.
3. Pipe brush: A pipe brush with soft bristles is useful for physically scrubbing away any stubborn debris or algae buildup within the drain pipe. The brush should be small enough to fit into the pipe and long enough to reach any clogs within.
4. Towel or rag: Keep a towel or rag nearby to wipe up any spills or excess water during the unclogging process. This will help prevent water damage to surrounding areas.
5. Bucket or container: Place a bucket or container underneath the air conditioner drain to catch any water that may flow out during the unclogging process. This will help prevent water from spilling onto the floor or damaging nearby surfaces.
6. Safety goggles and gloves: It’s important to protect yourself during the unclogging process. Safety goggles will shield your eyes from any debris that may splash or spray out, while gloves will help protect your hands from coming into direct contact with potentially dirty or contaminated water.
7. Flashlight: A flashlight can be helpful for inspecting the air conditioner drain and locating any clogs or obstructions. It will illuminate hard-to-see areas and make the unclogging process easier.
Collecting these tools and materials beforehand will ensure that you have everything you need to properly unclog your air conditioner drain. Having them readily available will save time and make the process more efficient, allowing you to restore optimal functionality to your air conditioning unit.
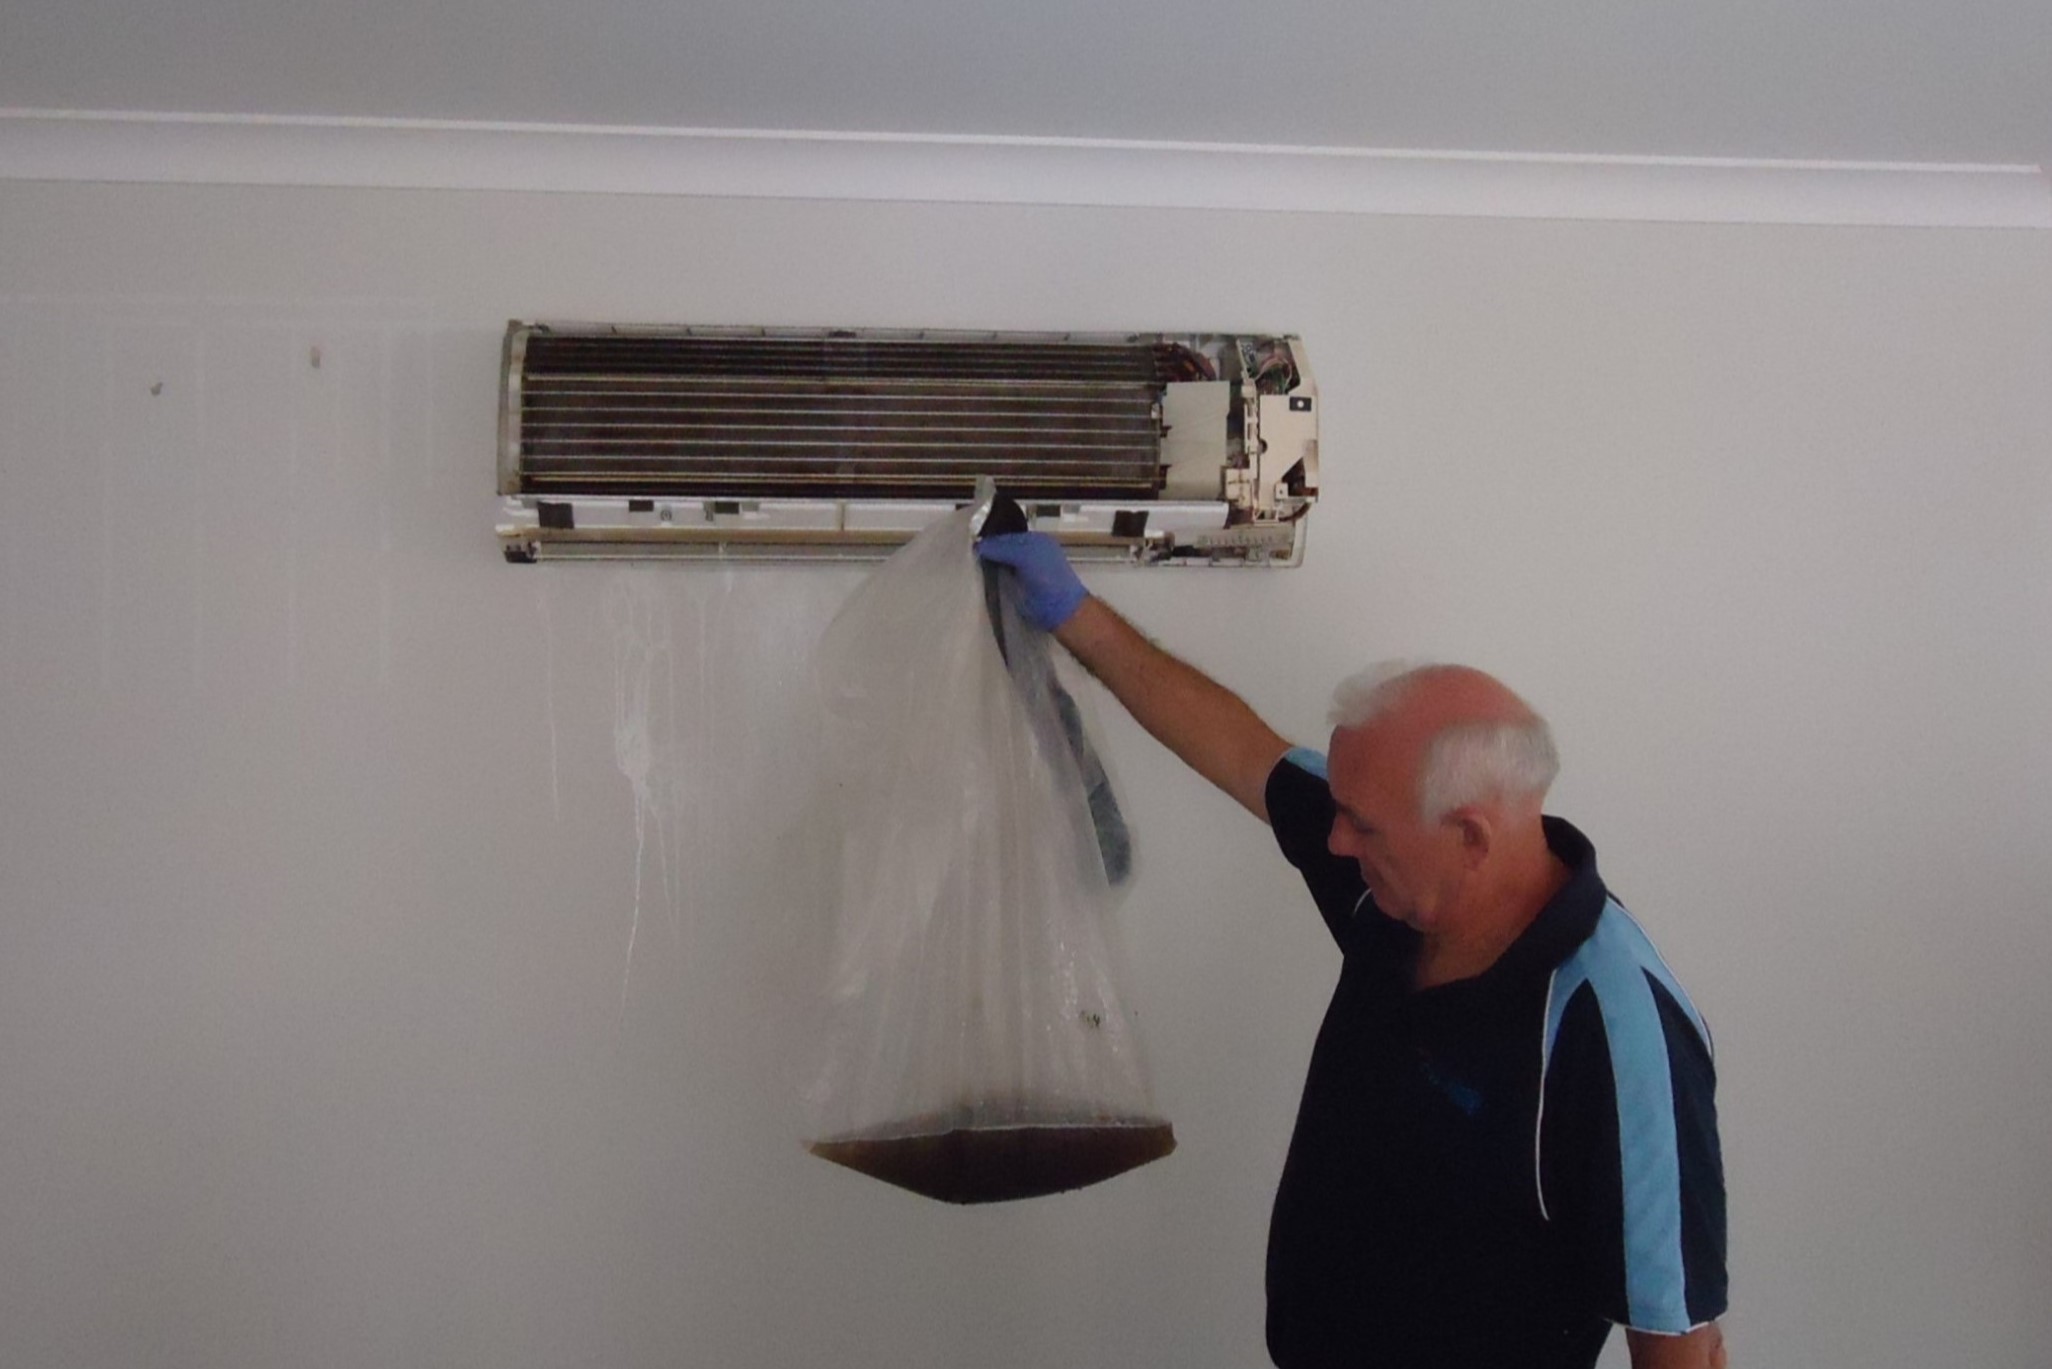
Step 1: Locate the air conditioner drain
The first step in unclogging an air conditioner drain is to locate its position. The drain is typically found near the indoor air conditioning unit, often close to where the evaporator coil is located. Finding the drain is crucial for accessing and working on it effectively. Here’s how you can locate the air conditioner drain:
1. Start by turning off the air conditioner: Before you begin locating the drain, it’s essential to ensure the air conditioner unit is turned off. This will prevent any accidental water leakage or electrical mishaps while you’re working on the drain.
2. Find the indoor unit: Locate the indoor component of your air conditioning system. It is usually situated in a basement, utility closet, attic, or garage. This is where the evaporator coil and the air conditioner drain are typically located.
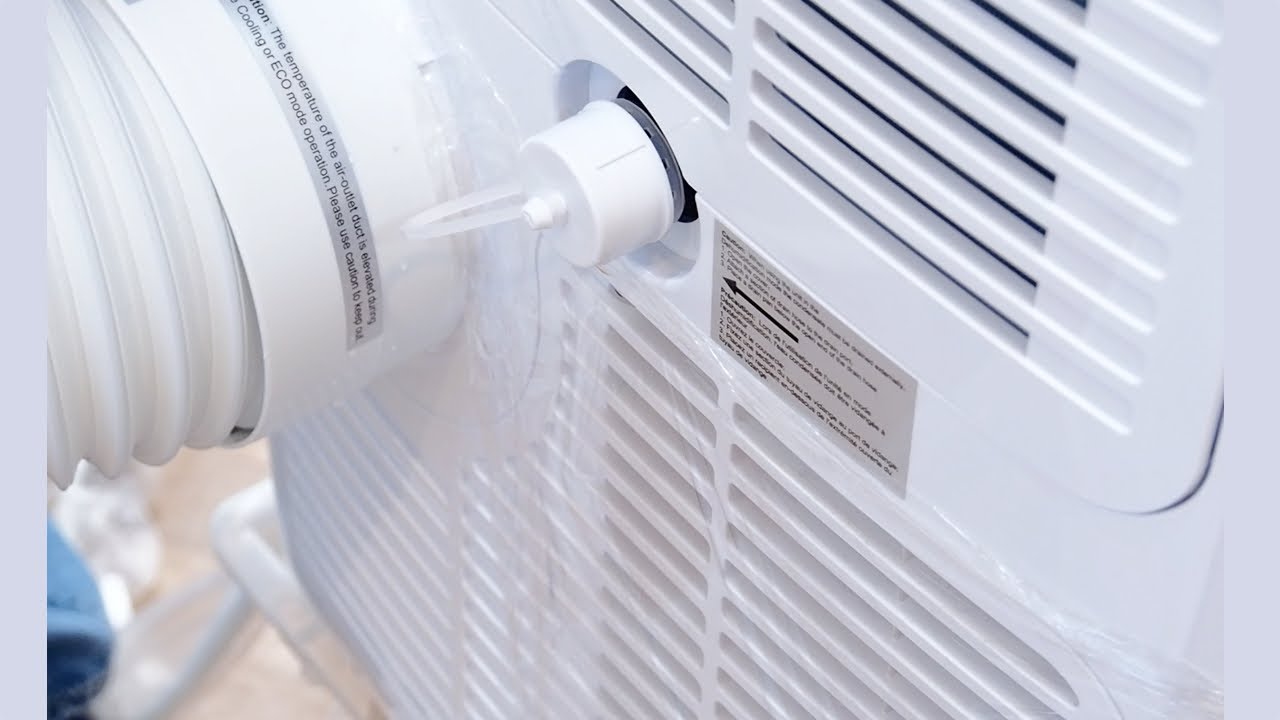
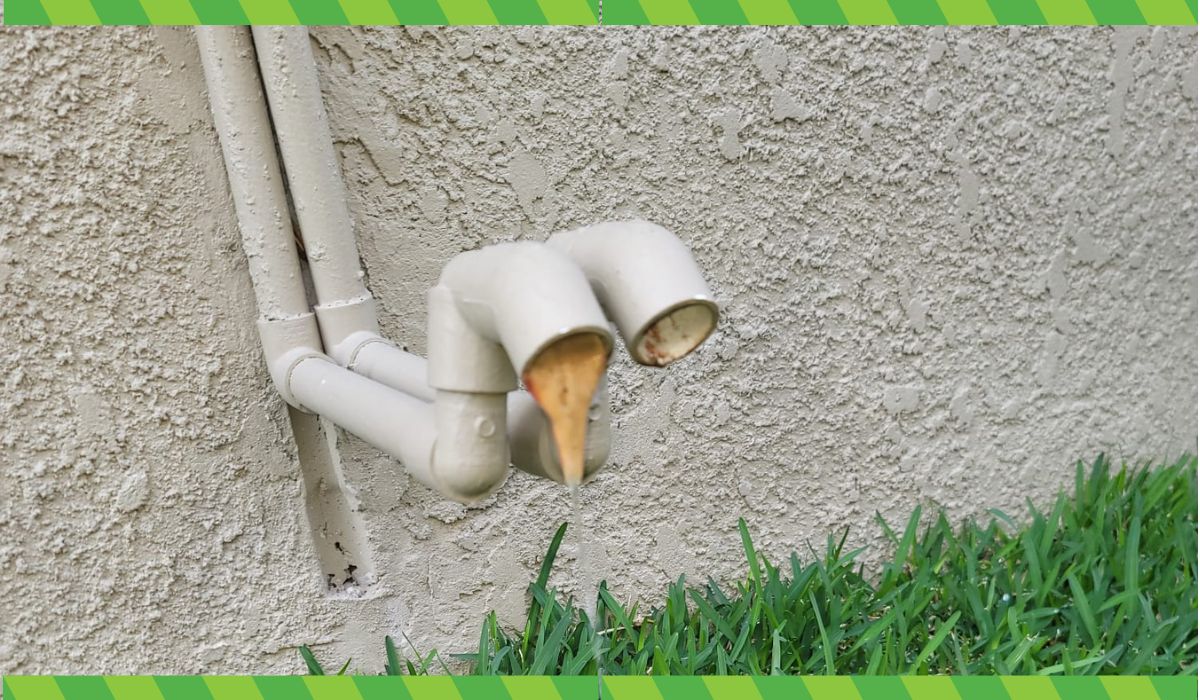
3. Look for a PVC pipe: Once you’ve located the indoor unit, examine the area around it for a plastic PVC pipe. The drain pipe is usually made of white or black PVC tubing and is typically around 3/4 to 1 inch in diameter. Follow the pipe from the indoor unit until you find its termination point.
4. Check for a drain pan: The air conditioner drain pipe ends in a drain pan or a floor drain. The drain pan collects condensation and wastewater from the air conditioning system. It is usually a shallow plastic tray located below the evaporator coil. The drain pipe connects to the drain pan or directly to a floor-level drain.
5. Inspect for any visible clogs: While locating the air conditioner drain, keep an eye out for any visible clogs or obstructions. Sometimes, debris or algae buildup can be seen at the opening of the drain pipe or in the drain pan. If you notice any blockages, this indicates that the drain is clogged, and further unclogging steps will be required.
By taking the time to locate the air conditioner drain, you will have a clear idea of its position and be better equipped to proceed with the unclogging process. Identifying any visible clogs during this step will also help you understand the severity of the blockage and the steps needed to remove it effectively.
Read more: How To Unclog Dishwasher Drain
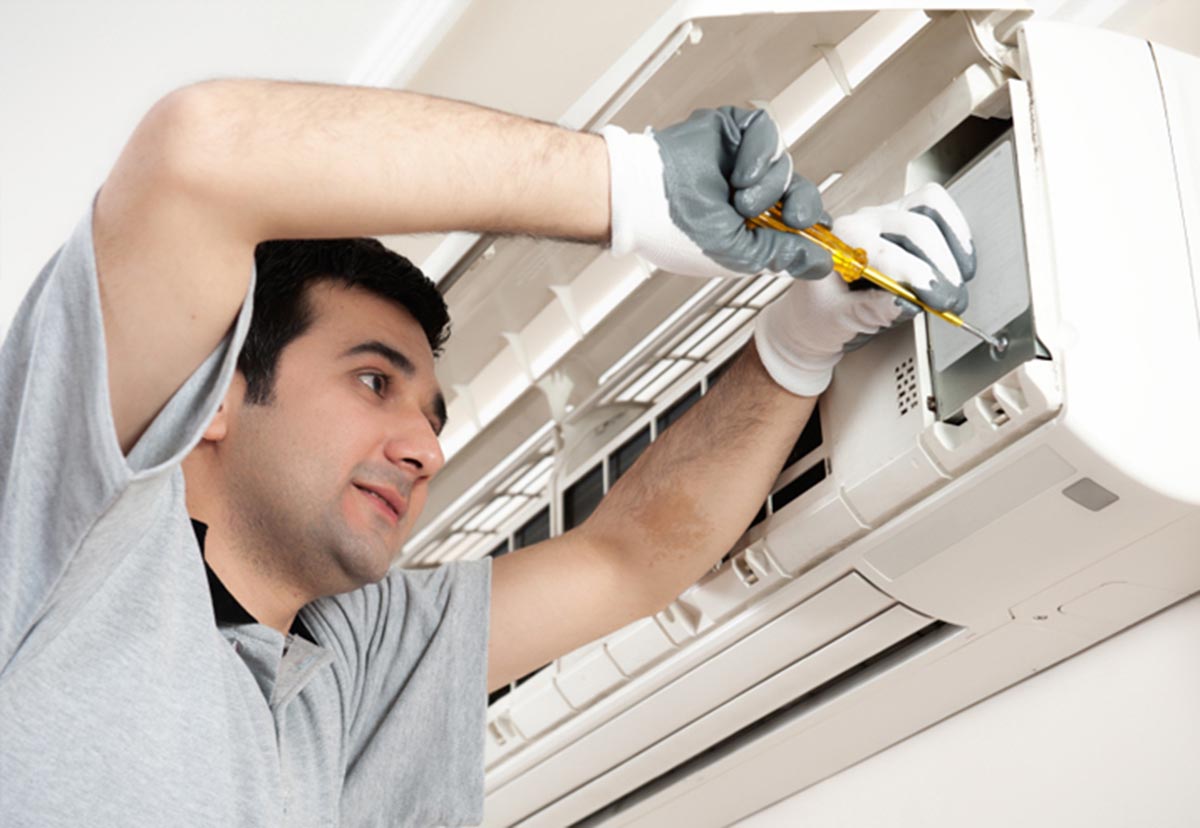
Step 2: Turn off the air conditioner unit
Before you begin working on unclogging the air conditioner drain, it is crucial to turn off the unit to ensure your safety and prevent any potential damage. Here’s how you can properly turn off the air conditioner:
1. Locate the air conditioner’s main power switch or circuit breaker: The main power switch or circuit breaker for the air conditioner is typically located near the indoor unit or in the electrical panel of your home. If you’re unsure where to find it, consult the user manual or contact a professional for guidance.
2. Switch off the air conditioner unit: Flip the main power switch to the “Off” position or turn off the circuit breaker that powers the air conditioner. This will cut off the electrical supply to the unit and ensure that there is no power running through it while you’re working on the drain.
3. Confirm that the unit is completely turned off: Once you’ve switched off the air conditioner, make sure the unit is completely powered down. Check that the indoor fan and outdoor compressor have stopped running, and the control panel or thermostat display is blank or turned off.
4. Wait for the air conditioner to cool down: It’s important to give the air conditioner sufficient time to cool down before attempting to work on the drain. This will prevent any potential burns from hot surfaces and help ensure your safety during the unclogging process.
By following these steps to turn off the air conditioner unit, you create a safe environment for working on the drain. Cutting off the electrical supply prevents any potential electrical hazards and allows you to focus on unclogging the drain without worrying about accidental power mishaps. Remember to wait for the unit to cool down before proceeding to the next step.
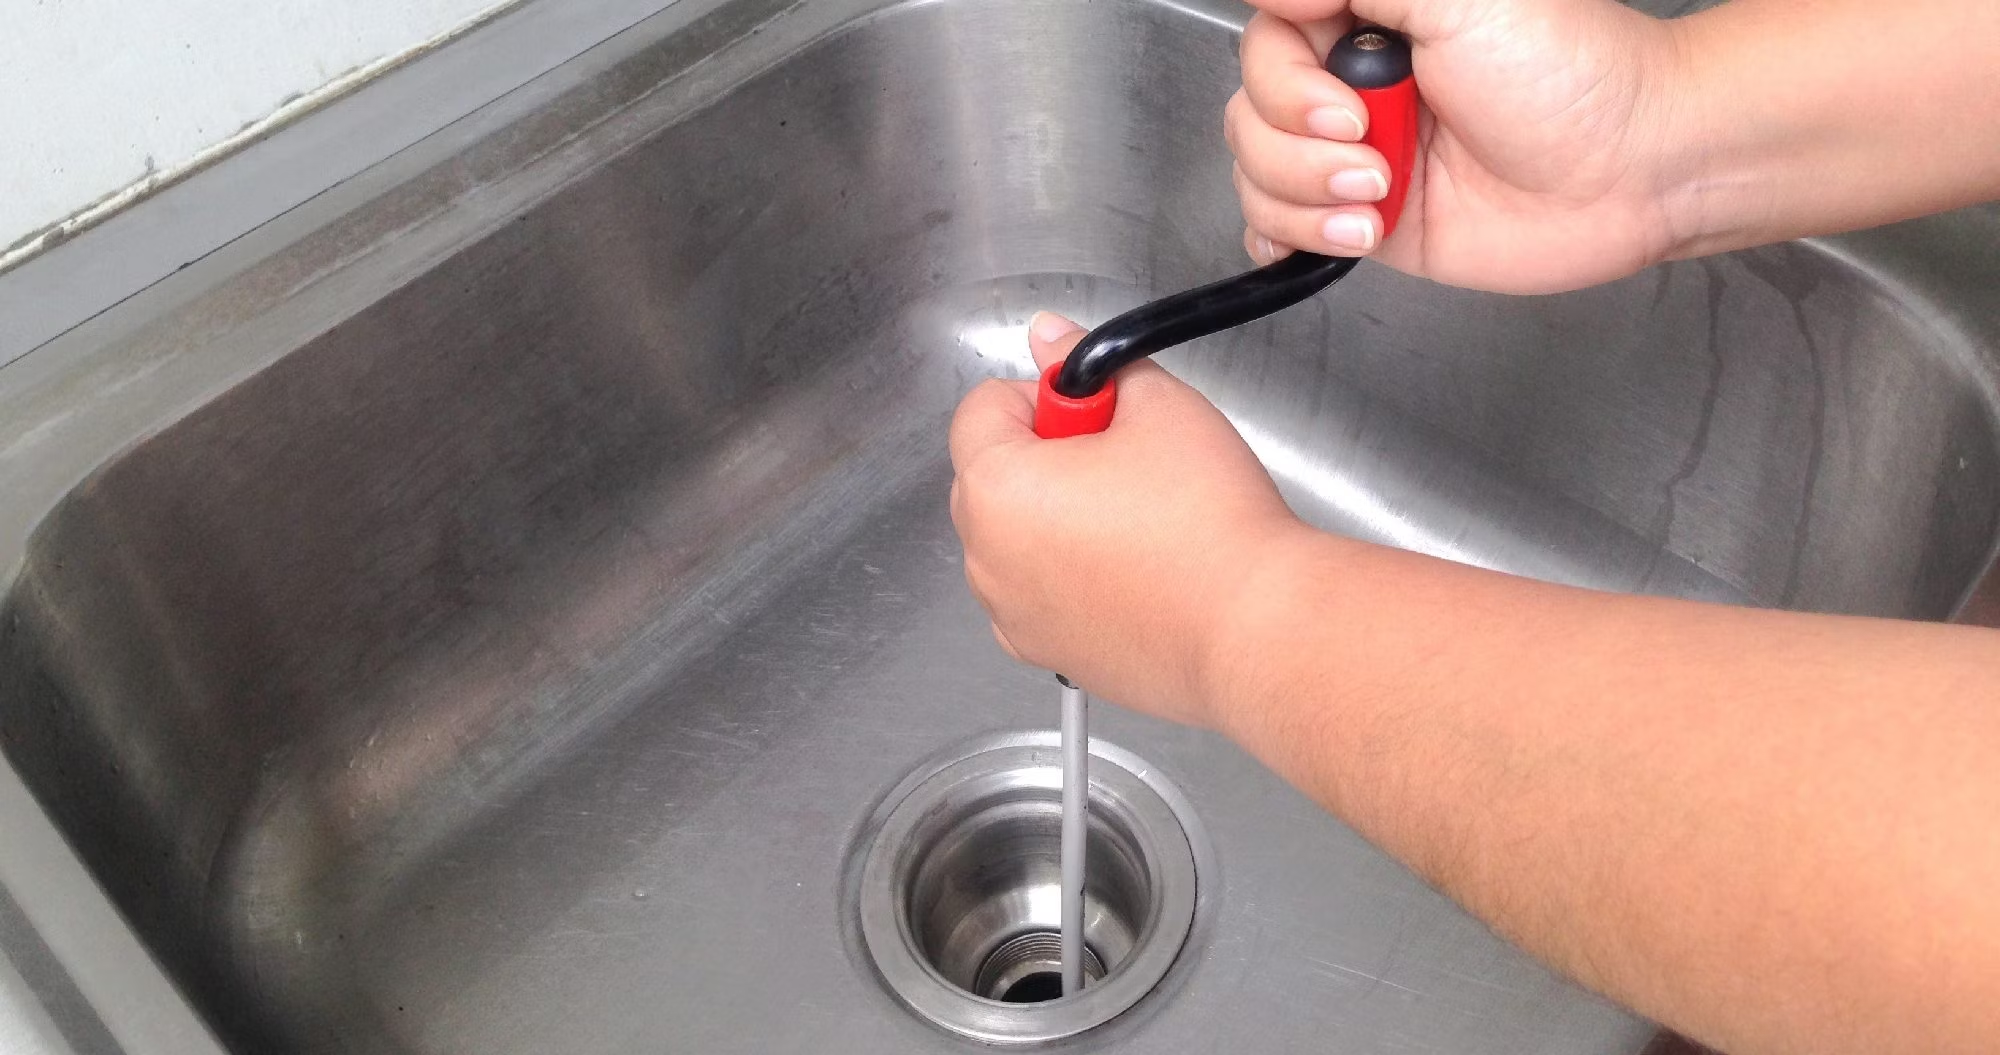
Use a wet/dry vacuum to suck out the clog from the drain line. Attach the vacuum to the end of the drain line and turn it on to remove the blockage.
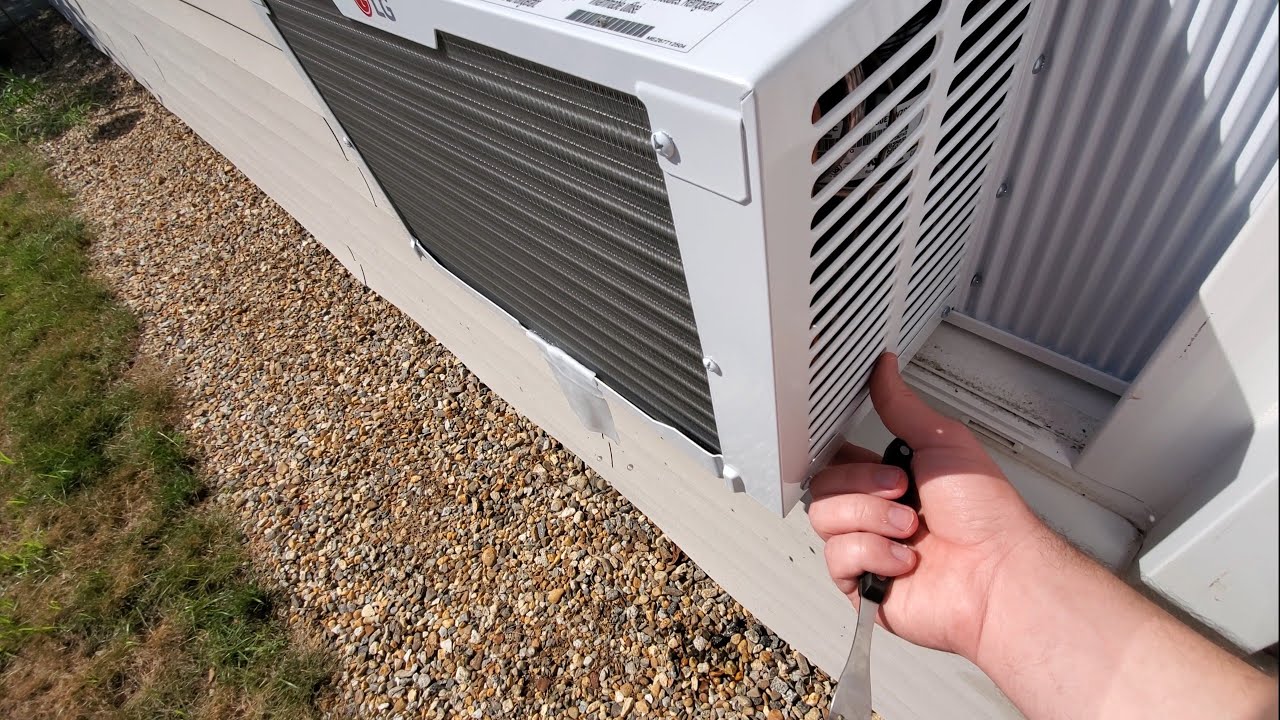
Step 3: Remove any obstructions from the drain pipe
With the air conditioner unit turned off and cooled down, it’s time to remove any obstructions that may be clogging the drain pipe. Clearing these blockages will help restore proper drainage and prevent water from backing up. Follow these steps to remove obstructions from the air conditioner drain pipe:
1. Put on safety goggles and gloves: Before you begin handling the drain pipe, it’s essential to protect yourself. Wear safety goggles to shield your eyes from any debris that may dislodge or splash during the unclogging process. Gloves will prevent direct contact with dirt, algae, or any potentially harmful substances.
2. Locate the access point to the drain pipe: The access point to the drain pipe can vary depending on your air conditioning system. It is typically found at the end of the drain pipe, where it connects to the drain pan or floor drain. Some systems may have a removable cap or plug, while others might require unscrewing a fitting or loosening a clamp to access the pipe.
3. Remove the access point: Depending on the type of access point, carefully remove the cap, plug, fitting, or clamp that covers the end of the drain pipe. Set it aside in a safe place, as you will need to reinstall it once the obstruction is cleared.
4. Inspect the drain pipe for any visible obstructions: Take a look into the drain pipe to check for any visible obstructions, such as dirt, debris, or algae buildup. Use a flashlight to enhance visibility and carefully examine the inside of the pipe to identify the blockage.
5. Clear the obstructions using a pipe brush or other suitable tool: If you can see an obstruction within the drain pipe, use a pipe brush or a similar tool to carefully dislodge and remove the blockage. Insert the brush into the pipe and gently scrub away any dirt or debris. Work the brush back and forth to loosen the obstruction and help it break apart.
6. Flush the pipe with water: After removing the visible obstructions, it’s a good idea to flush the drain pipe with water to further clear out any remaining debris. Use a gentle stream of water or a handheld sprayer and direct it into the pipe. This will help push any loosened debris or residue through the pipe and out of the system.
7. Reinstall the access point: Once the drain pipe is clear, carefully reinstall the access point that you removed earlier. Make sure it is securely in place to prevent any water leakage. If necessary, tighten any fittings or clamps according to the manufacturer’s instructions.
Remember, always handle the drain pipe and any tools or materials with caution to avoid injury or damage. By removing obstructions from the drain pipe, you’re one step closer to resolving the clogged air conditioner drain issue and restoring proper drainage to your system.
Step 4: Flush the drain pipe with a mixture of vinegar and warm water
Flushing the air conditioner drain pipe with a mixture of vinegar and warm water is an effective method to remove any remaining dirt, debris, or algae buildup. This solution helps dissolve and break down the residues that may be causing the clog. Follow these steps to flush the drain pipe:
1. Mix equal parts vinegar and warm water: In a container, combine equal parts of white vinegar and warm water. The vinegar acts as a natural cleaner and helps eliminate dirt, bacteria, and algae that may be clogging the drain pipe.
2. Pour the vinegar and water mixture into a funnel: Place a funnel at the access point of the drain pipe that you previously opened. Slowly pour the vinegar and water mixture into the funnel, allowing it to flow into the drain pipe. The liquid will travel through the pipe, reaching the areas affected by the clog.
3. Let the solution sit for about 30 minutes: Allow the vinegar and water mixture to sit in the drain pipe for approximately 30 minutes. This extended contact time helps break down any stubborn debris and effectively eliminates algae growth.
4. Flush the drain pipe with clean water: After the solution has had time to work, flush the drain pipe with clean water to rinse away the dissolved residue. You can use a gentle stream of water or a handheld sprayer to flush the pipe thoroughly.
5. Repeat the process if necessary: If the drain pipe is still showing signs of obstruction or buildup, you may need to repeat the process. Mix a fresh batch of the vinegar and water solution and pour it into the drain pipe, allowing it to sit for another 30 minutes. Then, flush the pipe with clean water again to ensure all debris is removed.
6. Dry the access point and reinstall: Once you have completed the flushing process, use a towel or rag to dry the area around the access point of the drain pipe. This will help prevent any water leakage and ensure a secure fit when you reinstall the cap, plug, fitting, or clamp.
Flushing the drain pipe with a vinegar and warm water solution helps remove stubborn clogs and keeps the drain line clean, reducing the chances of future clogs. It’s an eco-friendly and cost-effective method to maintain a clear and functioning air conditioner drain.
Step 5: Use a wet/dry vacuum to clear out any remaining clogs
If there are still stubborn clogs in your air conditioner drain pipe after flushing it with vinegar and water, using a wet/dry vacuum can help clear out any remaining debris. A wet/dry vacuum creates suction that can dislodge and remove clogs that cannot be reached with other methods. Follow these steps to utilize a wet/dry vacuum for unclogging the drain:
1. Ensure the appropriate setup: Confirm that your wet/dry vacuum is properly set up for wet vacuuming. This involves removing or adjusting any filters intended for dry vacuuming and attaching the correct nozzle or attachment for water suction.
2. Prepare the vacuum and hose: Connect the hose of the wet/dry vacuum to the appropriate attachment for water suction. Ensure that the hose is securely attached and that all connections are tight to prevent air leaks while you vacuum.
3. Insert the hose into the drain pipe: Carefully insert the end of the vacuum hose into the access point of the air conditioner drain pipe. Make sure that the hose fits securely and creates a seal to maximize suction power.
4. Turn on the wet/dry vacuum: Switch on the wet/dry vacuum and set it to the appropriate mode for water suction. Allow the vacuum to create a strong suction force that will help dislodge and remove any remaining clogs within the drain pipe.
5. Move the hose gently to dislodge the clogs: Once the vacuum is running, gently move the hose within the drain pipe to dislodge any stubborn clogs. Work the hose back and forth and up and down to create agitation and help break apart the debris.
6. Continue vacuuming until the clogs are cleared: Move the vacuum hose throughout the drain pipe, ensuring that you cover the entire length of the pipe. Vacuum for several minutes or until you no longer feel resistance or hear debris being suctioned.
7. Inspect the drain pipe for cleared clogs: After vacuuming, inspect the drain pipe to see if any clogs have been successfully cleared. Use a flashlight to illuminate the inside of the pipe and look for signs of debris or obstructions. If necessary, repeat the vacuuming process to remove any remaining clogs.
Remember to follow the manufacturer’s instructions for your specific wet/dry vacuum model. It’s important to exercise caution and avoid applying excessive force or pressure while using the vacuum to avoid damaging the drain pipe or other components.
Using a wet/dry vacuum can be an effective method to remove stubborn clogs in the air conditioner drain pipe. By creating powerful suction, you can dislodge and eliminate any remaining debris, ensuring optimal drainage for your air conditioner.
Step 6: Test the air conditioner unit
After unclogging the air conditioner drain and ensuring that all obstructions have been cleared, it’s important to test the air conditioner unit to ensure that it is functioning properly. This will help you verify that the clog has been successfully resolved and that the drain is allowing for proper water flow. Follow these steps to test the air conditioner unit:
1. Reconnect the power supply: Before testing the air conditioner, ensure that the power supply to the unit has been properly reconnected. Flip the main power switch back on or turn on the circuit breaker that powers the air conditioner.
2. Set the thermostat to a cool temperature: Adjust the thermostat to a cool temperature setting to prompt the air conditioner to start. Make sure the thermostat is functioning correctly and communicating with the cooling unit.
3. Observe the indoor unit: Watch and listen for the air conditioner’s indoor unit to turn on and start the cooling process. You should hear the sound of the air conditioner’s fan running, and cool air should begin to blow from the vents.
4. Monitor the drain for proper water flow: As the air conditioner operates, keep an eye on the drain for proper water flow. The drain should allow water to flow freely, carrying away any condensation created during the cooling process. There should not be any water leakage or pooling around the indoor unit or the drain pan.
5. Verify that the drain is clear: Check the access point of the drain pipe to ensure that there are no signs of further clogging or blockage. If you spot any obstructions or water backups, it may indicate that there is still an issue with the drain that requires further attention.
6. Repeat the testing process if necessary: If you experience any issues during the testing process, such as water leakage or inadequate cooling, it may indicate that the drain is still partially clogged or that there is another problem with the air conditioner. In such cases, you may need to repeat the unclogging steps or seek professional assistance to diagnose and resolve the issue.
Testing the air conditioner unit after unclogging the drain is essential to ensure proper functioning and to confirm that the issue has been successfully resolved. By closely monitoring the unit and the drain, you can identify any potential problems and take appropriate steps to address them, ensuring optimal performance and efficiency of your air conditioner.
Additional tips and precautions
When unclogging an air conditioner drain, it’s important to keep in mind some additional tips and precautions to ensure a safe and effective process. Consider the following guidelines:
1. Regular maintenance: To prevent future clogs, make a habit of regularly inspecting and cleaning the air conditioner drain. This can help you identify potential blockages before they become major issues and ensure the proper functioning of your system.
2. Use vinegar as a natural cleaner: Vinegar is a safe and effective natural cleaner that can help eliminate dirt, debris, and microbial growth. Incorporating regular vinegar flushes into your maintenance routine can help keep your drain clean and prevent clogs.
3. Avoid harsh chemical cleaners: While vinegar is a natural and safe cleaner, avoid using harsh chemical cleaners to unclog the drain. These chemicals can potentially damage the drain pipe, drain pan, or other components of your air conditioning system.
4. Be mindful of electrical components: When working on the air conditioner unit or the drain, exercise caution around electrical components. Ensure that the power is turned off and take care not to damage any wiring or electrical connections.
5. Properly dispose of wastewater: When flushing the drain pipe, ensure that the wastewater is properly drained or collected. Avoid letting it spill onto the floor or into areas where it may cause damage. Use a bucket or container to collect the wastewater and dispose of it in a suitable manner.
6. Regularly clean the air filter: A dirty air filter can contribute to clogged drain issues. Clean or replace the air filter regularly to improve the air quality and maintain proper airflow through the system. Consult the manufacturer’s instructions for recommended maintenance intervals.
7. Seek professional assistance if needed: If you encounter persistent clogs or experience any difficulties during the unclogging process, it’s best to seek professional assistance. HVAC technicians have the expertise and specialized tools necessary to resolve more complex drain clogs and ensure the optimal performance of your air conditioner.
By following these additional tips and precautions, you can maintain a properly functioning air conditioner drain and prevent future clogs. Remember to prioritize safety and consult a professional for any concerns or issues that may require expert assistance.
Conclusion
Unclogging the air conditioner drain in your house is a crucial maintenance task that helps ensure the efficient and reliable operation of your cooling system. By following the step-by-step process outlined in this guide, you can effectively clear any clogs and restore proper drainage to your air conditioner.
We began by emphasizing the importance of unclogging an air conditioner drain to prevent water damage, mold growth, and reduced cooling efficiency. Recognizing the signs of a clogged drain, such as water leakage, musty odor, and reduced cooling performance, is essential for taking timely action.
Before starting the unclogging process, it is important to gather the necessary tools and materials, including a wet/dry vacuum, vinegar, pipe brush, towel, and safety goggles. These items will ensure a smooth and effective unclogging procedure.
The step-by-step process includes locating the air conditioner drain, turning off the unit, removing any obstructions from the drain pipe, flushing the pipe with a mixture of vinegar and warm water, using a wet/dry vacuum to clear out remaining clogs, and finally, testing the air conditioner to verify proper functionality.
We also provided additional tips and precautions, such as practicing regular maintenance, using vinegar as a natural cleaner, avoiding harsh chemicals, and being mindful of electrical components. Following these guidelines will help ensure a safe and successful unclogging process.
In conclusion, maintaining a clear and properly functioning air conditioner drain is key to the overall performance and longevity of your cooling system. By taking the time to unclog the drain and incorporating regular maintenance, you can enjoy efficient cooling, prevent water damage, and maintain a healthy indoor environment.
If you encounter persistent clogs or have any concerns about the unclogging process, it is always advisable to seek assistance from a professional HVAC technician. They have the expertise and knowledge to address more complex issues and ensure the optimal functioning of your air conditioner.
Keep in mind that a well-maintained air conditioner can provide the comfort you need during hot summer days while avoiding unnecessary repairs and expenses. By investing time and effort into unclogging the air conditioner drain, you are taking a proactive step towards maintaining a cool and comfortable home.
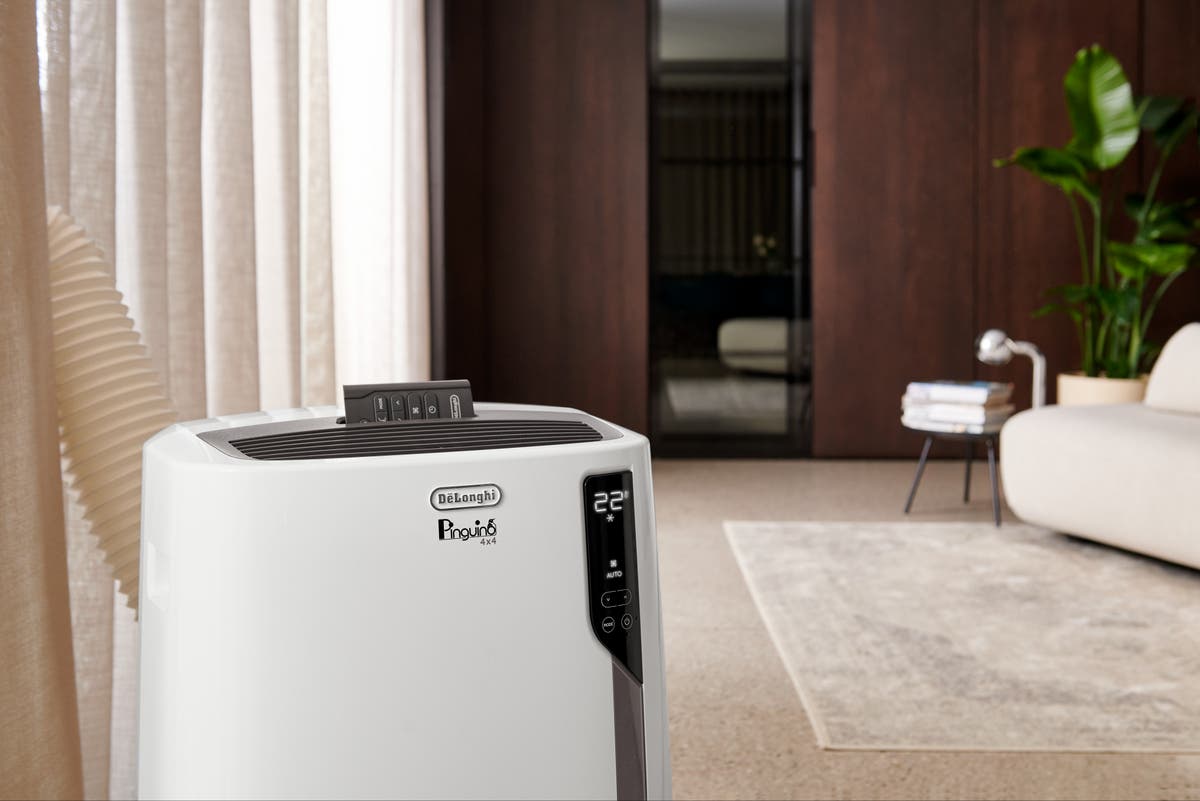
Ready to tackle more air conditioner maintenance? If you've got a portable unit, understanding how to manage its AC drain line can keep your space cool and efficiently running. Maintaining your AC not only extends its lifespan but also improves air quality. For a step-by-step guide on draining your portable AC, check out our detailed article.
Frequently Asked Questions about How To Unclog An Air Conditioner Drain In A House
Was this page helpful?
At Storables.com, we guarantee accurate and reliable information. Our content, validated by Expert Board Contributors, is crafted following stringent Editorial Policies. We're committed to providing you with well-researched, expert-backed insights for all your informational needs.