Home>Home Maintenance>What Size Hole For A Dryer Vent
Home Maintenance
What Size Hole For A Dryer Vent
Modified: March 6, 2024
Find out the ideal hole size for a dryer vent in this comprehensive guide. Ensure proper home maintenance with the right measurements.
(Many of the links in this article redirect to a specific reviewed product. Your purchase of these products through affiliate links helps to generate commission for Storables.com, at no extra cost. Learn more)
Introduction
Welcome to our comprehensive guide on what size hole to cut for a dryer vent. Proper ventilation is crucial for the efficient operation of your dryer and for preventing the buildup of moisture and lint, which can lead to safety hazards and decrease the lifespan of your appliance. In this article, we will provide you with general guidelines and important factors to consider when determining the size of the hole for your dryer vent.
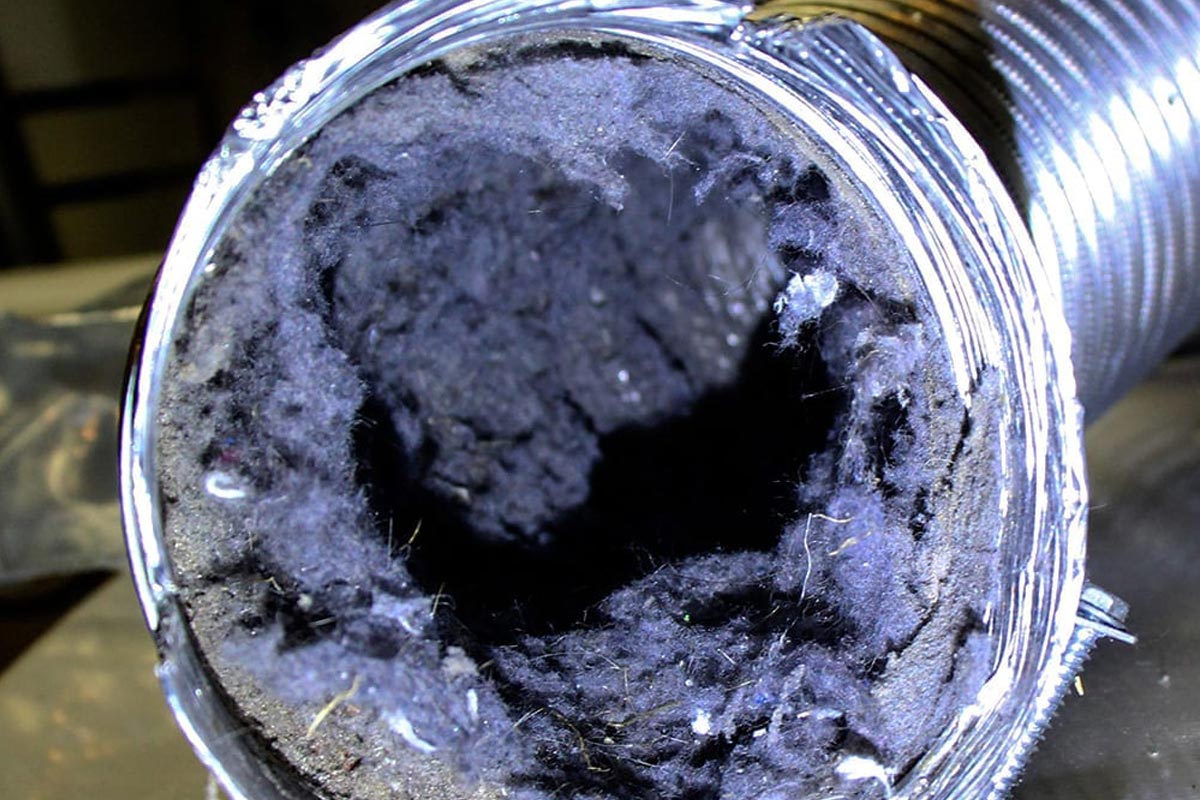
Before we dive into the specifics, it is essential to understand the importance of proper ventilation. A dryer vent allows hot air, lint, and moisture to exit your home, reducing the risk of fire, improving air quality, and preventing damage to your dryer. To ensure optimal airflow, the size of the hole should be appropriate for the capacity of your dryer and the length of the venting system.
Now, let’s explore the key considerations when determining the right size of the hole for your dryer vent.
Key Takeaways:
- Proper ventilation is crucial for a dryer’s efficiency and safety. Follow manufacturer’s guidelines, consider venting system length, and choose the right materials for optimal airflow.
- Cutting the right size hole for a dryer vent is essential. Consider dryer capacity, venting system size, and future maintenance for a successful installation and improved performance.
Read more: What Size Vent For Dryer
General Guidelines
When it comes to cutting a hole for a dryer vent, there are a few general guidelines to follow. These guidelines will help ensure proper ventilation and prevent any disruptions to the airflow. Here are some key points to keep in mind:
- Refer to the manufacturer’s recommendations: The first step is to consult the manufacturer’s instructions for your specific dryer model. These instructions typically provide specifications for the size and location of the vent opening. Following these guidelines will help maintain the warranty of your dryer and ensure its optimal performance.
- Consider the venting system length: The length of your venting system plays a crucial role in determining the size of the hole. Longer venting systems require larger holes to prevent airflow restrictions. If your dryer is located far from an exterior wall, consider using a more powerful dryer or installing a booster fan to compensate for the additional distance.
- Investigate local building codes: Check with your local building codes to ensure compliance with any regulations regarding dryer vents. Some areas may have specific requirements and restrictions on venting systems, including the size of the hole and the materials used. It is always better to be safe and avoid any potential issues down the line.
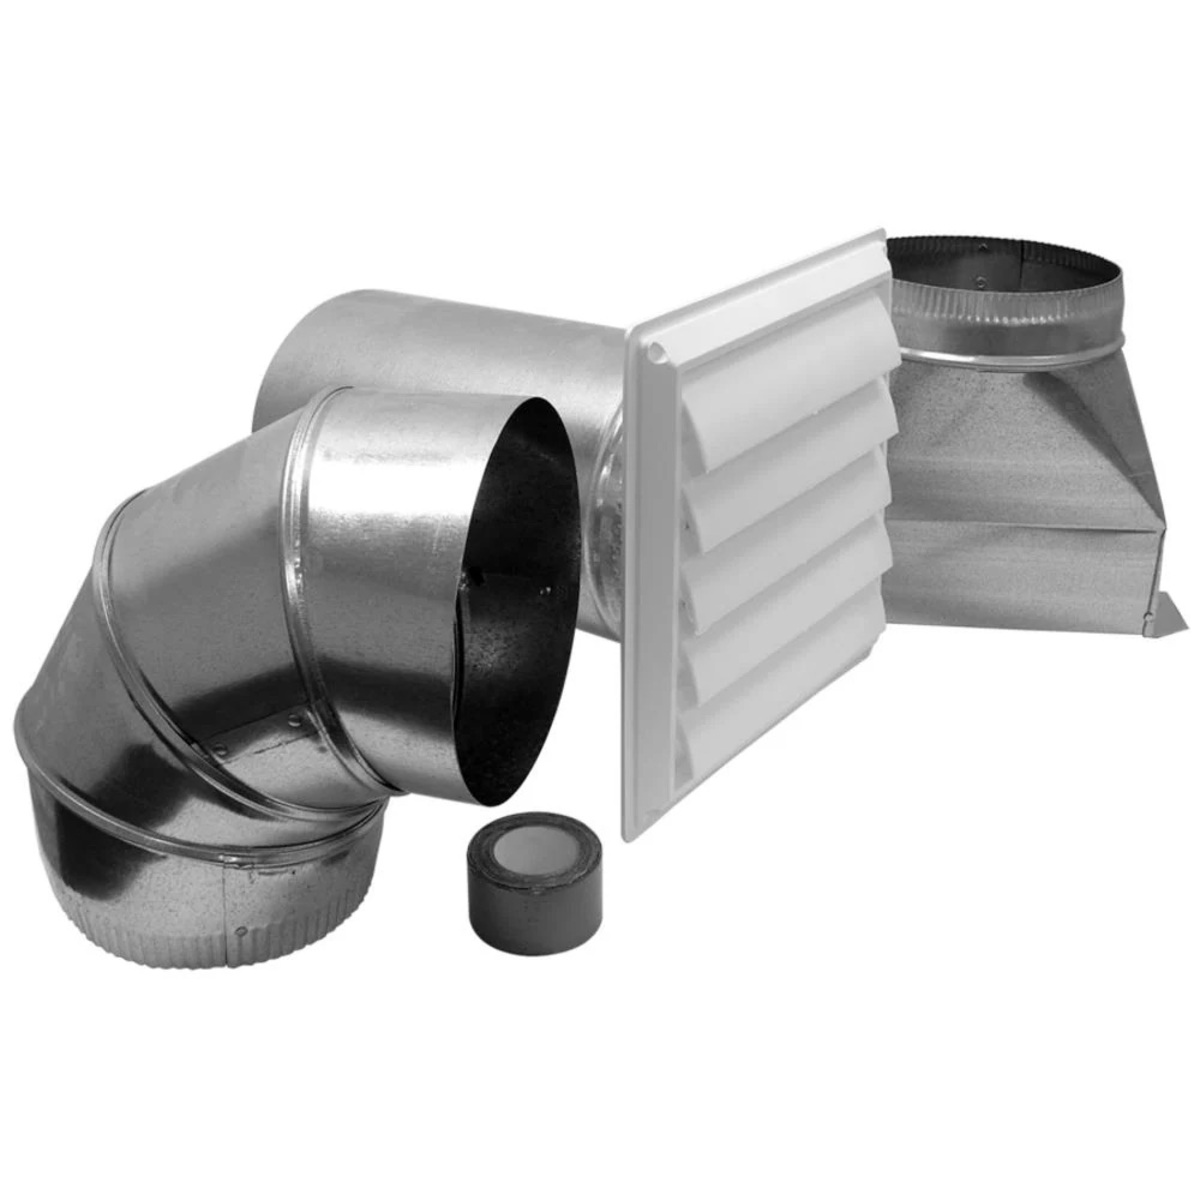
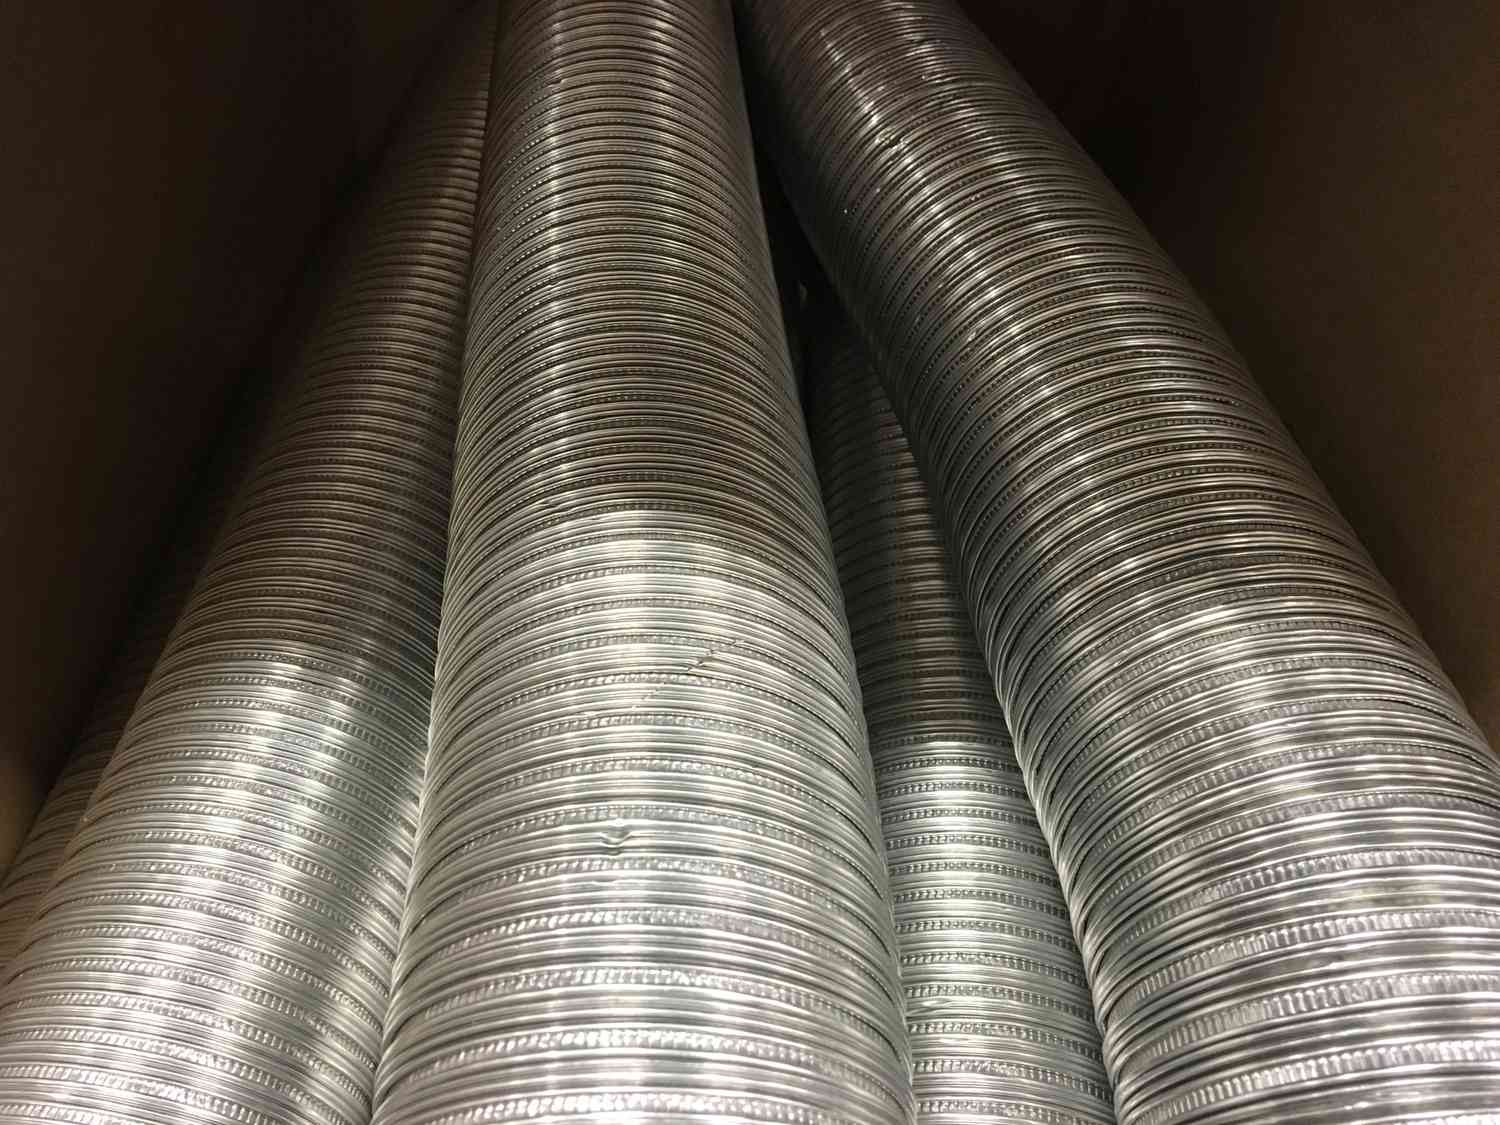
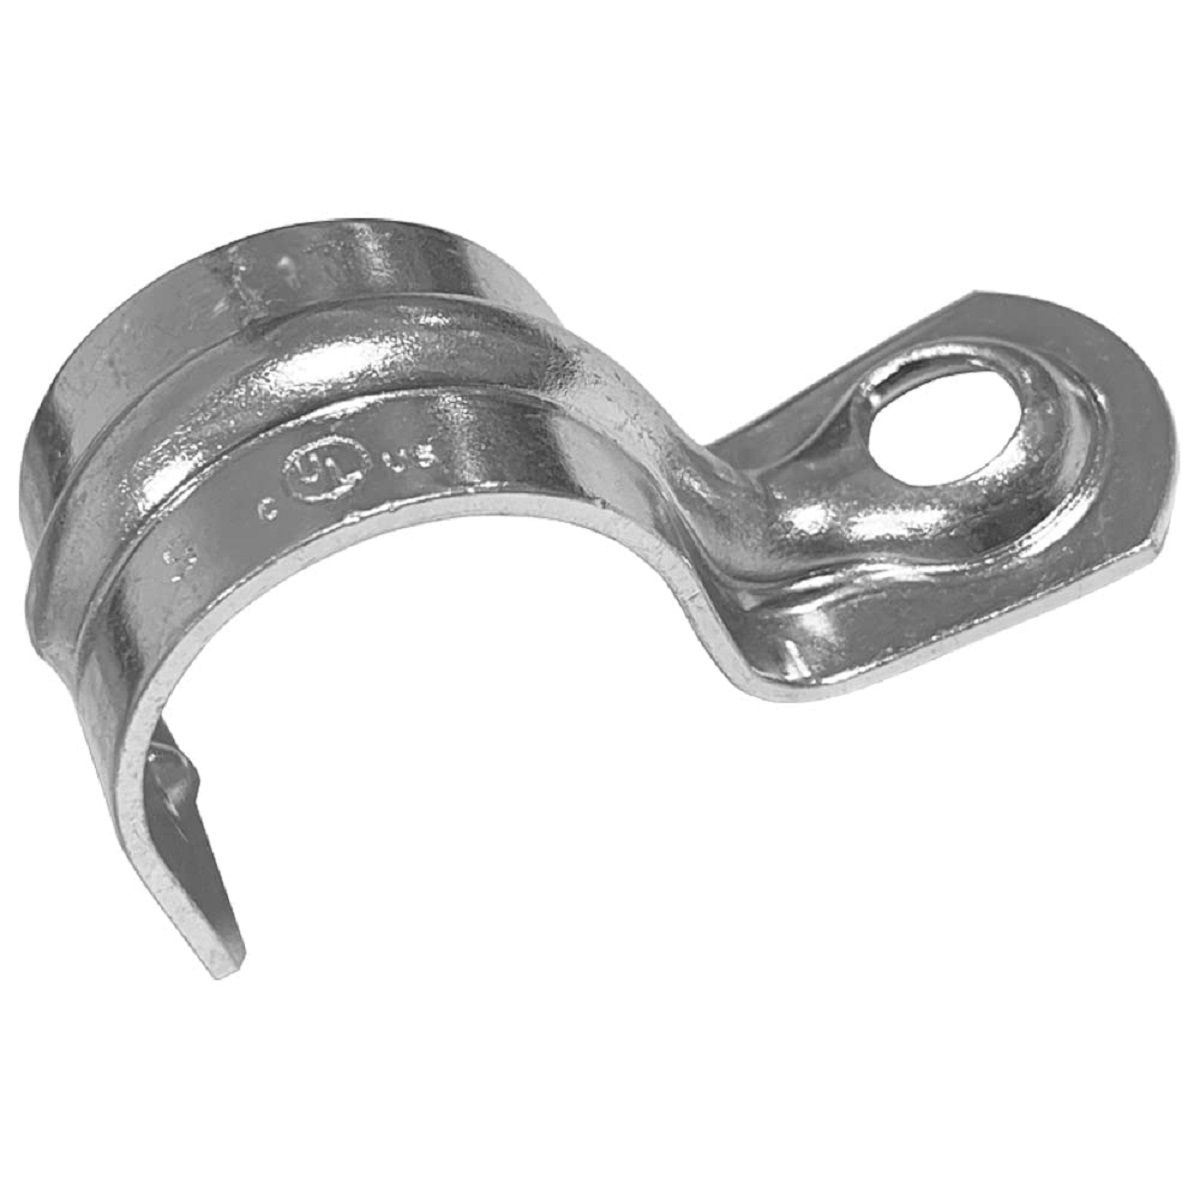
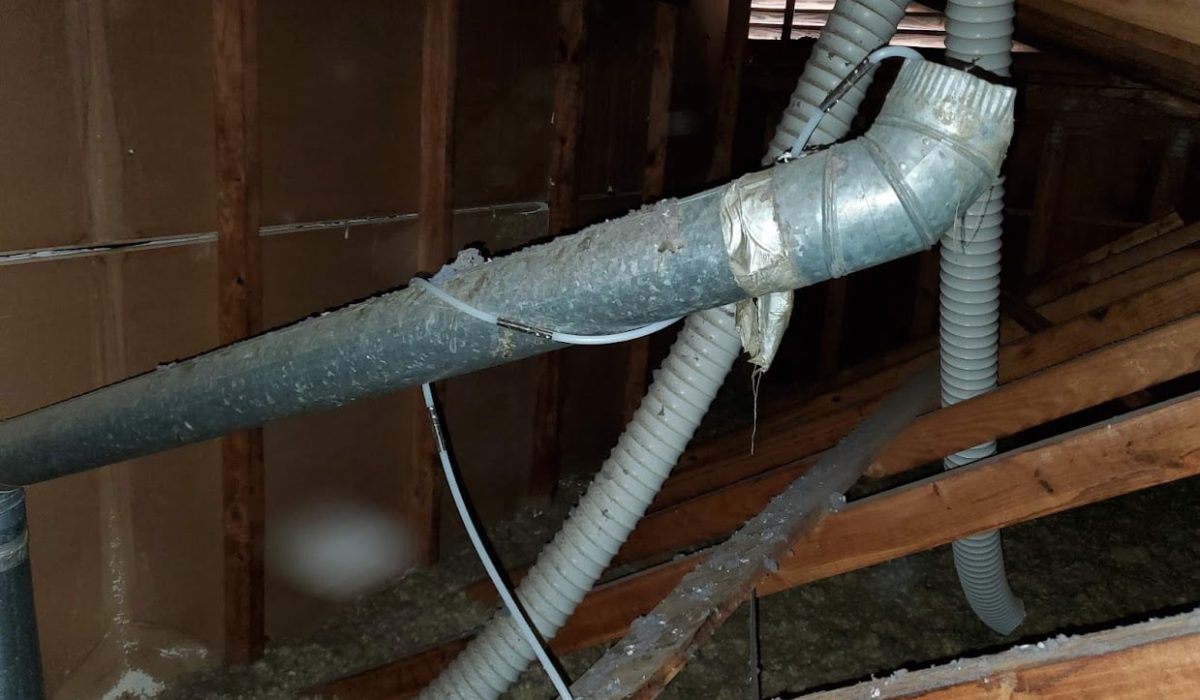
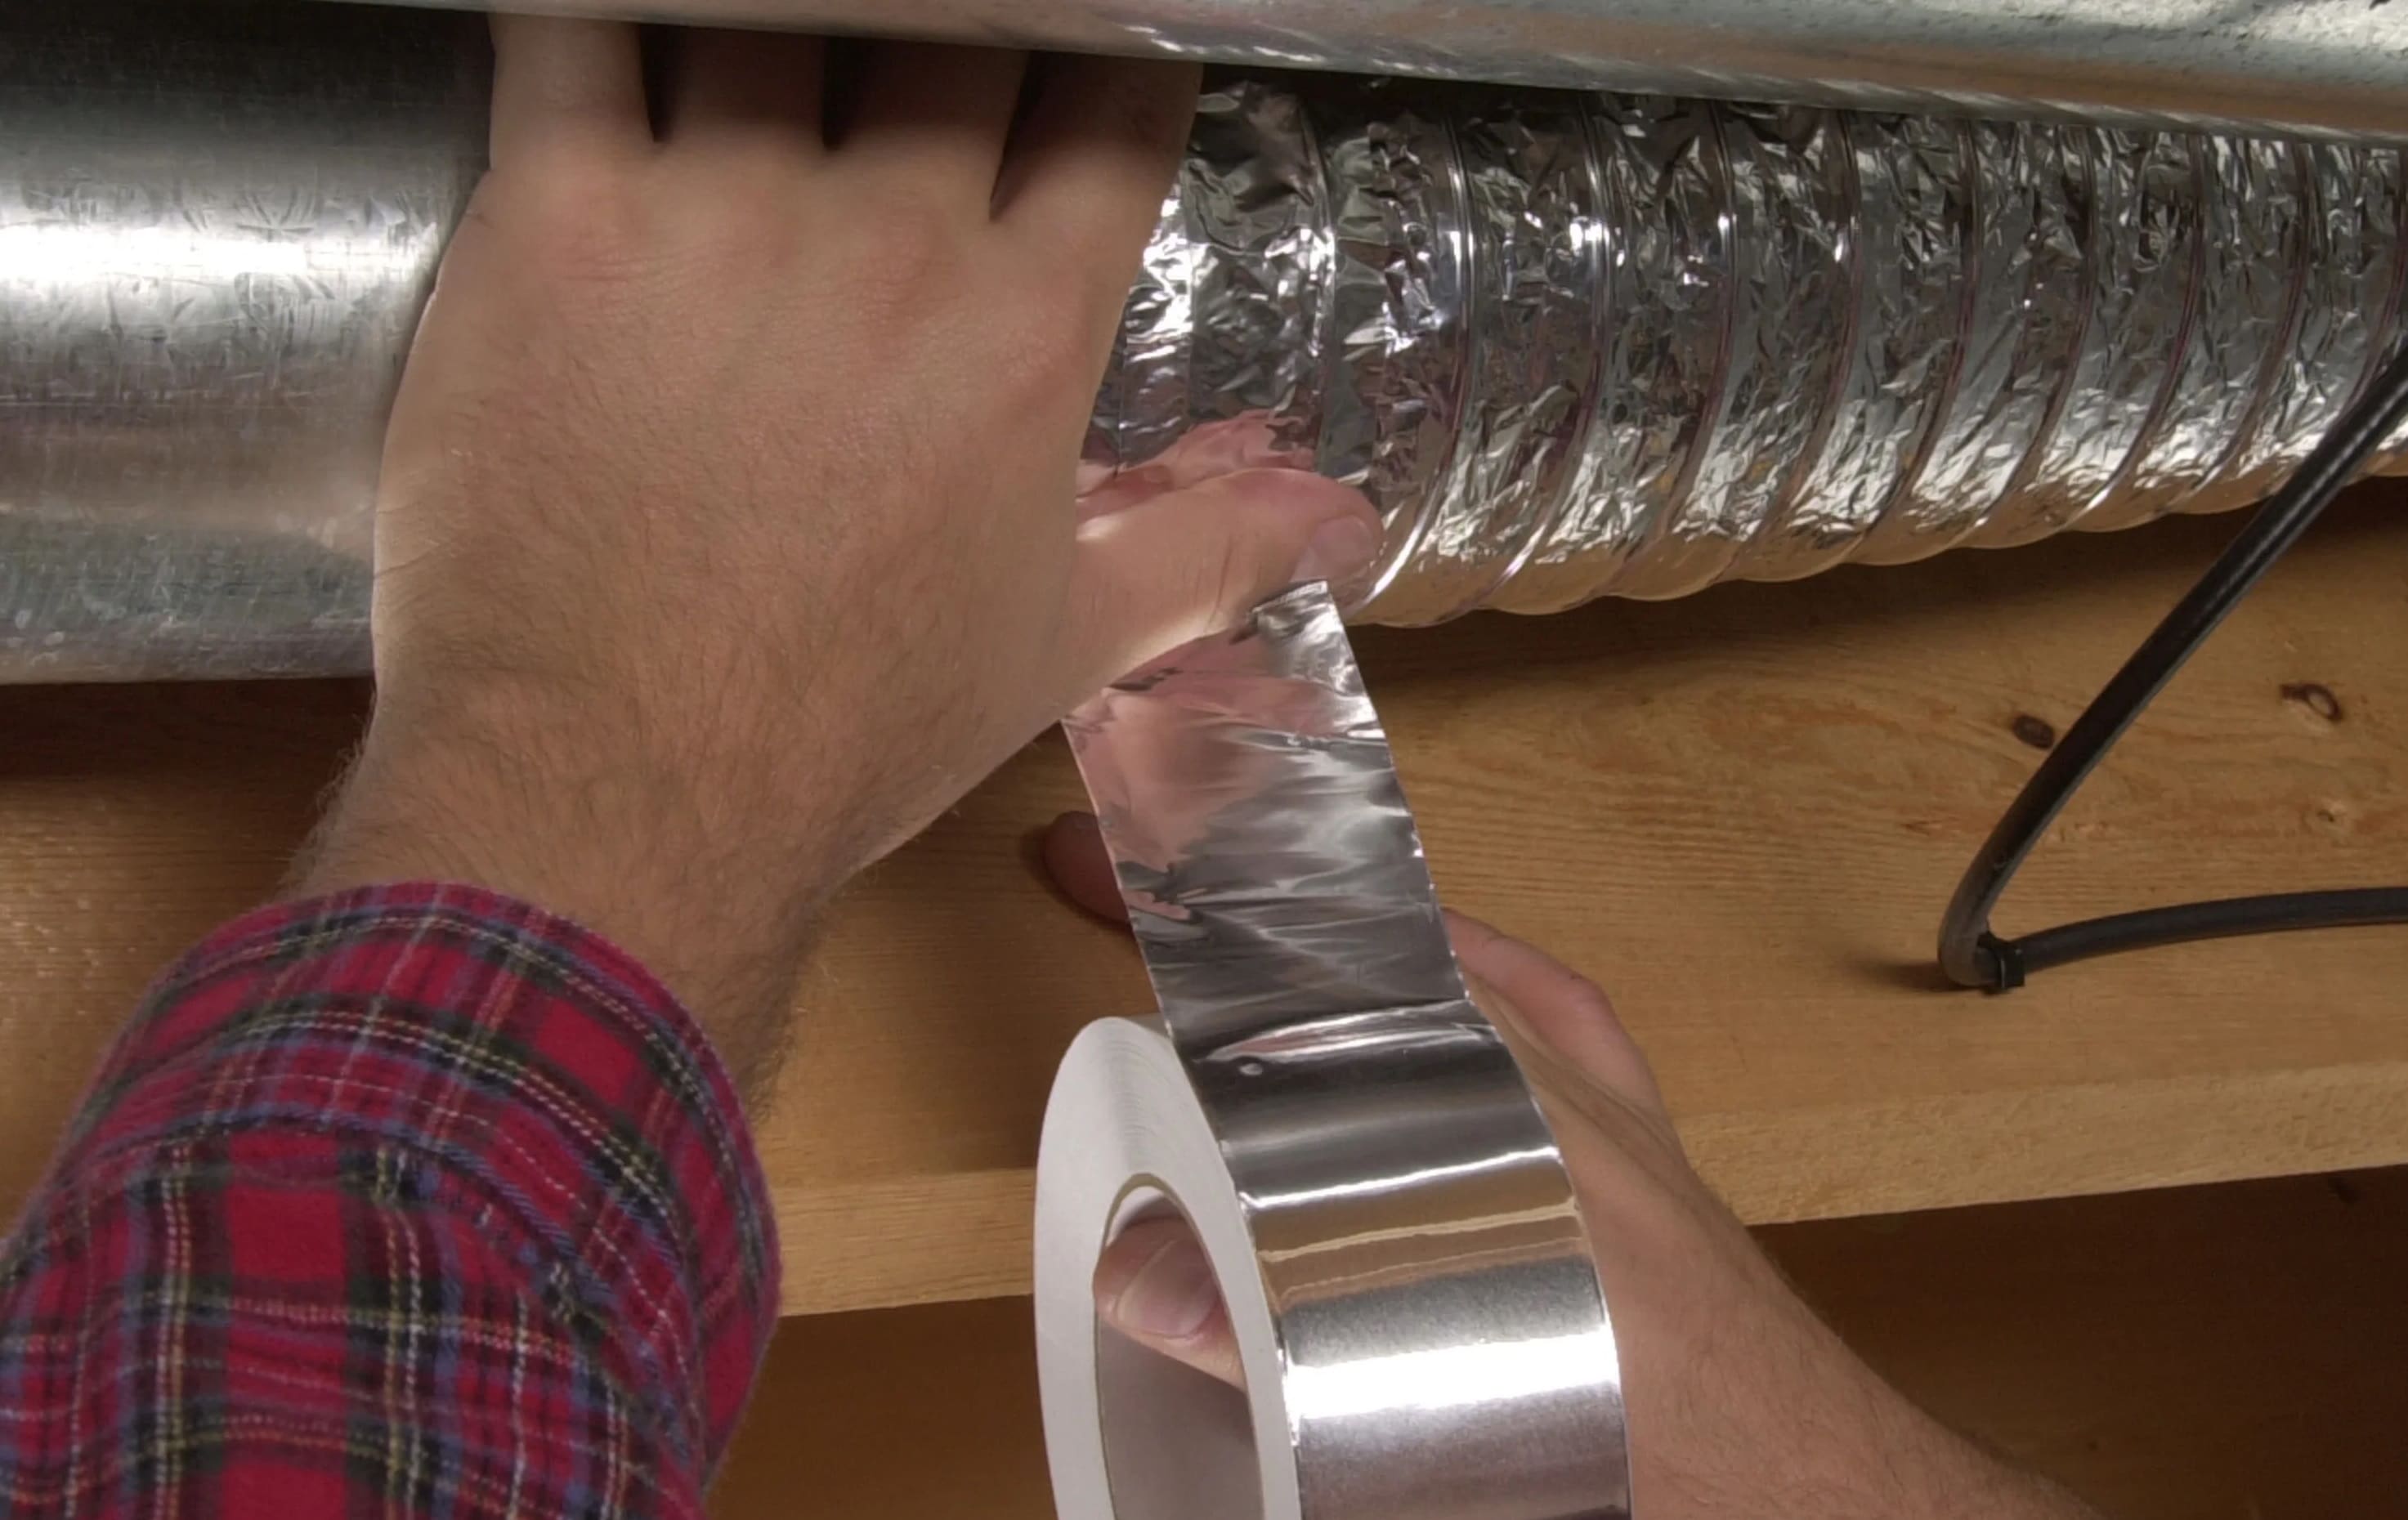
- Choose the right material: Opt for a rigid metal duct, such as galvanized steel or aluminum, for your dryer vent. This type of material is more durable, resistant to heat, and less likely to accumulate lint compared to flexible plastic or foil ducts.
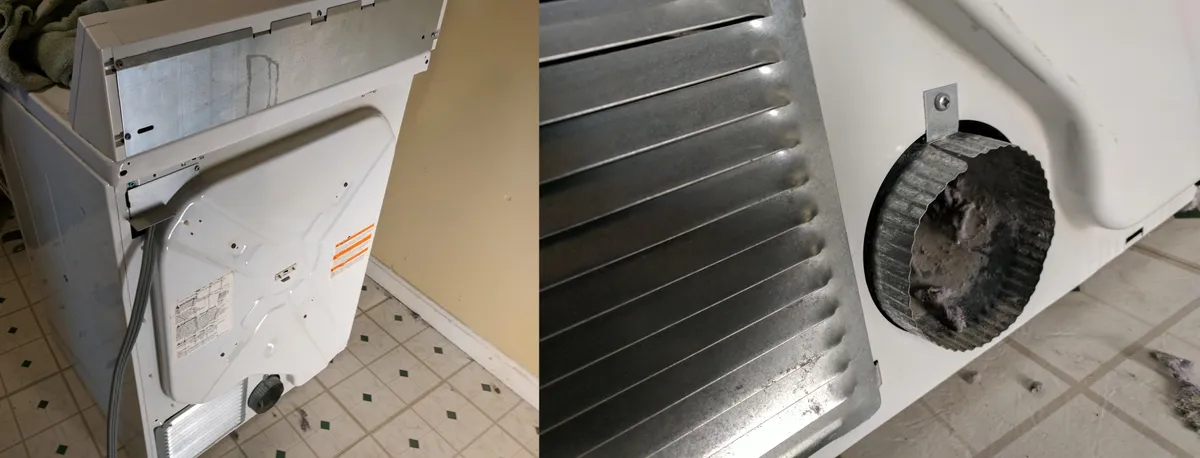
- Consider future maintenance: It is essential to think about accessibility for future vent cleaning or repairs. Ensure that the hole is large enough for easy access, allowing you to clean the vent and remove any obstructions effectively.
By following these general guidelines, you can ensure that your dryer vent hole is properly sized and meets the necessary requirements for optimal ventilation. Now, let’s move on to how to determine the specific size of the hole for your dryer vent.
Determining the Hole Size
Determining the correct size of the hole for your dryer vent is crucial for maintaining efficient airflow and preventing potential hazards. Here are some factors to consider when determining the size of the hole:
- Dryer capacity: The size of the hole will depend on the capacity of your dryer. Larger dryers with higher capacities generally require larger vent openings to accommodate the increased airflow. Check the manufacturer’s specifications or consult the dryer’s user manual to find the recommended hole size based on your dryer’s capacity.
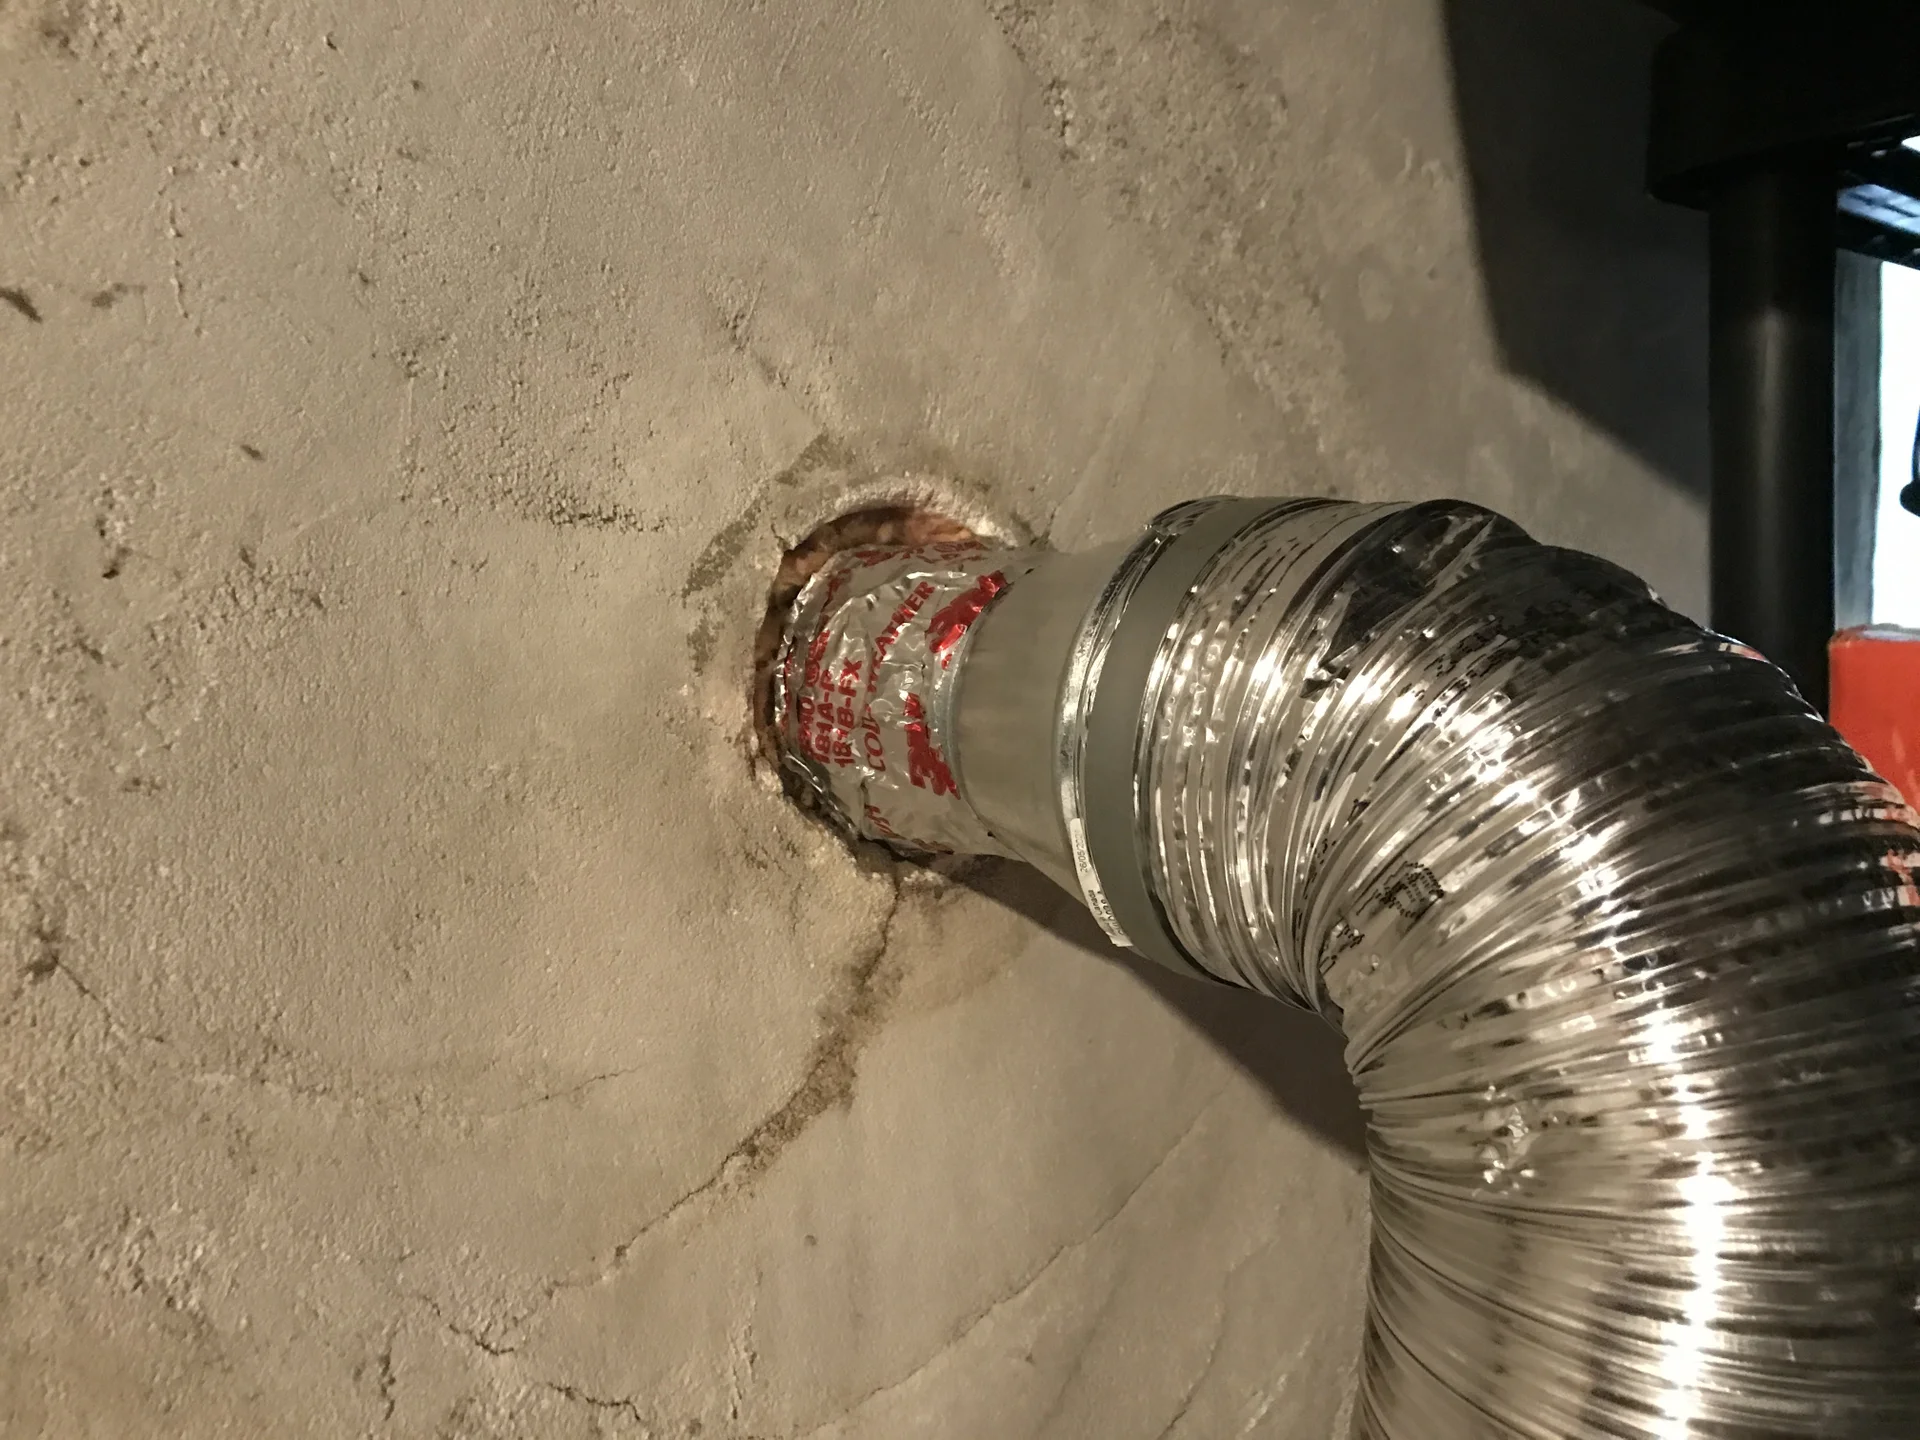
- Venting system size: The diameter of the vent pipe used in the venting system will determine the size of the hole. Common sizes for dryer vent pipes are 4 inches and 6 inches. Ensure that the diameter of the hole matches the diameter of the vent pipe to maintain proper airflow.
- Avoid kinks and restrictions: It is crucial to avoid sharp bends or kinks in the vent pipe and to minimize any restrictions that could hinder the airflow. A properly sized hole will allow for smooth passage of the vent pipe, preventing any obstructions that could compromise the efficiency of your dryer.
- Consider additional venting components: If you are using additional components in your venting system, such as elbows or connectors, you need to factor them into the size calculations. These components may require larger holes to accommodate the increased diameter of the vent pipe at those points.
- Ensure proper clearance: The hole should be large enough to allow for sufficient clearance between the vent pipe and any surrounding objects. This clearance helps prevent potential fire hazards and ensures that the vent pipe is not compressed or obstructed, allowing for proper airflow.
By taking these factors into account, you can determine the appropriate size of the hole for your dryer vent. It is crucial to ensure that the hole size matches the specifications of your dryer and venting system to maintain optimal performance and safety.
Now that we have covered the factors to consider when determining the hole size, let’s move on to the tools you will need for cutting the hole.
Factors to Consider
When cutting a hole for a dryer vent, it is essential to consider several factors to ensure proper installation and functionality. Here are some key factors to keep in mind:
- Location: Determine the most suitable location for the dryer vent hole, keeping in mind factors such as accessibility, aesthetics, and proximity to an exterior wall. The hole should be placed in a convenient location that allows for efficient venting without obstructing any existing structures or utility lines.
- Length of the venting system: The length of the venting system plays a crucial role in determining the efficiency of your dryer. Longer venting systems require larger holes to prevent airflow restrictions and ensure proper ventilation. Consider the distance between your dryer and the exterior wall and adjust the hole size accordingly.
- Venting requirements: Different dryers may have specific venting requirements based on their design and specifications. It is crucial to refer to the manufacturer’s recommendations regarding the type and size of the venting system, as well as any specific guidelines for the hole size. Following these requirements will help maintain the efficiency and longevity of your dryer.
- Obstacles: Take into account any potential obstacles that may affect the installation of the venting system or the size of the hole. Obstacles can include pipes, beams, or other structural elements. Consider the clearance required between the vent pipe and any obstacles to ensure proper airflow and prevent potential fire hazards.
- Future maintenance: It is important to think about future maintenance and accessibility when determining the size of the hole. A properly sized hole should allow for easy access to clean the vent and remove any lint or obstructions that may accumulate over time. Ensure that the hole is large enough to fit your hand or a cleaning brush comfortably.
- Noise reduction: If noise reduction is a concern, you may consider using insulated flexible ducts or adding soundproofing materials around the vent pipe to minimize noise transmission. However, it is crucial to ensure that these modifications do not restrict airflow or compromise the efficiency of the venting system.
By considering these factors, you can make informed decisions when cutting the hole for your dryer vent. Taking into account the specific requirements of your dryer, the length of the venting system, and any potential obstacles will help ensure a properly sized and functional hole.
Now that you understand the factors to consider, let’s move on to the tools you will need for cutting the hole.
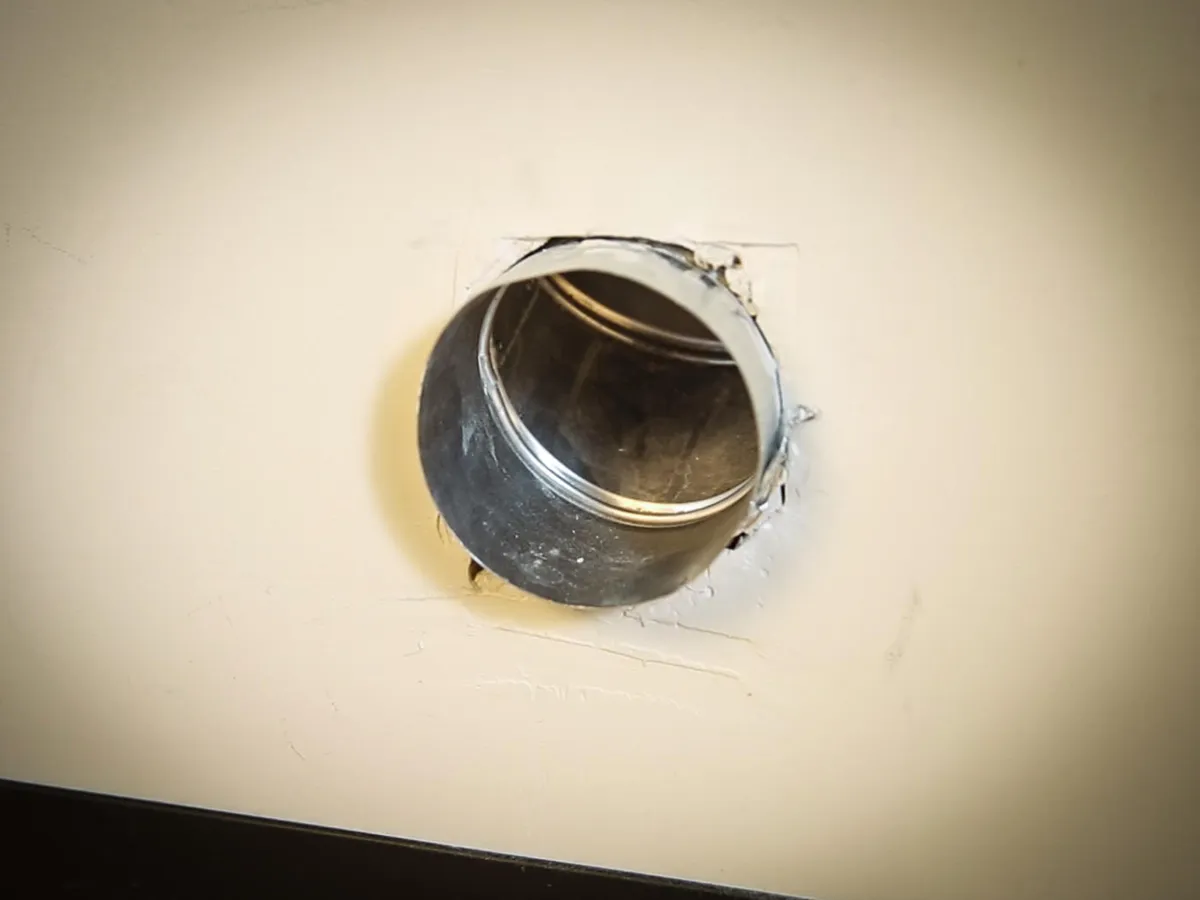
When installing a dryer vent, use a 4-inch hole saw to create the opening in the wall. This is the standard size for most dryer vents and will ensure proper ventilation for your dryer.
Required Tools
Before you begin cutting the hole for your dryer vent, you will need to gather a few essential tools. Having the right tools on hand will ensure a smooth and accurate installation process. Here are the tools you will need:
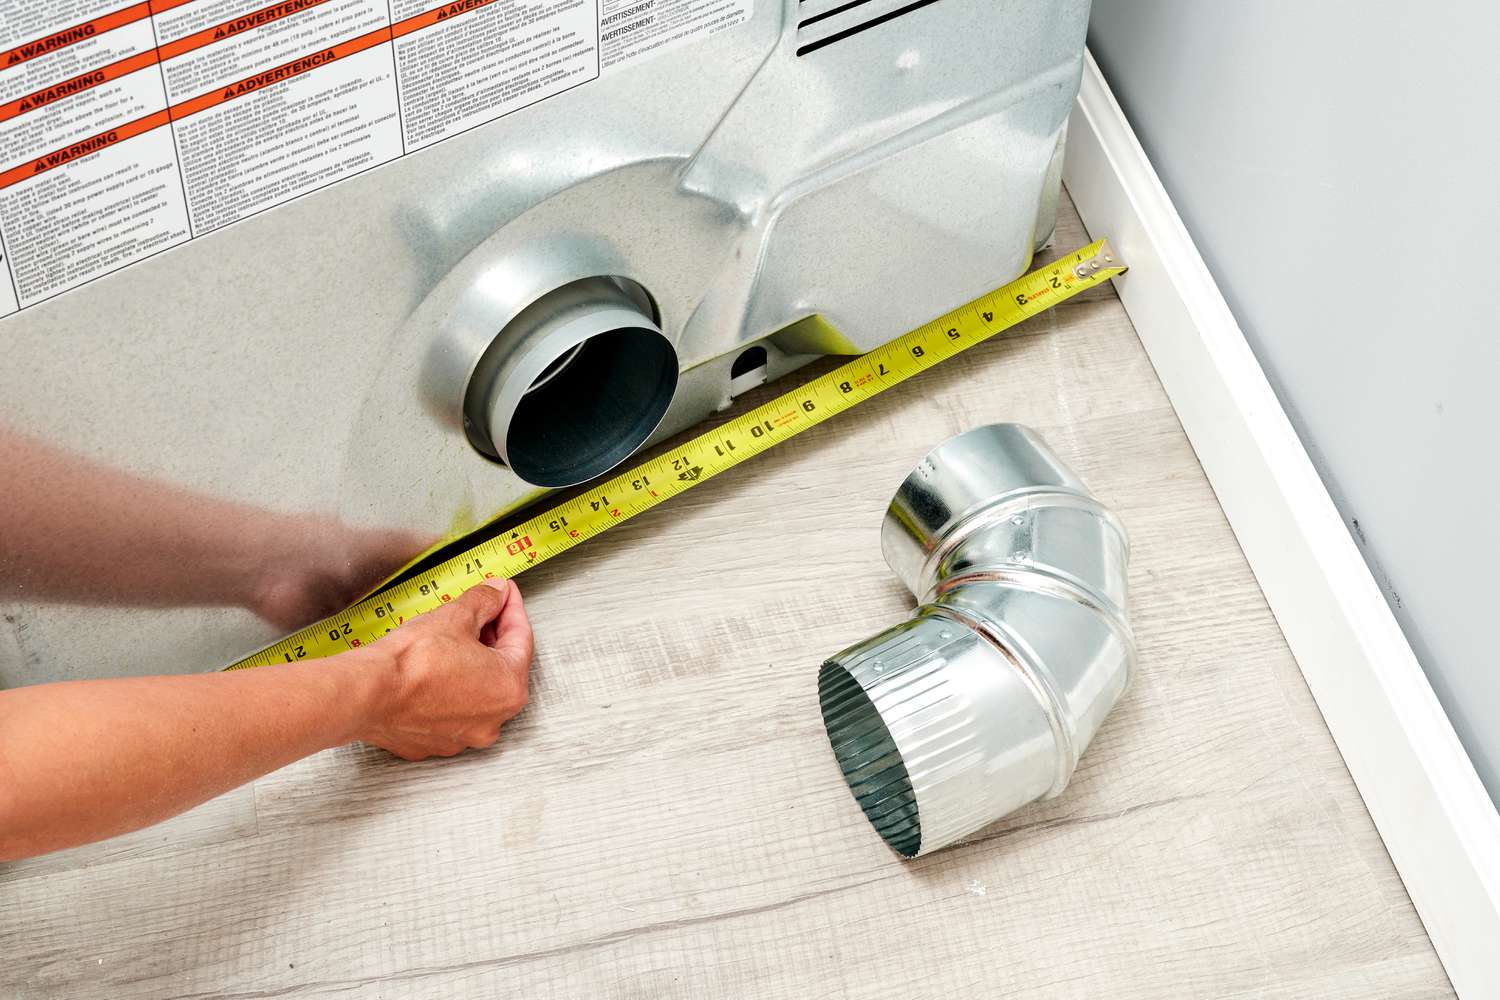
- Measuring tape: A measuring tape is essential for accurately measuring the dimensions of the hole. Use it to measure the diameter of the vent pipe and ensure precision when marking the location of the hole.
- Pencil or marker: You will need a pencil or marker to mark the exact location and dimensions of the hole. Make sure to use a marker that stands out against the surface you are working on.
- Saw or hole saw: Depending on the material of the wall or surface you are cutting through, you may need a saw or a hole saw. A saw can be used for cutting through drywall or wood, while a hole saw is specifically designed for cutting through harder materials like bricks or masonry.
- Drill: If you are using a hole saw, you will need a drill to create the initial hole before inserting the saw. Even if you are not using a hole saw, having a drill on hand can be useful for making pilot holes or other necessary adjustments.
- Safety equipment: Always prioritize safety when working with tools. You should have safety goggles to protect your eyes from debris, gloves to protect your hands, and a dust mask to prevent inhaling any dust or particles. It is also advisable to have a drop cloth or plastic sheeting to protect the surrounding area from dust or debris.
By ensuring you have these tools readily available, you can proceed with confidence when cutting the hole for your dryer vent. Remember to prioritize safety by wearing protective gear and taking necessary precautions to prevent accidents or damage to your property.
Now that you have gathered the required tools, let’s move on to the step-by-step process of cutting the hole for your dryer vent.
Read more: What Size Is The Dryer Vent
Steps to Cut the Hole
Now that you have the necessary tools and are ready to proceed, here are the step-by-step instructions to cut the hole for your dryer vent:
- Choose the location: Determine the best location for the dryer vent hole. Ideally, it should be near the dryer and close to an exterior wall. Keep in mind any clearance requirements and avoid any obstacles that may impede the airflow.
- Measure and mark: Measure the diameter of the vent pipe and use a measuring tape to mark the appropriate dimensions on the wall or surface where the hole will be cut. Use a pencil or marker to ensure the marks are easily visible.
- Prepare the area: Clear the surrounding area and cover any nearby objects or furniture with a drop cloth or plastic sheeting to protect them from dust or debris. If necessary, remove any electrical outlets or switches that may be in the way or obstruct the hole cutting process.
- Make pilot holes: If you are using a hole saw, start by making pilot holes along the marked circle. Use a drill with a small drill bit to create these pilot holes, which will guide the hole saw and prevent any potential damage to the surrounding area.
- Cut the hole: Once you have made the pilot holes, insert the hole saw or the appropriate cutting tool into one of the holes and begin cutting along the marked circle. Apply consistent pressure and use a steady motion to ensure a clean and accurate cut. Take breaks as needed to remove any accumulated debris or to cool down the cutting tool.
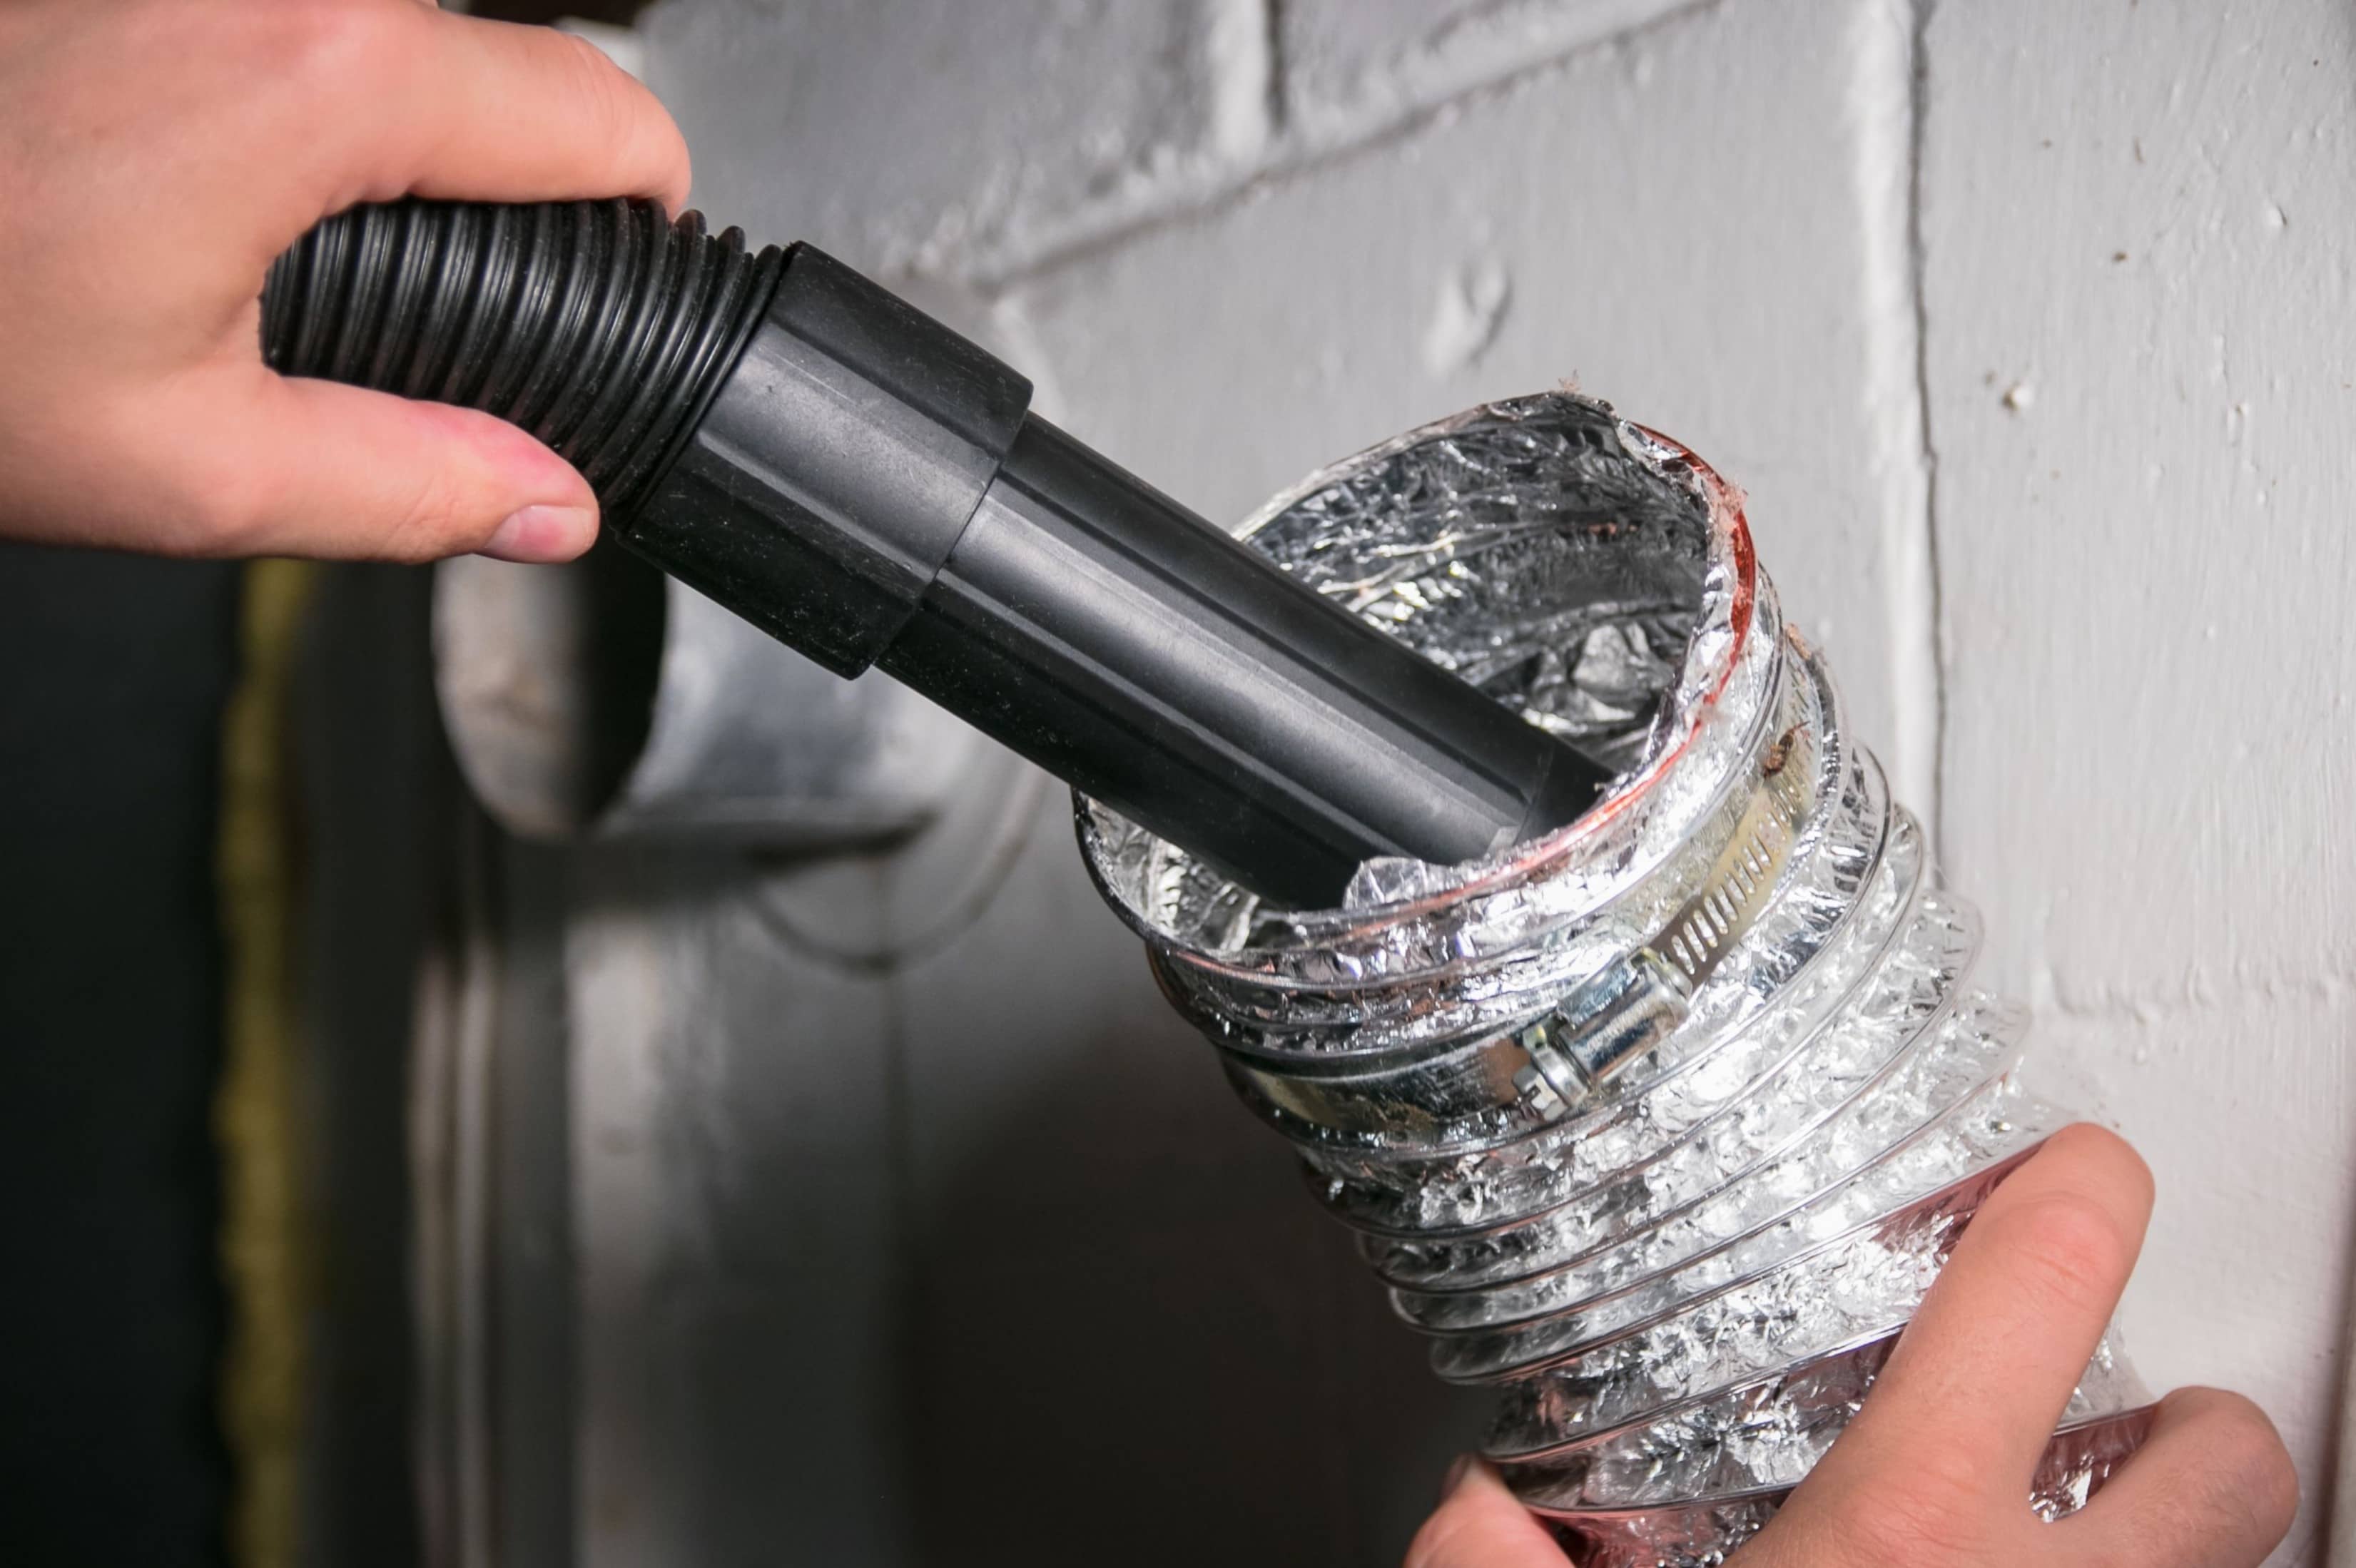
- Check and adjust the hole: After cutting the hole, remove any excess debris or dust from the area. Check the size of the hole to ensure it matches the dimensions of the vent pipe. Make any necessary adjustments using a file or sandpaper to smoothen the edges and ensure a proper fit.
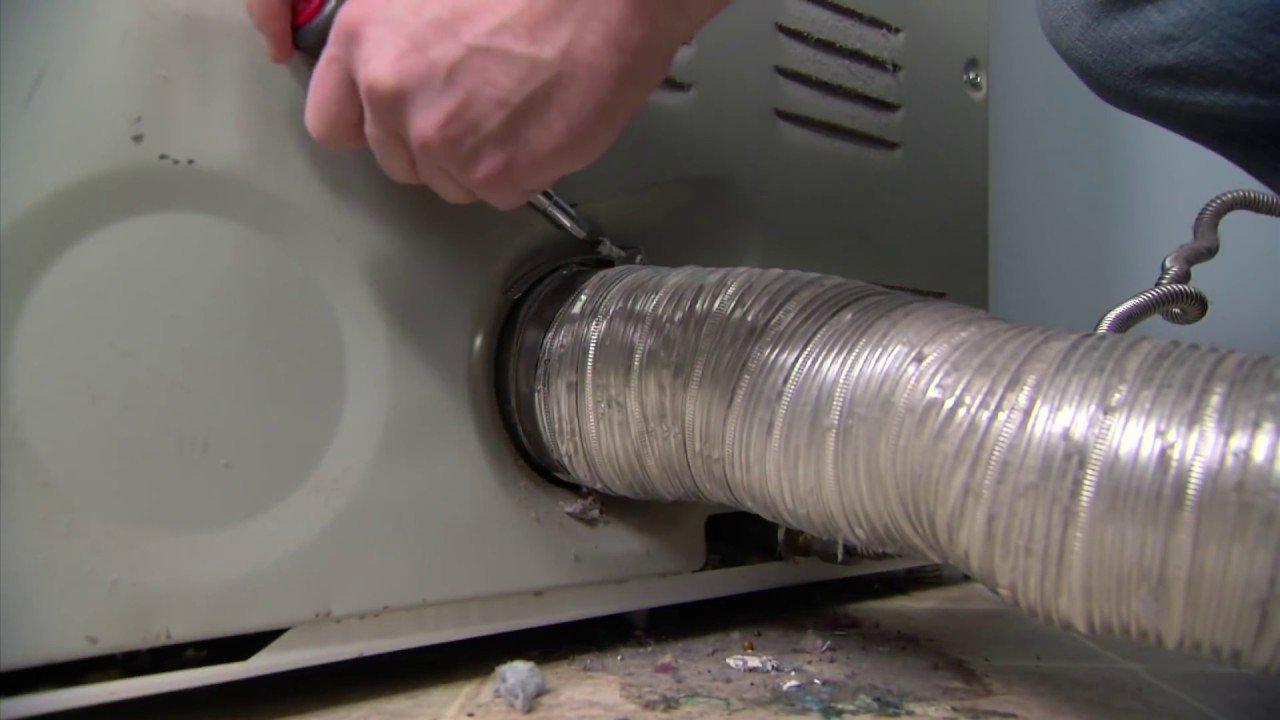
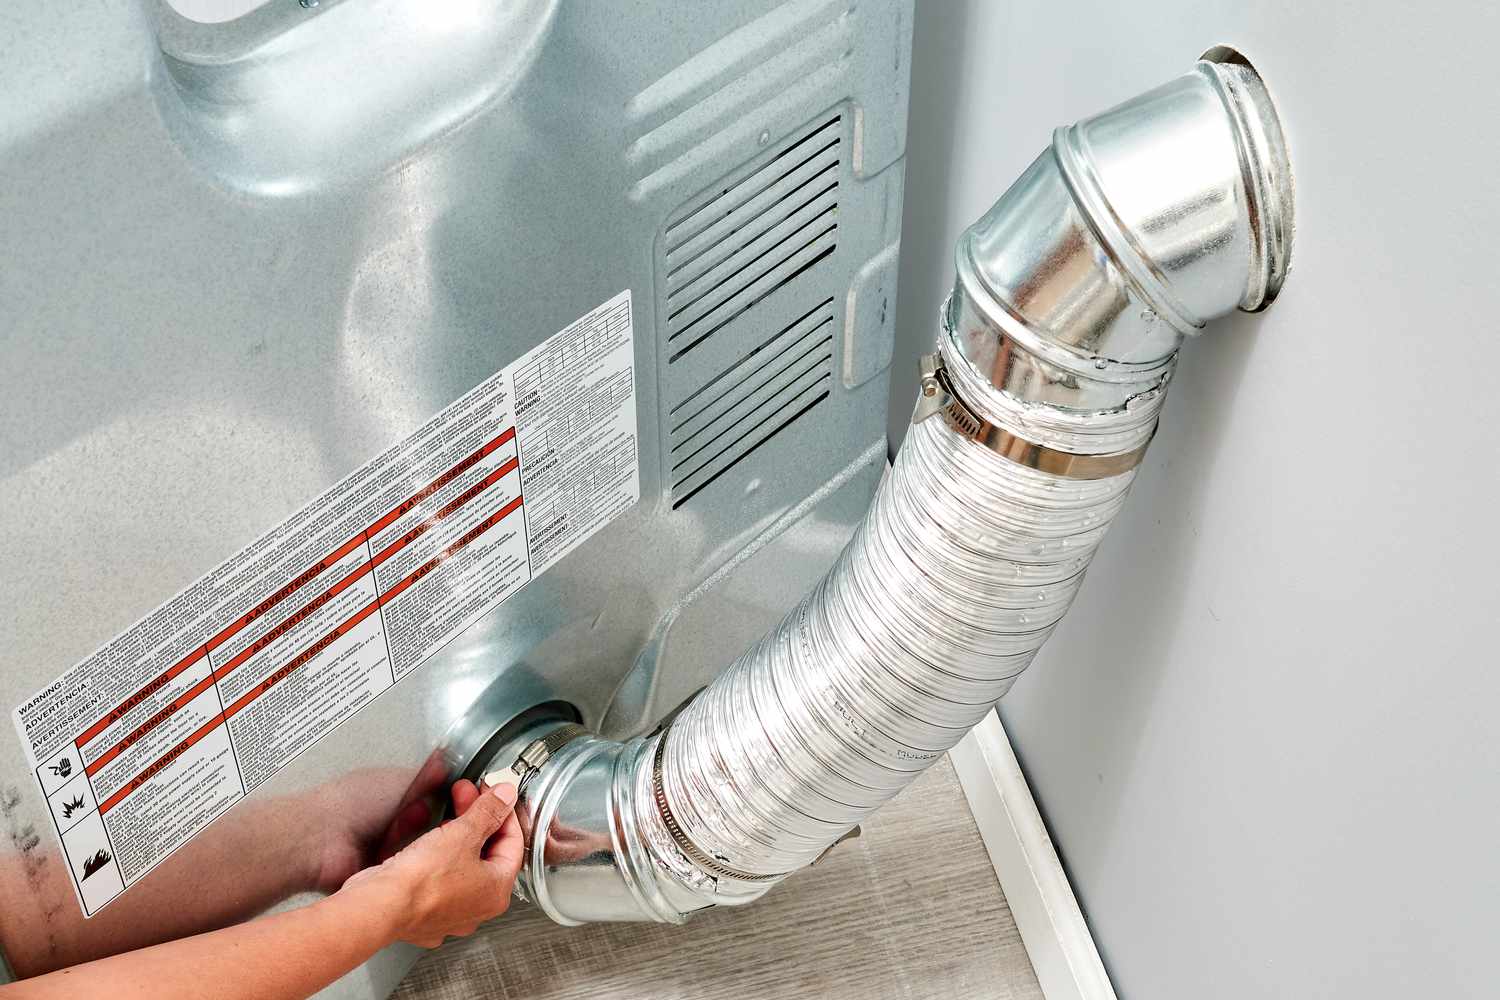
- Install the vent and secure: Once the hole is cut and adjusted, insert the vent pipe through the hole and secure it in place. Use clamps, screws, or appropriate connectors as per the manufacturer’s instructions to ensure a tight and secure connection.
- Test for proper airflow: After securing the vent pipe, turn on the dryer and check for proper airflow. Make sure that the dryer is expelling hot air and that there are no obstructions or leaks around the vent. If necessary, make further adjustments or seek professional assistance to ensure optimal ventilation.
By following these steps, you can successfully cut the hole for your dryer vent and ensure proper ventilation for your dryer. Remember to take your time, work carefully, and prioritize safety throughout the process.
Now that you have completed the hole cutting process, you can enjoy the benefits of a properly installed dryer vent. Proper ventilation will not only prevent safety hazards but also help prolong the life of your dryer and improve its overall performance.
Conclusion
Proper ventilation is essential for the efficient operation of your dryer and the safety of your home. Cutting the right size hole for your dryer vent is crucial to ensure optimal airflow and prevent potential hazards. By following the guidelines and considering the factors discussed in this article, you can confidently determine the appropriate size of the hole for your dryer vent.
Remember to consult the manufacturer’s recommendations, consider the length of the venting system, and choose the right materials for your venting components. Taking into account factors such as location, obstacles, and future maintenance will help ensure a successful installation and optimal performance.
Gathering the necessary tools and following the step-by-step process of cutting the hole will allow you to complete the installation with ease. Take the time to measure and mark accurately, make pilot holes if using a hole saw, and cut the hole carefully to achieve a clean and proper fit for the vent pipe.
After completing the installation, test for proper airflow to ensure that the vent is functioning correctly and without any obstructions. Regularly maintain and clean your dryer vent to remove lint buildup and prevent any potential blockages.
By following these guidelines, you can enjoy the benefits of a well-ventilated dryer, including improved energy efficiency, reduced fire risks, and longer appliance lifespan. If you are unsure about any aspect of the installation process or want to ensure professional results, it is always recommended to seek assistance from a qualified technician.
Thank you for reading our comprehensive guide on what size hole to cut for a dryer vent. We hope this article has provided you with valuable insights and helpful instructions to complete your installation successfully. Stay safe and enjoy the benefits of a properly ventilated dryer!
Frequently Asked Questions about What Size Hole For A Dryer Vent
Was this page helpful?
At Storables.com, we guarantee accurate and reliable information. Our content, validated by Expert Board Contributors, is crafted following stringent Editorial Policies. We're committed to providing you with well-researched, expert-backed insights for all your informational needs.