Home>Home Maintenance>How To Clean A Dryer Vent From The Roof
Home Maintenance
How To Clean A Dryer Vent From The Roof
Modified: March 22, 2024
Learn how to clean a dryer vent from the roof, a crucial home maintenance task. Keep your home safe and prevent fire hazards with this step-by-step guide.
(Many of the links in this article redirect to a specific reviewed product. Your purchase of these products through affiliate links helps to generate commission for Storables.com, at no extra cost. Learn more)
Introduction
Welcome to our guide on how to clean a dryer vent from the roof. Proper maintenance of your dryer vent is essential to ensure the efficient operation of your dryer, as well as to prevent potential fire hazards. While cleaning the dryer vent from the outside is a common practice, cleaning it from the roof provides a more thorough and effective cleaning method.
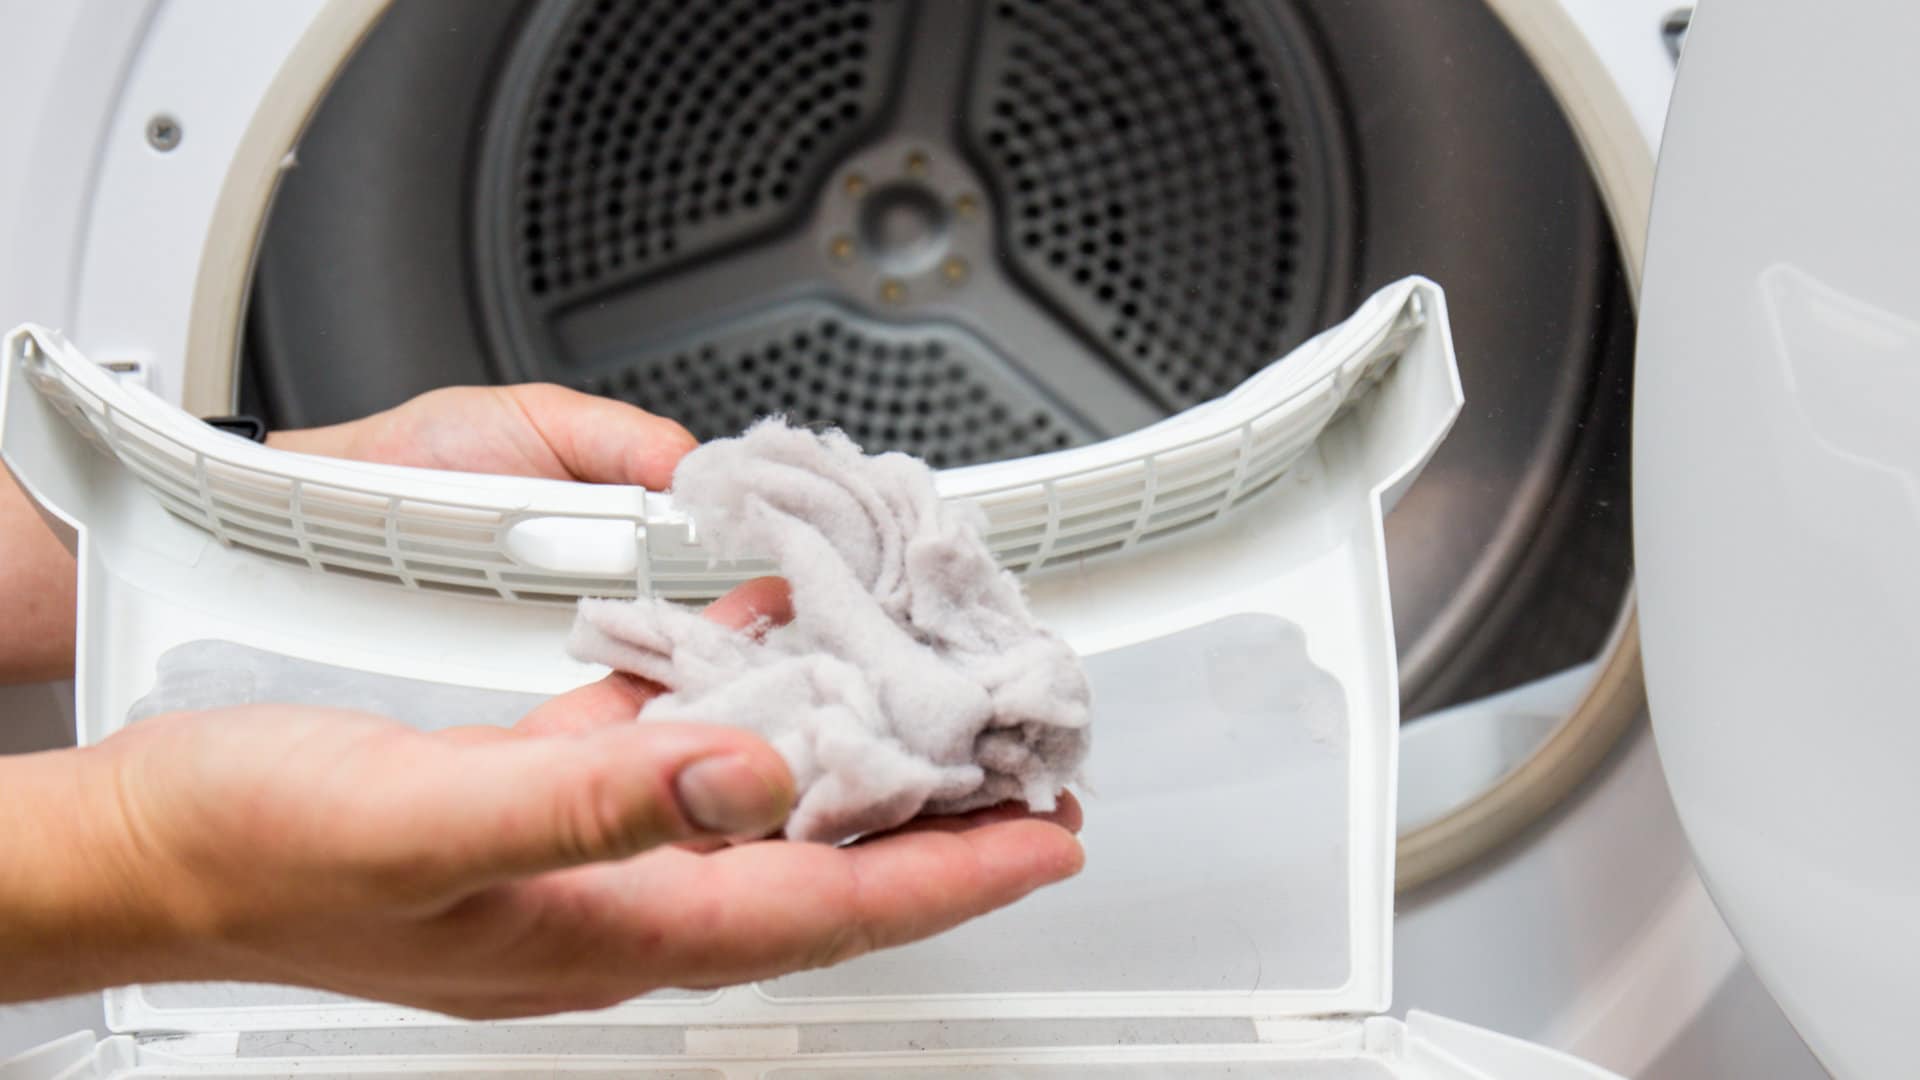
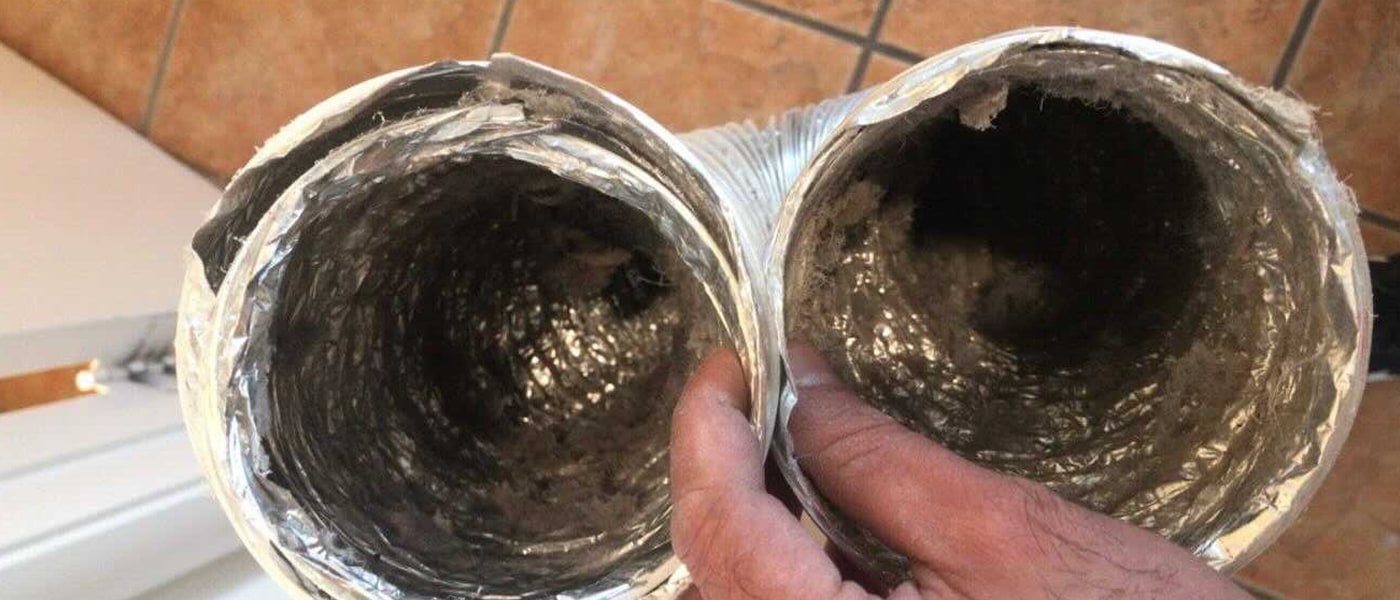
Over time, lint and debris can build up in the dryer vent, restricting airflow and increasing the risk of a dryer fire. Cleaning the dryer vent not only improves the efficiency of your dryer, but it also reduces the risk of carbon monoxide poisoning and extends the lifespan of your appliance.
Before you begin this task, it is important to remember that working on the roof can be dangerous. It’s highly recommended to have someone assist you or hire a professional if you are uncomfortable with heights or don’t have the necessary equipment. Safety should always be the top priority!
In this step-by-step guide, we will walk you through the process of safely and effectively cleaning your dryer vent from the roof. We will also highlight the tools and materials you will need to complete the task. So, let’s get started and ensure your dryer vent is clean and functioning optimally!
Key Takeaways:
- Regularly cleaning your dryer vent from the roof ensures your dryer works efficiently, reduces fire hazards, and extends its lifespan. Safety and thoroughness are key to a successful cleaning process.
- Prioritize safety, gather necessary tools, clean the vent thoroughly, and inspect for additional maintenance needs to keep your dryer vent system in optimal condition. Regular maintenance prevents future clogs and maintains efficiency.
Read more: How To Clean Dryer Vent From Roof
Step 1: Safety Precautions
Before you begin cleaning your dryer vent from the roof, it’s essential to take the necessary safety precautions. Here are some important safety measures to keep in mind:
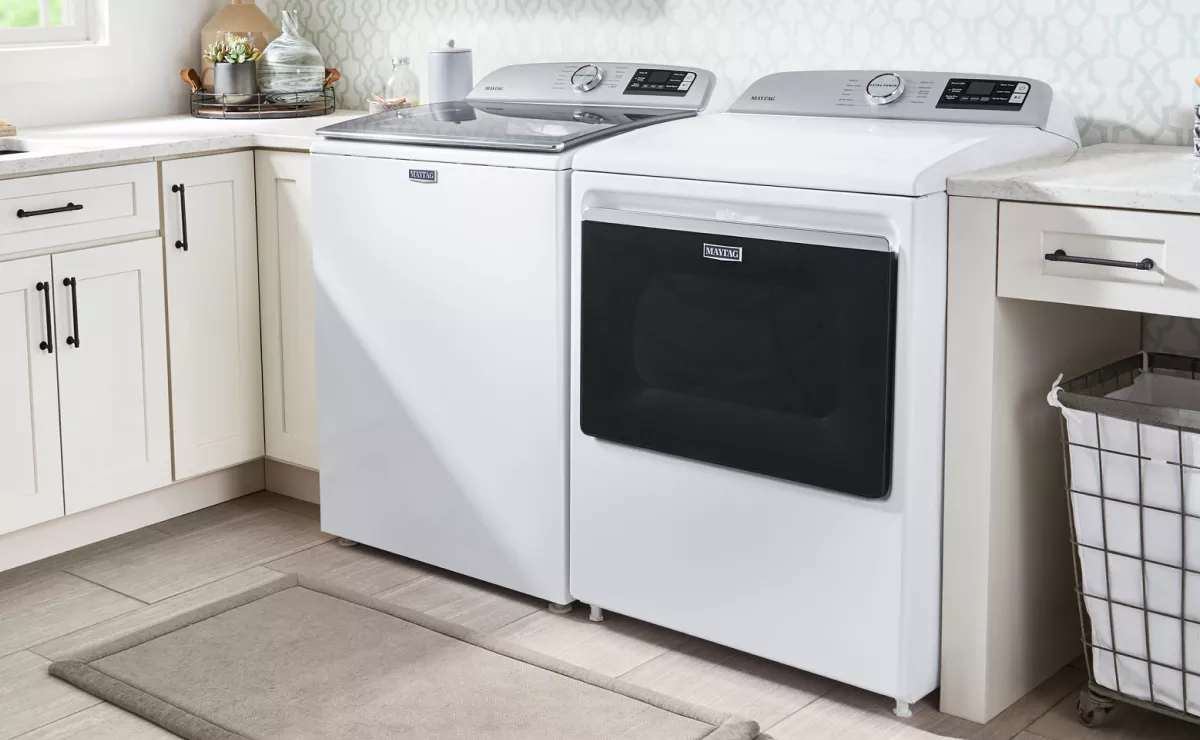
- Turn off the dryer: Before you start any maintenance work on your dryer vent, make sure to turn off the dryer and unplug it from the power source. This will help prevent any accidents or injuries during the cleaning process.
- Secure a sturdy ladder: Since you’ll be accessing the roof to clean the dryer vent, secure a sturdy ladder that reaches the desired height. Ensure that the ladder is placed on a flat and stable surface to prevent any accidents while climbing up or down.
- Use safety equipment: Wear appropriate safety gear, including gloves, safety goggles, and a dust mask to protect yourself from any debris or dust. It’s also a good idea to consider wearing sturdy boots with good grip to prevent slipping on the roof.
- Buddy system: It is advisable to have someone assist you during the cleaning process, especially when accessing the roof. Having a buddy can provide an extra set of eyes for safety and can offer assistance if needed.
- Check for weather conditions: Before you climb up to the roof, make sure to check the weather conditions. Avoid cleaning the dryer vent on a windy or rainy day, as these conditions can increase the risk of accidents on the roof.
- Use caution when working on the roof: While on the roof, be cautious of your movements and always watch your step. Avoid stepping on fragile areas, such as skylights or loose tiles. Move slowly and carefully to maintain your balance and stability.
- Keep children and pets away: During the cleaning process, ensure that children and pets are kept a safe distance away from the work area. This will help minimize any accidents or distractions while you focus on the task at hand.
By following these safety precautions, you can minimize the risk of accidents and ensure a safe working environment while cleaning your dryer vent from the roof. Once you have taken all the necessary safety measures, you can proceed to the next step of gathering the tools and materials needed for the job.
Step 2: Gathering the Necessary Tools and Materials
Before you begin cleaning your dryer vent from the roof, it’s important to gather all the necessary tools and materials. Having everything prepared and within reach will make the cleaning process smooth and efficient. Here’s a list of the items you’ll need:
- Ladder: A sturdy ladder that reaches the height of your roof is essential for accessing the vent. Make sure the ladder is stable and secure before climbing up.
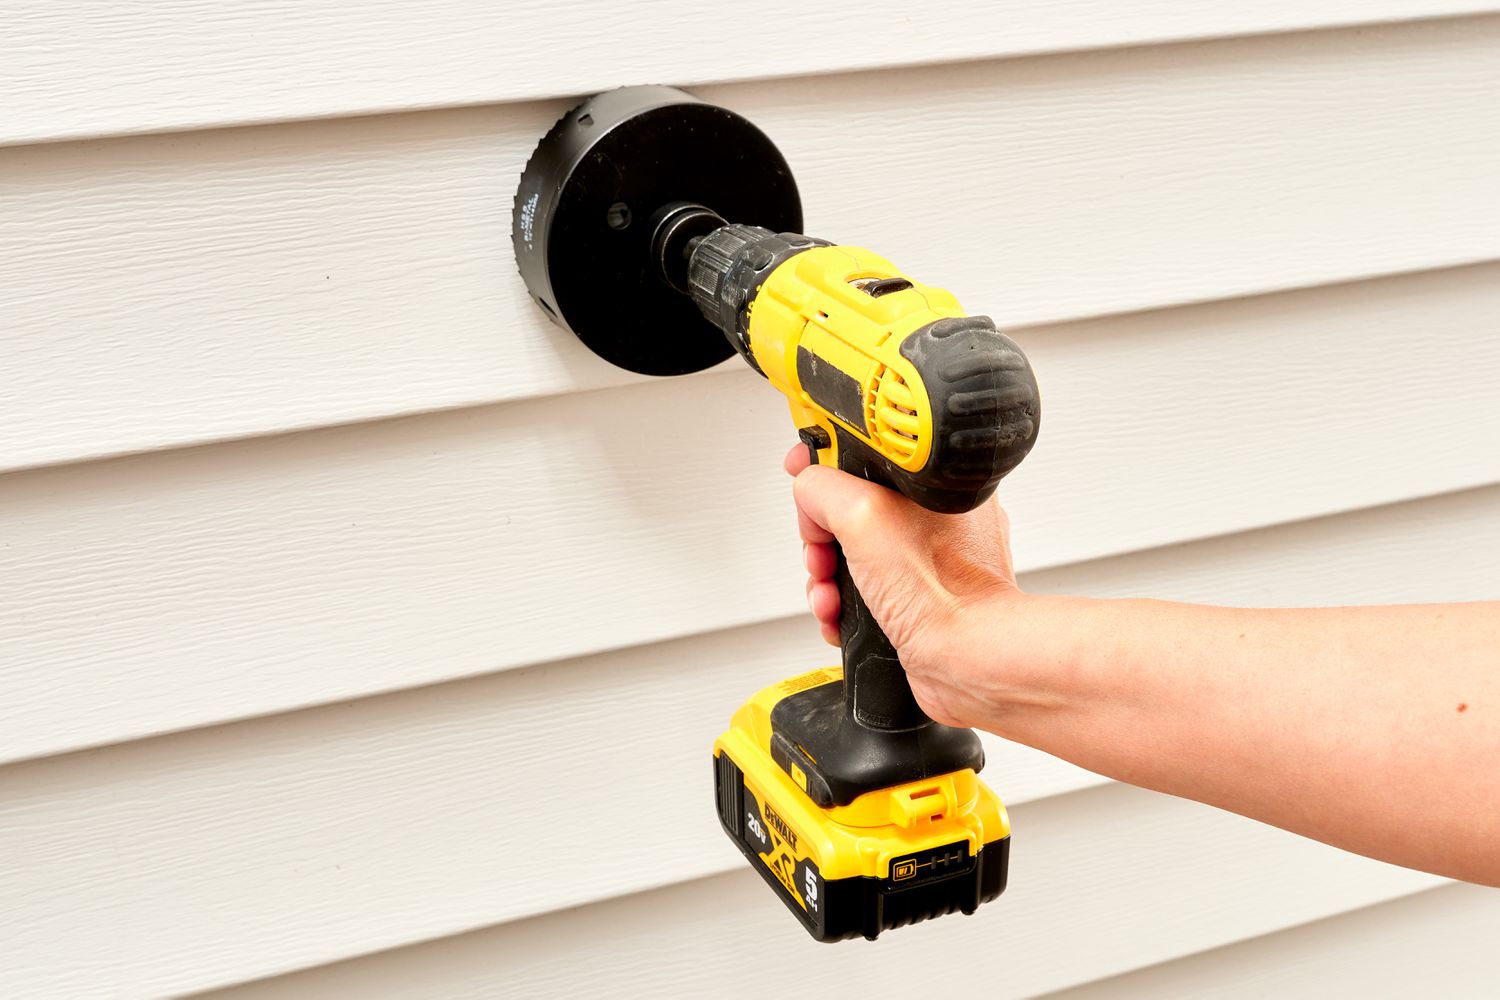
- Screwdriver or drill: You’ll need a screwdriver or drill to remove the screws or fasteners holding the vent cover in place.
- Vent brush or cleaning rod: A vent brush or cleaning rod specifically designed for dryer vents will help remove lint and debris effectively. Make sure it is long enough to reach through the entire length of the vent.
- Bucket or container: Have a bucket or container nearby to collect the lint and debris that you remove from the vent. This will help keep your work area clean and make disposal easier.
- Flashlight: A flashlight will come in handy for inspecting the vent and roof for any signs of damage or obstructions.
- Safety goggles and dust mask: Protect your eyes and lungs from dust and debris by wearing safety goggles and a dust mask throughout the cleaning process.
- Gloves: It’s important to wear gloves to protect your hands from any sharp edges or debris while cleaning the vent.
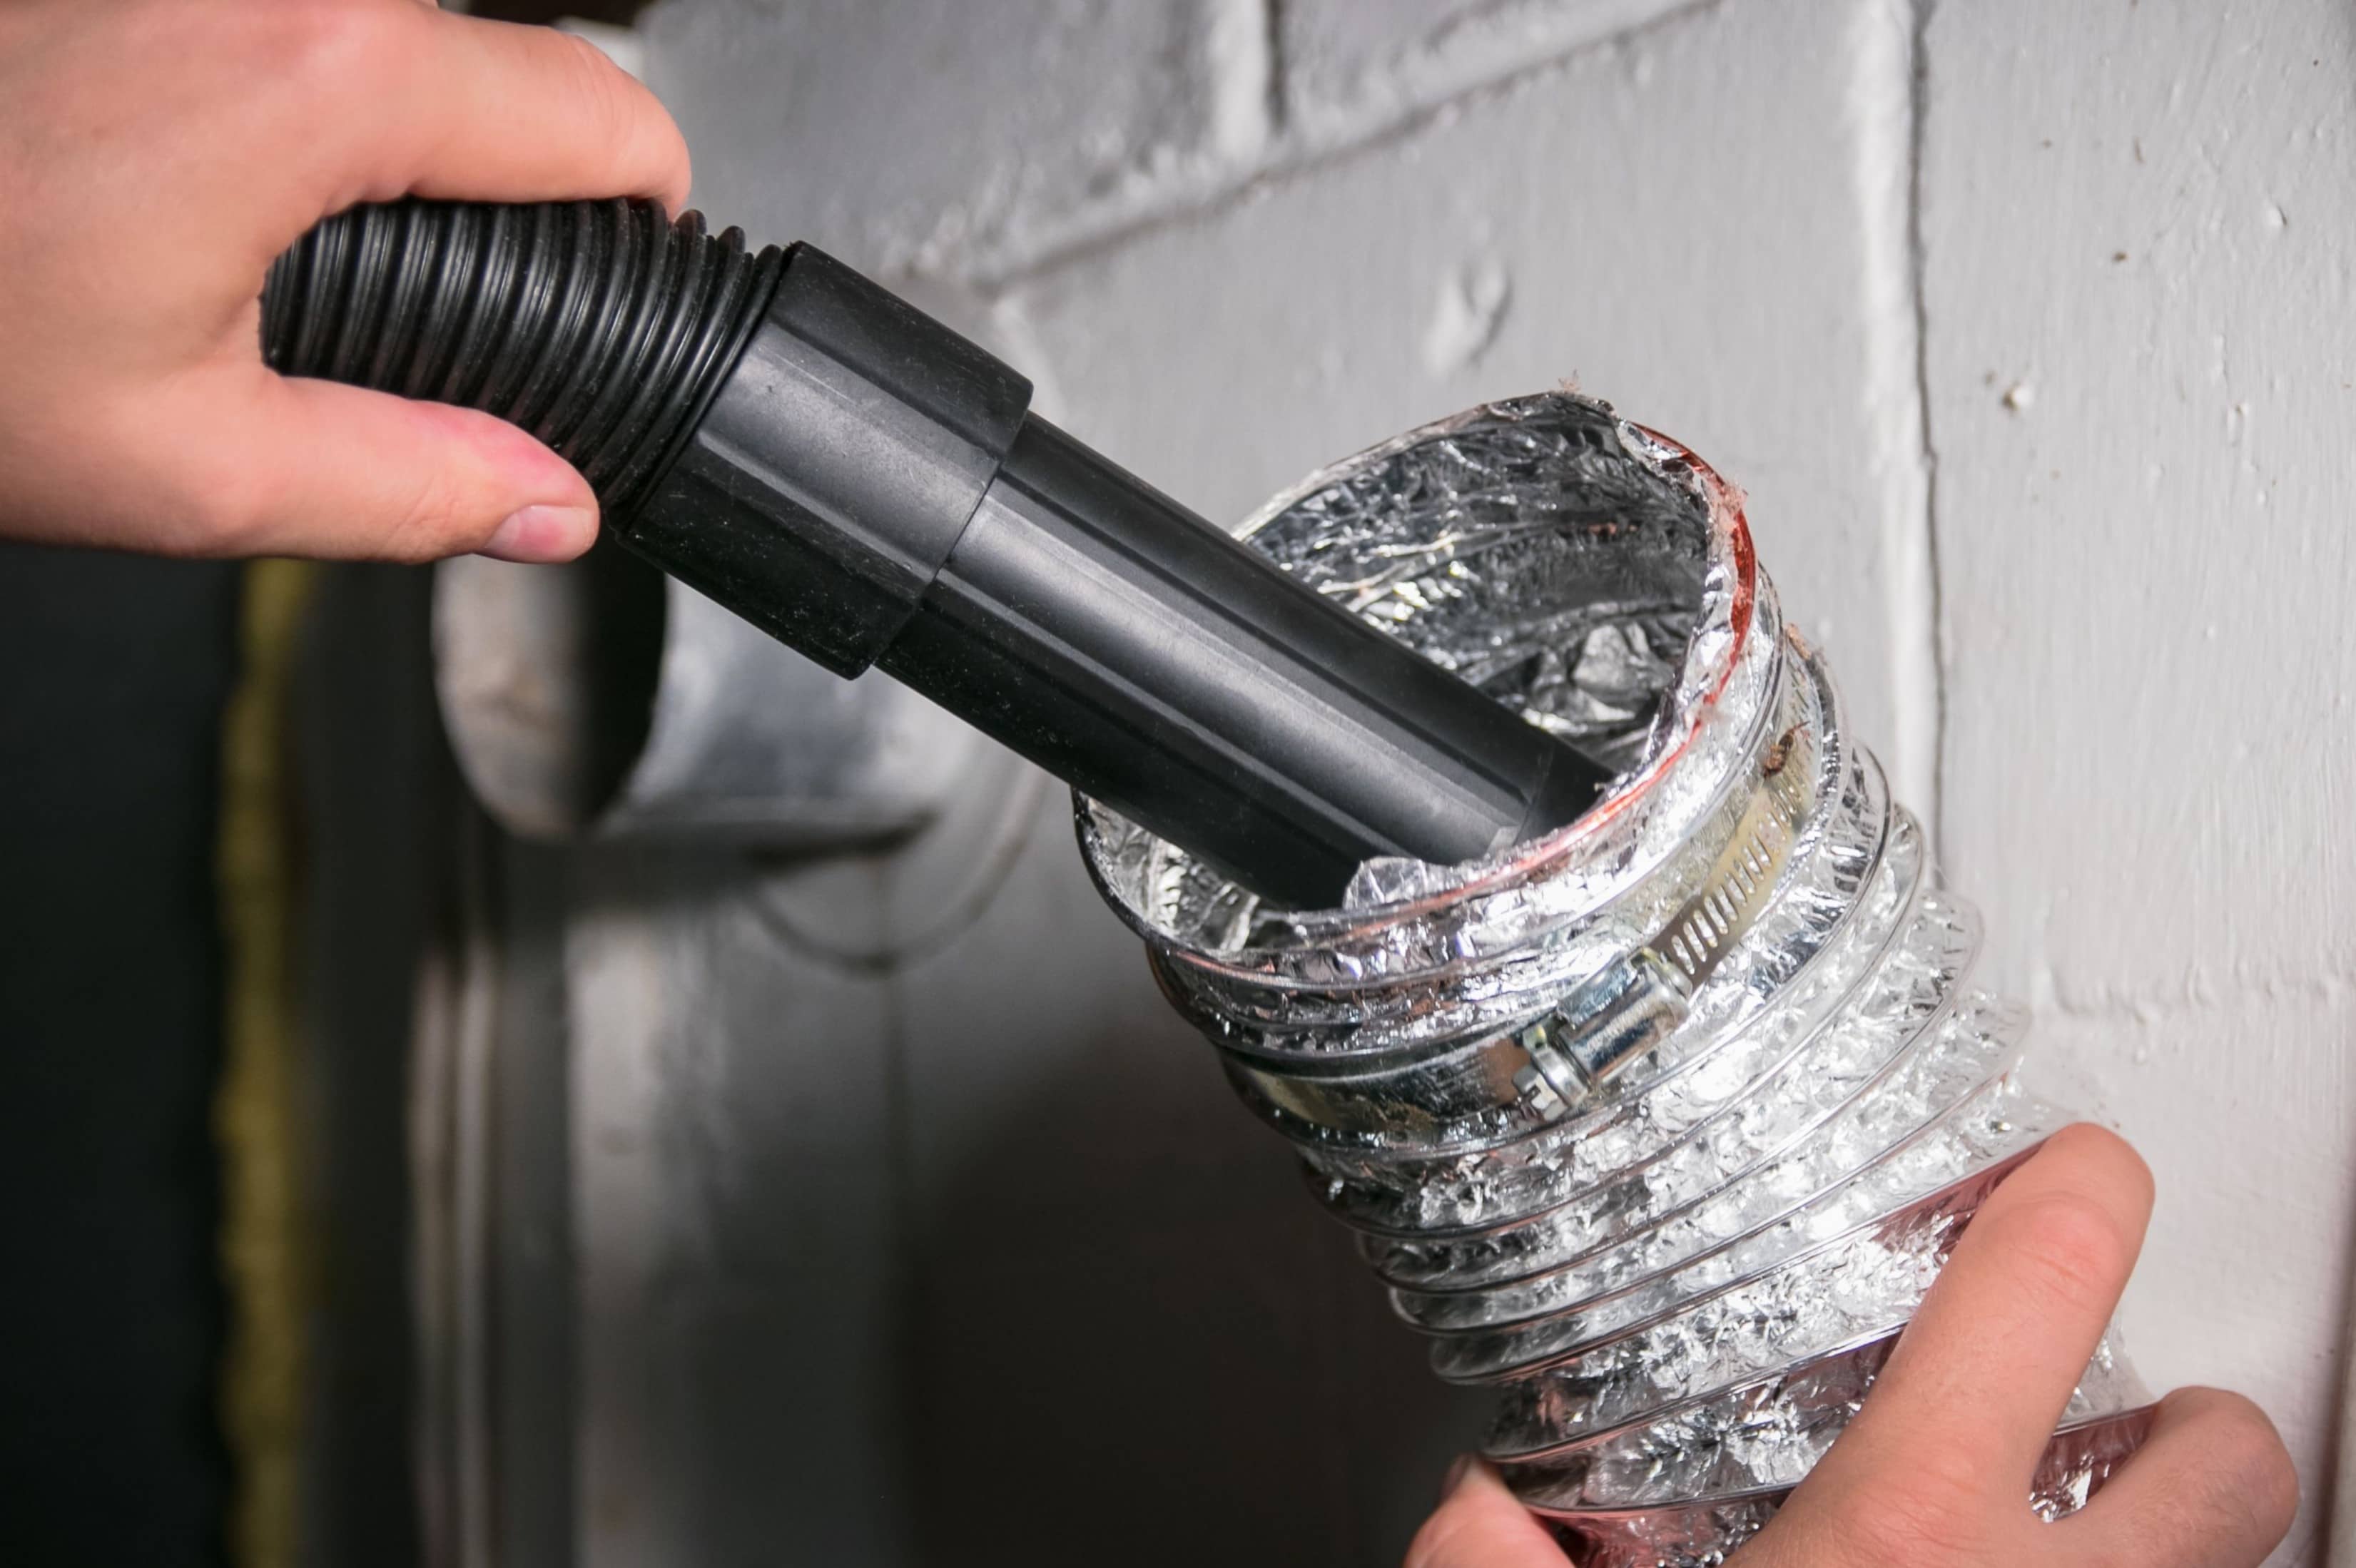
- Optional: Leaf blower or vacuum cleaner: If your dryer vent is heavily clogged, using a leaf blower or vacuum cleaner with a long attachment can help dislodge stubborn lint and debris.
Ensure that you have gathered all the necessary tools and materials before you start cleaning. This way, you won’t have to interrupt the process to search for missing items.
Once you have everything prepared, you’re ready to move on to the next step—accessing the roof to clean the dryer vent.
Step 3: Accessing the Roof
Now that you have gathered all the necessary tools and materials, it’s time to access the roof to clean the dryer vent. Here are the steps to follow:
- Secure the ladder: Place the ladder on a flat, stable surface and ensure it is at the correct angle. Test its stability before climbing up.
- Climb up the ladder: Carefully climb up the ladder while holding onto both side rails. Maintain three points of contact at all times.
- Move slowly and steadily: Once you reach the roof, move slowly and steadily to maintain your balance. Be cautious of any potential hazards such as loose tiles or debris.
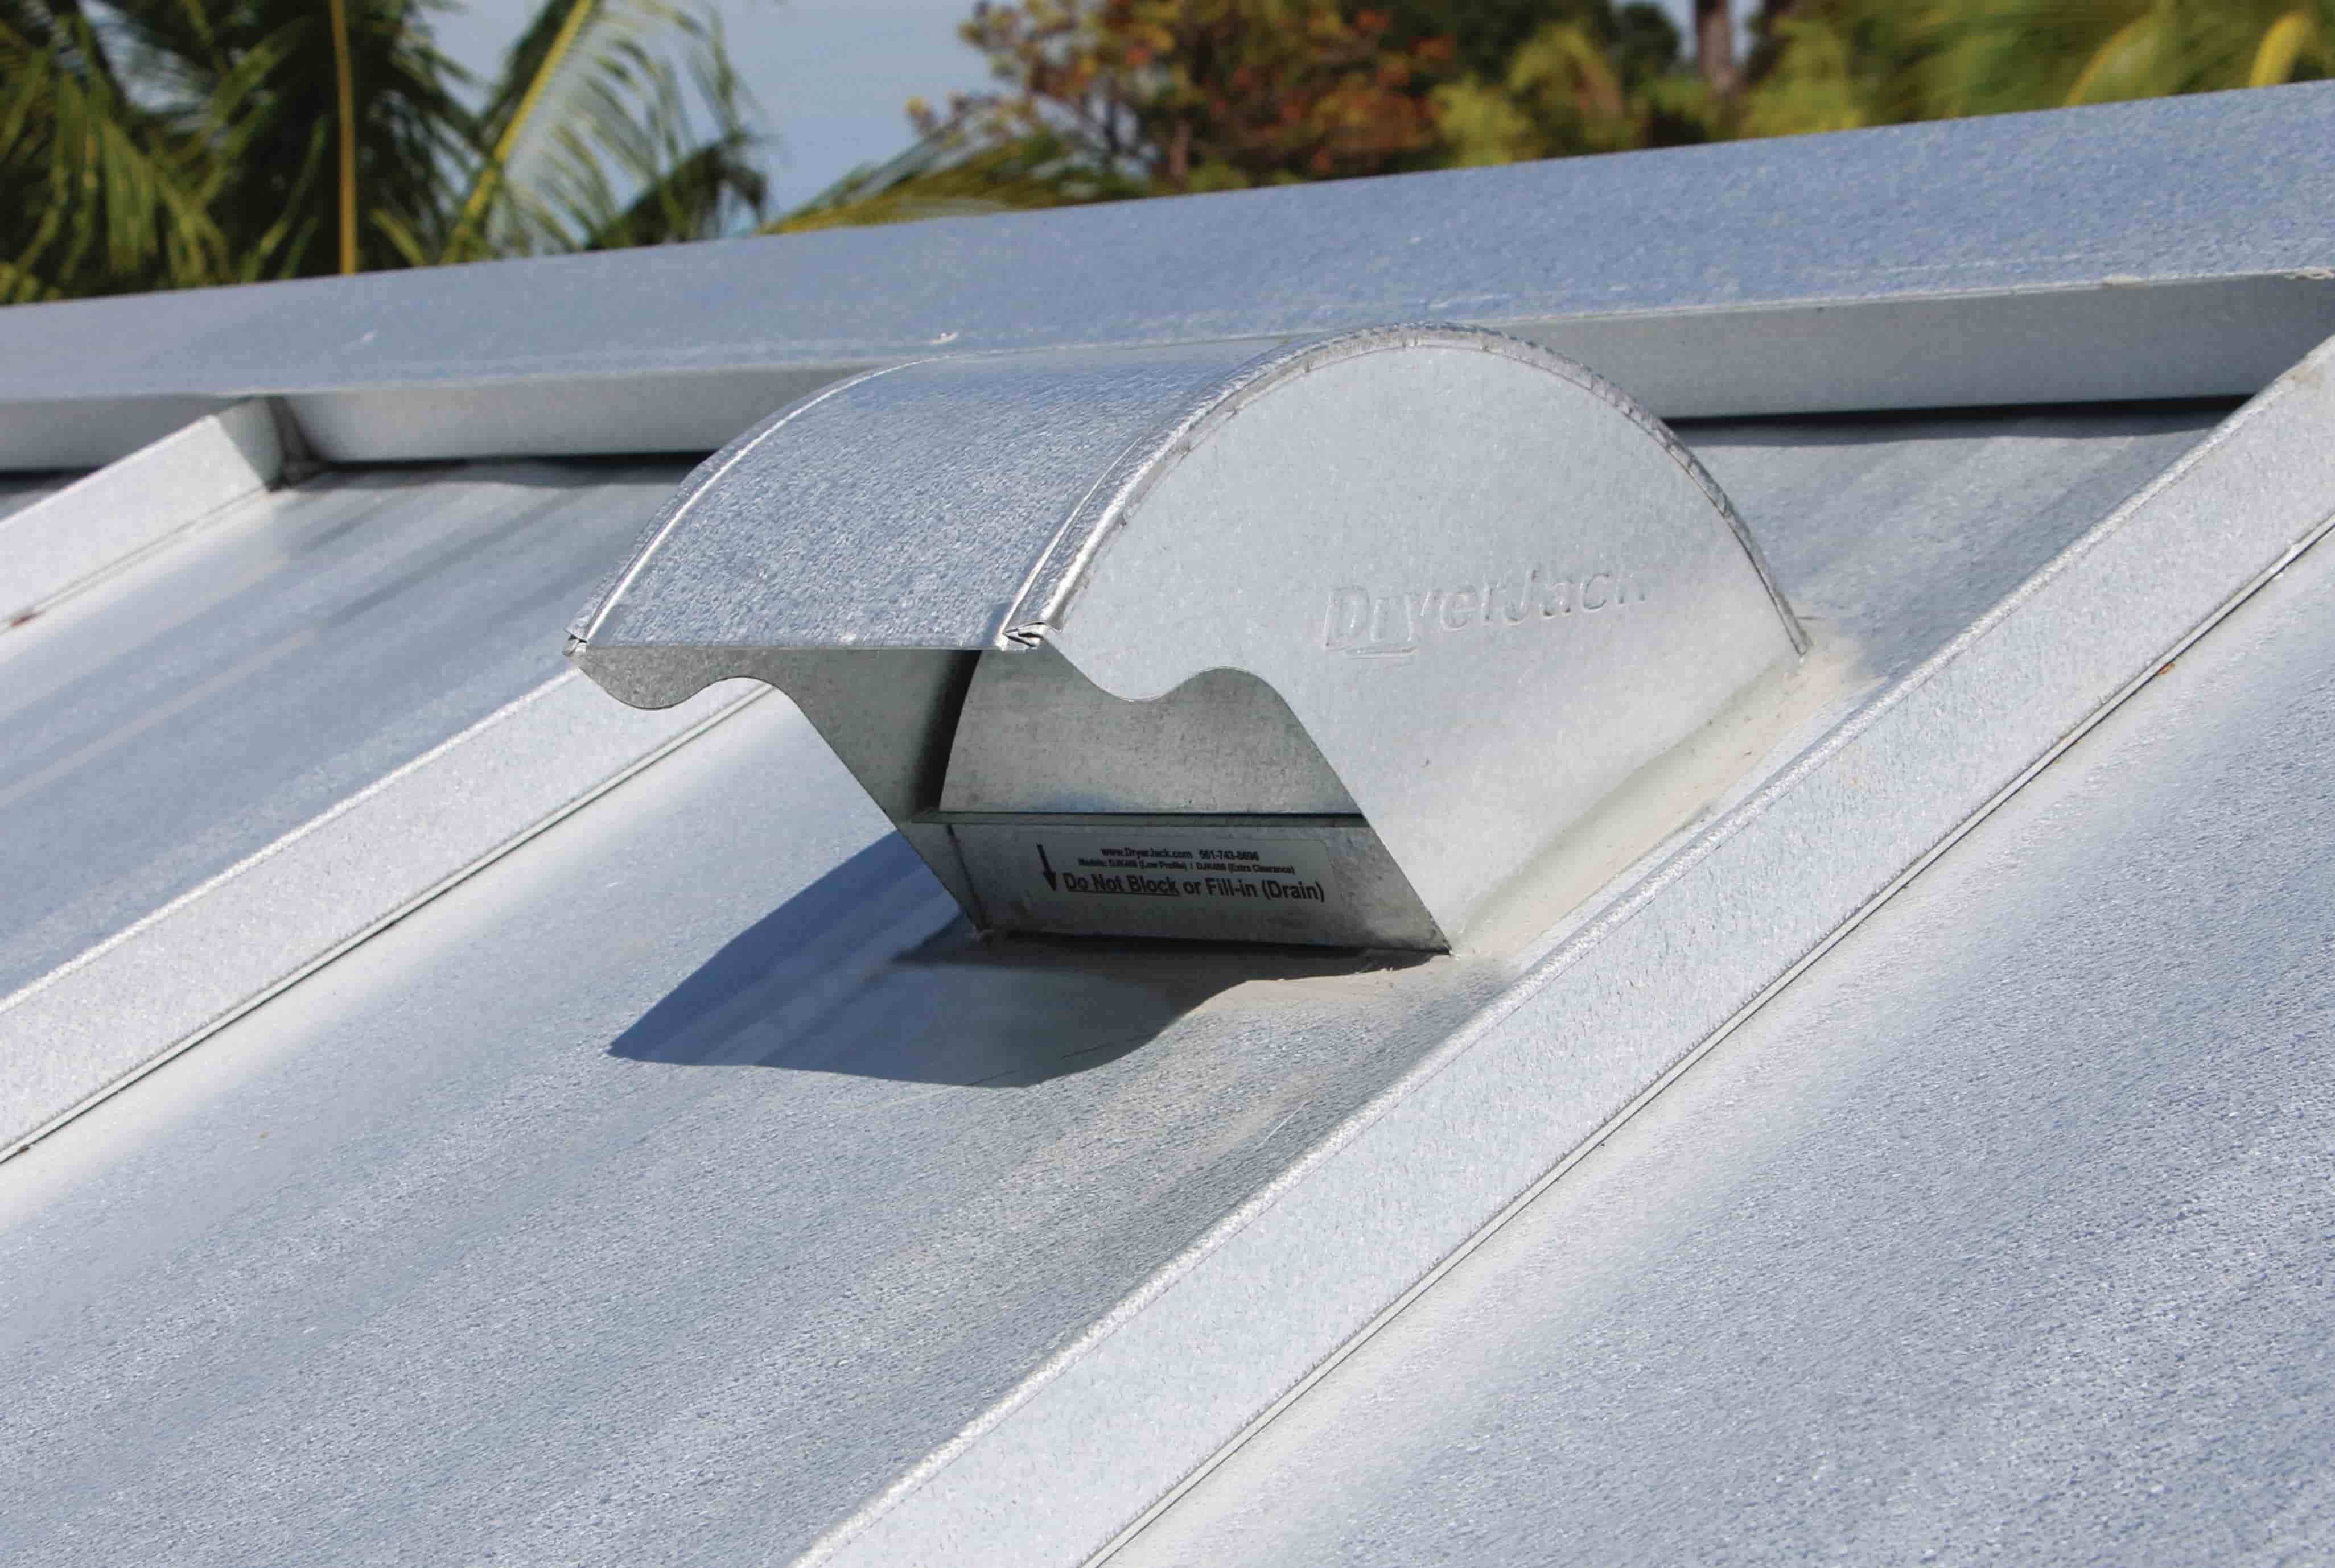
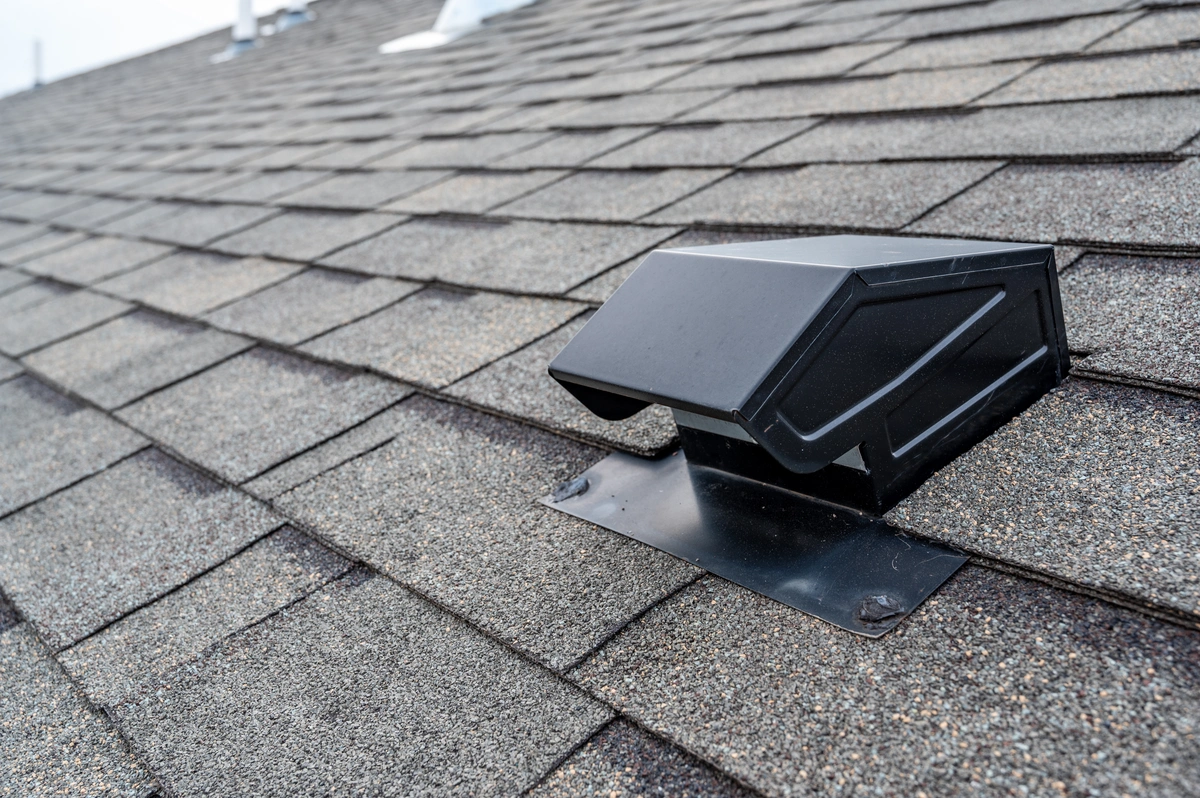
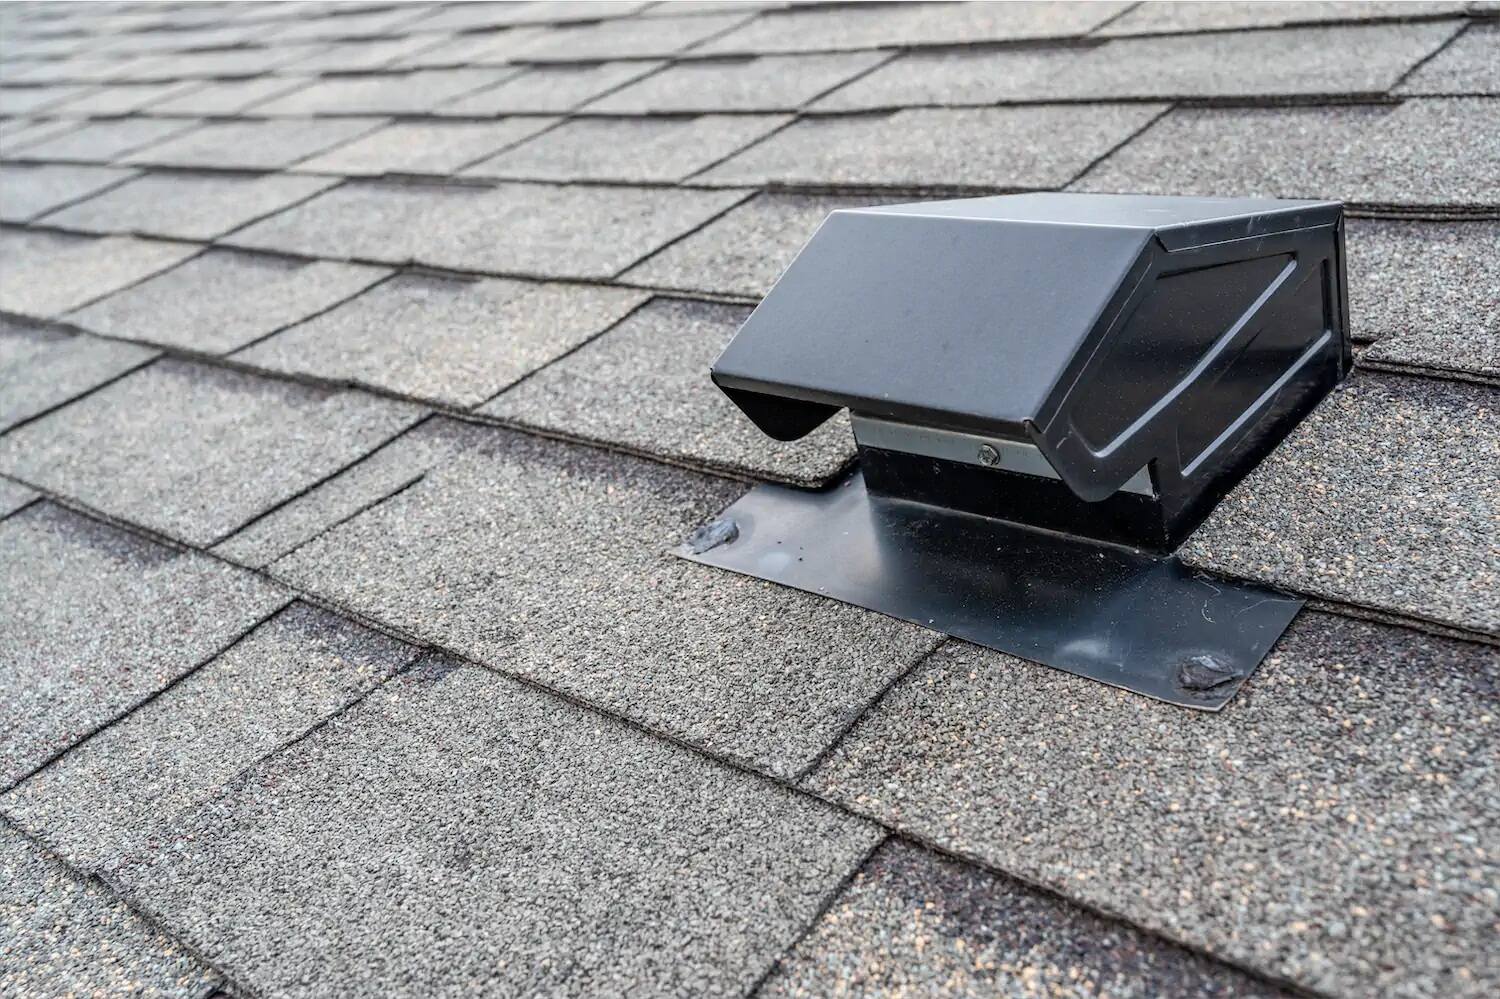
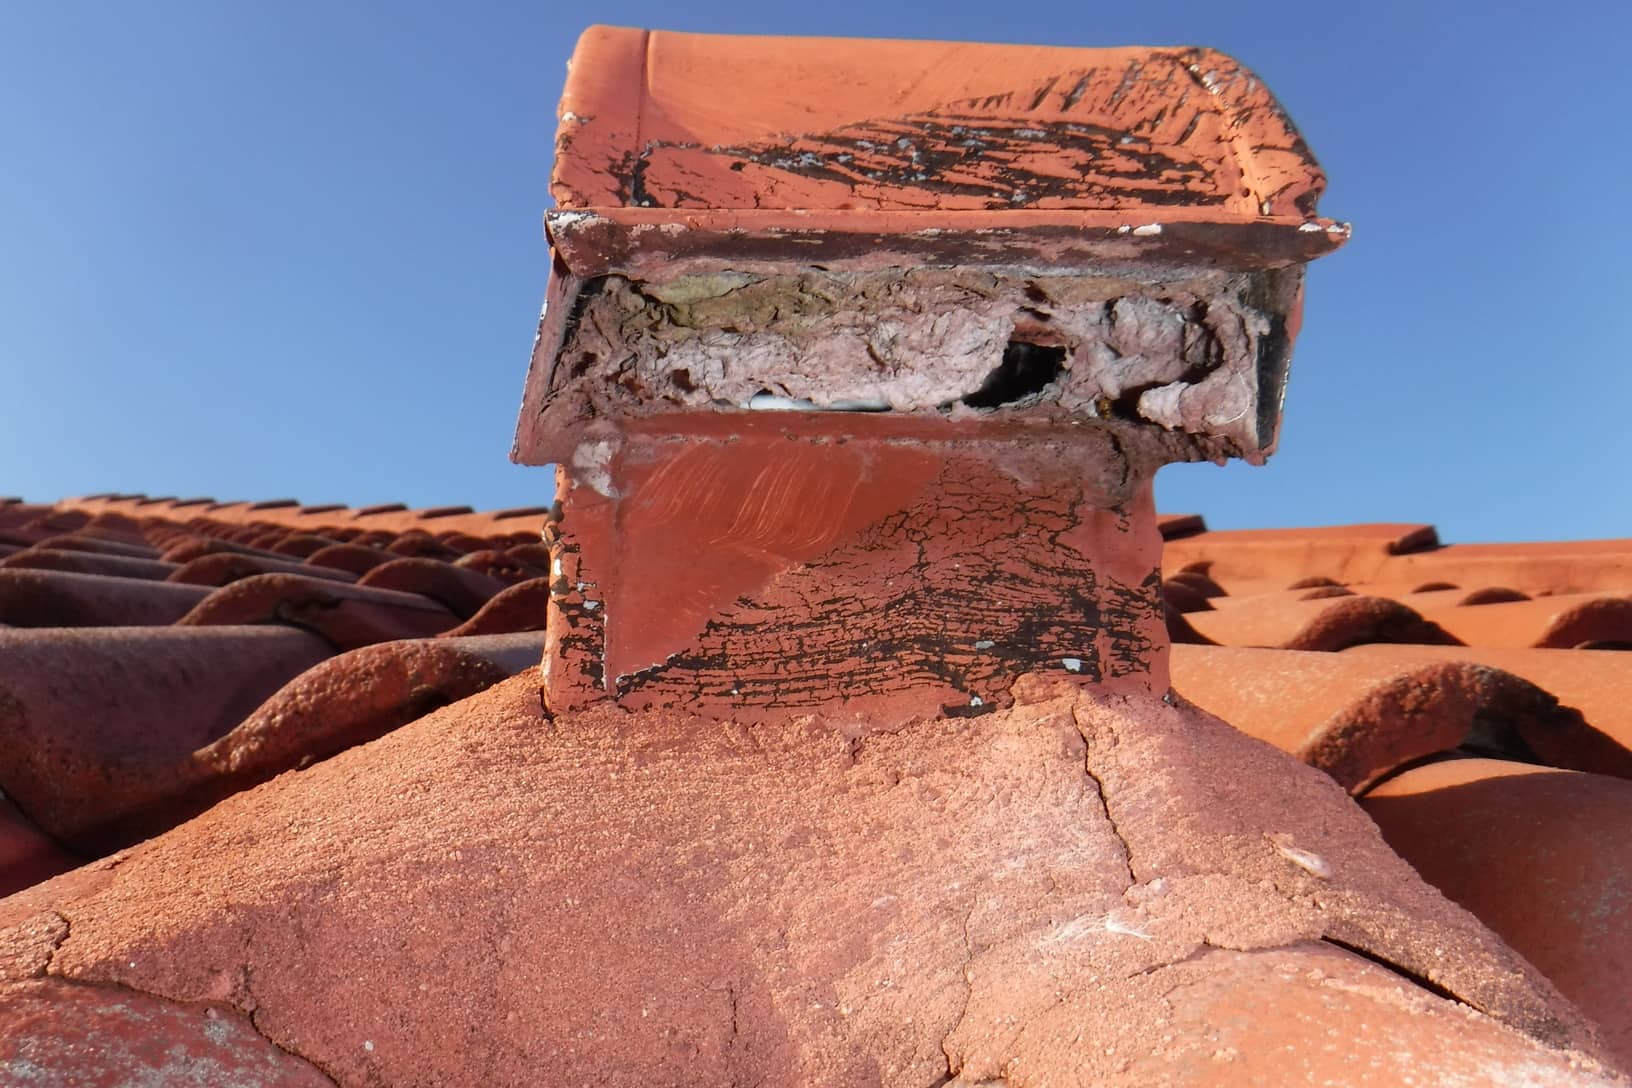
- Take note of the dryer vent: Locate the area on the roof where the dryer vent is. It is typically a small metal or plastic vent cover. Take note of its position and any potential obstacles around it.
- Ensure a safe working area: Clear any debris or objects around the vent to create a safe working area. This will prevent any tripping hazards or interference while cleaning the vent.
- Be aware of your surroundings: Keep an eye out for any potential hazards or obstacles on the roof, such as low-hanging branches, power lines, or slippery surfaces. Avoid working near these hazards and be cautious of your movements.
- Use caution when moving on the roof: Move slowly and carefully on the roof to avoid causing any damage to the shingles or tiles. Distribute your weight evenly and avoid stepping on fragile areas.
Remember, safety should always be the top priority when accessing the roof. If you feel uncomfortable or unsure about working at heights, it’s best to seek professional help or ask a friend to assist you. Having someone nearby can provide an extra set of eyes to ensure your safety.
Once you have accessed the roof safely, you’re ready to move on to the next step—removing the vent cover.
Step 4: Removing the Vent Cover
With the vent accessible on the roof, it’s time to remove the vent cover. Removing the vent cover will allow you to gain access to the dryer vent and clean it more effectively. Follow these steps to remove the vent cover:
- Locate the screws or fasteners: Inspect the vent cover and locate the screws or fasteners holding it in place. Typically, there will be a few screws securing the cover to the vent.
- Use a screwdriver or drill: Depending on the type of screws or fasteners, use a screwdriver or drill to remove them. Turn the screws counterclockwise until they are loose enough to be removed.
- Gently remove the vent cover: Once the screws are removed, gently pull the vent cover away from the vent. Be careful not to force it or damage it in the process.
- Place the vent cover in a safe location: Set aside the vent cover in a safe location where it won’t get damaged or lost. You will need to reinstall it later after cleaning the dryer vent.
Removing the vent cover will provide you with direct access to the dryer vent, enabling you to proceed with the cleaning process. Make sure to handle the vent cover with care to avoid any damage.
Now that the vent cover is removed, you can move on to the next step—cleaning the dryer vent from the roof.
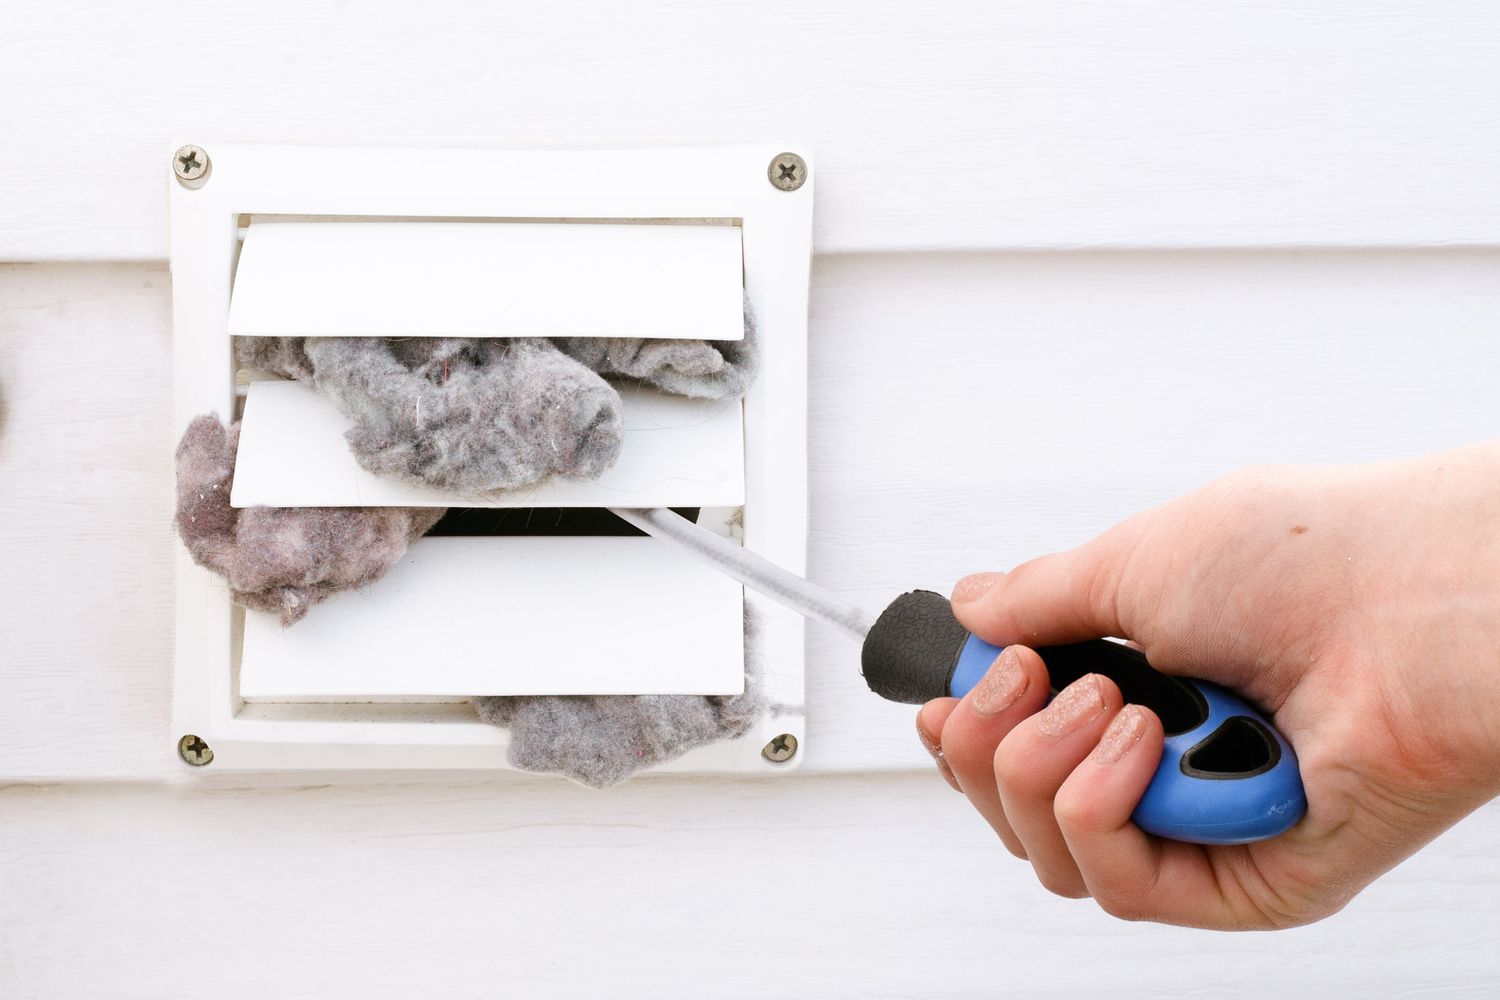
Make sure to wear safety gear and use a long brush to remove lint from the vent. Clear any debris around the vent opening to ensure proper airflow.
Read more: How To Vent A Dryer Through The Roof
Step 5: Cleaning the Dryer Vent
Now that you have removed the vent cover, it’s time to clean the dryer vent. Cleaning the vent from the roof allows for a more thorough removal of lint and debris. Follow these steps to clean the dryer vent:
- Inspect the vent: Use a flashlight to inspect the inside of the vent. Look for any visible clogs, lint, or debris. Take note of any areas that need extra attention during the cleaning process.
- Attach the vent brush or cleaning rod: Attach the vent brush or cleaning rod to your chosen cleaning tool. Make sure it is securely fastened to avoid it getting stuck in the vent during the cleaning process.
- Insert the brush or rod into the vent: Carefully insert the brush or rod into the vent from the roof. Begin by gently pushing it in and gradually working it further into the vent. Use a twisting motion to dislodge and remove any accumulated lint and debris.
- Clean the vent thoroughly: Continue pushing and twisting the brush or rod through the entire length of the vent. Pay close attention to areas that you identified during the inspection as potential trouble spots. Work the brush or rod back and forth to ensure a thorough cleaning.
- Repeat the process if necessary: If you encounter resistance or notice that the brush or rod is not moving smoothly through the vent, there may be a stubborn clog. In this case, repeat the process of inserting the brush or rod and continue cleaning until the vent is clear.
- Collect the removed lint and debris: As you clean, the brush or rod will dislodge and remove lint and debris from the vent. Collect this material in a bucket or container for proper disposal later.
- Inspect the vent for cleanliness: After the cleaning process, use a flashlight again to inspect the vent. Ensure that it is clean and free from any remaining lint or debris.
By following these steps and thoroughly cleaning the dryer vent, you can ensure optimal airflow, prevent fire hazards, and improve the efficiency of your dryer.
Once you have cleaned the dryer vent, you can move on to the next step—reassembling and securing the vent cover.
Step 6: Reassembling and Securing the Vent Cover
After successfully cleaning the dryer vent, it’s time to reassemble and secure the vent cover. Reattaching the vent cover is crucial to protect the vent from outdoor elements and ensure proper airflow. Follow these steps to reassemble and secure the vent cover:
- Clean the vent cover: Before reassembling, inspect the vent cover for any lint or debris. Remove any accumulated lint or debris with a brush or cloth to ensure it is clean.
- Align the vent cover: Position the vent cover in the designated area on the roof, aligning it with the vent opening. Ensure that it is properly aligned to allow for a secure fit.
- Insert and tighten screws: Using a screwdriver or drill, insert the screws into the designated holes on the vent cover. Carefully tighten the screws clockwise until they are securely fastened. Be sure not to overtighten as it may damage the vent cover.
- Test the vent cover: Give the vent cover a gentle push to ensure it is properly secured. It should not move or feel loose. If necessary, adjust the screws slightly for a tighter fit.
- Inspect the surrounding area: Take a final look around the vent cover and ensure there are no remaining lint or debris in the vicinity. Clear any debris or obstructions to maintain proper airflow.
Reassembling and properly securing the vent cover is essential to prevent outside elements from entering the vent and obstructing airflow. It also helps to maintain the cleanliness of the dryer vent, reducing the risk of clogs and potential fire hazards.
With the vent cover securely in place, you have successfully completed the main task of cleaning the dryer vent from the roof. However, there’s one more step to ensure thorough maintenance – inspecting for any additional maintenance needs.
Step 7: Inspecting for Any Additional Maintenance Needs
Once you have reassembled and secured the vent cover, it’s important to perform a final inspection of the dryer vent and the surrounding area for any additional maintenance needs. This step helps to ensure the optimal performance and safety of your dryer. Follow these steps to inspect for any additional maintenance needs:
- Check for signs of damage: Inspect the vent cover, vent pipe, and the surrounding area for any signs of damage, such as cracks, dents, or loose connections. If you notice any damage, make a note of it for repairs or replacements.
- Look for obstructions: Check the immediate area around the vent for any potential obstructions, such as tree branches or debris. Trim back any overhanging branches or clear away any debris that could impede proper airflow.
- Inspect the vent from inside: Go inside your home and check the area around the dryer for any signs of air leaks or damage. Look for loose or disconnected ductwork and ensure that the dryer vent is securely attached to the dryer.
- Consider professional inspection: If you notice any significant damage or suspect that there may be further issues with your dryer vent system, it’s recommended to seek professional help. A trained technician can perform a thorough inspection and address any underlying maintenance needs.
- Establish a maintenance schedule: To prevent future buildup and ensure the ongoing efficiency of your dryer vent, establish a regular maintenance schedule. This can include quarterly inspections, annual cleanings, or as recommended by the manufacturer or a professional.
By conducting a comprehensive inspection and addressing any additional maintenance needs, you can help prolong the lifespan of your dryer and reduce the risk of fire hazards caused by clogged vents.
With the final step completed, you have successfully cleaned your dryer vent from the roof and conducted a thorough inspection for any maintenance needs. By following these steps and maintaining a regular cleaning and inspection schedule, you can ensure the optimal performance and safety of your dryer for years to come.
Remember, if you ever feel uncertain or uncomfortable with the process, it is always wise to seek professional assistance to ensure your safety and the proper maintenance of your dryer vent system.
Conclusion
Cleaning your dryer vent from the roof is an essential maintenance task that should not be overlooked. Regular cleaning of the dryer vent ensures the efficient operation of your dryer, reduces the risk of fire hazards, and prolongs the lifespan of your appliance. By following the step-by-step guide outlined in this article, you can safely and effectively clean your dryer vent from the roof.
Remember to prioritize safety throughout the entire process. Take appropriate safety precautions, such as turning off the dryer, securing a sturdy ladder, wearing safety gear, and working with a buddy. It’s also important to exercise caution when accessing the roof and moving around on it.
Gathering the necessary tools and materials beforehand will help ensure a smooth and efficient cleaning process. Make sure to have a ladder, screwdriver or drill, vent brush or cleaning rod, bucket or container, flashlight, safety goggles, dust mask, gloves, and optionally a leaf blower or vacuum cleaner with a long attachment.
Once on the roof, remove the vent cover carefully and proceed with cleaning the dryer vent using the vent brush or cleaning rod. Ensure you clean the vent thoroughly and collect the removed lint and debris in a bucket or container for proper disposal.
After cleaning, reassemble and secure the vent cover, ensuring it fits snugly and is properly aligned with the vent opening. Conduct a final inspection for any additional maintenance needs, such as damage or obstructions, and consider seeking professional help if necessary.
Establishing a maintenance schedule and performing regular inspections and cleanings can help prevent future clogs and maintain the optimal performance of your dryer vent system. Stay proactive and prioritize the safety and efficiency of your appliance.
By following these guidelines and incorporating the necessary safety measures, you can confidently clean your dryer vent from the roof and ensure a well-maintained and safe home for you and your family.
Frequently Asked Questions about How To Clean A Dryer Vent From The Roof
Was this page helpful?
At Storables.com, we guarantee accurate and reliable information. Our content, validated by Expert Board Contributors, is crafted following stringent Editorial Policies. We're committed to providing you with well-researched, expert-backed insights for all your informational needs.