Home>Home Maintenance>Why Does My RV Air Conditioner Drip Water Inside

Home Maintenance
Why Does My RV Air Conditioner Drip Water Inside
Modified: October 28, 2024
Discover why your RV air conditioner is dripping water inside. Get expert tips for home maintenance to prevent this issue and keep your RV comfortable.
(Many of the links in this article redirect to a specific reviewed product. Your purchase of these products through affiliate links helps to generate commission for Storables.com, at no extra cost. Learn more)
Introduction
Welcome to your RV adventure! As a proud owner of a recreational vehicle, you get to experience the freedom of the open road while enjoying the comforts of home on wheels. One essential component of your RV that ensures a comfortable living environment is the air conditioner. It keeps you cool during those scorching summer days and helps maintain a pleasant temperature inside your vehicle.
However, you may have encountered a common issue with your RV air conditioner – water dripping inside. This can be quite alarming and inconvenient, as it not only causes water damage but also creates an uncomfortable living space. In this article, we will explore the reasons behind the water dripping inside your RV air conditioner and provide you with effective solutions to fix the issue.
Understanding the causes of water dripping inside your RV air conditioner is crucial to resolve the problem effectively. By identifying the root cause, you can take appropriate measures to prevent further damage and ensure the efficient performance of your air conditioner.
In the following sections, we will discuss the most common causes of water dripping inside your RV air conditioner and provide step-by-step instructions on how to fix them. These causes include condensation buildup, clogged condensate drain line, frozen evaporator coils, improper installation or leakage, and high humidity levels.
Whether you are a seasoned RV enthusiast or a newbie on the road, this article will equip you with the knowledge and solutions to address the issue of water dripping inside your RV air conditioner. Let’s dive in and learn more about each of these causes and how to tackle them effectively, so you can enjoy a comfortable and worry-free RV experience.
Key Takeaways:
- Keep your RV air conditioner clean and unclog the condensate drain line to prevent water dripping inside. Thaw frozen coils and reduce humidity levels to maintain a comfortable living environment during your RV adventures.
- Properly seal and install your air conditioner to avoid water leakage. Use dehumidifiers, ventilate your RV, and control moisture to prevent water dripping and ensure a pleasant RV experience.
Causes of RV Air Conditioner Water Dripping Inside
Water dripping inside your RV air conditioner can be caused by a variety of factors. Understanding these causes is vital for diagnosing and fixing the issue. Here are the most common reasons why your RV air conditioner may be dripping water inside:
1. Condensation Buildup:
When warm air from inside your RV comes into contact with the cold evaporator coils of the air conditioner, condensation occurs. This is a normal process that happens when the air conditioner cools the air. However, if the condensation cannot properly drain out, it can drip inside the RV. This can happen if the condensate drain pan or drain pipe is clogged or improperly installed.
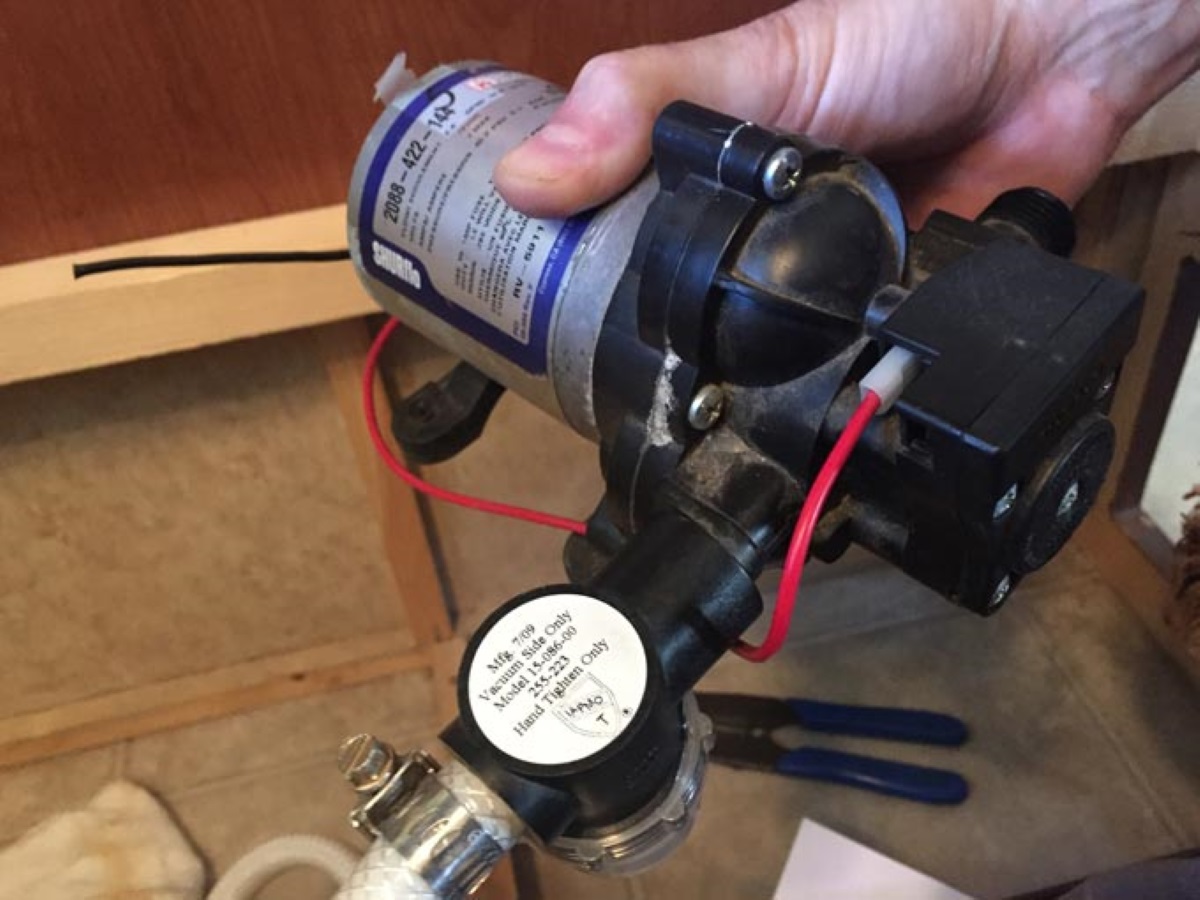
2. Clogged Condensate Drain Line:
Over time, the condensate drain line can become clogged with debris, dirt, or algae, preventing proper drainage. As a result, the condensation accumulates and eventually drips inside the RV. Regular maintenance and cleaning of the condensate drain line is essential to prevent clogs and ensure efficient water drainage.
3. Frozen Evaporator Coils:
If the airflow in your RV air conditioner is restricted or the refrigerant levels are low, the evaporator coils can freeze up. When this happens, the ice will eventually melt and drip inside the RV. This issue can be caused by a dirty air filter, blocked return air vents, or a refrigerant leak. It is important to address this problem promptly to prevent further damage to the air conditioner.
4. Improper Installation or Leakage:
If your RV air conditioner was not installed correctly, it can lead to water leaking inside. Improper sealing or mounting can cause water to enter through gaps or cracks. Additionally, a damaged or faulty seal can result in water leakage. Inspect the installation of your air conditioner unit for any signs of poor sealing or leaks.
5. High Humidity Levels:
RVs are often exposed to high humidity levels, especially in humid climates or during rainy seasons. When there is excessive moisture in the air, it can overwhelm the air conditioner’s ability to remove humidity, leading to condensation buildup and water dripping inside. Using dehumidifiers or ensuring proper ventilation can help in reducing humidity levels inside the RV and minimize water dripping.
Identifying the underlying cause of water dripping inside your RV air conditioner is essential to implement the appropriate solution. In the next section, we will explore how to fix each of these causes and prevent water from dripping inside your RV.
Condensation Buildup
Condensation buildup is a common cause of water dripping inside your RV air conditioner. When warm air from inside your RV comes into contact with the cold evaporator coils of the air conditioner, moisture condenses on the coils. Usually, this condensed water should drain out through the condensate drain pan and drain pipe. However, if these components are clogged or improperly installed, the condensation can accumulate and lead to water dripping inside the RV.
To fix the issue of condensation buildup, follow these steps:
1. Check the condensate drain pan: Start by locating the condensate drain pan, which is typically located beneath the evaporator coils of the air conditioner. Remove the access panel to access the pan. Look for any signs of standing water or debris in the pan. If water is present, use a sponge or towel to remove it.
2. Clean the drain pan: If the condensate drain pan is dirty or clogged with debris, it can hinder proper water drainage. Remove the drain pan and clean it thoroughly using warm water and mild detergent. Remove any debris or dirt that may be accumulated in the pan. Be sure to rinse it properly and dry it before reinstalling.
3. Check the drain pipe: Inspect the condensate drain pipe for any clogs or blockages. Connect a wet/dry vacuum or a pipe-cleaning brush to clear any debris lodged in the drain pipe. Ensure that the drain pipe is properly connected and free from any leaks.
4. Install a condensate drain line trap: Adding a condensate drain line trap can help prevent future clogs. This device creates a seal in the drain line, preventing air from entering and inhibiting the growth of algae or mold. Install the trap in the drain line according to the manufacturer’s instructions.
By cleaning the condensate drain pan, clearing any clogs in the drain pipe, and installing a condensate drain line trap, you can effectively address the issue of condensation buildup in your RV air conditioner. Regular maintenance of these components will help ensure the efficient drainage of condensation and prevent water from dripping inside your RV.
Clogged Condensate Drain Line
Another common cause of water dripping inside your RV air conditioner is a clogged condensate drain line. Over time, debris, dirt, and algae can accumulate in the drain line, obstructing proper water drainage. This can result in condensation buildup and water leakage inside your RV.
To fix a clogged condensate drain line, follow these steps:
1. Locate the condensate drain line: The condensate drain line is a pipe that carries the condensed water from the air conditioner to the outside of your RV. It is usually located near the condensate drain pan, which is beneath the evaporator coils.
2. Disconnect the drain line: Carefully disconnect the condensate drain line from the air conditioner unit. This can usually be done by unscrewing or unclamping the connection.
3. Clear the clog: Use a wet/dry vacuum or a pipe-cleaning brush to clear any debris or blockage from the drain line. Insert the vacuum or brush into the end of the drain line and move it back and forth to dislodge any clogs. If necessary, you can also try flushing the drain line with a mixture of water and vinegar to dissolve any stubborn blockages.
4. Reconnect and test: Once the drain line is clear, reconnect it to the air conditioner unit. Ensure that the connection is tight and secure. Test the air conditioner by running it and check if water is properly draining outside of the RV. If the issue persists, you may need to repeat the process or seek professional assistance.
Regularly checking and cleaning the condensate drain line is essential to prevent clogs and ensure proper water drainage. Additionally, consider installing a condensate drain line trap, as mentioned in the previous section, to further prevent debris buildup and clogs in the future.
By addressing a clogged condensate drain line, you can effectively eliminate water dripping inside your RV and maintain the optimal performance of your air conditioner.
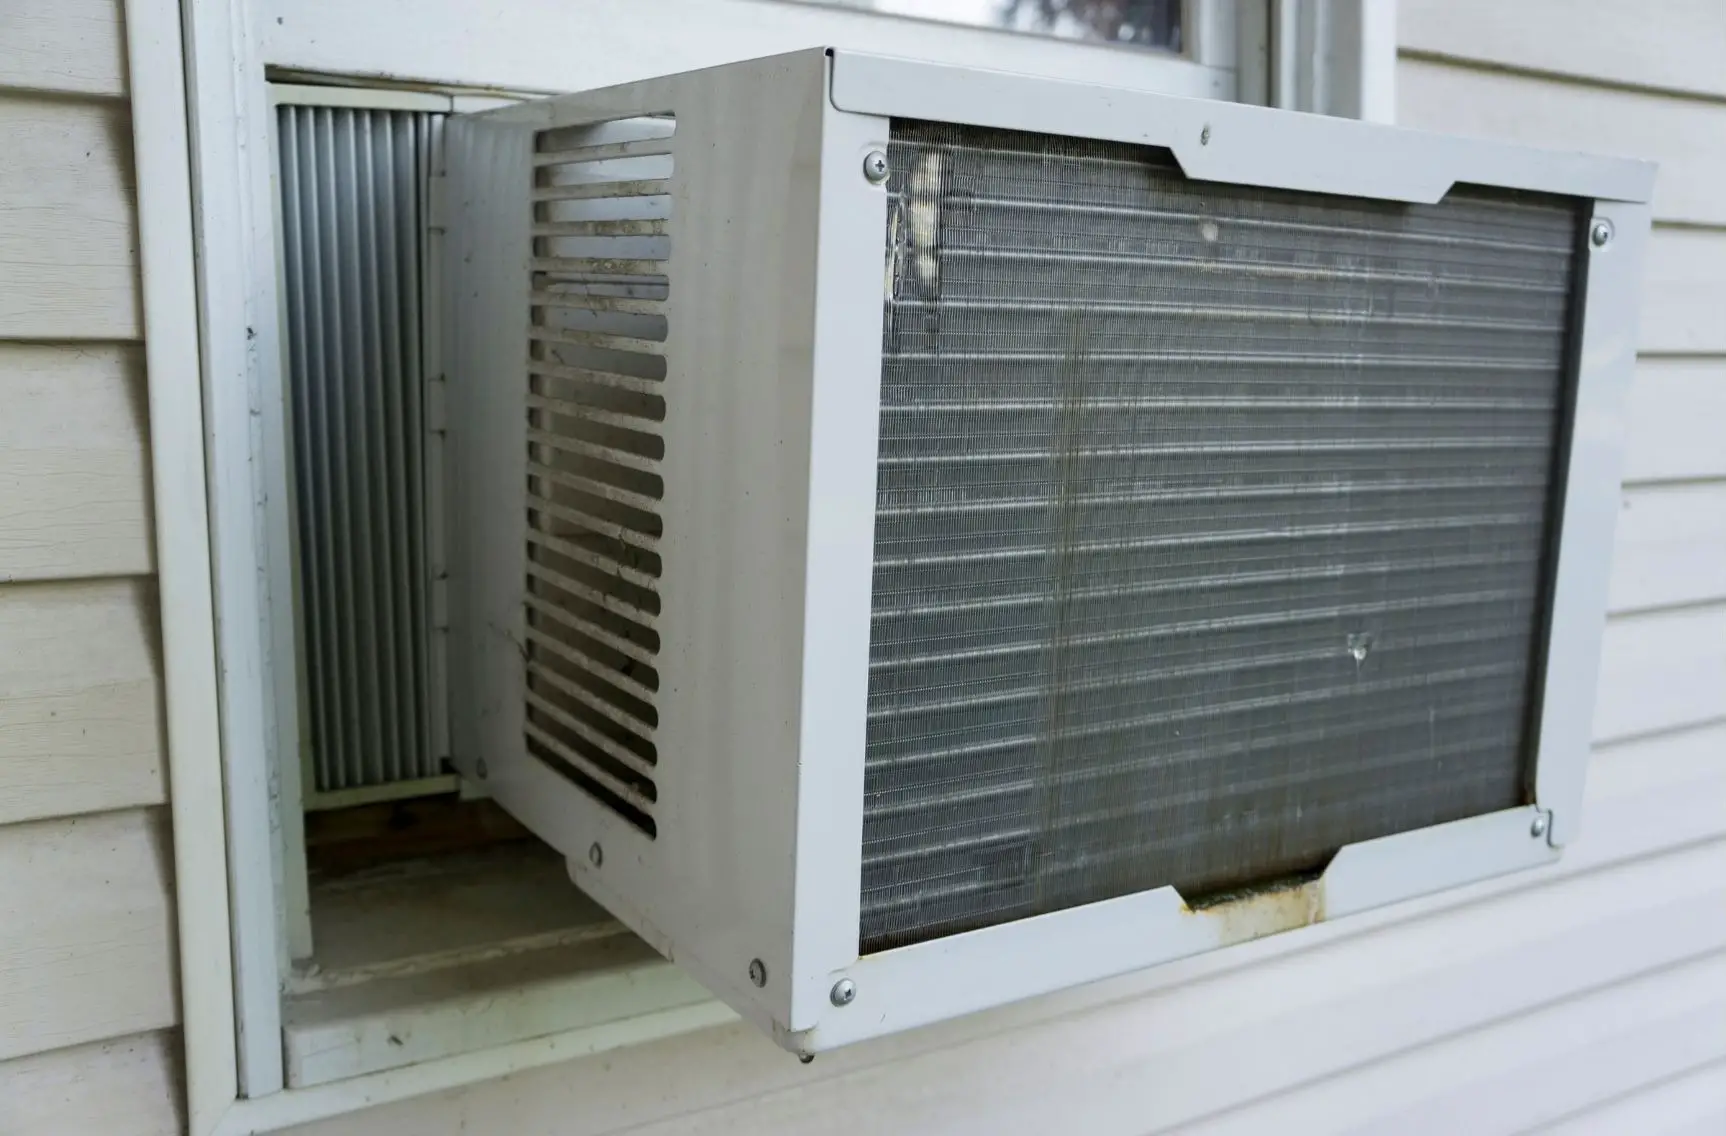
Frozen Evaporator Coils
If you notice water dripping inside your RV air conditioner, it could be due to frozen evaporator coils. When the airflow is restricted or the refrigerant levels are low, the evaporator coils can freeze up. This can happen as a result of a dirty air filter, blocked return air vents, or a refrigerant leak.
To fix the issue of frozen evaporator coils, follow these steps:
1. Turn off the air conditioner: The first step is to turn off the air conditioner and allow the ice on the evaporator coils to melt. This may take some time, depending on the amount of ice buildup.
2. Check the air filter: A dirty or clogged air filter can obstruct the airflow, leading to freezing of the coils. Remove the air filter and inspect it. If it appears dirty or clogged, clean or replace it following the manufacturer’s instructions.
3. Unblock return air vents: Ensure that the return air vents are not blocked or obstructed. Move any objects or furniture that may be blocking the vents to allow for proper airflow.
4. Check refrigerant levels: Low refrigerant levels can also cause freezing of the evaporator coils. If you suspect a refrigerant leak, it is advisable to seek professional assistance to diagnose and fix the issue. They will be able to determine if there is a leak, repair it, and recharge the refrigerant.
5. Regular maintenance: To prevent frozen evaporator coils in the future, make sure to regularly clean or replace the air filter as recommended by the manufacturer. Also, check the return air vents periodically to ensure they are not blocked.
6. Adjust temperature settings: Running the air conditioner at a lower temperature than necessary can cause the evaporator coils to freeze. Adjust the temperature settings to a comfortable level that is not excessively cold.
By addressing the issue of frozen evaporator coils, you can prevent water from dripping inside your RV air conditioner. Regular maintenance and proper airflow are crucial in maintaining the efficiency of your air conditioner and avoiding any freezing issues.
Read more: Why Is My RV Air Conditioner Not Working
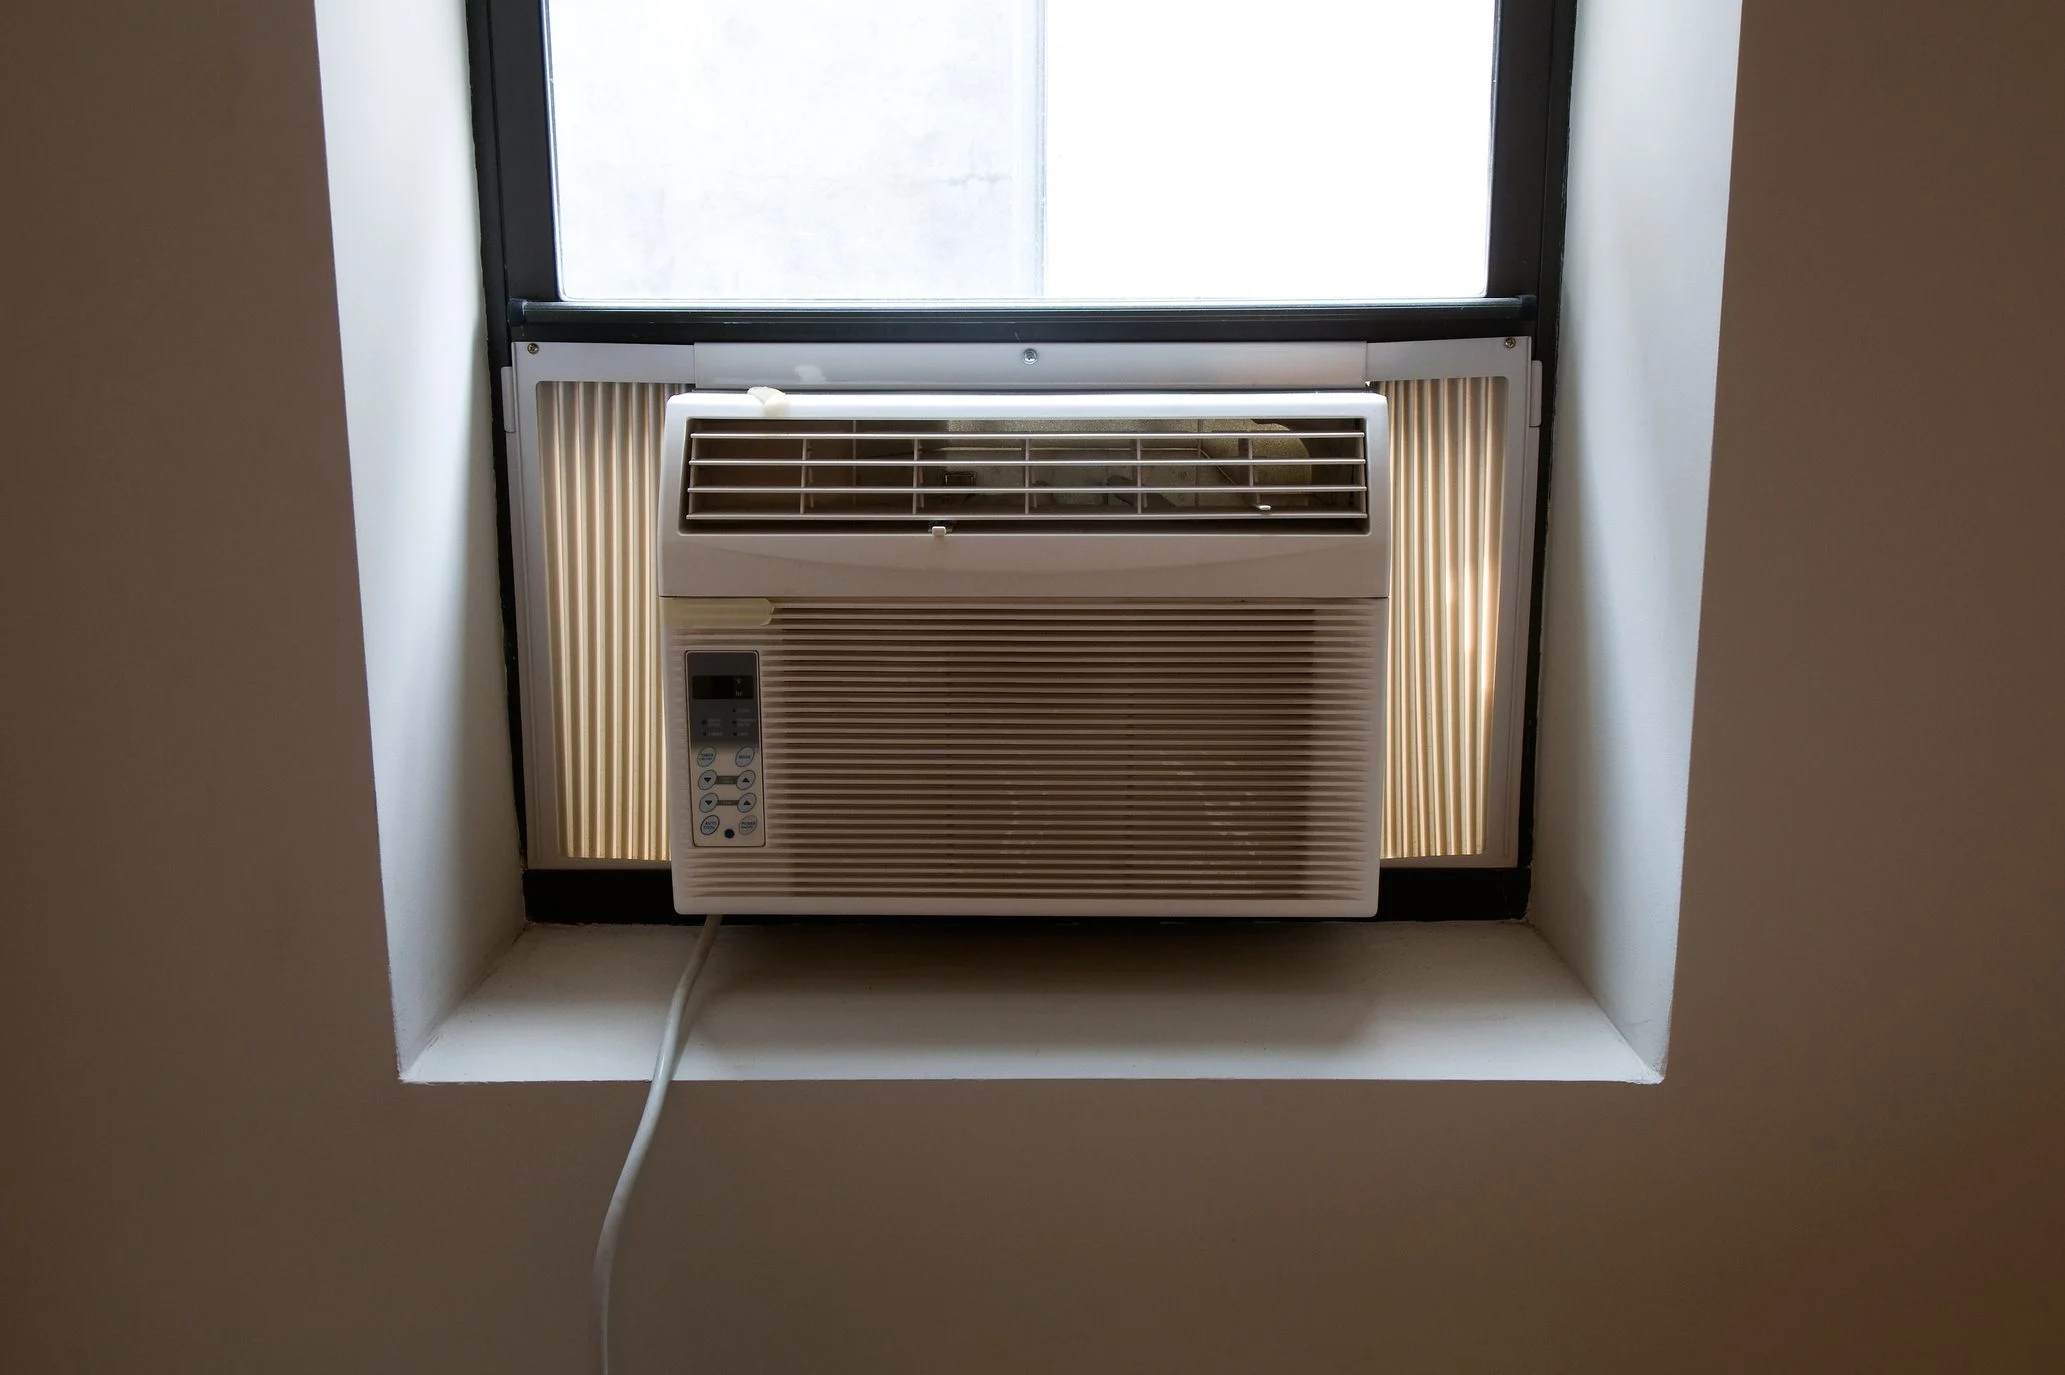
Improper Installation or Leakage
An improperly installed RV air conditioner can be a cause of water leakage inside your vehicle. If the unit was not mounted or sealed correctly, water can enter through gaps or cracks and result in dripping. Additionally, a damaged or faulty seal can also lead to water leakage.
To address improper installation or leakage issues, follow these steps:
1. Inspect the installation: Examine the installation of your RV air conditioner unit. Look for any obvious signs of poor sealing or gaps around the unit. Check the mounting brackets or frame to ensure they are secure and properly aligned. If you notice any issues, you may need to reseal or remount the unit.
2. Check for leaks: Inspect the area around the air conditioner for any signs of water leaks. Look for water stains, discoloration, or moisture buildup on the ceiling or walls near the unit. If you observe any leaks, it may indicate a faulty seal or improper installation.
3. Seal gaps or cracks: Use weatherstripping or silicone sealant to seal any gaps or cracks around the air conditioner unit. Apply the sealant or weatherstripping to the areas where you notice gaps or potential sources of water leakage. Ensure a tight seal to prevent water from entering.
4. Consult a professional: If you are unsure about the installation or if there are persistent leaks, it is recommended to seek professional assistance. An expert can assess the installation, identify any issues, and provide the necessary repairs or adjustments.
Proper installation and sealing of your RV air conditioner are crucial in preventing water leakage inside your vehicle. By inspecting and addressing any gaps or leaks, you can ensure that the air conditioner unit is properly sealed and water-tight.
It is important to note that improper installation or leakage issues may require the expertise of a professional. If you are uncertain about the installation or if the issue persists, it is best to consult a qualified RV technician who can provide the necessary guidance and repairs to address the problem.
High Humidity Levels
High humidity levels can contribute to water dripping inside your RV air conditioner. RVs are frequently exposed to humid conditions, especially in warm and rainy climates. When the air conditioner cannot effectively remove moisture from the air, condensation can build up and result in water leakage inside your vehicle.
To address high humidity levels and prevent water dripping, consider the following steps:
1. Use a dehumidifier: Investing in a portable dehumidifier can help reduce excess moisture inside your RV. Place the dehumidifier in a central location where it can effectively remove moisture from the air. Set the humidity level to a comfortable range to prevent excessive condensation.
2. Ventilate your RV: Proper ventilation is essential in reducing humidity levels inside your vehicle. Make sure all vents and windows are open when weather permits to allow for air circulation. You can also use vent fans or ceiling fans to promote airflow and decrease moisture buildup.
3. Insulate your RV: Proper insulation helps control temperature and humidity levels inside your RV. Insulate areas where condensation may occur, such as window frames, walls, and ceilings. This helps prevent moisture from entering your RV and reduces the potential for water dripping inside the air conditioner.
4. Keep lids on pots and pans: When cooking inside your RV, cover pots and pans to minimize steam and moisture in the air. Open windows or use exhaust fans to assist in eliminating excess heat and humidity generated during cooking.
5. Use moisture absorbers: Consider using moisture-absorbing products, such as desiccant packs or moisture-absorbing crystals, in closets, cabinets, and other areas prone to high humidity. These products help collect excess moisture from the air and prevent it from causing condensation.
6. Monitor and control humidity levels: Use a hygrometer to keep track of the humidity levels inside your RV. Ideally, humidity levels should be maintained between 30-50%. If they exceed this range, take appropriate measures to reduce the humidity, such as running a dehumidifier or utilizing ventilation methods.
By taking these steps to reduce high humidity levels inside your RV, you can minimize condensation buildup and the potential for water dripping inside your air conditioner. Maintaining proper humidity levels not only ensures a more comfortable living environment but also helps preserve the integrity of your RV’s interior.
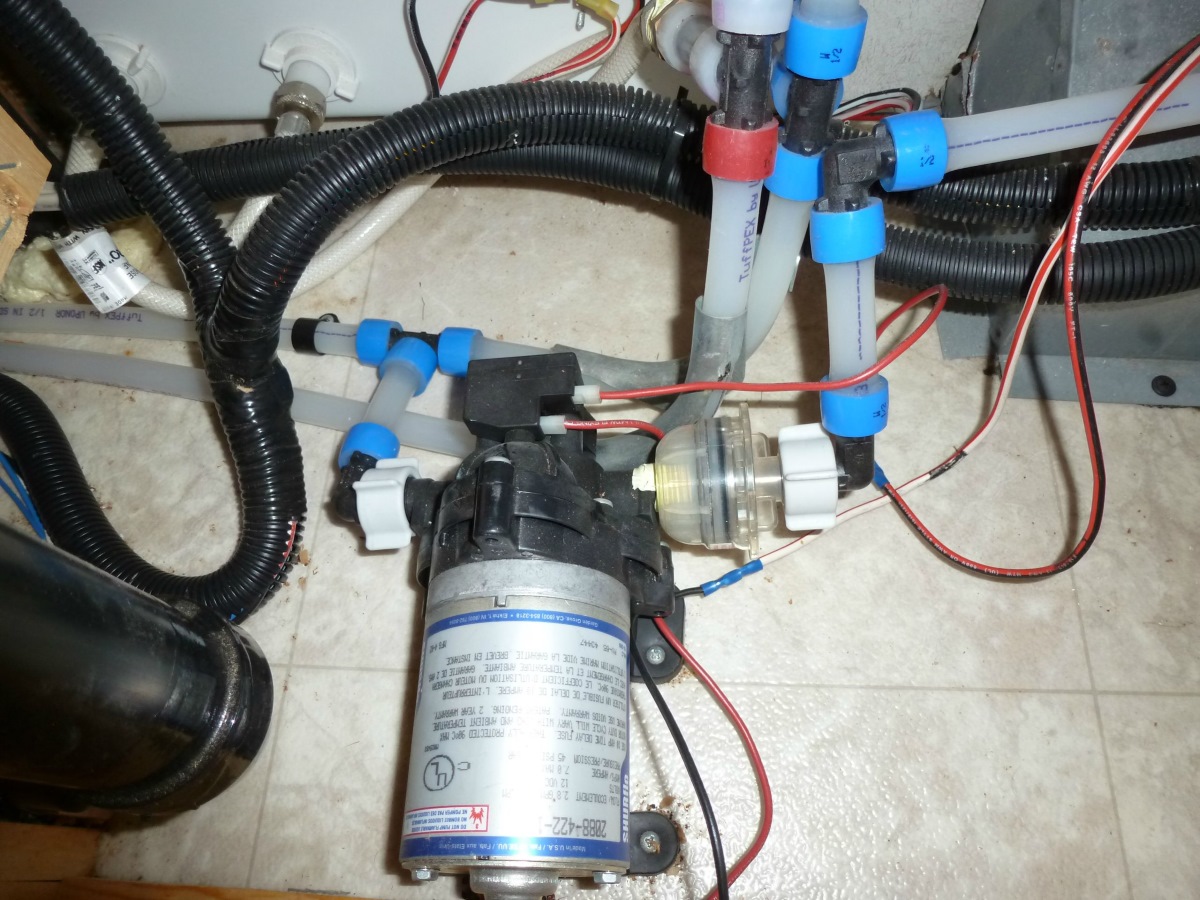
Check the condensate drain line for clogs or leaks. Clean or repair as needed to prevent water from dripping inside your RV.
How to Fix RV Air Conditioner Water Dripping Inside
Experiencing water dripping inside your RV air conditioner can be frustrating, but rest assured that there are solutions to fix this issue. By following these steps, you can effectively address and resolve the problem:
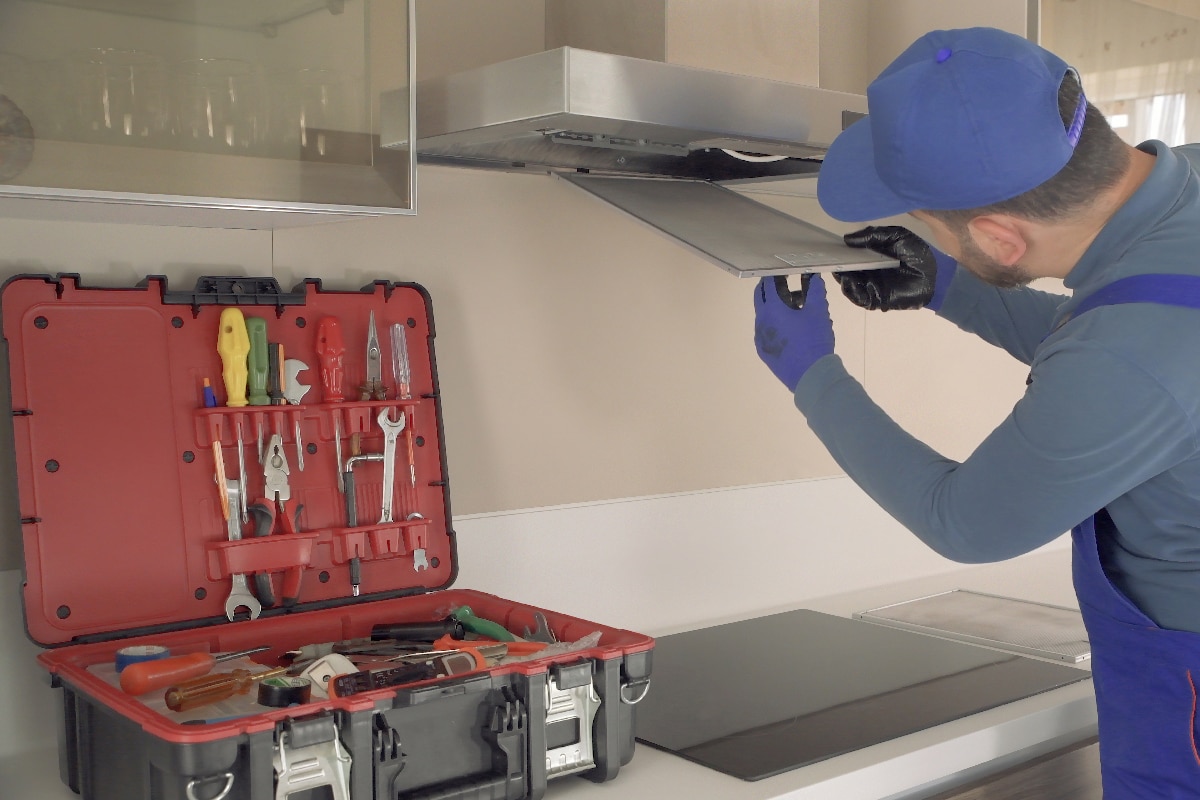
1. Cleaning and Maintaining the AC Unit:
Regularly clean the air conditioner unit, both inside and outside. Remove any dirt, debris, or obstructions that may be blocking the airflow. Clean or replace the air filters as recommended by the manufacturer to ensure proper airflow and prevent the formation of ice on the evaporator coils.
2. Unclogging the Condensate Drain Line:
Clear any debris or blockages in the condensate drain line. Use a wet/dry vacuum or a pipe-cleaning brush to remove any clogs. Consider installing a condensate drain line trap to prevent future clogs from occurring. This helps ensure that the condensed water can properly drain out.
3. Thawing Frozen Evaporator Coils:
If you notice frozen evaporator coils, turn off the air conditioner and allow the ice to melt. Check for any airflow restrictions, such as a dirty air filter or blocked return air vents. Clean or replace the air filter and ensure that the return air vents are unobstructed to allow proper airflow. If the issue persists, contact a professional to address refrigerant levels or leaks.
4. Resealing and Properly Installing the Air Conditioner:
Inspect the air conditioner unit for any gaps, cracks, or signs of poor sealing. Use weatherstripping or silicone sealant to seal any areas where water may be entering. If the unit was improperly installed, consider remounting or seeking professional assistance to ensure a proper and secure installation.
5. Reducing Humidity Levels Inside the RV:
Control humidity levels inside your RV by utilizing dehumidifiers. Ensure proper ventilation by opening windows and using vent fans or ceiling fans to promote airflow. Insulate your RV to prevent moisture from entering. Use moisture absorbers, such as desiccant packs, in areas prone to high humidity.
By implementing these steps, you can effectively fix RV air conditioner water dripping inside. Regular maintenance, proper cleaning, and addressing any underlying issues will help maintain a comfortable and dry living environment inside your RV. If the problem persists or if you are unsure, it is recommended to seek professional assistance to ensure the proper functioning of your RV air conditioning system.
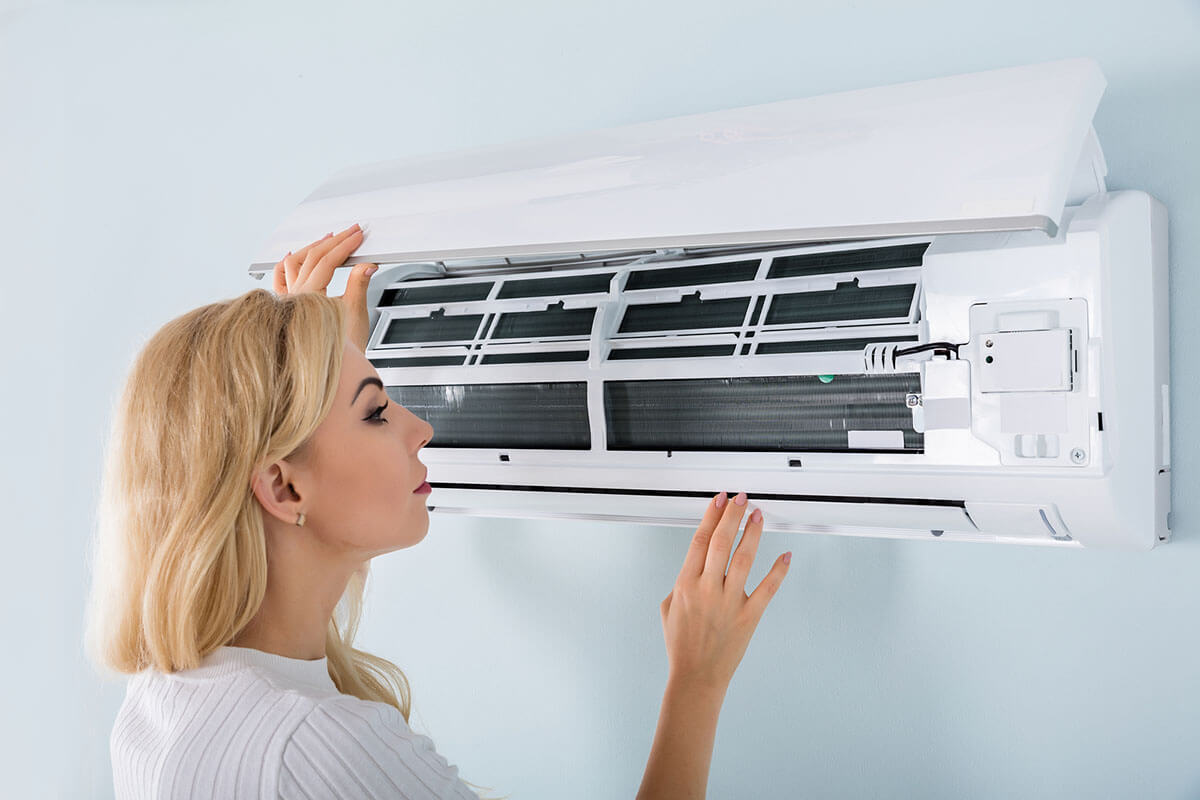
Cleaning and Maintaining the AC Unit
Keeping your RV air conditioner clean and properly maintained is crucial to prevent water dripping inside. Regular cleaning and maintenance not only improve the performance and efficiency of your AC unit but also help prevent issues that can lead to water leakage. Follow these steps to clean and maintain your AC unit:
1. Turn off the AC unit and disconnect power: Before performing any cleaning or maintenance tasks, ensure that the AC unit is turned off and disconnected from the power source. This will help prevent any accidents or electrical hazards.
2. Clean the exterior of the AC unit: Start by cleaning the exterior of the AC unit. Use a soft cloth or brush to remove any dirt, dust, or debris from the surface. Pay attention to the fins and grilles, as they can accumulate a significant amount of dirt and obstruct proper airflow.
3. Clean or replace the air filter: The air filter in your RV air conditioner plays a crucial role in maintaining airflow and preventing dirt from entering the unit. Check the air filter regularly and clean or replace it as recommended by the manufacturer. A clogged or dirty air filter can obstruct airflow and lead to the formation of ice on the evaporator coils.
4. Remove obstructions: Check the area around the AC unit for any obstructions that may hinder airflow. Ensure that furniture, curtains, or any other items are not blocking the vents or return intake. Keeping the space around the AC unit clear will promote proper air circulation.
5. Clean the evaporator coils: The evaporator coils are responsible for cooling the air inside your RV. Over time, these coils can accumulate dirt and dust, affecting their performance. To clean the evaporator coils, use a soft brush or a fin comb to gently remove the debris. Avoid using sharp objects that can damage the coils.
6. Inspect the blower fan: The blower fan helps circulate the cooled air throughout your RV. Inspect the fan blades for any dust or dirt buildup. Use a damp cloth or brush to clean the blades and ensure they are free from obstructions that can hinder proper airflow.
7. Check the drain pan: Inspect the drain pan beneath the evaporator coils for any standing water or debris. Remove any water and clean the pan using warm water and mild detergent. Ensure it is completely dry before reassembling.
8. Schedule regular maintenance: To maintain the performance of your AC unit, it is recommended to schedule regular maintenance with a qualified technician. They can perform a thorough inspection, clean the internal components, and provide any necessary repairs or adjustments.
By following these cleaning and maintenance steps, you can keep your RV air conditioner in optimal condition and prevent water dripping inside. Regular maintenance not only solves immediate issues but also helps extend the lifespan of your AC unit and ensures a comfortable environment inside your RV.
Unclogging the Condensate Drain Line
A clogged condensate drain line is a common cause of water dripping inside your RV air conditioner. Over time, debris, dirt, and algae can accumulate in the drain line, obstructing proper water drainage. To unclog the condensate drain line and prevent water leakage, follow these steps:
1. Locate the condensate drain line: The condensate drain line is a pipe that carries the condensed water from the air conditioner to the outside of your RV. It is usually located near the condensate drain pan, which is beneath the evaporator coils.
2. Turn off the air conditioner: Before attempting to unclog the drain line, ensure that the air conditioner is turned off and disconnected from the power source. This will prevent any accidents or electrical hazards.
3. Access the drain line: Depending on the design of your RV air conditioner, you may need to remove access panels or covers to access the condensate drain line. Refer to the manufacturer’s instructions or the RV owner’s manual for guidance on accessing the drain line.
4. Clear the clog: Once you have accessed the condensate drain line, examine the pipe for any clogs or obstructions. You can use a wet/dry vacuum or a pipe-cleaning brush to clear the blockage. The vacuum can suck out any debris, while the brush can help dislodge stubborn clogs.
5. Flush the drain line: If the clog persists, you can try flushing the drain line with a mixture of water and vinegar. Use equal parts water and vinegar and pour it down the drain line. The vinegar helps dissolve any buildup and kills bacteria or algae that may be causing the clog. Allow the mixture to sit for about 15 minutes, then flush the drain line with clean water.
6. Reconnect and test: After clearing the clog, reconnect the condensate drain line to the air conditioner unit. Ensure that the connection is tight and secure. Test the air conditioner by running it and check if water is properly draining outside the RV. If the issue persists, you may need to repeat the process or seek professional assistance.
Regularly checking and clearing any clogs in the condensate drain line is essential to maintain proper water drainage and prevent water dripping inside your RV. Additionally, consider installing a condensate drain line trap to help prevent future clogs by creating a seal in the drain line. This device inhibits the growth of algae or mold and ensures smooth drainage of condensation.
Thawing Frozen Evaporator Coils
If you notice frozen evaporator coils in your RV air conditioner, it is important to thaw them to prevent water dripping inside your vehicle. When the airflow is restricted or the refrigerant levels are low, the evaporator coils can freeze up, hindering the cooling process. To thaw the frozen coils, follow these steps:
1. Turn off the air conditioner: The first step is to turn off the air conditioner and disconnect it from the power source. This will prevent any electrical accidents or damage to the unit.
2. Allow the coils to thaw naturally: Once the air conditioner is turned off, the frozen coils will start to thaw naturally. This process may take some time, but it is important to let them thaw gradually to avoid any potential damage.
3. Check for the cause of freezing: While waiting for the coils to thaw, inspect the unit for any possible causes of the freezing. Check the air filter and ensure it is clean and not obstructing the airflow. Remove any obstructions around the return vents or registers to ensure proper air circulation. Also, check for any refrigerant leaks that may be causing the issue.
4. Clean or replace the air filter: A dirty or clogged air filter can restrict airflow and contribute to the freezing of the evaporator coils. If the air filter is dirty, remove it and clean it thoroughly or replace it if necessary. Follow the manufacturer’s instructions for proper cleaning or replacement.
5. Ensure proper ventilation: Proper ventilation is crucial in preventing the freezing of evaporator coils. Make sure the return air vents and registers are not obstructed by any objects or furniture. Also, ensure that there is adequate space around the unit for airflow.
6. Professional assistance if necessary: If the frozen coils continue to be a recurring issue or if you suspect a refrigerant leak, it is advisable to seek professional assistance. A qualified technician can diagnose and fix the problem, ensuring the efficient operation of your RV air conditioner.
It is important to note that preventing the freezing of evaporator coils is crucial to maintain the functionality and efficiency of your RV air conditioner. Regularly clean or replace the air filter, ensure proper ventilation, and address any airflow restrictions to prevent the coils from freezing in the future. Maintaining proper maintenance practices will help keep your RV air conditioner running smoothly and prevent water dripping inside your vehicle.
Resealing and Properly Installing the Air Conditioner
Improper installation or a faulty seal can lead to water leakage inside your RV air conditioner. It is important to ensure that your air conditioner is properly sealed and securely mounted to prevent water from entering through gaps or cracks. Follow these steps to reseal and properly install your air conditioner:
1. Inspect the installation: Take a close look at the installation of your RV air conditioner. Check for any gaps, cracks, or signs of poor sealing around the unit. Pay attention to areas where water may potentially enter, such as the mounting brackets, frame, or any connections.
2. Remove the air conditioner unit: If you discover any issues with the installation or sealing, you may need to temporarily remove the air conditioner unit. Refer to the manufacturer’s instructions or the RV owner’s manual for guidance on how to properly detach the unit.
3. Clean the mounting area: Before reinstalling the air conditioner, thoroughly clean the mounting area. Remove any existing sealant, dirt, or debris. Ensure that the surface is dry and free from any obstructions that may hinder proper sealing.
4. Reseal the mounting area: Apply a high-quality weatherproof sealant around the mounting area. Use an appropriate sealant recommended by the manufacturer or consult with a professional for the best sealant option for your specific RV air conditioner. Ensure that you create a tight and secure seal to prevent water from entering.
5. Reinstall the air conditioner unit: Carefully place the air conditioner unit back into the mounting area. Make sure it is properly aligned and secure. Follow the manufacturer’s instructions or the RV owner’s manual for guidelines on reinstallation. Ensure that all connections and fasteners are tight.
6. Test for proper sealing: After reinstalling the air conditioner unit, perform a thorough test to ensure proper sealing. Run the air conditioner and check for any signs of water leakage or air escaping through gaps or cracks. If you notice any issues, revisit the sealing process and make adjustments as necessary.
If you are uncertain about the installation or encounter persistent leaks even after resealing, it is recommended to seek professional assistance. An expert can identify any underlying issues, provide the necessary repairs, and ensure that your air conditioner is properly installed and sealed.
Properly sealing and installing your air conditioner is crucial to prevent water leakage inside your RV. Taking the time to ensure a secure and watertight installation will result in a more comfortable and worry-free RV experience.
Reducing Humidity Levels Inside the RV
High humidity levels inside your RV can contribute to water dripping from the air conditioner. To prevent excessive moisture and maintain a comfortable environment, it is important to reduce humidity levels inside your vehicle. Follow these steps to effectively lower humidity levels:
1. Use a dehumidifier: Investing in a portable dehumidifier is an effective way to control humidity levels in your RV. Place the dehumidifier in a central location, such as the living area or near the air conditioner, to remove excess moisture from the air. Set the dehumidifier to maintain a comfortable humidity level of around 30-50 percent.
2. Ventilate your RV: Proper ventilation is crucial in reducing humidity levels. Open windows and doors when weather permits to promote airflow and allow moist air to escape. Utilize vent fans or ceiling fans to increase air circulation and reduce humidity. Make sure your RV has adequate ventilation to prevent stale and humid air from accumulating.
3. Insulate your RV: Proper insulation helps control temperature and humidity levels inside your RV. Insulate the walls, ceilings, and windows to prevent condensation and keep the interior temperature stable. This reduces the potential for moisture buildup and water dripping from the air conditioner.
4. Seal potential sources of moisture: Check for any areas where moisture may be seeping into your RV. Inspect windows, doors, and roof vents for any leaks or gaps. Use weatherstripping, caulk, or sealant to seal any openings. Ensuring a tight seal prevents outside moisture from entering and contributes to lower humidity levels.
5. Use moisture absorbers: Consider using moisture-absorbing products, such as desiccant packs or moisture-absorbing crystals, in areas prone to high humidity or moisture, such as closets or cabinets. These products help collect excess moisture from the air and reduce humidity levels.
6. Control cooking and showering moisture: Cooking and showering generate significant moisture in the air. Use exhaust fans or open windows when cooking or taking showers to remove excess moisture. Cover pots and pans while cooking to minimize steam production. Install a vent fan in the bathroom to remove moisture after showering.
7. Monitor and control humidity levels: Use a hygrometer to monitor humidity levels inside your RV. Ideally, humidity levels should be maintained between 30-50 percent. If levels exceed this range, consider utilizing dehumidifiers or employing ventilation methods to lower them.
By implementing these measures to reduce humidity levels inside your RV, you can create a more comfortable living environment and minimize the potential for water dripping from the air conditioner. Regularly check for sources of moisture and maintain proper ventilation and insulation to keep humidity levels in check.
Conclusion
Water dripping inside your RV air conditioner can be a frustrating issue, but with the proper knowledge and steps, you can address and resolve the problem. Understanding the causes of water dripping, such as condensation buildup, clogged condensate drain lines, frozen evaporator coils, improper installation, or high humidity levels, is crucial in finding the appropriate solutions.
By implementing the following steps, you can effectively fix and prevent water dripping inside your RV air conditioner:
1. Clean and maintain the AC unit: Regularly clean the air conditioner, change or clean the air filters, and remove any obstructions that can hinder proper airflow.
2. Unclog the condensate drain line: Clear any debris or blockages in the condensate drain line using a wet/dry vacuum or a pipe-cleaning brush. Consider installing a condensate drain line trap to prevent future clogs.
3. Thaw frozen evaporator coils: Turn off the air conditioner and allow the frozen coils to naturally thaw. Check for airflow restrictions, clean or replace the air filter, and ensure proper ventilation.
4. Reseal and properly install the air conditioner: Inspect the installation for any gaps or poor sealing, and use weatherstripping or sealant to create a tight seal. Ensure the air conditioner is properly mounted and aligned.
5. Reduce humidity levels inside the RV: Utilize dehumidifiers, ventilate the RV by opening windows and using fans, insulate the vehicle, seal potential sources of moisture, utilize moisture absorbers, and control moisture during cooking and showering.
In conclusion, by taking proactive steps to clean and maintain your AC unit, unclog the condensate drain line, thaw frozen evaporator coils, properly seal and install the air conditioner, as well as reduce humidity levels inside your RV, you can effectively fix and prevent water dripping inside your RV air conditioner. Regular maintenance and attention to potential issues will ensure a comfortable and pleasant living environment during your RV adventures.
Remember, if you encounter any persistent issues or are unsure about the steps, it is always recommended to seek professional assistance. They can provide expertise and guidance to ensure the efficient operation of your RV air conditioner.
Frequently Asked Questions about Why Does My RV Air Conditioner Drip Water Inside
Was this page helpful?
At Storables.com, we guarantee accurate and reliable information. Our content, validated by Expert Board Contributors, is crafted following stringent Editorial Policies. We're committed to providing you with well-researched, expert-backed insights for all your informational needs.