Articles
Why Does My Rain Showerhead Drip
Modified: August 16, 2024
Discover articles on why your rain showerhead drips and how to fix it. Get expert tips and advice to enjoy a seamless shower experience.
(Many of the links in this article redirect to a specific reviewed product. Your purchase of these products through affiliate links helps to generate commission for Storables.com, at no extra cost. Learn more)
Introduction
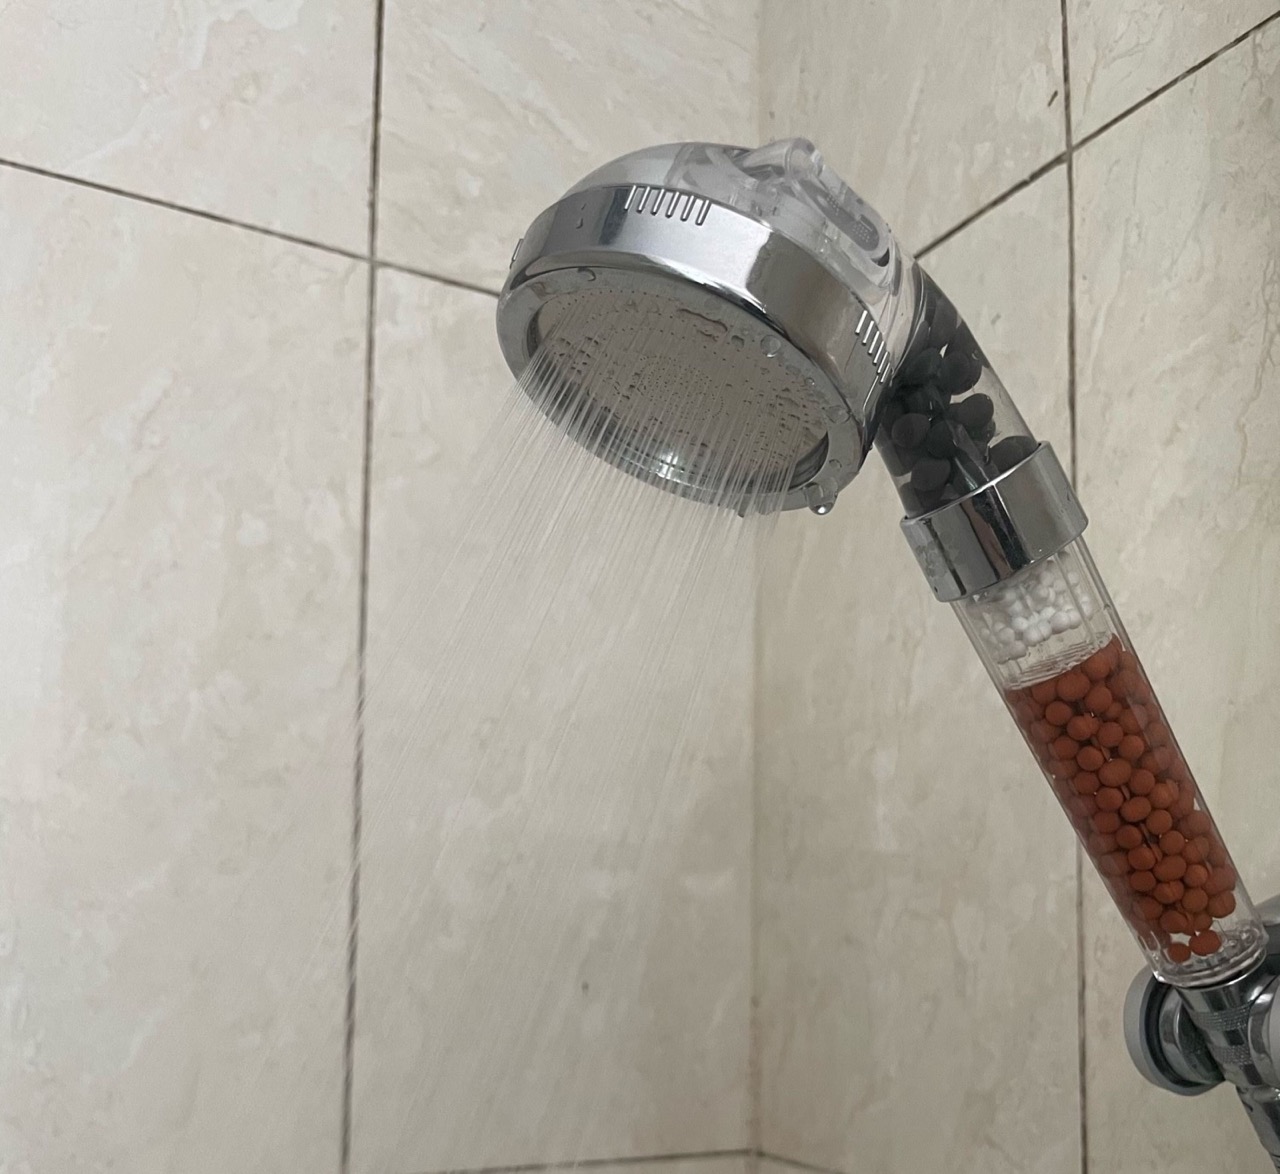
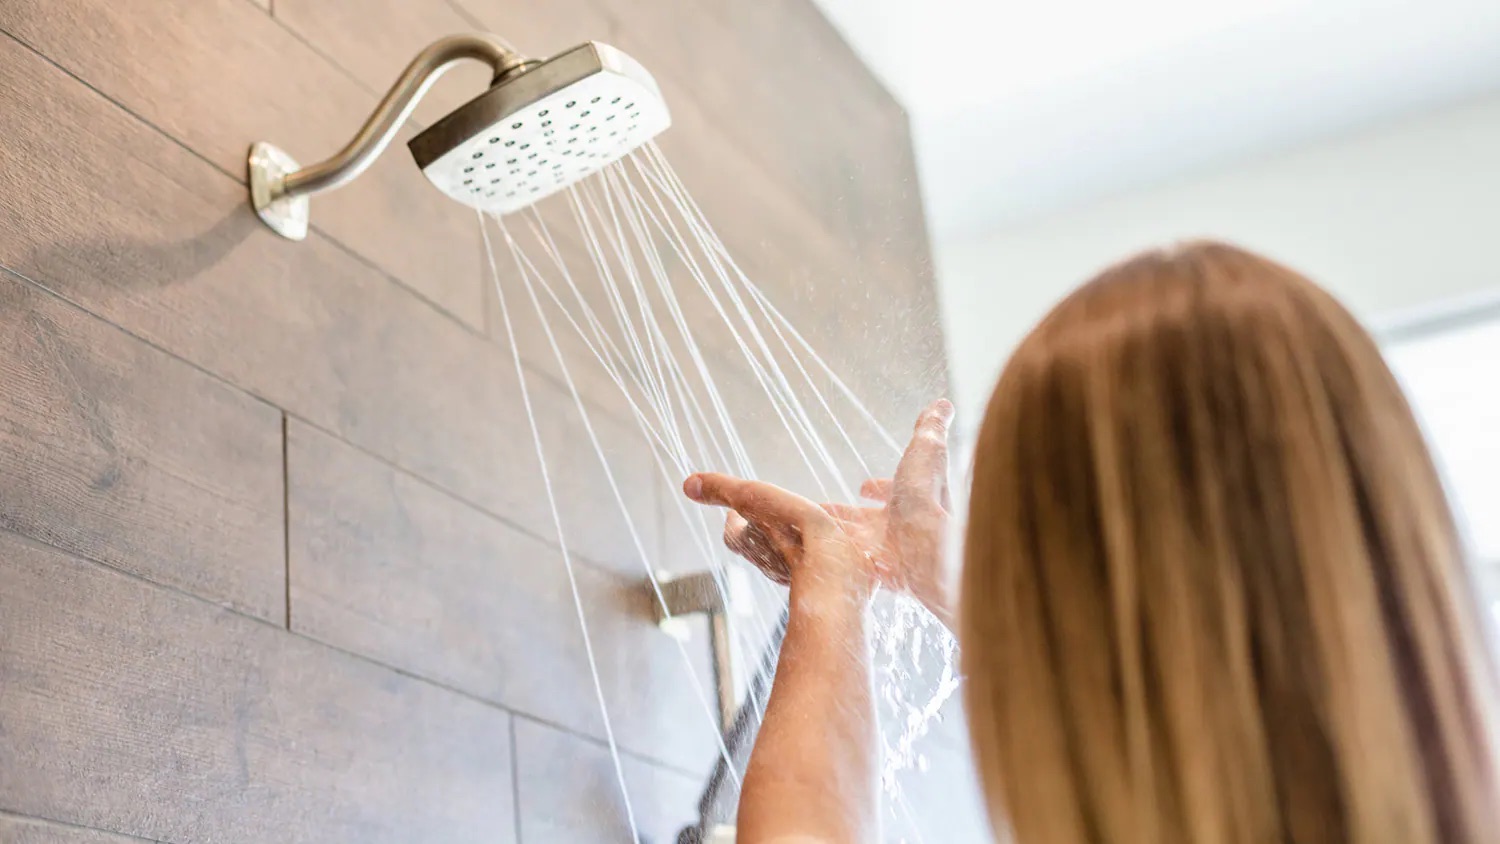
Have you ever experienced the frustration of a dripping rain showerhead? You turn off the water, but it continues to drip, wasting water and causing an annoying sound. This common issue can be quite bothersome, but understanding the reasons behind it can help you put an end to the persistent dripping.
A rain showerhead is a luxurious addition to any bathroom. It provides a gentle and soothing rainfall-like experience, turning your daily shower into a relaxing escape. However, despite the many advantages of rain showerheads, they can occasionally develop issues like dripping. In this article, we will explore the possible causes of a dripping rain showerhead and how to effectively address the problem.
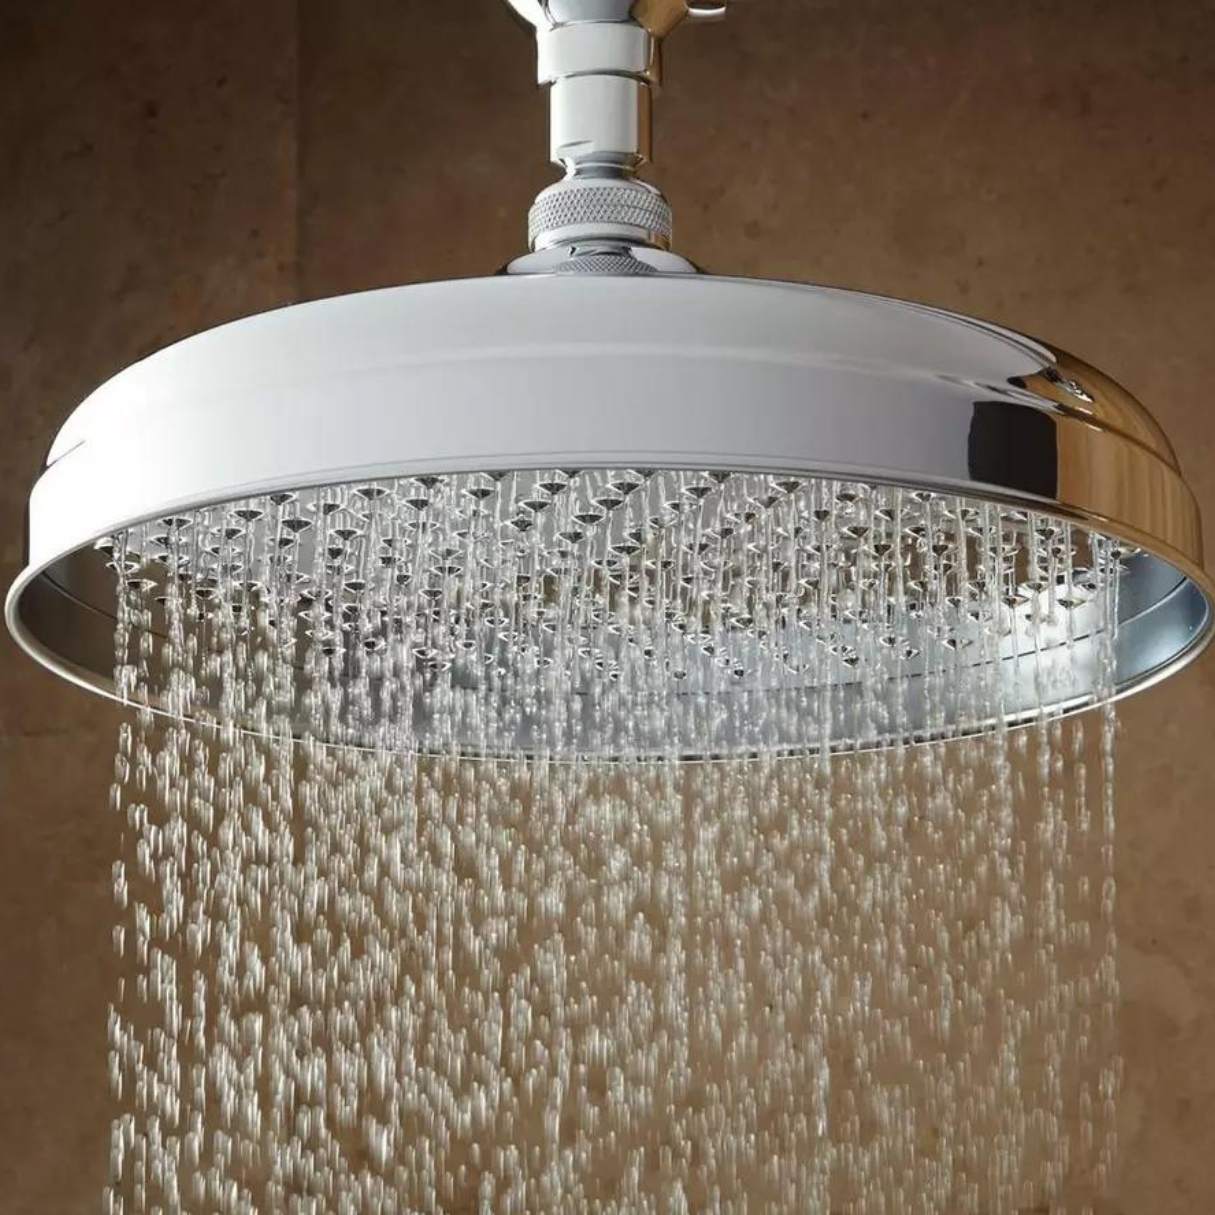
Before we dive into the solutions, let’s take a closer look at rain showerheads. These showerheads are typically larger and have a wider spray pattern compared to traditional showerheads. They are mounted on the ceiling or an overhead arm, allowing the water to cascade down over your body, mimicking the sensation of a rain shower. The luxurious feel and tranquil experience make rain showerheads a popular choice for many homeowners.
Now, let’s discuss the common causes of dripping in rain showerheads. By understanding these causes, you can pinpoint the issue and take appropriate steps to fix it. The most common culprits behind dripping are water pressure issues, sediment buildup, and loose or worn-out parts. Let’s explore each of these causes in detail.
Key Takeaways:
- Address water pressure issues by installing a regulator or flow restrictor to prevent dripping in rain showerheads. Regular cleaning and maintenance can also eliminate sediment buildup and ensure a leak-free showering experience.
- Tighten or replace loose/worn-out parts within the showerhead to prevent leaks and dripping. Adjust water pressure carefully to maintain a balanced flow and enhance your showering experience.
Understanding a Rain Showerhead
Before we delve into the causes of dripping in rain showerheads, let’s first familiarize ourselves with how these showerheads work. Understanding their components and mechanisms will help us better understand and troubleshoot any issues that may arise.
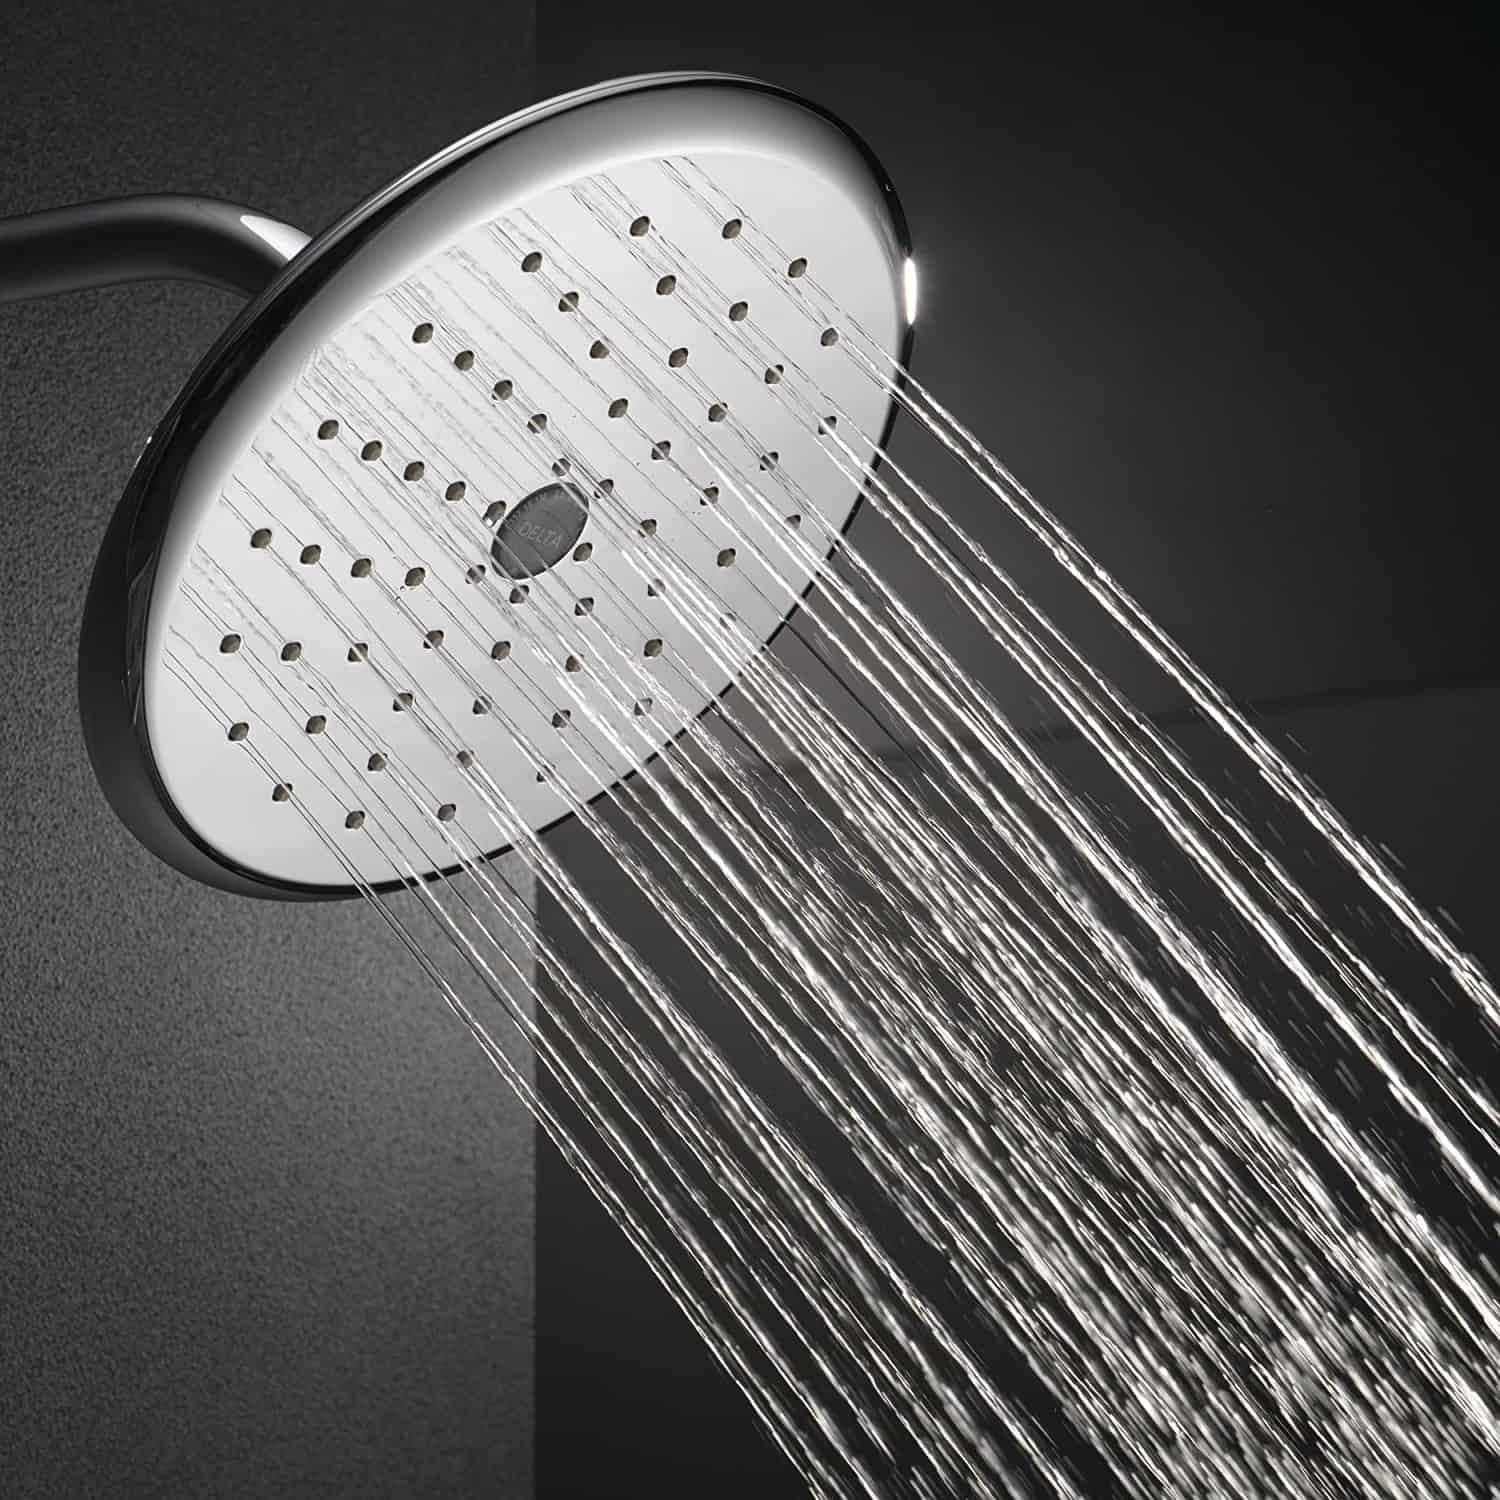
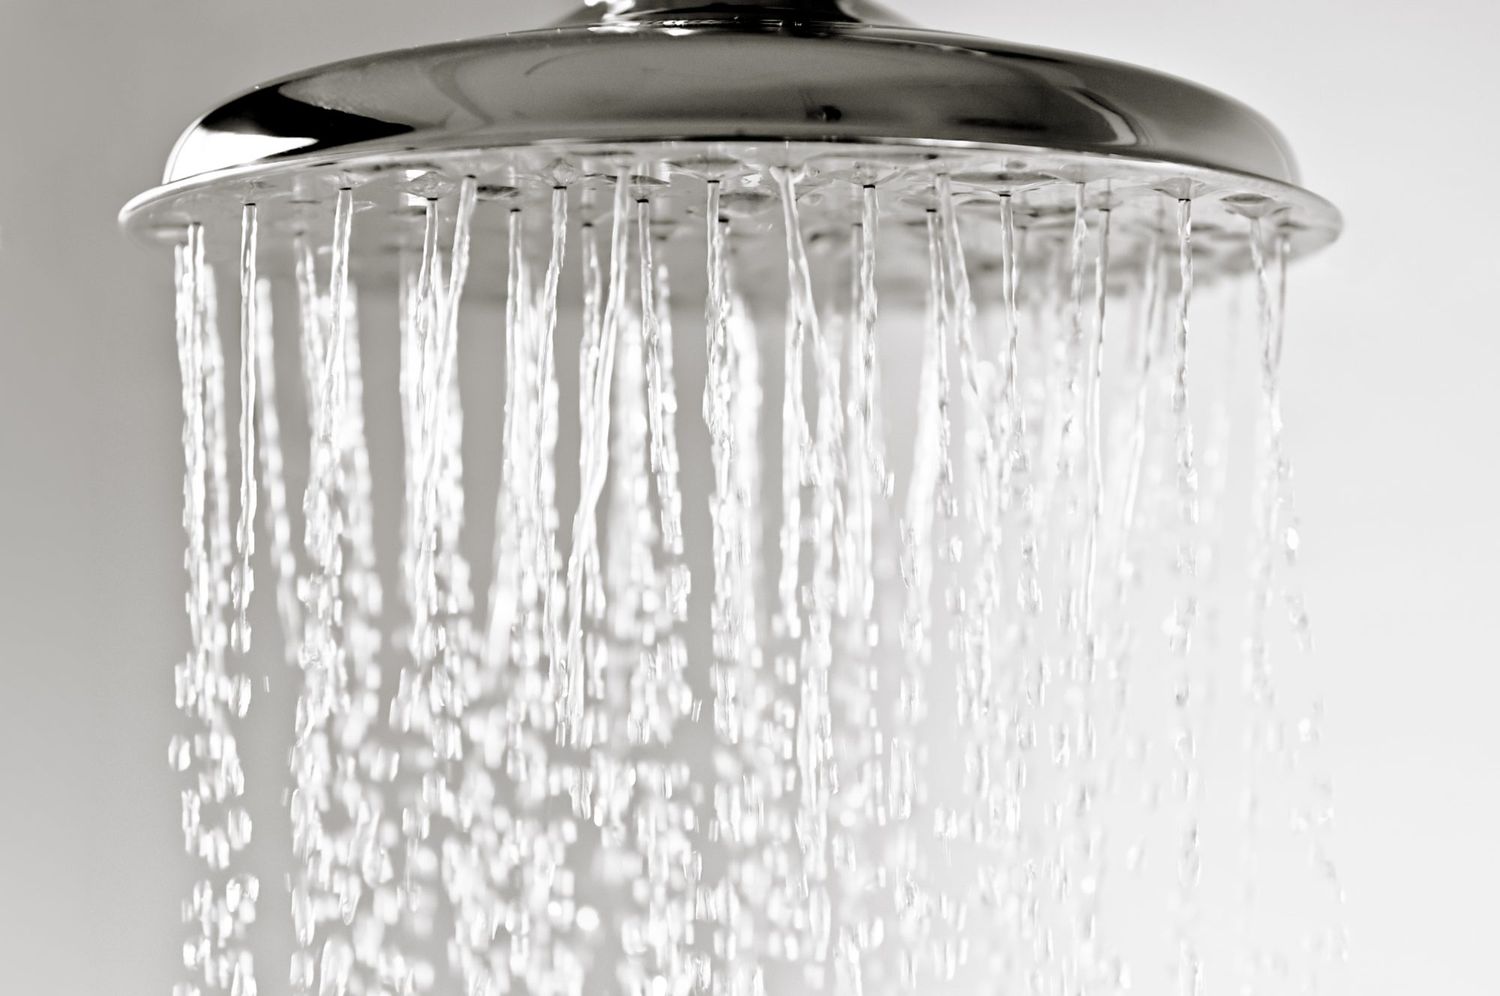
A rain showerhead is designed to simulate the experience of standing beneath a gentle rain shower. Unlike traditional showerheads that produce a concentrated stream of water, rain showerheads have a larger surface area and create a wider spray pattern. This allows the water to flow over your body in a gentle and relaxing manner.
Rain showerheads are typically larger in size, ranging from 8 inches to 12 inches in diameter. They are often installed on the ceiling or an overhead arm, positioned directly above the user. This overhead placement enhances the rain-like effect, as the water falls from above, creating a soothing and immersive experience.
These showerheads rely on a combination of water pressure and specialized nozzles to create the desired rainfall effect. The nozzles are designed to disperse the water in a wide and even pattern, mimicking the natural fall of raindrops. They are strategically placed throughout the showerhead surface to ensure consistent coverage.
Many rain showerheads also offer adjustable settings, allowing you to customize the intensity and flow of the water. These settings can vary from a gentle drizzle to a more invigorating spray, providing options for different preferences and needs.
It’s important to note that rain showerheads operate differently from conventional showerheads. Traditional showerheads direct the water towards your body at a higher pressure, aiming for efficient washing and rinsing. In contrast, rain showerheads prioritize the relaxation and sensory experience, providing a gentle and calming showering experience.
Now that we have a clear understanding of how rain showerheads function, let’s move on to explore the potential causes of dripping and how to address them. By troubleshooting and resolving these issues, you can enjoy a drip-free and luxurious shower experience.
Common Causes of Dripping
When your rain showerhead starts dripping, it can be quite frustrating. Luckily, most instances of dripping can be traced back to a few common causes. Let’s take a look at these causes in detail:
- Water pressure issues: In some cases, the dripping may be the result of water pressure that is too high. When the water pressure is excessive, it can force water through the nozzles even when the shower is turned off, leading to dripping. Conversely, low water pressure can also cause dripping if it prevents the proper sealing of internal components.
- Sediment buildup: Over time, a rain showerhead can accumulate sediment and mineral deposits from the water supply. These deposits can clog the nozzles partially or completely, disrupting the water flow and causing dripping. Sediment buildup is more common in areas with hard water, where water contains a higher concentration of minerals.
- Loose or worn-out parts: Another common cause of dripping is loose or worn-out parts within the showerhead itself. Over time, the seals, gaskets, or O-rings that ensure a tight connection between different components may become damaged or deteriorate, leading to leaks and dripping.
Identifying the specific cause of dripping in your rain showerhead is crucial for implementing an effective solution. In the next sections, we will discuss how to address these causes and fix the dripping issue.
Water Pressure Issues
One of the common causes of a dripping rain showerhead can be attributed to water pressure issues. When the water pressure is too high or too low, it can disrupt the proper functioning of the showerhead, leading to dripping. Let’s explore this cause in more detail:
High water pressure: If your rain showerhead is dripping even when the shower is turned off, it could be a sign of excessively high water pressure. High water pressure can create a forceful flow that continues to push water through the nozzles, even when the shower is not in use. This constant flow can result in persistent dripping. A water pressure regulator or flow restrictor can help reduce the pressure and alleviate the issue.
Low water pressure: On the other hand, low water pressure can also contribute to dripping. If the water pressure is too low, it may not provide sufficient force to fully seal the internal components of the showerhead. As a result, water can seep through the gaps and cause dripping. This can be addressed by checking for any blockages or obstructions in the water lines and ensuring a smooth and unobstructed flow.
To determine if water pressure is the cause of dripping, you can perform a simple test. Start by turning off all the faucets and appliances that use water in your home. Then, observe if the dripping from the rain showerhead stops or slows down significantly. If it does, it is likely that water pressure is the primary culprit.
To address water pressure issues, you have a few options:
- Install a water pressure regulator: A water pressure regulator, also known as a pressure-reducing valve, can be installed in the water supply line to regulate the water pressure entering your home. This device ensures that the water pressure remains within a safe and optimal range, reducing the likelihood of dripping.
- Fit a flow restrictor: A flow restrictor can be installed in the showerhead itself to restrict the amount of water flowing through it. This can help manage excessive pressure and prevent dripping. Many rain showerheads come with flow restrictors or you can purchase one separately and install it according to the manufacturer’s instructions.
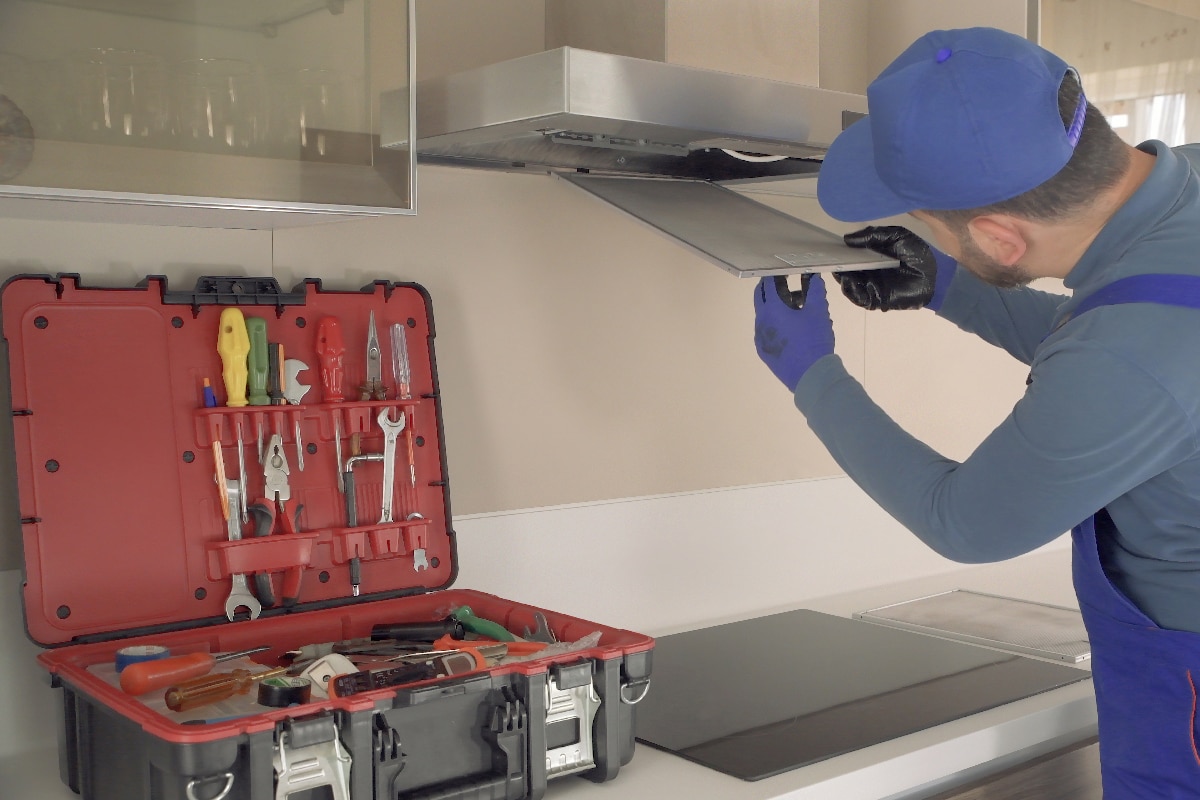
- Consult a professional: If you are unsure about how to address water pressure issues or if the problem persists despite your efforts, it’s best to consult a professional plumber. They can assess your plumbing system, identify any underlying causes, and recommend the most appropriate solution.
By addressing water pressure issues, you can effectively eliminate one of the common causes of dripping in your rain showerhead, allowing you to enjoy a leak-free and enjoyable showering experience.
Sediment Buildup
Sediment buildup is another common cause of dripping in rain showerheads. Over time, minerals and sediment from the water supply can accumulate within the showerhead, obstructing the flow and causing dripping. Let’s delve deeper into this cause:
Hard water: Sediment buildup is more prevalent in areas with hard water, which contains a high concentration of minerals like calcium and magnesium. When hard water flows through the rain showerhead, these minerals can gradually accumulate within the nozzles, reducing their size and clogging them. This restriction of the water flow can lead to dripping.
Signs of sediment buildup: To determine if sediment buildup is causing your rain showerhead to drip, look out for signs such as reduced water flow, uneven spray pattern, or visible mineral deposits on the surface of the showerhead. These indicators suggest that minerals have accumulated within the nozzles, impeding the proper flow of water.
To address sediment buildup and prevent dripping, you can follow these steps:
- Remove the showerhead: Start by detaching the rain showerhead from its mounting. This can usually be done by unscrewing it from the shower arm using a wrench or pliers. Be careful not to damage the showerhead or the plumbing during this process.
- Soak in a descaling solution: Prepare a mixture of equal parts white vinegar and water or purchase a descaling solution specifically designed for removing mineral deposits. Submerge the rain showerhead in the solution and let it soak for at least 30 minutes to help dissolve and loosen the sediment.
- Scrub and rinse: After soaking, use a soft brush, toothbrush, or a toothpick to gently scrub the nozzles and remove any remaining sediment. Be careful not to scratch or damage the showerhead. Once scrubbed, rinse the showerhead thoroughly with clean water to remove any leftover solution and loosened sediment.
- Reinstall the showerhead: Once the showerhead is clean and free of sediment, reattach it securely to the shower arm. Ensure that the connections are tight to prevent any leaks or drips. Use a wrench or pliers to tighten if necessary, taking care not to overtighten and damage the showerhead or the plumbing.
Regular maintenance is key to preventing sediment buildup and subsequent dripping in your rain showerhead. Consider implementing a descaling routine every few months, especially if you live in an area with hard water, to keep the nozzles clean and the water flow unrestricted.
By addressing sediment buildup, you can restore the optimal functioning of your rain showerhead and enjoy a drip-free and invigorating shower experience.
Read more: How To Choose A Rain Showerhead
Loose or Worn-Out Parts
Loose or worn-out parts within the rain showerhead can often be the cause of dripping. Over time, the seals, gaskets, or O-rings that ensure a tight connection between different components may become damaged or deteriorate, resulting in leaks and dripping. Let’s explore this cause further:
Seals, gaskets, and O-rings: Rain showerheads are comprised of various components that work together to deliver a steady and efficient flow of water. Seals, gaskets, and O-rings play a crucial role in forming a watertight seal between these components. When these parts become loose or worn-out, they are no longer able to effectively prevent water from escaping, leading to dripping.
Age and usage: Over time, the constant exposure to water, heat, and other elements can cause the seals, gaskets, and O-rings within the showerhead to degrade. Additionally, frequent use of the showerhead can put stress on these components, contributing to their wear and tear. Regular maintenance and replacement of worn-out parts can help prevent dripping.
To address loose or worn-out parts in your rain showerhead, follow these steps:
- Shut off the water supply: Before working on the showerhead, ensure that the water supply to the bathroom is turned off. This will prevent any water from flowing and allow you to safely inspect and address the internal components.
- Disassemble the showerhead: Carefully dismantle the rain showerhead, following the manufacturer’s instructions. This typically involves removing the showerhead from its mounting or detaching the faceplate to access the internal components.
- Inspect and replace damaged parts: Examine the seals, gaskets, and O-rings for signs of wear, damage, or deterioration. If any of these components are loose, cracked, or worn-out, they may need to be replaced. Take note of their specific sizes and materials to ensure proper replacements.
- Install new parts: Once you have obtained the necessary replacement parts, carefully install them in their respective positions within the showerhead. Ensure that they are properly aligned and securely seated to create an effective seal.
- Reassemble and test: Put the showerhead back together, following the reverse order of disassembly. Make sure all connections are tight and properly sealed. Then, turn on the water supply and test the showerhead for any signs of dripping. If the dripping persists, double-check the connections and consider consulting a professional if needed.
Regularly inspecting and maintaining the internal components of your rain showerhead can help prevent dripping caused by loose or worn-out parts. By replacing damaged components when necessary, you can ensure a proper seal and enjoy a leak-free showering experience for years to come.
Check the rubber washer inside the showerhead for wear and tear. If it’s damaged, replace it to stop the dripping.
Fixing the Dripping Issue
Now that we have explored the common causes of dripping in rain showerheads, let’s discuss how to effectively address and fix the issue. Below are the steps you can take to resolve the dripping problem:
- Identify the cause: Begin by determining the specific cause of the dripping in your rain showerhead. It could be due to water pressure issues, sediment buildup, or loose/worn-out parts. Understanding the cause will help you implement the appropriate solution.
- Adjust the water pressure: If high or low water pressure is the culprit, consider installing a water pressure regulator or fitting a flow restrictor to manage the pressure and prevent dripping. Consult a professional plumber if you’re unsure about making these adjustments.
- Clean the showerhead: In the case of sediment buildup, remove the showerhead and soak it in a descaling solution or a mixture of white vinegar and water. Scrub the nozzles to remove any remaining buildup. Rinse thoroughly and reinstall the clean showerhead for improved water flow and no dripping.
- Tighten or replace parts: If loose or worn-out parts are causing the dripping, disassemble the showerhead and inspect the seals, gaskets, and O-rings. Replace any damaged or deteriorated parts. Carefully reassemble the showerhead, ensuring that all connections are tight and secure.
- Regular maintenance: To prevent future dripping issues, establish a routine maintenance schedule. Clean the showerhead regularly to prevent sediment buildup, and inspect the internal components for any signs of wear or damage. Promptly address any issues to maintain optimal performance.
If you have attempted these solutions and the dripping problem persists, it may be necessary to consult a professional plumber for a thorough assessment and professional repair. They have the expertise to identify any underlying issues and recommend the most appropriate course of action.
By addressing the specific cause of the dripping issue and implementing the necessary solutions, you can enjoy a leak-free and satisfying showering experience with your rain showerhead.
Adjusting the Water Pressure
One of the common causes of a dripping rain showerhead is water pressure that is either too high or too low. Adjusting the water pressure can help alleviate the dripping issue. Here’s how you can adjust the water pressure:
High water pressure: If you suspect that high water pressure is causing the dripping, you can install a water pressure regulator or adjust the existing regulator if you have one. A water pressure regulator is a device that helps control and maintain a safe and optimal water pressure level in your plumbing system.
To install a water pressure regulator, you’ll need to locate the main water supply line coming into your home. Shut off the water supply and install the regulator according to the manufacturer’s instructions. Once installed, adjust the regulator to decrease the water pressure as needed. This can help prevent excessive force of water pushing through the showerhead and causing dripping even when the shower is turned off.
Low water pressure: In some cases, low water pressure can also contribute to dripping. If the water pressure is too low, it may not provide enough force to create a tight seal within the showerhead, resulting in dripping. To address this issue, you can take a few steps:
- Check for blockages: Inspect and clean any filters or aerators that might be present in the water lines leading to the rain showerhead. These can become clogged over time, restricting the water flow and causing low water pressure.
- Ensure unobstructed flow: Inspect the water supply lines and check for any kinks or other obstructions that may be hindering the water flow. Straighten or remove any kinks to ensure a smooth and unobstructed flow of water.
- Consider a booster pump: If low water pressure persists despite your efforts, you can explore installing a booster pump. A booster pump can help increase the water pressure in your plumbing system and improve the flow to your rain showerhead.
It’s important to note that adjusting the water pressure should be done carefully to avoid causing any damage to your plumbing system. If you’re unsure about making these adjustments yourself, it’s best to consult a professional plumber who can assess the water pressure and make the necessary adjustments.
By properly adjusting the water pressure, you can ensure a balanced and adequate flow of water to your rain showerhead, reducing the likelihood of drips and enhancing your overall showering experience.
Cleaning the Showerhead
Regular cleaning of your rain showerhead is essential to prevent dripping and maintain optimal performance. Over time, mineral deposits and sediment can accumulate in the showerhead, obstructing the flow of water and leading to dripping. Here’s how you can effectively clean your showerhead:
1. Detach the showerhead: Start by removing the rain showerhead from its mounting or detaching the faceplate, depending on the design of your showerhead. Refer to the manufacturer’s instructions if needed.
2. Prepare a cleaning solution: Mix equal parts white vinegar and water in a bowl or basin. White vinegar is a natural and effective cleaner that helps dissolve mineral deposits and remove grime from the showerhead.
3. Soak the showerhead: Submerge the showerhead in the cleaning solution, ensuring that all the nozzles and surfaces are fully immersed. Let it soak for at least 30 minutes to allow the vinegar solution to break down the mineral deposits.
4. Scrub the nozzles: After soaking, use an old toothbrush or a soft brush to gently scrub the nozzles and other surfaces of the showerhead. This will help dislodge any remaining mineral deposits or debris. Pay special attention to clogged or partially blocked nozzles.
5. Rinse thoroughly: Once you have scrubbed the showerhead, rinse it thoroughly with clean water to remove any vinegar residue and loosened deposits. Ensure that all the nozzles are clear and free from any blockages.
6. Reattach the showerhead: After cleaning and rinsing the showerhead, carefully reattach it to the shower arm or mount it back in its original position. Make sure the connections are tight and secure to prevent any leaks or dripping.
7. Maintenance tip: To prevent future mineral buildup, consider using a showerhead with built-in anti-limescale or anti-clog technology. These features can help minimize the accumulation of mineral deposits, reducing the need for frequent cleaning.
Regularly cleaning your rain showerhead will not only prevent dripping but also improve the water flow and enhance your overall showering experience. Aim to clean the showerhead at least once every few months, or more frequently if you live in an area with hard water that is prone to mineral deposits.
Tightening or Replacing Parts
If loose or worn-out parts are causing your rain showerhead to drip, tightening or replacing these parts can help resolve the issue. Over time, the seals, gaskets, or O-rings that ensure a proper seal within the showerhead can become loose, damaged, or deteriorated, leading to leaks. Here’s how you can tighten or replace these parts:
1. Shut off the water supply: Before working on the showerhead, ensure that the water supply to the bathroom is turned off. This will prevent any water from flowing and allow you to safely inspect and address the internal components.
2. Disassemble the showerhead: Carefully dismantle the rain showerhead, following the manufacturer’s instructions. This typically involves removing the showerhead from its mounting or detaching the faceplate to access the internal components.
3. Inspect the seals, gaskets, and O-rings: Take a close look at the seals, gaskets, and O-rings within the showerhead. Check for any signs of wear, damage, or deterioration. If any of these components are loose, cracked, or worn-out, they may need to be tightened or replaced.
4. Tighten loose parts: If you find any loose parts, use a wrench or pliers to carefully tighten them. Ensure that the connections are snug but not overly tight. Take care not to apply excessive force, as this could damage the showerhead or the plumbing.
5. Replace damaged parts: If any of the seals, gaskets, or O-rings are damaged or deteriorated, it’s best to replace them with new ones. Make a note of their specific sizes and materials to ensure you get the correct replacements. You can find replacement parts at your local hardware store or contact the showerhead manufacturer for assistance.
6. Reassemble and test: Once you have tightened or replaced the necessary parts, carefully reassemble the showerhead. Ensure that all connections are tight and properly sealed. Then, turn on the water supply and test the showerhead for any signs of dripping. If the dripping persists, double-check the connections and consider consulting a professional plumber if needed.
Regular inspection and maintenance of the internal components of your rain showerhead can help prevent dripping caused by loose or worn-out parts. By tightening or replacing these parts when necessary, you can ensure a proper seal and enjoy a leak-free showering experience.
Conclusion
Dealing with a dripping rain showerhead can be a frustrating experience, but understanding the common causes and implementing the appropriate solutions can help you regain a leak-free and enjoyable showering experience. By addressing issues such as water pressure, sediment buildup, and loose or worn-out parts, you can effectively resolve the dripping problem.
Water pressure issues can be managed by installing a water pressure regulator or fitting a flow restrictor. These devices help maintain a safe and optimal water pressure level, preventing excessive force and dripping. It’s important to find the right balance of pressure that suits your needs and prevents leaks.
Sediment buildup is a common occurrence, especially in areas with hard water. Regularly cleaning your rain showerhead by soaking it in a descaling solution or vinegar-water mixture, and scrubbing the nozzles, can remove mineral deposits and restore proper water flow, eliminating dripping.
Loose or worn-out parts within the showerhead can lead to leaks and dripping. Tightening or replacing seals, gaskets, or O-rings can ensure a proper seal and prevent any water from escaping. Regular inspection and maintenance of these internal components are key to preventing future dripping issues.
In conclusion, resolving the dripping issue in your rain showerhead involves understanding the causes and implementing appropriate solutions. Adjusting water pressure, cleaning the showerhead, and tightening or replacing parts are effective steps to address the problem. Remember to practice regular maintenance to prevent future dripping issues and enjoy a leak-free and satisfying showering experience.
By following these guidelines and maintaining your rain showerhead properly, you can ensure its longevity and enjoy many refreshing showers without the annoyance of dripping.
Frequently Asked Questions about Why Does My Rain Showerhead Drip
Was this page helpful?
At Storables.com, we guarantee accurate and reliable information. Our content, validated by Expert Board Contributors, is crafted following stringent Editorial Policies. We're committed to providing you with well-researched, expert-backed insights for all your informational needs.


0 thoughts on “Why Does My Rain Showerhead Drip”