Home>Home Security and Surveillance>How Do I Charge My SimpliSafe Outdoor Camera
Home Security and Surveillance
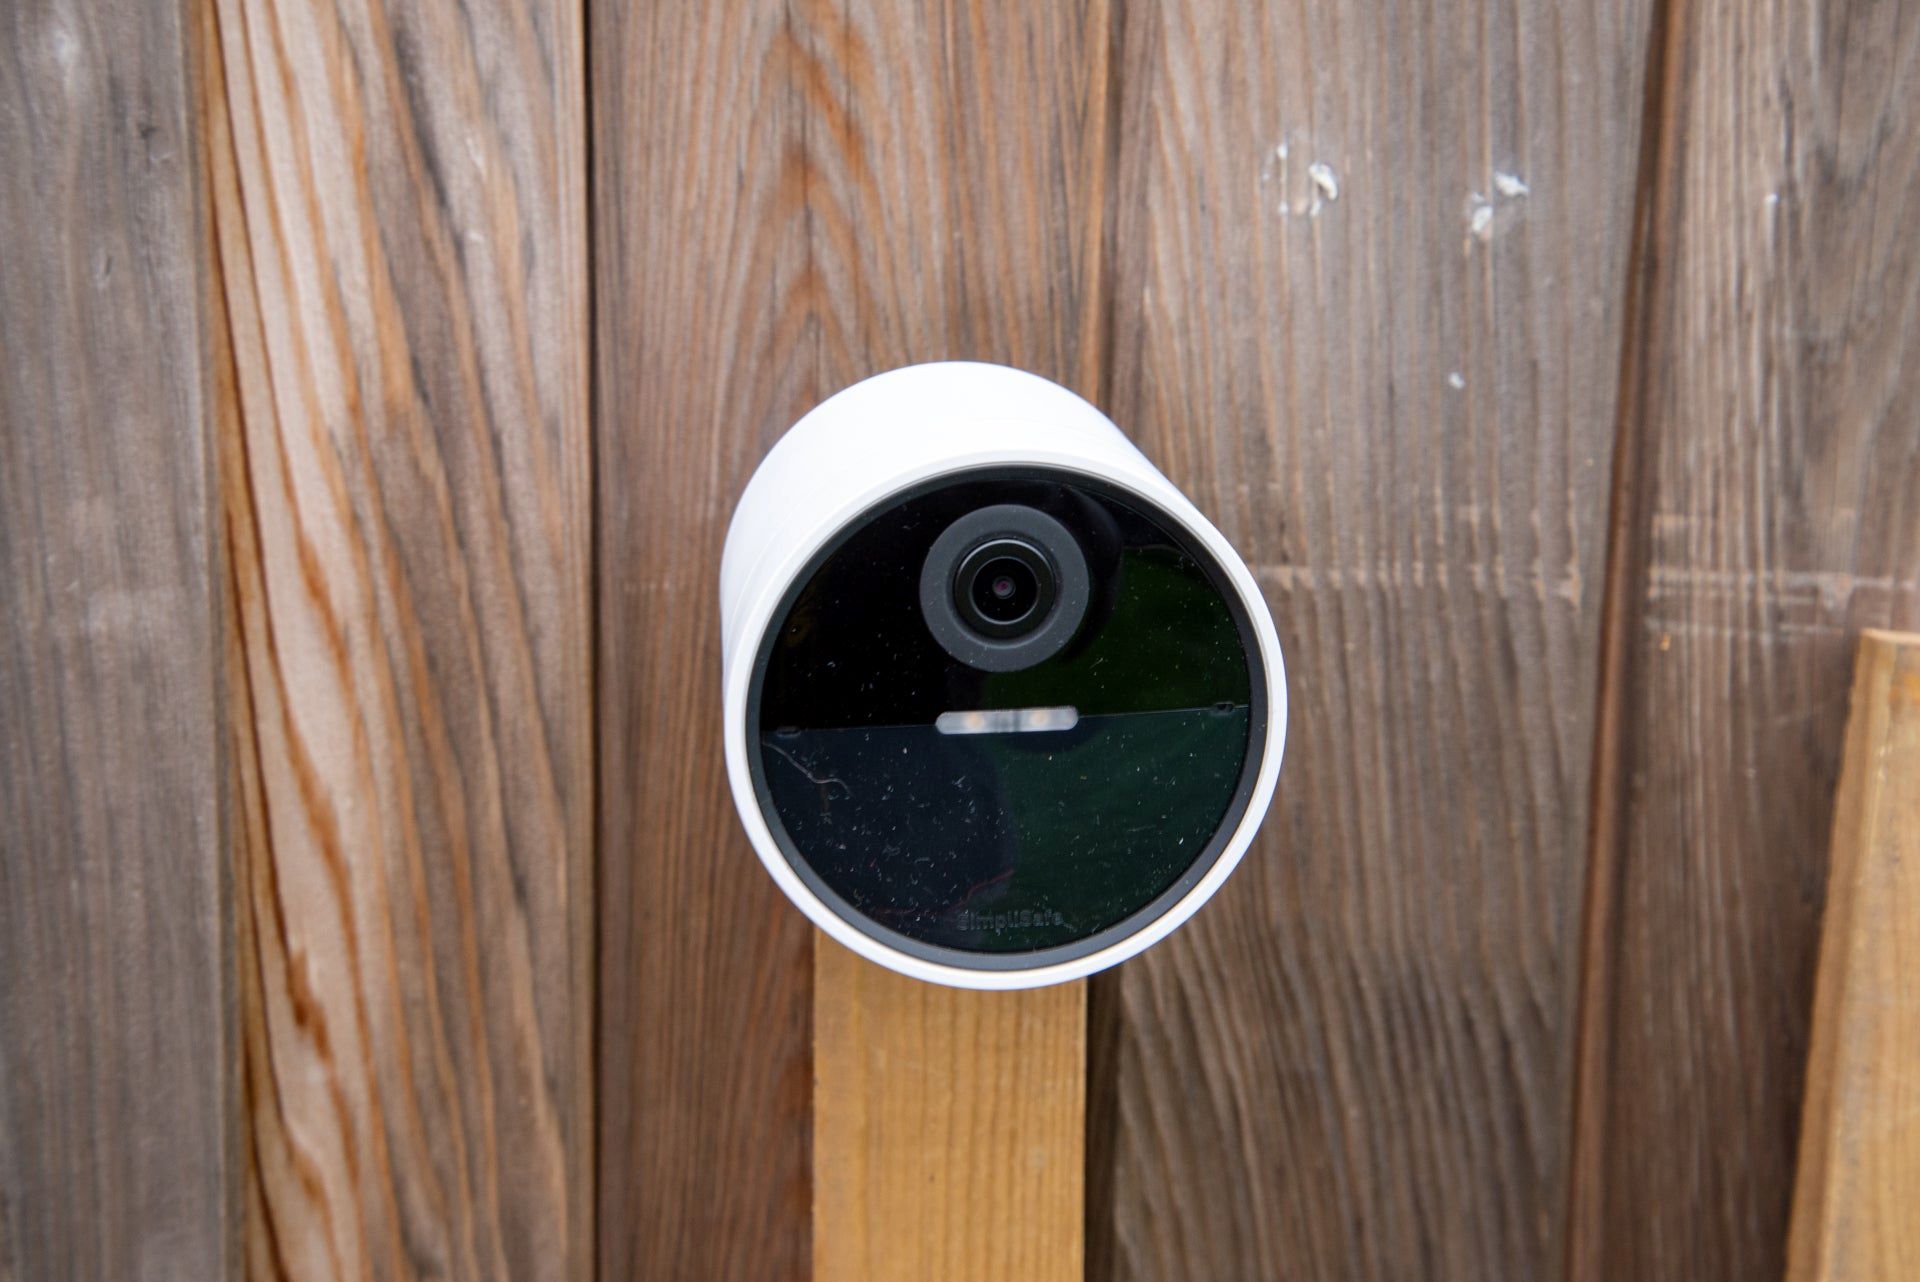
How Do I Charge My SimpliSafe Outdoor Camera
Modified: March 6, 2024
Learn how to charge your SimpliSafe outdoor camera for continuous home security and surveillance. Easy step-by-step guide for optimal performance.
(Many of the links in this article redirect to a specific reviewed product. Your purchase of these products through affiliate links helps to generate commission for Storables.com, at no extra cost. Learn more)
Introduction
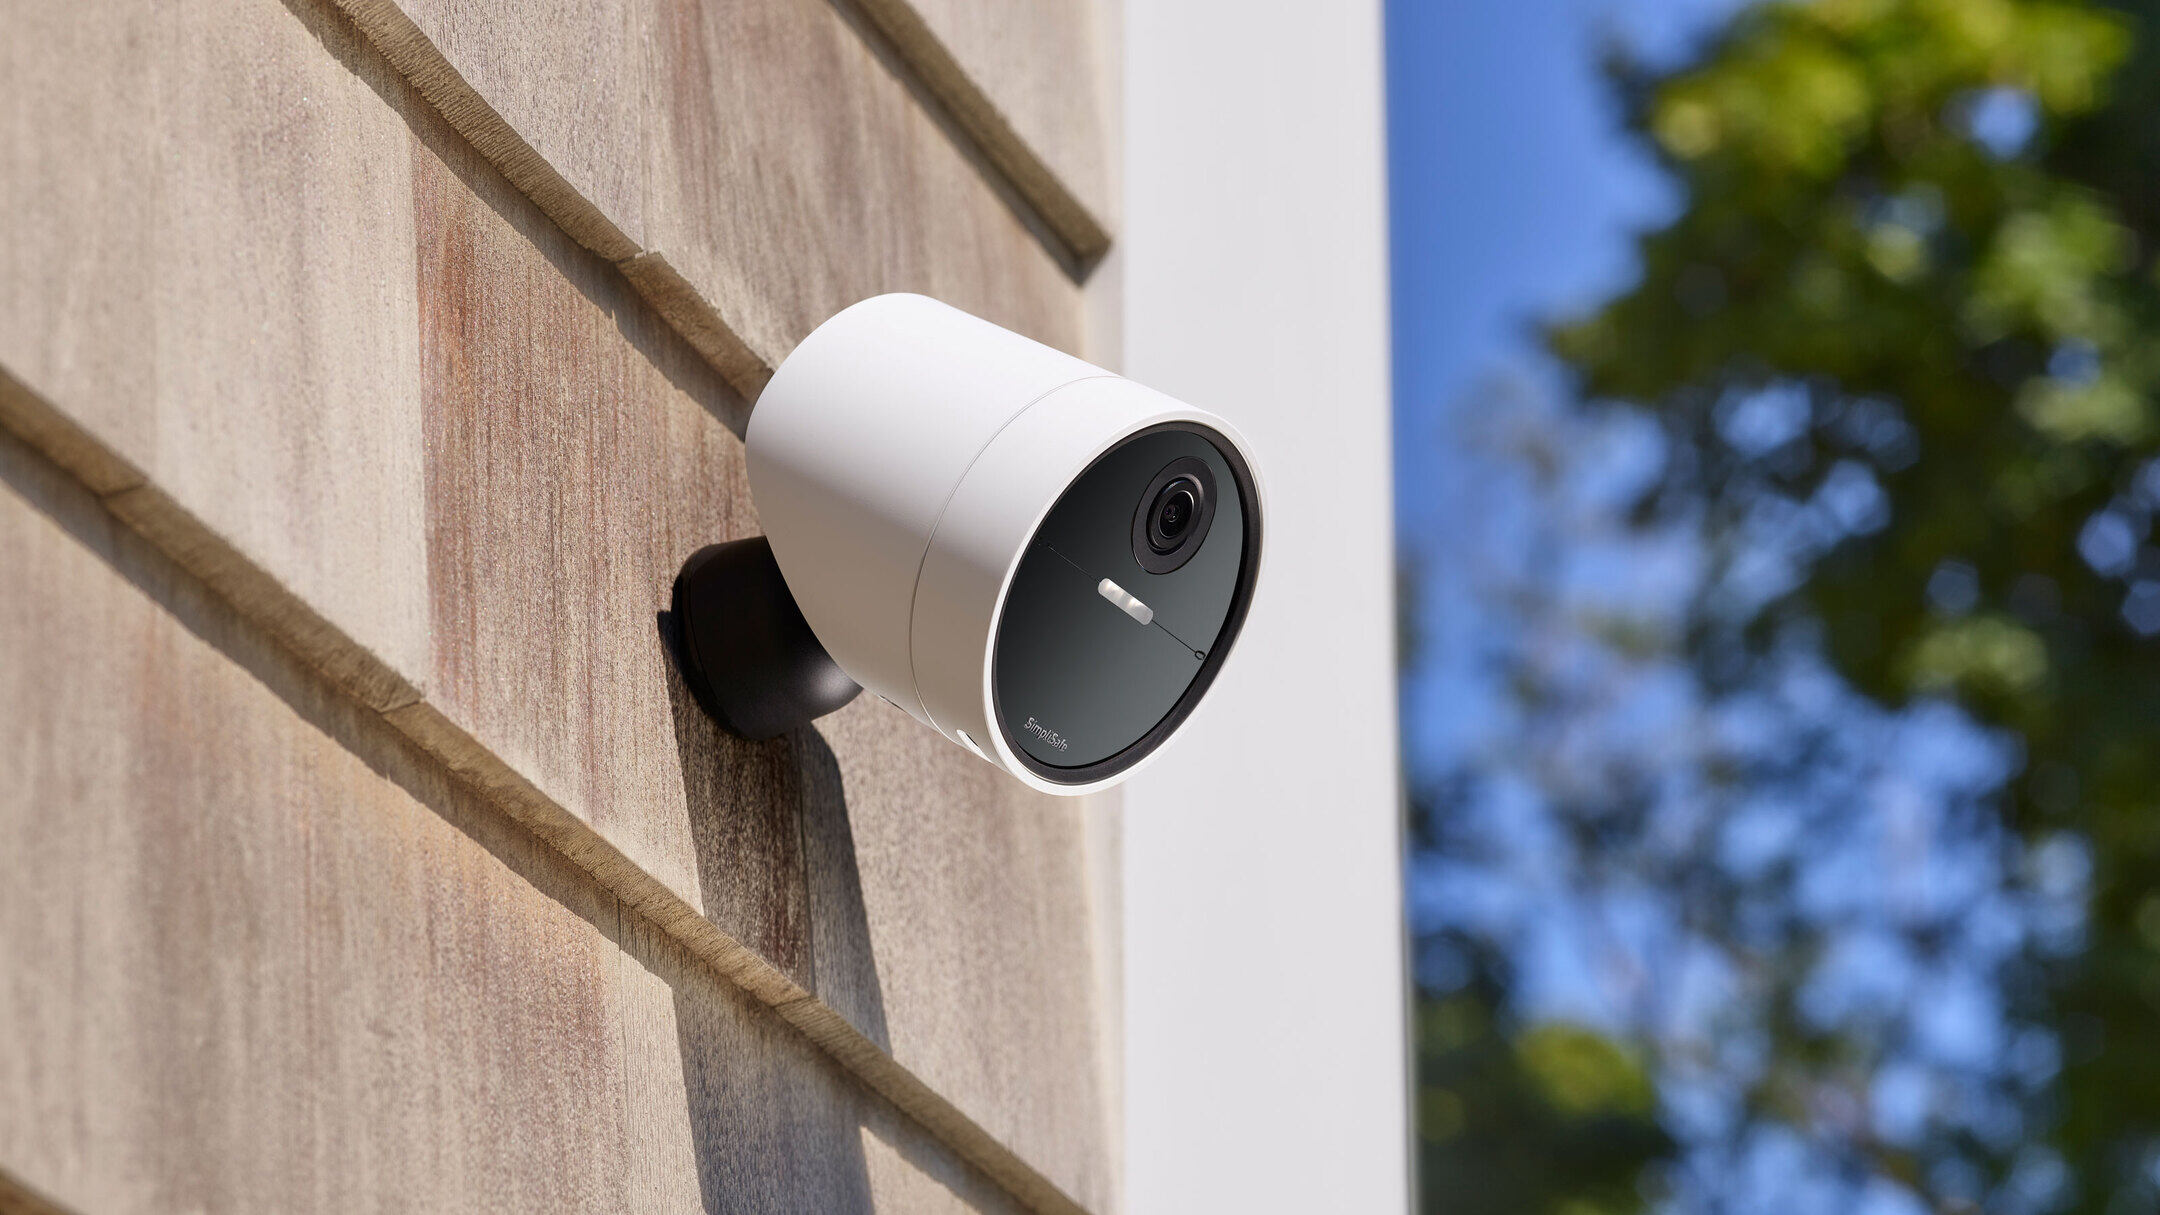
Welcome to the world of home security and surveillance! In today’s day and age, it’s important to prioritize the safety and protection of our homes and loved ones. As technology continues to advance, so do the options available to homeowners for securing their properties. One popular choice is the SimpliSafe Outdoor Camera, an innovative device designed to monitor and record activity outside your home.
However, like any electronic device, the SimpliSafe Outdoor Camera requires a power source to operate effectively. In this article, we will walk you through the step-by-step process of charging your SimpliSafe Outdoor Camera, ensuring that it remains functional and ready to capture any potential security threats.
Whether you’re a new SimpliSafe user or simply need a refresher on the charging process, we’ll provide you with all the information you need to keep your outdoor camera powered up and performing at its best. So, let’s get started!
Key Takeaways:
- Keep your SimpliSafe Outdoor Camera charged by following these simple steps: check battery level, remove from mount, connect charger securely, and monitor charging progress. Enjoy enhanced home security with a fully charged camera!
- Regularly recharge your SimpliSafe Outdoor Camera to ensure uninterrupted surveillance. Follow the step-by-step guide to confidently maintain optimal functionality and protect your home and loved ones.
Step 1: Checking the Camera Battery Level
Before diving into the charging process, it’s essential to determine the current battery level of your SimpliSafe Outdoor Camera. This step will help you gauge how much charging is needed and ensure that your camera doesn’t run out of power unexpectedly.
To check the battery level:
- Access the SimpliSafe mobile app or web portal.
- Navigate to the section that displays your outdoor camera.
- Look for the battery indicator or percentage, which will indicate the current battery level of your camera.
If the battery level is low or critical, it’s time to charge your outdoor camera. Proceed to the next step to learn how to do that.
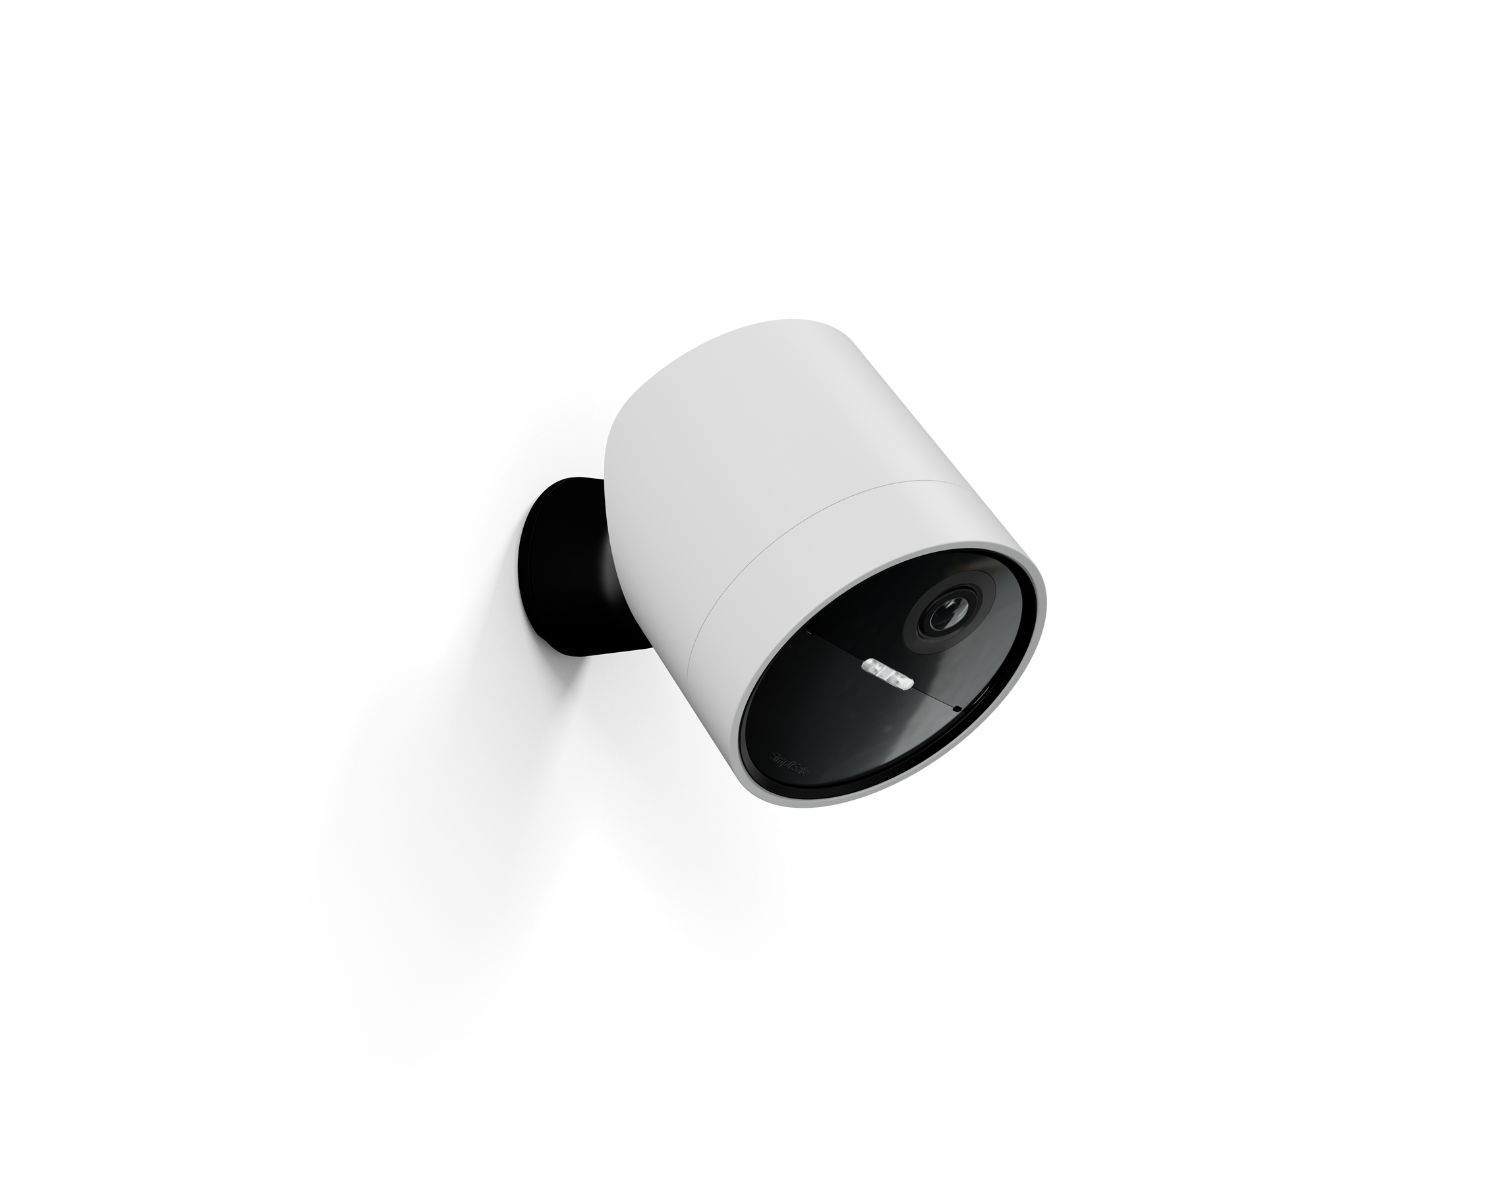
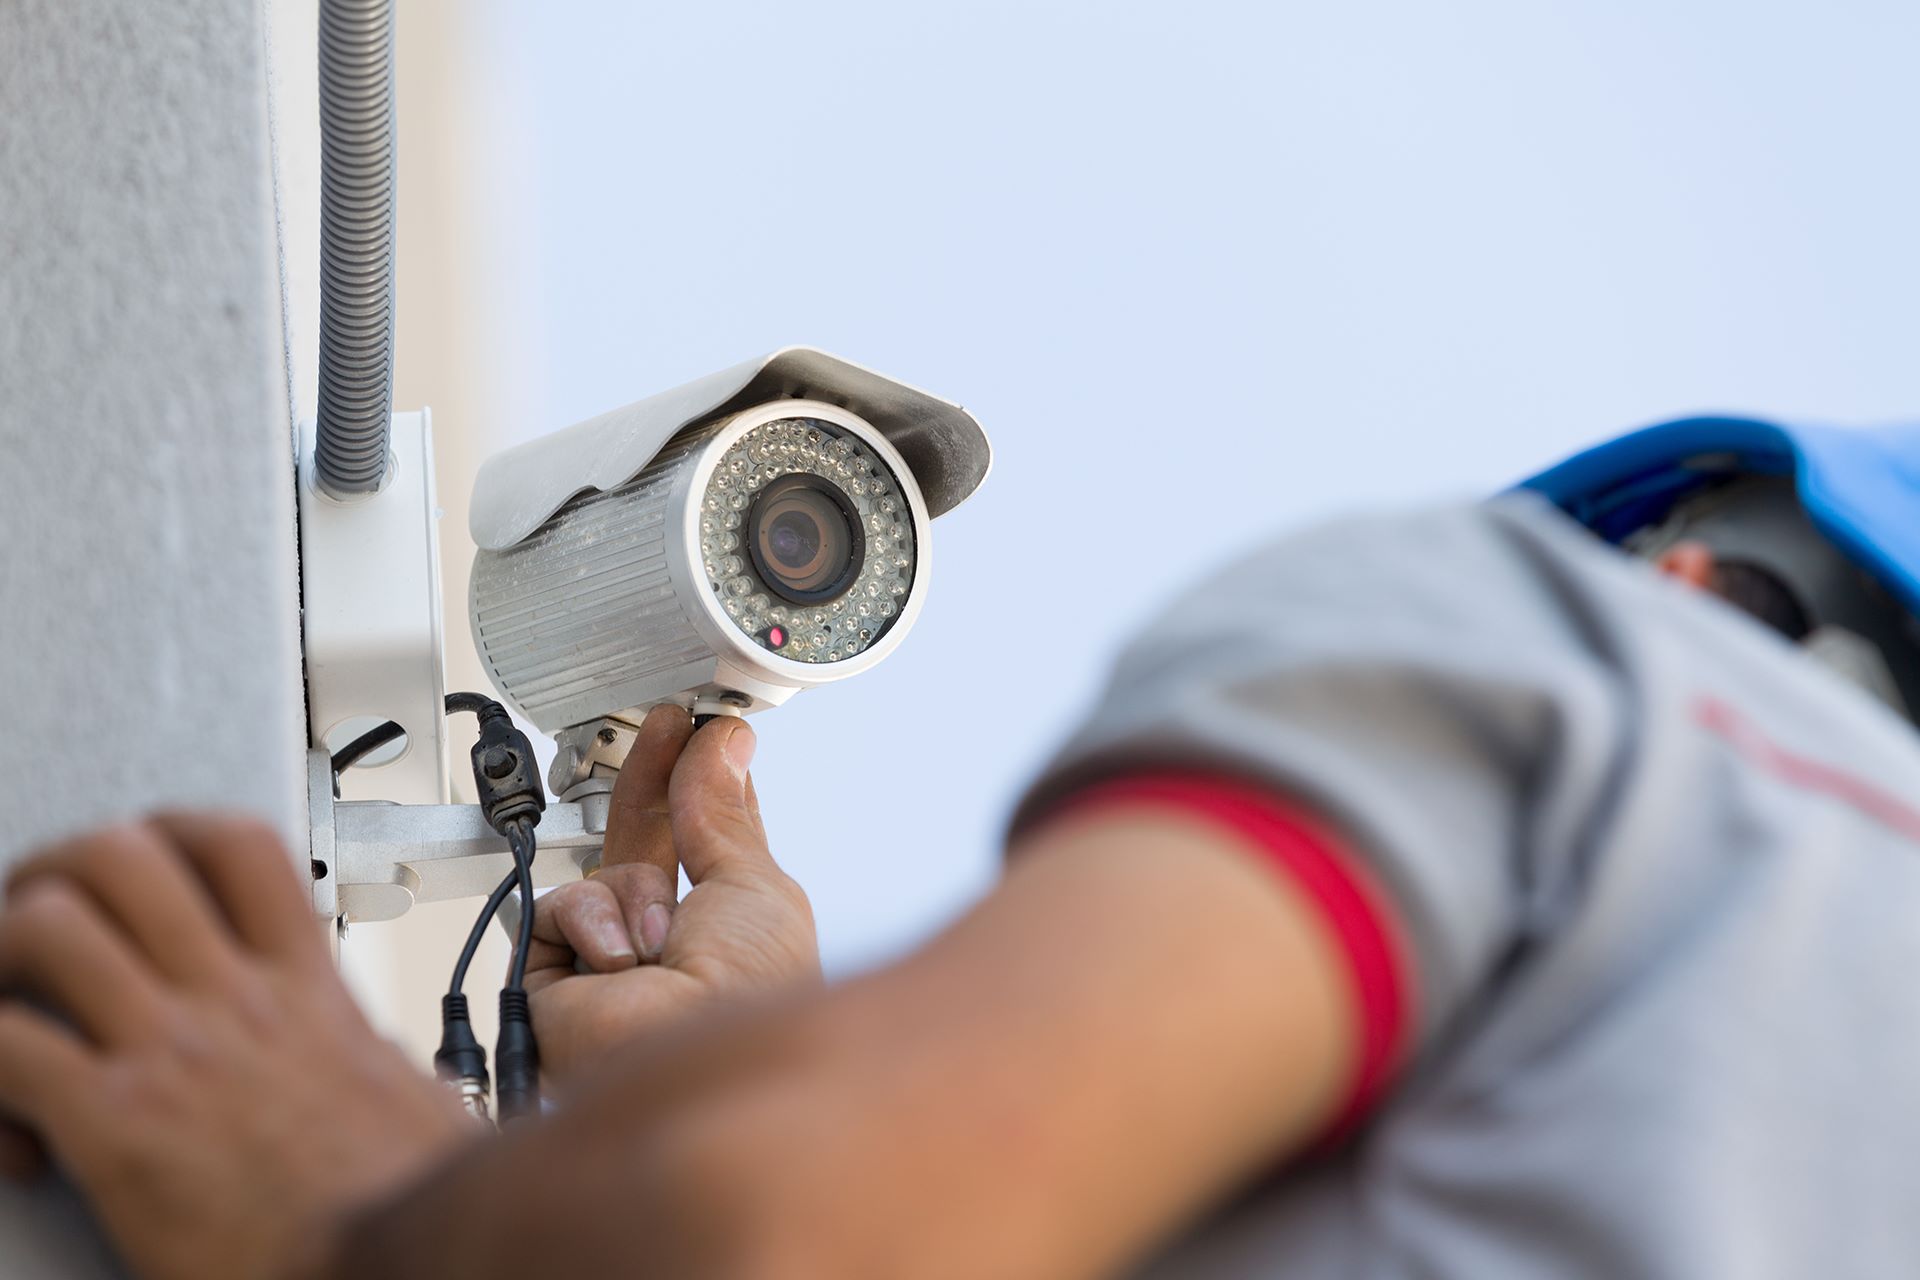
Step 2: Removing the Outdoor Camera from its Mount
Before you can begin charging your SimpliSafe Outdoor Camera, you’ll need to remove it from its mount. This ensures that you have easy access to the charging port and can connect the charger without any obstructions.
Follow these steps to remove the camera:
- Locate the mounting bracket or base of your outdoor camera.
- Look for the release button or latch on the camera’s underside.
- Press the release button or lift the latch to unlock the camera from the mount.
- Gently slide the camera upwards or downwards to detach it from the mount.
Once the camera is detached, proceed to the next step to find the charging port and connect the charger.
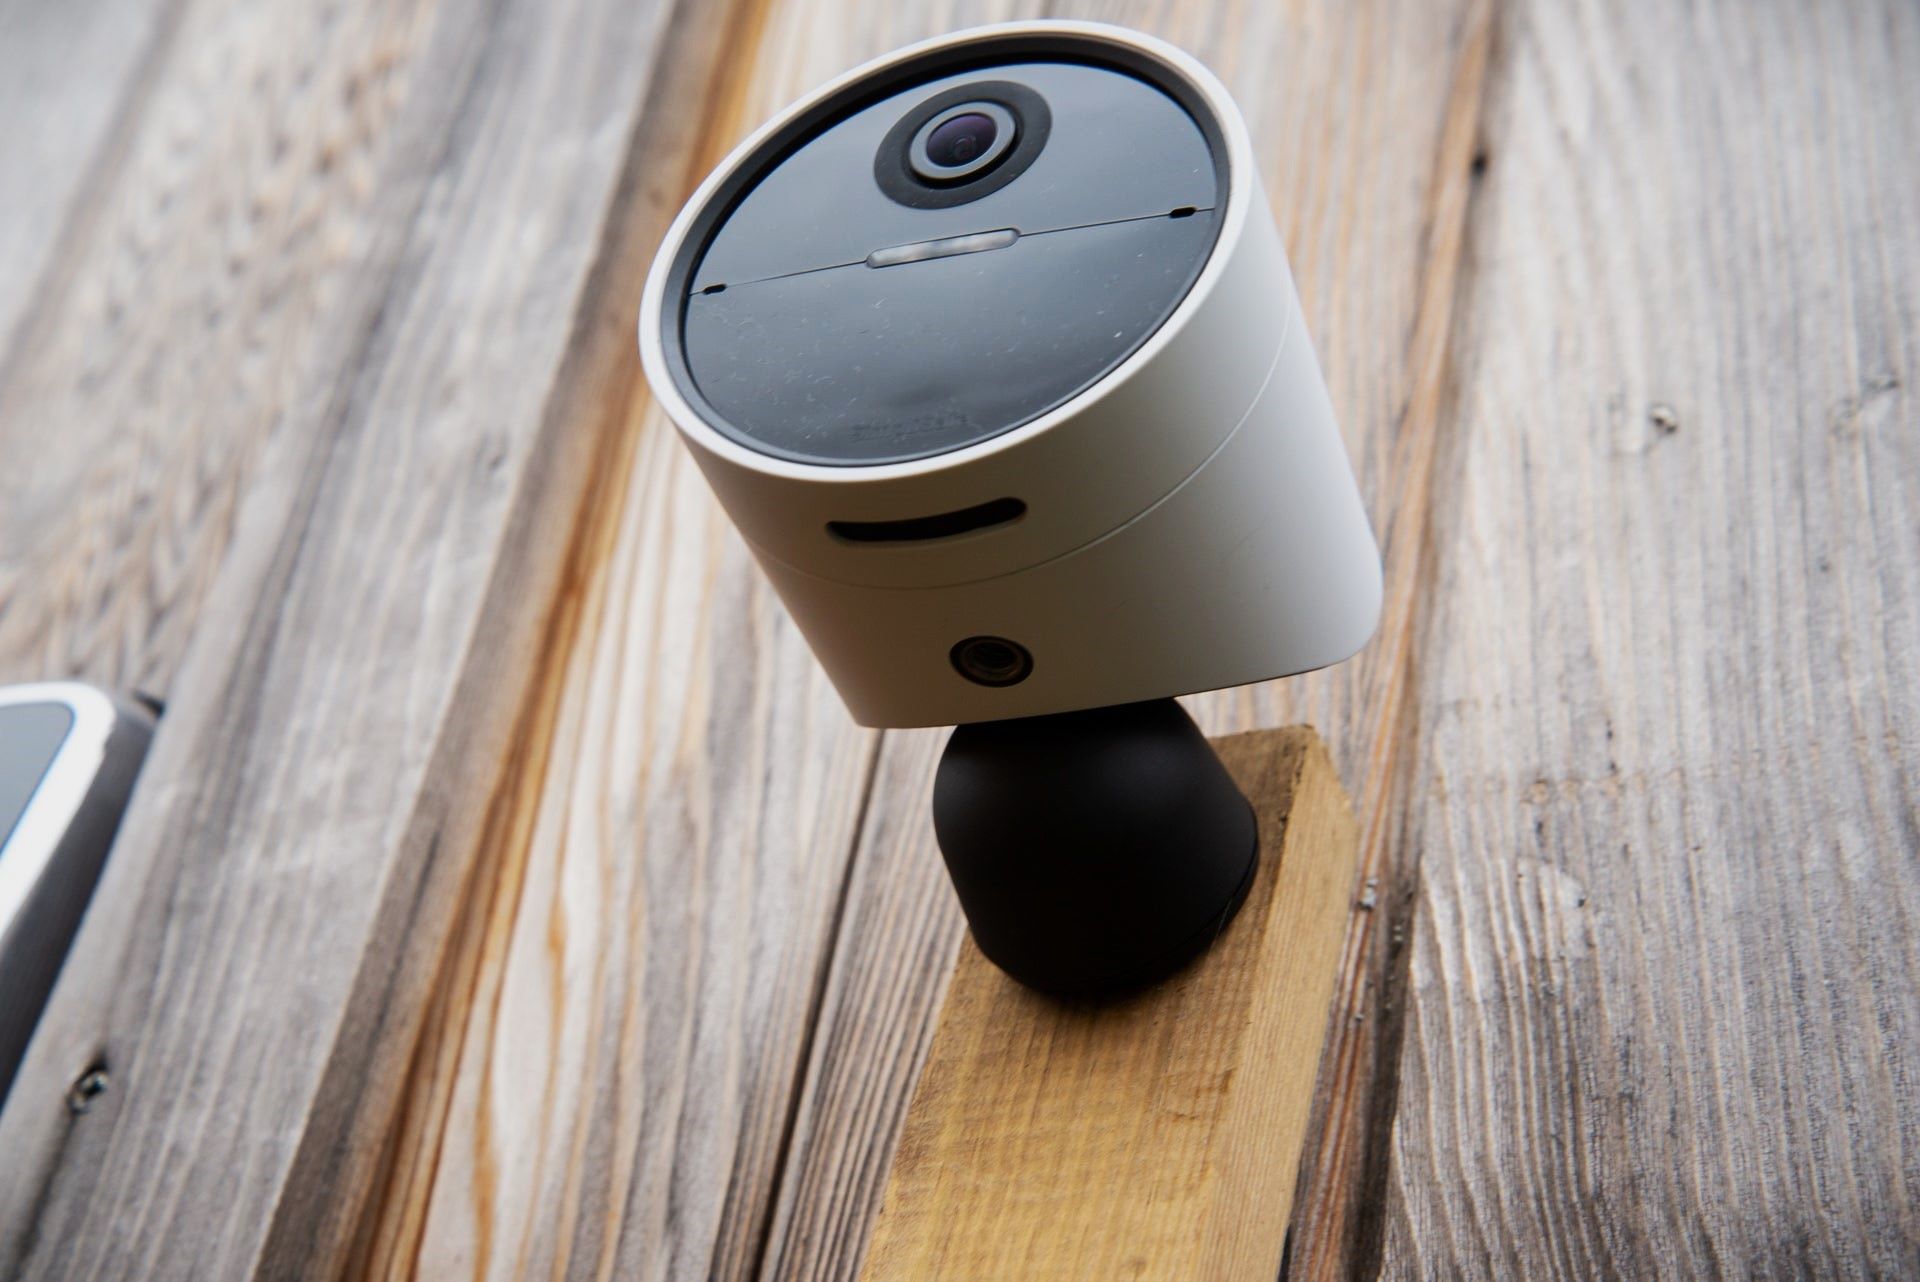
Step 3: Locating the Charging Port on the Camera
Now that you have removed the SimpliSafe Outdoor Camera from its mount, the next step is to locate the charging port on the device. The charging port is where you will connect the charger to replenish the camera’s battery.
Follow these steps to locate the charging port:
- Inspect the bottom or back of the outdoor camera for a small, covered slot.
- Remove any protective coverings or caps that may be covering the charging port.
- Once the charging port is exposed, take note of its shape and size. It is usually a micro-USB or USB-C port.
With the charging port identified, you are now ready to connect the charger and initiate the charging process. Move on to the next step for detailed instructions.
Step 4: Connecting the Charger to the Camera
With the charging port located on your SimpliSafe Outdoor Camera, it’s time to connect the charger and begin charging the device. Follow these steps to ensure a secure and successful connection:
- Take the charger cable provided with your camera and ensure it is in good condition.
- Identify the correct end of the cable to plug into the charging port on the camera. Refer to the shape and size of the charging port you located in the previous step.
- Align the charger cable’s connector with the charging port on the camera.
- Gently insert the connector into the charging port, making sure it fits snugly.
- Ensure that the connection is secure by giving the cable a gentle tug. It should not come loose or disconnect easily.
If the connection is secure and the charger is properly plugged into the camera, you are ready to move on to the next step to monitor the charging progress.
To charge your SimpliSafe Outdoor Camera, simply remove the camera from its mount and connect the included USB cable to the charging port on the camera. Then, plug the other end of the cable into a power source.
Read more: How Do I Charge My Wyze Outdoor Camera
Step 5: Monitoring the Charging Progress
Once you have connected the charger to your SimpliSafe Outdoor Camera, it’s important to monitor the charging progress to ensure that the battery is being replenished effectively. Follow these steps to keep an eye on the charging status:
- Refer to the camera’s battery indicator on the SimpliSafe mobile app or web portal.
- Observe the battery level increase in real-time as the camera charges.
- Monitor any notifications or alerts from the app that provide updates on the charging progress.
- Keep an eye on the camera’s LED indicator lights, if applicable. They might flash or change color to indicate the charging status.
- Allow the camera to charge for the recommended duration, which is usually mentioned in the device’s user manual or instructions.
During the charging process, ensure that the charger remains connected securely to the camera and that the cable is not accidentally disconnected. Once the battery is sufficiently charged, proceed to the next step to disconnect the charger
Step 6: Disconnecting the Charger
After monitoring the charging progress and once your SimpliSafe Outdoor Camera’s battery is sufficiently charged, it’s time to disconnect the charger. Follow these steps to safely remove the charger:
- Ensure that the camera is still securely attached to its mount.
- Gently grip the charger connector where it is plugged into the camera’s charging port.
- Apply gentle pressure and pull the connector out of the charging port.
- Check the charging port to make sure there are no loose connections or debris that might affect future charging.
With the charger successfully disconnected, it’s time to reattach your fully charged camera back onto its mount. Proceed to the next step to learn how to do this.
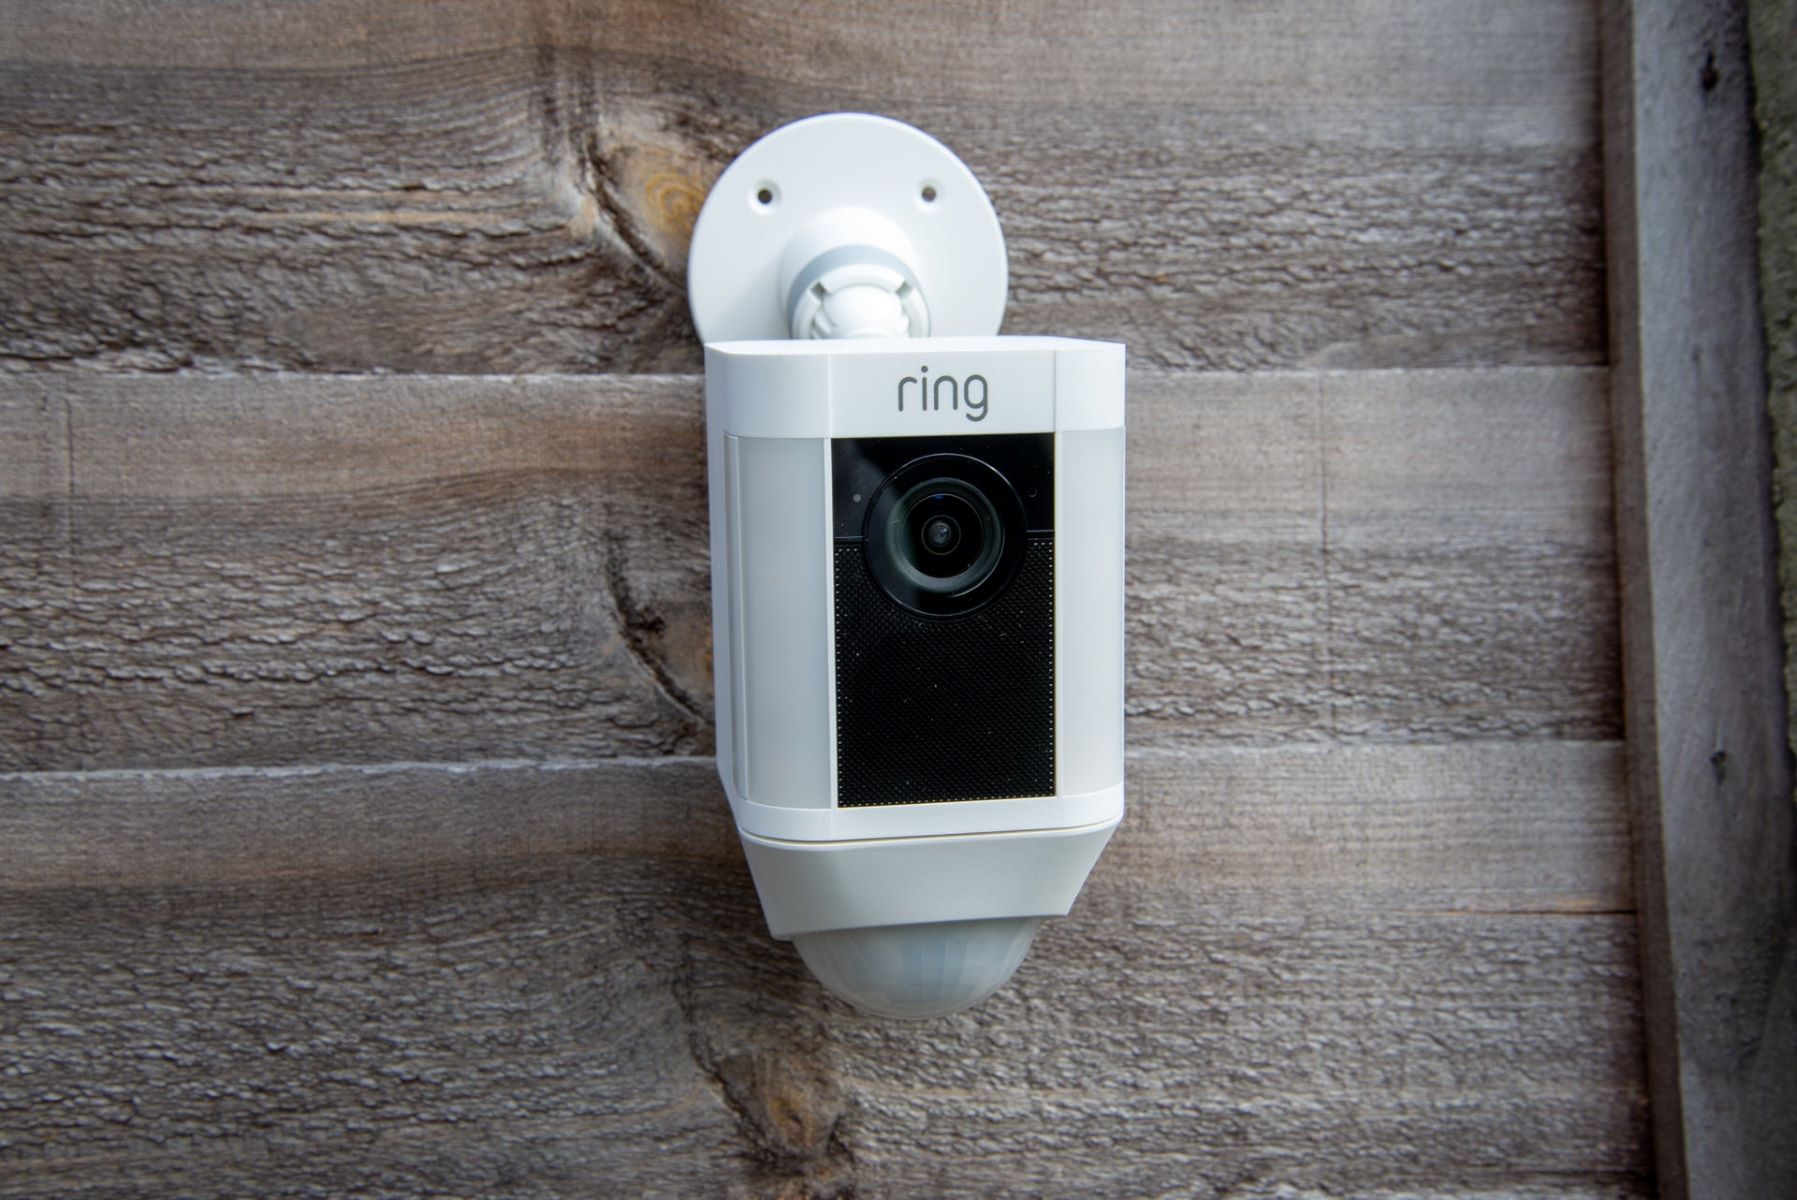
Step 7: Reattaching the Camera to its Mount
Now that you’ve successfully charged your SimpliSafe Outdoor Camera and disconnected the charger, it’s time to reattach the camera back onto its mount. Follow these steps to securely place the camera back in its position:
- Align the camera with the mount, ensuring that the lens of the camera is facing the desired direction.
- Slide the camera onto the mount, making sure it fits snugly and locks into place.
- Listen for any audible click or indication that the camera has properly reconnected to the mount.
- Once reattached, perform a visual inspection to verify that the camera is securely mounted and aligned correctly.
With the camera securely reattached to its mount, you can now enjoy the benefits of a fully charged SimpliSafe Outdoor Camera, ready to monitor any activity outside your home.
Remember to periodically check the battery level and recharge as needed to ensure continuous surveillance and security. Additionally, consult the user manual or SimpliSafe support resources for any specific instructions or troubleshooting guidance regarding your outdoor camera.
By following these steps, you can confidently charge and maintain your SimpliSafe Outdoor Camera, providing you with peace of mind and enhanced home security.
Conclusion
Keeping your home secure is of utmost importance, and the SimpliSafe Outdoor Camera offers a valuable solution for monitoring and protecting the exterior of your property. By following the simple steps outlined in this guide, you now know how to effectively charge your outdoor camera and ensure its optimal functionality.
Remember to regularly check the battery level of your camera and recharge it as needed to ensure uninterrupted surveillance. By staying proactive in your camera’s maintenance, you’ll have the peace of mind knowing that your home and loved ones are protected.
In addition to charging, it’s worth exploring further features offered by the SimpliSafe Outdoor Camera, such as the ability to customize motion detection settings, view live footage remotely, and review recorded events. Familiarize yourself with your camera’s capabilities to make the most of its security features.
Lastly, don’t hesitate to refer to the user manual or contact SimpliSafe support for any specific questions or concerns regarding your outdoor camera. They will provide you with valuable assistance and guidance.
With your SimpliSafe Outdoor Camera powered up and ready to go, you can enjoy enhanced home security and peace of mind, knowing that you have a reliable and effective surveillance system in place.
Frequently Asked Questions about How Do I Charge My SimpliSafe Outdoor Camera
Was this page helpful?
At Storables.com, we guarantee accurate and reliable information. Our content, validated by Expert Board Contributors, is crafted following stringent Editorial Policies. We're committed to providing you with well-researched, expert-backed insights for all your informational needs.