Home>Home Security and Surveillance>How Do I Charge My Wyze Outdoor Camera
Home Security and Surveillance
How Do I Charge My Wyze Outdoor Camera
Modified: March 6, 2024
Learn how to charge your Wyze outdoor camera and ensure your home security and surveillance needs are met. Step-by-step instructions and tips to help you conveniently power up your device.
(Many of the links in this article redirect to a specific reviewed product. Your purchase of these products through affiliate links helps to generate commission for Storables.com, at no extra cost. Learn more)
Introduction
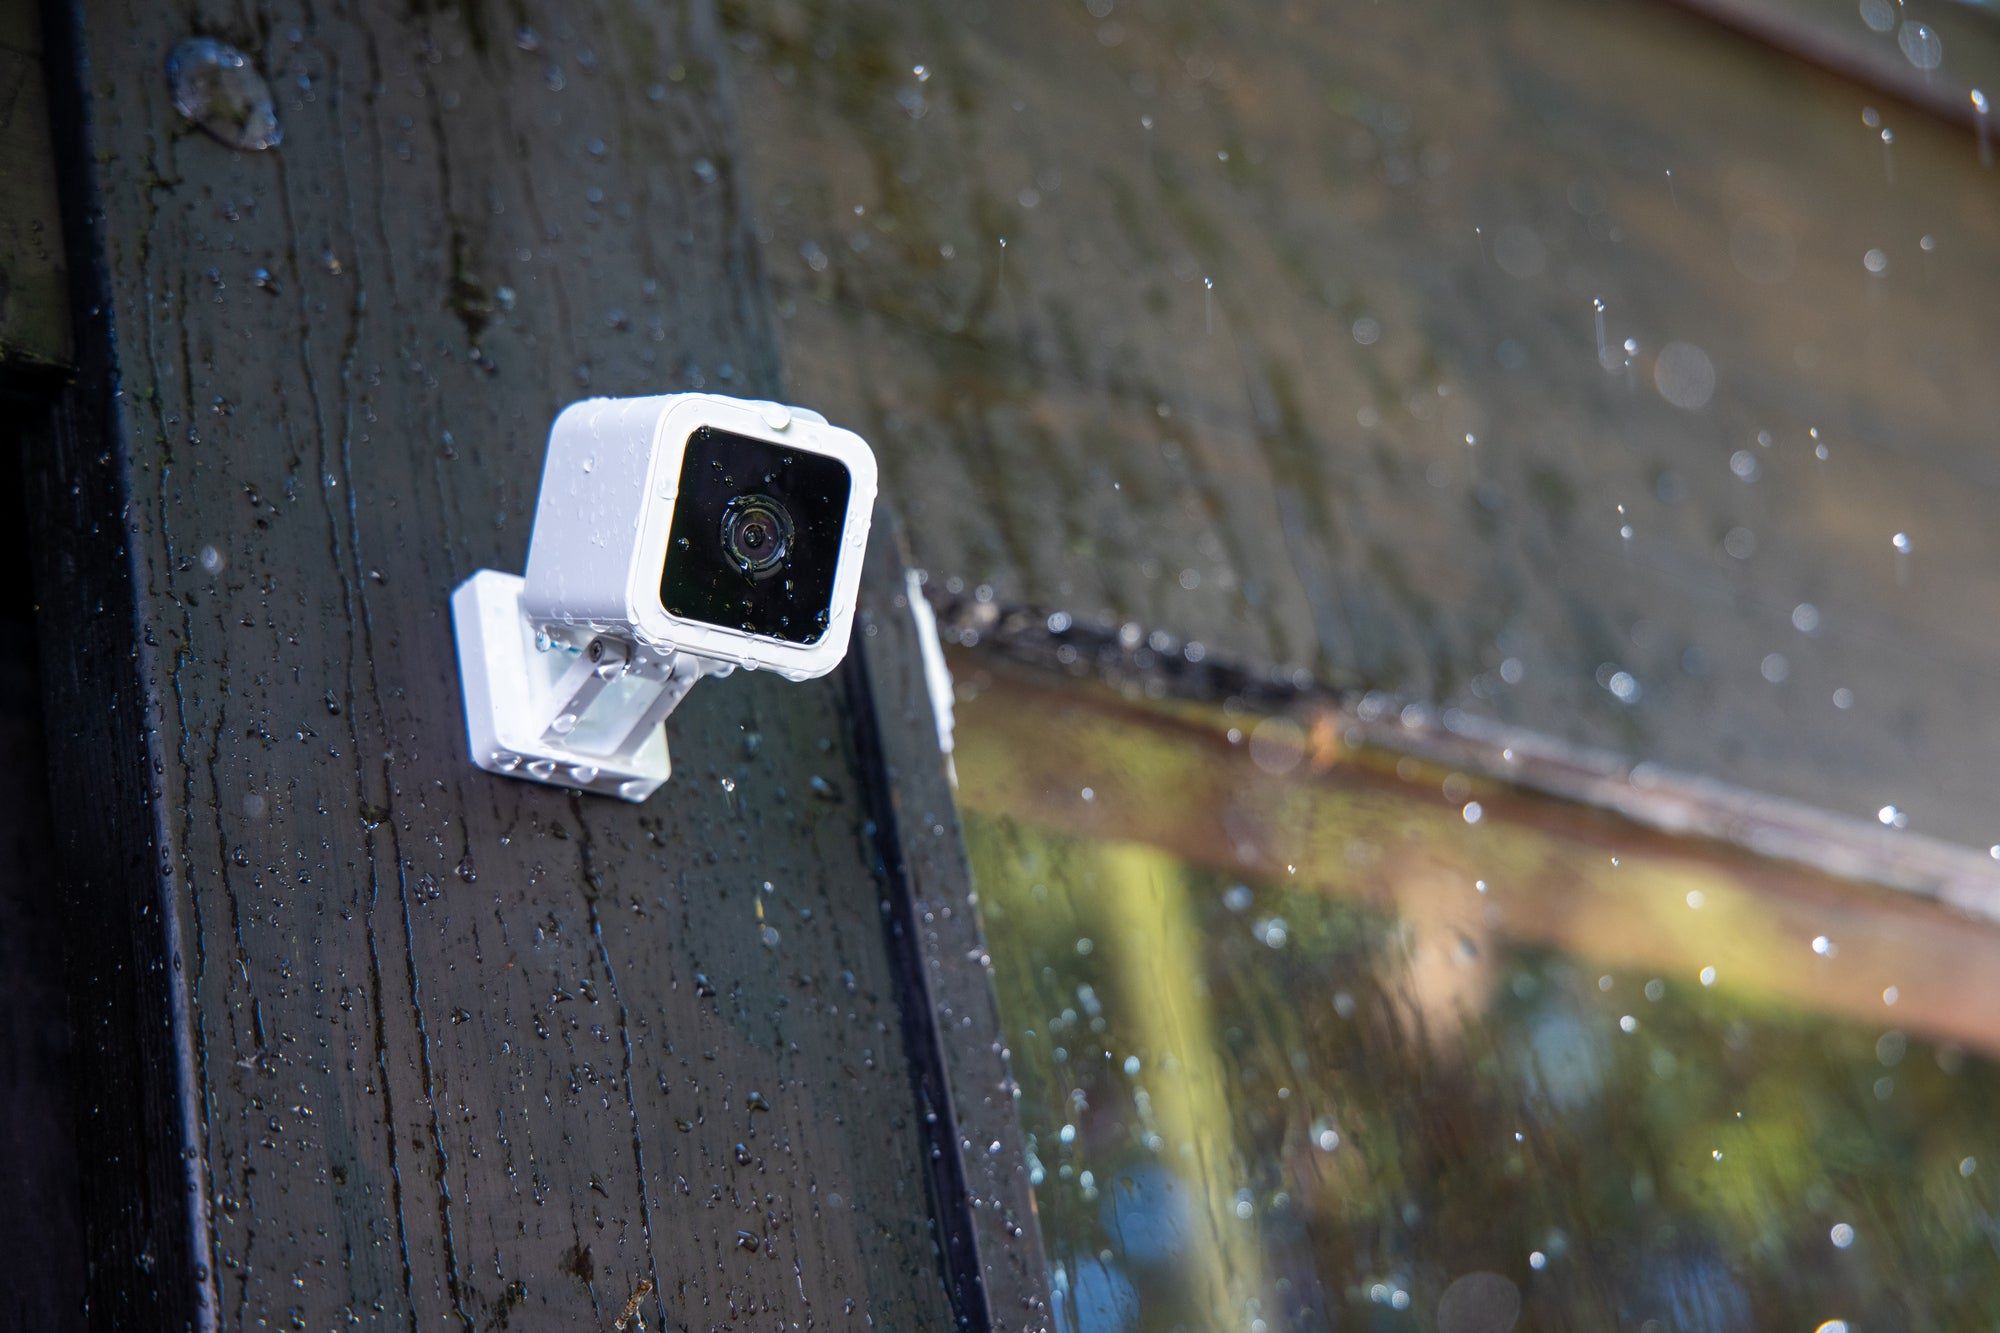
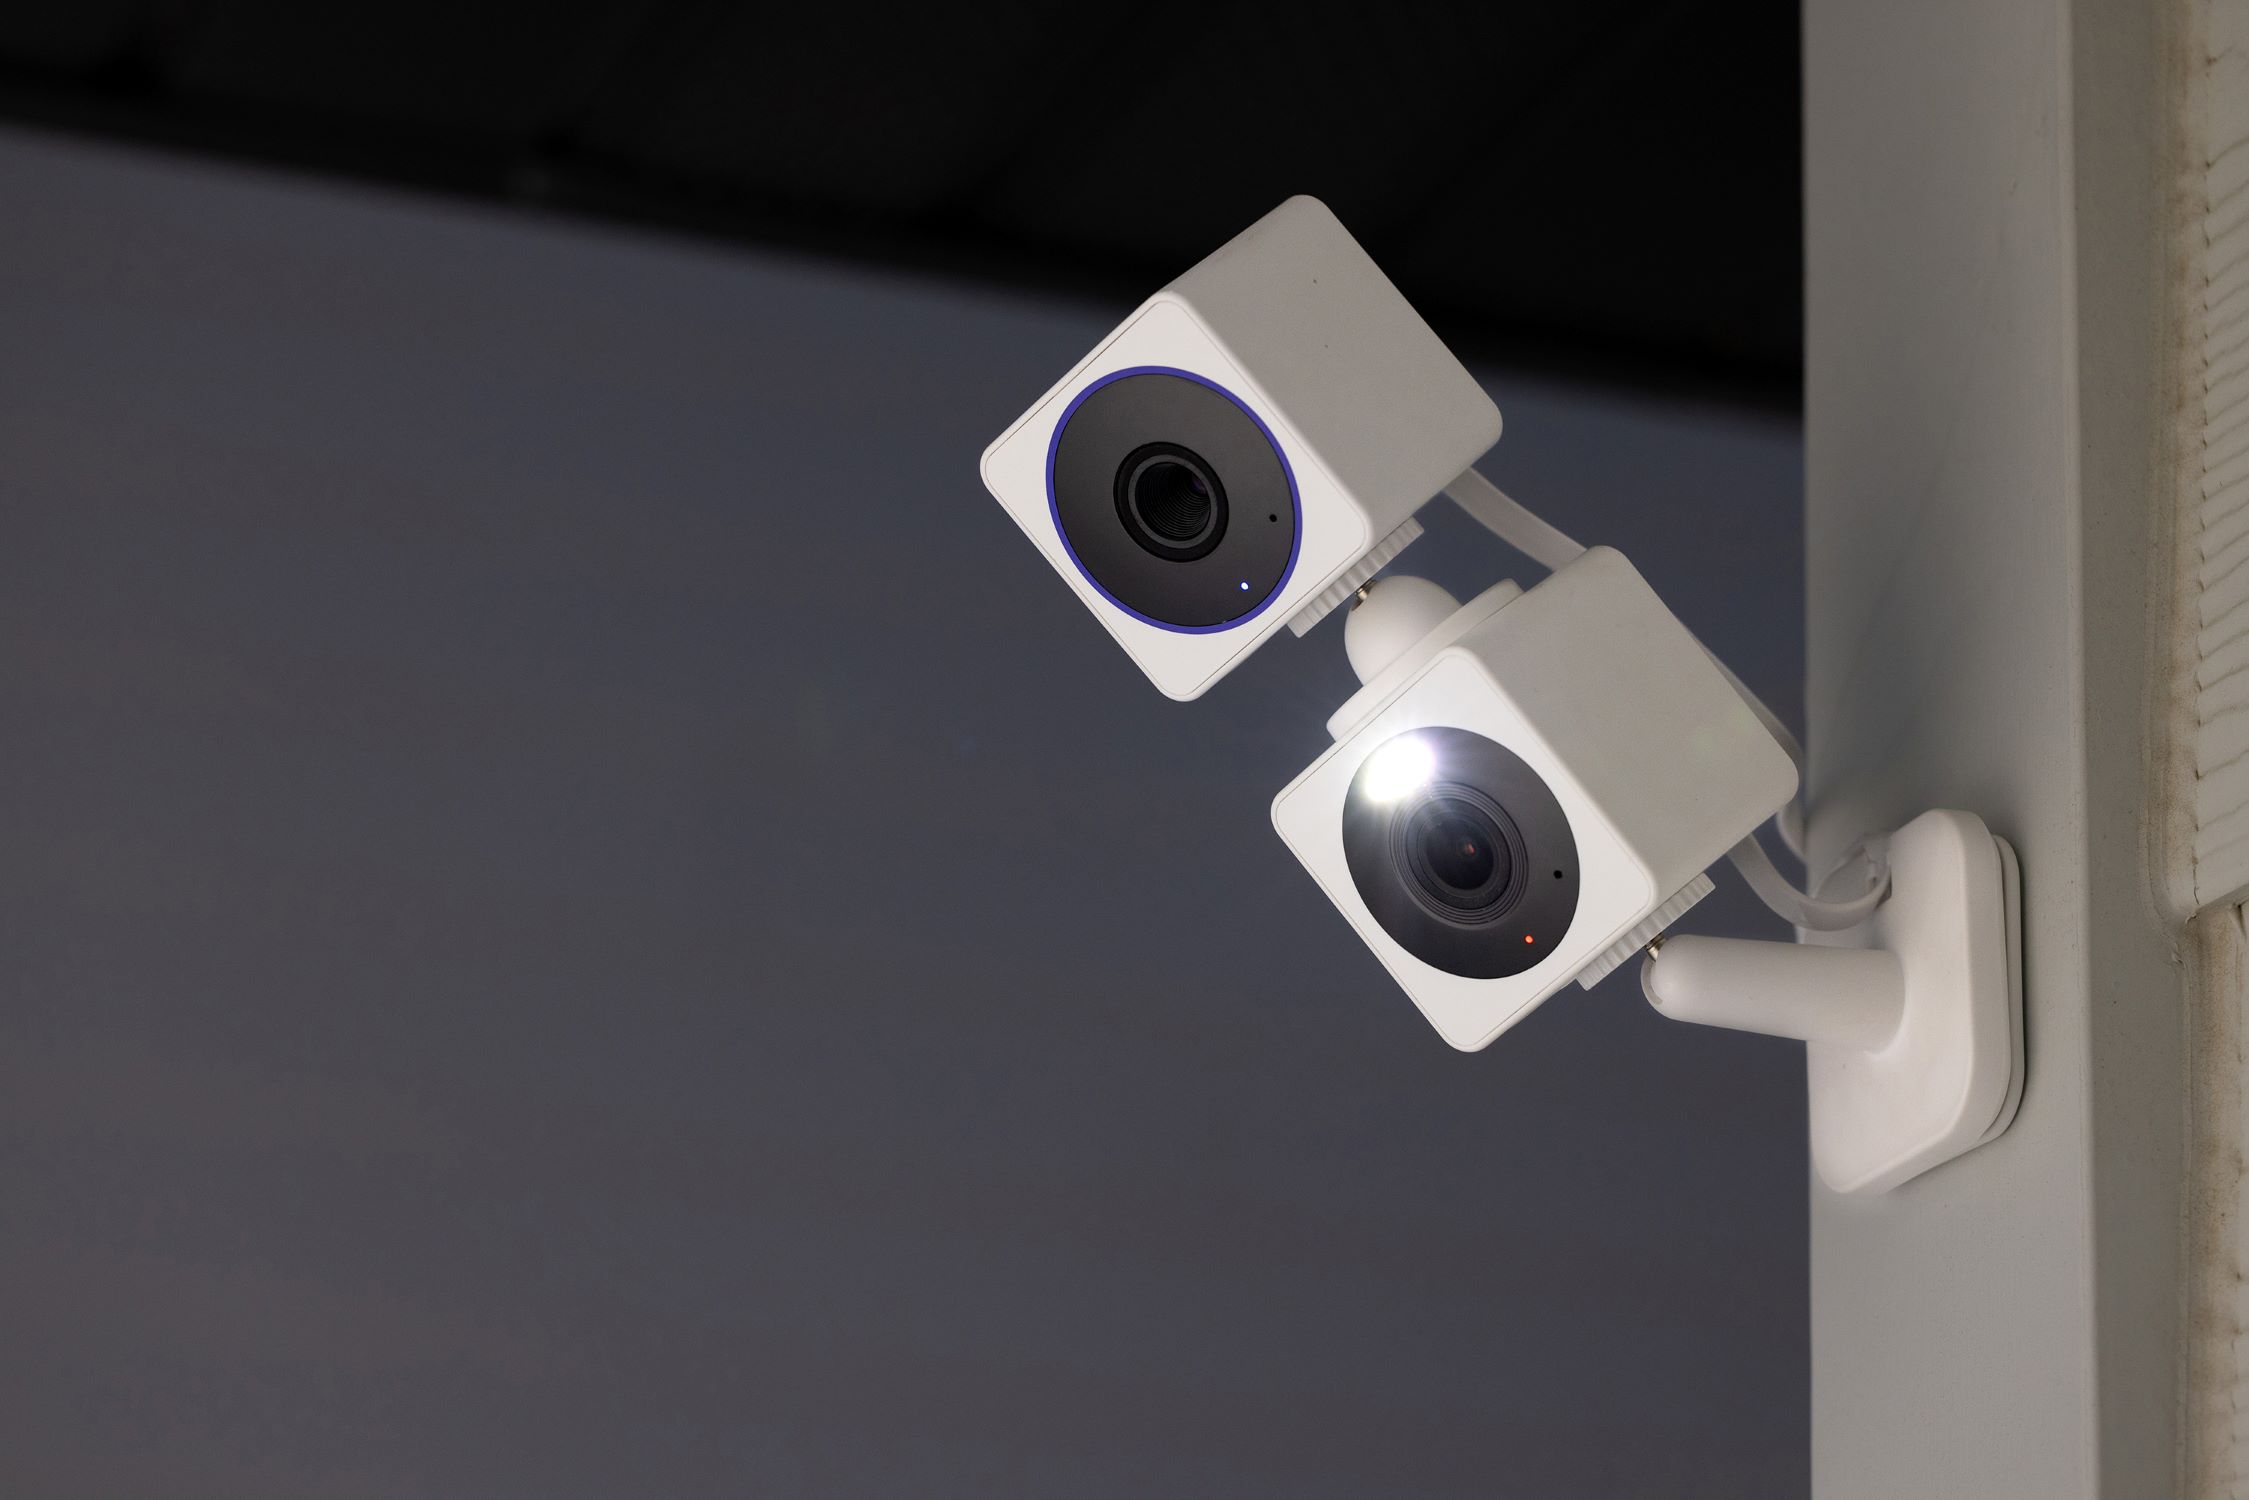
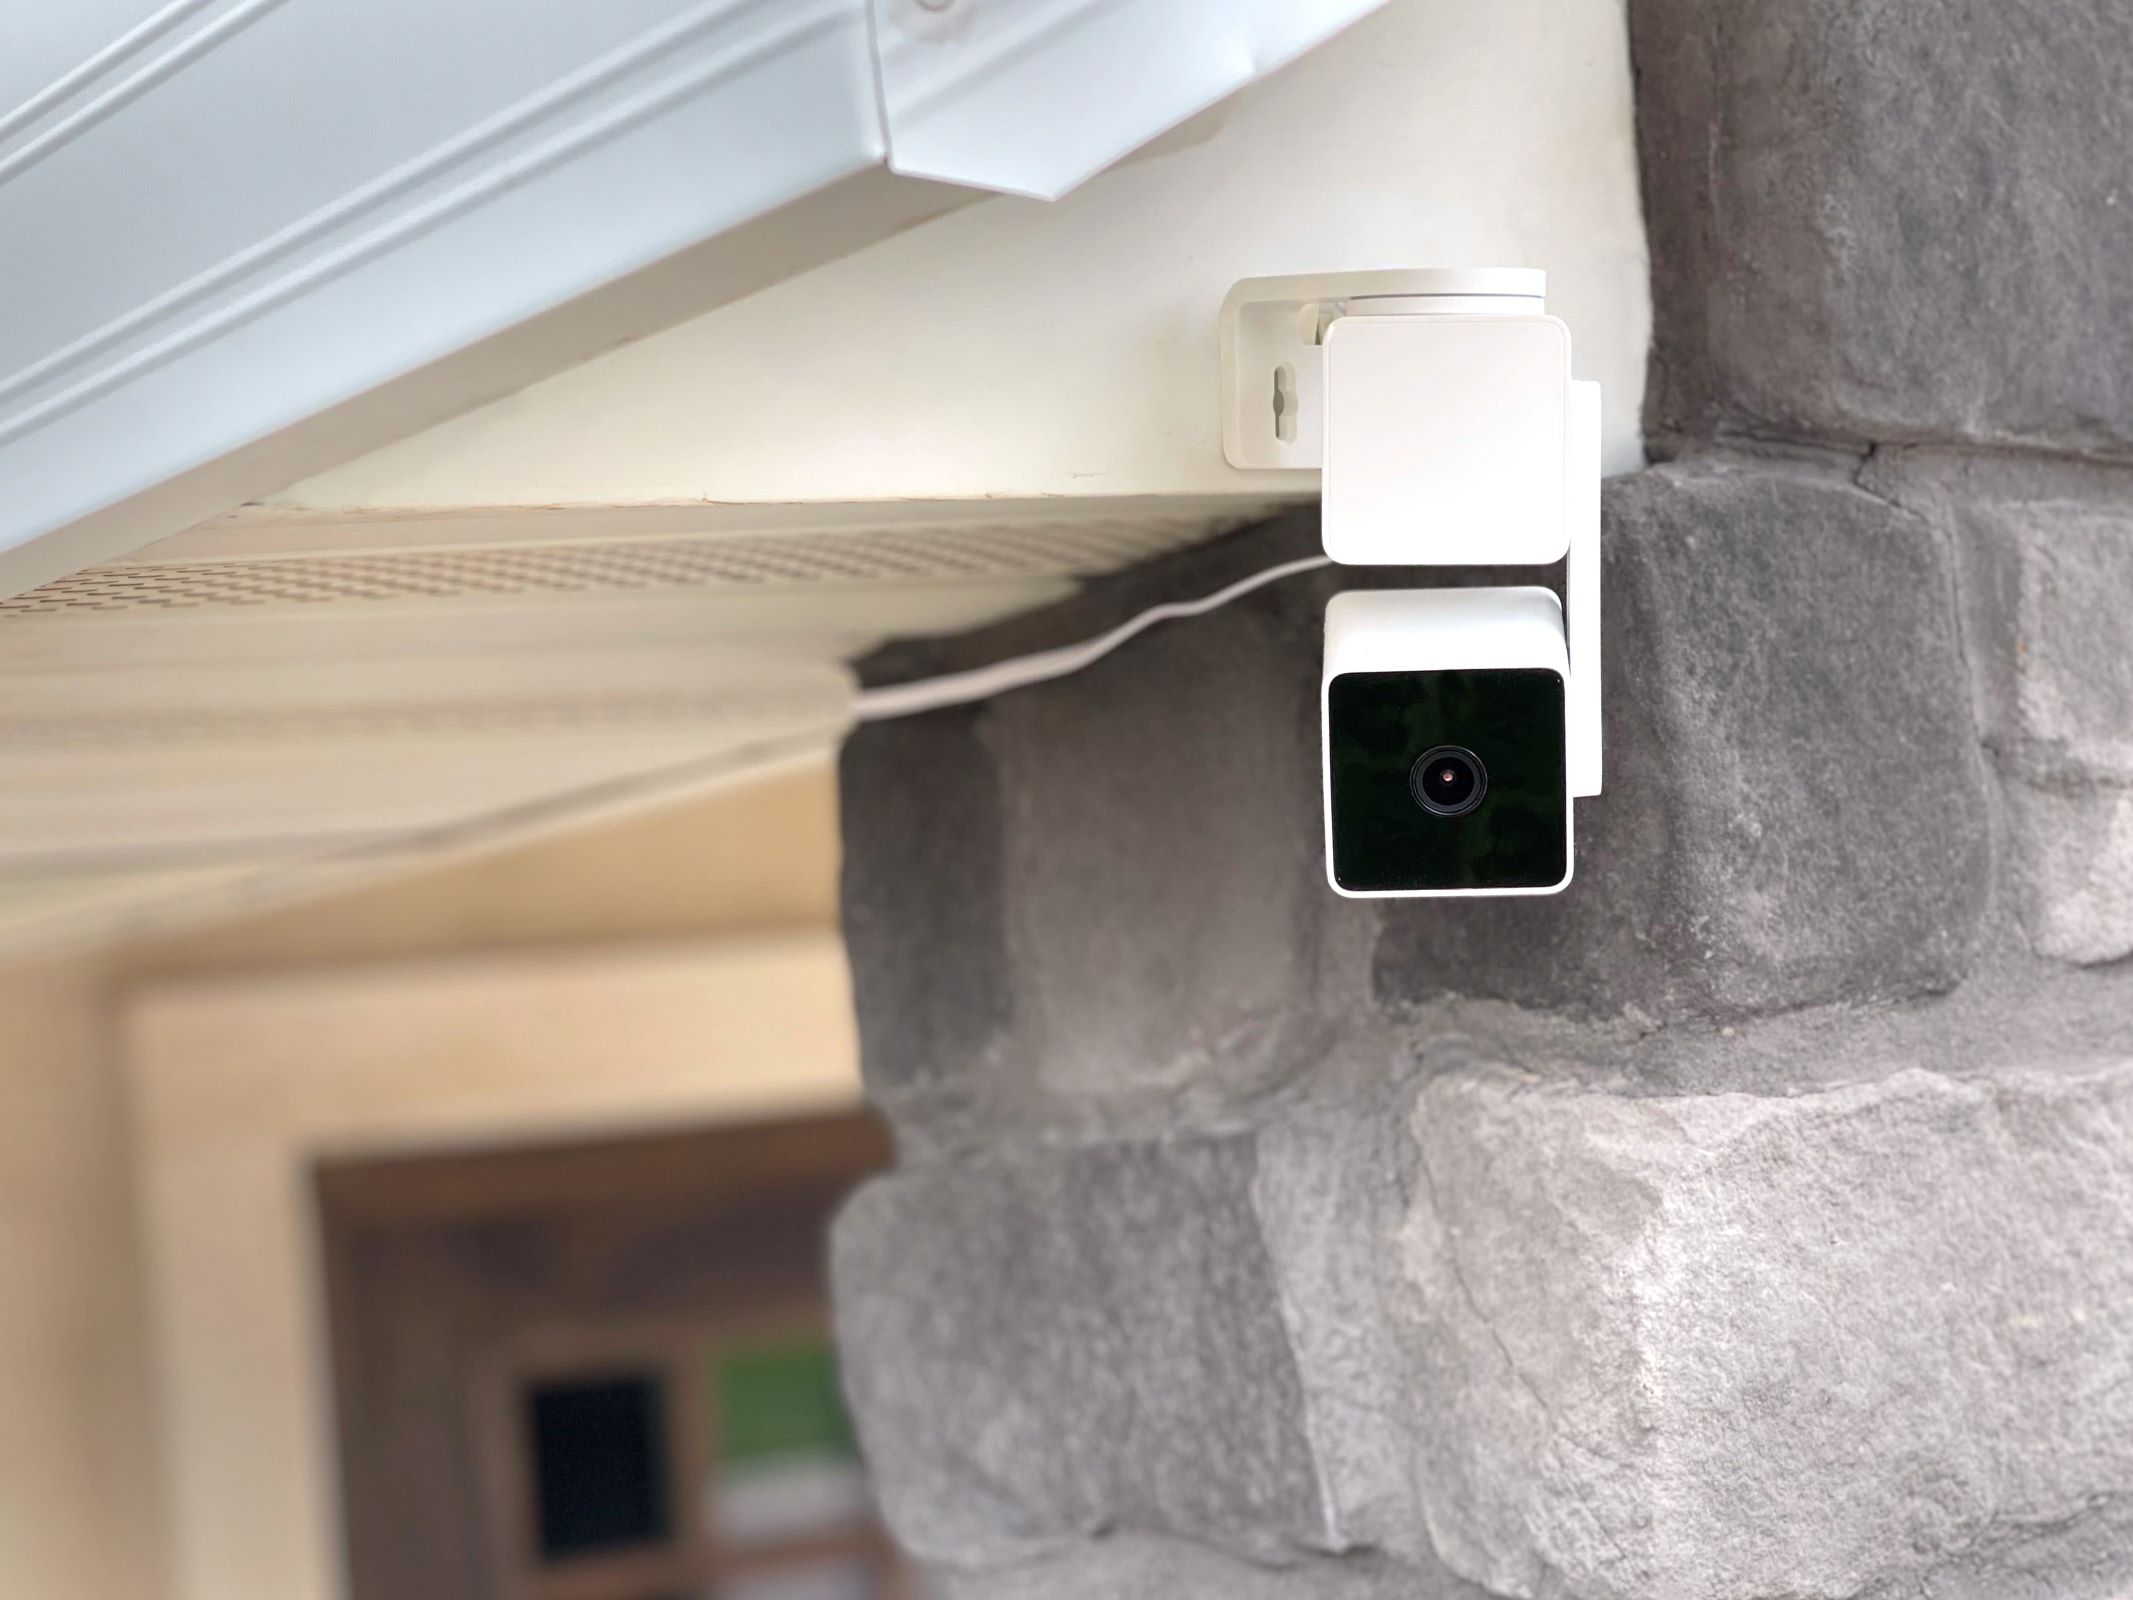
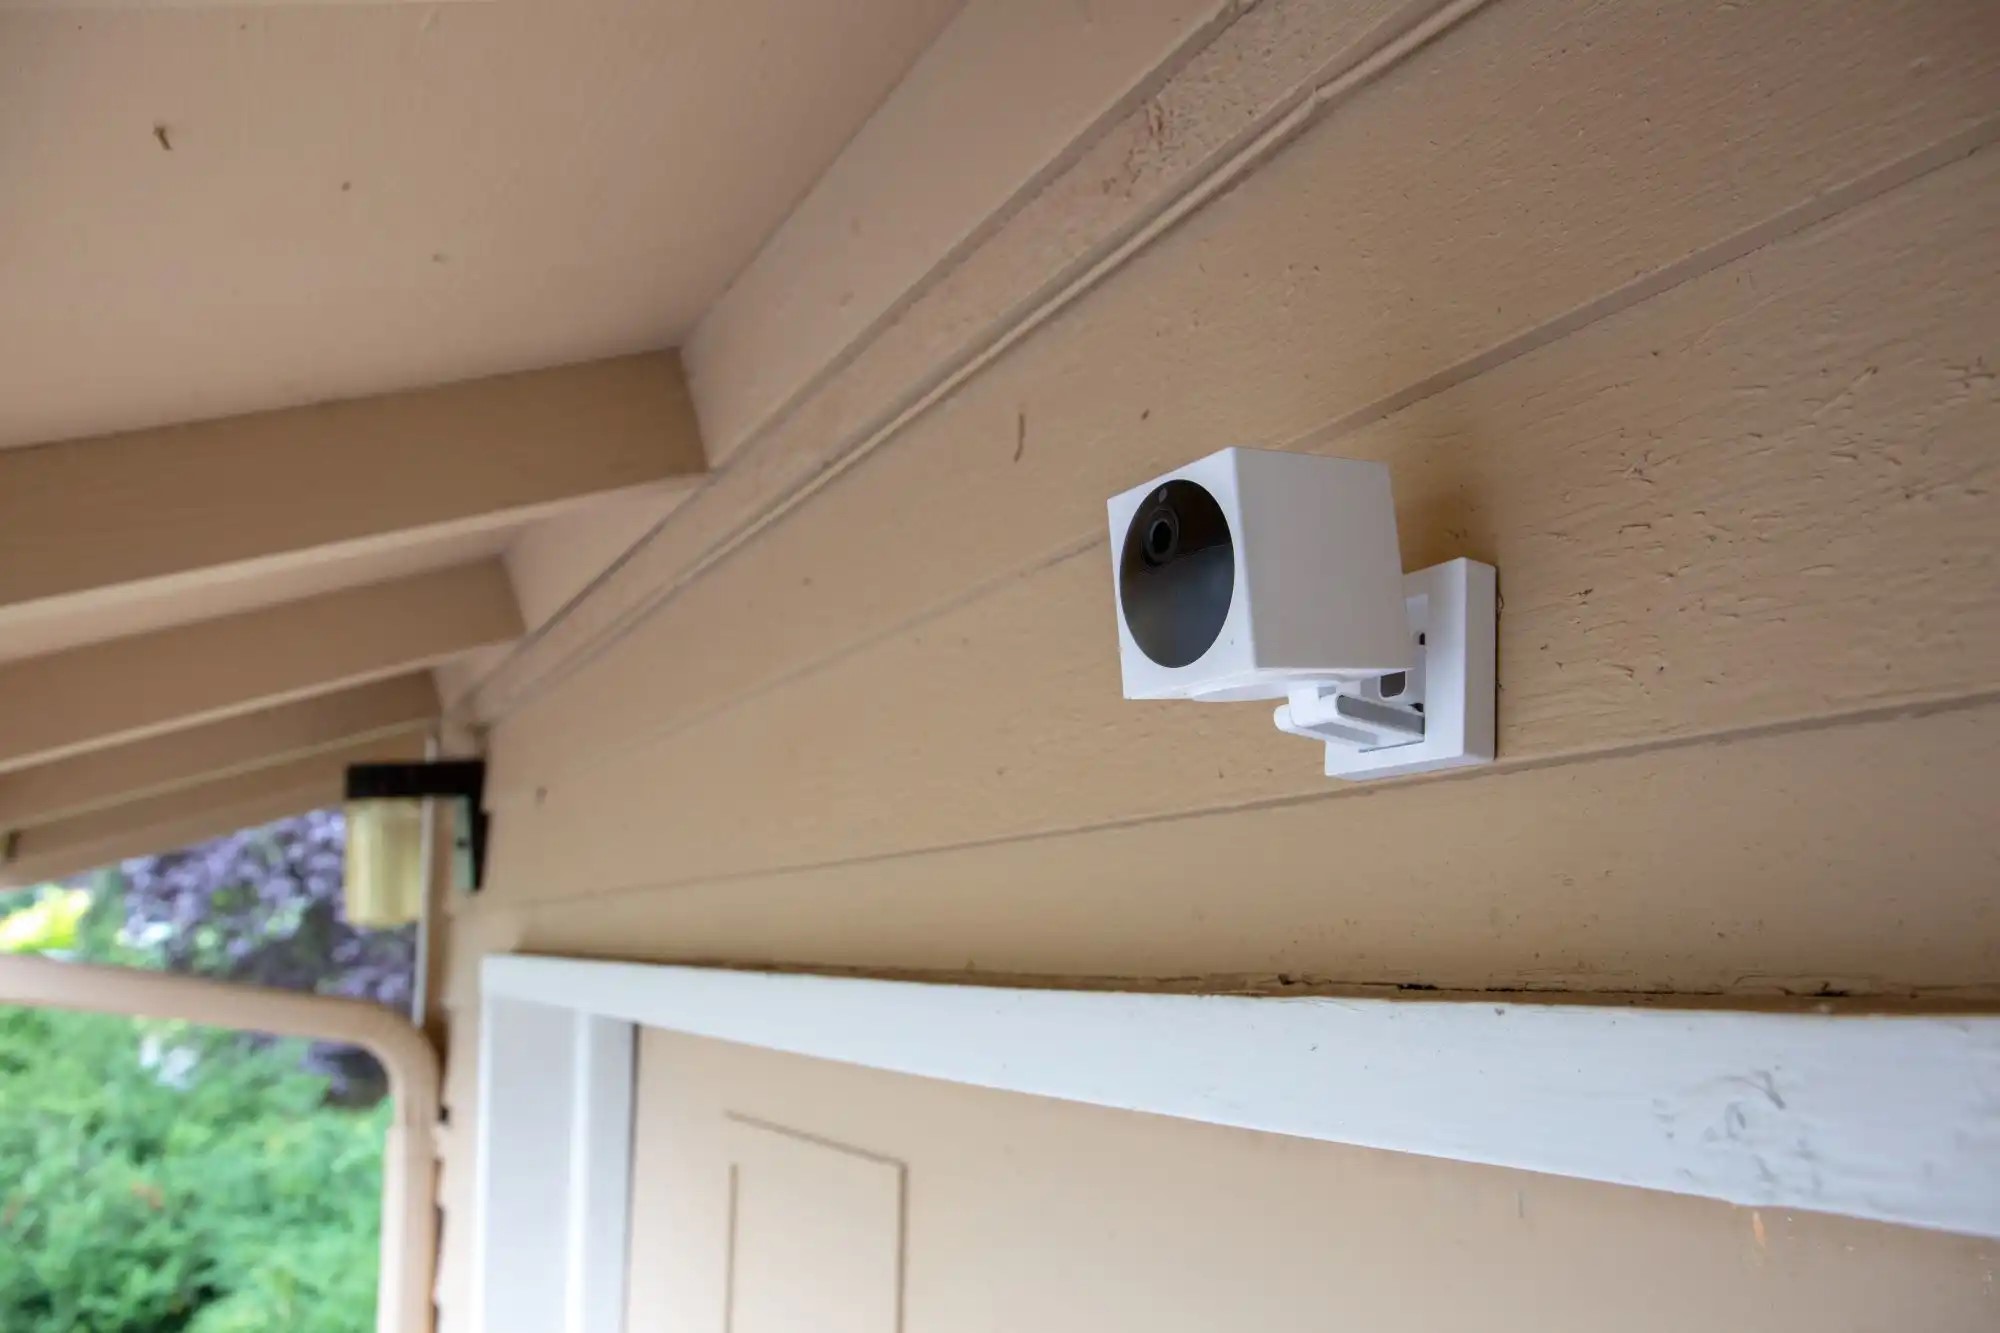
Welcome to “How Do I Charge My Wyze Outdoor Camera?” In this guide, we will explore the power requirements of the Wyze Outdoor Camera and provide step-by-step instructions on how to charge it effectively. The Wyze Outdoor Camera is a popular choice for home security and surveillance, offering users a convenient way to monitor their property. To ensure uninterrupted camera operation, it is important to understand the necessary charging process. Whether you are a new Wyze Outdoor Camera owner or simply need a refresher, this guide is here to help!
Keeping your Wyze Outdoor Camera powered up is essential for maintaining the security and surveillance of your property. The camera is designed to operate wirelessly and comes with a rechargeable battery, allowing you to place it anywhere on your property without worrying about power outlets. When the battery is running low, you will need to recharge it to ensure continuous functionality.
Charging your Wyze Outdoor Camera is a straightforward process that involves a few simple steps. By following these steps, you can effectively charge your camera and keep it ready for action.
First, let’s explore the power requirements of the Wyze Outdoor Camera to ensure you have the necessary equipment for charging.
Key Takeaways:
- Keep your Wyze Outdoor Camera charged with a 5,200mAh lithium-ion battery and a micro-USB cable. Monitor the LED indicator or Wyze app for charging status and ensure a full charge for optimal performance.
- Safely disconnect the charging cable after a full charge, and keep the camera powered off. Regularly check the battery level and recharge as needed to maintain effective home security and surveillance.
Read more: How Do I Charge My SimpliSafe Outdoor Camera
Step 1: Understanding the Wyze Outdoor Camera Power Requirements
Before charging your Wyze Outdoor Camera, it is crucial to understand its power requirements. This camera is powered by a rechargeable battery pack, which eliminates the need for constant access to a power source. The battery pack is designed to provide long-lasting power, allowing the camera to function for extended periods before requiring a recharge.
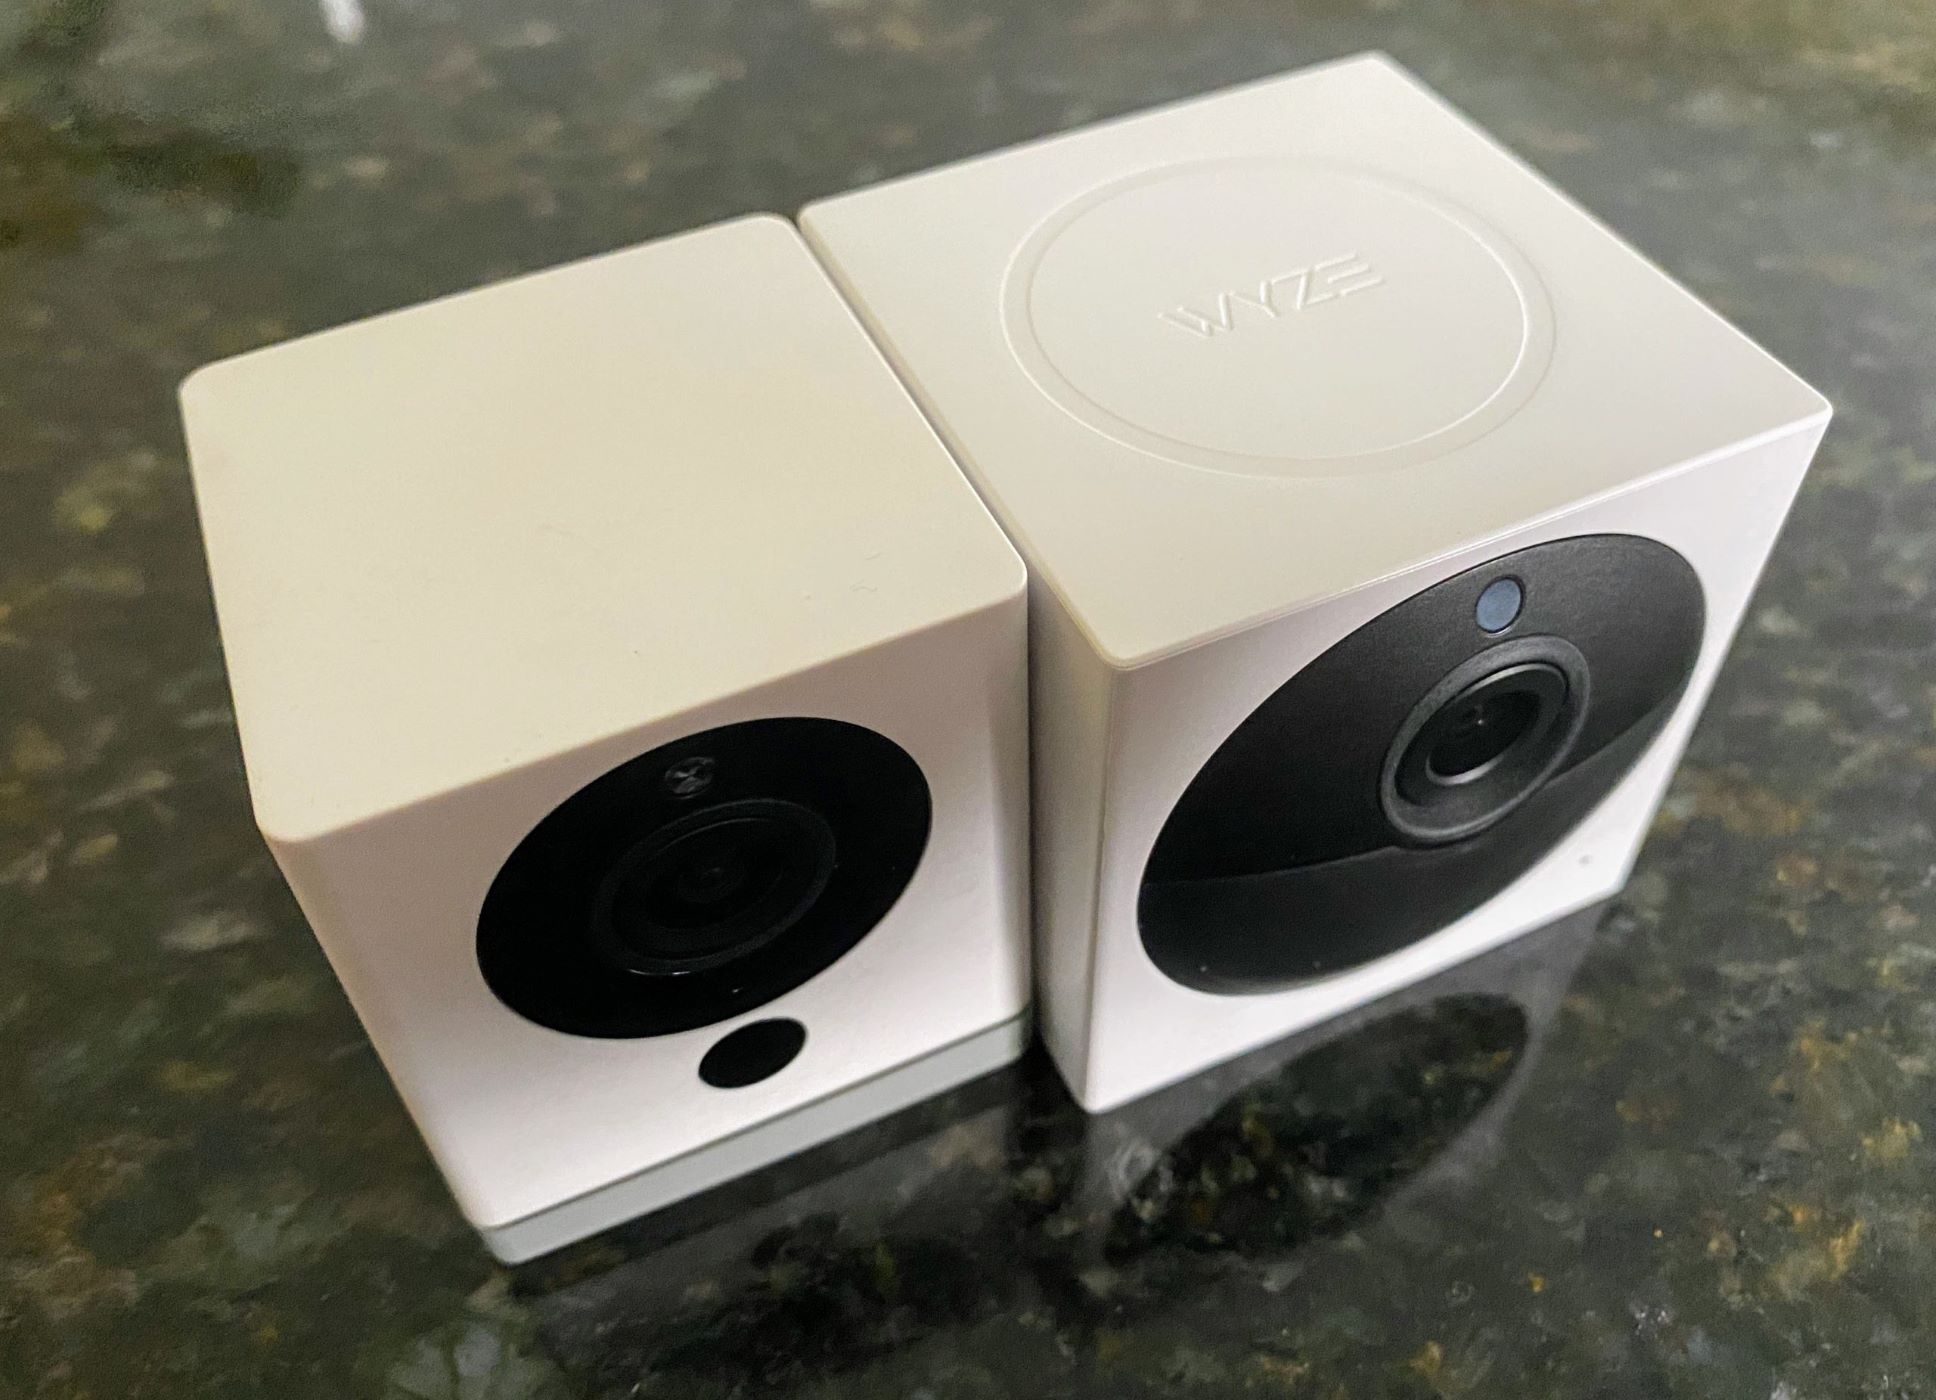
The Wyze Outdoor Camera uses a 5,200mAh lithium-ion battery, which is included with the camera when you purchase it. This battery is capable of providing several months of usage under normal conditions. However, the actual battery life may vary depending on factors such as the camera’s settings, usage patterns, and environmental conditions.
When the battery level drops below a certain threshold, you will receive a notification in the Wyze mobile app, indicating that it’s time to recharge the camera. It is important to note that you should only use the specified battery pack provided by Wyze to ensure compatibility and optimal performance.
To charge the Wyze Outdoor Camera, you will need a compatible charging cable. The camera uses a standard micro-USB charging port, which means you can connect it to any USB power source, such as your computer, a wall adapter, or a power bank. It’s essential to have a reliable power source and a compatible cable to charge your camera efficiently.
Now that you understand the power requirements of the Wyze Outdoor Camera, let’s move on to the next step, which involves gathering the necessary charging equipment.
Step 2: Gathering the Necessary Charging Equipment
In order to charge your Wyze Outdoor Camera, you will need to gather the necessary charging equipment. Here’s what you’ll need:
- A micro-USB charging cable: The Wyze Outdoor Camera uses a micro-USB port for charging. Make sure you have a compatible cable that can connect the camera to a power source. If you don’t have a micro-USB cable, you can easily find one at electronics stores or online retailers.
- A USB power source: You will need a USB power source to provide the necessary power for charging the camera. This can be your computer’s USB port, a wall adapter, or a power bank. Ensure that the power source you choose has enough power output to charge the camera effectively.
Once you have these two items ready, you can move on to the next step, which involves charging the Wyze Outdoor Camera.
Note: It’s important to use a reliable and certified charging cable and power source to ensure the safety and optimal performance of your camera. Using third-party or low-quality charging equipment may result in subpar charging or potential damage to the camera.
Now that you have the necessary charging equipment, let’s proceed to the next step, where we will guide you through the process of charging your Wyze Outdoor Camera.
Step 3: Charging the Wyze Outdoor Camera
Now that you have gathered the necessary charging equipment, it’s time to charge your Wyze Outdoor Camera. Follow these steps:
- Locate the micro-USB charging port: On the bottom of the camera, you will find a small rubber cover that protects the micro-USB charging port. Gently lift the cover to reveal the port.
- Connect the micro-USB cable to the camera: Take the micro-USB charging cable and insert it into the micro-USB port on the camera. Ensure that the cable is securely connected.
- Connect the other end of the cable to the power source: Take the other end of the micro-USB cable and connect it to your chosen USB power source, such as a computer, wall adapter, or power bank.
- Verify the charging connection: Once the cable is connected to both the camera and the power source, verify that the charging connection is secure. Make sure the cable is not loose or disconnected during the charging process.
When the Wyze Outdoor Camera is securely connected to the power source, it will begin charging. You may notice a small LED indicator light on the camera, which will illuminate to indicate that the camera is charging. The LED light may turn solid or blink, depending on the camera’s charging status.
It’s important to let the camera charge completely to ensure it has sufficient power for optimal usage. The charging time may vary, but it is recommended to leave the camera connected to the power source until it reaches a full charge.
Now that you have successfully connected your Wyze Outdoor Camera to the power source, let’s move on to the next step, where we will discuss how to monitor the charging status.
To charge your Wyze Outdoor Camera, simply remove the camera from its mount and connect the included USB cable to the charging port on the camera. Then, plug the other end of the cable into a power source.
Step 4: Monitoring the Charging Status
While your Wyze Outdoor Camera is charging, it’s important to monitor the charging status to ensure that it is progressing as expected. Here are some steps to help you monitor the charging status:
- Observe the LED indicator: The Wyze Outdoor Camera is equipped with an LED indicator light that provides information about the charging status. The LED light may have different colors or patterns to indicate different charging stages. Refer to the camera’s user manual to understand the specific LED indicator meanings.
- Check the Wyze app: If you have the Wyze mobile app installed, you can also check the charging status of your Wyze Outdoor Camera from the app. Open the app and navigate to the camera’s settings or device information page. You should be able to see the current battery level and charging status.
- Monitor the battery level: Keep an eye on the battery level displayed on the app or the camera’s LED indicator. The battery level will gradually increase as the camera charges. It’s important to let the camera charge fully to ensure maximum battery life and usage.
- Be patient: Charging time may vary depending on the remaining battery level and the power source you are using. It’s important to be patient and allow the camera to charge fully before disconnecting it from the power source.
Remember, keeping an eye on the charging status will help ensure that your Wyze Outdoor Camera has enough power to function effectively. Once the camera reaches a full charge, you can proceed to the next and final step, where we will discuss disconnecting the charging cable.
Step 5: Disconnecting the Charging Cable
Once your Wyze Outdoor Camera has reached a full charge, it’s time to disconnect the charging cable. Follow these steps:
- Ensure the camera is fully charged: Before disconnecting the charging cable, make sure that the camera has reached a full charge. You can confirm this by checking the battery level on the Wyze app or the camera’s LED indicator.
- Turn off the camera: To avoid any potential issues, it is recommended to turn off the camera before disconnecting the charging cable. You can do this through the Wyze app by navigating to the camera’s settings and selecting the option to power off.
- Disconnect the charging cable: Once the camera is powered off, gently unplug the micro-USB charging cable from the camera’s charging port. Ensure a firm grip on the cable while disconnecting to prevent any accidental damage.
- Secure the rubber cover: After disconnecting the charging cable, carefully secure the small rubber cover back over the micro-USB charging port. This cover helps protect the port from dust, debris, and moisture when not in use.
With the charging cable safely disconnected and the rubber cover secured, your Wyze Outdoor Camera is now ready for use. You can power it on and position it in your desired location to monitor your property and keep it secure.
It’s important to note that the battery life of your Wyze Outdoor Camera may vary depending on factors such as usage, settings, and environmental conditions. It is recommended to periodically check the battery level and recharge the camera as needed to ensure uninterrupted operation.
Congratulations! You have successfully charged your Wyze Outdoor Camera and are now ready to enjoy the benefits of a secure and well-monitored home. Remember to refer back to this guide whenever you need to recharge your camera in the future.
As technology continues to advance, home security and surveillance systems play a crucial role in keeping our homes safe. The Wyze Outdoor Camera, with its wireless capabilities and rechargeable battery, offers a convenient and effective solution. By following the steps outlined in this guide, you can ensure that your Wyze Outdoor Camera remains powered up and ready to protect your property.
Thank you for choosing Wyze, and happy monitoring!
Conclusion
Charging your Wyze Outdoor Camera is a simple yet important task to ensure continuous home security and surveillance. By following the step-by-step guide we’ve provided, you can confidently charge your camera and keep it ready for action.
Understanding the power requirements of the Wyze Outdoor Camera is crucial before you begin the charging process. Make sure you have the necessary charging equipment, including a micro-USB cable and a reliable USB power source.
Once you have the equipment ready, follow the steps to connect the camera to the power source and monitor the charging status. Keep an eye on the LED indicator or use the Wyze app to check the battery level and ensure a full charge.
When the camera is fully charged, remember to power it off before disconnecting the charging cable. Safely unplug the cable and secure the rubber cover over the micro-USB port to protect it from dust and debris.
With your Wyze Outdoor Camera fully charged, you can enjoy peace of mind knowing that your property is well-monitored and secure. Regularly check the battery level and recharge the camera as needed to maintain its performance.
Home security and surveillance systems bring immense value to every homeowner, providing a sense of safety and protection. The Wyze Outdoor Camera, with its wireless convenience and rechargeable battery, offers an excellent solution for effective monitoring.
We hope this guide has been helpful in answering the question of how to charge your Wyze Outdoor Camera. Remember, proper charging and maintenance will ensure optimal performance and longevity for your camera.
Thank you for choosing Wyze and taking steps to enhance your home security. Happy monitoring!
Frequently Asked Questions about How Do I Charge My Wyze Outdoor Camera
Was this page helpful?
At Storables.com, we guarantee accurate and reliable information. Our content, validated by Expert Board Contributors, is crafted following stringent Editorial Policies. We're committed to providing you with well-researched, expert-backed insights for all your informational needs.