Home>Home Security and Surveillance>How Far Should I Set My Outdoor Camera
Home Security and Surveillance
How Far Should I Set My Outdoor Camera
Modified: March 6, 2024
Discover the optimal range for setting up your outdoor security camera. Gain valuable insights on home security and surveillance with our expert tips.
(Many of the links in this article redirect to a specific reviewed product. Your purchase of these products through affiliate links helps to generate commission for Storables.com, at no extra cost. Learn more)
Introduction
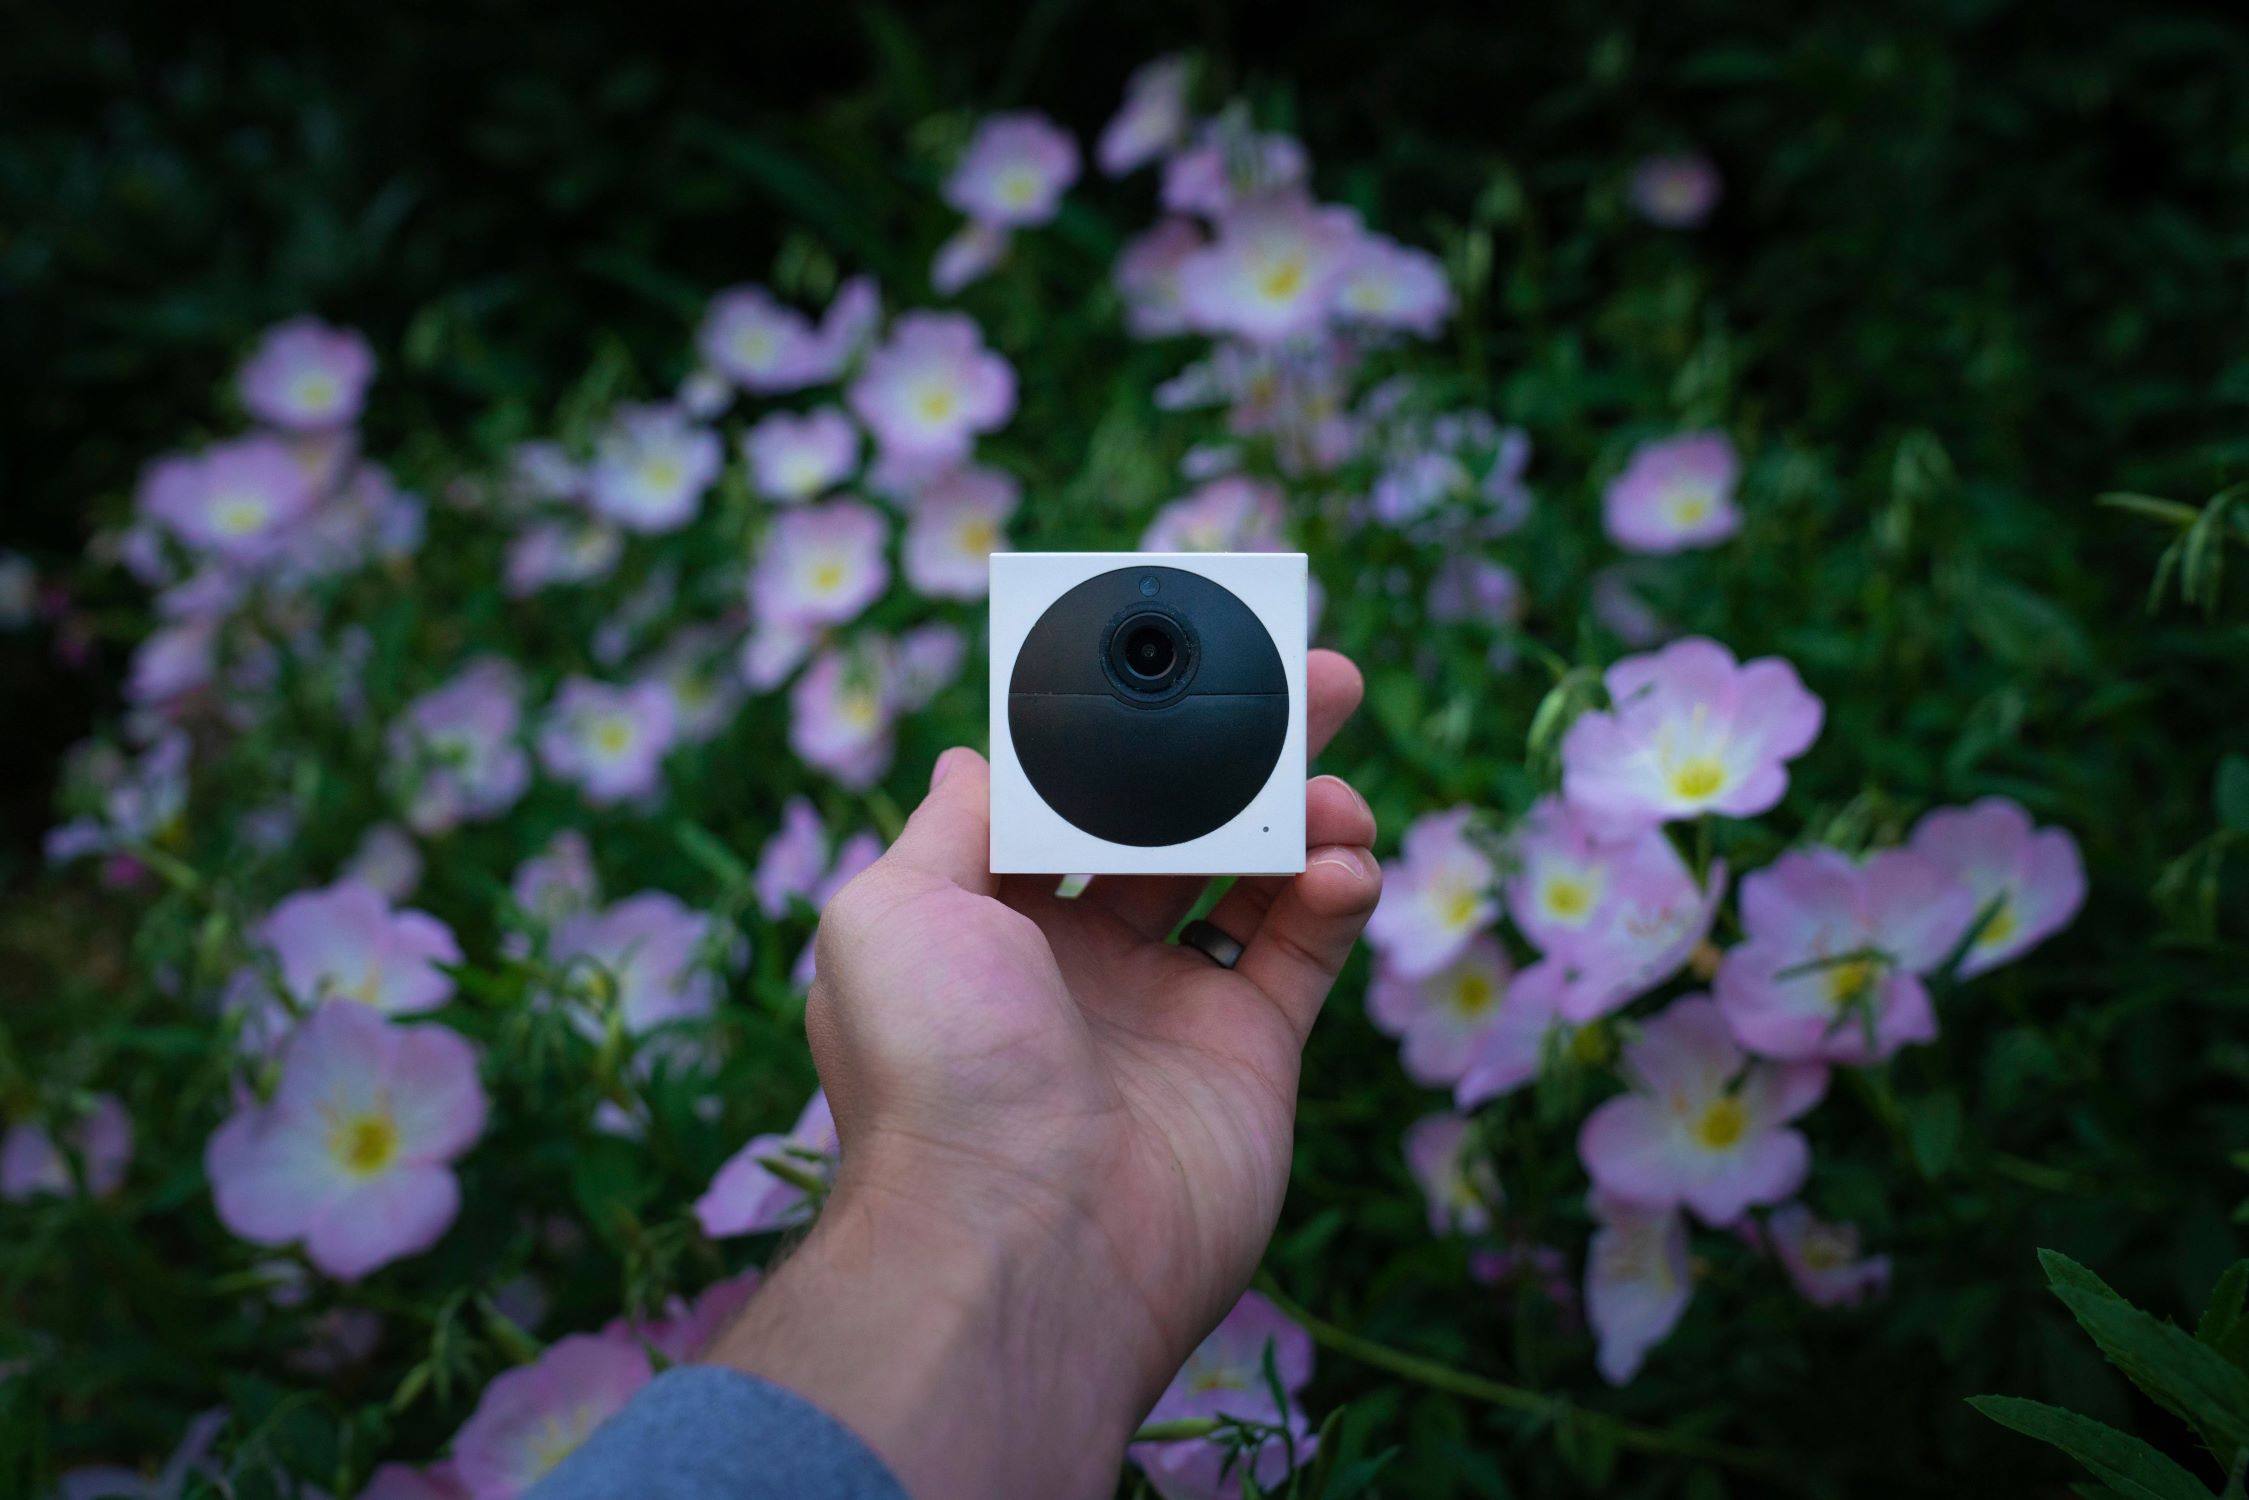
When it comes to home security and surveillance, outdoor cameras play a crucial role in protecting our homes and loved ones. These cameras provide an extra layer of security by monitoring the areas surrounding our homes and deterring potential intruders.
However, setting up an outdoor camera requires careful consideration to ensure its effectiveness. One of the key factors to take into account is how far the camera should be set from the area you want to monitor. This distance will determine the camera’s field of view and the level of detail it can capture.
In this article, we will explore the various factors to consider when determining the optimal distance for setting up your outdoor camera. By understanding these factors, you can make informed decisions to maximize the camera’s effectiveness and ensure the safety of your home.
Key Takeaways:
- Find the perfect spot: When setting up outdoor cameras, consider the area you want to monitor, the camera’s field of view, and lighting conditions to capture clear footage without blind spots.
- Weather-ready surveillance: Choose weatherproof cameras with durable housing and proper sealing to withstand elements and ensure long-term security for your property.
Read more: Where Should I Put An Outdoor Camera
Factors to Consider
When deciding on the distance to set your outdoor camera, there are several important factors to keep in mind. By considering these factors, you can determine the optimal position for your camera and ensure that it provides the best possible surveillance coverage. Let’s take a closer look at these factors:
- Area to be monitored: The first factor to consider is the specific area that you want to monitor. Identify the key points of interest, such as entrances, pathways, or valuable assets. This will help you determine the ideal distance to set your camera for optimal coverage.
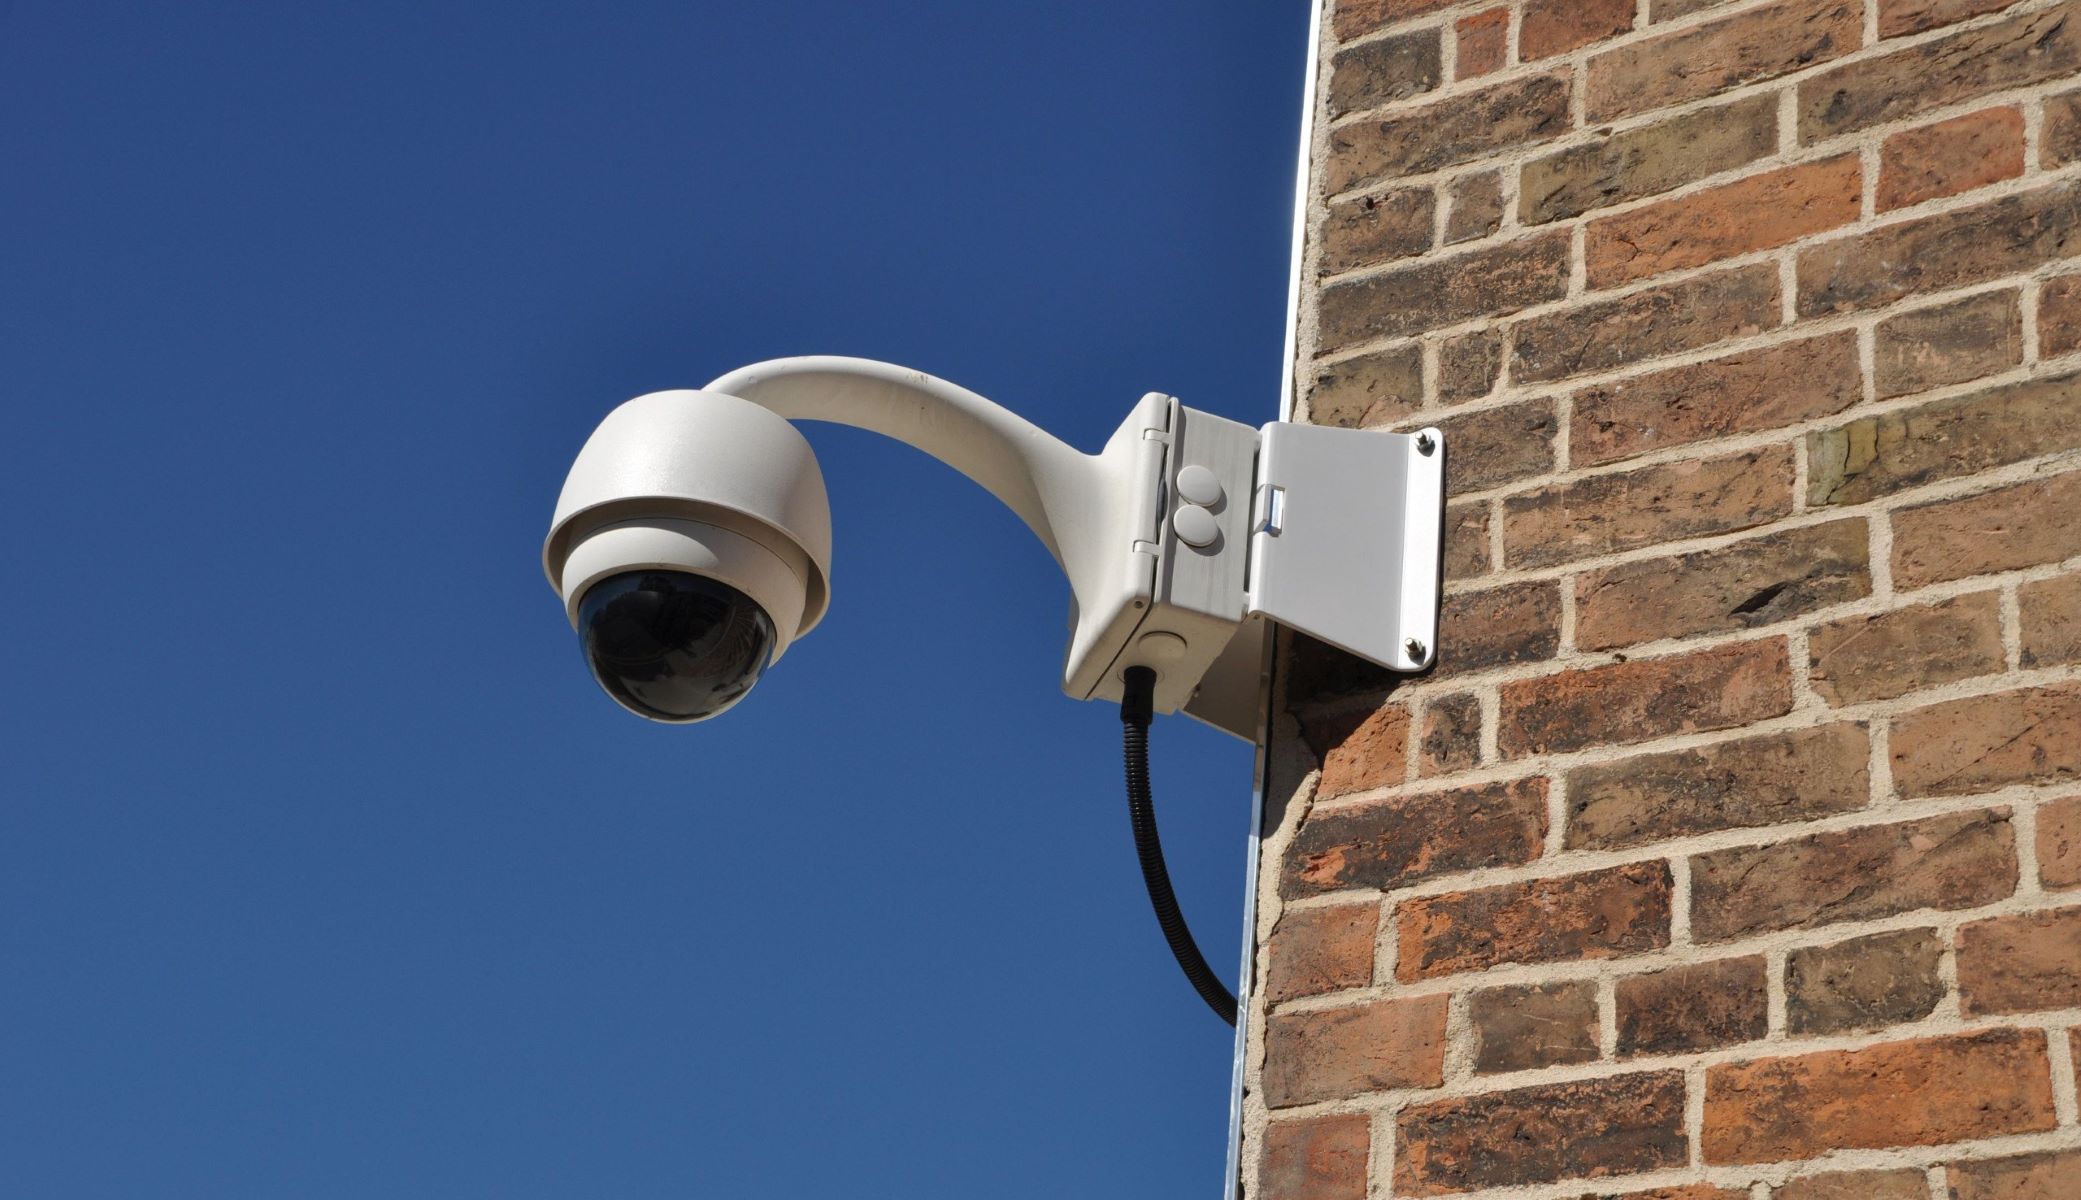
- Placement height and angle: The height and angle at which you mount your outdoor camera can greatly impact its coverage. Mounting the camera too high or too low may result in a limited field of view or distorted images. Aim for a height and angle that provides a clear and comprehensive view of the area.
- Coverage area and field of view: Different cameras have varying field of view capabilities. Consider the field of view offered by your camera model and calculate the distance accordingly. This will ensure that the camera captures the desired area without any blind spots.
- Potential obstacles and interference: Take note of any potential obstacles or sources of interference that could obstruct the camera’s view. Trees, walls, or other structures may impact the camera’s effectiveness. Adjust the distance and angle of the camera accordingly to overcome these obstacles.
- Lighting conditions: Lighting plays a crucial role in capturing clear footage. Assess the lighting conditions of the area you want to monitor. In low-light conditions, consider a camera with night vision capabilities or install additional lighting to ensure optimal visibility.
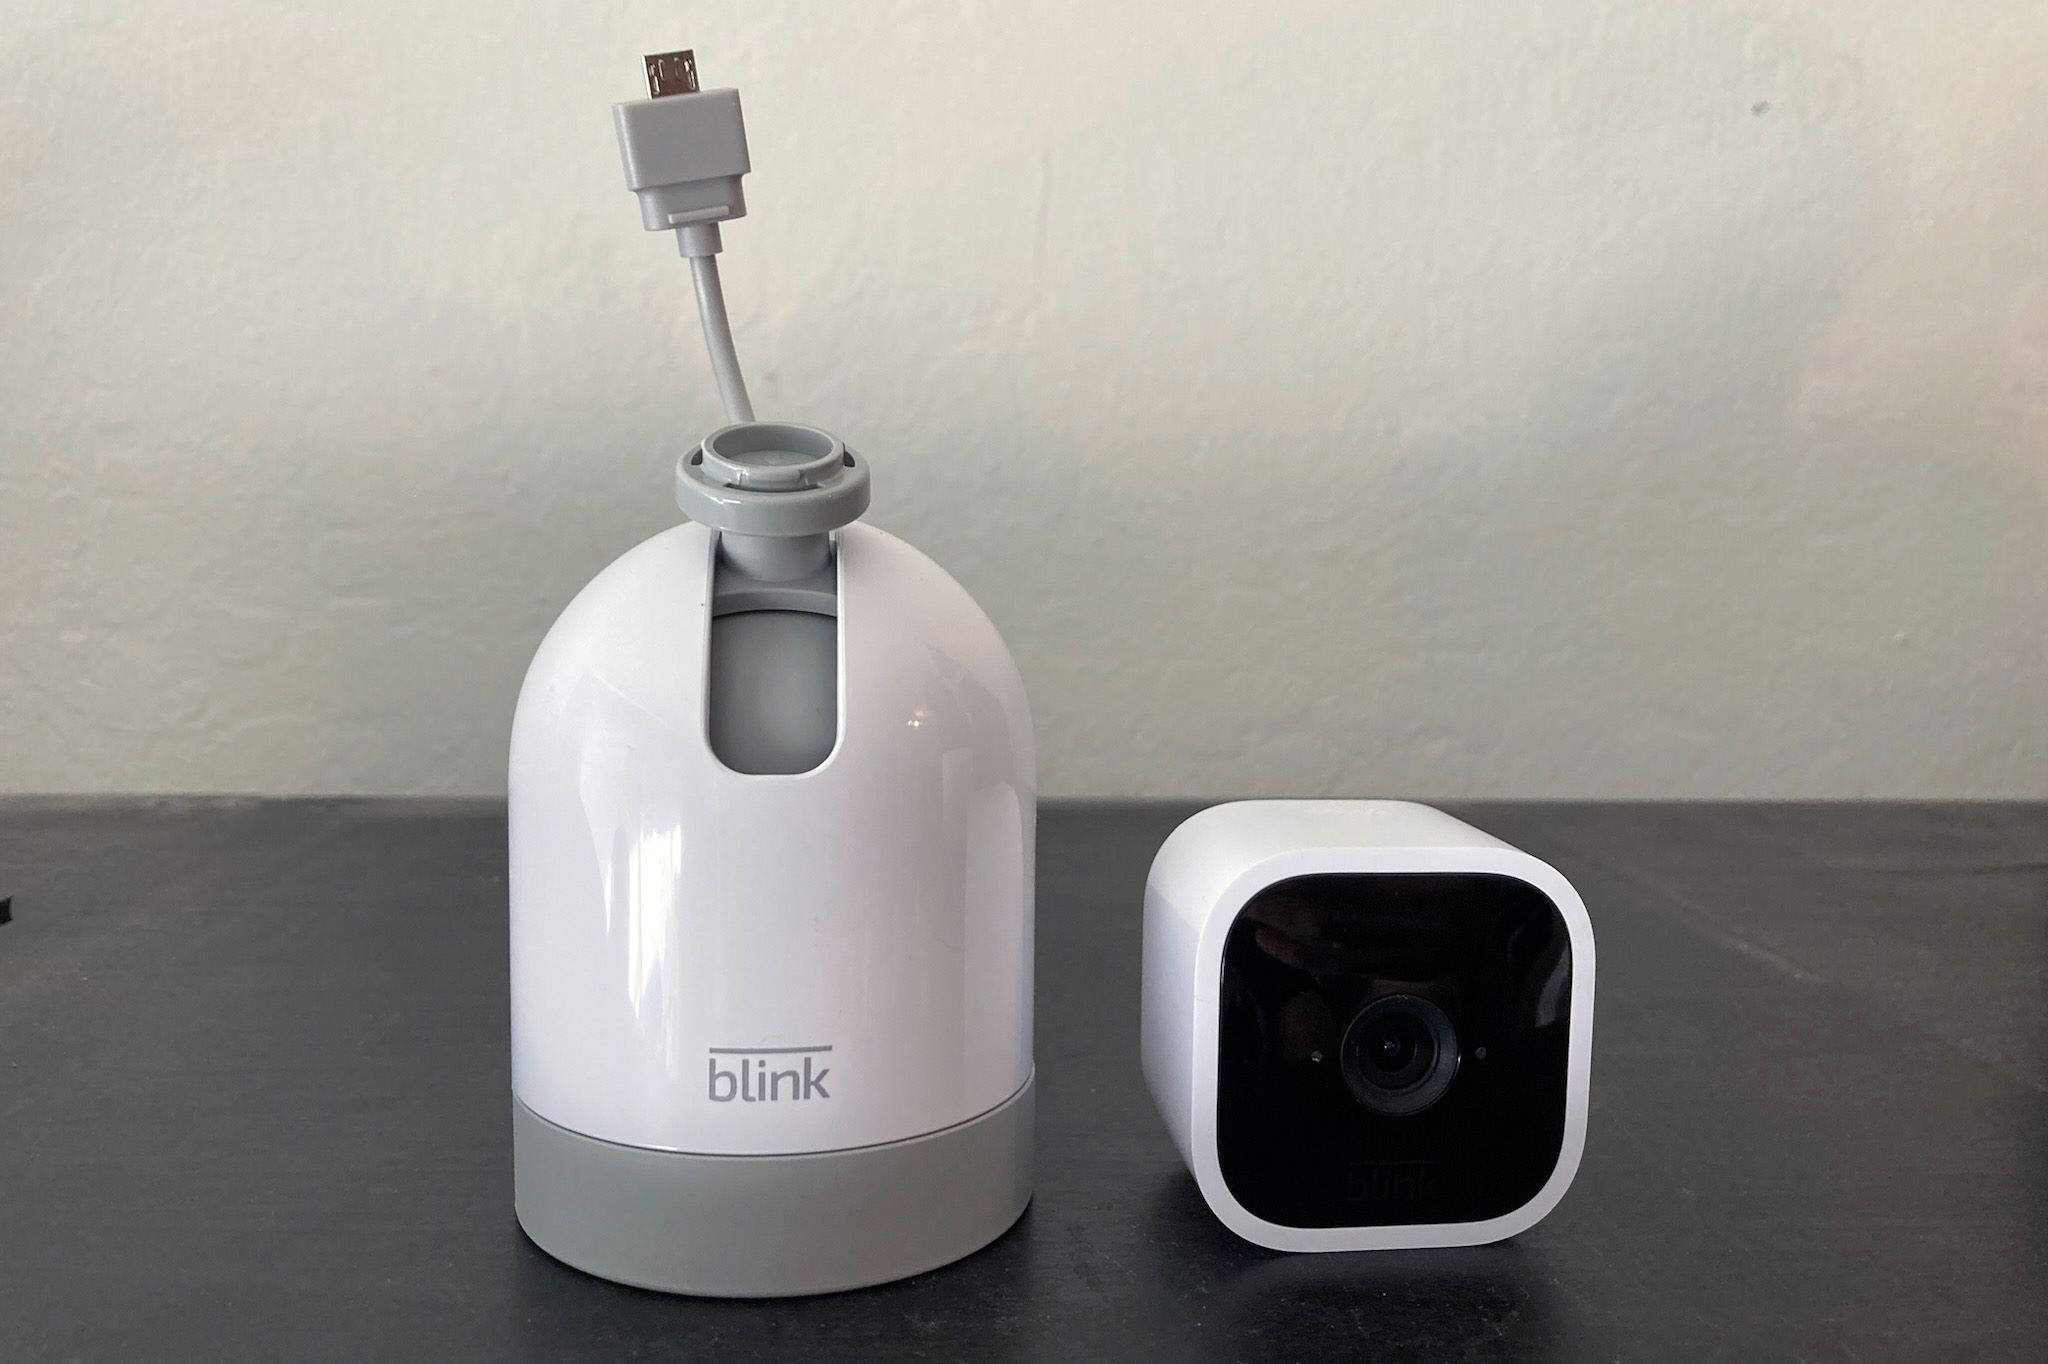
- Weatherproofing and durability: Outdoor cameras are exposed to harsh weather conditions, so it’s important to choose a camera that is weatherproof and durable. Consider the camera’s IP rating and ensure it can withstand elements like rain, dust, and extreme temperatures.
By taking these factors into account, you can make an informed decision about the placement and distance of your outdoor camera. This will help you maximize its effectiveness in monitoring your home and enhance the overall security of your property.
Optimal Distance from the Area to Be Monitored
One of the key considerations when setting up an outdoor camera is determining the optimal distance from the area you want to monitor. Finding the right balance will ensure that the camera captures clear and detailed footage without compromising the overall coverage.
To determine the optimal distance, start by identifying the specific area you want to monitor. This could be your front yard, driveway, or backyard. Take note of any points of interest within that area, such as entrances, windows, or valuable assets.
Next, consider the field of view offered by your camera. Different camera models have varying degrees of coverage. Some may offer a wide-angle lens, while others may have a narrower field of view. Refer to the camera’s specifications to understand its capabilities.
Based on the camera’s field of view, calculate the distance from the area to be monitored. As a general guideline, aim for a distance where the camera captures the entire area of interest without any blind spots. However, keep in mind that if the area is too large, you may need to consider multiple cameras or strategic placement to ensure comprehensive coverage.
Another factor to consider is the level of detail you want to capture. If you’re focused on capturing facial features or license plate numbers, you’ll need to position the camera closer to the area of interest. On the other hand, if you’re mainly concerned with monitoring general activity, a greater distance may be acceptable.
Additionally, lighting conditions play a crucial role in capturing clear footage. If the area is well-lit, the camera’s effectiveness may extend to a greater distance. However, in low-light or nighttime conditions, the camera’s range may be reduced. Consider using a camera with night vision capabilities or installing additional lighting to maintain visibility in darker environments.
It’s worth noting that each outdoor surveillance situation is unique, and the optimal distance will depend on various factors. Experiment with different distances and angles to find the best setup for your specific needs. Test the camera’s field of view, image clarity, and coverage area to ensure you’re achieving the desired results.
By carefully considering the area to be monitored, the camera’s field of view, and factors like lighting conditions, you can determine the optimal distance for setting up your outdoor camera. This will help you maximize its effectiveness in capturing important details and maintaining the security of your home.
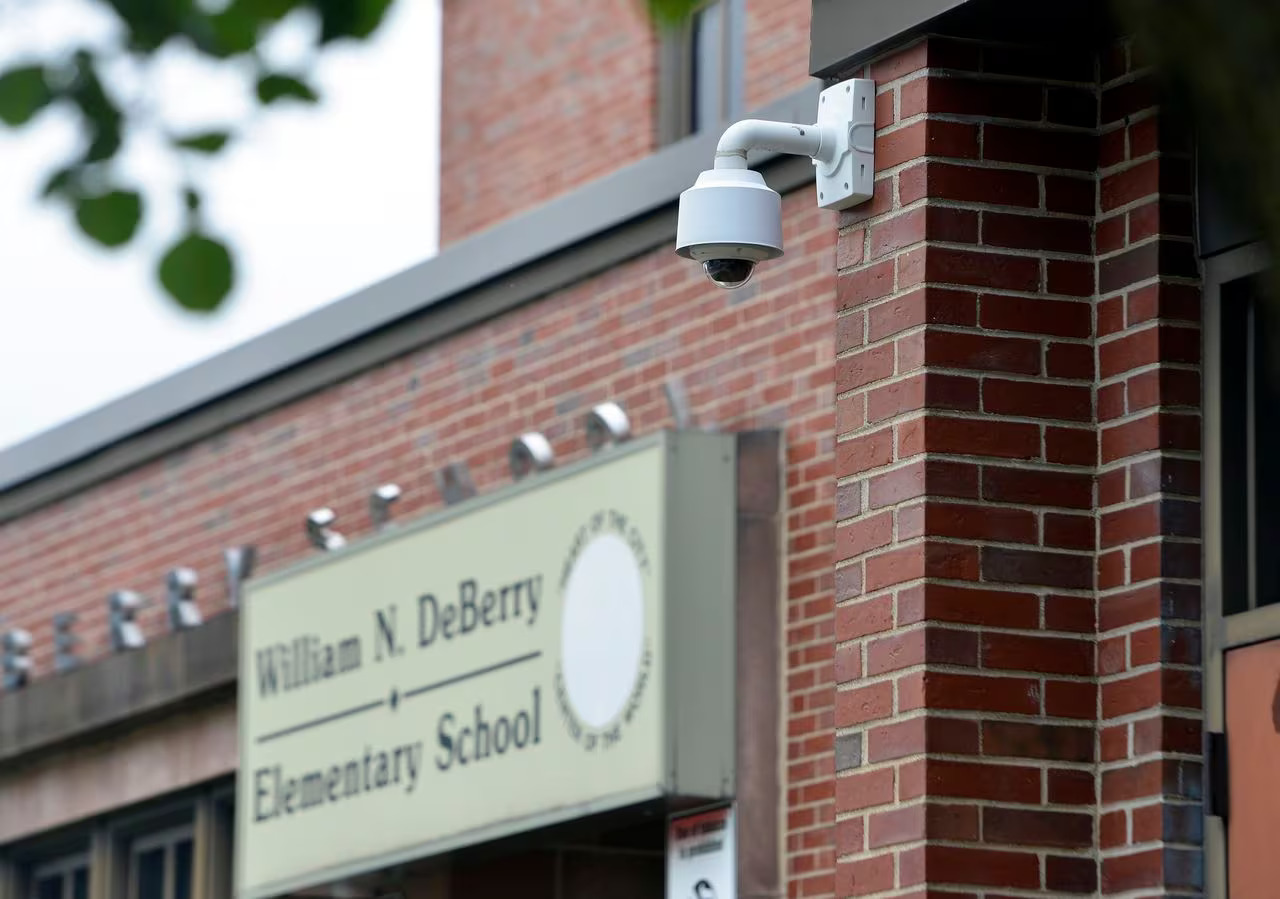
Placement Height and Angle
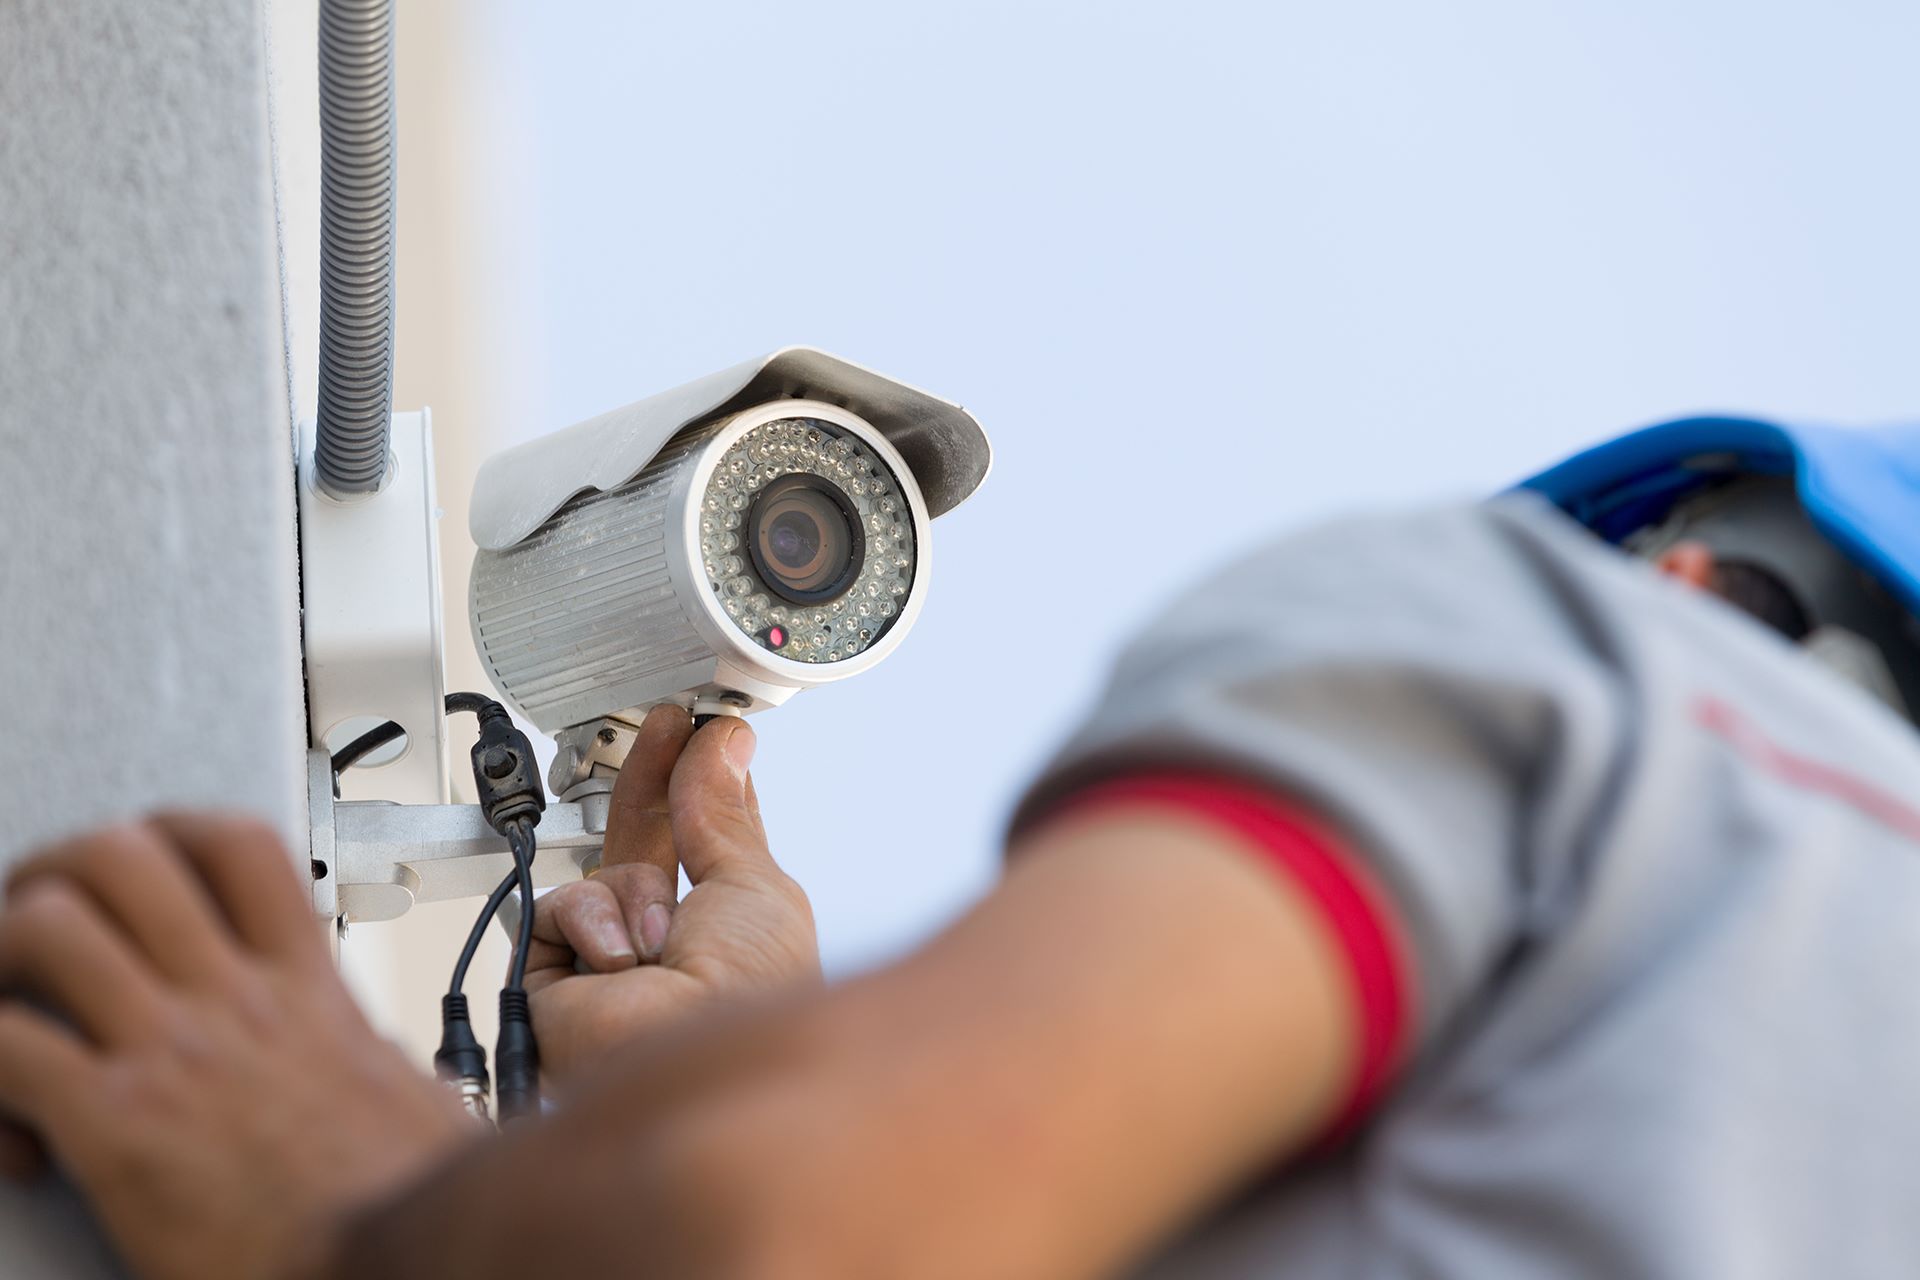
When it comes to setting up an outdoor camera, placement height and angle are crucial factors that can greatly impact its effectiveness. Properly positioning the camera will ensure optimal coverage and the ability to capture clear and actionable footage. Here are some considerations for determining the optimal height and angle:
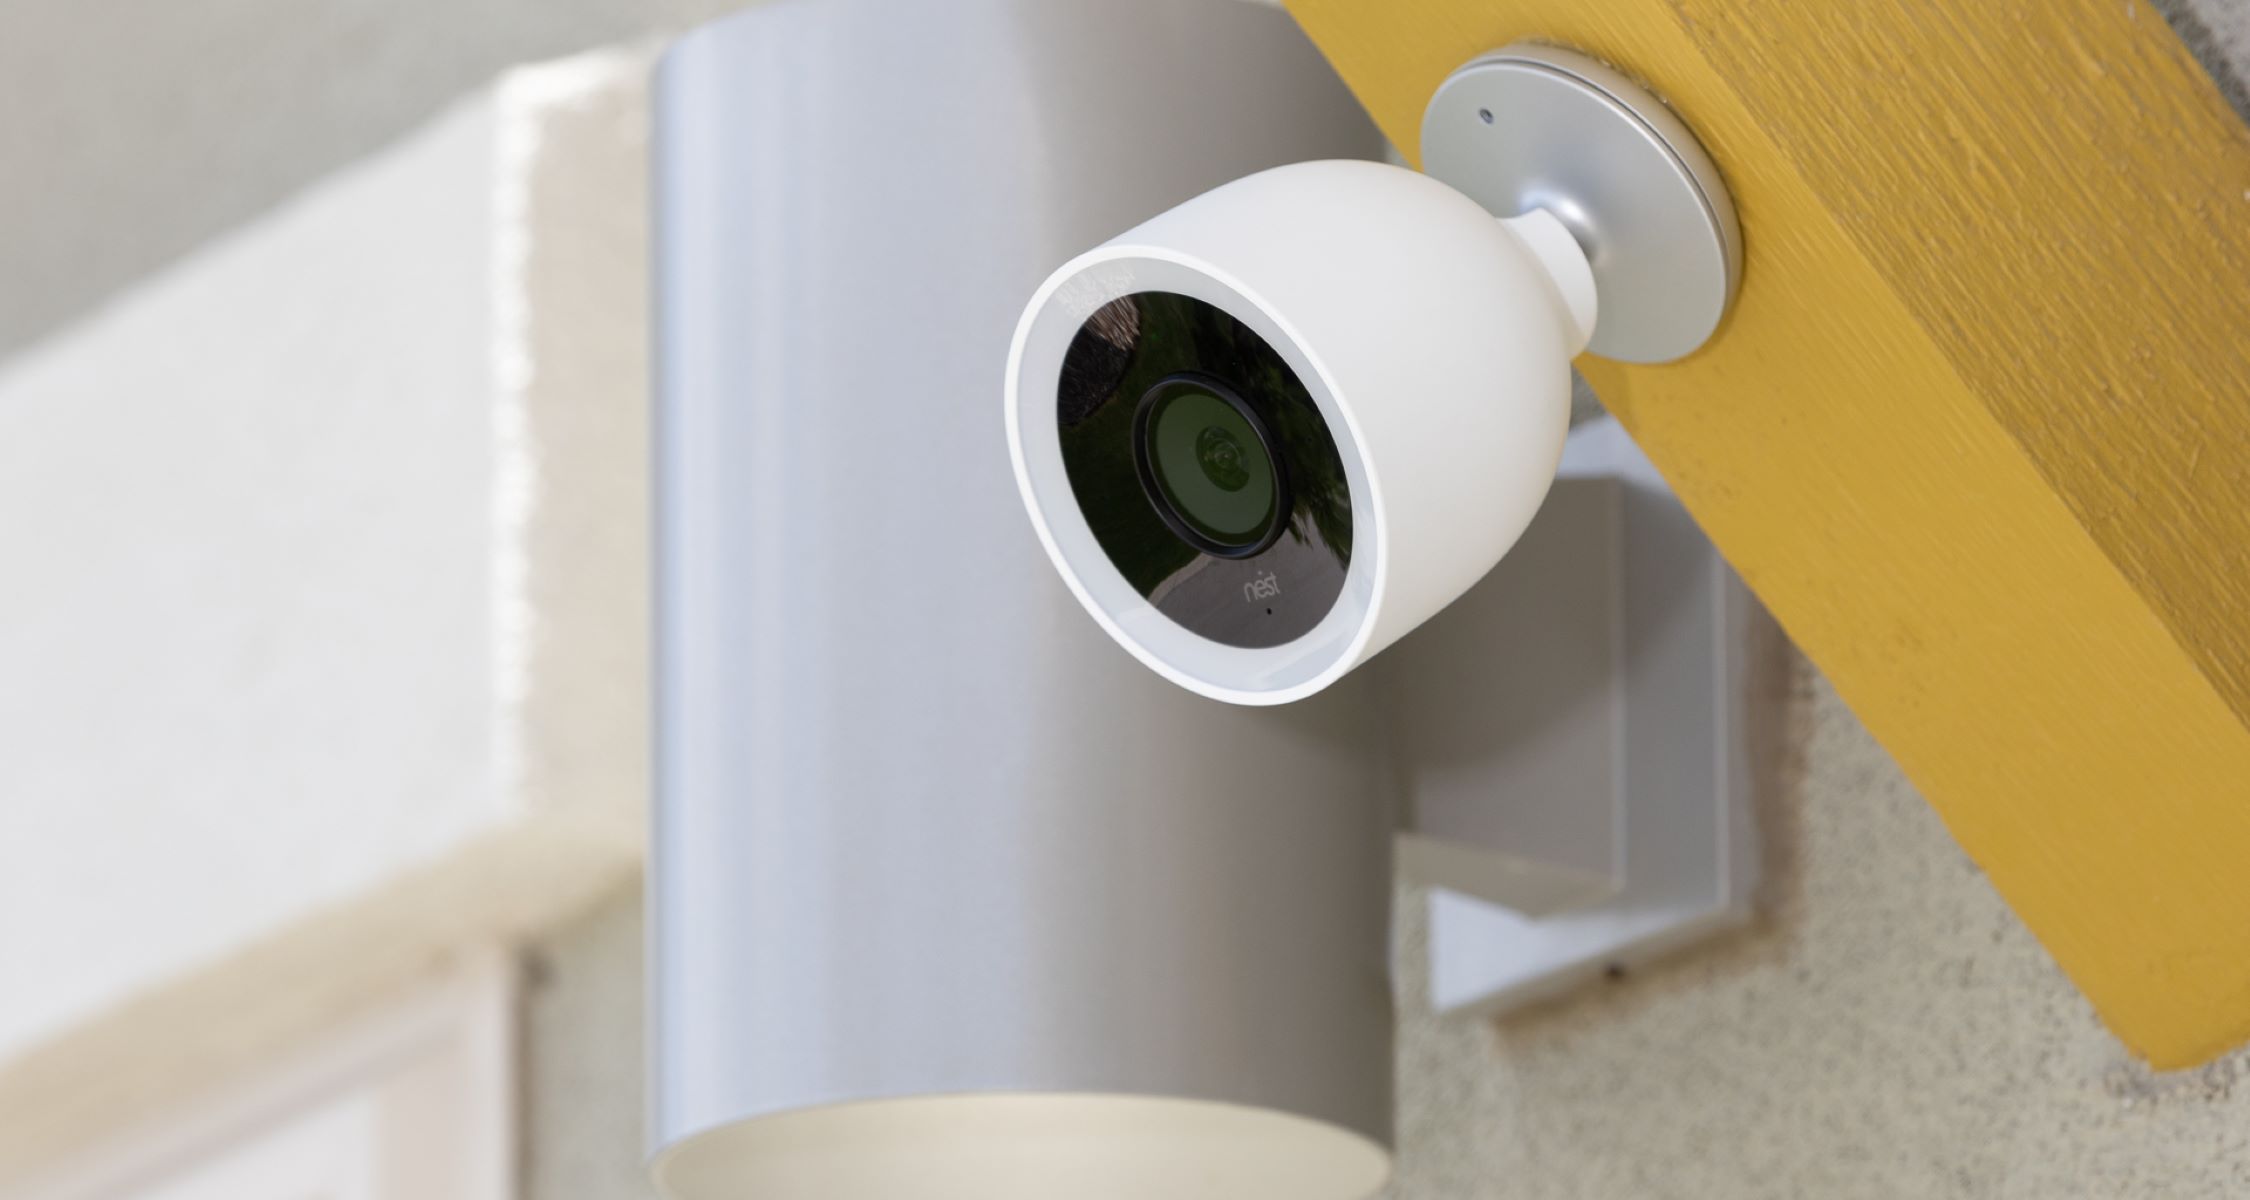
- Height: The height at which you mount your outdoor camera plays a significant role in its field of view. Mounting the camera too low can result in limited coverage and a higher risk of vandalism or tampering. On the other hand, mounting it too high may lead to a reduced level of detail and difficulty in identifying specific individuals or objects. Aim for a height that strikes a balance between capturing a wide area and maintaining clarity.
- Angle: The angle of the camera determines the perspective it captures. It’s important to position the camera in a way that provides a clear line of sight of the intended area. Consider the specific points of interest that you want the camera to cover, such as entrances or walkways. Adjust the angle accordingly to capture these areas efficiently. Additionally, ensure that the camera is not facing directly into the sun, as this can cause glare and affect image quality.
- Mounting considerations: When deciding on the height and angle, consider the practical aspects of mounting the camera. Ensure that the camera is securely attached to a stable surface, such as a wall or pole. Verify that the mounting location provides a sturdy base and is positioned away from potential obstructions, such as tree branches or decorative elements.
- Privacy concerns: Take into account any privacy concerns that may arise due to the camera’s height and angle. Avoid aiming the camera directly at neighboring properties or areas where privacy may be compromised. Respect the privacy of others while still achieving adequate surveillance coverage for your own property.
It’s important to note that the ideal height and angle for an outdoor camera may vary depending on your specific needs and the layout of your property. Consider conducting some trial and error to find the optimal placement that offers a balance between a wide coverage area and clear image capture. Regularly review and adjust the camera’s placement if necessary.
By carefully considering the camera’s height and angle, you can maximize its effectiveness in monitoring your outdoor space. Proper placement will ensure comprehensive coverage, clear image capture, and enhanced security for your home or property.
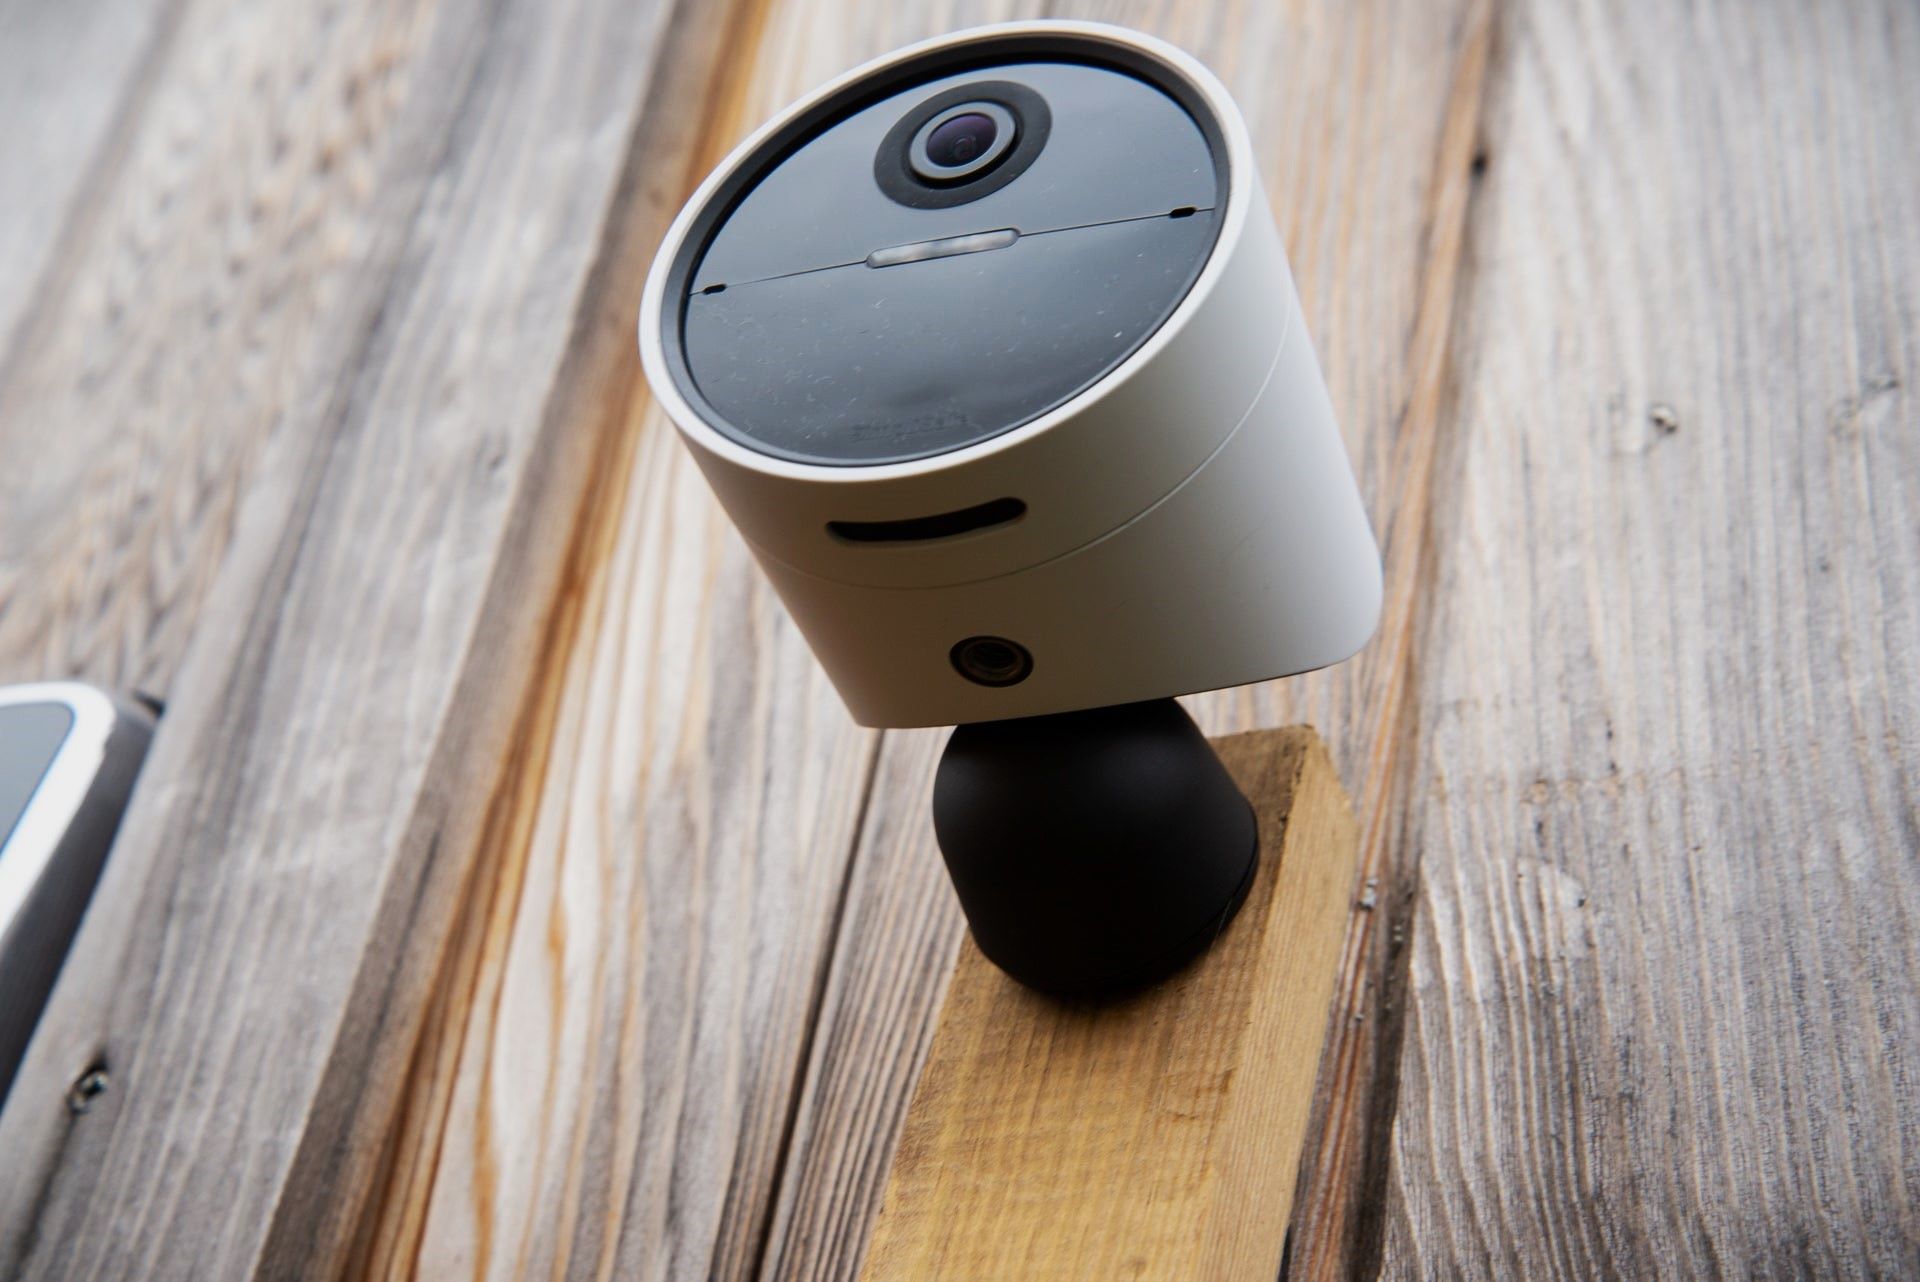
Coverage Area and Field of View
Understanding the coverage area and field of view of your outdoor camera is essential for ensuring effective surveillance. These factors determine the extent of the area that the camera can monitor and the level of detail it can capture. By considering the coverage area and field of view, you can make informed decisions regarding camera placement and achieve optimal surveillance results. Here are some important points to consider:
- Camera Specifications: Each camera model has its own specifications regarding the coverage area and field of view. These specifications are usually provided by the manufacturer and typically include details such as the horizontal and vertical viewing angles and the lens focal length. Familiarize yourself with these specifications to understand the camera’s capabilities and limitations.
- Calculate Coverage Area: Based on the camera’s field of view, you can estimate the coverage area. For instance, a camera with a 90-degree horizontal viewing angle will cover a wider area than one with a 60-degree angle. Consider the specific areas of interest that you want the camera to monitor, such as entrances or high-traffic zones, and determine how much coverage is required for effective surveillance.
- Multiple Cameras: Depending on the size of the area you want to monitor, you may need to consider using multiple cameras to ensure complete coverage. Strategically positioning multiple cameras can help eliminate blind spots and provide overlapping coverage for seamless monitoring.
- Adjusting the Field of View: Some cameras allow you to adjust the field of view or zoom in or out to focus on specific areas. This can be useful for capturing detailed footage or honing in on specific points of interest within the coverage area. Experiment with these settings to find the ideal balance between capturing a wide area and obtaining specific details.
- Consider Camera Placement: When determining the coverage area, take into account the camera’s mounting location and angle. Ensure that the camera is positioned based on its field of view to capture the desired coverage area effectively. Adjust the camera’s placement, height, and angle as needed to optimize coverage and minimize blind spots.
By considering the coverage area and field of view, you can make informed decisions about camera placement and achieve comprehensive surveillance coverage of your outdoor space. Refer to the camera’s specifications, calculate the desired coverage area, and adjust camera placement as necessary to optimize its effectiveness.
Remember, regularly reviewing and assessing the coverage area and field of view allows you to adapt your surveillance system to any changes in your environment or security needs. By doing so, you can maintain effective surveillance and enhance the security of your home or property.
Place your outdoor camera 7-10 feet above the ground for the best angle and coverage. Ensure it’s out of reach but still captures faces and activities.
Potential Obstacles and Interference
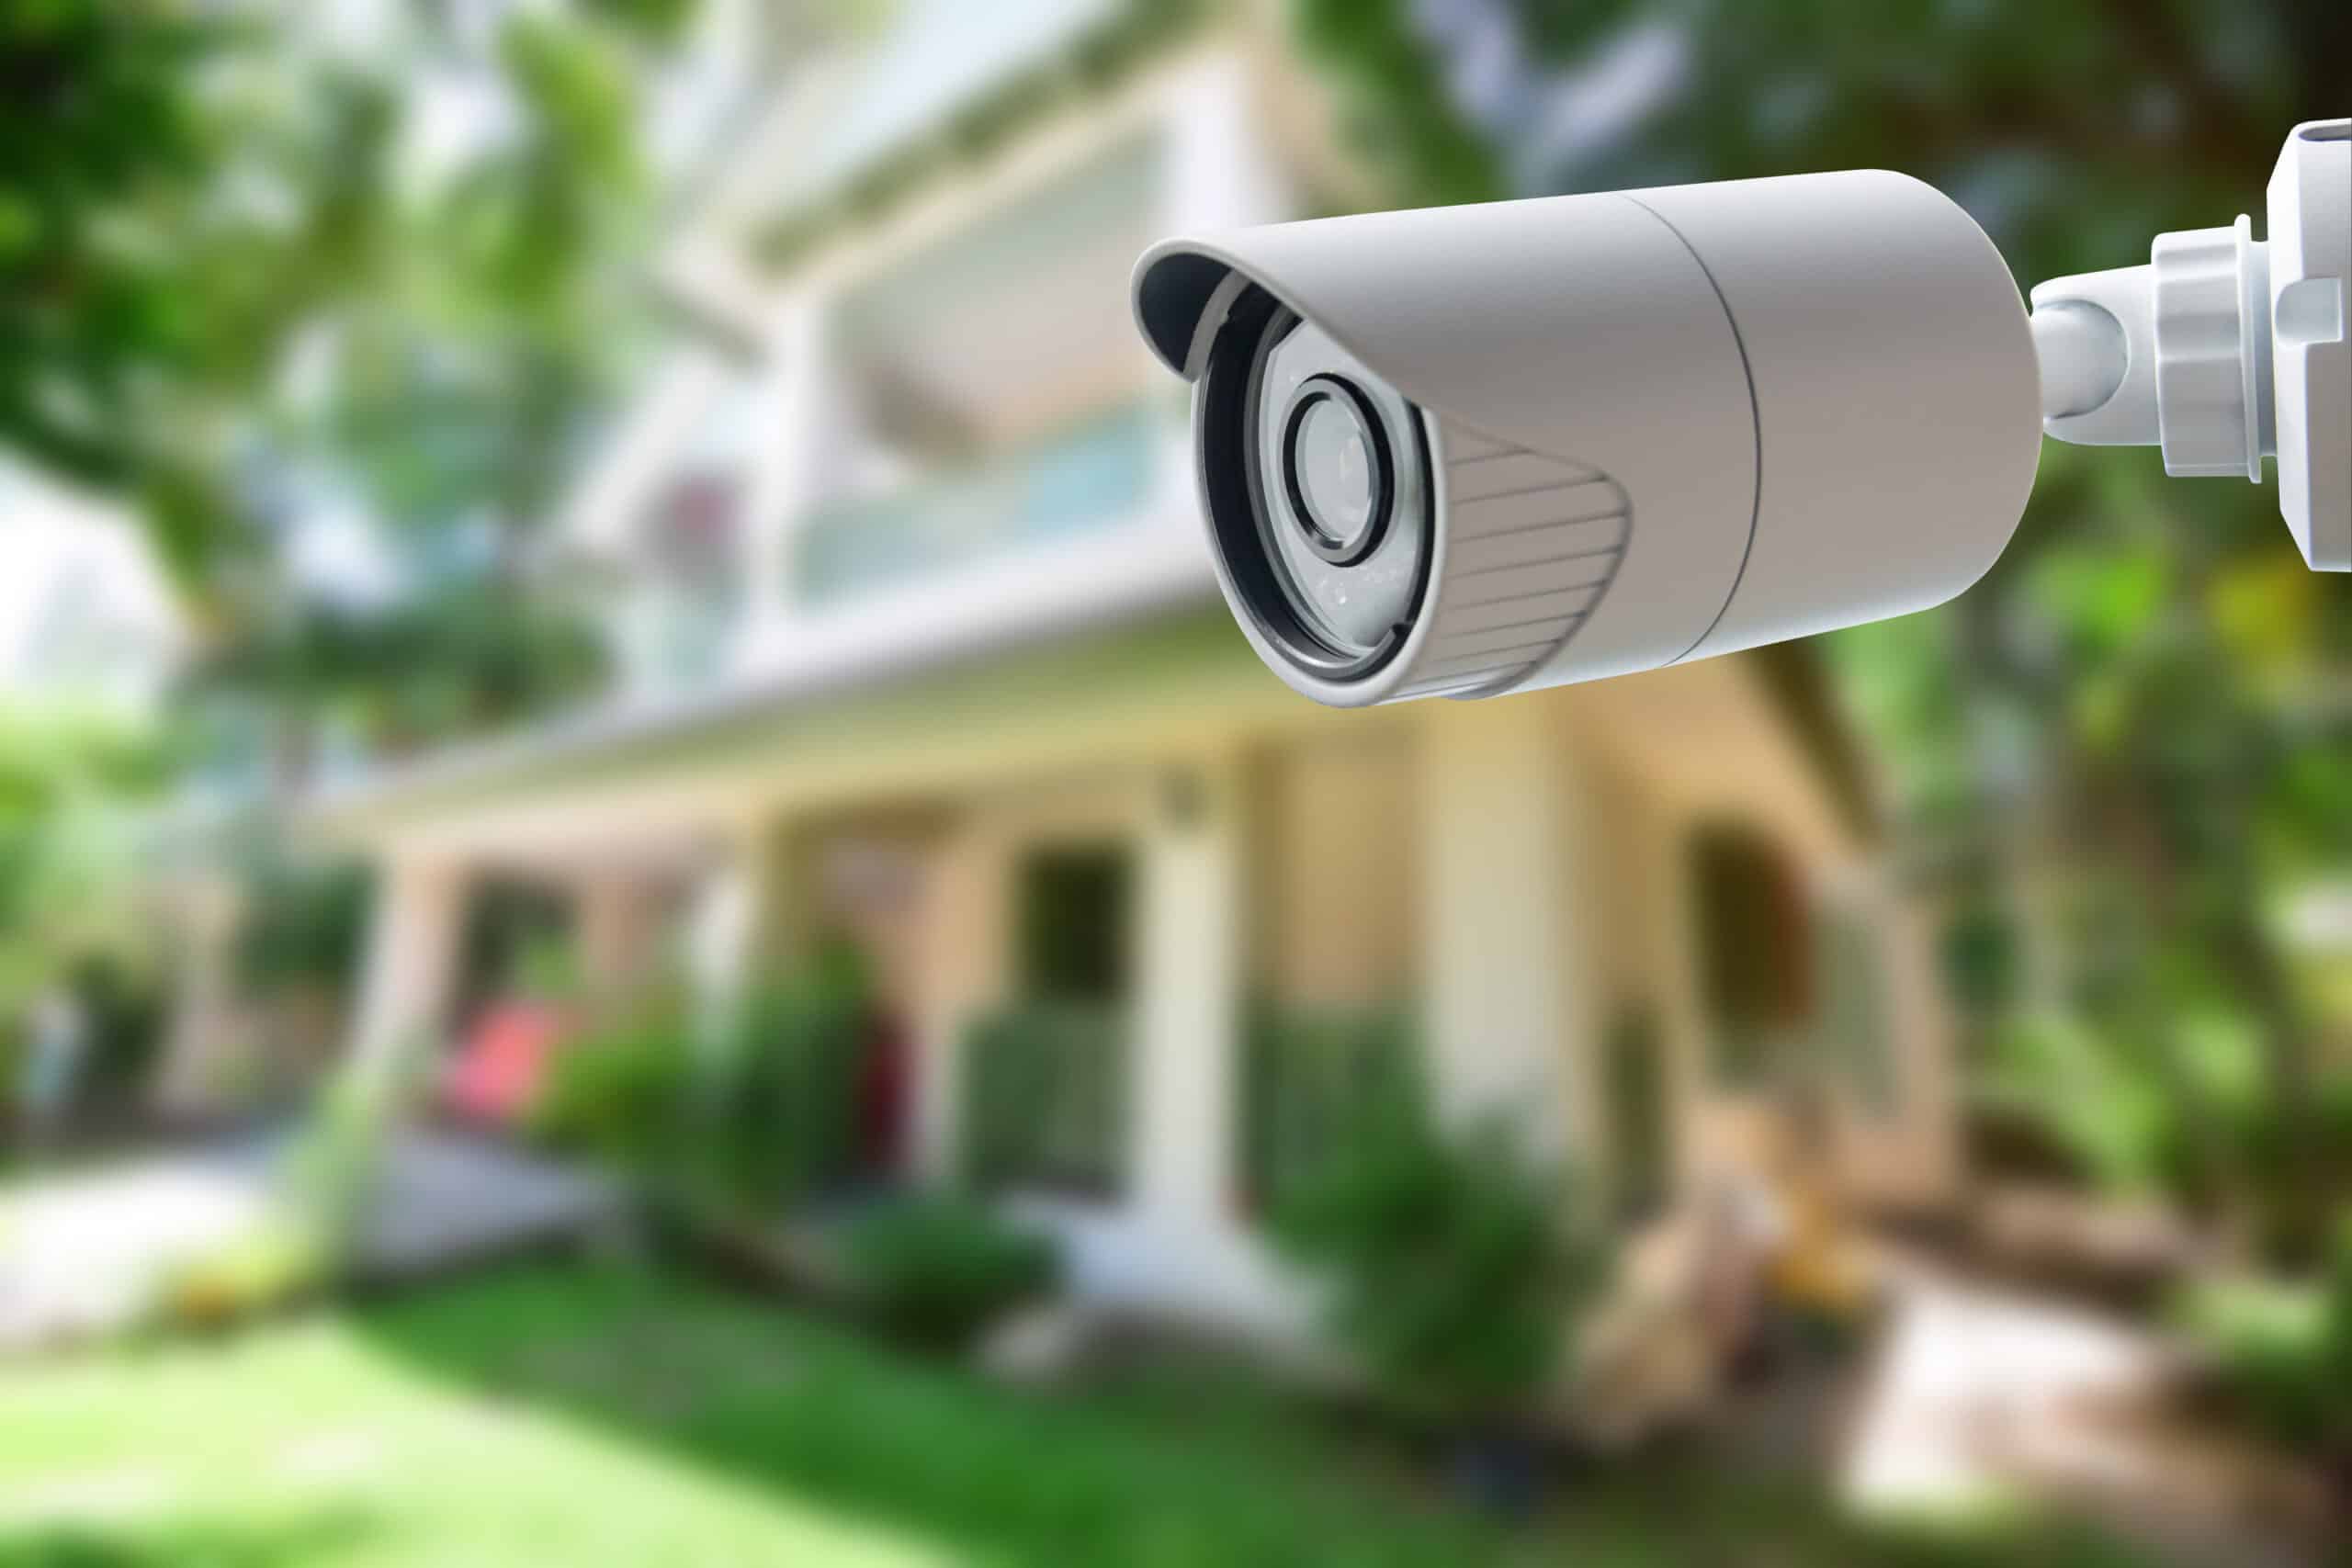
When setting up outdoor surveillance cameras, it’s important to consider potential obstacles and sources of interference that could impact their effectiveness. These obstacles can obstruct the camera’s view, reduce image quality, or interfere with signal transmission. By identifying and addressing these obstacles, you can ensure that your cameras provide clear and uninterrupted surveillance coverage. Here are some factors to consider:
- Physical Obstacles: Take note of any physical objects that may obstruct the camera’s view. Trees, bushes, fences, or walls can block the line of sight, limiting the camera’s coverage area. Consider pruning or trimming vegetation and adjusting the camera’s placement or angle to minimize obstruction.
- Structural Interference: In some cases, the layout of buildings or structures can create interference. For example, nearby buildings or walls can reflect or absorb signals, causing signal loss or degraded image quality. Position your cameras in a way that minimizes the impact of such interference. Experiment with different camera positions to find the optimal setup.
- Weather Conditions: Inclement weather can be a major obstacle for outdoor cameras. Rain, snow, or fog can obstruct the camera lens and impair visibility. Consider cameras with weatherproof ratings and ensure that they are properly sealed to withstand harsh weather conditions. Additionally, periodically clean the camera lenses to maintain clear image capture.
- Wi-Fi Signal Strength: If you are using wireless outdoor cameras, ensure that the Wi-Fi signal strength is sufficient for reliable transmission. Thick walls, long distances, or other electronic devices can weaken the signal and result in signal dropouts or poor video quality. Consider using a wireless range extender or positioning the camera within range of a strong signal to mitigate interference.
- Power Supply: Ensure that your cameras have a stable and reliable power supply. Loose or inadequate power connections can result in intermittent power supply or camera malfunctions. Consider using surge protectors or battery backups to ensure continuous operation, especially during power outages.
Regularly inspect and assess your outdoor surveillance system for potential obstacles and interference. Make necessary adjustments to your camera placement, angle, or equipment to overcome these challenges. By doing so, you can ensure that your cameras deliver optimal surveillance coverage and maintain the security of your home or property.
Lighting Conditions
Lighting conditions play a critical role in the effectiveness of outdoor surveillance cameras. Proper consideration of lighting can ensure that your cameras capture clear and detailed footage, even in challenging environments. Here are some important factors to consider when it comes to lighting conditions:
- Daytime Lighting: During the daytime, natural lighting from the sun provides ample illumination for outdoor cameras. Position your cameras to take advantage of natural light sources. Avoid aiming the cameras directly at the sun, as this can cause lens flare or overexposure. Adjust the angle and placement of the camera to avoid such issues and maintain clear image capture.
- Low Light Conditions: Monitoring outdoor areas during nighttime or low light conditions requires special consideration. Look for cameras with low light or night vision capabilities. These cameras are equipped with infrared LEDs or other technology to capture clear images even in the absence of natural light. Test the night vision capabilities of your camera to ensure that it can effectively monitor your property in low light conditions.
- Additional Lighting: In areas with insufficient lighting, you may need to supplement the camera’s capabilities with additional lighting. Consider installing motion-activated lights or spotlights to enhance visibility in crucial areas. These additional light sources can not only improve the camera’s image quality but also act as a deterrent for potential intruders.
- Glare and Backlighting: Glare and backlighting can significantly affect the camera’s image quality. Avoid placing the camera directly facing bright lights, such as streetlights or floodlights, as this can cause overexposure and washout of details. Adjust the camera’s angle and positioning to avoid these issues and capture the desired area without obstruction.
- Regular Maintenance: Regularly clean the camera lens to remove dirt, dust, and debris that may accumulate over time. These particles can obstruct the camera’s view and reduce image quality. Additionally, inspect the camera housing for any signs of damage or wear, and replace any faulty components to ensure optimal performance.
By carefully considering lighting conditions and making necessary adjustments, you can ensure that your outdoor surveillance cameras capture clear and detailed footage. Consider the specific lighting challenges in your outdoor space and choose cameras equipped with the appropriate features to overcome these challenges. Regular maintenance and monitoring will help maintain the effectiveness of your surveillance system and enhance the security of your property.
Weatherproofing and Durability
Outdoor surveillance cameras are exposed to the elements, making weatherproofing and durability crucial considerations. Ensuring that your cameras can withstand various weather conditions and remain functional over time is essential for reliable and long-lasting surveillance. Here are some points to consider when it comes to weatherproofing and durability:
- Weatherproof Ratings: Look for cameras that are specifically designed to be weatherproof. These cameras typically have an Ingress Protection (IP) rating, which indicates their level of protection against dust and water. Higher IP ratings indicate better protection. Ensure that the camera’s IP rating is suitable for the specific weather conditions in your area.
- Sealed Housing and Connectors: Cameras with sealed housing and connectors are better equipped to withstand moisture, dirt, and debris. This prevents water from seeping inside the camera, which can damage its internal components. Additionally, ensure that all connections, such as power and network cables, are properly sealed to prevent water ingress.
- Housing Material: Consider the material of the camera’s housing. Look for cameras made of sturdy and durable materials, such as metal or high-quality plastic, that can withstand extreme temperatures and physical impacts. Avoid cameras with flimsy or cheap housing materials that may deteriorate over time.
- Temperature Tolerance: Cameras should be able to withstand a wide range of temperatures, especially if you live in an area with extreme weather conditions. Ensure that the camera is designed to operate within the temperature range of your location. Extreme heat or cold can affect the camera’s performance and longevity.
- Protection against Vandalism: For added durability, consider cameras with features that protect against vandalism, such as tamper-resistant housings or reinforced mounts. This helps to deter potential intruders from tampering with or damaging the camera.
Regular maintenance is also crucial for ensuring the longevity and durability of your outdoor surveillance cameras. Clean the camera’s housing and lens regularly to remove dirt, dust, and debris. Inspect the camera for any signs of wear or damage, and promptly address any issues to prevent further damage.
Investing in weatherproof and durable outdoor surveillance cameras is essential for the long-term security of your property. By choosing cameras that are designed to withstand the elements and ensuring proper maintenance, you can have peace of mind knowing that your cameras will continue to function effectively and securely monitor your outdoor space.
Conclusion
Setting up outdoor cameras for home security and surveillance requires careful consideration to maximize their effectiveness. By taking into account various factors, you can ensure that your cameras provide comprehensive coverage and capture clear and detailed footage. Some key factors to consider include the optimal distance from the area to be monitored, placement height and angle, coverage area and field of view, potential obstacles and interference, lighting conditions, and weatherproofing and durability.
When determining the distance of your outdoor camera, consider the specific area you want to monitor and the camera’s field of view. Aim for a distance that captures the entire area of interest without any blind spots, while also considering the level of detail you want to capture. Experiment with different heights and angles to find the optimal placement for your camera.
Understanding the coverage area and field of view of your camera is crucial for achieving effective surveillance. Take into account the camera specifications, calculate the coverage area, and adjust placement as necessary to ensure comprehensive monitoring.
Identifying and addressing potential obstacles and interference can greatly improve the camera’s effectiveness. Consider physical obstacles, such as vegetation or structures, and adjust camera placement to minimize obstruction. Ensure that lighting conditions are suitable for clear image capture, and consider additional lighting for low-light environments.
Choose outdoor cameras that are weatherproof and durable to withstand various weather conditions. Look for cameras with proper sealing, sturdy housing materials, and adequate temperature tolerance. Regular maintenance, including cleaning and inspection, is essential to ensure the longevity and functionality of your cameras.
In conclusion, strategically setting up outdoor surveillance cameras with considerations for distance, placement, coverage, obstacles, lighting, and durability is essential for enhancing the security of your home. By understanding these factors and making informed decisions, you can deter potential intruders, monitor your property effectively, and maintain peace of mind knowing that your home is well-protected.
Frequently Asked Questions about How Far Should I Set My Outdoor Camera
Was this page helpful?
At Storables.com, we guarantee accurate and reliable information. Our content, validated by Expert Board Contributors, is crafted following stringent Editorial Policies. We're committed to providing you with well-researched, expert-backed insights for all your informational needs.