Home>Home Security and Surveillance>How To Charge A Blink Outdoor Camera
Home Security and Surveillance
How To Charge A Blink Outdoor Camera
Modified: September 1, 2024
Learn how to efficiently charge your Blink Outdoor camera for uninterrupted home security and surveillance. Ensure your camera is always ready to capture any suspicious activity.
(Many of the links in this article redirect to a specific reviewed product. Your purchase of these products through affiliate links helps to generate commission for Storables.com, at no extra cost. Learn more)
Introduction
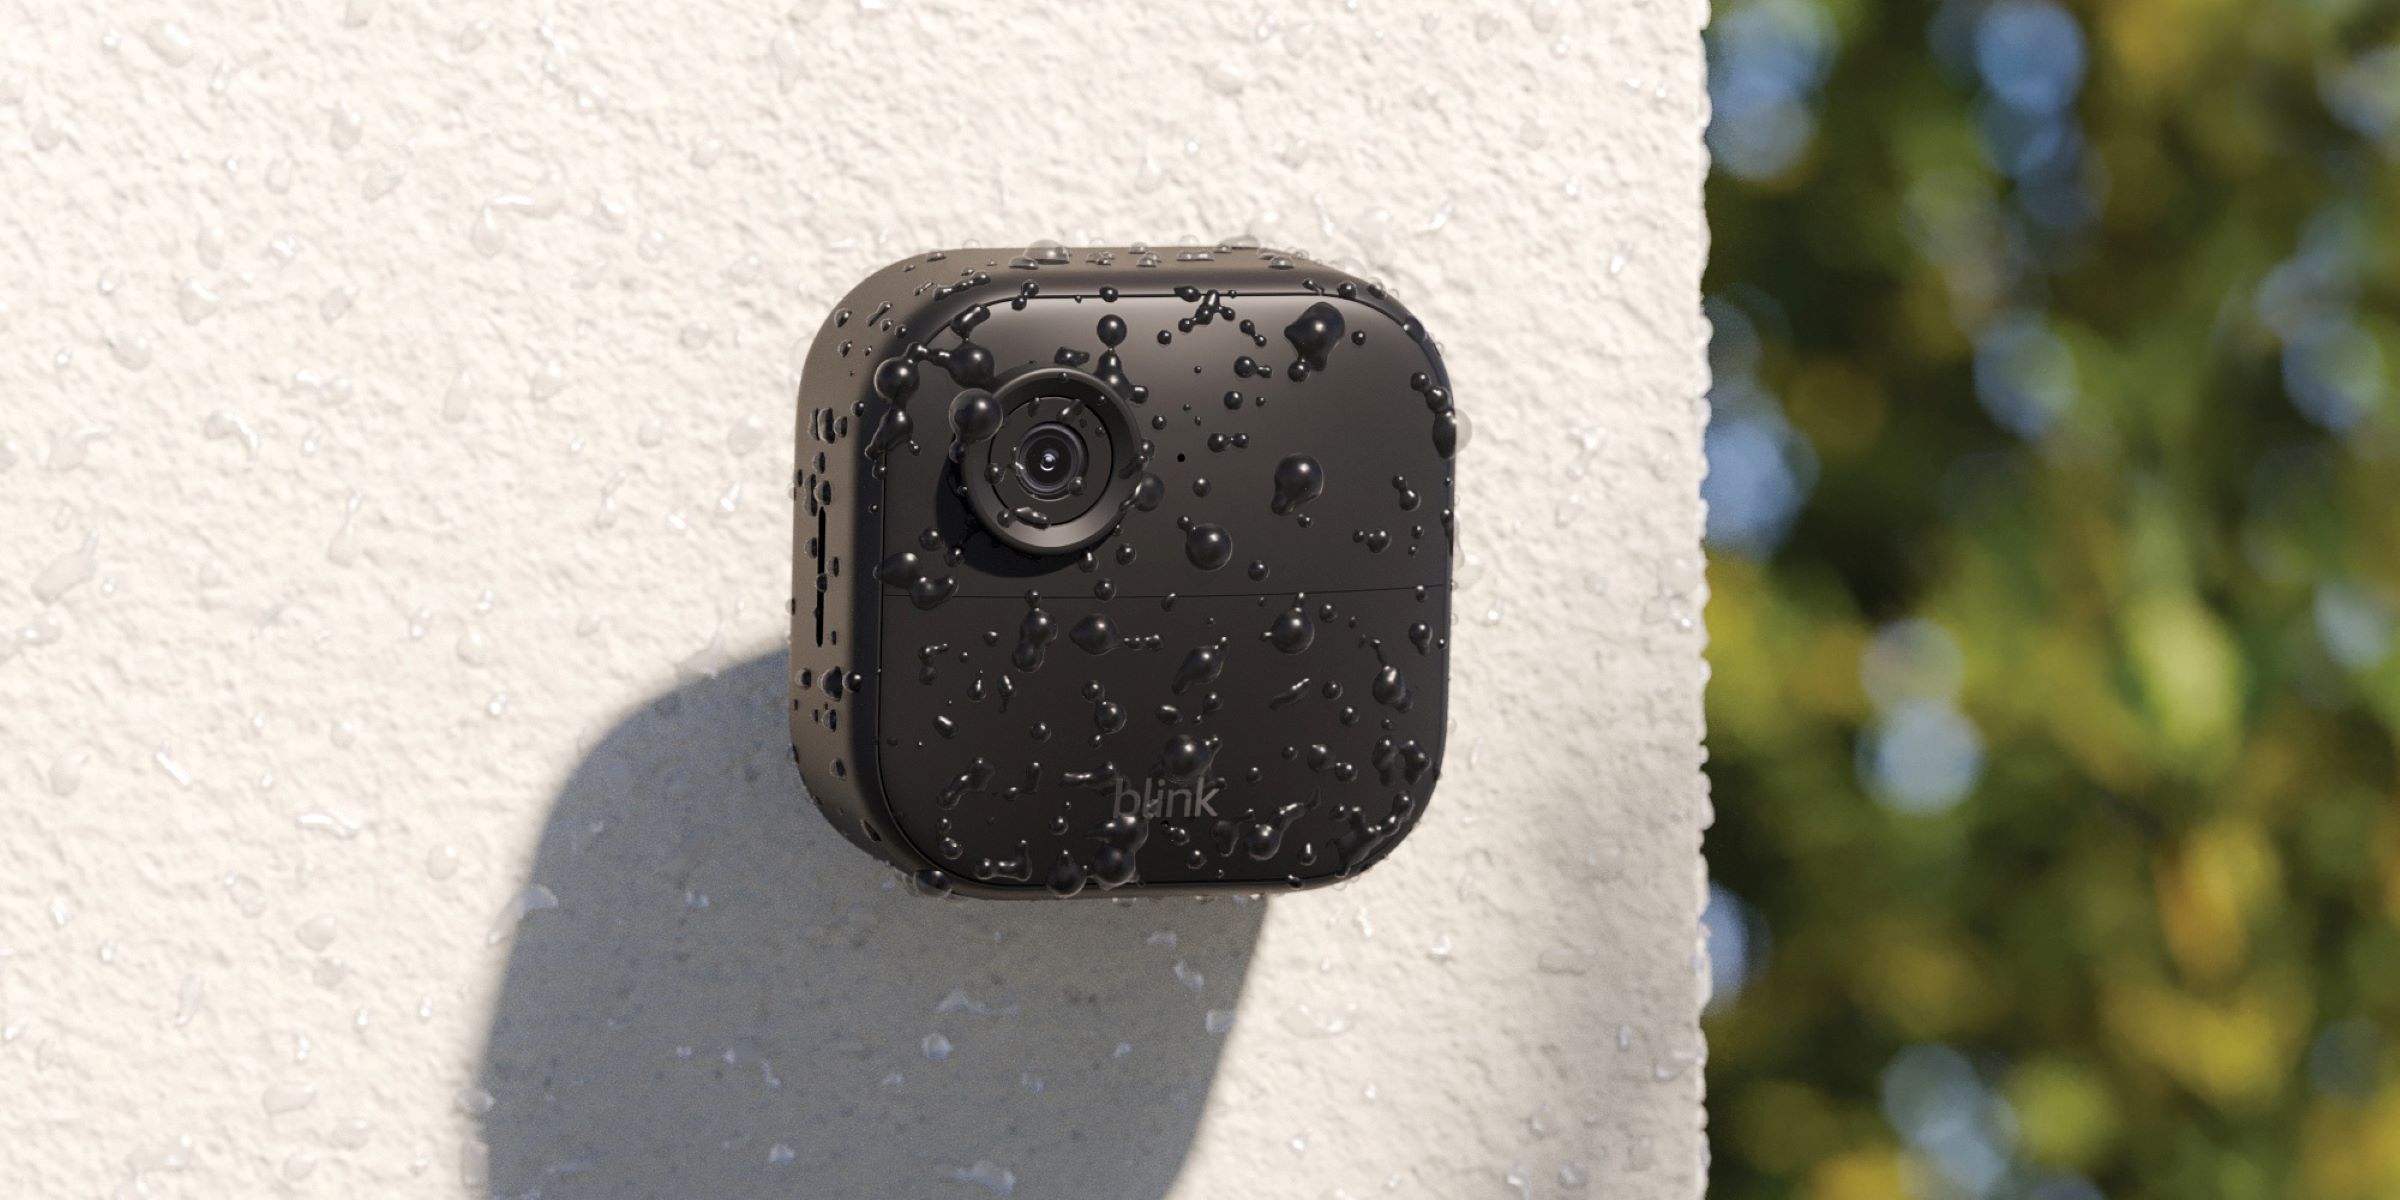
Welcome to the world of home security and surveillance! In today’s ever-changing and uncertain world, it’s essential to take proactive steps to ensure the safety of your home and loved ones. And what better way to do that than by investing in a reliable home security system?
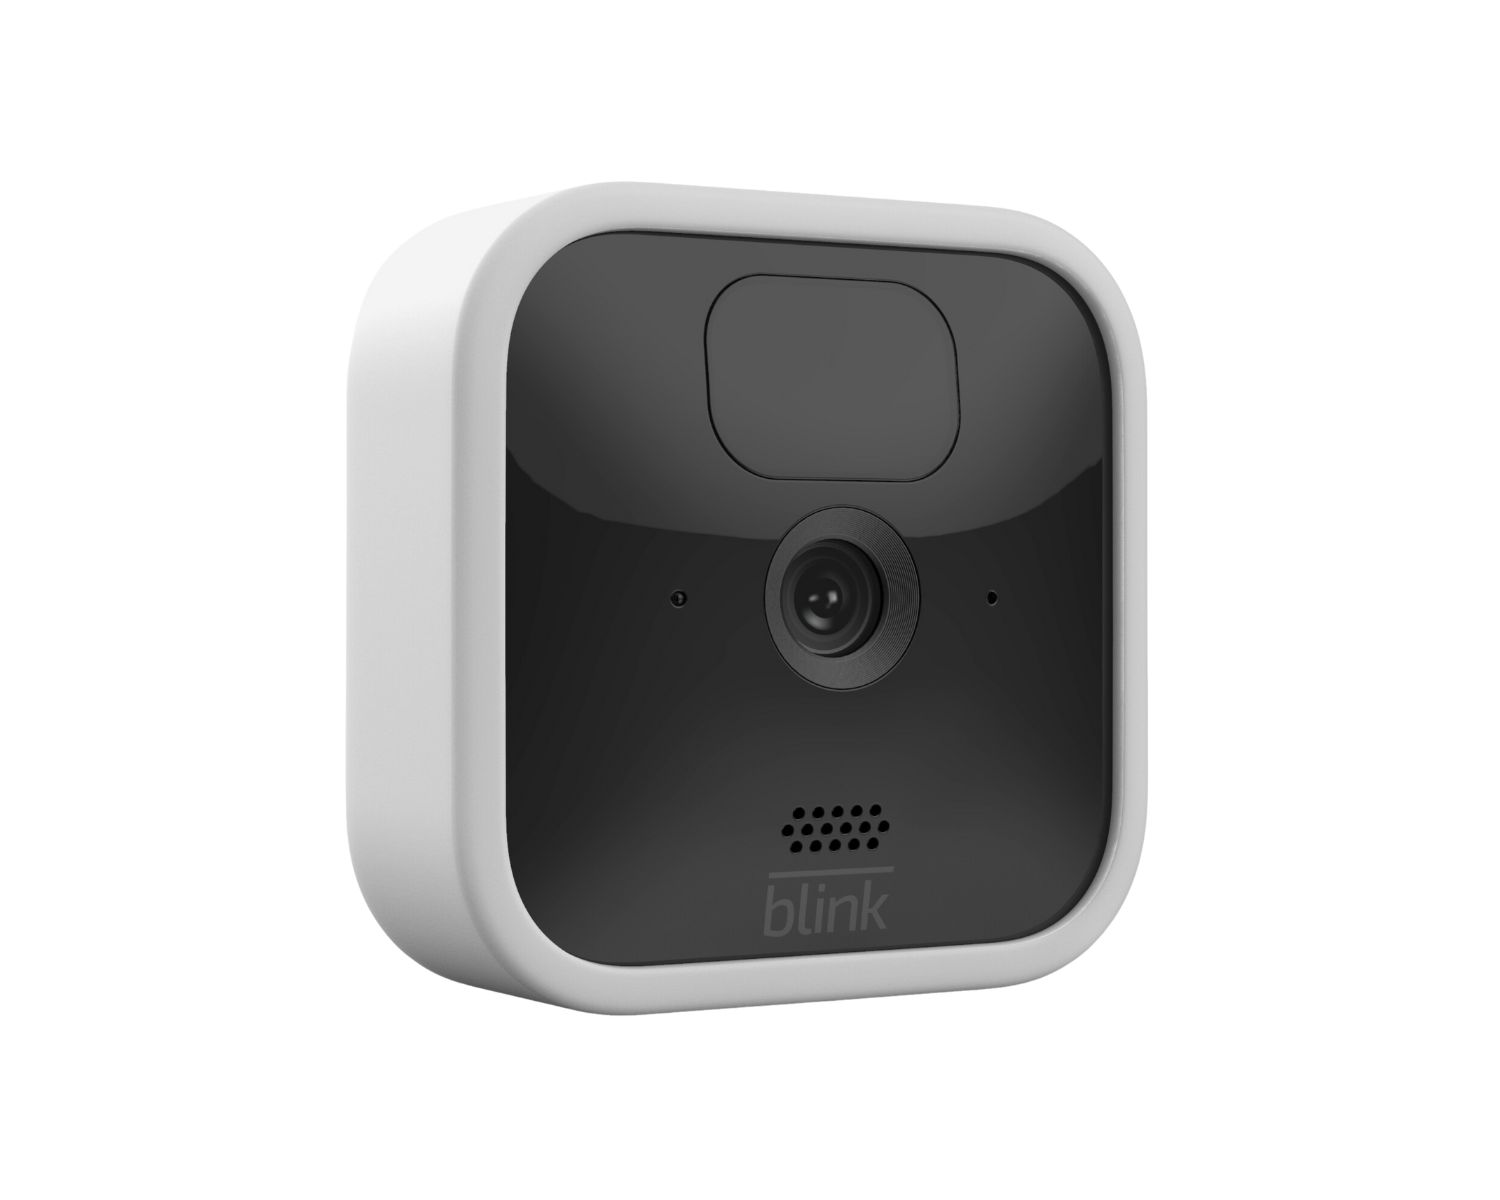
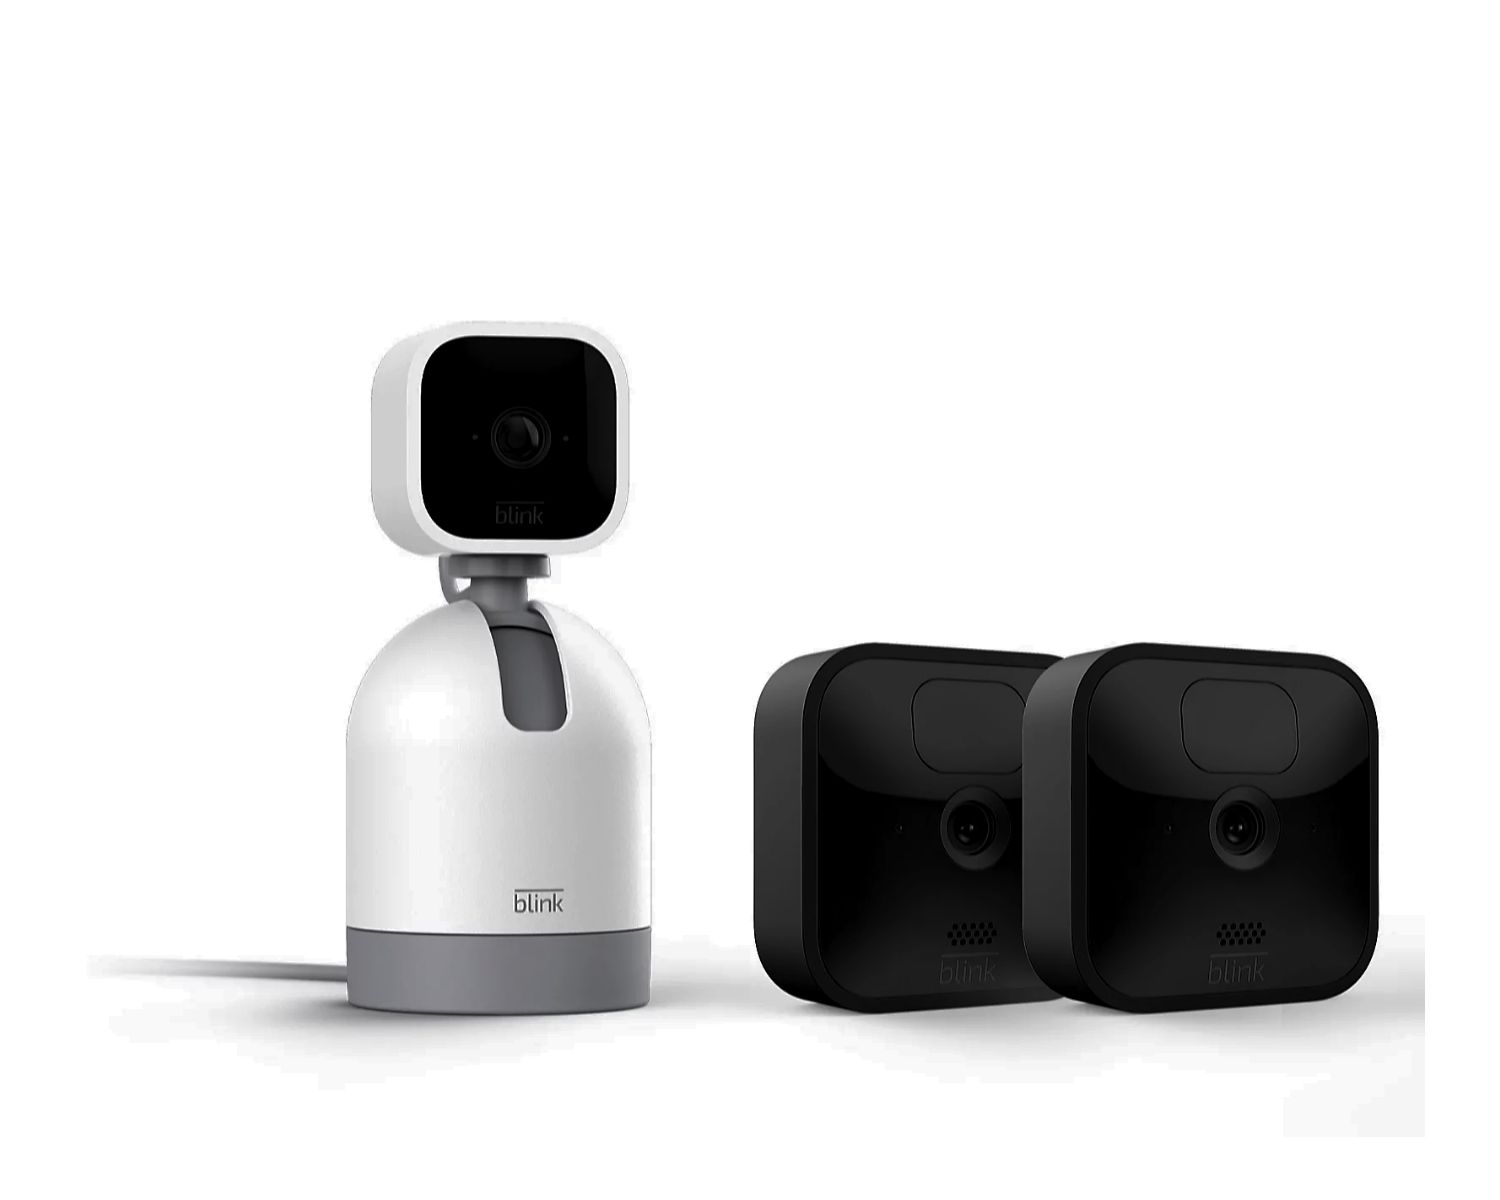
One crucial component of any comprehensive home security system is a surveillance camera. Among the many options available in the market, the Blink Outdoor camera stands out for its impressive features and ease of use. Whether you’re a tech-savvy homeowner or a beginner in the world of home security, the Blink Outdoor camera is a great choice.
But what happens when the battery of your Blink Outdoor camera runs low and needs to be recharged? Don’t worry, we’ve got you covered! In this article, we’ll guide you through the step-by-step process of charging your Blink Outdoor camera effectively. So, let’s dive in and get started!
Key Takeaways:
- Keep your Blink Outdoor camera charged by following these simple steps: gather equipment, install the camera, connect the charging cable, monitor the progress, and disconnect the cable. Stay vigilant and secure!
- Ensure your Blink Outdoor camera remains ready to protect your home by periodically checking and charging its battery. Familiarize yourself with its features to maximize your home security system’s benefits.
Read more: How To Unscrew Blink Outdoor Camera
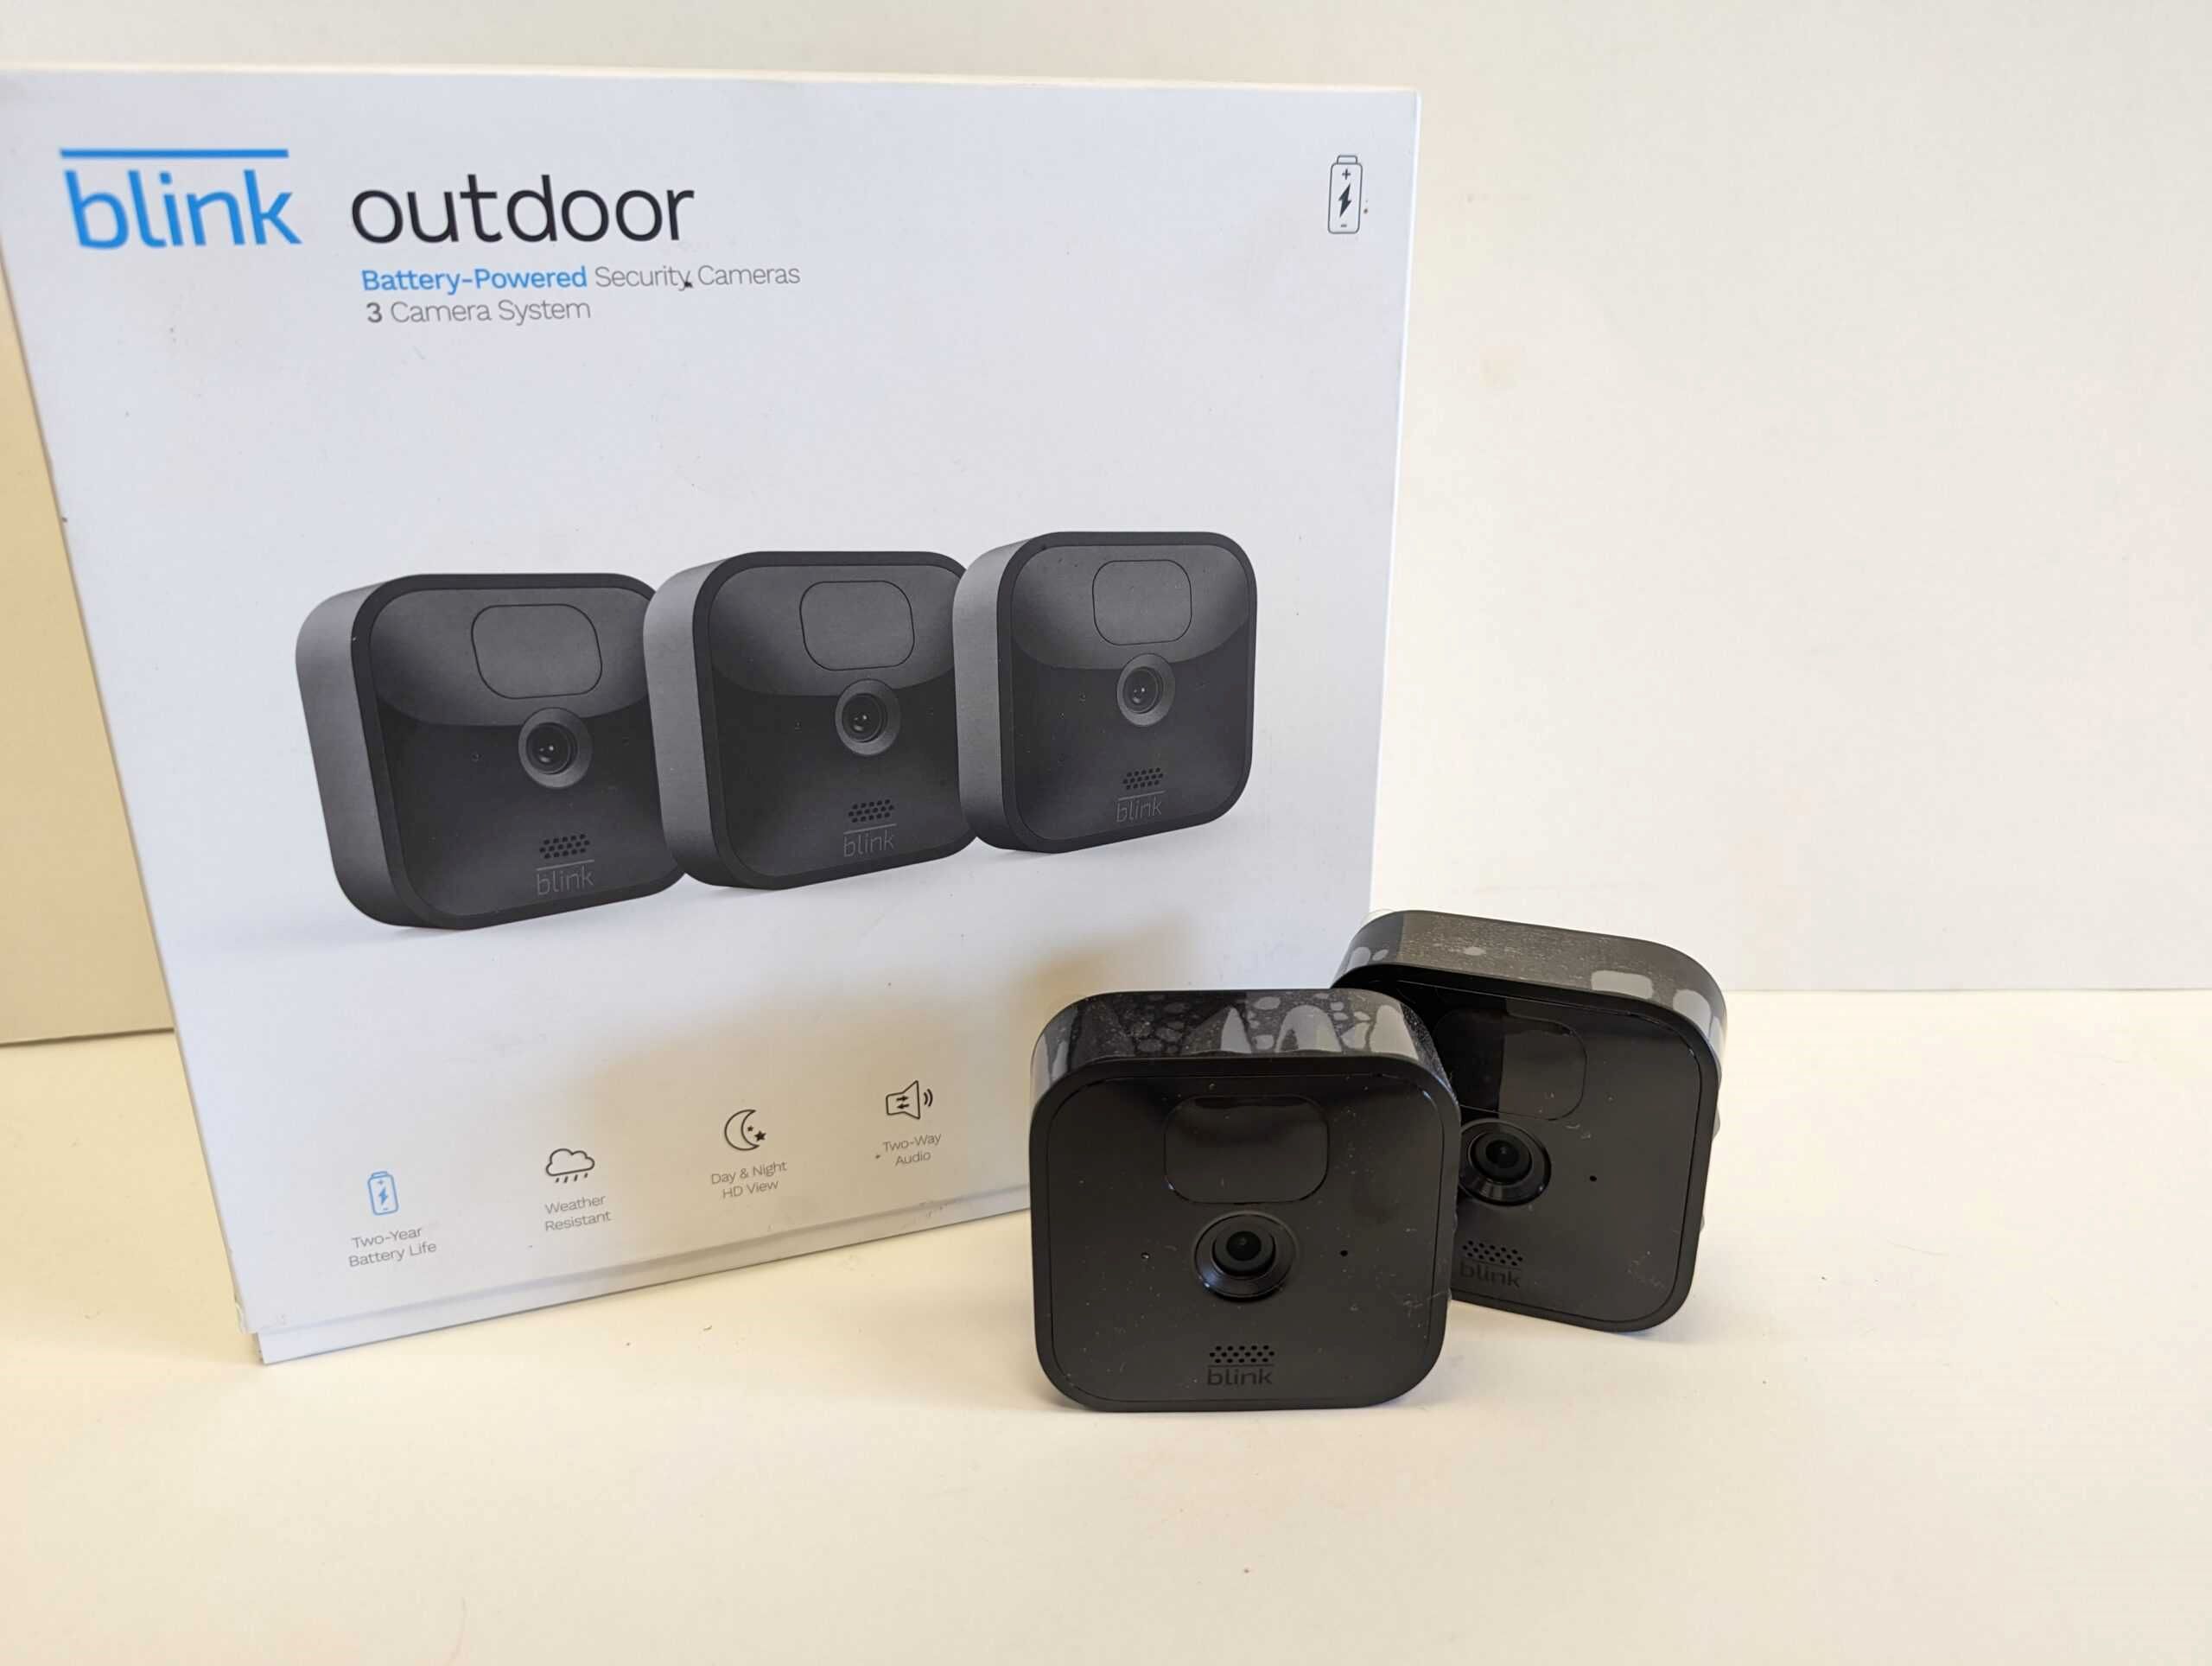
Step 1: Gather the necessary equipment
Before we begin charging your Blink Outdoor camera, it’s important to gather all the necessary equipment. Here’s a checklist of what you’ll need:
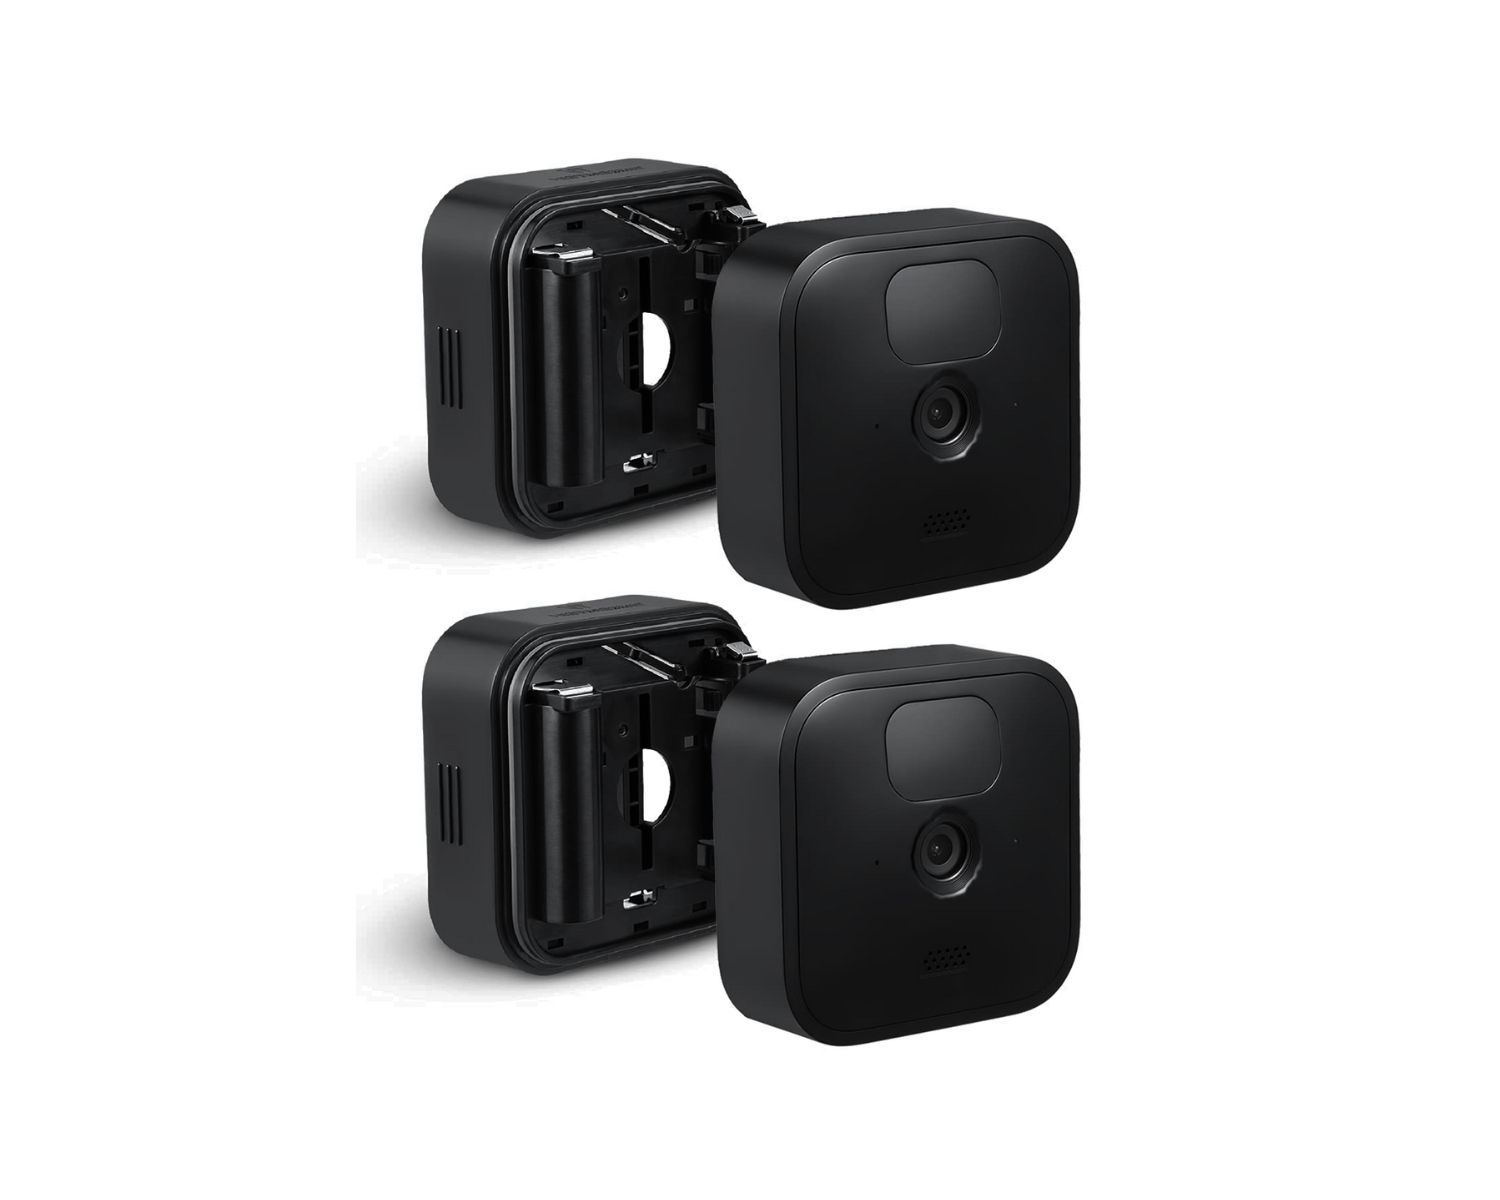
- Charging cable: Ensure that you have the correct charging cable that is compatible with the Blink Outdoor camera. The cable should have a USB connector on one end and a micro-USB connector on the other end.
- Power source: You’ll need a power source to connect the charging cable. This can be a power outlet or a USB port on your computer or any other USB power source.
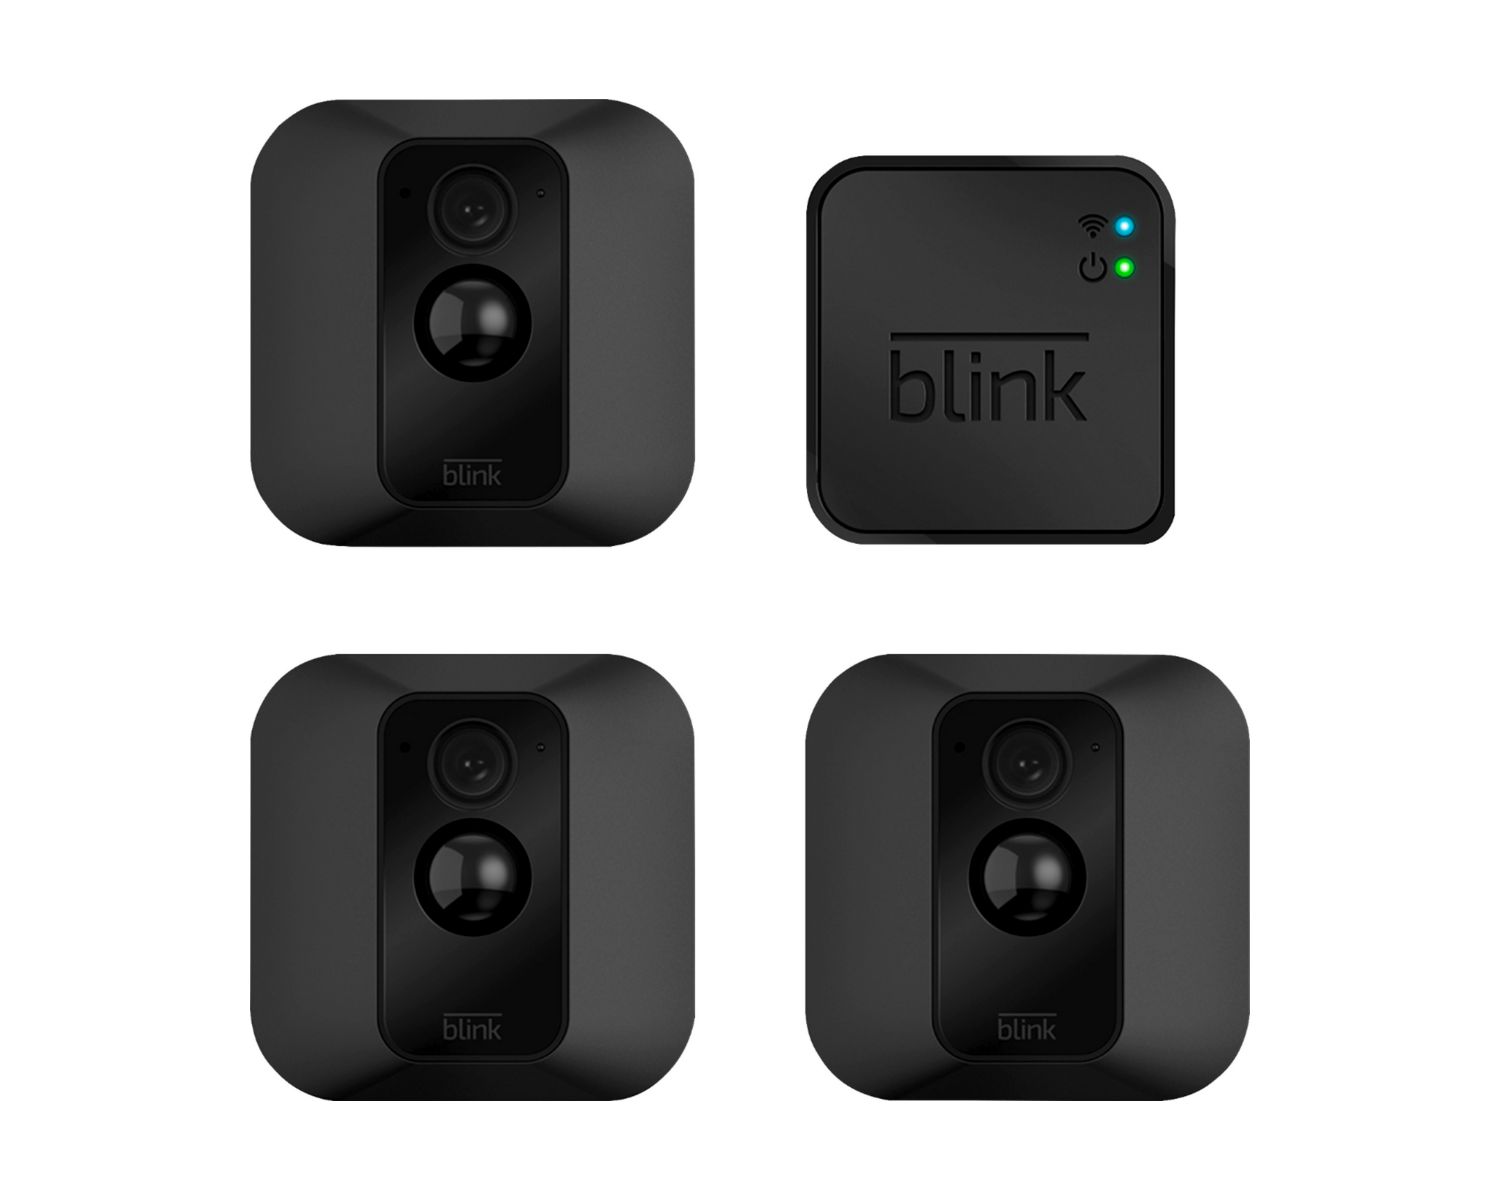
- Blink Sync Module: The Blink Outdoor camera is connected to the Blink Sync Module, so make sure the Sync Module is properly set up and functioning before proceeding with the charging process.
Once you have all the necessary equipment ready, you’re all set to move on to the next step. Let’s continue!
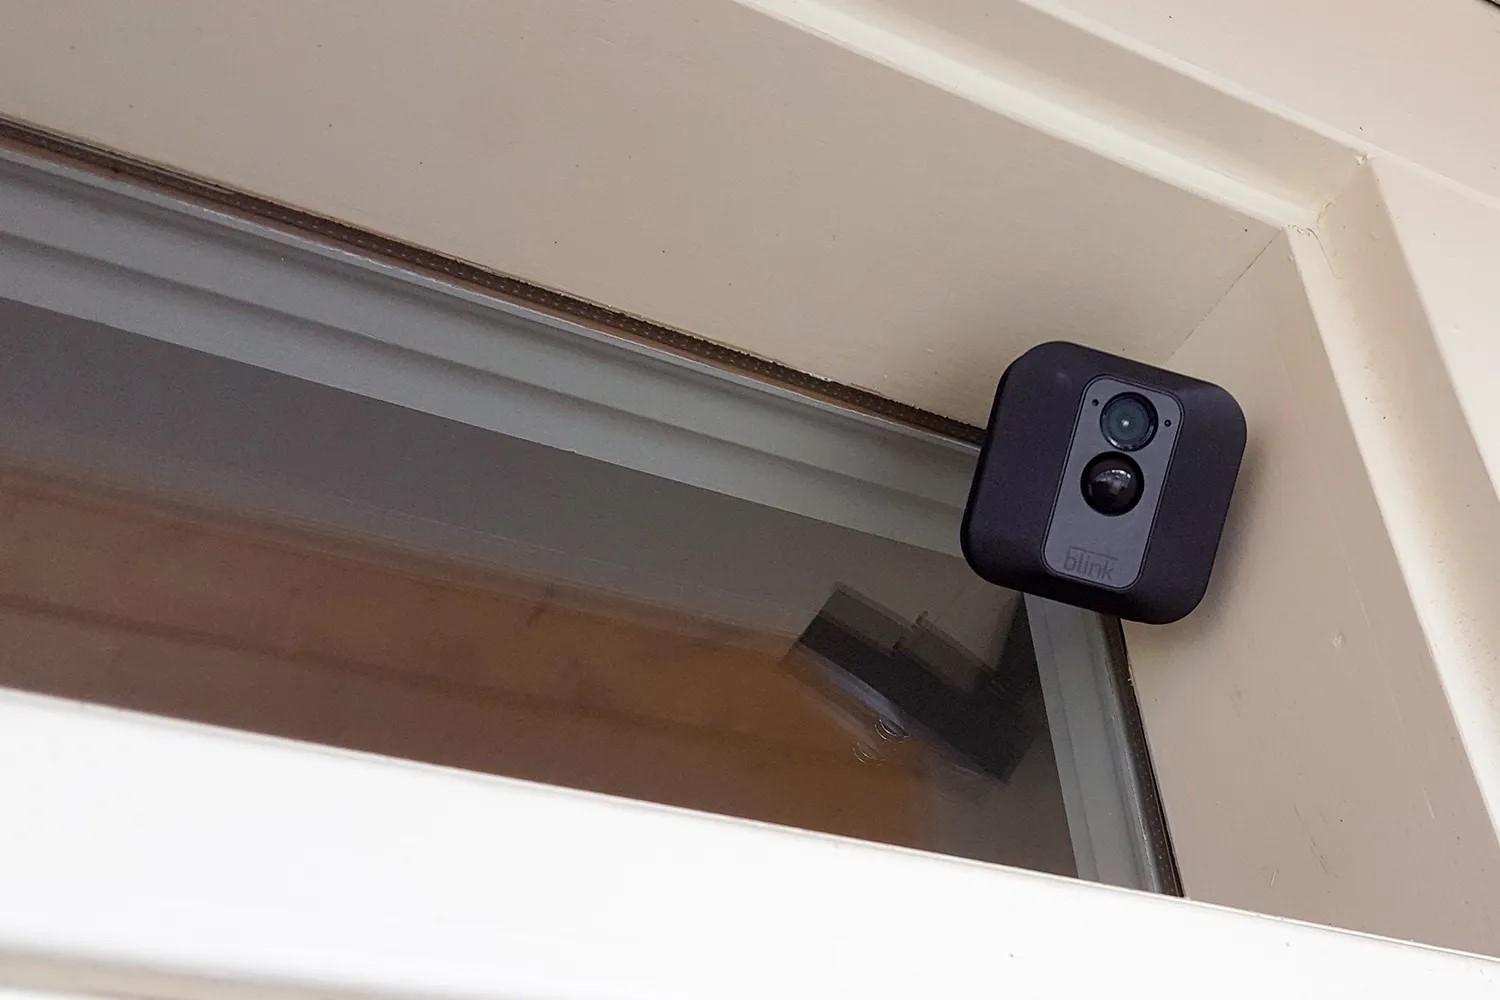
Step 2: Install the Blink Outdoor camera
Before we can charge the Blink Outdoor camera, it’s important to ensure that it’s properly installed. Follow these steps to install your Blink Outdoor camera:
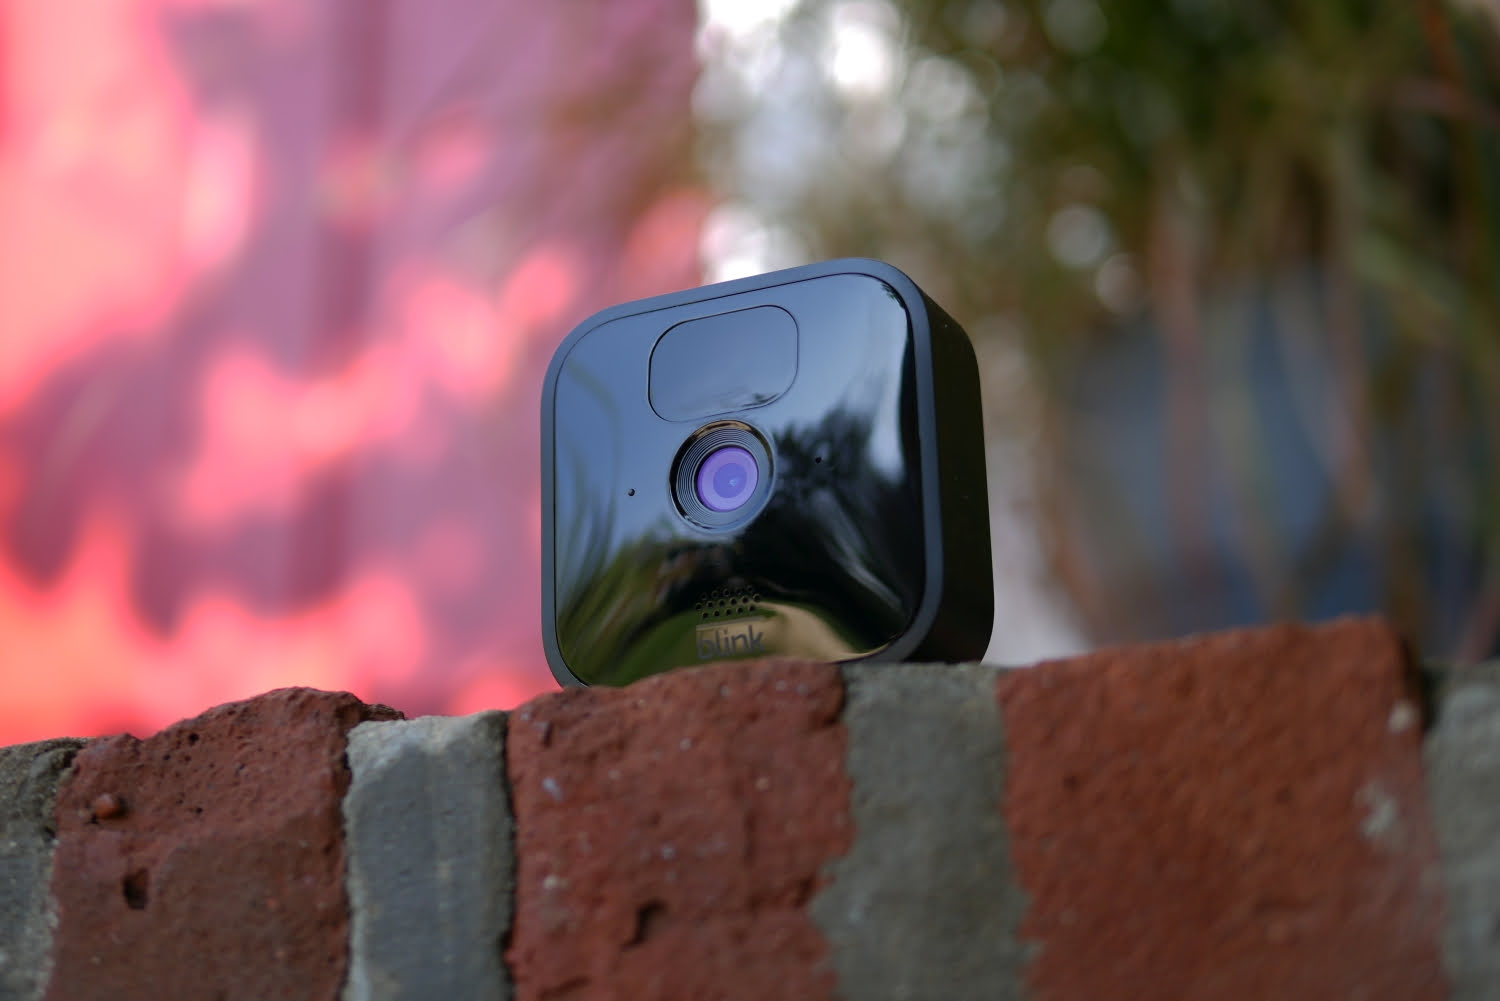
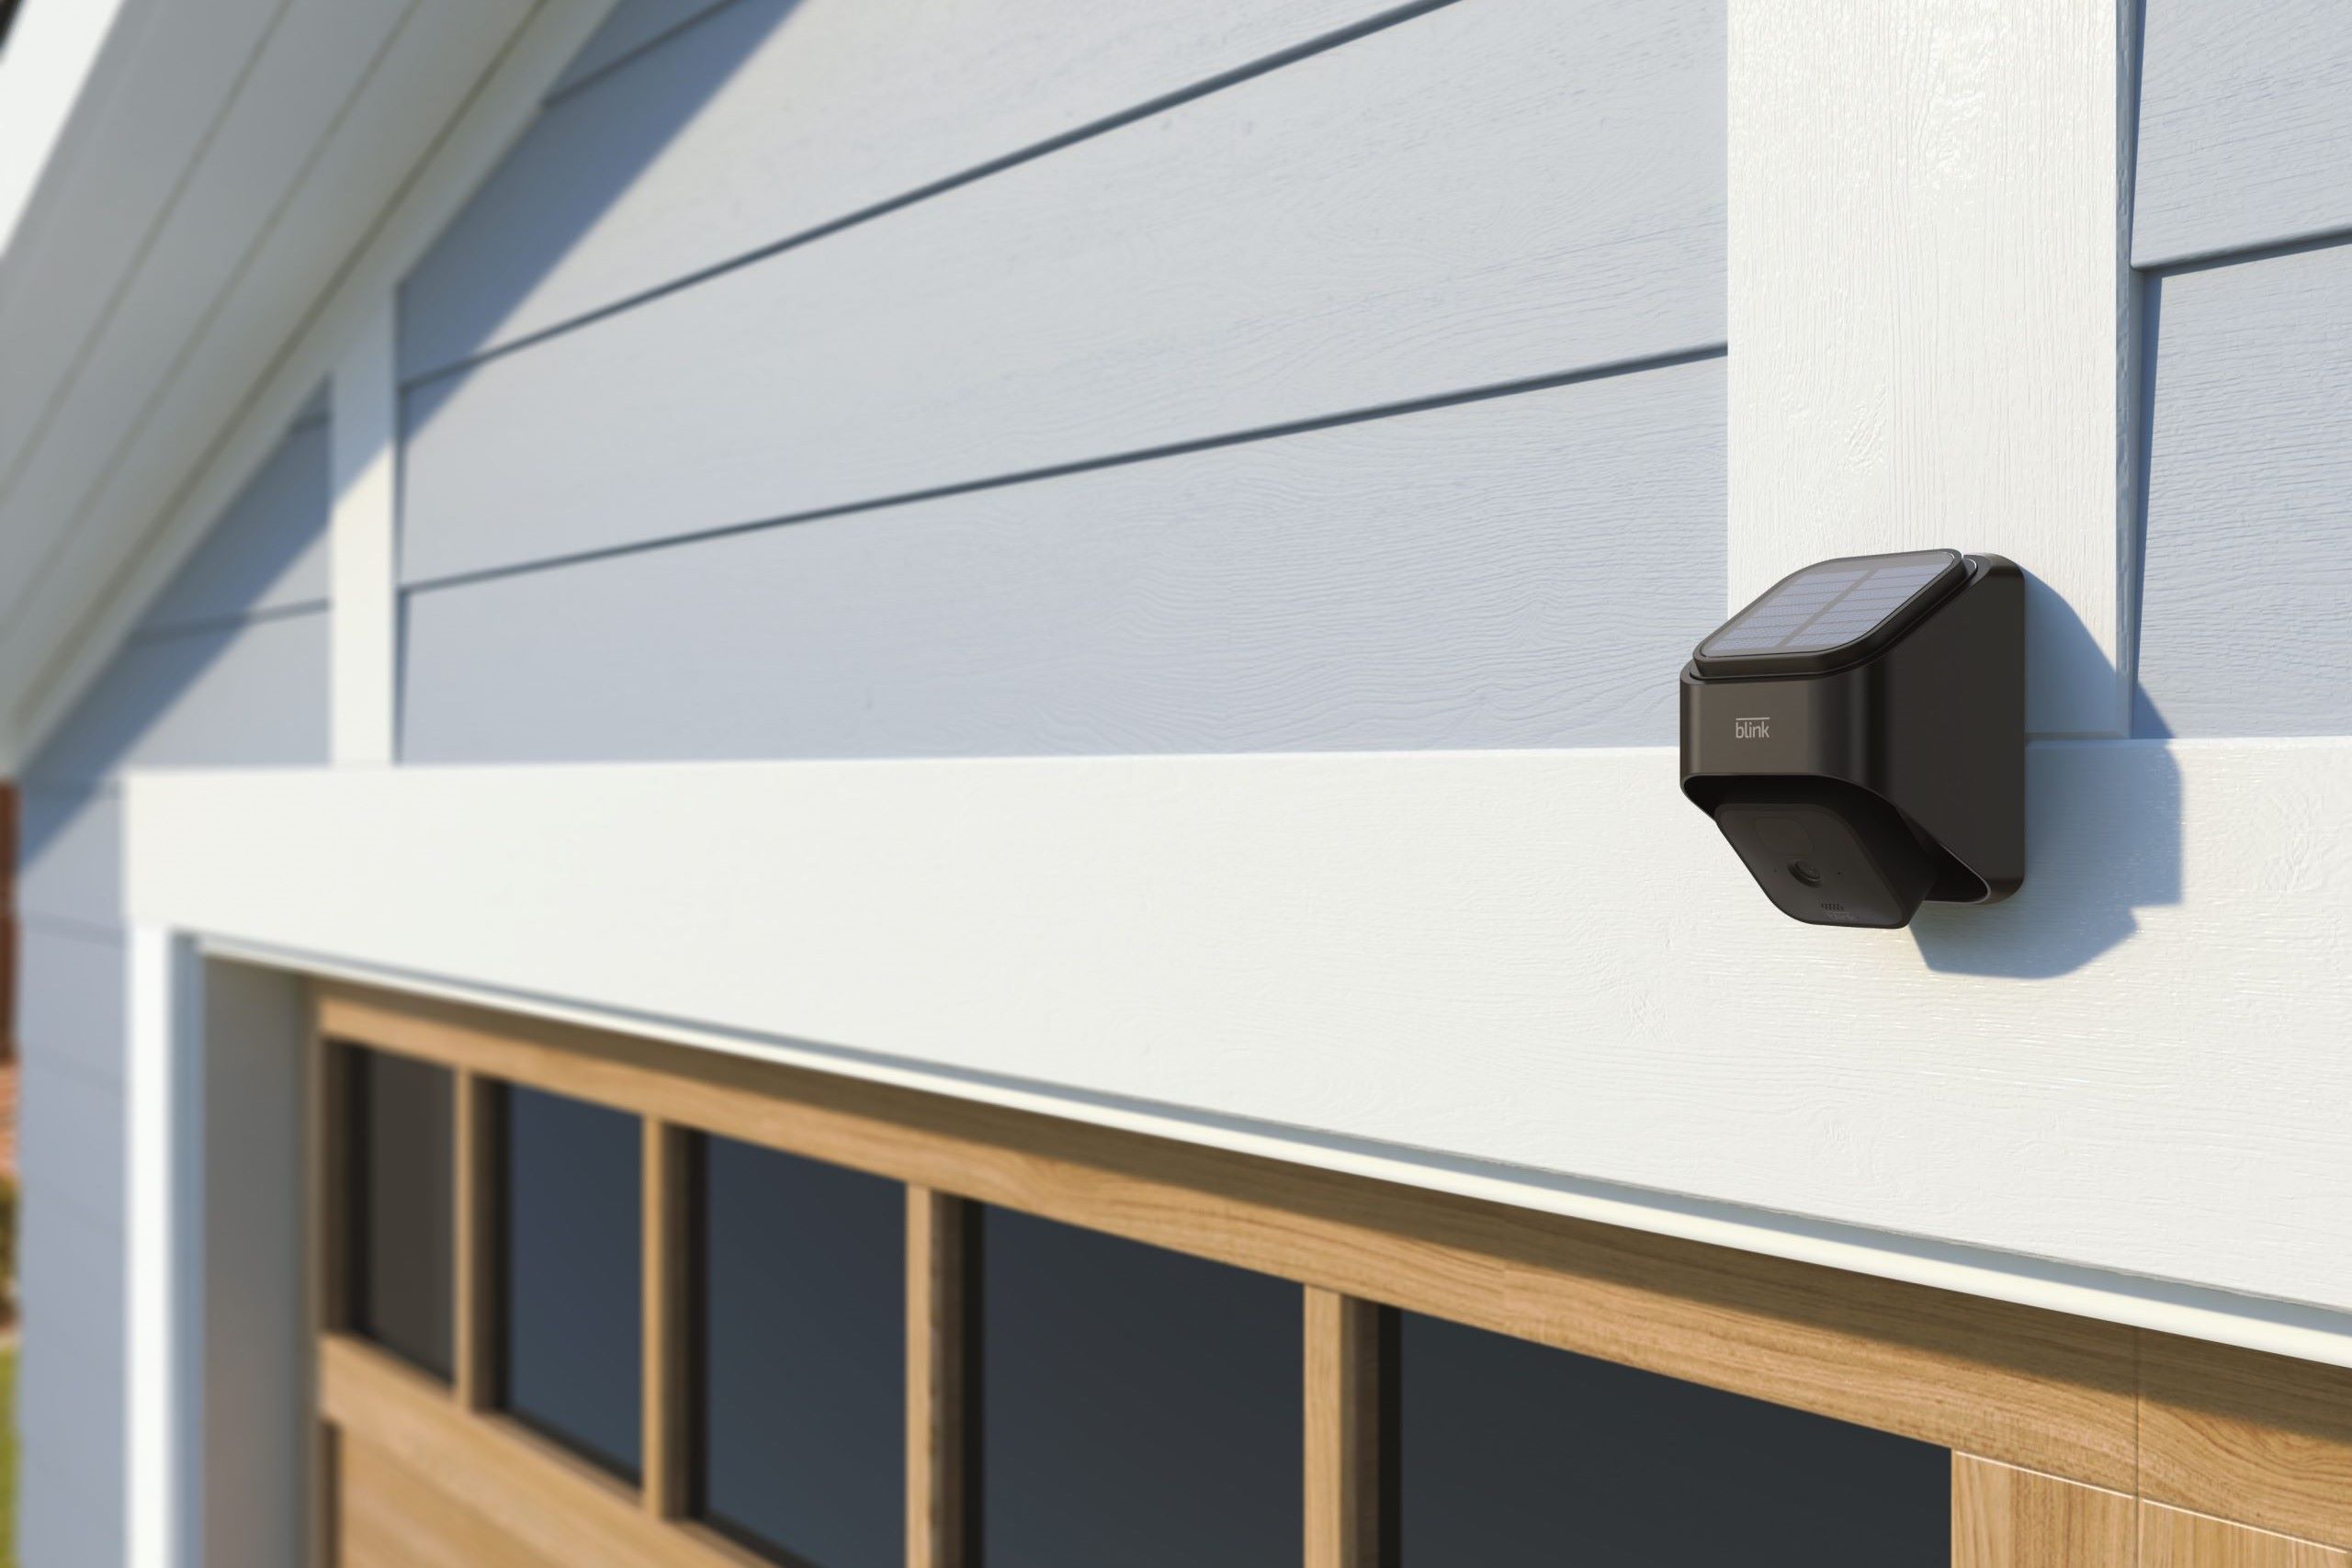
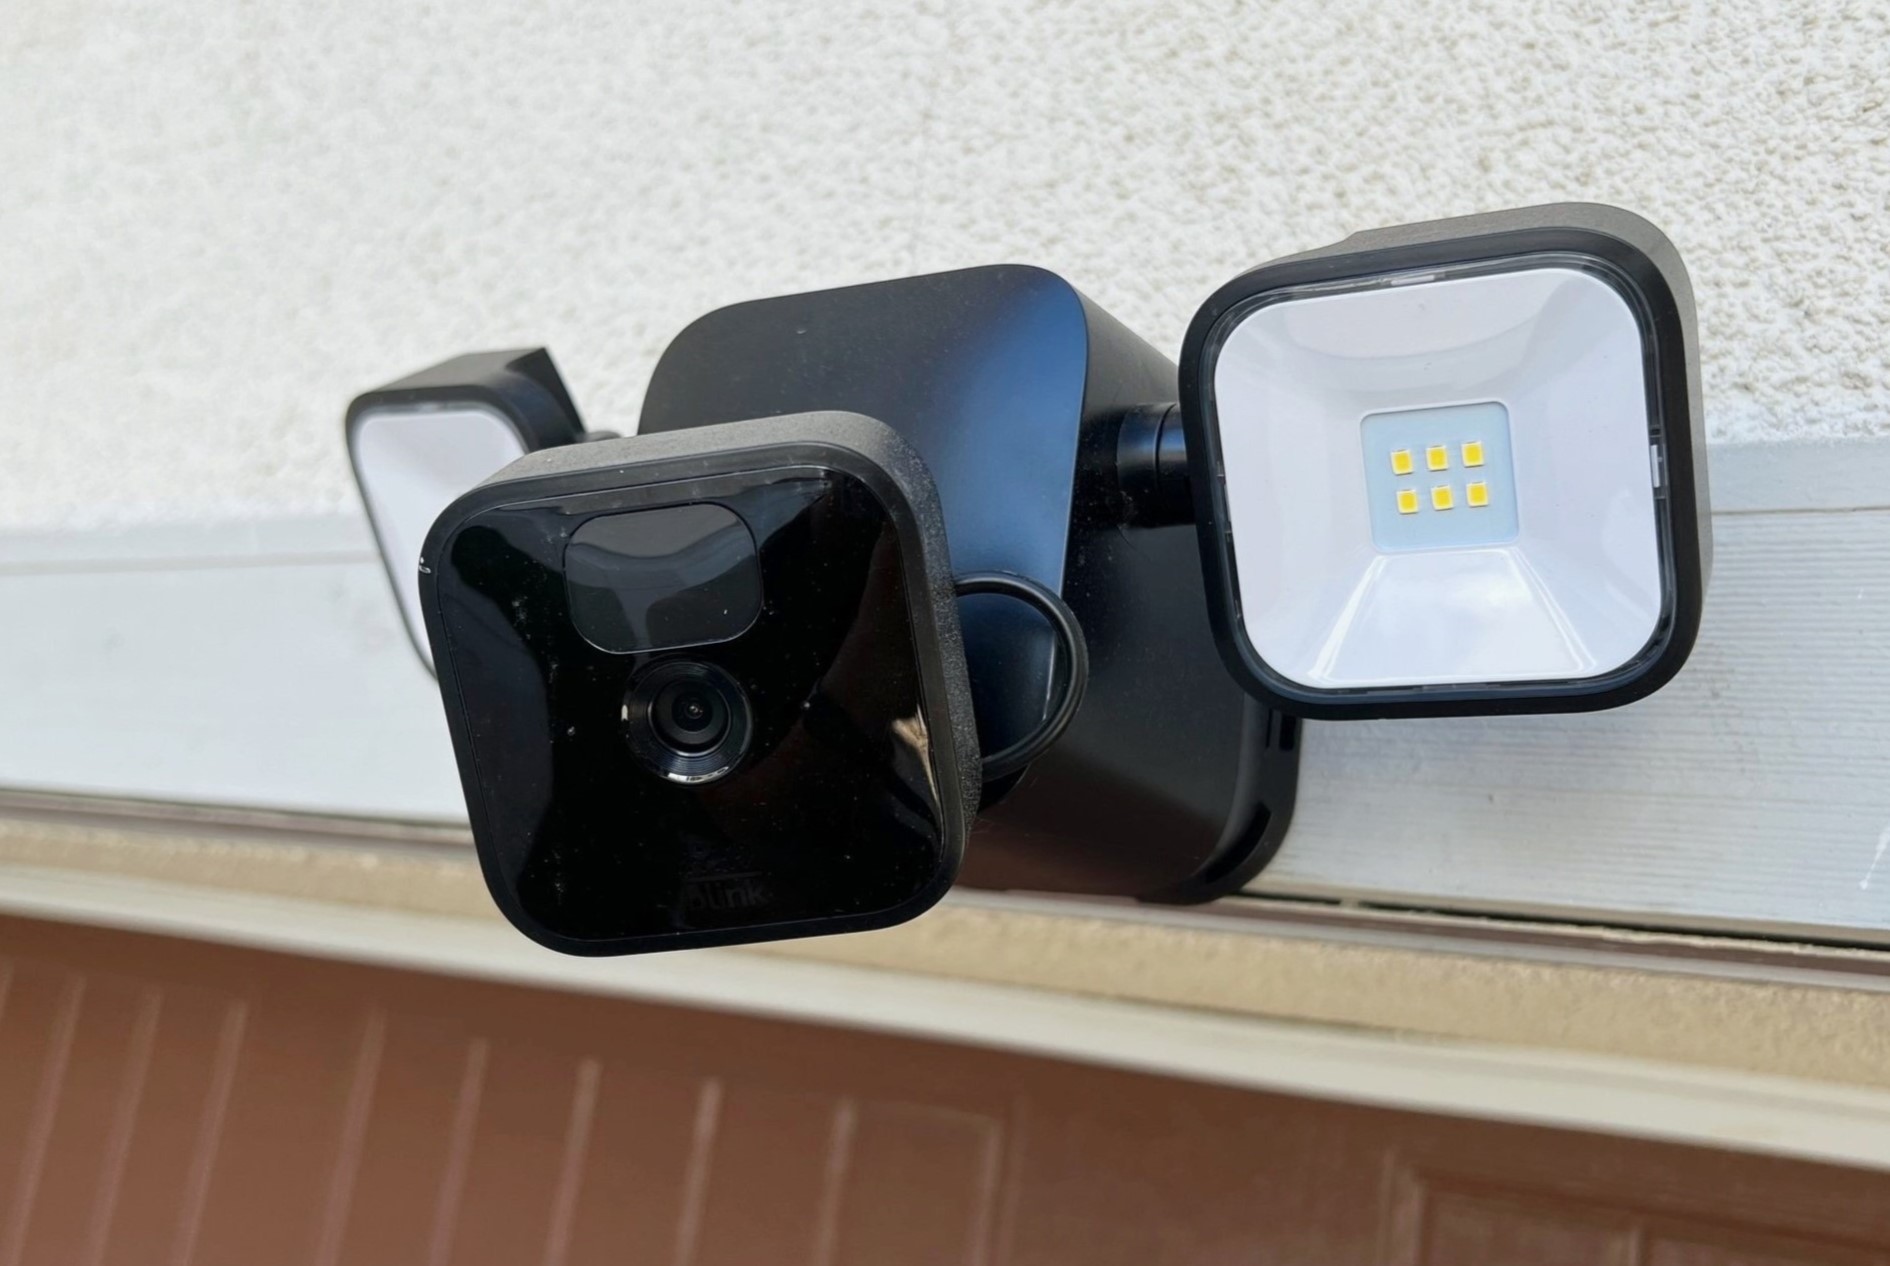
- Find a suitable location: Look for an area outside your home that provides a clear view of the intended surveillance area. Make sure it’s within range of the Wi-Fi signal and offers optimal coverage.
- Mount the camera: Use the provided mounting bracket and screws to securely attach the camera to a wall or other surfaces. Ensure that the camera is positioned at an angle that covers the desired area.
- Sync with the Blink Sync Module: Open the Blink app on your smartphone and follow the on-screen instructions to sync the Blink Outdoor camera with the Blink Sync Module. This step is crucial for the camera to function properly.
Once you have successfully installed and synced the Blink Outdoor camera, you’re ready to move on to the next step: charging the camera. Let’s proceed!
Step 3: Locate the charging port
Now that your Blink Outdoor camera is installed and synced, it’s time to locate the charging port. The charging port is where you will connect the charging cable to recharge the camera’s battery. Follow these steps to locate the charging port:
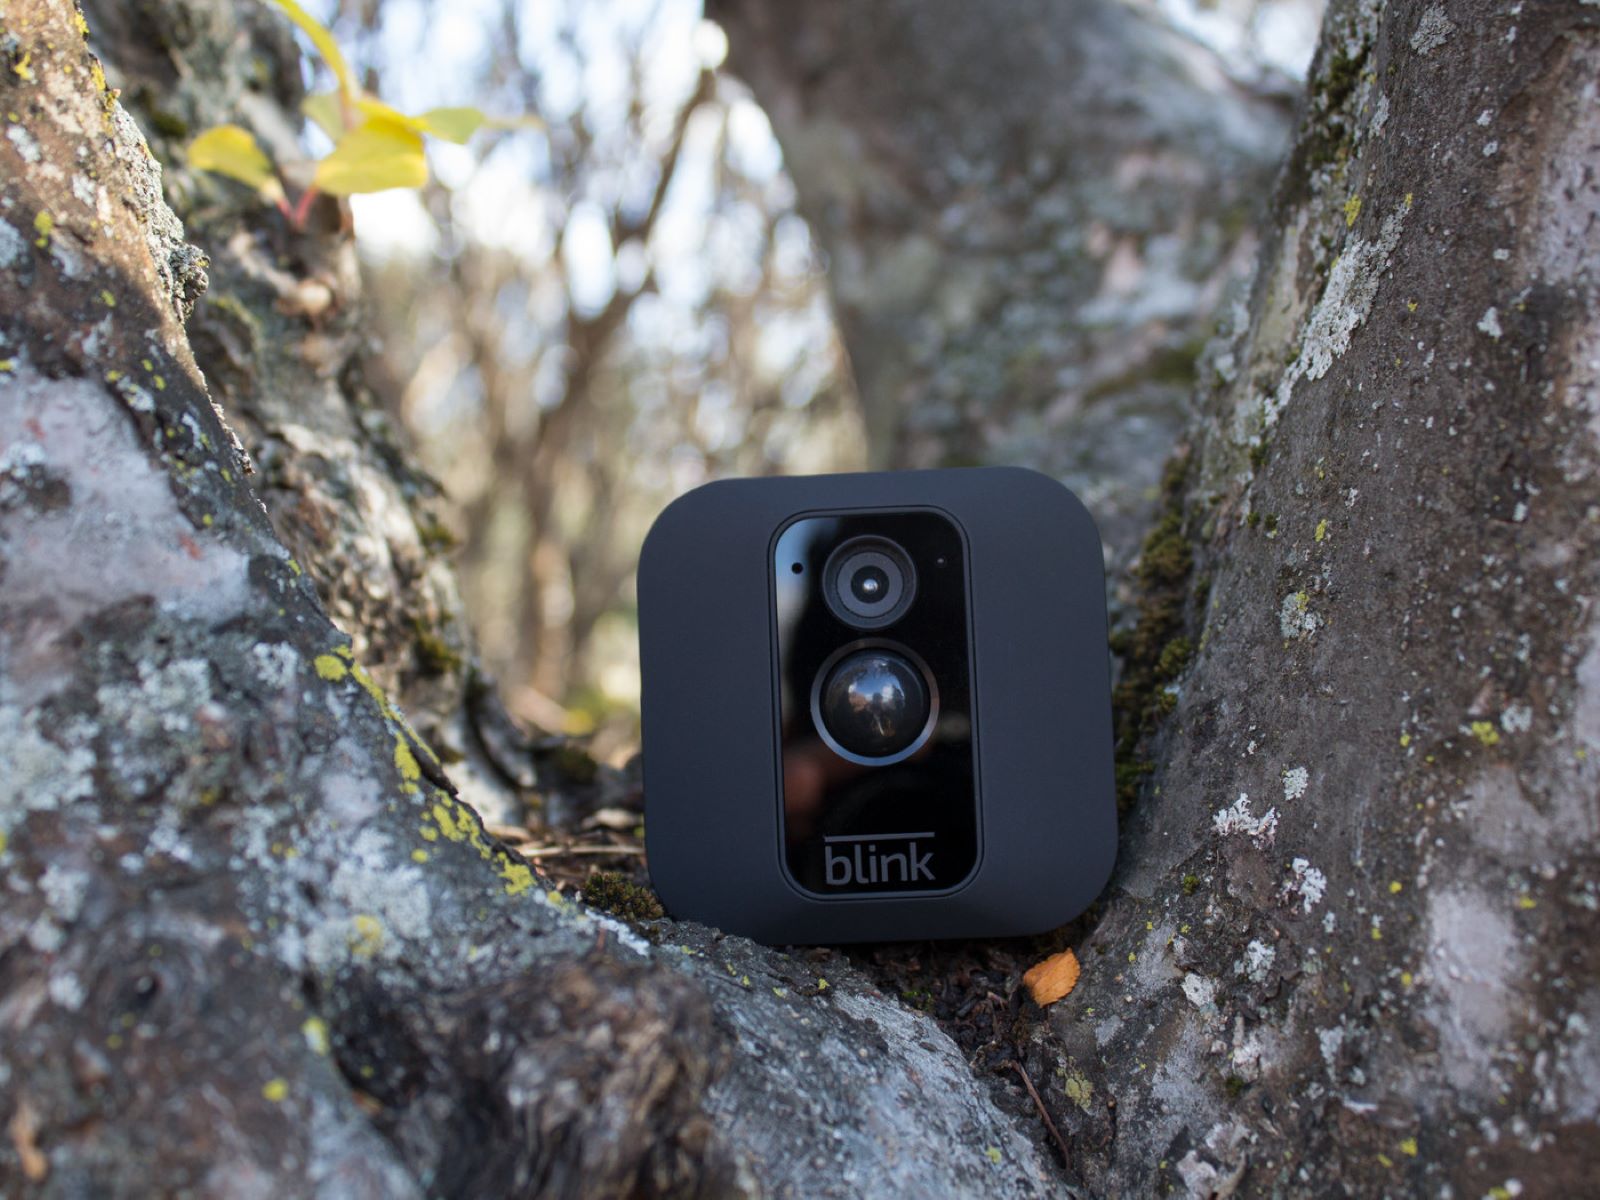
- Inspect the camera body: Take a closer look at the front or back of the Blink Outdoor camera. You will notice a small rectangular-shaped slot or opening.
- Identify the charging port: The rectangular slot is the charging port of the Blink Outdoor camera. It’s usually located near the bottom or side of the camera.
- Ensure the charging port is clean: Before connecting the charging cable, make sure that the charging port is free from any dust, debris, or obstruction. Use a soft cloth or a can of compressed air to clean the charging port if necessary.
Once you have located the charging port and confirmed its cleanliness, you’re all set to proceed with the next step: connecting the charging cable. Let’s move on!
Step 4: Connect the charging cable
With the charging port located and prepared, it’s time to connect the charging cable to the Blink Outdoor camera. Follow these steps to ensure a proper connection:
- Take the charging cable and identify the micro-USB connector on one end.
- Gently insert the micro-USB connector into the charging port of the Blink Outdoor camera.
- Ensure that the connection is secure and snug. Avoid applying excessive force or bending the cable.
Once you have successfully connected the charging cable to the Blink Outdoor camera, you’re ready to move on to the next step: charging the camera. Let’s proceed!
To charge a Blink Outdoor camera, simply remove the battery pack from the camera and plug it into a power source using the included USB cable. Make sure to fully charge the battery before reinserting it into the camera for optimal performance.
Read more: How To Install Blink Outdoor Cameras
Step 5: Charge the Blink Outdoor camera
Now that the charging cable is securely connected to the Blink Outdoor camera, it’s time to charge the camera’s battery. Follow these steps to effectively charge your Blink Outdoor camera:
- Ensure that the power source is ready: Make sure the power outlet or USB port you are using as the power source is functioning and providing a stable power supply. This will ensure a smooth charging process.
- Connect the other end of the charging cable: Take the other end of the charging cable, which has the USB connector. Connect it to the power source, whether it’s a power outlet or USB port on your computer.
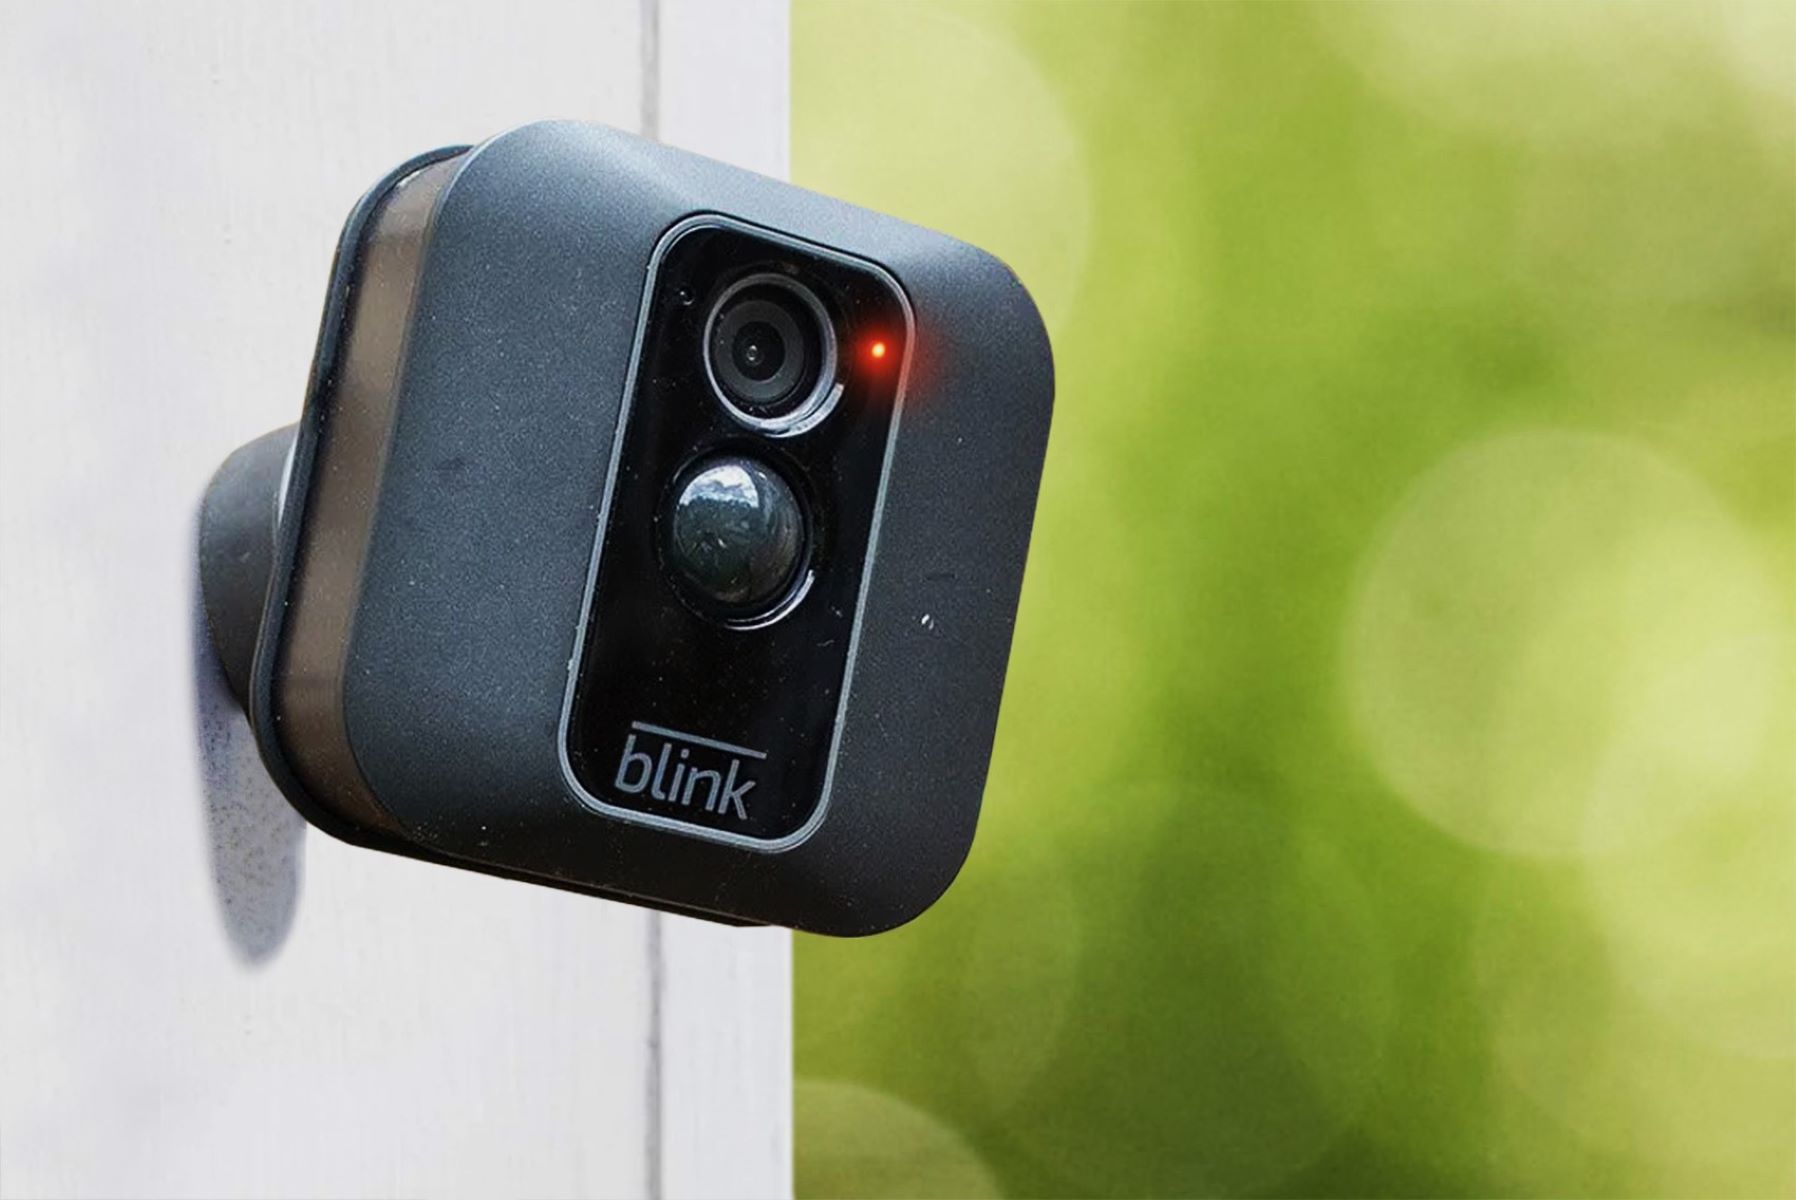
- Check the charging indicator: On the Blink Outdoor camera, there is usually an LED indicator near the charging port. It will display a blinking light or a steady light to indicate that the camera is charging.
- Leave the camera to charge: Allow the Blink Outdoor camera to charge for the recommended time. This can vary depending on the battery level and the capacity of the battery.
It’s important to note that during the charging process, the Blink Outdoor camera may become warm to the touch. This is normal and should not be a cause for concern.
Once the Blink Outdoor camera has been charging for the recommended time, you can proceed to the next step: monitoring the charging progress.
Step 6: Monitor the charging progress
While your Blink Outdoor camera is charging, it’s a good idea to monitor the charging progress to ensure everything is running smoothly. Here are a few steps you can follow to monitor the charging progress:
- Check the LED indicator: As mentioned earlier, the Blink Outdoor camera usually has an LED indicator near the charging port. This indicator will display a blinking light or a steady light to show the charging status. A blinking light typically indicates that the camera is still charging, while a solid light suggests that the charging process is complete.
- Use the Blink app: Open the Blink app on your smartphone and check the battery status of the Blink Outdoor camera. The app will provide you with information about the current battery level, allowing you to track the progress of the charging process.
- Observe the camera behavior: During the charging process, you may notice certain behaviors of the camera, such as LED lights flashing or the camera resetting itself. These are normal occurrences and usually indicate that the camera is charging and functioning as intended.
It’s important to be patient during the charging process, as it may take some time to fully charge the Blink Outdoor camera depending on the battery level and capacity. Once you have confirmed that the camera is adequately charged, you can proceed to the next and final step: disconnecting the charging cable.
Step 7: Disconnect the charging cable
Now that your Blink Outdoor camera is fully charged, it’s time to disconnect the charging cable. Follow these steps to safely disconnect the charging cable:
- Ensure the camera is powered off: Before disconnecting the charging cable, make sure the Blink Outdoor camera is powered off. You can do this through the Blink app or by pressing the power button on the camera, if applicable.
- Gently remove the charging cable: Disconnect the charging cable from the power source first, and then carefully detach it from the charging port of the Blink Outdoor camera. Avoid pulling on the cable forcefully to prevent any damage.
- Store the charging cable properly: Once you have disconnected the charging cable, make sure to store it in a safe and tidy place. This will help you keep it organized and easily accessible for future use.
By following these steps, you have successfully charged your Blink Outdoor camera and disconnected the charging cable. Your camera is now ready to be used for your home security and surveillance needs.
Remember to periodically check the battery level of your Blink Outdoor camera to ensure it remains charged and ready to capture any potential security events. Charging the camera regularly will help maintain its optimal performance and ensure continuous protection for your home.
Thank you for following this guide, and we hope that this information has been helpful in charging your Blink Outdoor camera. Stay safe!
Conclusion
Home security and surveillance are of utmost importance in today’s world, and the Blink Outdoor camera provides a reliable and effective solution to protect your home and loved ones. By following the steps outlined in this guide, you can easily charge your Blink Outdoor camera and ensure it remains functional and ready to capture any potential security events.
From gathering the necessary equipment to locating the charging port, connecting the charging cable, monitoring the charging progress, and finally disconnecting the cable, each step plays a vital role in the charging process. By following these steps, you can ensure a seamless and efficient charging experience.
Remember to periodically check the battery level of your Blink Outdoor camera and charge it as needed to maintain optimal performance. A fully charged camera guarantees that your home remains under constant surveillance, providing you with peace of mind.
In addition to charging your Blink Outdoor camera, it’s important to familiarize yourself with its other features and functionalities. Explore the Blink app to customize settings, review footage, and receive alerts. This will empower you to maximize the benefits of your Blink Outdoor camera and enhance your home security system.
So, take the necessary steps to charge your Blink Outdoor camera and enjoy the reassurance that comes with having a reliable surveillance system in place. With its advanced features and ease of use, the Blink Outdoor camera is an excellent choice for enhancing the security of your home.
We hope this guide has provided you with the knowledge you need to effectively charge your Blink Outdoor camera. Stay vigilant, stay connected, and stay secure!
Now that you've learned how to keep your Blink Outdoor camera charged, why not dive deeper into the benefits of securing your home? Our next article delves into compelling reasons for investing in robust home security systems. Maintaining vigilance around your property isn't just about installing cameras; it’s about creating a safe haven for you and your loved ones. Don’t miss out on understanding how these systems can deter potential intruders and keep your peace of mind intact.
Frequently Asked Questions about How To Charge A Blink Outdoor Camera
Was this page helpful?
At Storables.com, we guarantee accurate and reliable information. Our content, validated by Expert Board Contributors, is crafted following stringent Editorial Policies. We're committed to providing you with well-researched, expert-backed insights for all your informational needs.