Home>Home Security and Surveillance>How To Install A SimpliSafe Outdoor Camera
Home Security and Surveillance
How To Install A SimpliSafe Outdoor Camera
Modified: September 1, 2024
Learn how to install a SimpliSafe outdoor camera for enhanced home security and surveillance. Step-by-step guide to ensure a seamless installation process.
(Many of the links in this article redirect to a specific reviewed product. Your purchase of these products through affiliate links helps to generate commission for Storables.com, at no extra cost. Learn more)
Introduction
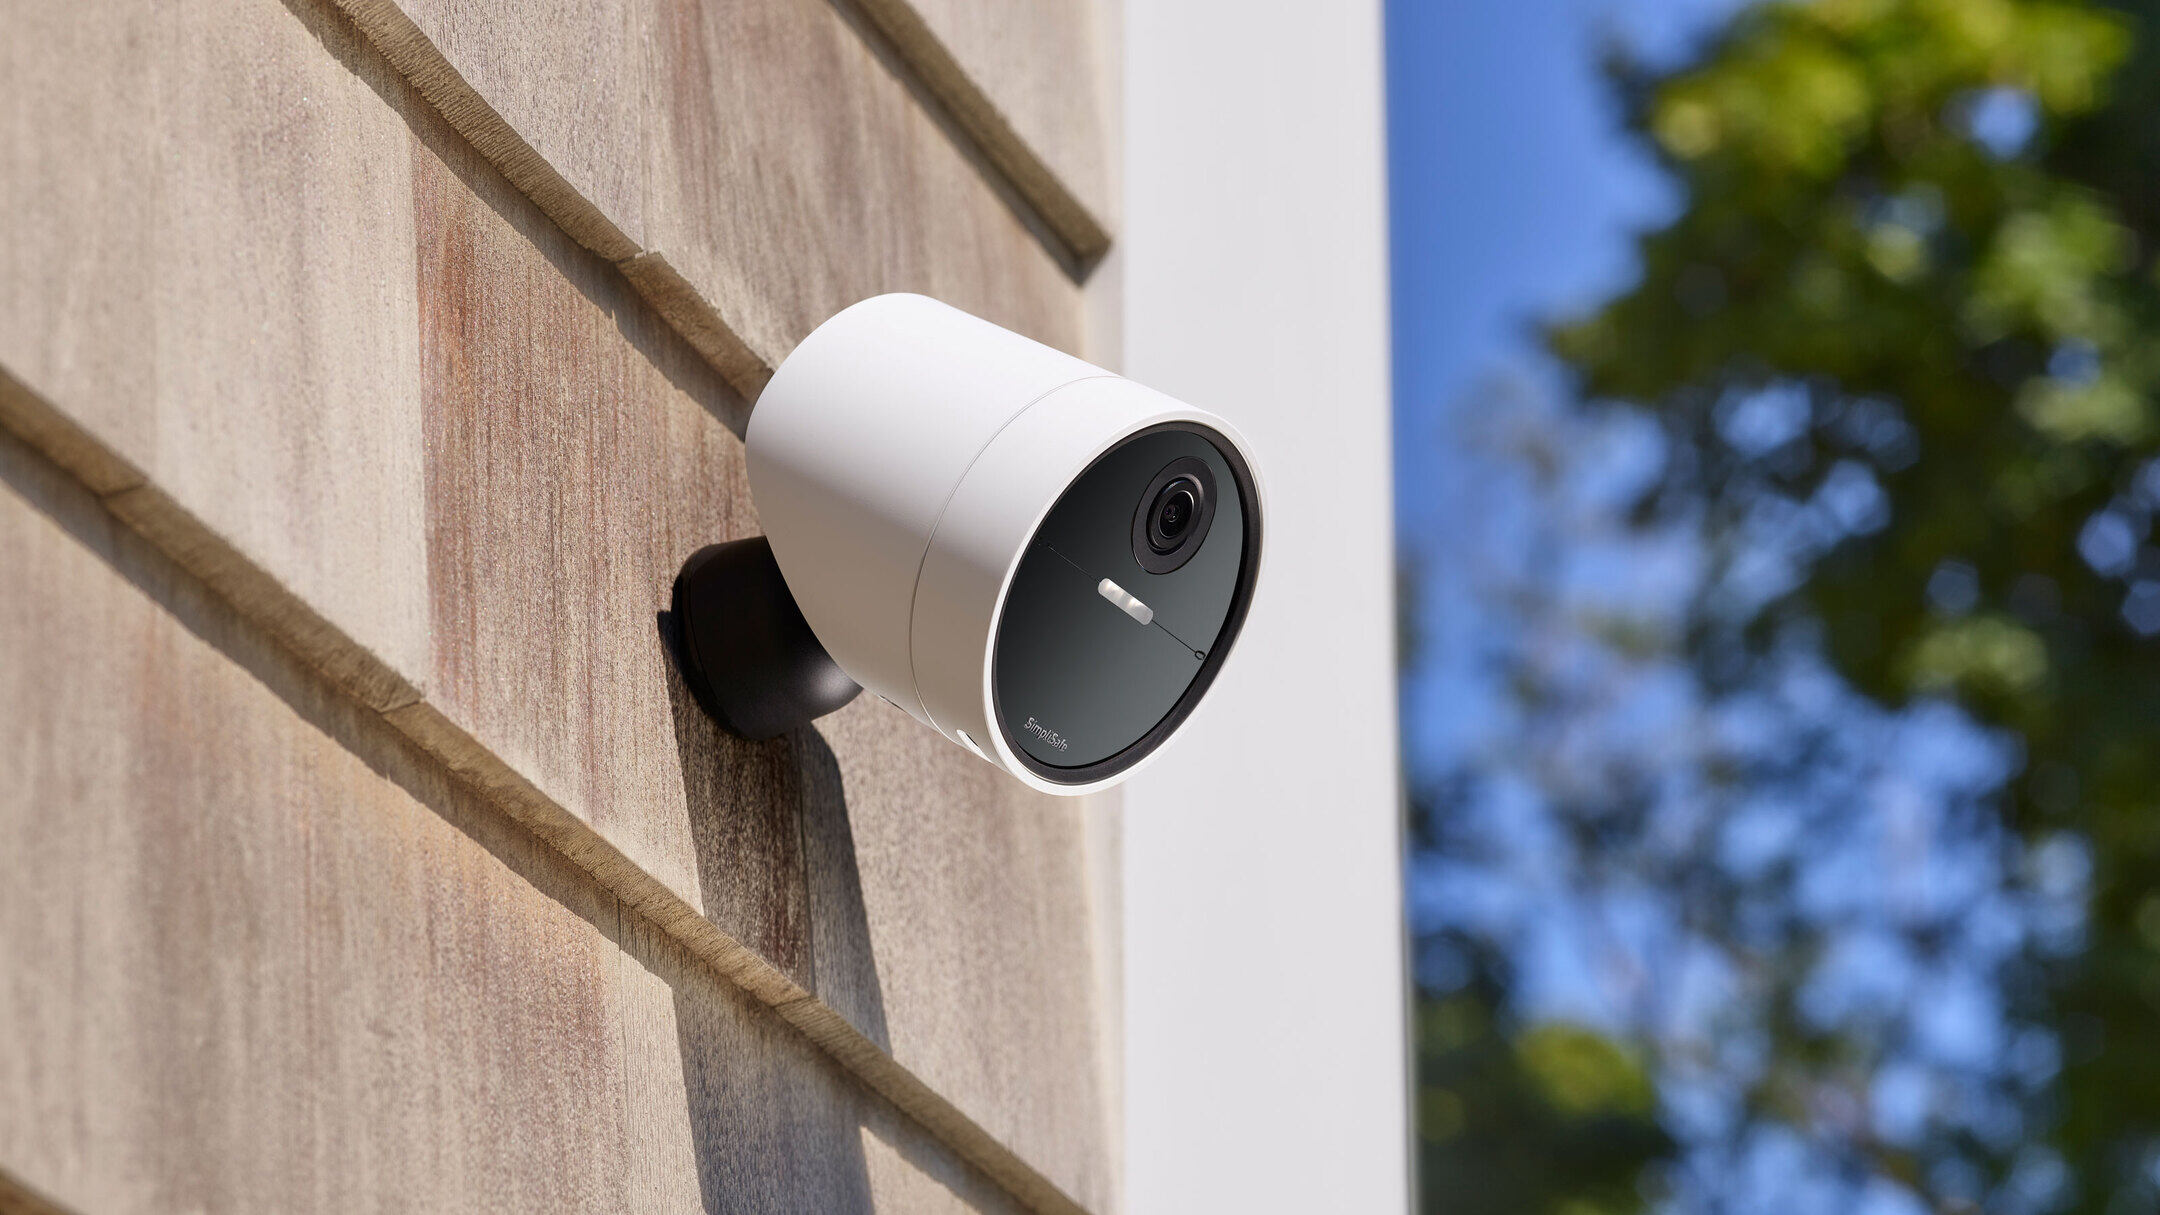
Welcome to the world of home security and surveillance! In today’s uncertain times, ensuring the safety of your home and loved ones has become more important than ever. That’s where a reliable outdoor camera, such as the SimpliSafe Outdoor Camera, can play a crucial role in providing you with peace of mind.
Installing an outdoor camera may seem like a daunting task, but fear not! With some basic tools and a little guidance, you can have your SimpliSafe Outdoor Camera up and running in no time. This comprehensive guide will walk you through the step-by-step process of installing and setting up your camera, ensuring optimum functionality and security.
Before we dive into the installation process, let’s take a moment to understand the benefits of having an outdoor camera. These cameras serve as an effective deterrent to potential intruders, as the mere presence of a visible camera can make them think twice before attempting any unlawful activities. Additionally, outdoor cameras provide you with real-time monitoring and recording capabilities, enabling you to keep an eye on your property even when you’re away.
With these advantages in mind, let’s move forward and explore how to install a SimpliSafe Outdoor Camera.
Key Takeaways:
- Installing a SimpliSafe Outdoor Camera is easy with basic tools. Choose the right location, mount the camera securely, and connect it to your SimpliSafe system for enhanced home security.
- Regularly test and adjust your camera settings for optimal performance. Enjoy peace of mind knowing your SimpliSafe Outdoor Camera provides reliable surveillance for your home.
Step 1: Gather the necessary tools and equipment
Before beginning the installation process, it is important to gather all the necessary tools and equipment. This will ensure a smooth and efficient installation. Here’s a list of what you’ll need:
- 1. SimpliSafe Outdoor Camera
- 2. Mounting bracket and screws
- 3. Power adapter
- 4. Ethernet cable (if using a wired connection)
- 5. Drill and drill bit
- 6. Screwdriver
- 7. Level
- 8. Tape measure
- 9. Ladder or step stool (if needed for reaching the installation location)
Make sure you have all these items handy before you begin the installation process. This will save you time and prevent any frustration that may come from having to pause mid-installation to search for missing tools.
Once you have gathered all the necessary tools and equipment, you’re ready to move on to the next step: choosing the installation location.
Step 2: Choose the installation location
Choosing the right installation location for your SimpliSafe Outdoor Camera is crucial for maximizing its effectiveness. Here are a few factors to consider when selecting the ideal spot:
- Visibility: The camera should be easily visible to anyone approaching your property. This serves as a deterrent to potential intruders and can help prevent any criminal activities.
- Coverage: Identify areas of your property that you want the camera to monitor. Ensuring the camera has a clear view of entries, windows, and high-traffic areas can provide you with comprehensive security coverage.
- Accessibility: Keep in mind that your camera will require power and potentially an Ethernet connection if you choose the wired option. Choose an installation location that is easily accessible to allow for simple and convenient installation.
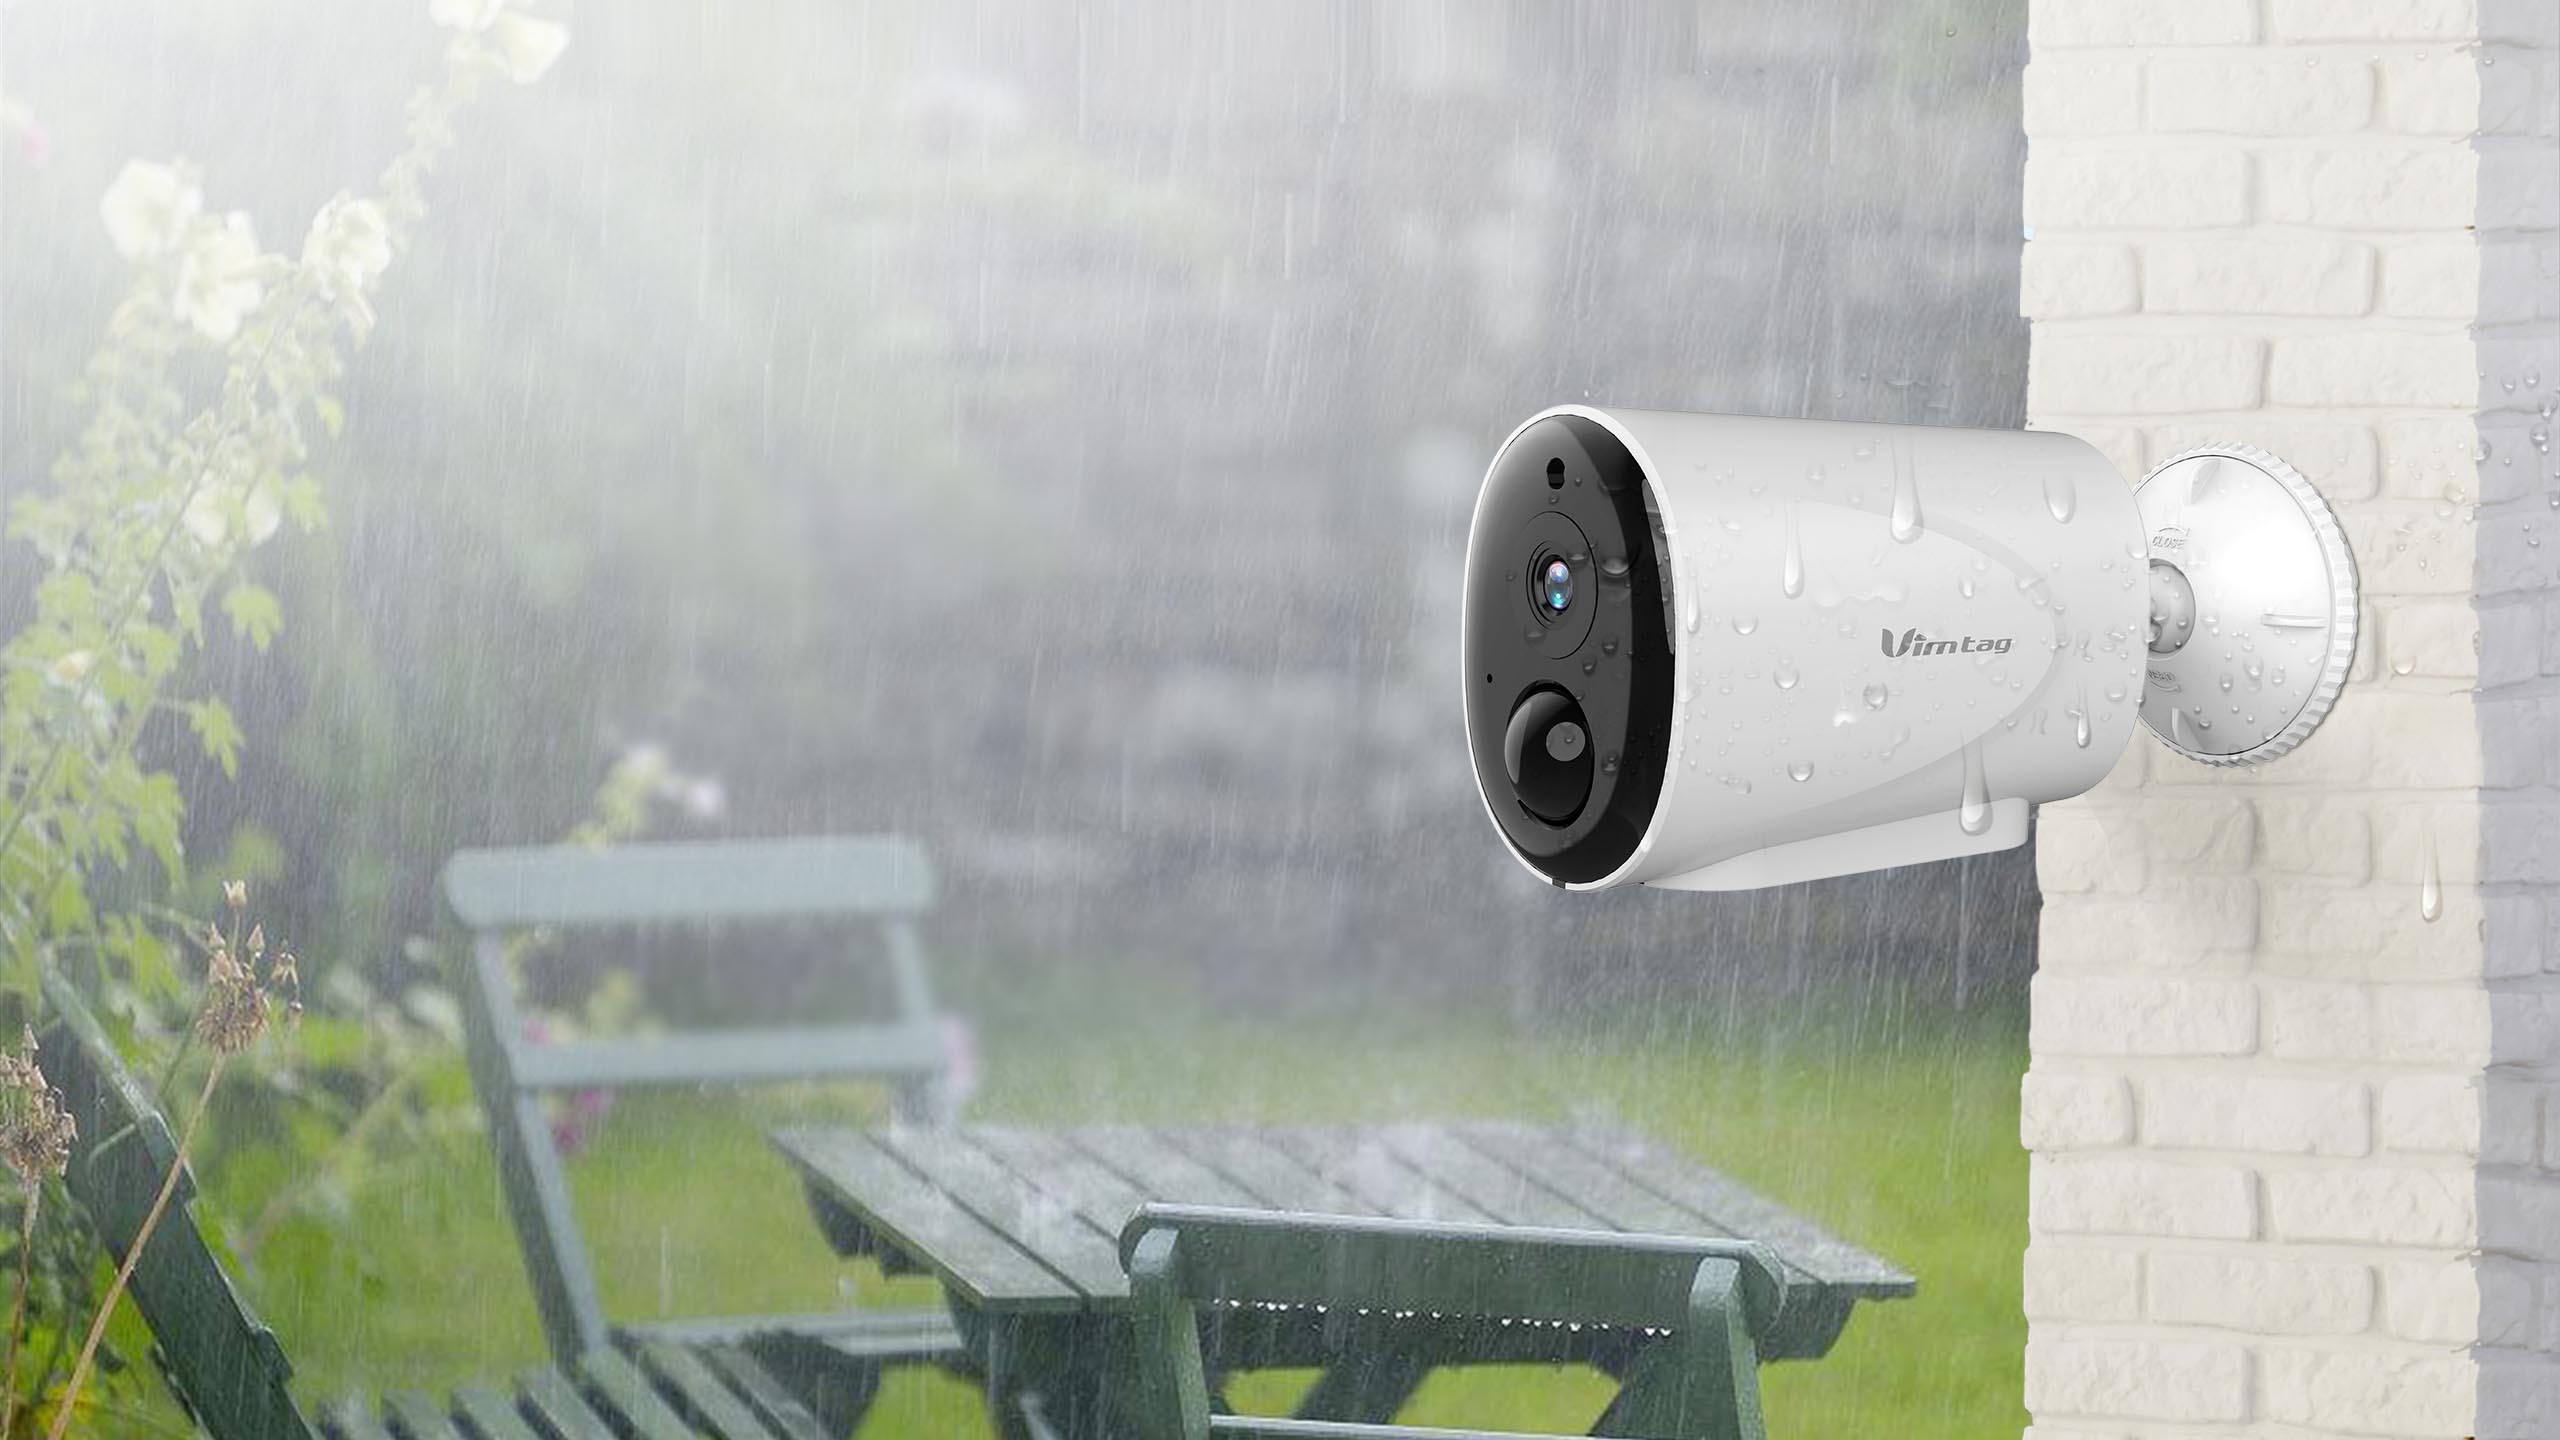
- Protection: Consider the weather conditions that the camera may be exposed to. Look for areas that offer some form of protection against rain, extreme temperatures, or direct sunlight, which can impact the camera’s performance and durability.
Once you have taken these factors into account, take a moment to survey your property and identify potential installation spots that meet your requirements. Pay attention to the orientation and angle of the camera to ensure it captures the desired areas effectively.
After selecting an installation location, move on to the next step: mounting the camera bracket.
Step 3: Mount the camera bracket
With the installation location selected, it’s time to mount the camera bracket. The bracket serves as a secure base for your SimpliSafe Outdoor Camera. Here’s how to do it:
- Position the bracket: Hold the camera bracket against the chosen installation location and use a pencil or marker to mark the screw hole locations. Make sure the bracket is level and aligned according to your desired camera angle.
- Drill pilot holes: Use a drill and an appropriate drill bit to create pilot holes at the marked locations. Pilot holes ensure that the screws go in smoothly and prevent any damage to the wall or surface.
- Secure the bracket: Align the bracket over the pilot holes and use screws to securely attach it to the wall or surface. Ensure the bracket is tightly fastened so that it can support the weight of the camera.
- Check stability: Once the bracket is mounted, give it a gentle shake to ensure it is stable and secure. Any wobbling or instability may affect the camera’s performance.
By following these steps, you have successfully mounted the camera bracket in preparation for attaching the SimpliSafe Outdoor Camera. The next step will guide you through connecting the camera to the bracket.
Step 4: Connect the camera to the bracket
Now that you have mounted the camera bracket, it’s time to connect the SimpliSafe Outdoor Camera to the bracket. Follow these steps to ensure a secure and stable connection:
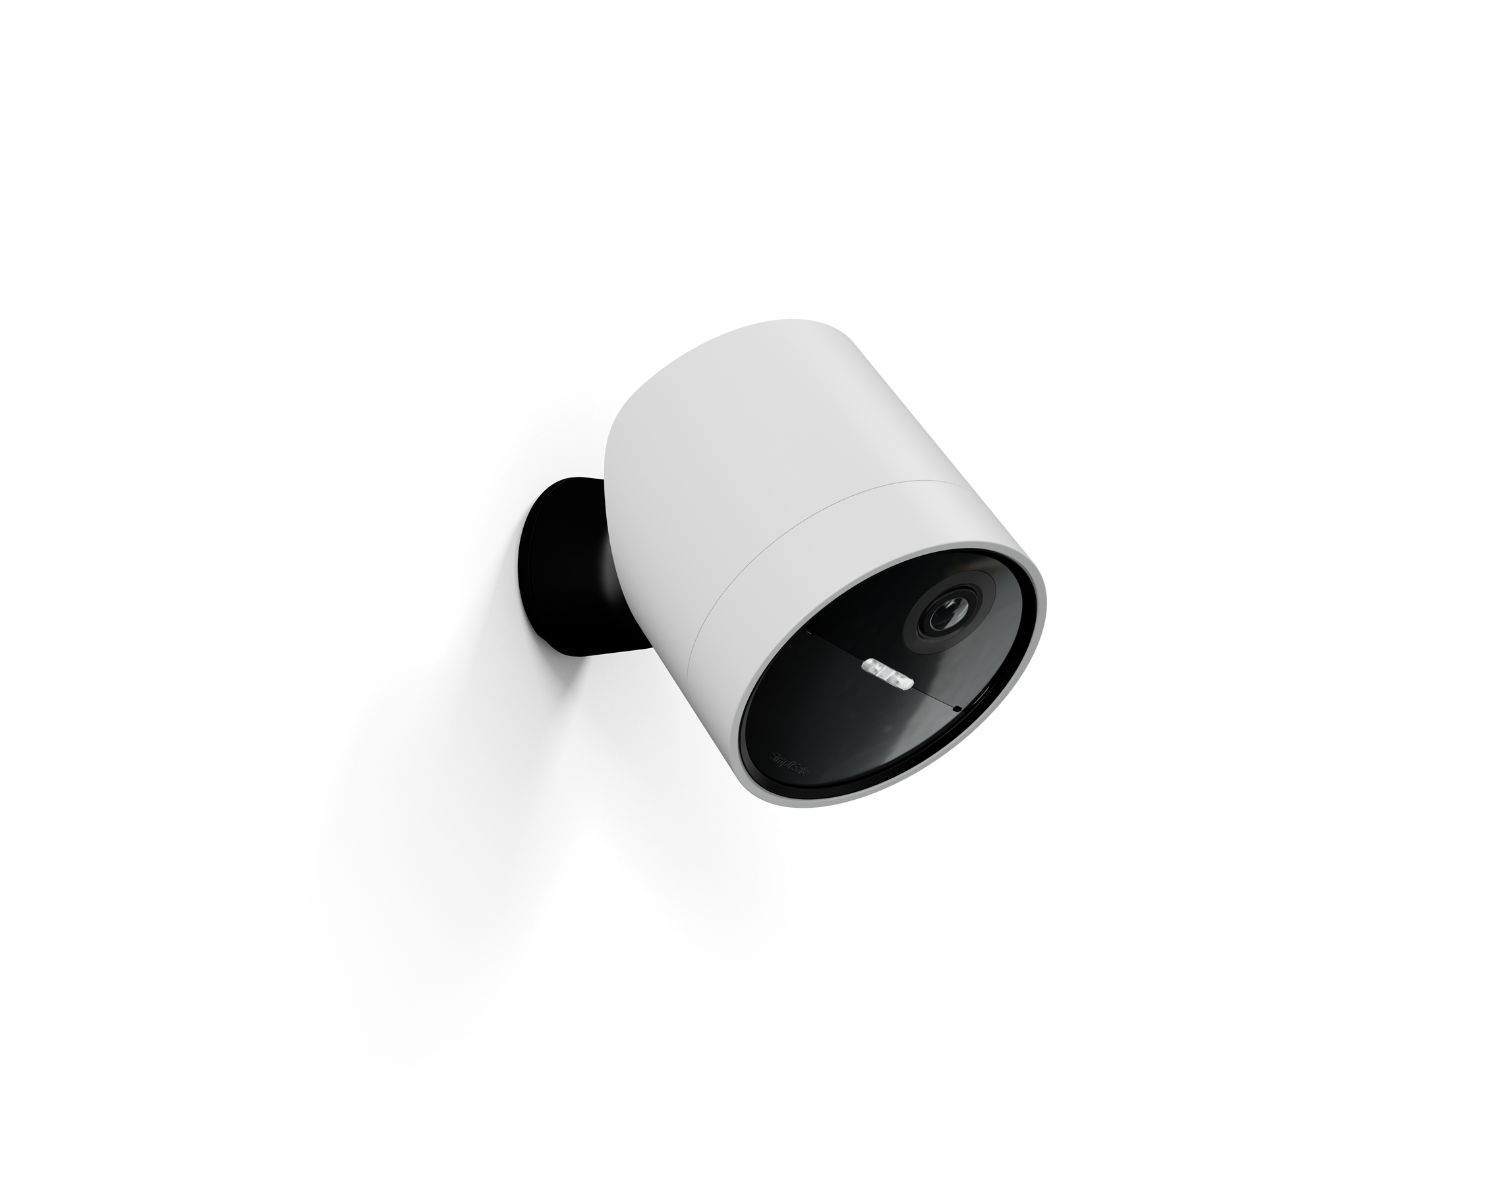
- Attach the camera: Carefully slide the camera onto the mounting bracket. Ensure that the camera is properly aligned with the bracket and securely fastened.
- Lock the camera: Depending on the model of your SimpliSafe Outdoor Camera, you may need to twist or lock it in place to ensure it stays securely attached to the bracket. Follow the specific instructions provided by the manufacturer to lock the camera into position.
- Test the connection: Once the camera is attached to the bracket, give it a gentle tug to ensure it is securely in place. Double-check that all connections are secure and stable.
By completing these steps, you have successfully connected the SimpliSafe Outdoor Camera to the mounting bracket. The next step will guide you in adjusting the camera angle for optimal coverage.
When installing a SimpliSafe Outdoor Camera, make sure to place it within range of your Wi-Fi signal and near a power outlet. Follow the step-by-step instructions provided in the user manual for a smooth installation process.
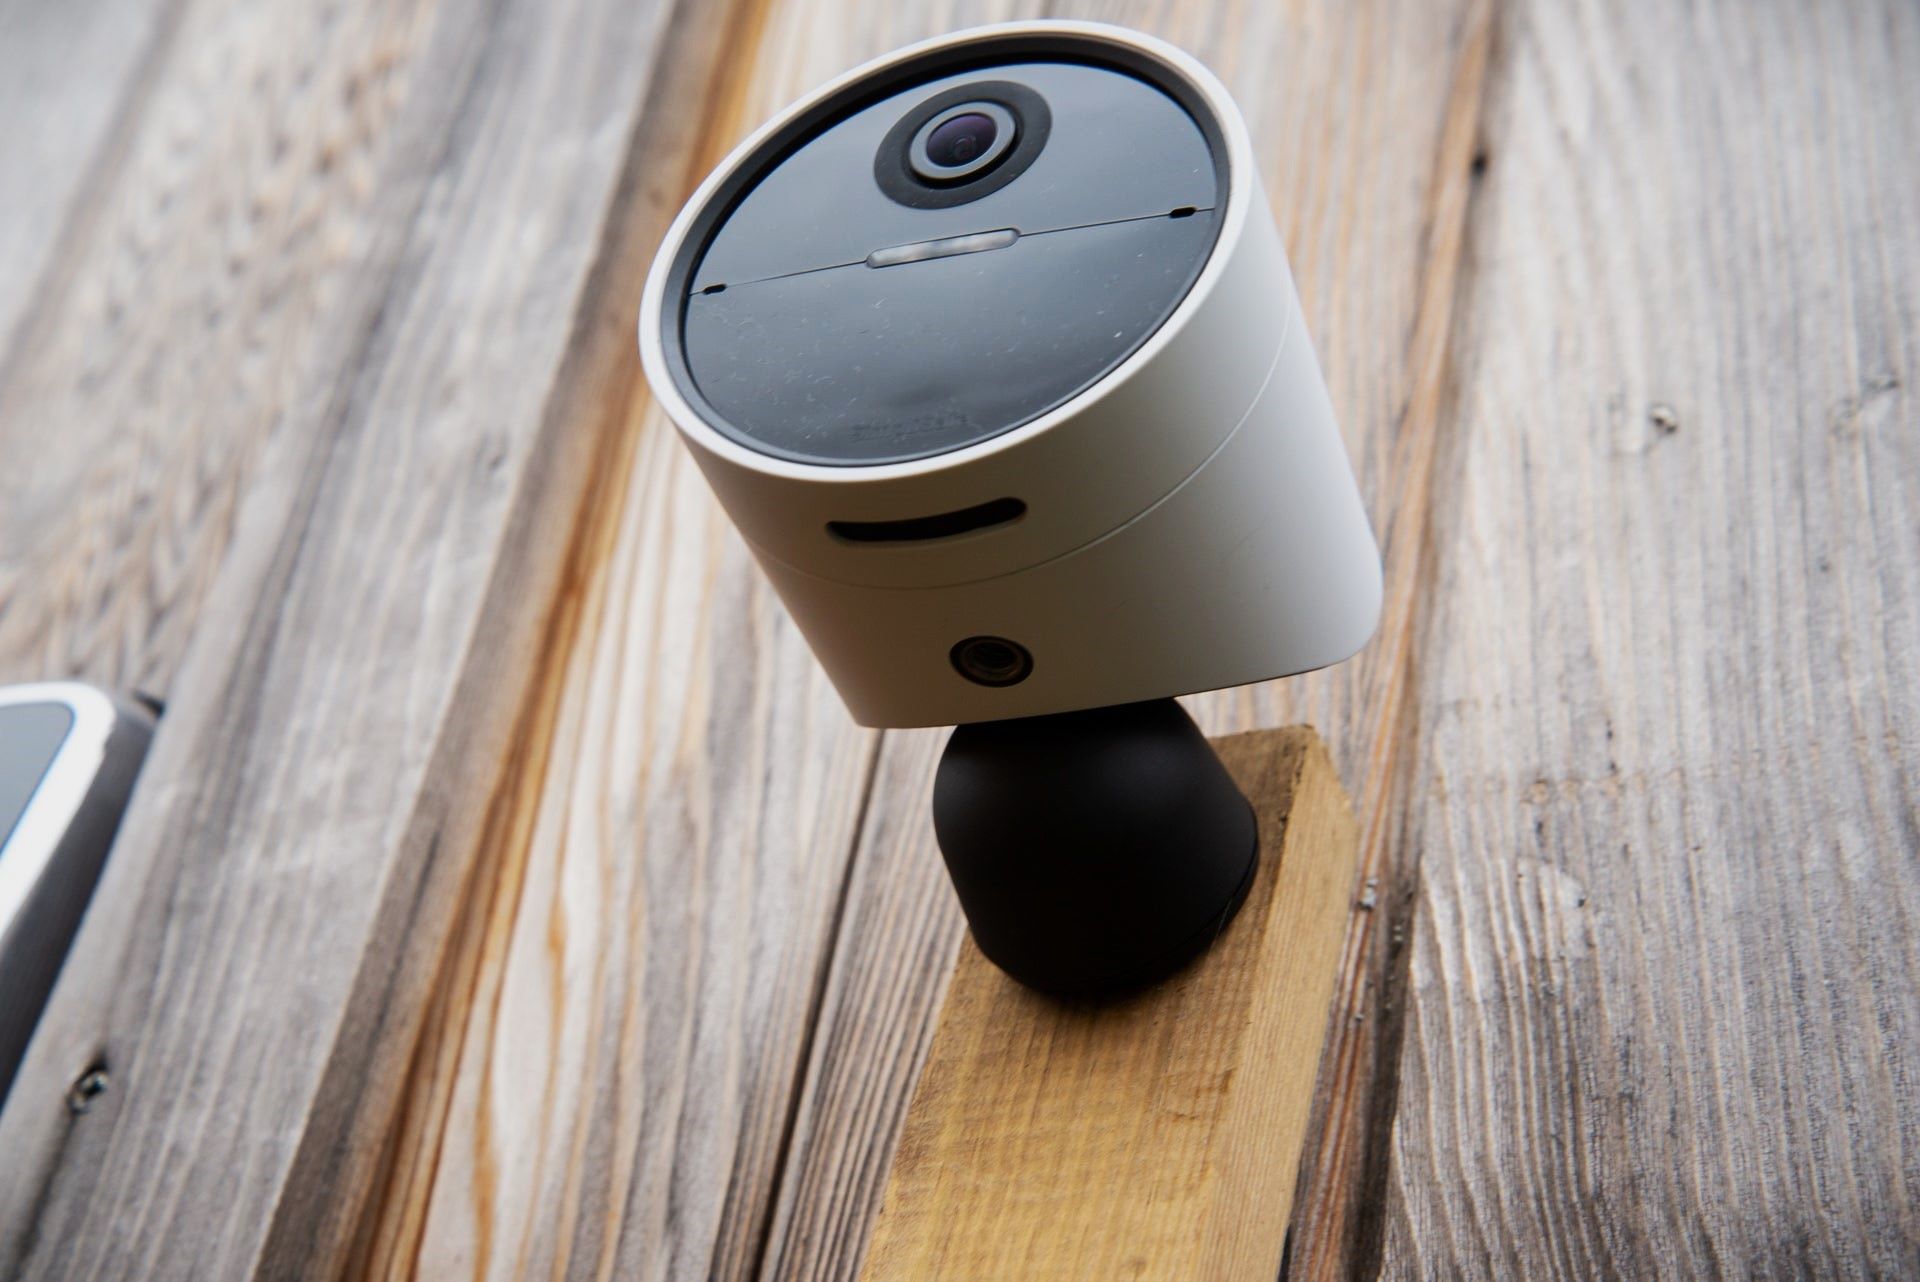
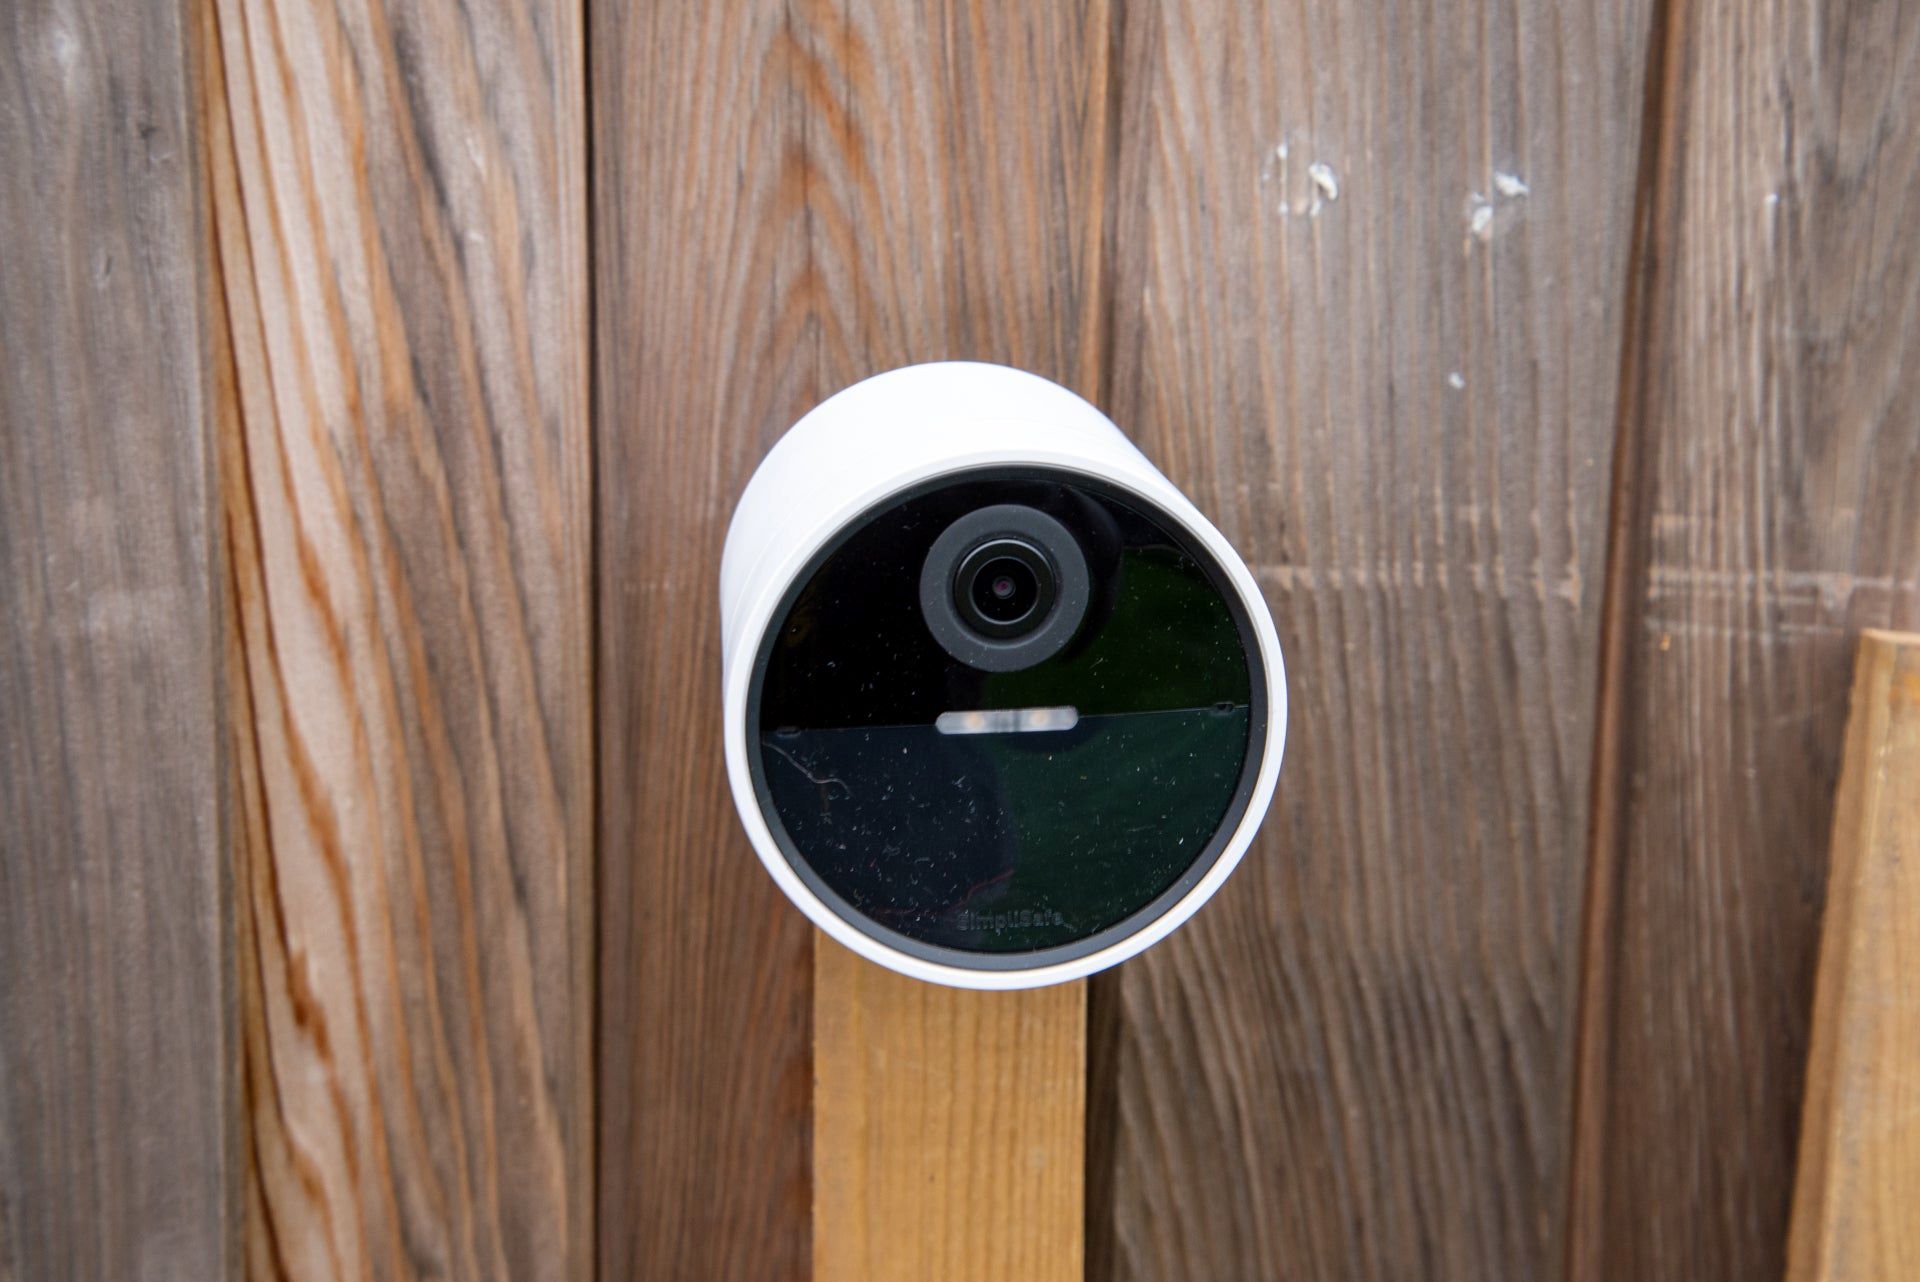
Step 5: Adjust the camera angle
Now that the SimpliSafe Outdoor Camera is securely attached to the bracket, it’s time to adjust the camera angle for optimal coverage. Follow these steps to ensure that the camera captures the desired areas effectively:
- Loosen the camera: If your camera allows for adjustment, loosen any screws or locking mechanisms that hold it in place. This will enable you to adjust the camera’s angle.
- Test the camera’s field of view: Power on the camera and preview its field of view on the connected device or monitoring system. This will help you visualize the camera’s coverage and make adjustments accordingly.
- Rotate and tilt the camera: Depending on the camera’s capabilities, rotate and tilt it to capture the desired areas. Ensure that the camera is pointed at the intended target, such as an entryway or vulnerable spot on your property.
- Secure the camera: Once you have adjusted the camera angle, tighten any screws or locking mechanisms to secure it in place. This will prevent the camera from shifting or moving due to external factors like wind or vibrations.
Take the time to fine-tune the camera angle and ensure that it captures the areas you wish to monitor. Keep in mind that proper adjustments can significantly enhance the camera’s effectiveness in providing comprehensive security coverage.
With the camera angle adjusted, it’s time to move on to the next step: mounting the camera to the wall.
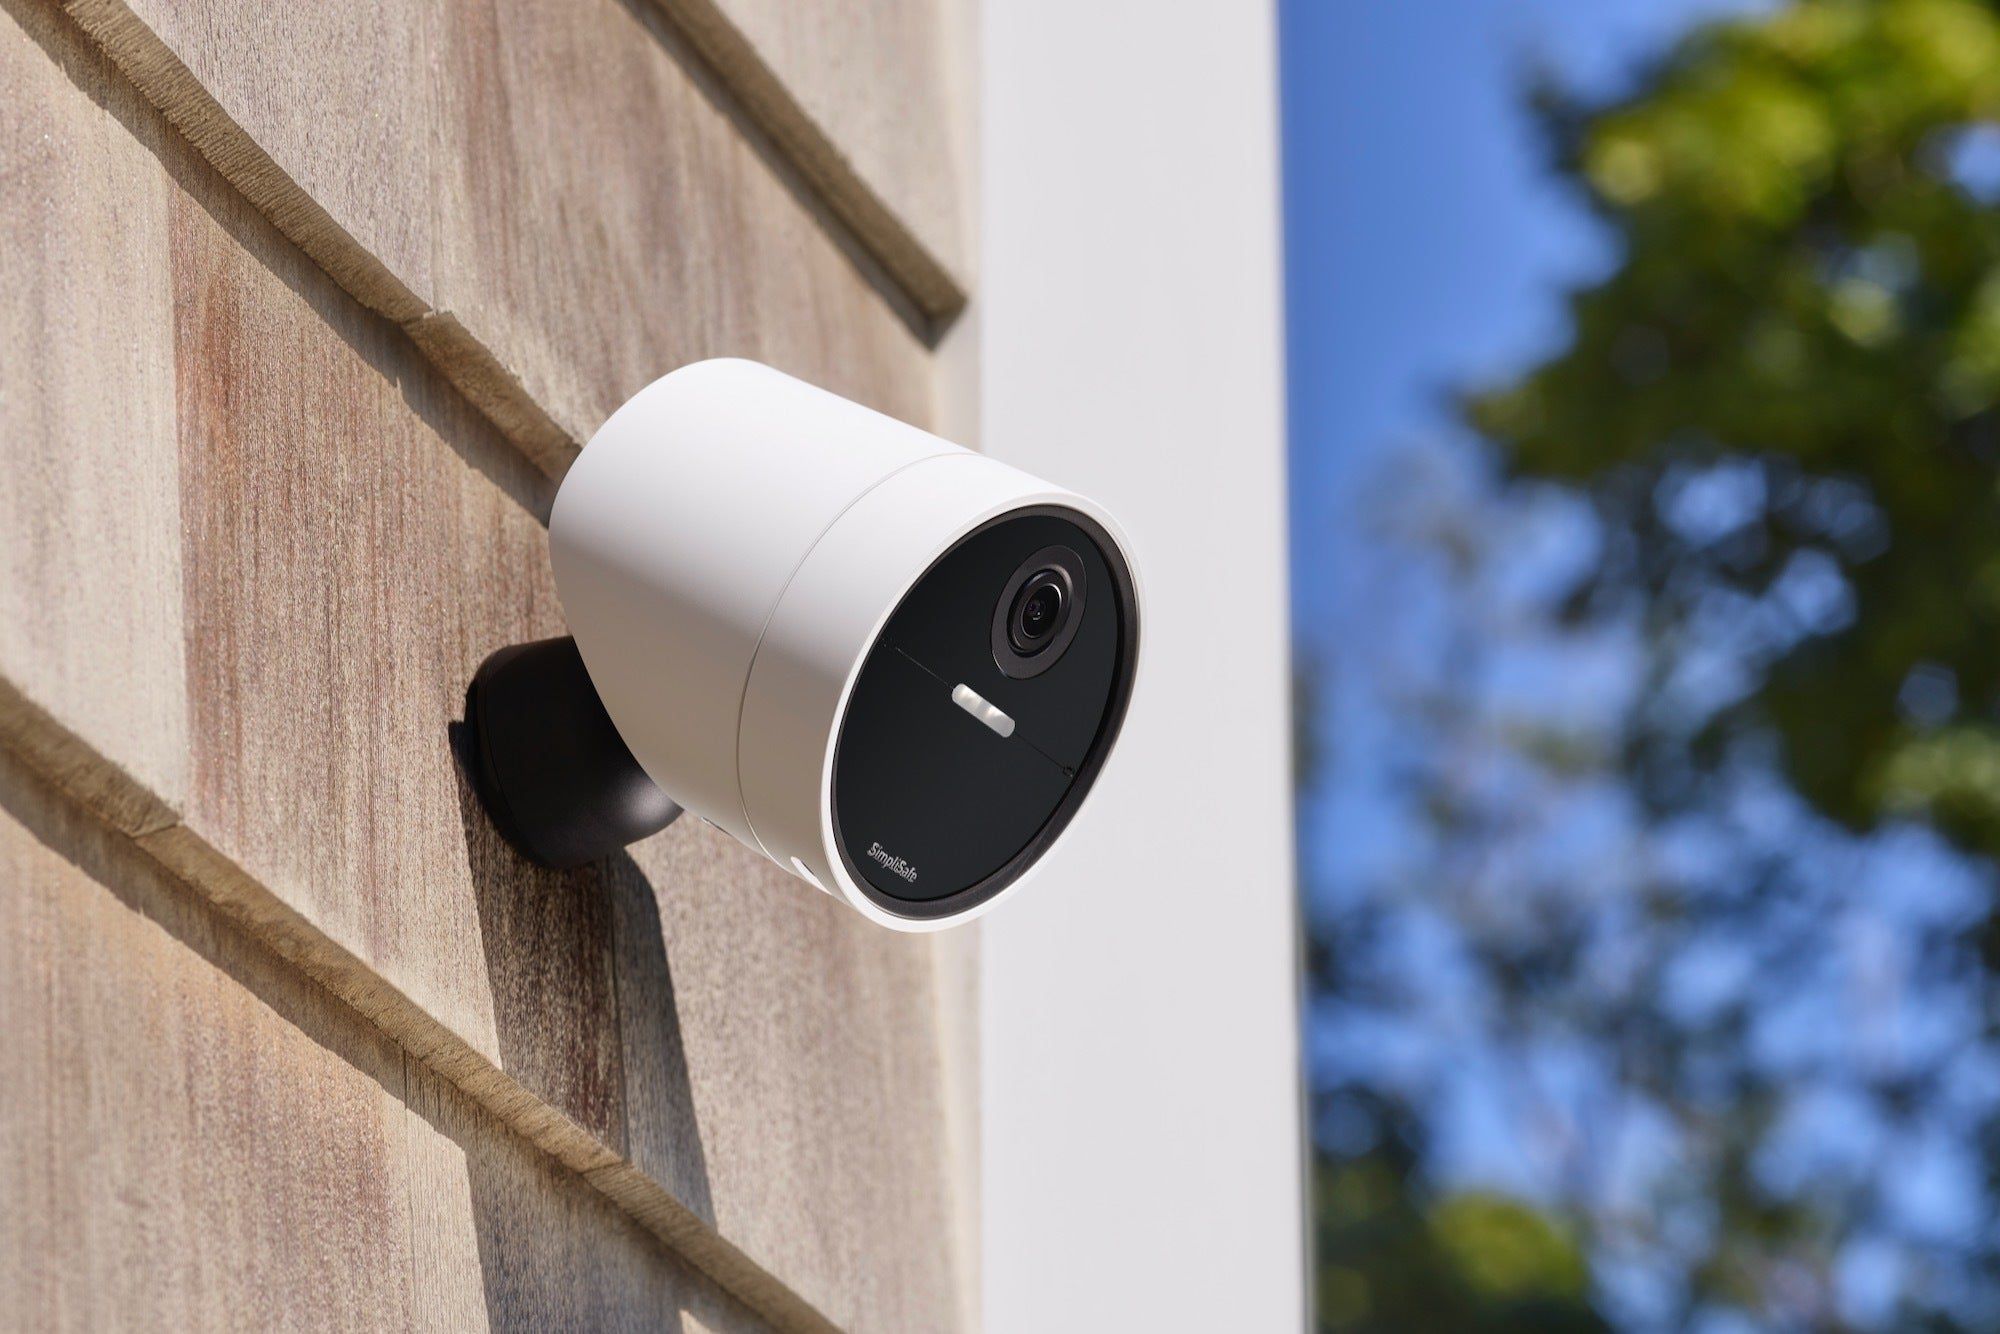
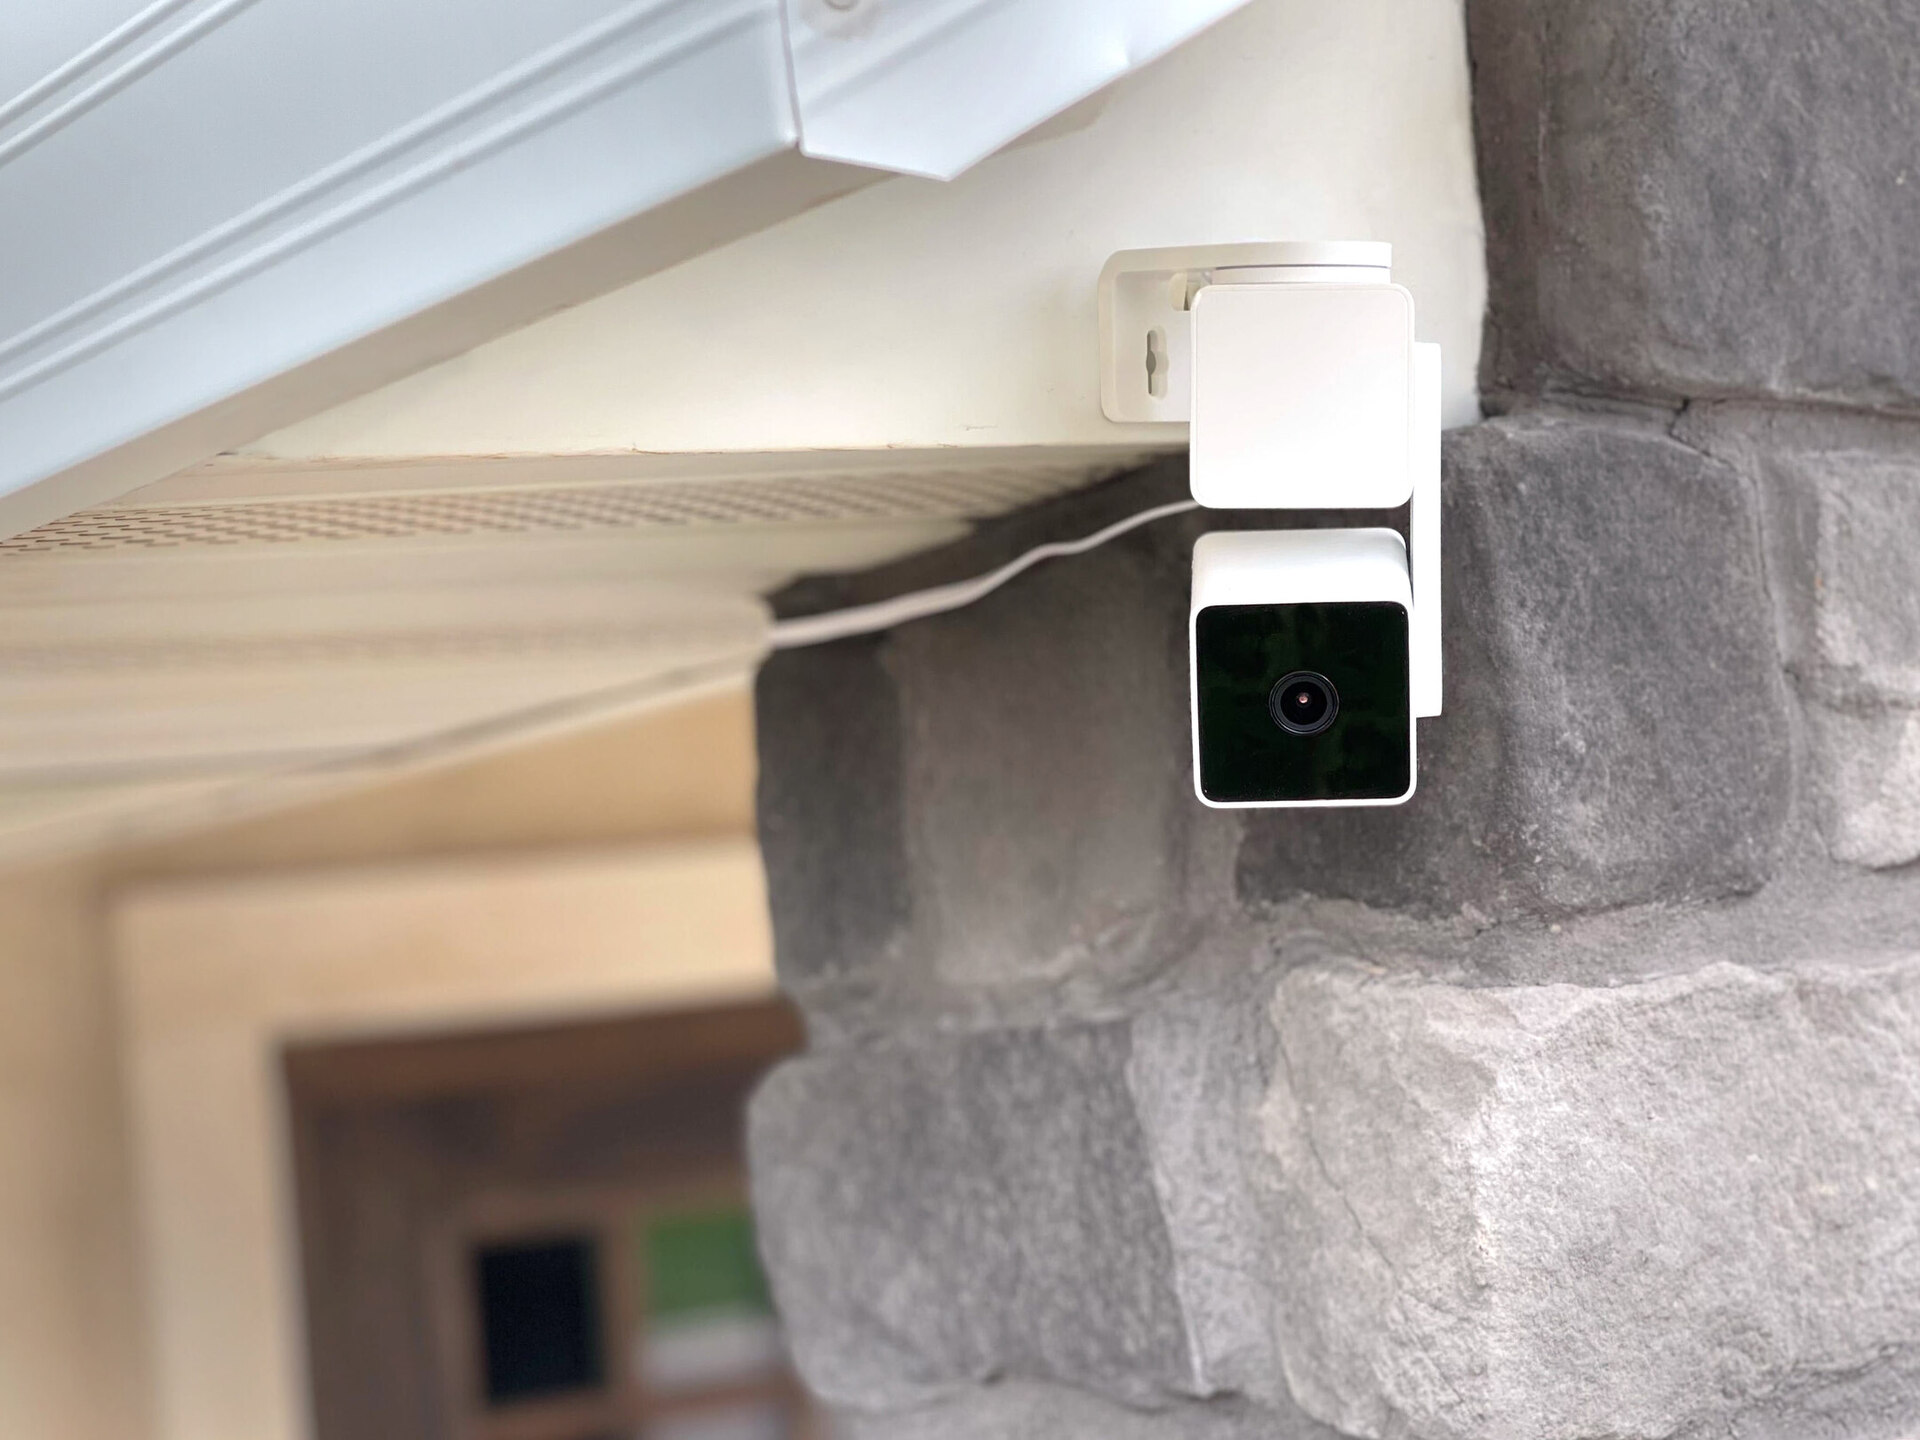
Step 6: Mount the camera to the wall
Now that the camera angle is set, it’s time to mount the SimpliSafe Outdoor Camera to the wall. Follow these steps to securely attach the camera:
- Position the camera: Hold the camera up to the mounting bracket, ensuring that it aligns properly with the bracket and the desired angle.
- Mark the screw hole locations: Use a pencil or marker to mark the screw hole locations on the wall. Ensure that the camera is level and positioned correctly.
- Drill pilot holes: Use a drill and an appropriate drill bit to create pilot holes at the marked locations. Pilot holes make it easier to insert the screws and prevent any damage to the wall.
- Secure the camera: Align the camera with the pilot holes and use screws to securely attach it to the wall. Ensure that the camera is tightly fastened to prevent any movement or instability.
- Check stability: Give the camera a gentle shake to ensure that it is stable and secure. Make any necessary adjustments or tighten the screws if needed.
By following these steps, you have successfully mounted the SimpliSafe Outdoor Camera to the wall. This provides a secure and stable platform for your camera to effectively monitor and protect your property.
The next step will guide you through connecting the camera to your SimpliSafe system for seamless integration and control.
Step 7: Connect the camera to the SimpliSafe system
Now that the camera is securely mounted, it’s time to connect it to your SimpliSafe system. Follow these steps to ensure a seamless integration:
- Power on the camera: Connect the power adapter to the camera and plug it into a nearby power outlet. Ensure that the camera receives power and is powered on.
- Connect to Wi-Fi: Using the SimpliSafe app or web portal, connect the camera to your Wi-Fi network. Follow the instructions provided by SimpliSafe to establish a stable and secure connection.
- Add the camera to your SimpliSafe account: Open the SimpliSafe app or web portal and add the camera to your existing SimpliSafe account. This will enable you to control and monitor the camera from your smartphone or computer.
- Verify connectivity: Once the camera is added to your account, perform a quick connectivity test to ensure that it is properly connected to your SimpliSafe system.
- Customize camera settings: Use the SimpliSafe app or web portal to customize various camera settings, such as motion detection sensitivity, recording modes, and notifications. This allows you to tailor the camera’s functionality to your specific needs.
By completing these steps, you have successfully connected the SimpliSafe Outdoor Camera to your SimpliSafe system. This integration enables seamless control and monitoring of your camera, providing you with enhanced home security and surveillance capabilities.
The final step will guide you through testing the camera and adjusting any additional settings.
Step 8: Test the camera and adjust settings
After connecting the SimpliSafe Outdoor Camera to your system, it’s important to test its functionality and adjust any additional settings to meet your specific requirements. Follow these steps to ensure optimal performance:
- Perform a test recording: Activate the camera’s recording feature and test it by walking in front of the camera’s field of view. Check if the camera accurately detects any motion and starts recording as expected.
- Review the recorded footage: Use the SimpliSafe app or web portal to access the recorded footage and review its quality. Ensure that the camera captures clear and detailed images, allowing for easy identification if necessary.
- Adjust motion detection sensitivity: If the camera’s motion detection is too sensitive or not sensitive enough, adjust the settings based on your preferences. Fine-tuning the sensitivity will help reduce false alarms or ensure that no movement goes unnoticed.
- Set up notifications: Configure the camera to send notifications to your smartphone or email whenever motion is detected or specific events occur. This keeps you informed of any suspicious activity in real-time.
- Test additional features: Explore any additional features offered by the SimpliSafe Outdoor Camera, such as two-way audio or night vision. Ensure that these features function properly and provide the desired functionality.
By following these steps, you can be confident that your SimpliSafe Outdoor Camera is functioning optimally and tailored to your specific needs. Regularly test and adjust the settings as necessary to maintain the highest level of home security and surveillance.
With the camera tested and all settings adjusted, you have successfully completed the installation process of your SimpliSafe Outdoor Camera. Enjoy the added safety and peace of mind that comes with having a reliable and effective outdoor surveillance system!
If you have any further questions or need assistance, refer to the SimpliSafe user manual or reach out to their customer support for additional guidance.
Read more: What Outdoor Cameras Work With SimpliSafe
Conclusion
Congratulations on successfully installing and setting up your SimpliSafe Outdoor Camera! With this powerful surveillance tool in place, you can now enjoy enhanced home security and greater peace of mind. By following the step-by-step guide outlined in this article, you have ensured that your camera is securely mounted, properly connected to your SimpliSafe system, and optimized for optimal coverage and functionality.
Remember, the key to effective home security is regular maintenance and monitoring. It’s important to periodically check the camera’s performance, adjust settings as needed, and ensure that it remains securely mounted. Take advantage of the features provided by SimpliSafe, such as motion detection sensitivity controls and notifications, to customize the camera’s operation based on your specific requirements.
Additionally, consider integrating your outdoor camera with other security measures, such as door/window sensors, motion detectors, and a comprehensive home security system. This holistic approach will provide you with a comprehensive security solution that protects your home from all angles.
Lastly, stay informed about any updates or firmware releases from SimpliSafe. Regularly check for software updates to ensure that your camera has the latest enhancements and security features. This will help keep your system running smoothly and protect against potential vulnerabilities.
Thank you for choosing SimpliSafe for your home security needs. We hope that this guide has been helpful in guiding you through the installation process and providing you with the knowledge to make the most of your SimpliSafe Outdoor Camera. Enjoy the added peace of mind and security that comes with having a reliable outdoor surveillance system!
Frequently Asked Questions about How To Install A SimpliSafe Outdoor Camera
Was this page helpful?
At Storables.com, we guarantee accurate and reliable information. Our content, validated by Expert Board Contributors, is crafted following stringent Editorial Policies. We're committed to providing you with well-researched, expert-backed insights for all your informational needs.