Furniture
How To Repair A Veneer Dresser
Modified: December 7, 2023
Learn how to repair a veneer dresser and restore your furniture to its former glory. Expert tips and step-by-step instructions for fixing damaged veneer.
(Many of the links in this article redirect to a specific reviewed product. Your purchase of these products through affiliate links helps to generate commission for Storables.com, at no extra cost. Learn more)
Introduction
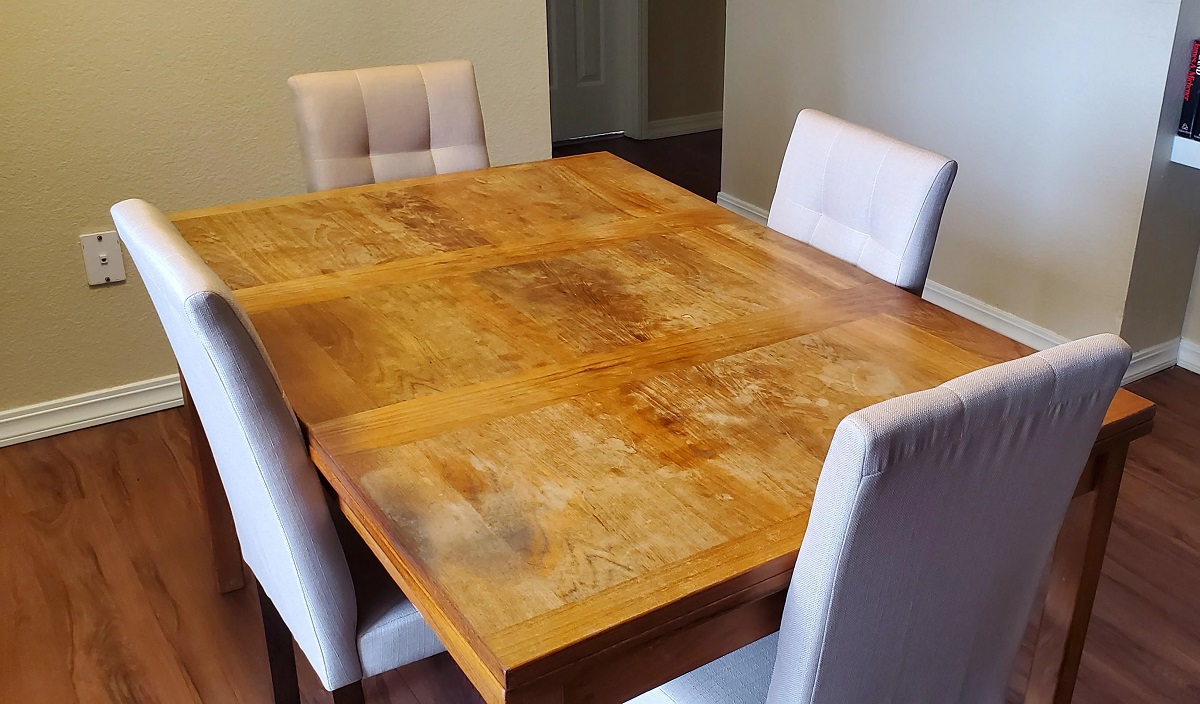
Whether due to accidental damage or simply the wear and tear of daily use, a veneer dresser can start showing signs of wear over time. The veneer, which is a thin layer of wood applied to the surface of the dresser, can become cracked, chipped, or detached, affecting the overall appearance of the piece. However, with just a few tools and some basic knowledge, it is possible to repair a veneer dresser and restore its beauty.
In this article, we will guide you through the step-by-step process of repairing a veneer dresser. We will cover everything from assessing the damage to applying the new veneer and finishing touches. So, put on your DIY hat and let’s get started!
Before we dive into the repair process, let’s first gather the materials that will be needed:
Key Takeaways:
- Revitalize your veneer dresser by following a step-by-step guide to assess, repair, and rejuvenate its appearance. With patience and attention to detail, you can achieve a professional-looking result and extend the lifespan of your cherished furniture piece.
- Save money and add a personal touch to your living space by repairing your veneer dresser. Whether you choose to paint or stain, the rewarding DIY project will bring a sense of accomplishment and pride, while preserving the beauty of your furniture for years to come.
Read more: How To Refinish A Veneer Dresser
Materials Needed
- Putty knife
- Veneer adhesive
- Razor blade or utility knife
- Sandpaper (grit ranging from 100 to 220)
- Paint or stain (if desired)
- Paintbrush or foam roller
- Wood filler
- Stainable wood filler (if staining)
Now that we have our materials ready, let’s move on to the first step of the process: assessing the damage.
Key Takeaways:
- Revitalize your veneer dresser by following a step-by-step guide to assess, repair, and rejuvenate its appearance. With patience and attention to detail, you can achieve a professional-looking result and extend the lifespan of your cherished furniture piece.
- Save money and add a personal touch to your living space by repairing your veneer dresser. Whether you choose to paint or stain, the rewarding DIY project will bring a sense of accomplishment and pride, while preserving the beauty of your furniture for years to come.
Read more: How To Refinish A Veneer Dresser
Materials Needed
Repairing a veneer dresser requires a few essential materials to ensure a successful and long-lasting repair. Here’s a list of the materials you will need:
- Putty knife: This will be used to carefully remove the damaged veneer.
- Veneer adhesive: A high-quality veneer adhesive is crucial for securely attaching the new veneer.
- Razor blade or utility knife: These will be used to cut and trim the veneer to the desired shape and size.
- Sandpaper: You’ll need sandpaper with different grits ranging from 100 to 220 to sand and smooth the surface.
- Paint or stain: If desired, you can paint or stain the dresser after repairing the veneer to enhance its appearance.
- Paintbrush or foam roller: These tools are necessary for applying paint or stain to the dresser.
- Wood filler: Wood filler is used to fill any gaps or imperfections in the dresser before applying the new veneer.
- Stainable wood filler (if staining): If you plan to stain the dresser, it’s important to use a stainable wood filler to ensure a seamless finish.
By having these materials on hand, you’ll be well-equipped to tackle the repair process. Now, let’s move on to the first step: assessing the damage.
Step 1: Assessing the Damage
Before you can begin repairing the veneer on your dresser, it’s important to assess the extent of the damage. Take a close look at the dresser and identify any cracked, chipped, or detached areas. You’ll also want to check for any loose or flaking veneer that may need to be removed.
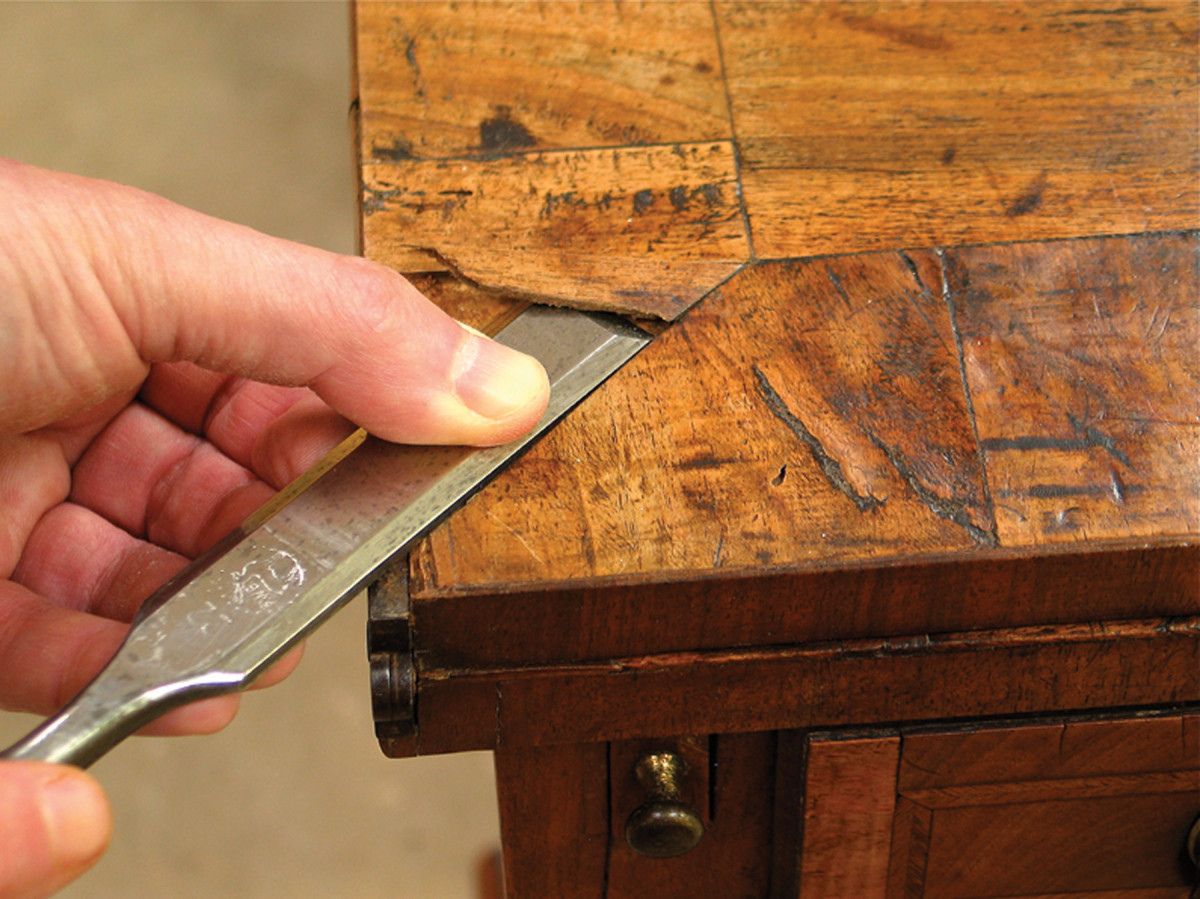
Using a putty knife, gently probe the damaged areas to determine if the veneer is still firmly attached to the surface. If it feels loose or comes off easily, you’ll need to remove the damaged veneer completely before proceeding with the repair.
Take note of any large gaps, uneven surfaces, or other imperfections on the dresser. These will need to be addressed later during the repair process.
Once you have assessed the damage, you can move on to the next step: removing the damaged veneer.
Step 2: Removing the Damaged Veneer
Now that you’ve assessed the damaged areas on your veneer dresser, it’s time to remove the old and damaged veneer. This step is crucial to ensure a clean and smooth surface for the new veneer to adhere to.
Start by using a putty knife to gently pry up the damaged veneer. Be careful not to apply too much force to avoid damaging the underlying wood. Work slowly and patiently, gradually lifting the veneer until it is completely detached.
If the veneer is stubborn and doesn’t come off easily, you can use a razor blade or utility knife to carefully cut and score the veneer. This will make it easier to remove. Take your time and be cautious to avoid any injuries.
Once the damaged veneer has been removed, it’s important to clean the surface thoroughly. Use a damp cloth or sponge to wipe away any residue or adhesive left behind. This will help create a clean and smooth base for the new veneer.
Now that you have successfully removed the damaged veneer, it’s time to prepare the surface for the next step: applying the new veneer.
Read more: How To Repair Veneer Furniture
Step 3: Preparing the Surface
With the old and damaged veneer now removed from your dresser, it’s time to prepare the surface for the application of the new veneer. This step is crucial to ensure a strong bond between the wood and the new veneer.
Start by inspecting the exposed wood surface for any imperfections, such as dents, scratches, or uneven areas. Use wood filler to fill in these imperfections, following the manufacturer’s instructions. Apply the wood filler using a putty knife, and smooth it out to create a level and even surface. Allow the filler to dry completely before moving on to the next step.
Once the wood filler is dry, it’s time to sand the entire surface of the dresser. Begin with rough-grit sandpaper, around 100 grit, to remove any remaining adhesive, rough edges, or raised areas. Sand in the direction of the wood grain, applying even pressure. As you progress, switch to higher-grit sandpaper, such as 150 or 220 grit, for a smoother finish. This will help create a clean and smooth surface for the new veneer.
Be sure to wipe away any dust or debris with a clean cloth or tack cloth after sanding. It’s important to have a clean surface before applying the adhesive and new veneer.
Now that the surface has been prepared, it’s time to move on to the next step: applying the new veneer.
When repairing a veneer dresser, use wood glue to reattach loose veneer, clamp it in place until dry, and then sand and refinish the area for a seamless repair.
Step 4: Applying the New Veneer
Now that the surface of your dresser is prepared, it’s time to apply the new veneer. This step will give your dresser a fresh and revitalized look while also protecting the underlying wood.
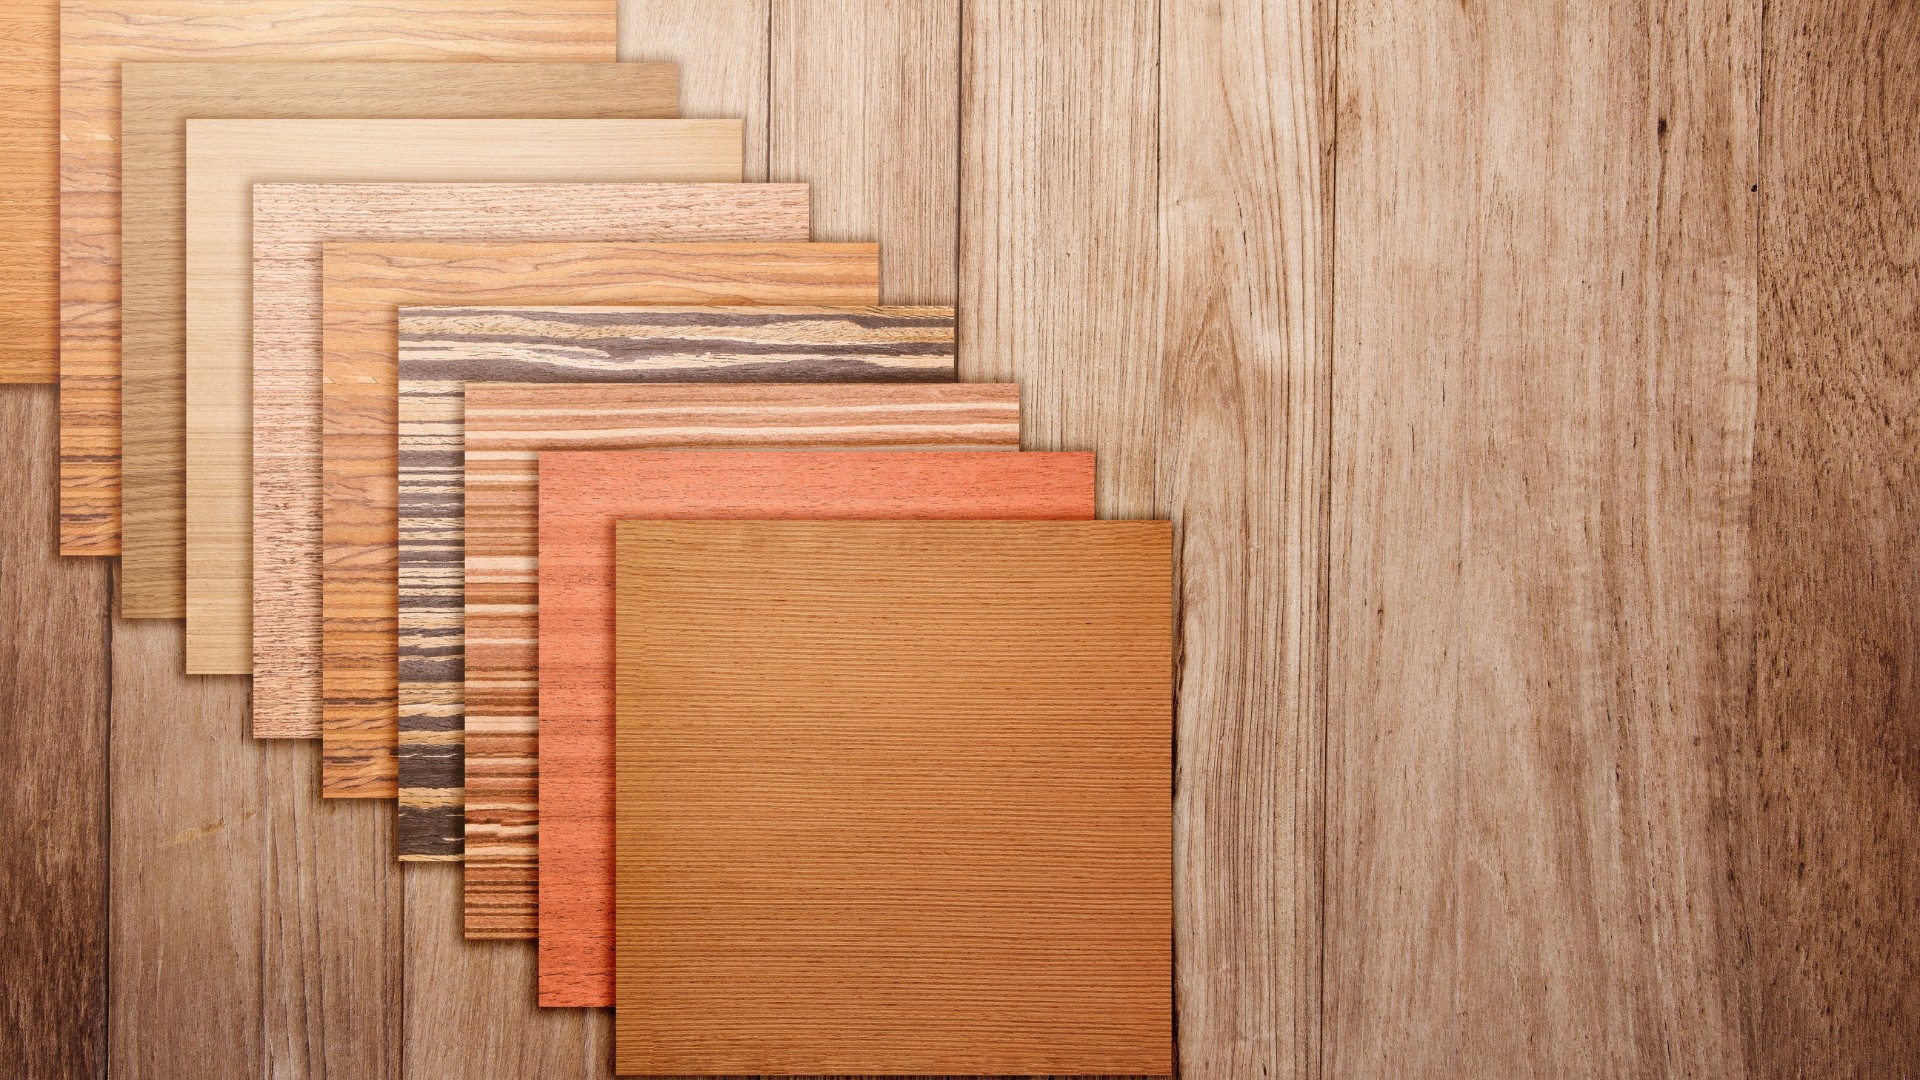
Start by measuring and cutting the new veneer to fit the area you are repairing. Ensure that the veneer is slightly larger than the damaged area, as it can be trimmed later for a precise fit.
Next, apply a thin and even layer of veneer adhesive to the back of the new veneer and to the prepared surface of the dresser. Use a paintbrush or a roller to spread the adhesive evenly, ensuring full coverage of both the veneer and the dresser’s surface.
Once the adhesive has been applied, carefully position the new veneer over the damaged area, aligning it properly. Gently press down on the veneer to secure it to the surface. Use a roller or a clean cloth to remove any air bubbles and ensure a tight bond between the veneer and the wood.
Allow the adhesive to dry according to the manufacturer’s instructions. This may take several hours or overnight. Avoid placing any heavy objects on the repaired area during this time to prevent the veneer from shifting or warping.
Once the adhesive has fully dried, you can move on to the next step: trimming and finishing the veneer.
Step 5: Trimming and Finishing the Veneer
Now that the new veneer has been applied to the damaged area of your dresser, it’s time to trim and finish the veneer for a seamless and polished look.
Start by carefully trimming any excess veneer using a razor blade or utility knife. Follow the contour of the dresser, ensuring that the edges of the veneer align with the surrounding surface. Take your time and make precise cuts to achieve a clean and professional finish.
Once the veneer has been trimmed, use sandpaper to smooth the edges and create a seamless transition between the new veneer and the rest of the dresser. Begin with a lower-grit sandpaper, such as 150, and gradually move to a higher-grit sandpaper, such as 220, for a smooth and polished finish.
After sanding, wipe away any dust or debris with a clean cloth. Inspect the repaired area for any gaps or unevenness. If necessary, apply additional wood filler to fill in any imperfections, and then sand it down to create a smooth surface.
With the veneer trimmed and the surface smooth, you can now move on to the next step: sanding and smoothing the surface.
Step 6: Sanding and Smoothing the Surface
Now that the new veneer has been trimmed and finished, it’s time to focus on sanding and smoothing the entire surface of your dresser to ensure a flawless and professional-looking result.
Start by using a sanding block or sandpaper with a finer grit, such as 220, to sand the entire surface of the dresser. This will help remove any rough patches, blemishes, or inconsistencies in the wood. Always sand with the grain of the wood to avoid damaging the surface.
Be sure to pay extra attention to the repaired area, as well as the surrounding areas of the dresser. Use gentle and even pressure when sanding to achieve a smooth and uniform finish. Continuously check your work to ensure that the surface is becoming even and free of imperfections.
After sanding, use a clean cloth or tack cloth to remove any residual dust or debris from the surface. It’s crucial to have a clean and smooth surface before proceeding to the next step.
Now that you have sanded and smoothed the surface, you can move on to the next step: painting or staining the dresser, depending on your preference.
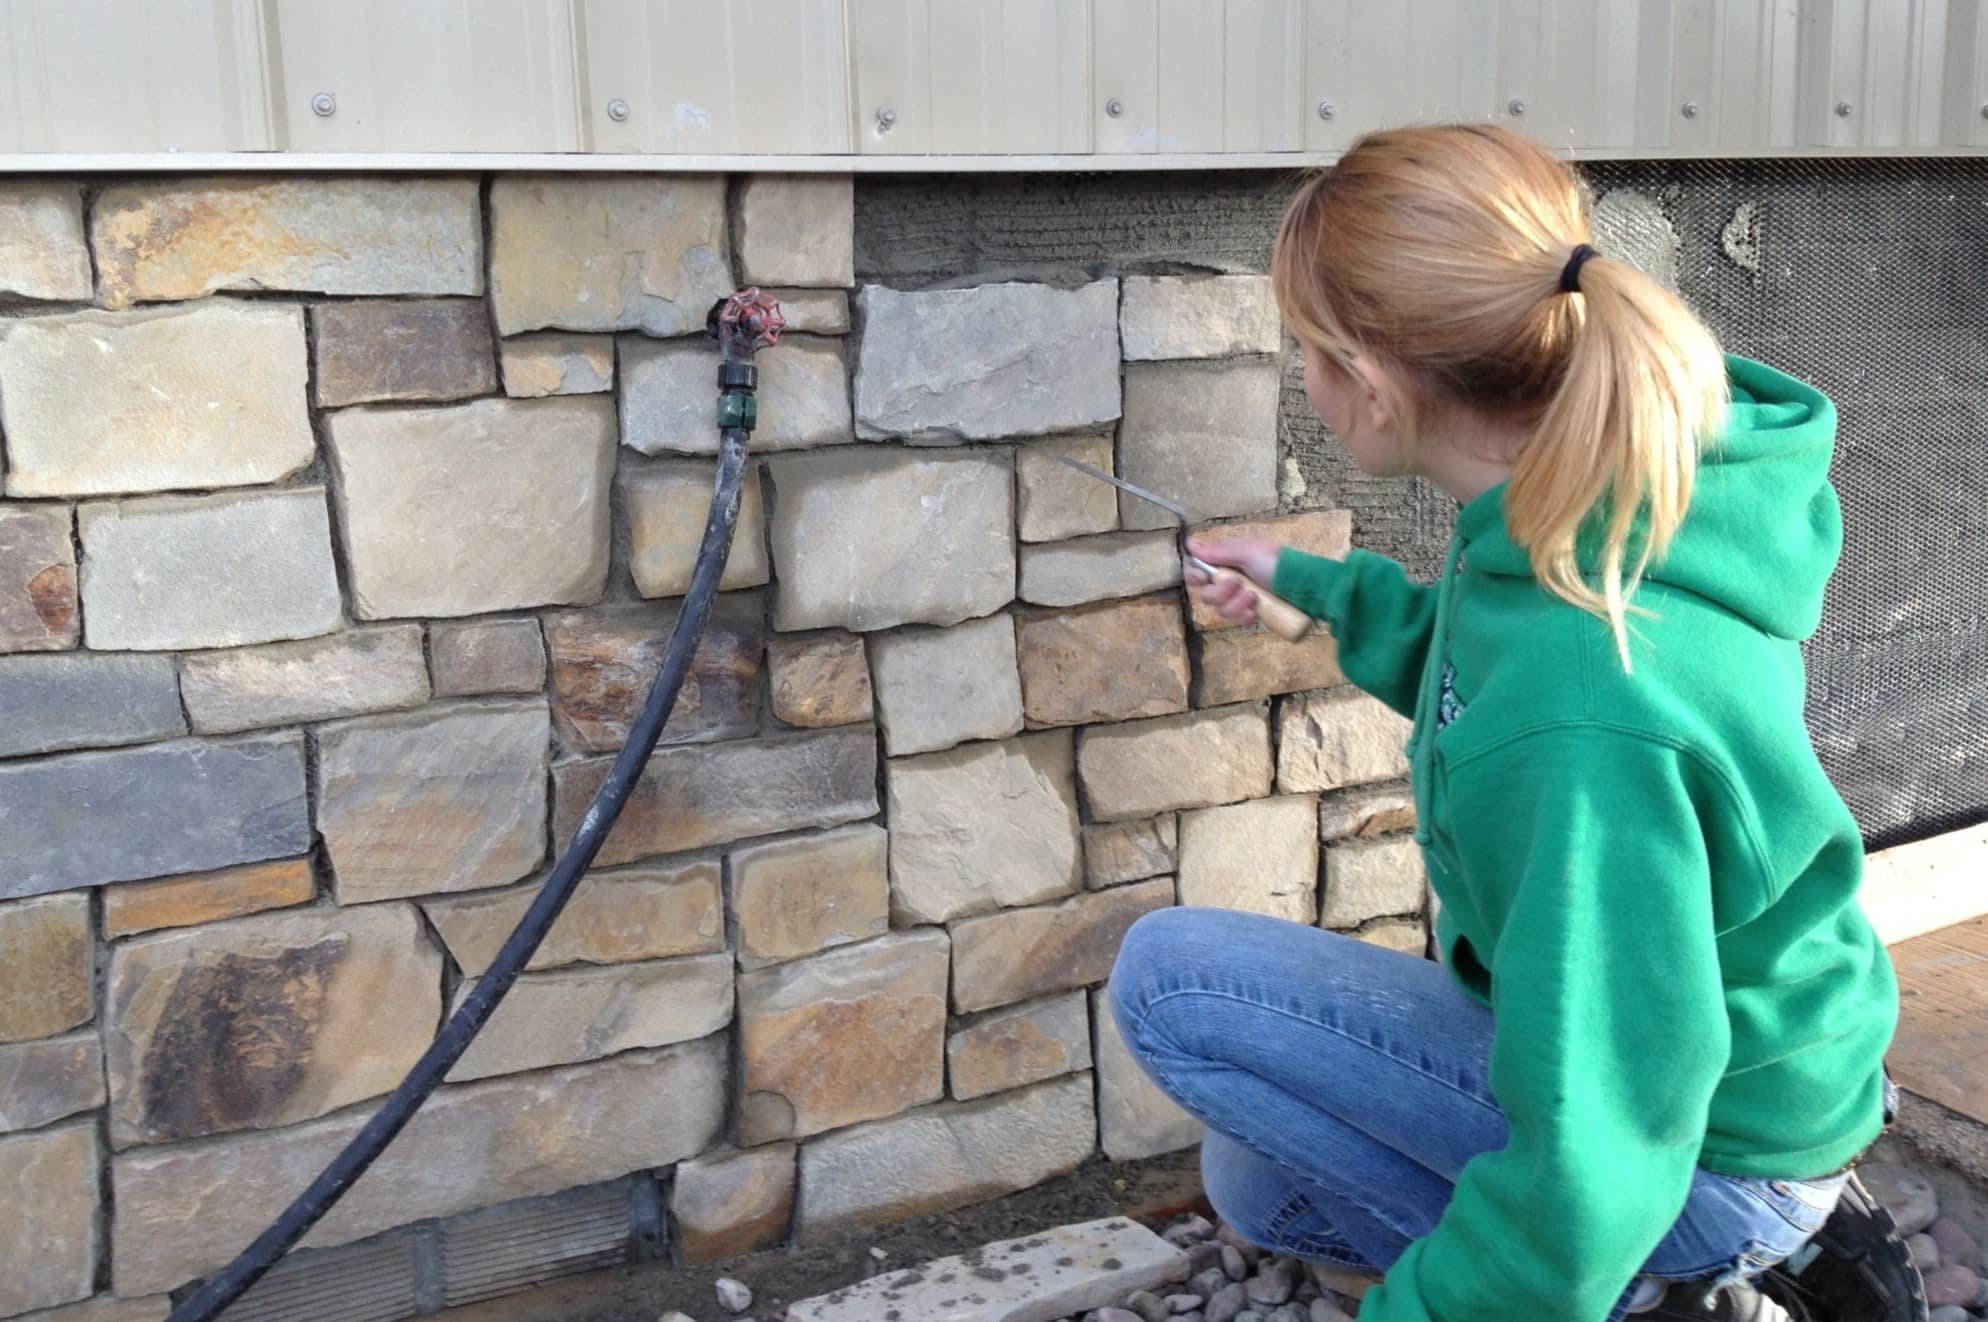
Read more: How Thick Is Stone Veneer
Step 7: Painting or Staining the Dresser
Now that you have repaired and prepared the veneer on your dresser, it’s time to give it a fresh new look with a coat of paint or stain. This step will not only enhance the appearance of the dresser but also provide added protection to the wood.
If you prefer a painted finish, start by choosing a high-quality paint that is suitable for wood surfaces. Ensure that the paint is compatible with any previous finish or primer that may have been applied. Use a paintbrush or foam roller to apply thin coats of paint, allowing each layer to dry before applying the next. This will help achieve a smooth and consistent finish. Apply as many coats as necessary to achieve the desired color and coverage.
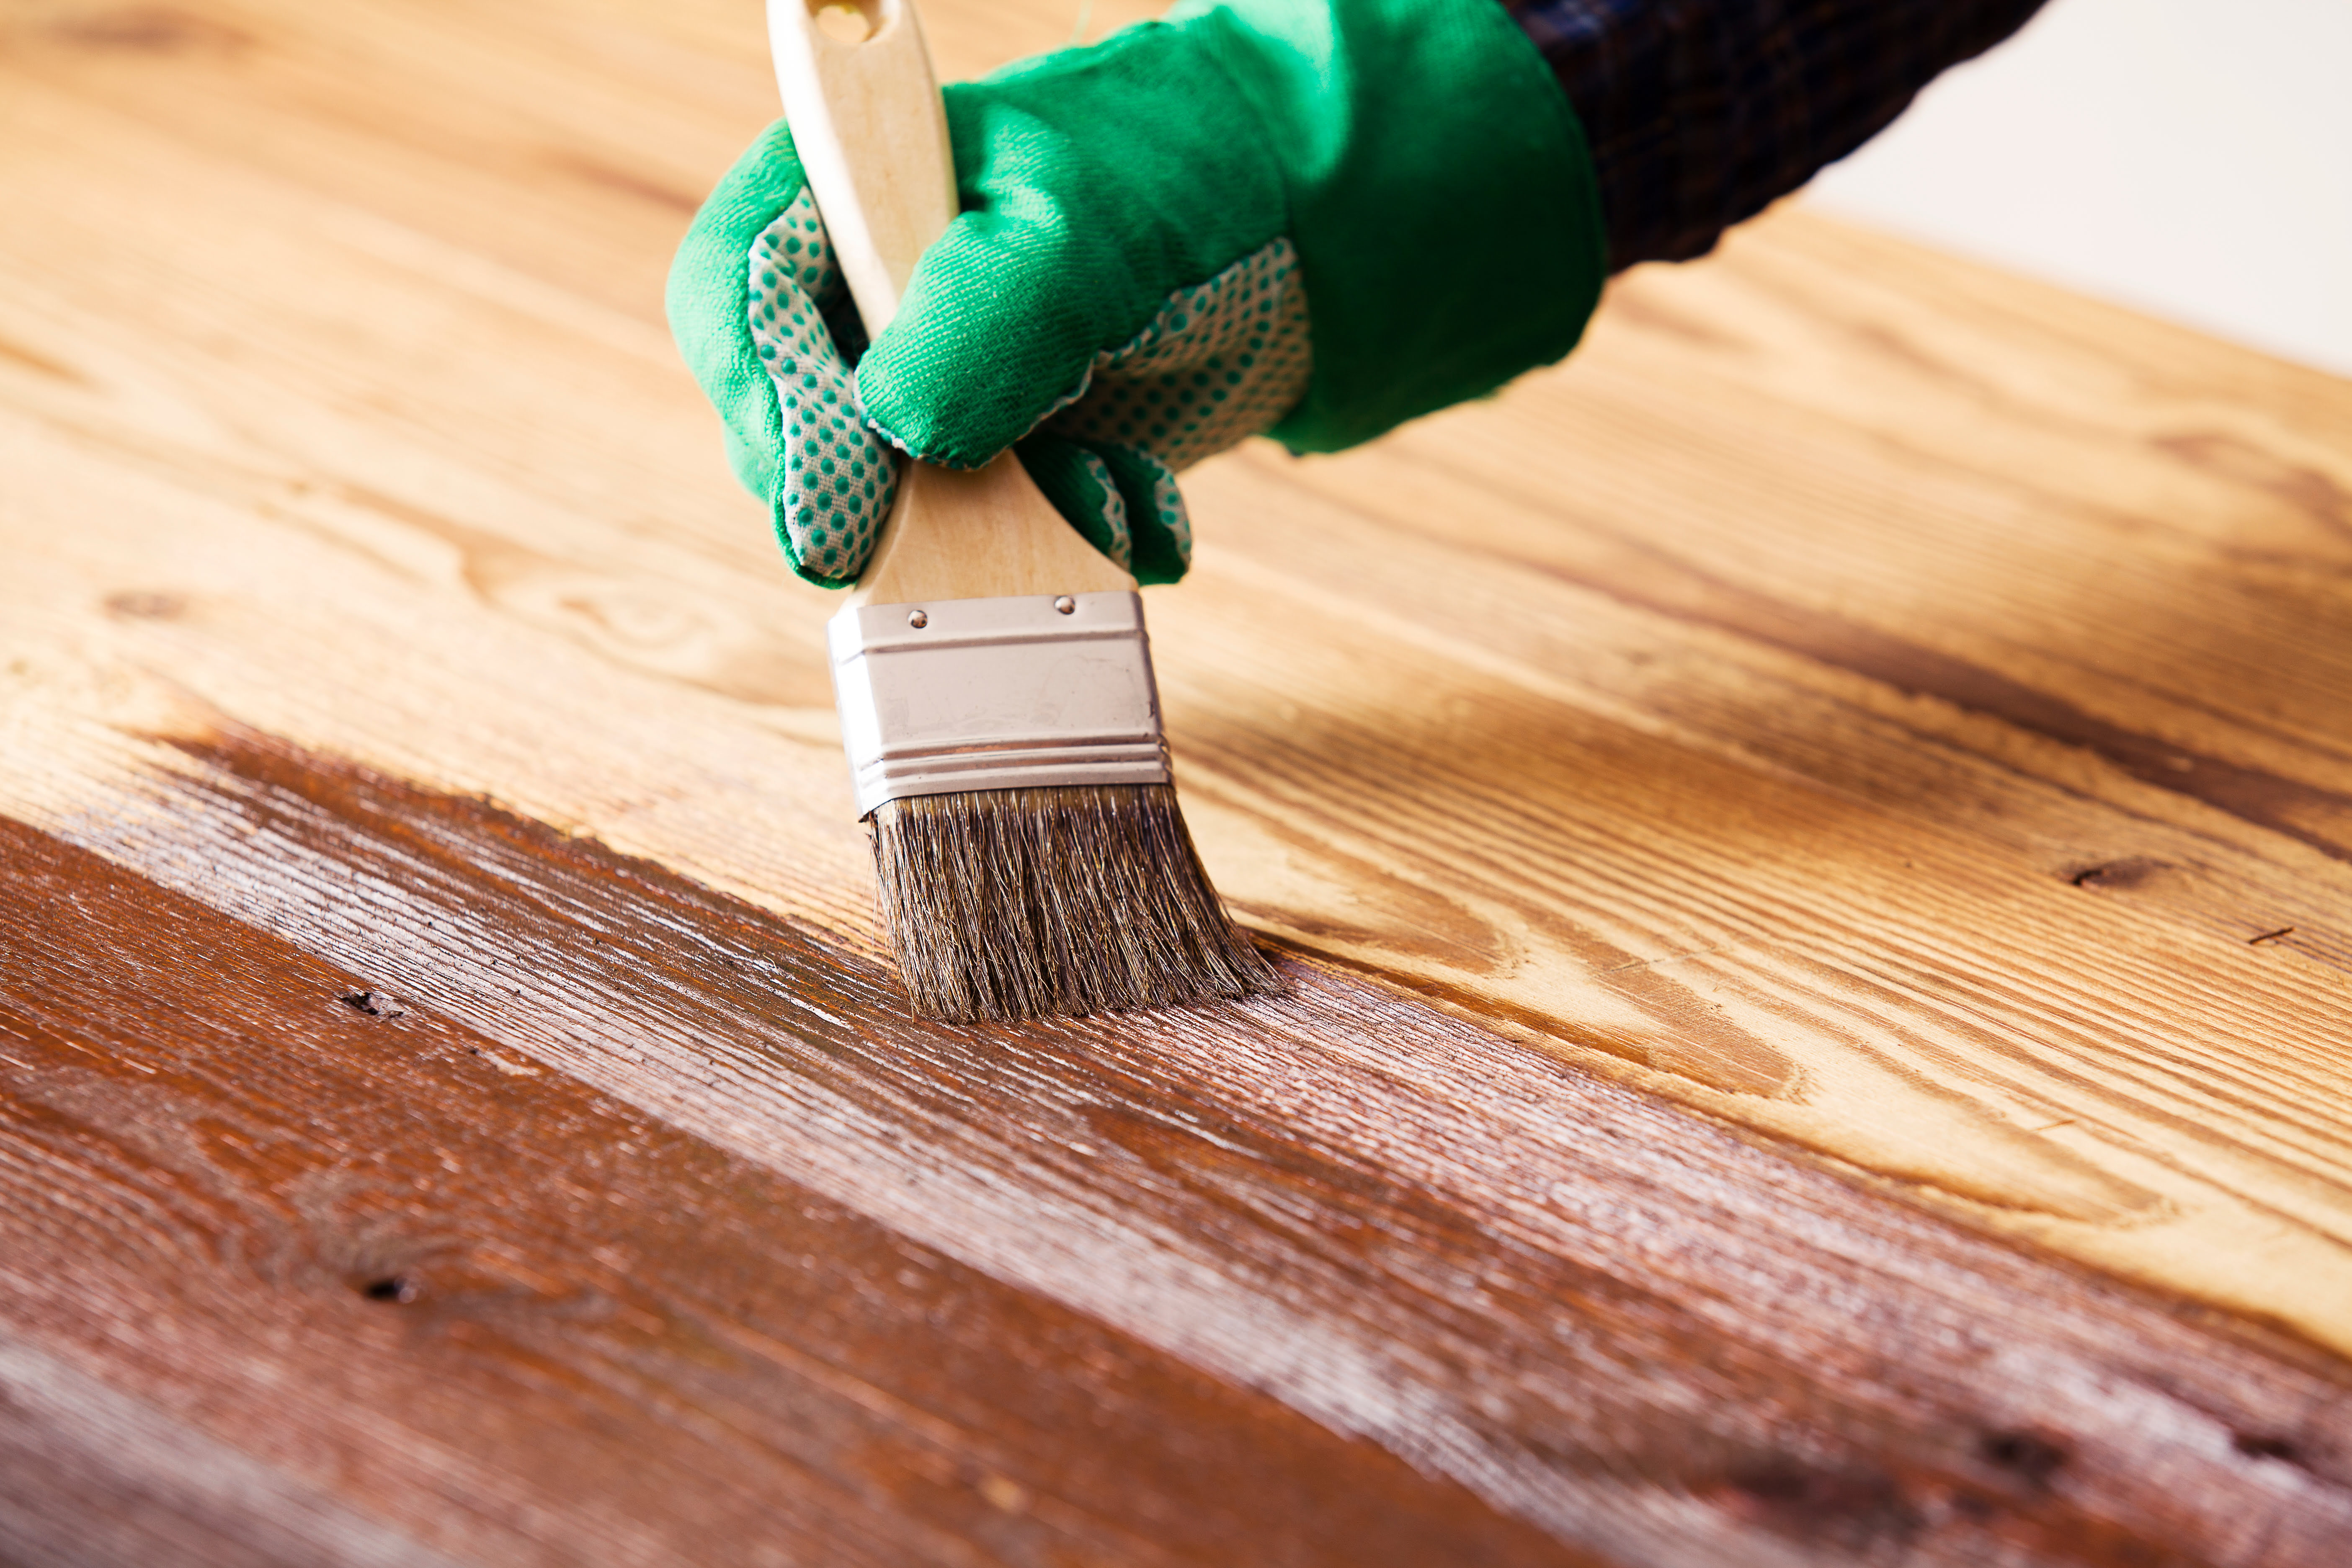
On the other hand, if you prefer a stained finish, make sure to choose a stain that matches the existing color or desired aesthetic. Before staining, apply a wood conditioner to ensure even absorption of the stain and prevent blotching. Apply the stain with a brush or cloth, following the wood grain. Wipe off any excess stain after allowing it to penetrate the wood for the recommended amount of time. Apply additional coats if a darker shade is desired, always allowing sufficient drying time between each coat.
Remember to work in a well-ventilated area when applying paint or stain, and follow the instructions provided by the manufacturer for best results.
Once the paint or stain has dried, inspect the dresser for any touch-ups or areas that may require additional coats. Sand lightly between coats, if necessary, to achieve a smooth finish.
Finally, once you are satisfied with the painted or stained finish, allow the dresser to fully cure before using or placing any objects on it. Follow the recommended curing time provided by the paint or stain manufacturer.
Congratulations! You have successfully repaired and rejuvenated your veneer dresser. It’s time to enjoy the transformation and showcase your handiwork in your living space.
Remember, taking care of your dresser by regularly cleaning and maintaining it will help prolong its beauty and extend its lifespan.
Thank you for following along with this step-by-step guide. We hope you found it helpful and have gained the confidence to tackle similar projects in the future.
Conclusion
Repairing a veneer dresser may seem like a daunting task, but with the right materials and step-by-step guidance, it can be achieved successfully. By assessing the damage, removing the damaged veneer, preparing the surface, applying the new veneer, trimming and finishing it, sanding and smoothing the surface, and finally, painting or staining the dresser, you can restore its beauty and extend its lifespan.
Throughout this process, it’s important to take your time, be patient, and pay attention to detail. The quality of your workmanship will directly impact the final result. Remember to use high-quality materials and follow the instructions provided by manufacturers for best results.
Repairing a veneer dresser not only saves money, but it also allows you to personalize and revitalize a piece of furniture that may hold sentimental value. It’s a rewarding DIY project that adds charm and character to your living space.
Whether you choose to paint your dresser for a contemporary look or stain it to highlight the natural beauty of the wood, the final outcome will bring a sense of accomplishment and pride.
Remember, after repairing your dresser, it’s important to take good care of it to maintain its newfound beauty. Regular cleaning and maintenance will help preserve the finish and keep it looking its best for years to come.
We hope this comprehensive guide has provided you with the knowledge and confidence to tackle the repair of your veneer dresser. Now go forth, unleash your creativity, and enjoy the process of transforming your dresser into a stunning piece of furniture that will be the envy of all who see it.
Frequently Asked Questions about How To Repair A Veneer Dresser
Was this page helpful?
At Storables.com, we guarantee accurate and reliable information. Our content, validated by Expert Board Contributors, is crafted following stringent Editorial Policies. We're committed to providing you with well-researched, expert-backed insights for all your informational needs.


0 thoughts on “How To Repair A Veneer Dresser”