Home>Home Security and Surveillance>How Do You Change The Batteries In The Xfinity Home Security Alarms
Home Security and Surveillance
How Do You Change The Batteries In The Xfinity Home Security Alarms
Modified: March 6, 2024
Learn how to change the batteries in your Xfinity Home Security Alarms with our step-by-step guide. Ensure your home security and surveillance system is always ready to keep you safe.
(Many of the links in this article redirect to a specific reviewed product. Your purchase of these products through affiliate links helps to generate commission for Storables.com, at no extra cost. Learn more)
Introduction
Welcome to the world of Xfinity Home Security Alarms, where peace of mind and the safety of your home are our top priorities. In today’s fast-paced world, home security has become an essential aspect of our lives. Protecting your loved ones and your valuable possessions is a responsibility that should never be taken lightly.
In this comprehensive guide, we will walk you through the process of changing the batteries in your Xfinity Home Security Alarms. It is crucial to ensure that your alarm system is always functioning optimally and ready to provide the protection you need.
Before diving into the step-by-step instructions, let’s take a moment to familiarize ourselves with the Xfinity Home Security system and understand its importance in safeguarding your home.
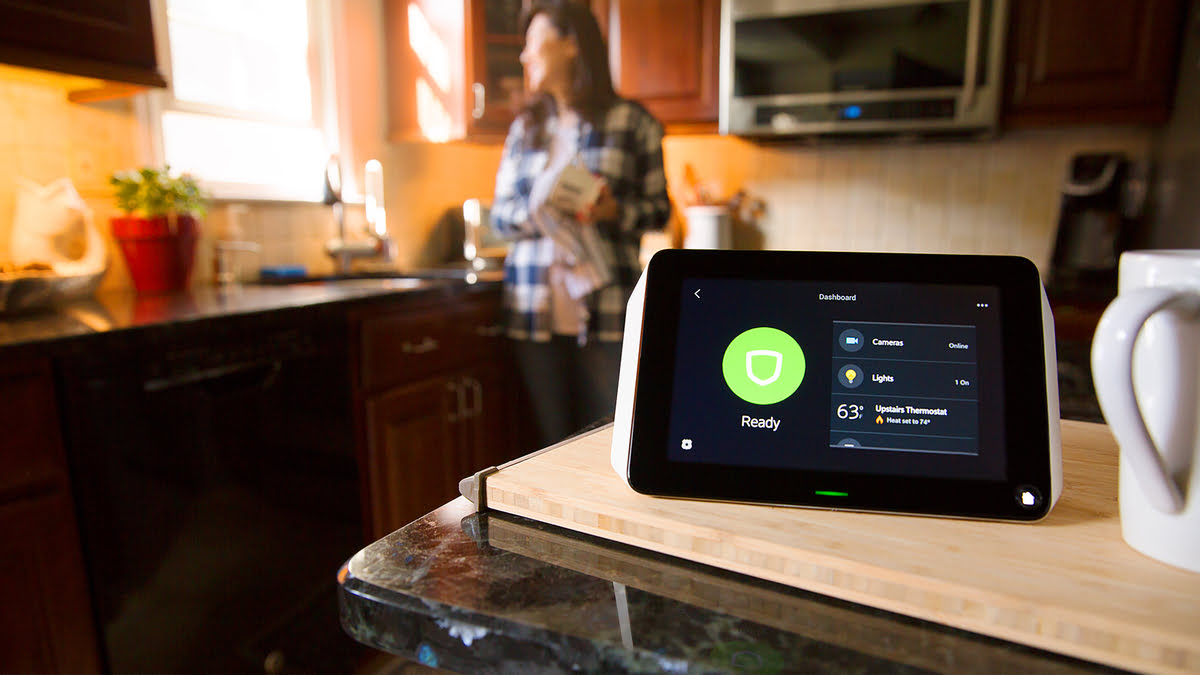
The Xfinity Home Security system is a state-of-the-art home security solution that integrates cutting-edge technology with professional monitoring services. It offers a range of features, including door and window sensors, motion detectors, surveillance cameras, and smart home automation capabilities.
With the Xfinity Home Security system, you can enjoy the convenience of remote access to your home’s security features through the Xfinity Home app. Whether you are at work, traveling, or simply relaxing on your couch, you can monitor your home, receive real-time notifications, and control various aspects of your security system with just a few taps on your smartphone or tablet.
Now that you understand the significance of the Xfinity Home Security system, let’s move on to the practical steps of changing the batteries in your alarm system. By following these instructions, you can ensure that your Xfinity Home Security Alarms are always powered and ready to keep your home safe and secure.
Key Takeaways:
- Keep your Xfinity Home Security Alarms in top condition by following simple steps to change the batteries. Ensure your home’s safety with regular maintenance and testing of your alarm system.
- Understand the importance of identifying battery types, locating compartments, and troubleshooting common issues to maintain a reliable Xfinity Home Security system. Regular testing and proper battery replacement are key to a secure home.
Read more: How To Change Xfinity Home Security Code
Step 1: Understanding the Xfinity Home Security System
Before diving into the process of changing the batteries in your Xfinity Home Security Alarms, it is essential to familiarize yourself with the components and functionality of the system. This step will allow you to better understand how the batteries fit into the overall setup and ensure a smooth battery replacement process.
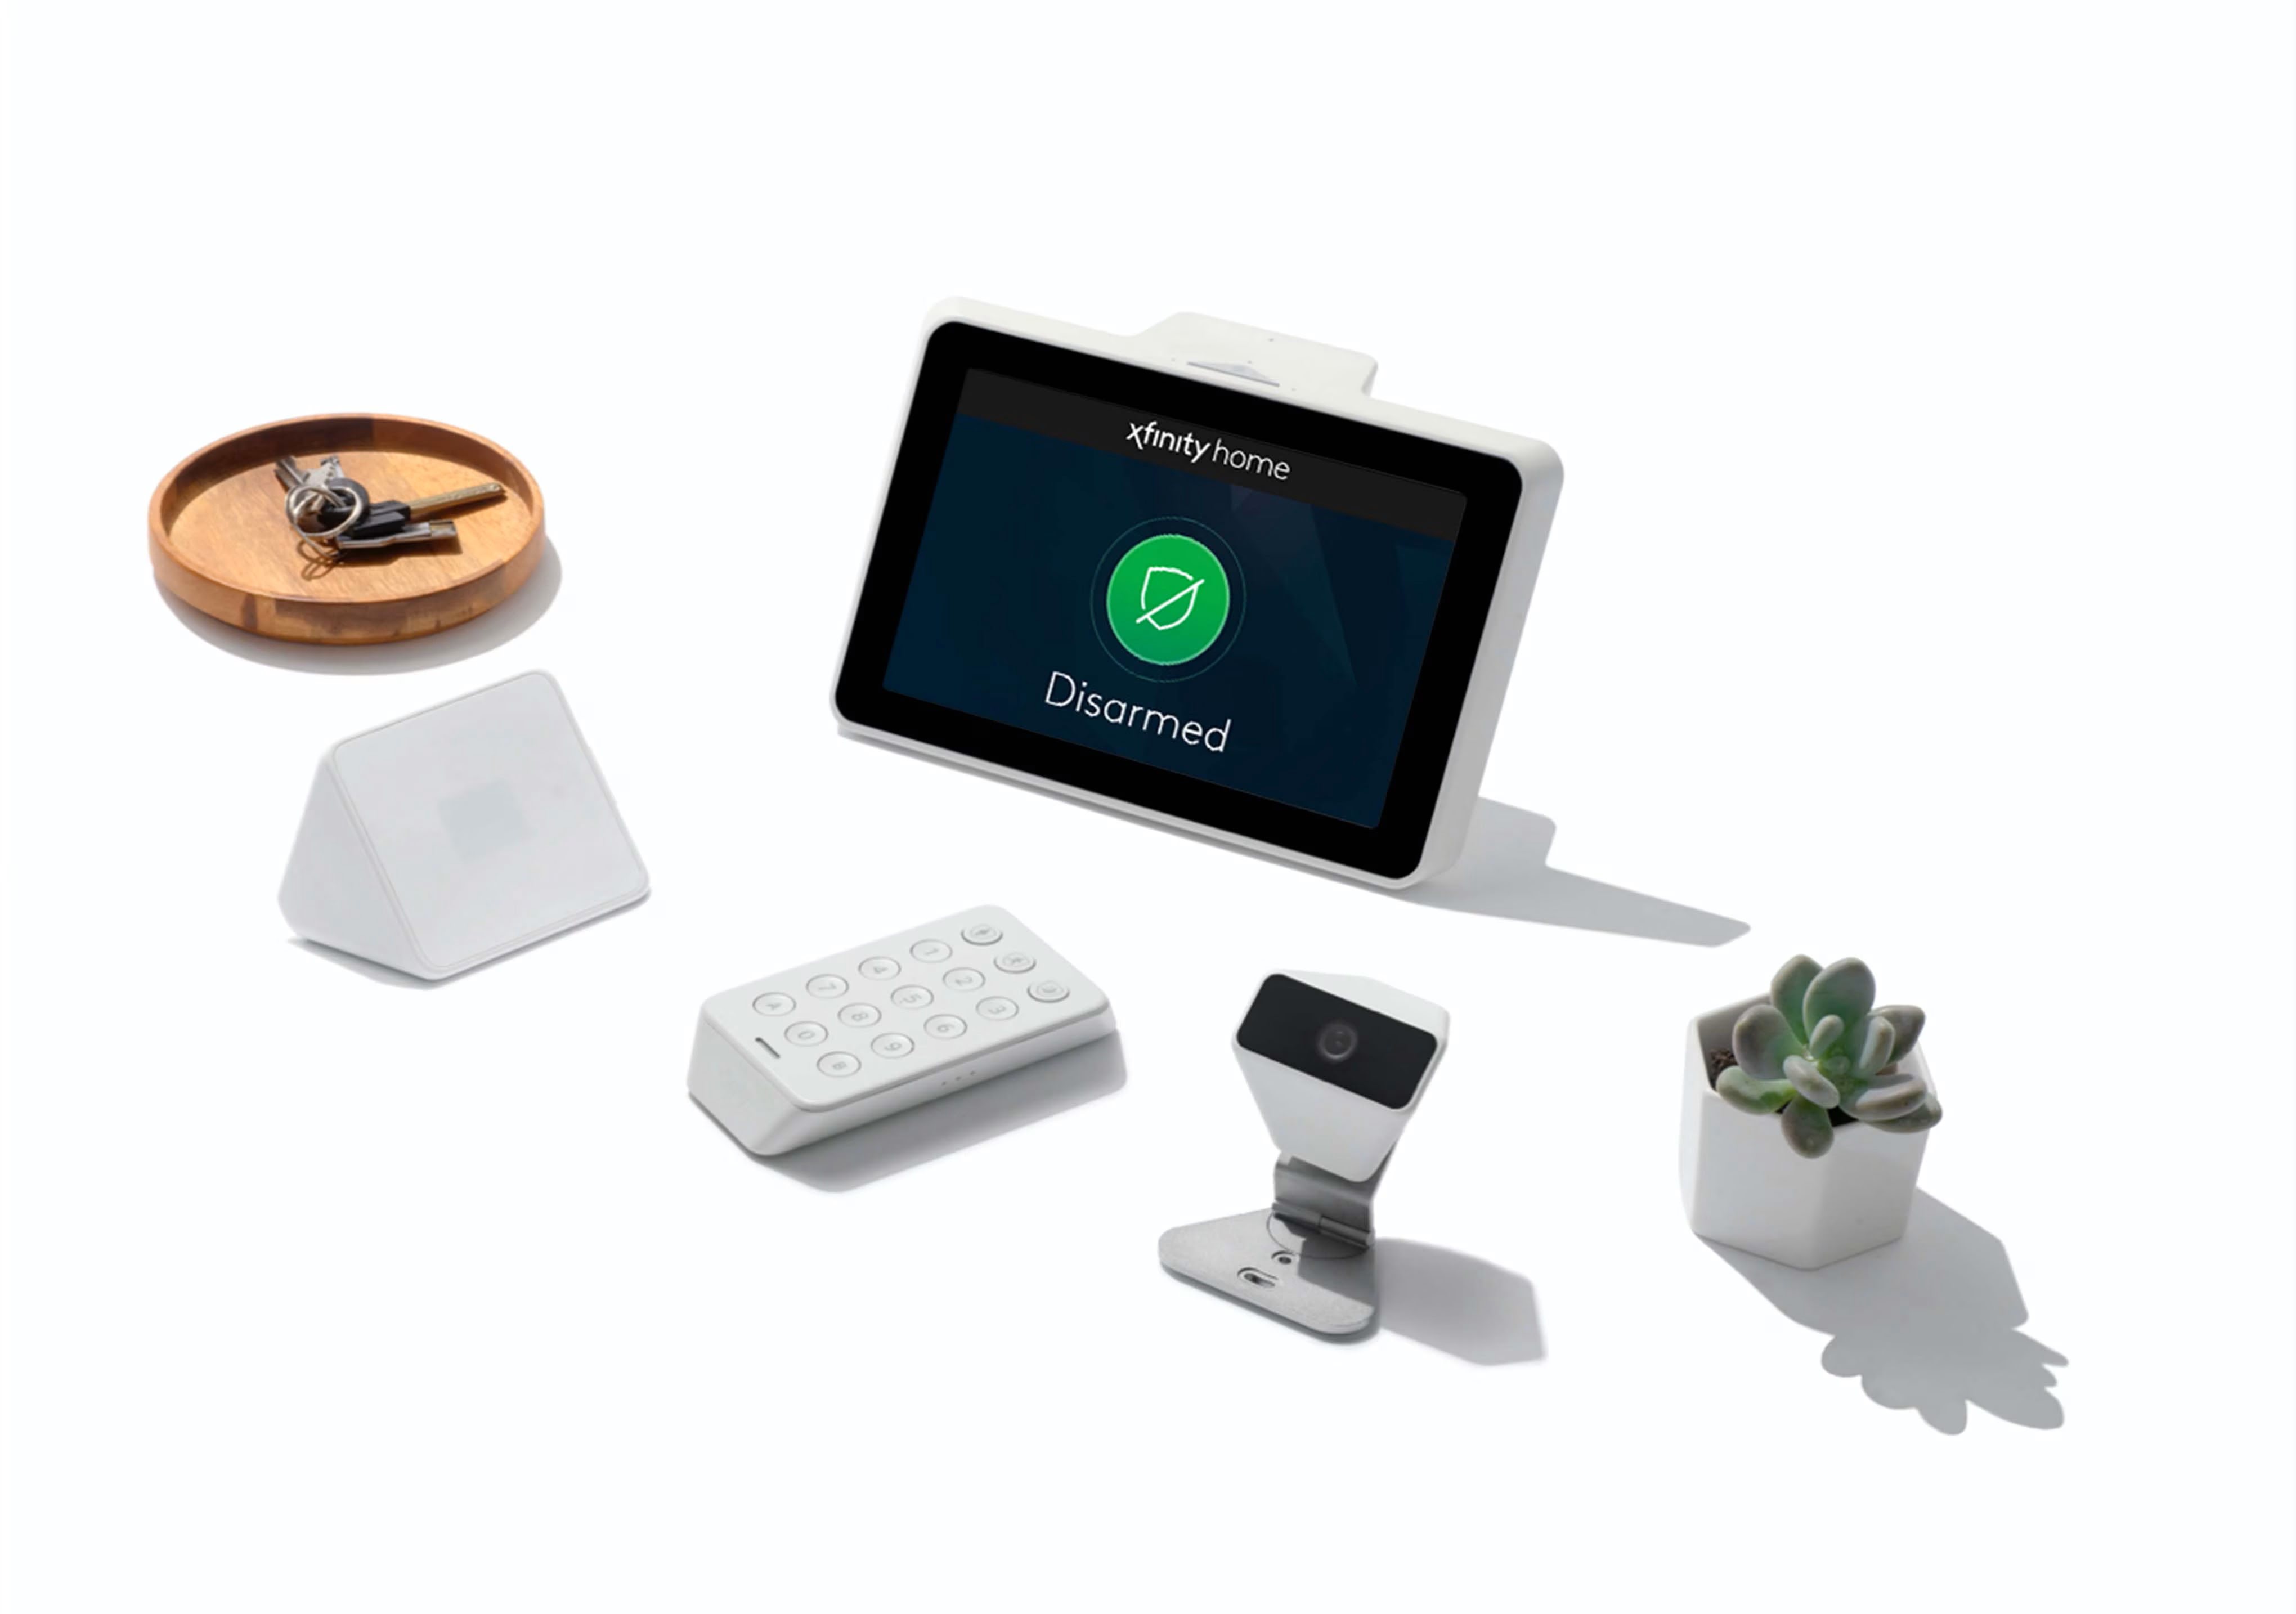
The Xfinity Home Security system consists of various devices and sensors strategically placed around your home, working together to provide a comprehensive security solution. Common components include:
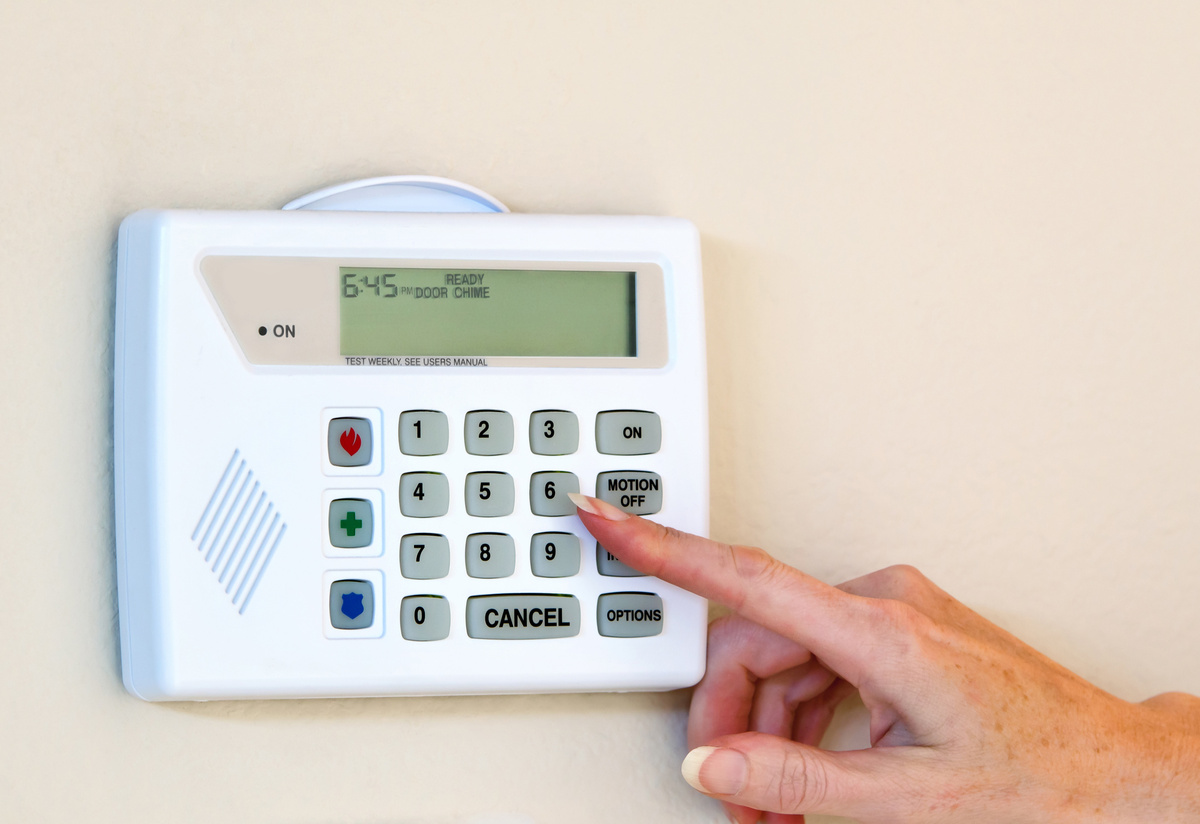
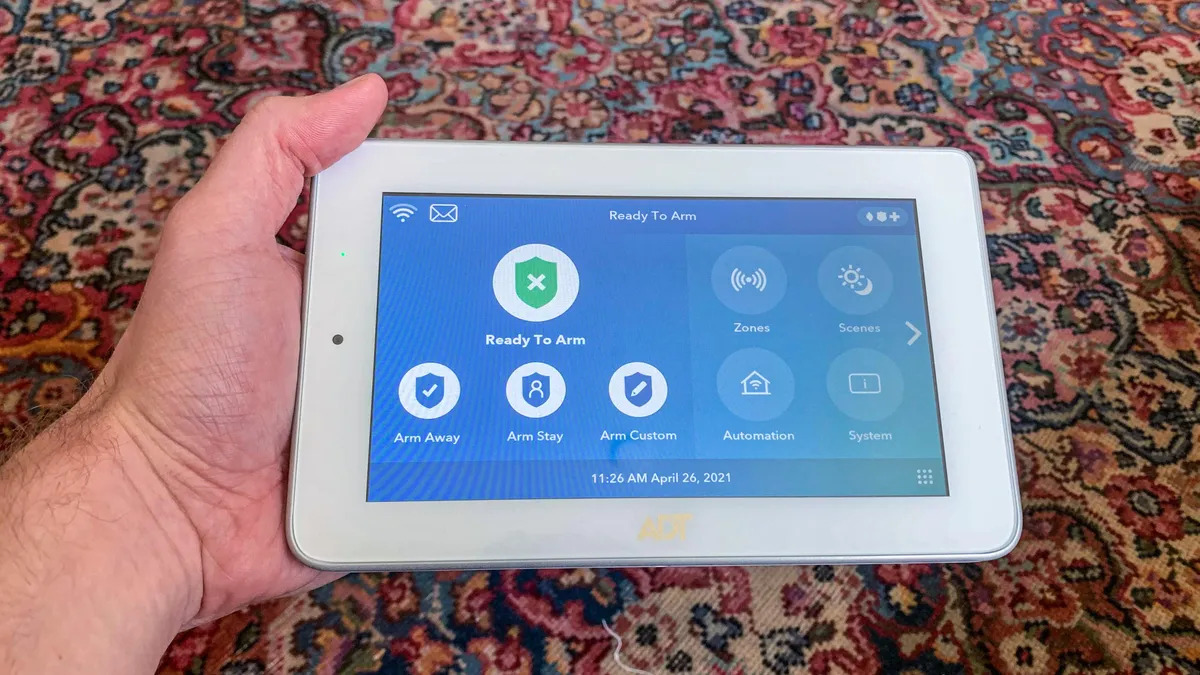
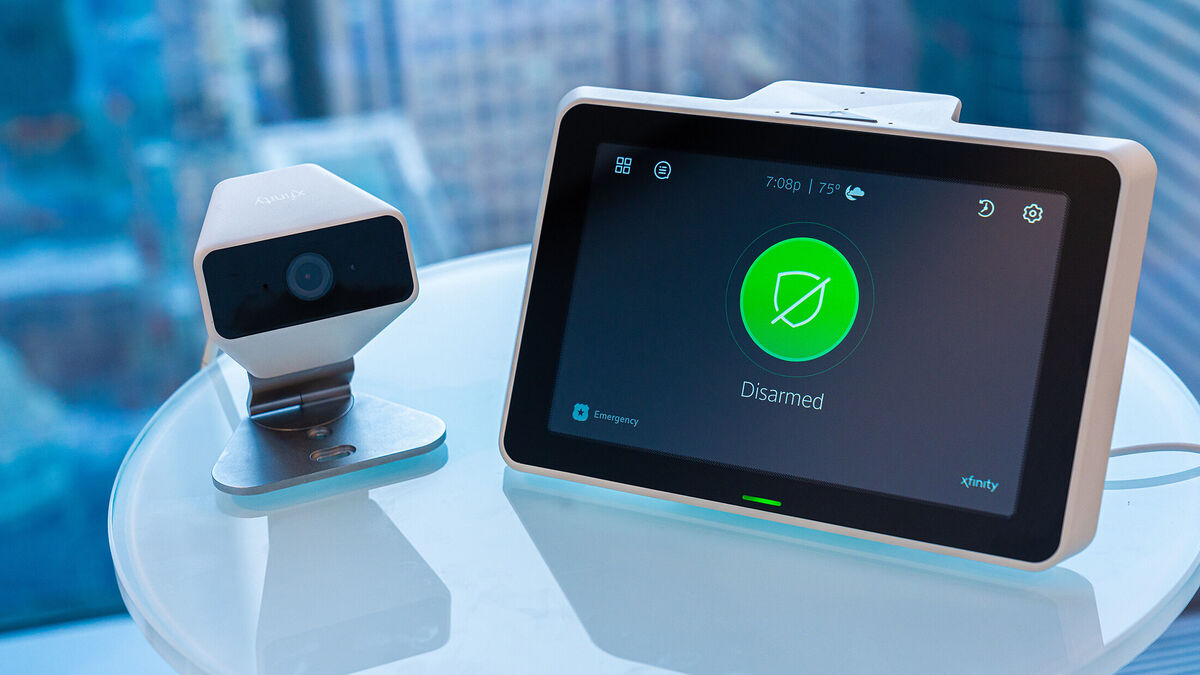
- Control Panel: This serves as the central hub of your security system. It allows you to arm and disarm the system, control connected devices, and receive alerts.
- Door and Window Sensors: These sensors are placed on doors and windows to detect any unauthorized entry or opening.
- Motion Detectors: These devices use infrared technology to detect movement within a designated area of your home.
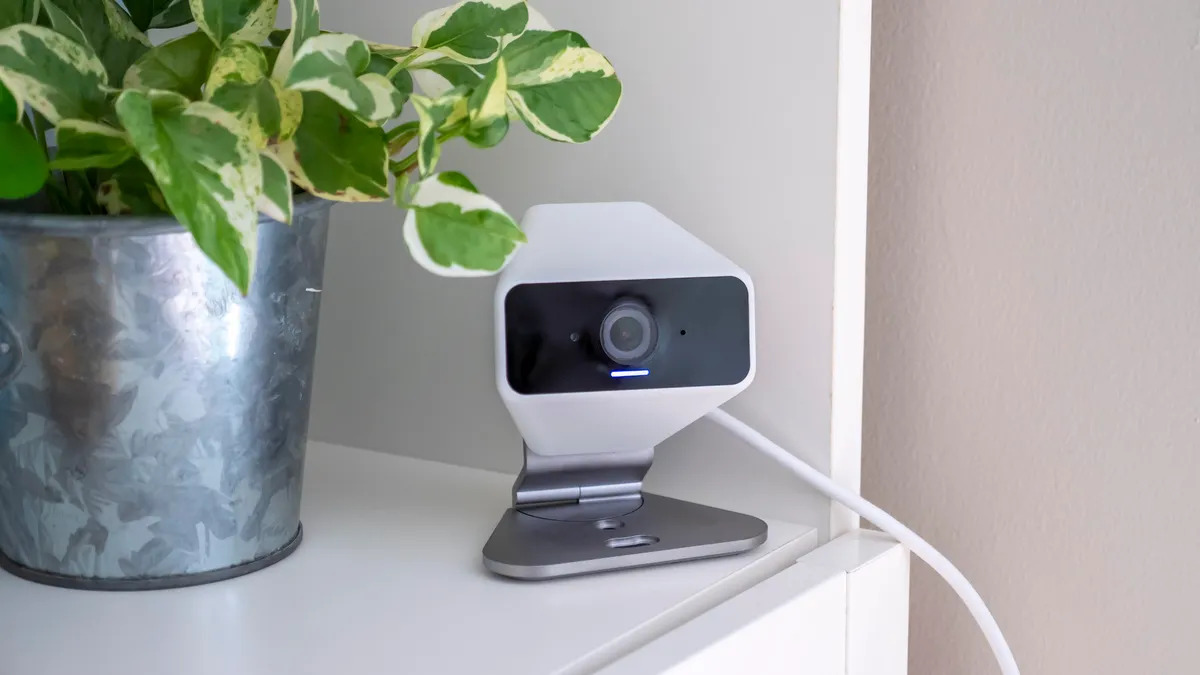
- Surveillance Cameras: Xfinity Home Security offers a range of indoor and outdoor cameras, allowing you to monitor different areas of your property and record video footage.
- Smart Home Automation: The system can integrate with smart home devices, such as smart locks, smart thermostats, and smart lighting, allowing you to control various aspects of your home remotely.
Each of these components requires power to function, often supplied by batteries. Understanding the battery requirements and locations of each device is crucial for successful battery replacement.
Xfinity Home Security Alarms may use different types of batteries, depending on the specific device. It is recommended to refer to the manufacturer’s instructions or consult the Xfinity Home Security support team to identify the right battery type for each component.
Now that you have a general understanding of the Xfinity Home Security system, including its various components and the importance of batteries, you are ready to proceed to the next step: identifying the battery type used in your specific devices.
Step 2: Identifying the Battery Type
When it comes to changing the batteries in your Xfinity Home Security Alarms, one of the crucial steps is determining the specific battery type required for each device. Different components may use different types and sizes of batteries, so it’s essential to identify the correct battery type before making a purchase.
To identify the battery type, you have a few different options:
- Refer to the Manufacturer’s Instructions: The easiest way to determine the battery type is by consulting the manufacturer’s instructions or user manual that came with your Xfinity Home Security system. The instructions should provide detailed information about the battery requirements for each device.
- Check the Battery Compartment: If you can access the battery compartment of the device, look for any labels or markings that indicate the specific battery type needed. The correct battery type may be printed on the inside of the compartment door or on the device itself.
- Online Research: If you are unable to find the information through the previous methods, conducting some online research can be helpful. Search for the model number of your Xfinity Home Security device along with the keyword “battery type.” This should lead you to resources or forums where people have discussed the specific battery types used.
- Contact Xfinity Home Security Support: If all else fails, don’t hesitate to reach out to Xfinity Home Security customer support. Their team will be knowledgeable about their products and can provide you with the information you need to successfully identify the battery type.
Once you have determined the battery type for each device, make a note of it or create a list to ensure you have the correct batteries on hand when it’s time to replace them. Proceeding with the wrong battery type can lead to improper functioning or damage to the device.
With the knowledge of the battery types in your Xfinity Home Security system, you are now ready to move on to the next step: locating the battery compartments in your devices.
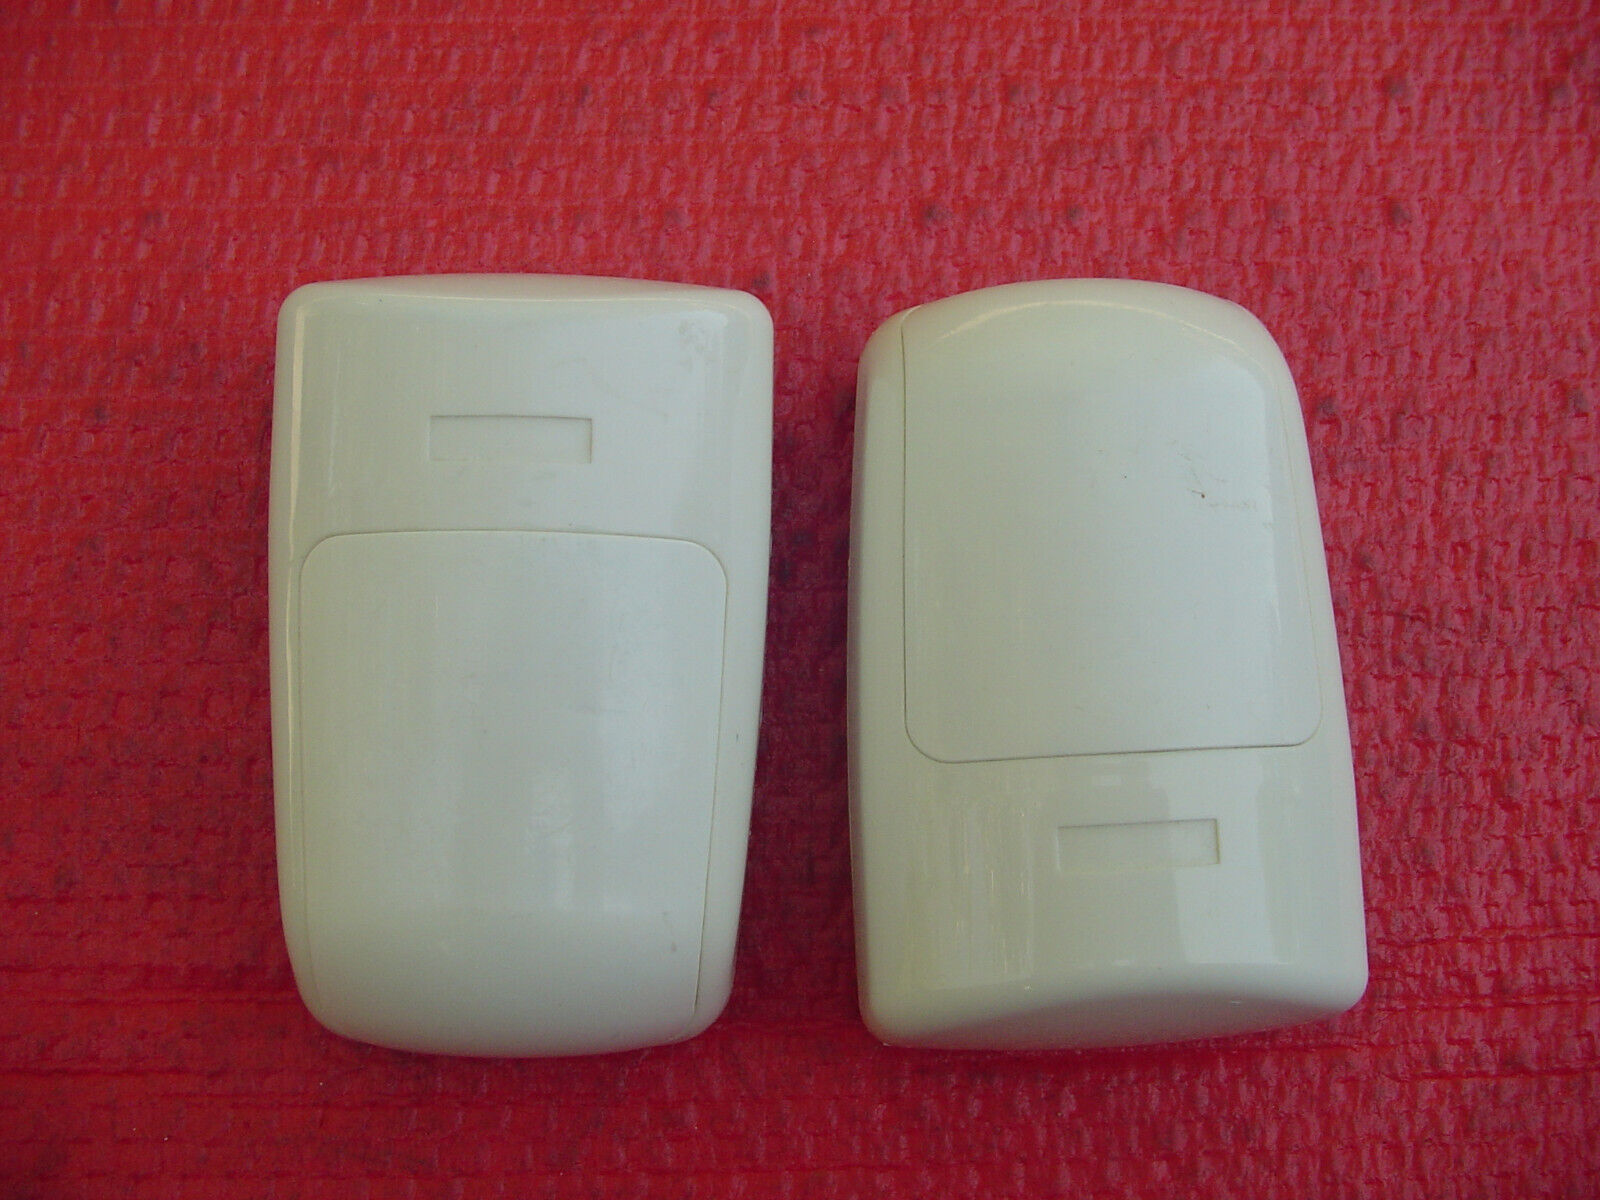
Step 3: Locating the Battery Compartment
Now that you have identified the battery types for your Xfinity Home Security devices, it’s time to locate the battery compartments in each device. The battery compartment is where the batteries are housed and can usually be accessed by removing a cover or panel.
To locate the battery compartment, follow these steps:
- Refer to the Manufacturer’s Instructions: The easiest and most accurate way to find the battery compartment is to consult the manufacturer’s instructions or user manual that came with your Xfinity Home Security system. The instructions should provide detailed diagrams or descriptions indicating the location of the battery compartment for each device.
- Inspect the Device: Examine the device closely for any removable covers or panels. Some devices, like door and window sensors or motion detectors, may have a small tab or latch that unlocks the battery compartment.
- Look for Indicators: Some Xfinity Home Security devices have visible indicators, such as an icon or symbol, that mark the location of the battery compartment. These indicators may be located near the device’s control buttons or on the exterior casing.
- Search Online Resources: If you can’t find the battery compartment through the previous methods, conducting an online search specific to your device model can provide helpful resources or user discussions that may guide you to the location of the battery compartment.
Remember to approach each device one at a time and carefully inspect it to avoid any accidental damage. Take note of the specific location of each battery compartment or, if possible, label it for easy reference during the battery replacement process.
Once you have located the battery compartments, you are ready to move on to the next step: safely removing the old batteries from your Xfinity Home Security devices.
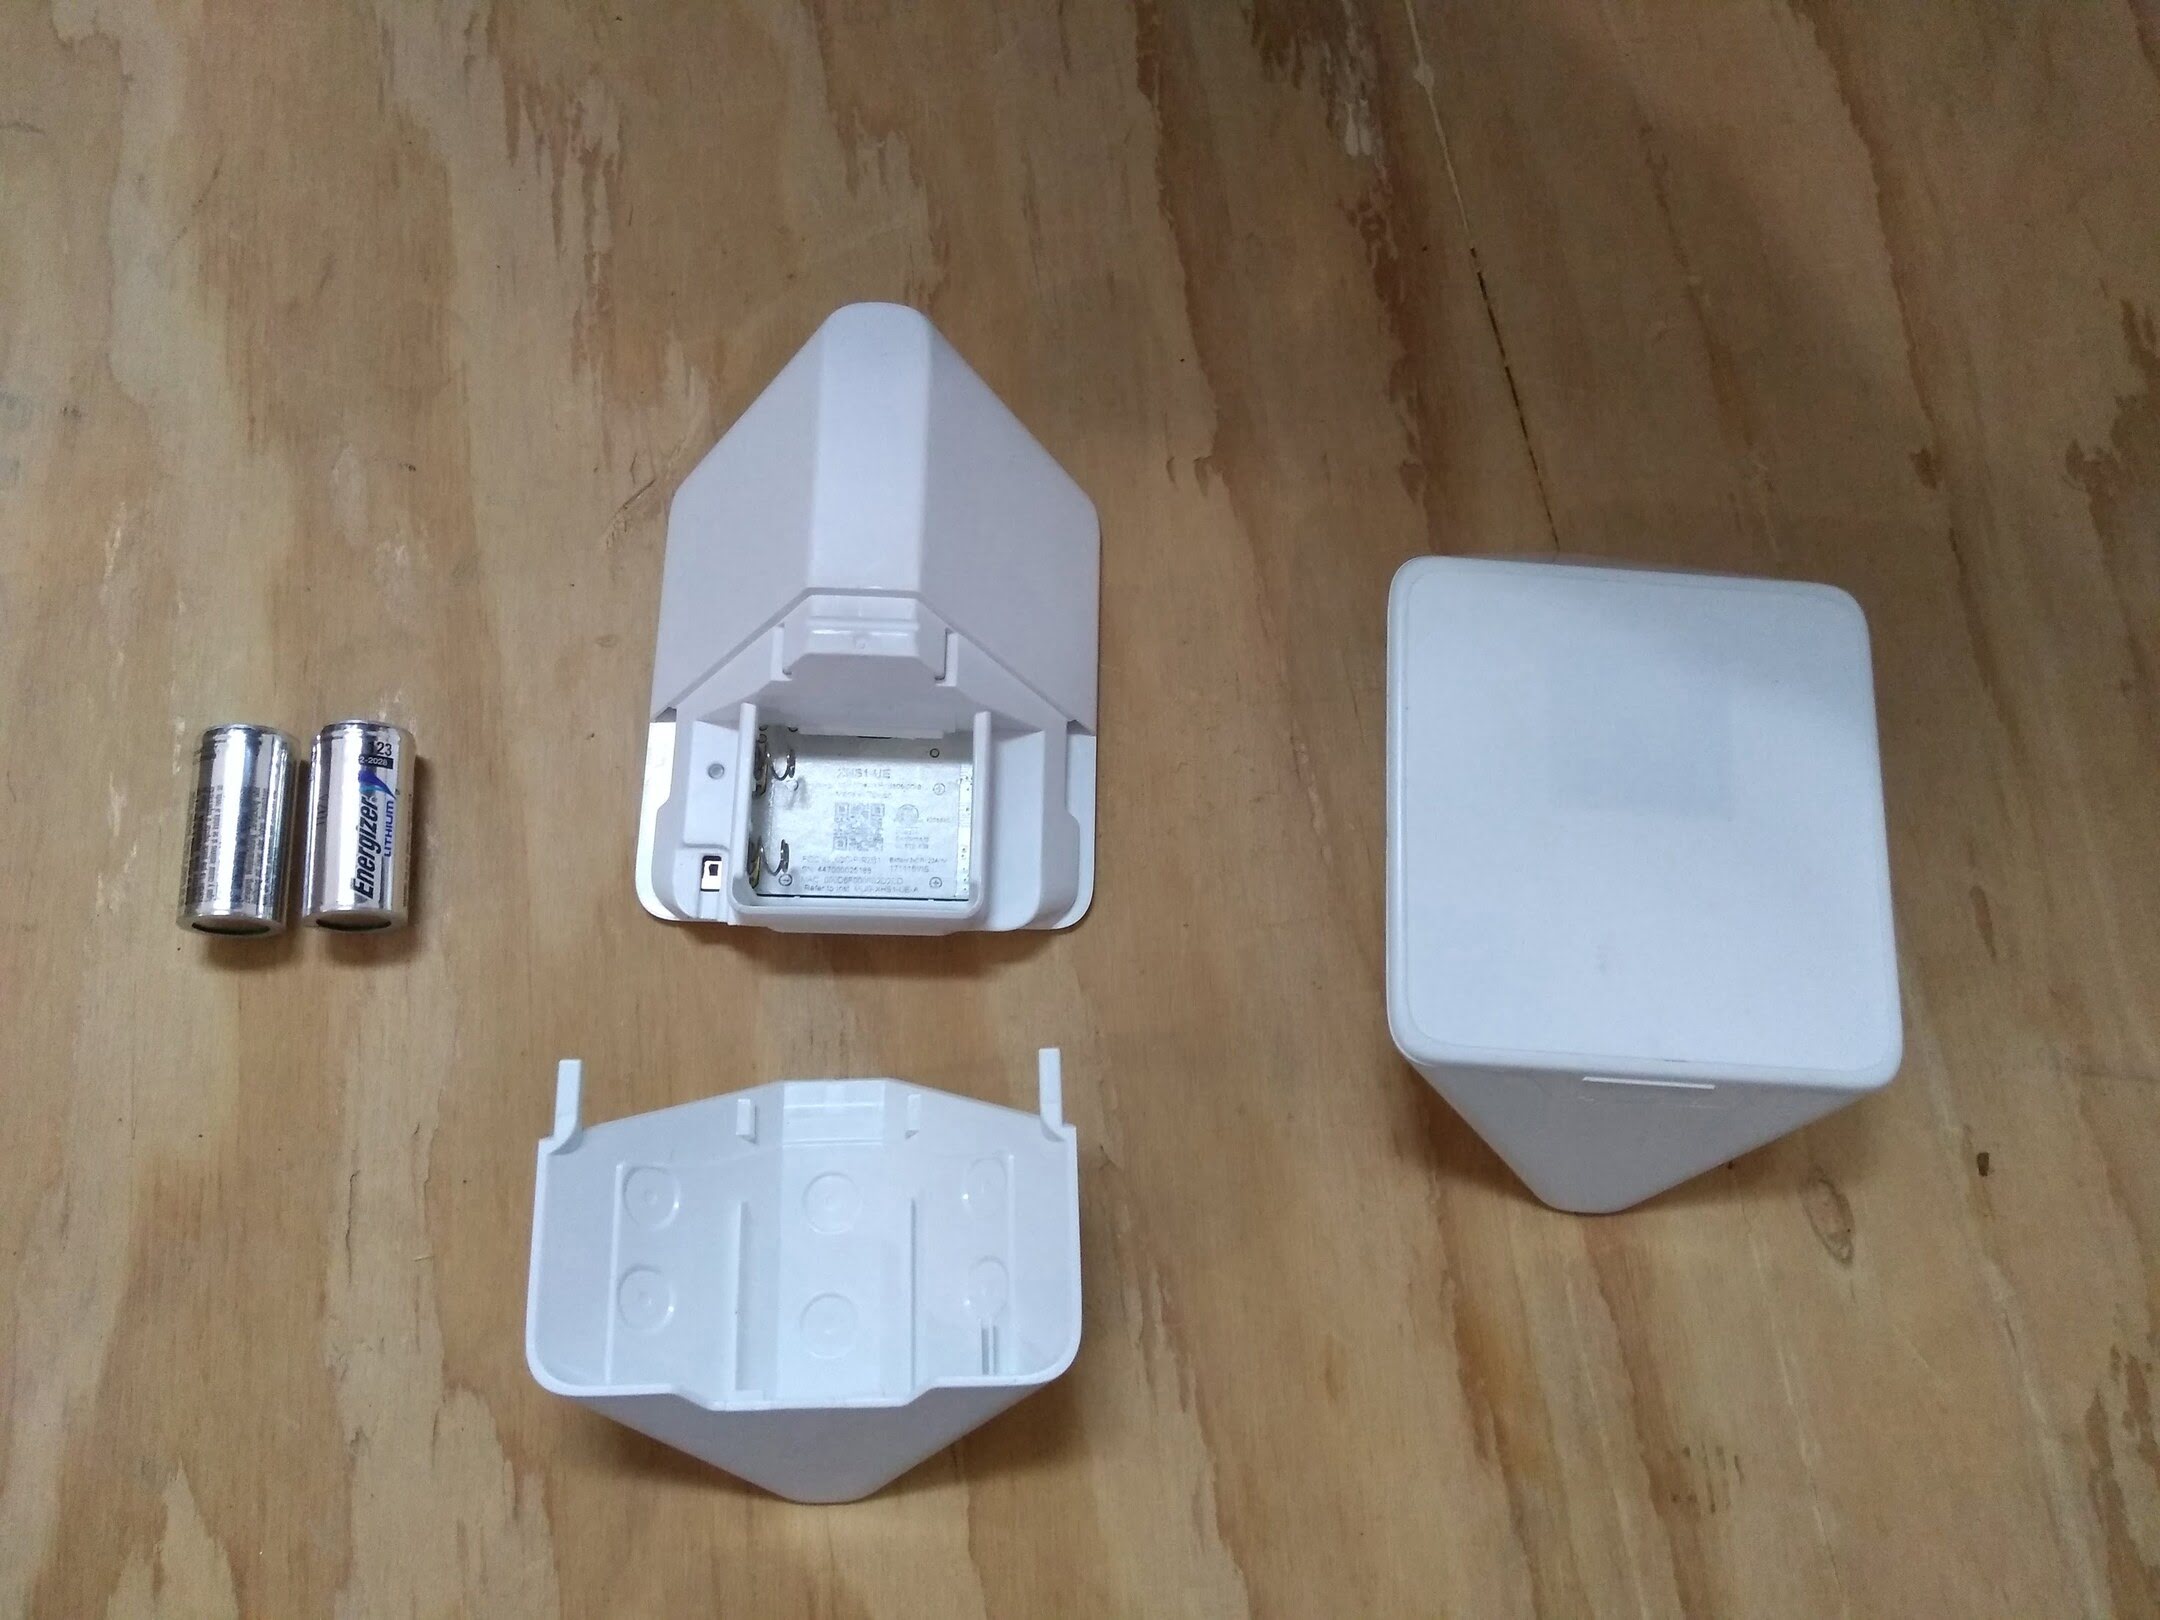
Step 4: Removing the Old Batteries
Now that you have located the battery compartments in your Xfinity Home Security devices, it’s time to remove the old batteries. Properly removing the old batteries is important to avoid any damage to the device or injury to yourself.
Here are the steps to safely remove the old batteries:
- Prepare a Safe Work Area: Before starting the removal process, ensure you have a clean and stable work area. It’s helpful to have a soft cloth or towel nearby to place the device on during battery removal.
- Follow Safety Precautions: Depending on the specific device, you may need to wear gloves or take additional safety precautions. Some devices may have small components or sharp edges, so exercise caution while handling them.
- Open the Battery Compartment: Following the manufacturer’s instructions or the indicators you identified, open the battery compartment of the device. This may involve sliding off a cover, lifting a latch, or unscrewing a panel.
- Inspect the Batteries: Take a moment to inspect the old batteries for any signs of leakage, corrosion, or damage. If you notice any issues, handle the batteries with care and dispose of them properly according to local regulations.
- Remove the Batteries: Using your fingers or a small tool (e.g., a flathead screwdriver) if necessary, carefully remove the old batteries from the compartment one at a time. Pay attention to the correct orientation of the batteries, ensuring you note the positive (+) and negative (-) ends.
- Dispose of the Old Batteries: It’s important to dispose of the old batteries properly. Check with your local recycling center or electronic waste disposal facilities for the appropriate methods of battery disposal in your area.
Repeat the above steps for each device in your Xfinity Home Security system that requires battery replacement. Take your time and be gentle when removing the old batteries to avoid any accidental damage. Once all the old batteries are removed, you are ready to proceed to the next step: inserting new batteries into your devices.
To change the batteries in your Xfinity Home Security alarm, first, locate the battery compartment on the alarm panel. Then, remove the old batteries and replace them with new ones, making sure to follow the correct polarity. Finally, test the alarm to ensure it is functioning properly.
Read more: How To Change A Burglar Alarm Battery
Step 5: Inserting New Batteries
With the old batteries safely removed from your Xfinity Home Security devices, it’s time to insert the new batteries. Properly inserting the new batteries ensures that your devices can function optimally and provide the necessary power for your home security system.
Follow these steps to insert the new batteries:
- Refer to the Battery Polarity: Before inserting the new batteries, pay attention to the battery polarity markings. The battery compartment or device itself may indicate which end of the battery should be inserted as positive (+) or negative (-). Align the batteries accordingly.
- Take Note of the Battery Orientation: If the batteries have specific orientations, such as a + side facing up or down, make sure to insert them correctly. Improper battery orientation can prevent the device from functioning correctly.
- Insert the Batteries: Place the new batteries into the compartment one at a time, following the correct orientation and polarity. Gently push the batteries into place, ensuring they are securely seated within the compartment.
- Replace the Battery Compartment Cover: If the device has a removable cover or panel, carefully reattach it or close it to secure the new batteries in place. Take care not to pinch any wires or damage any connectors in the process.
Repeat the above steps for each device in your Xfinity Home Security system that requires battery replacement. Double-check that all batteries are inserted correctly and securely. A loose connection can cause intermittent functioning or device malfunctions.
Now that you have successfully inserted new batteries into your Xfinity Home Security devices, it’s time to move on to the next step: testing the alarm system to ensure everything is functioning as expected.
Step 6: Testing the Alarm System
After replacing the batteries in your Xfinity Home Security devices, it is crucial to test the alarm system to ensure that all components are functioning correctly. Testing your alarm system regularly gives you peace of mind, knowing that your home security is up to par.
Follow these steps to test your Xfinity Home Security alarm system:
- Arm the System: Use your control panel or the Xfinity Home app to arm your alarm system. Ensure that all doors and windows are securely closed.
- Trigger the Sensors: Go around your home and intentionally trigger each sensor, such as opening a door or walking in front of a motion detector. This will activate the alarm and test the responsiveness of each device.
- Check for Notifications: Pay attention to any notifications you receive on your control panel or through the Xfinity Home app. Verify if you receive alerts for each triggered sensor, indicating that the system is working correctly.
- Test the Siren: If your alarm system includes a siren or audible alert, ensure that it sounds loud and clear when triggered. This will not only test the functionality of the siren but also serve as a deterrent to potential intruders.
- Verify Communication: If you have integrated your Xfinity Home Security system with professional monitoring services, contact your monitoring company to verify that the alarms are being received and responded to appropriately.
If at any point during the testing process you notice any issues, such as sensors not triggering or a weak siren sound, refer to the manufacturer’s instructions or contact Xfinity Home Security support for troubleshooting assistance.
Regularly testing your alarm system is essential to maintain its effectiveness. It is recommended to perform this testing at least once a month or whenever you make significant changes or updates to your Xfinity Home Security system.
With a successfully tested alarm system, you can have peace of mind knowing that your Xfinity Home Security devices are powered, functioning correctly, and ready to protect your home and loved ones.
Step 7: Troubleshooting Common Issues
While Xfinity Home Security is designed to provide seamless protection and performance, occasional issues may arise. Understanding how to troubleshoot common problems can help you quickly resolve any issues, ensuring that your alarm system continues to operate smoothly.
Here are some common issues that you may encounter with your Xfinity Home Security system and steps to troubleshoot them:
- False Alarms: If your system is triggering false alarms, check for any environmental factors that may be causing the sensors to activate. Ensure that doors and windows are securely closed, and there are no moving objects near motion detectors. You can also adjust the sensitivity settings of the sensors through your control panel or the Xfinity Home app.
- Connectivity Issues: If you are experiencing connectivity issues with your Xfinity Home Security system, check your internet connection and ensure that the control panel is within range of your Wi-Fi network. Resetting the control panel or power cycling your router can also help resolve connectivity problems.
- Low Battery Notifications: If you receive low battery notifications for specific devices, follow the previous steps to identify the correct battery type and replace the batteries. Make sure the batteries are inserted correctly and securely.
- Non-responsive Devices: If a device, such as a door sensor or camera, is not responding or functioning correctly, check the battery connections and verify if the batteries are inserted correctly. Ensure that the device is within range of the control panel and that it has not been damaged or obstructed. If problems persist, contact Xfinity Home Security support for further assistance.
- System Disarm Issues: If you are having trouble disarming your system, ensure that you are using the correct PIN or password. Double-check for any typos or input errors. If you have forgotten your PIN or password, refer to the manufacturer’s instructions or contact Xfinity Home Security support to reset it.
If the troubleshooting steps outlined above do not resolve the issue, contact Xfinity Home Security support for further assistance. They have trained technicians who can guide you through advanced troubleshooting or schedule a service appointment if necessary.
By following these troubleshooting steps, you can quickly address common issues that may arise with your Xfinity Home Security system and ensure that it continues to provide reliable protection for your home.
Conclusion
Congratulations! You have successfully learned how to change the batteries in your Xfinity Home Security Alarms. By following the step-by-step guide provided in this article, you can ensure that your alarm system remains in optimal condition, ready to protect your home and loved ones.
We began by understanding the importance of the Xfinity Home Security system in safeguarding your home. We explored the various components, from the control panel to the sensors and cameras, that work together to provide comprehensive security coverage.
Next, we discussed the process of identifying the battery type for each device in your Xfinity Home Security system. Proper identification is crucial to ensure compatibility and proper functioning of the devices.
We then explored how to locate the battery compartments in your devices, providing methods such as referencing the manufacturer’s instructions, inspecting the devices, and utilizing online resources.
After finding the battery compartments, we walked through the steps of safely removing the old batteries, emphasizing the importance of a safe work area and proper battery disposal.
Following that, we covered inserting the new batteries, highlighting the need to pay attention to the battery polarity and orientation and ensuring a secure fit within the compartments.
To ensure that everything is working correctly, we discussed testing the alarm system, including triggering the sensors, checking for notifications, and verifying the siren sound.
Lastly, we touched on troubleshooting common issues that may arise, such as false alarms, connectivity problems, low battery notifications, non-responsive devices, and system disarm issues.
Remember, if you encounter any persistent issues or need further assistance, don’t hesitate to reach out to Xfinity Home Security support for professional guidance.
With your Xfinity Home Security Alarms battery replacement knowledge and troubleshooting skills, you can have peace of mind, knowing that your home is protected by a reliable and efficient security system. Stay vigilant and regularly maintain your system to ensure optimal performance.
Thank you for taking the time to learn about changing the batteries in your Xfinity Home Security Alarms. Here’s to a safe and secure home!
Frequently Asked Questions about How Do You Change The Batteries In The Xfinity Home Security Alarms
Was this page helpful?
At Storables.com, we guarantee accurate and reliable information. Our content, validated by Expert Board Contributors, is crafted following stringent Editorial Policies. We're committed to providing you with well-researched, expert-backed insights for all your informational needs.