Home>Gardening & Outdoor>Garden Tools & Equipment>How To Charge A Lawnmower Battery

Garden Tools & Equipment
How To Charge A Lawnmower Battery
Modified: February 17, 2024
Learn how to efficiently charge a lawnmower battery to keep your garden tools and equipment ready for action. Follow these simple steps to ensure your lawnmower is always powered up and ready to go.
(Many of the links in this article redirect to a specific reviewed product. Your purchase of these products through affiliate links helps to generate commission for Storables.com, at no extra cost. Learn more)
Introduction
Welcome to the world of gardening, where the symphony of nature and human endeavor harmoniously intertwines. As a gardener, you understand the importance of maintaining your tools and equipment, ensuring they are always ready to assist you in your horticultural adventures. One essential component of your arsenal is the lawnmower, a faithful companion in keeping your verdant paradise in pristine condition. However, like all machines, lawnmowers require proper care and attention, including the maintenance of their power source – the lawnmower battery.
In this comprehensive guide, we will delve into the intricacies of maintaining and charging a lawnmower battery. Whether you are a seasoned gardener or just beginning your journey, understanding the nuances of this vital task will empower you to keep your lawnmower in optimal working condition. So, let's embark on this enlightening journey, where we will unravel the mysteries of the lawnmower battery and equip you with the knowledge to ensure its longevity and efficiency.
Key Takeaways:
- Charging a lawnmower battery is crucial for keeping your gardening tool in top shape. Follow safety precautions, inspect the battery, and use a compatible charger to ensure a seamless and effective charging process.
- Prioritize safety by wearing protective gear, charging the battery in a well-ventilated area, and avoiding sparks. By following these steps, you can maintain a charged and ready lawnmower battery for your gardening adventures.
Read more: How Long To Charge A Lawnmower Battery
Understanding the Lawnmower Battery
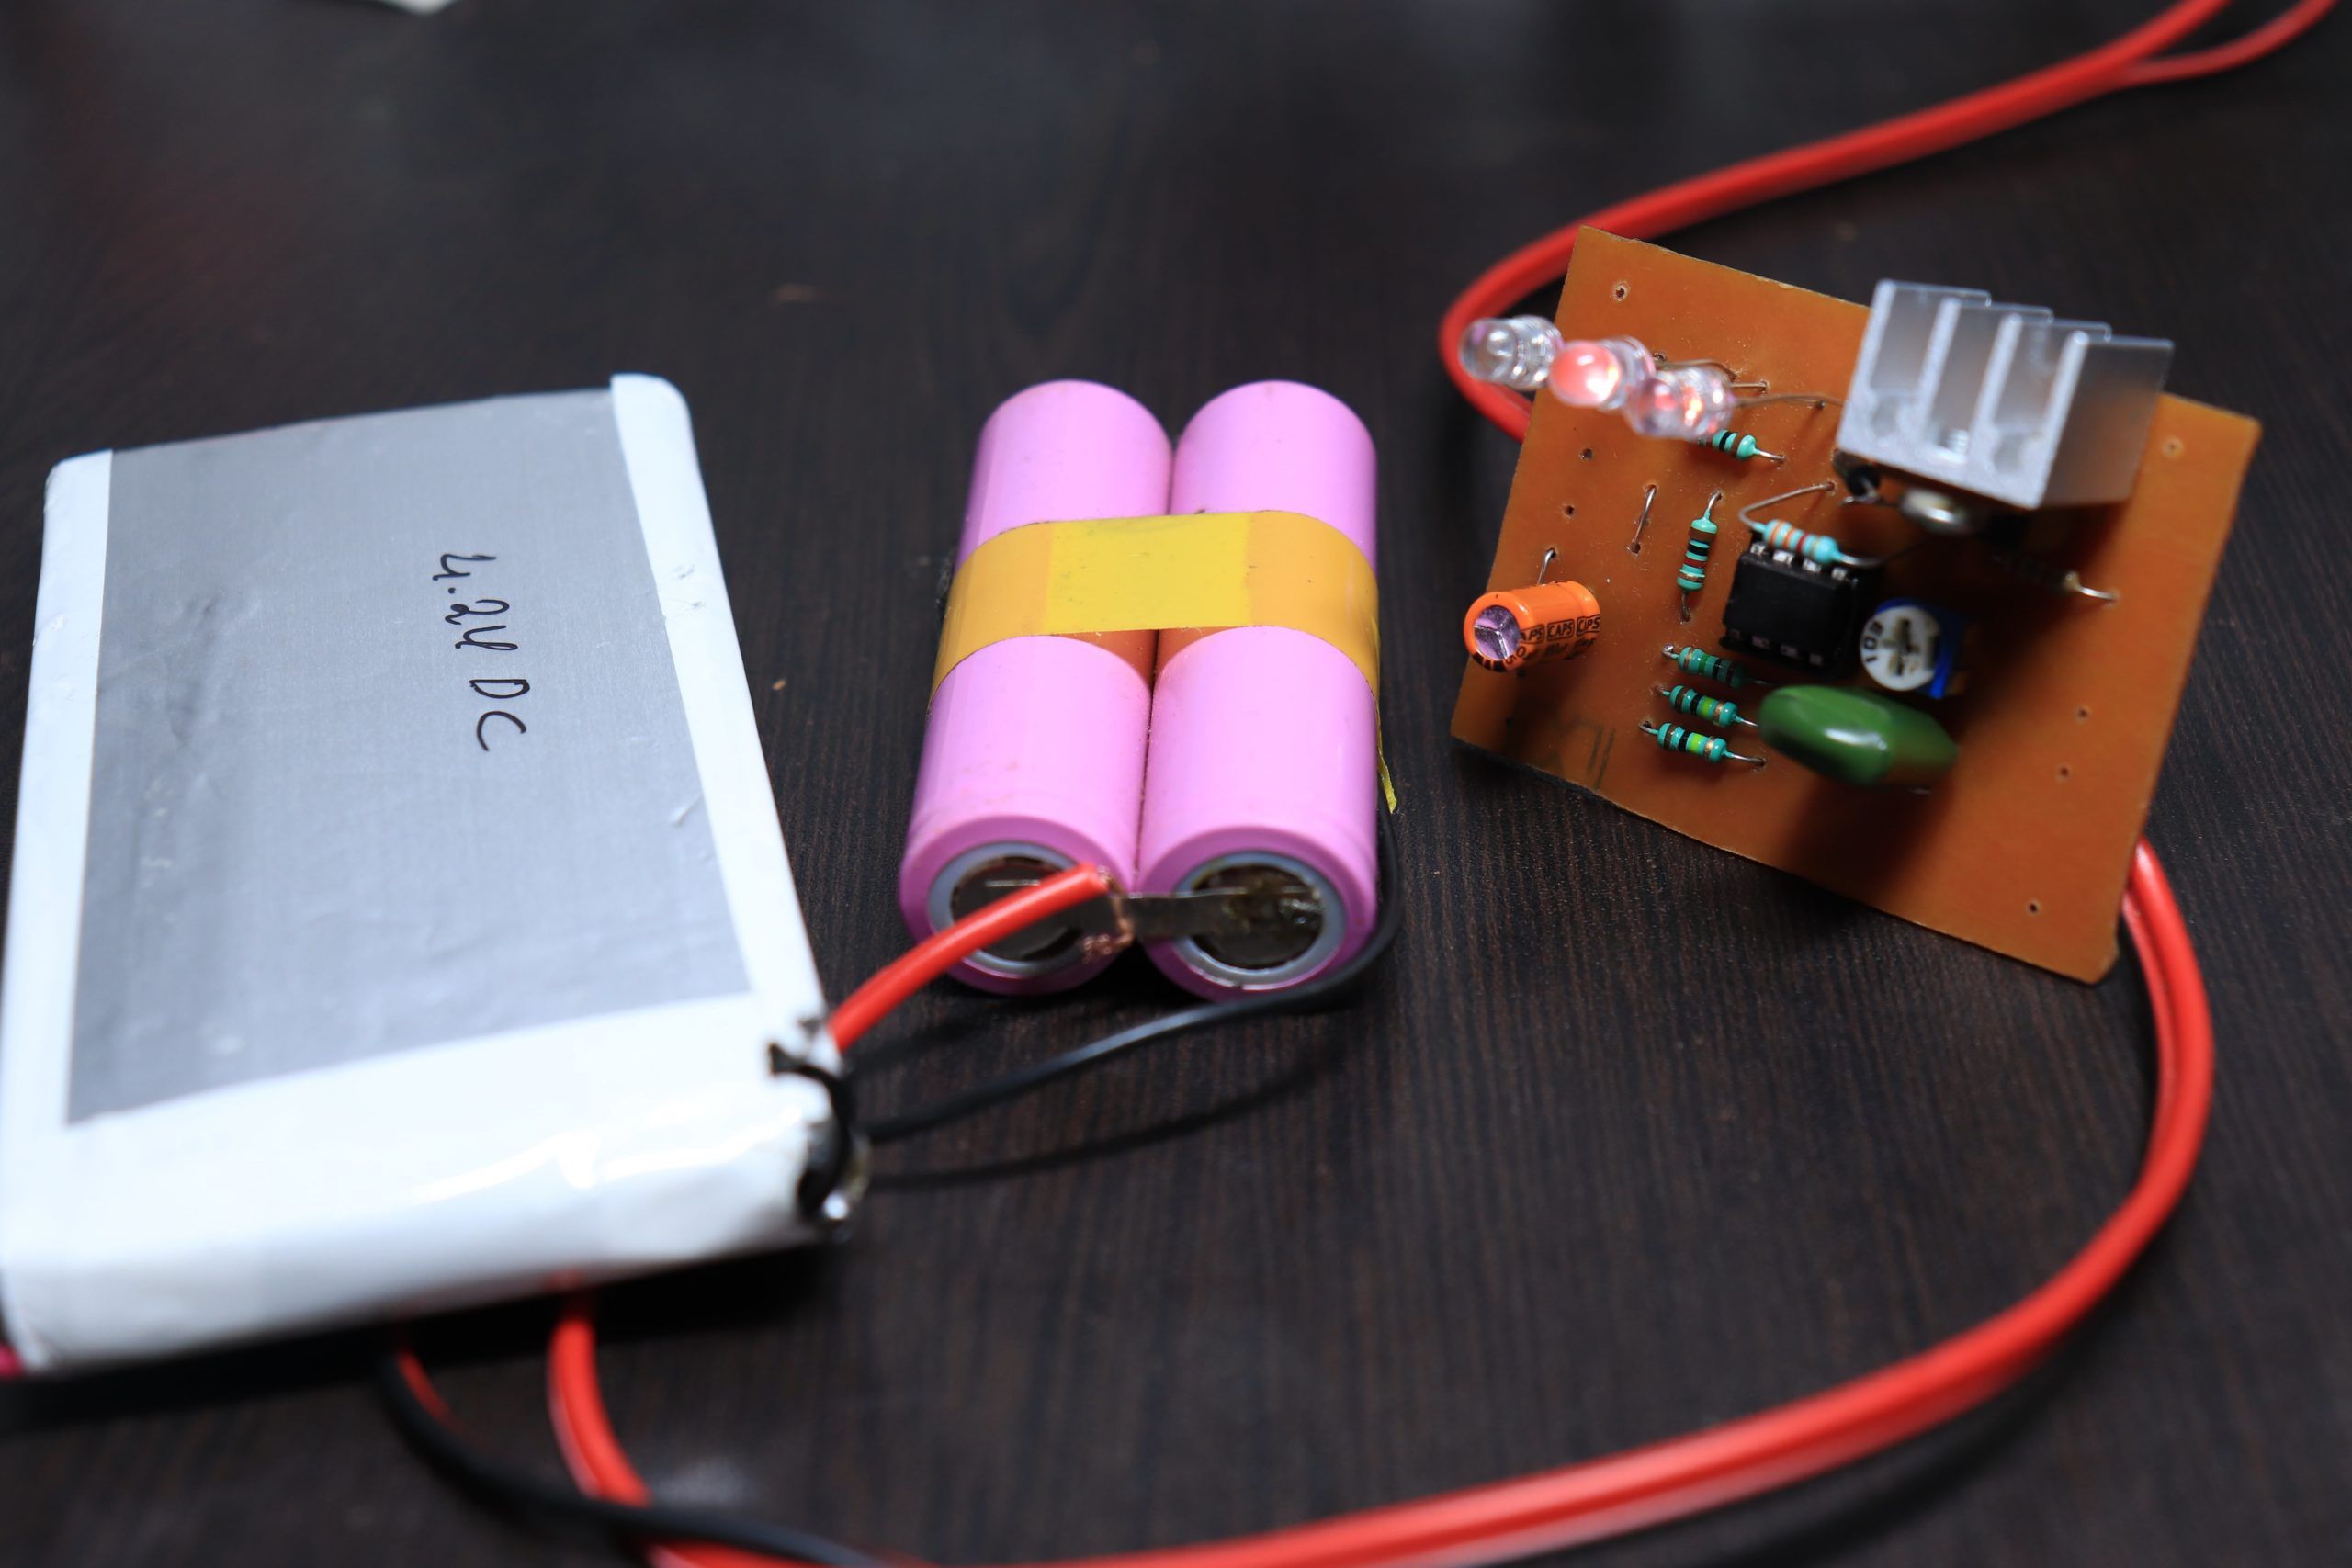
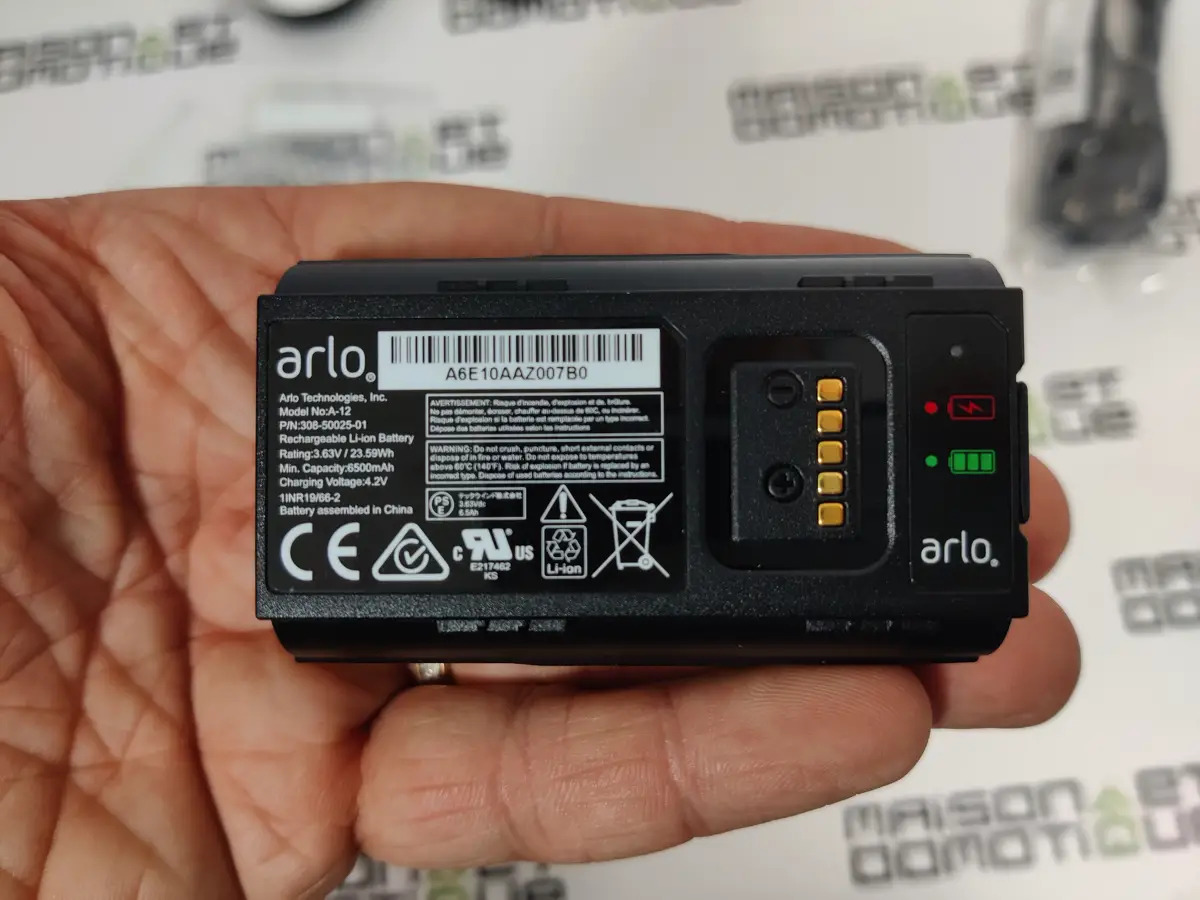
Before we delve into the process of charging a lawnmower battery, it’s crucial to grasp the fundamentals of this essential component. The lawnmower battery serves as the powerhouse, providing the electrical energy required to ignite the engine and propel the cutting blades. Typically, lawnmower batteries are rechargeable, often utilizing lead-acid technology to store and deliver the necessary power.
These batteries come in various voltages, with 12-volt batteries being the most common for lawnmowers. It’s imperative to identify the specific voltage and type of battery your lawnmower utilizes to ensure the correct charging procedure. Additionally, understanding the ampere-hours (Ah) rating of the battery is vital, as it indicates the capacity and duration for which the battery can deliver a steady current.
Furthermore, some lawnmowers feature a battery with maintenance-free designs, while others may require periodic checks and refills of distilled water to sustain optimal performance. Familiarizing yourself with the specific requirements of your lawnmower’s battery will enable you to tailor your maintenance and charging practices accordingly.
Moreover, the condition of the battery terminals and connections significantly influences its functionality. Corrosion and accumulation of debris on the terminals can impede the flow of electricity, hampering the battery’s performance. Regular inspection and cleaning of the terminals are essential to ensure a seamless flow of power within the system.
By comprehending the intricacies of the lawnmower battery, you lay the groundwork for effective maintenance and charging procedures. Now, let’s proceed to the practical steps involved in charging a lawnmower battery, empowering you to keep your gardening endeavors in full swing.
Steps to Charge a Lawnmower Battery
Charging a lawnmower battery is a straightforward process, but it demands precision and adherence to safety measures. Follow these steps to ensure a seamless and effective charging experience:
- Preparation: Begin by positioning your lawnmower in a well-ventilated area with ample space to maneuver around the battery. Ensure that the lawnmower is turned off and the ignition key is removed to prevent accidental starts during the charging process.
- Accessing the Battery: Depending on the lawnmower model, the battery may be located beneath the seat, within a compartment, or under a protective cover. Carefully remove any obstructions and access the battery, taking note of the positive (+) and negative (-) terminals.
- Inspecting the Battery: Before initiating the charging process, inspect the battery for any signs of damage, leakage, or corrosion. If you detect any abnormalities, it’s crucial to address these issues before proceeding with the charging process.
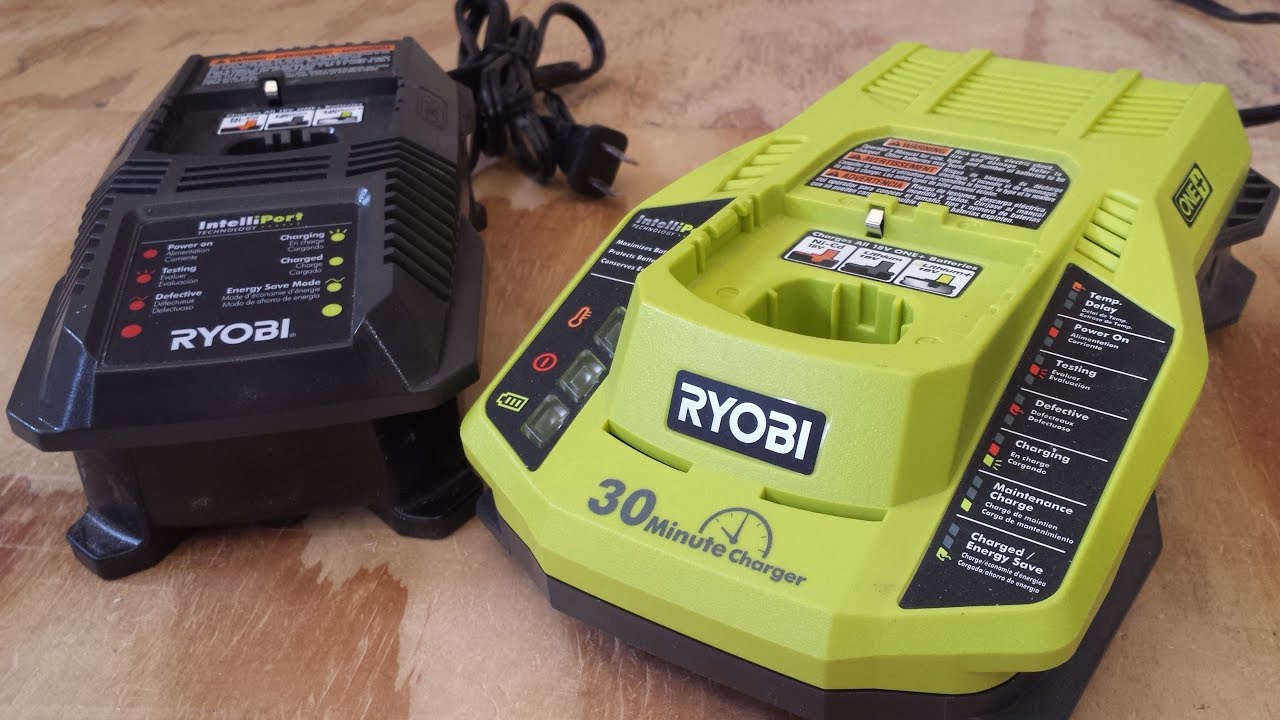
- Connecting the Charger: Select a compatible battery charger designed for 12-volt lead-acid batteries. Ensure that the charger is unplugged before making any connections. Begin by attaching the red (positive) clamp of the charger to the positive terminal of the battery, followed by connecting the black (negative) clamp to the negative terminal.
- Setting the Charging Parameters: If your charger allows for manual adjustment, set the charging parameters according to the specifications provided by the battery manufacturer. This may include selecting the appropriate voltage and charging rate to align with the battery’s requirements.
- Initiating the Charging Process: Once the connections and settings are in place, plug in the charger and switch it on. Observe the charger’s indicators to ensure that the charging process has commenced. It’s advisable to monitor the charging progress periodically to prevent overcharging.
- Completing the Charging Process: As the battery charges, it’s essential to remain vigilant and attentive. Once the charger indicates that the battery is fully charged, switch off the charger and disconnect the clamps in the reverse order of their attachment, starting with the negative clamp followed by the positive clamp.
- Final Checks: After disconnecting the charger, inspect the battery and its terminals to ensure that everything is secure and free from any damage or debris. Reinstall any protective covers or components that were removed to access the battery.
By meticulously following these steps, you can effectively charge your lawnmower battery, ensuring that it remains in prime condition to power your gardening endeavors.
When charging a lawnmower battery, always use a charger specifically designed for lead-acid batteries. Connect the positive (+) and negative (-) terminals correctly to avoid damage.
Safety Precautions
When dealing with batteries and electrical systems, prioritizing safety is paramount. Follow these essential safety precautions to safeguard yourself and prevent potential hazards during the lawnmower battery charging process:
- Protective Gear: Prior to initiating the charging process, equip yourself with appropriate protective gear, including safety goggles and gloves, to shield against potential splashes of electrolyte and to ensure a secure grip while handling the battery and charger.
- Ventilation: Always charge the lawnmower battery in a well-ventilated area to disperse any gases emitted during the charging process. Avoid enclosed spaces to mitigate the risk of gas accumulation, which could lead to potential fire hazards.
- Avoiding Sparks: Exercise caution to prevent sparks or flames in the vicinity of the battery, as lead-acid batteries emit hydrogen gas during charging, which is highly flammable. Refrain from smoking or creating sparks near the battery to prevent the risk of ignition.
- Charger Precautions: Inspect the battery charger for any signs of damage before use. Ensure that the charger is compatible with 12-volt lead-acid batteries and that it is unplugged before making any connections to the battery.
- Proper Connections: When connecting the charger to the battery, ensure that the positive and negative clamps are securely attached to the corresponding terminals. Reversing the connections can result in damage to the battery and the charger.
- Monitoring: Regularly monitor the charging process to detect any irregularities or malfunctions. If you notice excessive heat, unusual odors, or sparking, immediately discontinue the charging process and investigate the cause before proceeding.
- Preventing Overcharging: Avoid leaving the battery unattended for extended periods to prevent overcharging, which can lead to the release of hazardous gases and potential damage to the battery. Adhere to the manufacturer’s recommended charging duration and voltage settings.
- Post-Charging Care: After completing the charging process, carefully disconnect the charger from the battery and store the charger in a safe location. Inspect the battery and its surroundings to ensure that everything is secure and free from potential hazards.
By adhering to these safety precautions, you can mitigate risks and ensure a secure environment while charging your lawnmower battery, fostering a safe and efficient gardening experience.
Conclusion
Congratulations on embarking on this enlightening journey to understand the intricacies of charging a lawnmower battery. By delving into the fundamental aspects of the lawnmower battery and exploring the essential steps and safety precautions associated with its charging process, you have equipped yourself with the knowledge and confidence to maintain this vital component of your gardening arsenal.
As you tend to your verdant paradise, nurturing the lush greenery and sculpting the landscapes, the reliability of your lawnmower stands as a testament to your dedication. The charged lawnmower battery, pulsating with energy, fuels the rhythmic hum of the mower as it glides across the terrain, transforming it into a picturesque tapestry of beauty.
Remember, the care and attention you invest in your lawnmower and its battery resonate throughout your garden, elevating the entire horticultural experience. Each charged battery symbolizes the promise of a well-maintained and efficient tool, ready to accompany you on your botanical adventures.
So, as you immerse yourself in the vibrant tapestry of nature, may the knowledge gleaned from this guide serve as a beacon, illuminating the path to a seamless and rewarding gardening journey. Harness the power of understanding and practice the art of nurturing not only your garden but also the tools that aid you in this endeavor.
With the wisdom acquired from this guide, may your lawnmower battery remain charged and ready, propelling you through the lush expanse of your garden, as you continue to cultivate and cherish the natural splendor that surrounds you.
Happy gardening, and may your lawnmower battery always be brimming with vitality!
Frequently Asked Questions about How To Charge A Lawnmower Battery
Was this page helpful?
At Storables.com, we guarantee accurate and reliable information. Our content, validated by Expert Board Contributors, is crafted following stringent Editorial Policies. We're committed to providing you with well-researched, expert-backed insights for all your informational needs.


0 thoughts on “How To Charge A Lawnmower Battery”