Home>Home Security and Surveillance>How To Replace Batteries On Blink Outdoor Camera
Home Security and Surveillance
How To Replace Batteries On Blink Outdoor Camera
Modified: March 6, 2024
Learn how to replace batteries on your Blink Outdoor camera and ensure uninterrupted home security and surveillance. Follow our step-by-step guide to keep your cameras powered and functioning optimally.
(Many of the links in this article redirect to a specific reviewed product. Your purchase of these products through affiliate links helps to generate commission for Storables.com, at no extra cost. Learn more)
Introduction
Welcome to our comprehensive guide on how to replace the batteries on your Blink Outdoor Camera. As a homeowner or security enthusiast, it is essential to ensure that your home security and surveillance system is functioning optimally. The Blink Outdoor Camera is a popular choice for many households due to its ease of installation, wireless capabilities, and high-quality video footage.
Over time, the batteries on your Blink Outdoor Camera may require replacement to maintain its performance. This article will walk you through the step-by-step process of replacing the batteries, ensuring that you can continue to monitor and protect your home effectively.
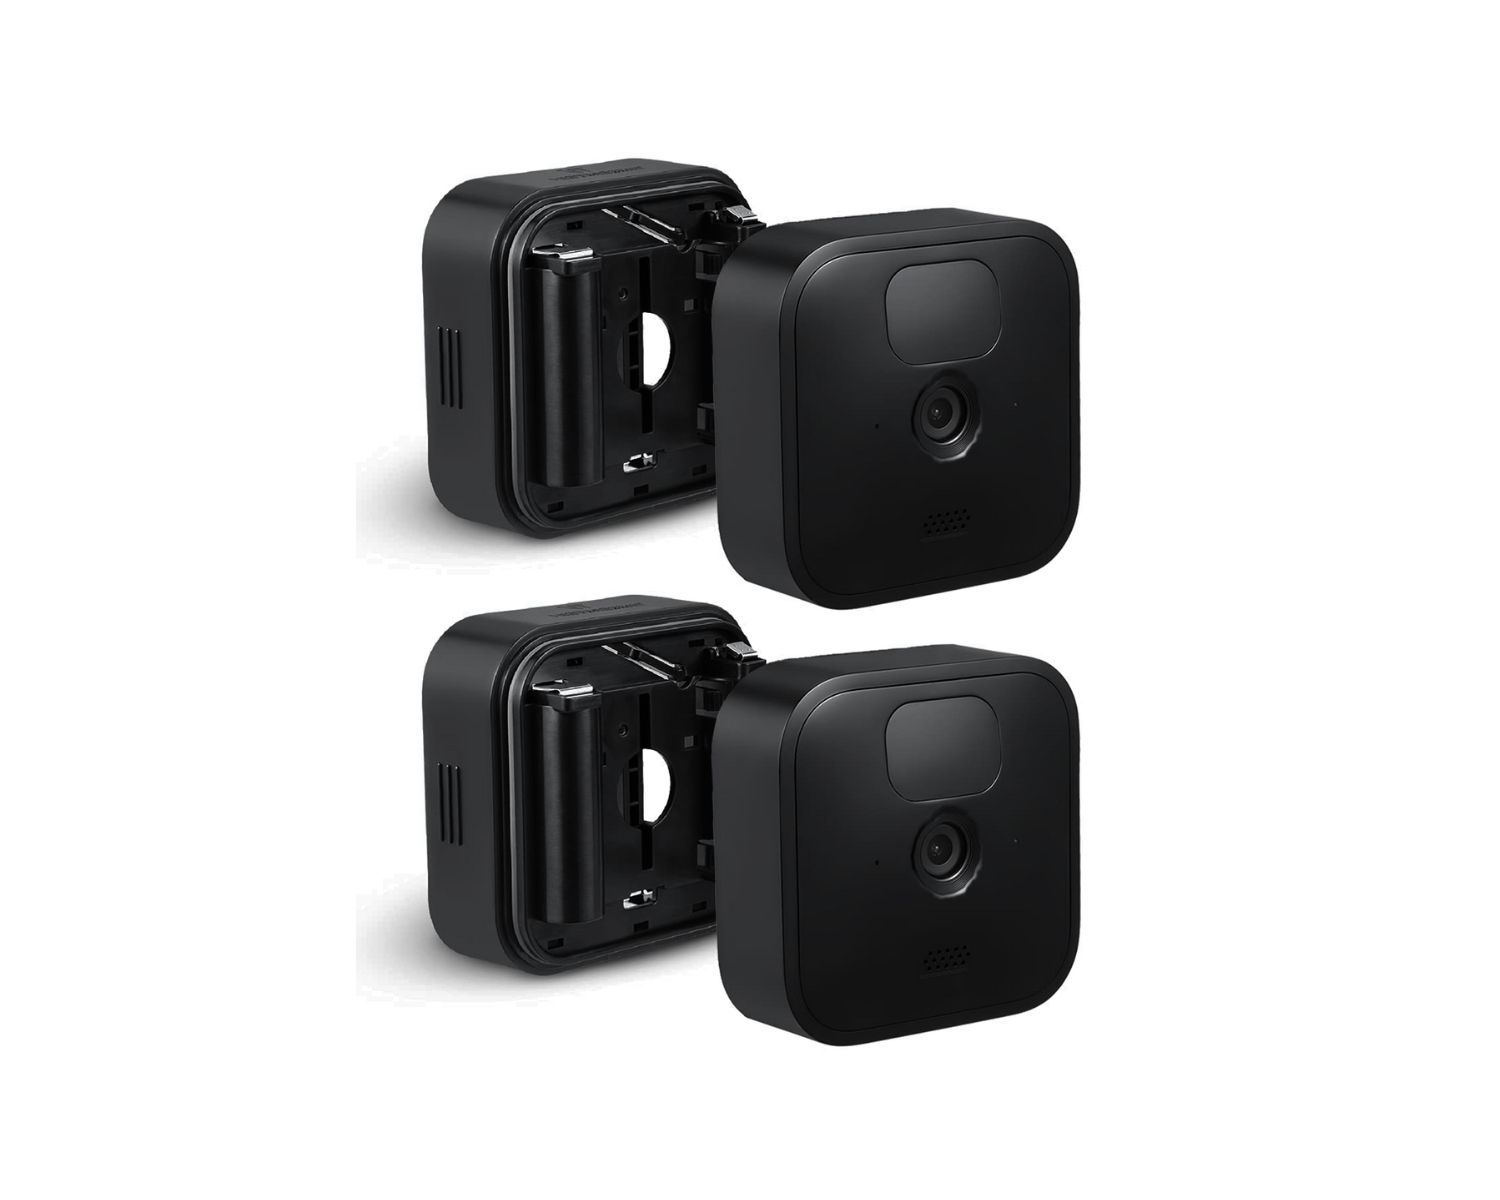
Before we begin, it’s important to note that the Blink Outdoor Camera is powered by two AA lithium batteries. It is recommended to use high-quality, long-lasting batteries for optimal performance. Now, let’s dive into the steps for replacing the batteries on your Blink Outdoor Camera.
Key Takeaways:
- Remember to replace Blink Outdoor Camera batteries every 3-6 months for optimal performance. Gather tools, handle with care, and test functionality after replacement to ensure continued home security.
- Prepare, replace, and test! Gather tools, replace batteries carefully, and test camera functionality for peace of mind. Regular maintenance keeps your home security system in top shape.
Step 1: Gather the necessary tools and materials
Before you start the battery replacement process, it’s essential to gather all the necessary tools and materials. Having everything prepared beforehand will make the process smoother and more efficient. Here’s what you’ll need:
- Replacement batteries: As mentioned earlier, the Blink Outdoor Camera uses two AA lithium batteries. Make sure you have a fresh set of compatible batteries.
- Small screwdriver: You’ll need a small Phillips or flathead screwdriver to remove the screws on the back of the camera.
- Clean cloth: It’s always handy to have a clean cloth to wipe any dust or debris from the camera during the battery replacement process.
Once you have gathered these tools and materials, you’re ready to move on to the next step. Ensuring that you have everything on hand will save you time and prevent any interruptions during the process.
Step 2: Prepare the Blink Outdoor Camera for battery replacement
Now that you have all the necessary tools and materials, it’s time to prepare the Blink Outdoor Camera for battery replacement. Follow these steps:
- Locate the mounting bracket on the back of the camera. Depending on how the camera is mounted, you may need to remove it from the bracket. This can usually be done by loosening the mounting screws.
- Once the camera is detached from the mounting bracket, place it on a clean and flat surface. Ensure that the lens is facing upwards to avoid any damage.
- Take a moment to examine the camera and identify the battery compartment cover. This cover is typically located on the bottom or backside of the camera and is secured with small screws.
- Using the appropriate screwdriver, carefully remove the screws securing the battery compartment cover. Place the screws in a safe spot where they won’t get lost.
- With the screws removed, gently lift the battery compartment cover off the camera. Set it aside in a secure place, as you’ll need it for reassembly later.
- At this point, you should be able to see the existing batteries inside the camera. Take a moment to inspect them for any signs of corrosion or damage.
By following these steps, you have successfully prepared the Blink Outdoor Camera for battery replacement. You’re now ready to move on to removing the existing batteries in the next step.
Step 3: Remove the existing batteries from the Blink Outdoor Camera
With the Blink Outdoor Camera prepared for battery replacement, it’s time to remove the existing batteries. Follow these steps:
- Take note of the placement and orientation of the existing batteries. This will help ensure that you insert the new batteries correctly later on.
- Gently remove the old batteries from the camera, taking care not to damage any components or wiring inside.
- If the batteries are stuck or difficult to remove, you can use a small non-metallic tool, such as a plastic prying tool or a toothpick, to help pop them out.
- Inspect the battery compartment for any dust, debris, or signs of corrosion. If necessary, use a clean cloth or compressed air to remove any unwanted particles.
- Note down any specific information or labeling on the batteries if you wish to keep a record of their lifespan or performance.
- Dispose of the old batteries properly and responsibly according to your local regulations. Lithium batteries should not be thrown in the regular trash.
By following these steps, you have successfully removed the existing batteries from your Blink Outdoor Camera. You’re now ready to proceed to the next step of inserting new batteries.
To replace the batteries on your Blink Outdoor camera, simply open the battery compartment, remove the old batteries, and insert the new ones according to the correct polarity. Make sure to use the recommended type of batteries for your camera.
Step 4: Insert new batteries into the Blink Outdoor Camera
Now that you have removed the old batteries from the Blink Outdoor Camera, it’s time to insert the new ones. Follow these steps:
- Take the fresh set of AA lithium batteries and ensure they are in good condition, with no signs of damage or corrosion.
- Refer to the notes you made earlier on the placement and orientation of the previous batteries. Insert the new batteries in the same configuration.
- Gently slide the new batteries into the battery compartment, making sure they are snugly fitted and properly aligned.
- Double-check that the positive and negative terminals of the batteries are aligned with the corresponding markings inside the compartment.
- Take a moment to inspect the battery compartment to ensure there are no obstructions and that the batteries are securely in place.
By following these steps, you have successfully inserted the new batteries into your Blink Outdoor Camera. Now, let’s move on to reassembling the camera in the next step.
Step 5: Reassemble the Blink Outdoor Camera
Now that you have inserted the new batteries into the Blink Outdoor Camera, it’s time to reassemble the camera. Follow these steps:
- Take the battery compartment cover that you set aside earlier and align it with the camera.
- Gently press the cover into place, ensuring that it fits snugly and aligns perfectly with the screw holes.
- Using the small screwdriver, insert and tighten the screws to secure the battery compartment cover in place. Be careful not to overtighten.
- Once the screws are tightened, give the camera a gentle shake to ensure the battery compartment cover is securely fastened.
- If your Blink Outdoor Camera was detached from its mounting bracket, reattach it by aligning the camera with the bracket and tightening the mounting screws.
By following these steps, you have successfully reassembled the Blink Outdoor Camera after replacing the batteries. Now, it’s time to test the camera functionality in the next step.
Step 6: Test the camera functionality
After replacing the batteries and reassembling the Blink Outdoor Camera, it’s crucial to test its functionality to ensure everything is working properly. Follow these steps to test the camera:
- Position the Blink Outdoor Camera in its desired location, preferably within range of your Wi-Fi network.
- Make sure the camera is powered on and connected to the Blink app or your designated monitoring system.
- Open the Blink app or access the monitoring system to view the live feed from the camera.
- Check for clear and stable footage, ensuring that the camera captures the desired area without any distortions or abnormalities.
- Test the camera’s motion detection feature by moving within its field of view and verifying that it detects and records motion accurately.
- Verify that you receive push notifications or alerts on your smartphone or designated devices when motion is detected by the camera.
- If any issues or abnormalities are observed, double-check the battery installation and retrace the steps to ensure proper reassembly.
By following these steps and testing the camera’s functionality, you can ensure that the Blink Outdoor Camera is operating correctly after the battery replacement process.
Remember, regular maintenance and battery replacements are essential for keeping your home security and surveillance system in optimal condition. It is recommended to replace the batteries on your Blink Outdoor Camera every 3-6 months or as needed, based on usage and battery life.
Now that you have successfully replaced the batteries and tested the camera, you can have peace of mind knowing that your home security and surveillance system is up and running smoothly.
Conclusion
Replacing the batteries on your Blink Outdoor Camera is a straightforward process that ensures your home security and surveillance system continues to function effectively. By following the step-by-step guide outlined in this article, you can easily replace the batteries and maintain the performance of your Blink Outdoor Camera.
Remember to gather the necessary tools and materials before starting the battery replacement process. Taking the time to prepare and have everything on hand will make the process smoother and more efficient.
During the battery replacement process, it’s essential to handle the camera and batteries with care. Inspecting the batteries for damage and ensuring proper alignment when inserting them into the camera will result in optimal performance.
After replacing the batteries and reassembling the Blink Outdoor Camera, be sure to test its functionality. Check the camera’s livestream, motion detection, and notification features to ensure they are working as expected.
Regular maintenance, including battery replacements, is crucial to keep your Blink Outdoor Camera in optimal condition. It is recommended to replace the batteries every 3-6 months or as needed, based on usage and battery life.
With a properly functioning Blink Outdoor Camera, you can enjoy peace of mind knowing that your home is protected and monitored. So, go ahead, follow these steps, and ensure the continued security of your home with a well-maintained Blink Outdoor Camera!
Frequently Asked Questions about How To Replace Batteries On Blink Outdoor Camera
Was this page helpful?
At Storables.com, we guarantee accurate and reliable information. Our content, validated by Expert Board Contributors, is crafted following stringent Editorial Policies. We're committed to providing you with well-researched, expert-backed insights for all your informational needs.