Home>Home Security and Surveillance>How Do You Record On Your Outdoor Camera
Home Security and Surveillance
How Do You Record On Your Outdoor Camera
Modified: October 20, 2024
Looking to enhance your home security and surveillance? Discover how to record on your outdoor camera and keep your property safe.
(Many of the links in this article redirect to a specific reviewed product. Your purchase of these products through affiliate links helps to generate commission for Storables.com, at no extra cost. Learn more)
Introduction
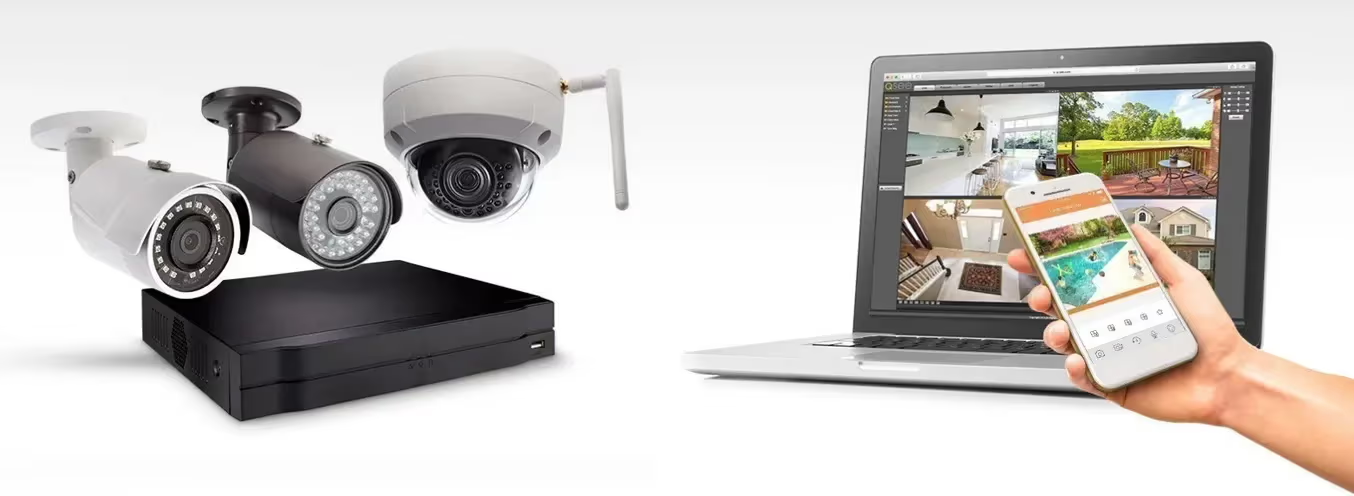
Welcome to the world of home security and surveillance! As technology continues to advance, it has become easier than ever to protect our homes and loved ones with the help of outdoor cameras. These cameras not only serve as a deterrent to potential intruders but also provide valuable evidence in the event of a security breach.
One crucial aspect of utilizing outdoor cameras is recording footage. This allows you to review past events, monitor activity in real-time, and have a record of any incidents that may occur. In this article, we will explore various methods and techniques to help you effectively record on your outdoor camera.
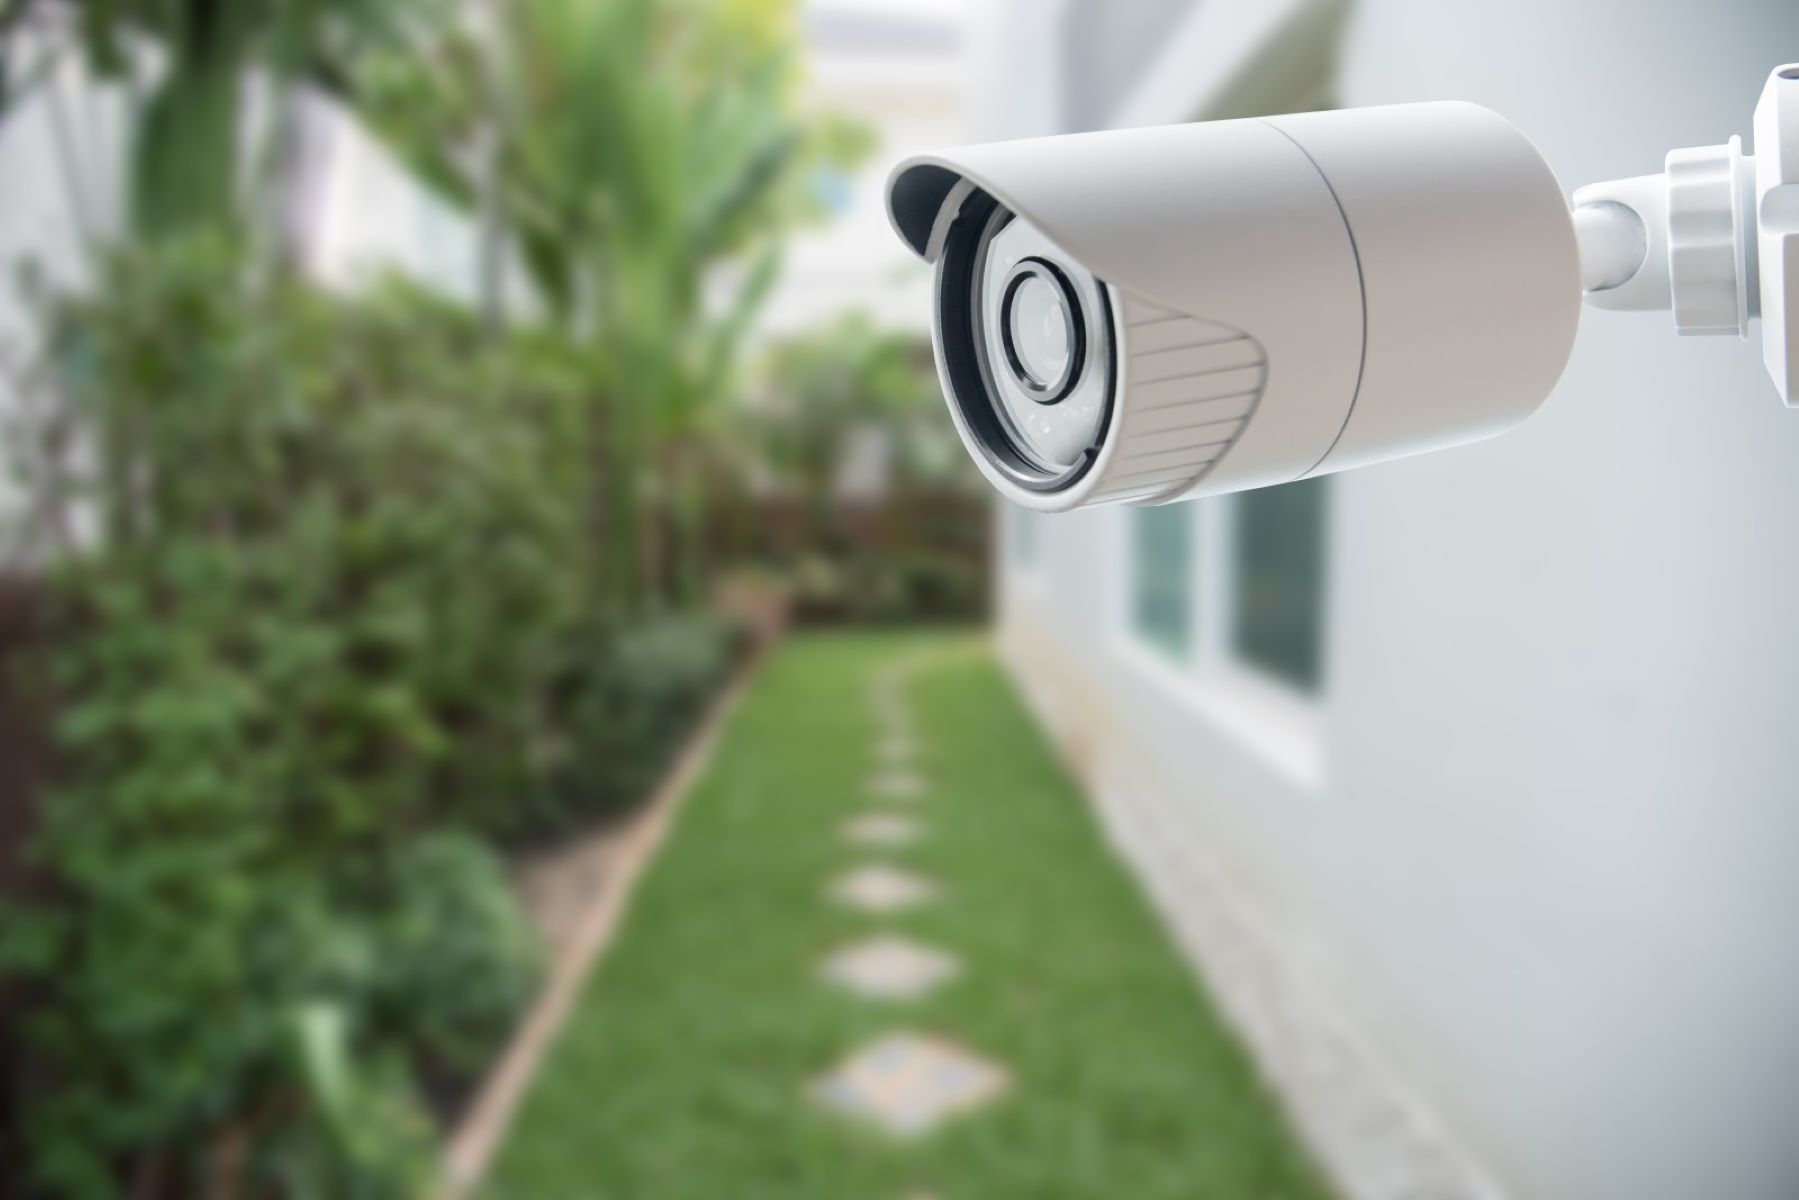
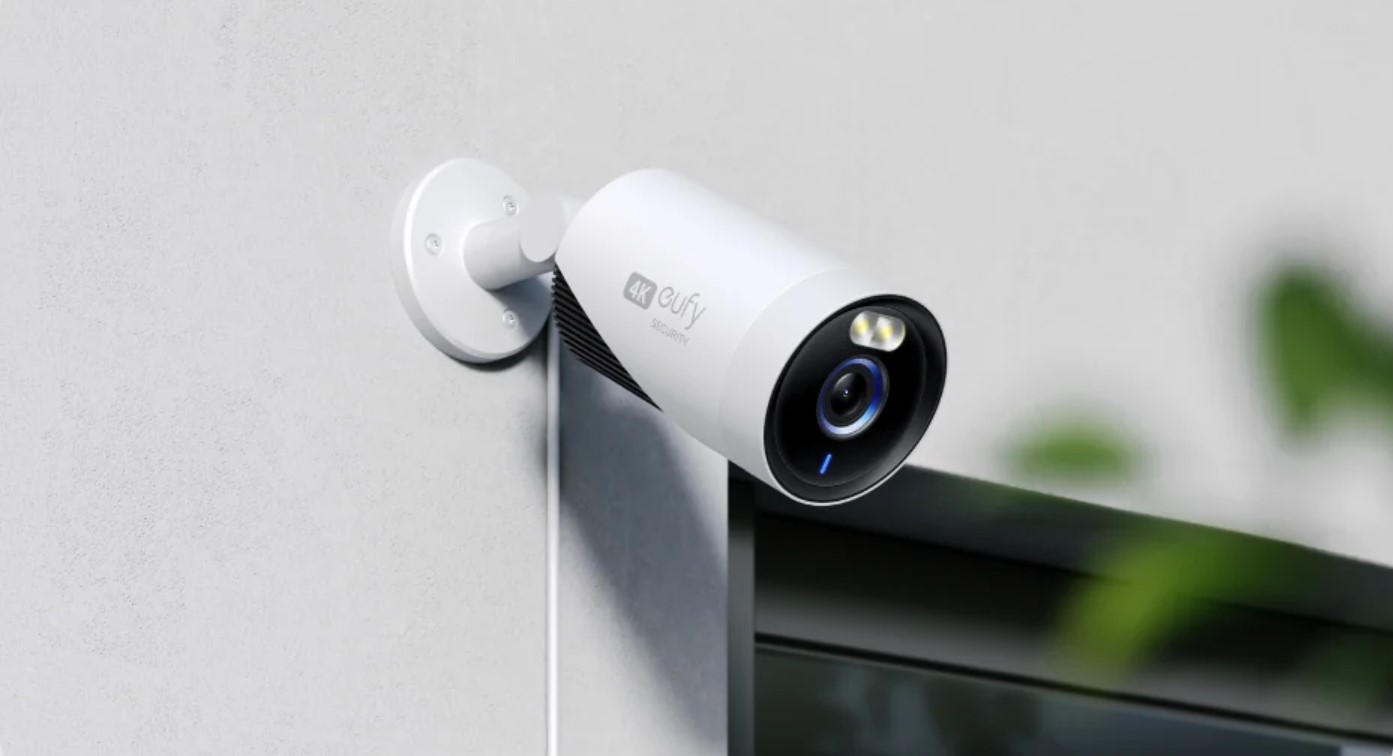
Before we delve into the details, it’s essential to understand the basics of your outdoor camera. These cameras are specifically designed to withstand various weather conditions, making them ideal for patios, driveways, gardens, and other outdoor areas. They come equipped with features such as night vision, motion detection, and high-resolution video capture to ensure optimal performance.
Now, let’s get started on setting up your outdoor camera for recording!
Key Takeaways:
- Ensure optimal outdoor camera performance by understanding its features, setting it up correctly, and choosing the right recording mode to effectively monitor and protect your property.
- Maximize outdoor camera recording quality by adjusting settings, accessing and managing footage efficiently, and troubleshooting common issues for reliable home security and surveillance.
Understanding Your Outdoor Camera
Before you start recording on your outdoor camera, it’s important to familiarize yourself with its key features and functionalities. This will help you make the most out of your camera and ensure optimal performance.
First and foremost, check the specifications of your outdoor camera. Pay attention to details such as the resolution, field of view, night vision capabilities, and storage options. This will give you a better understanding of the camera’s capabilities and limitations.
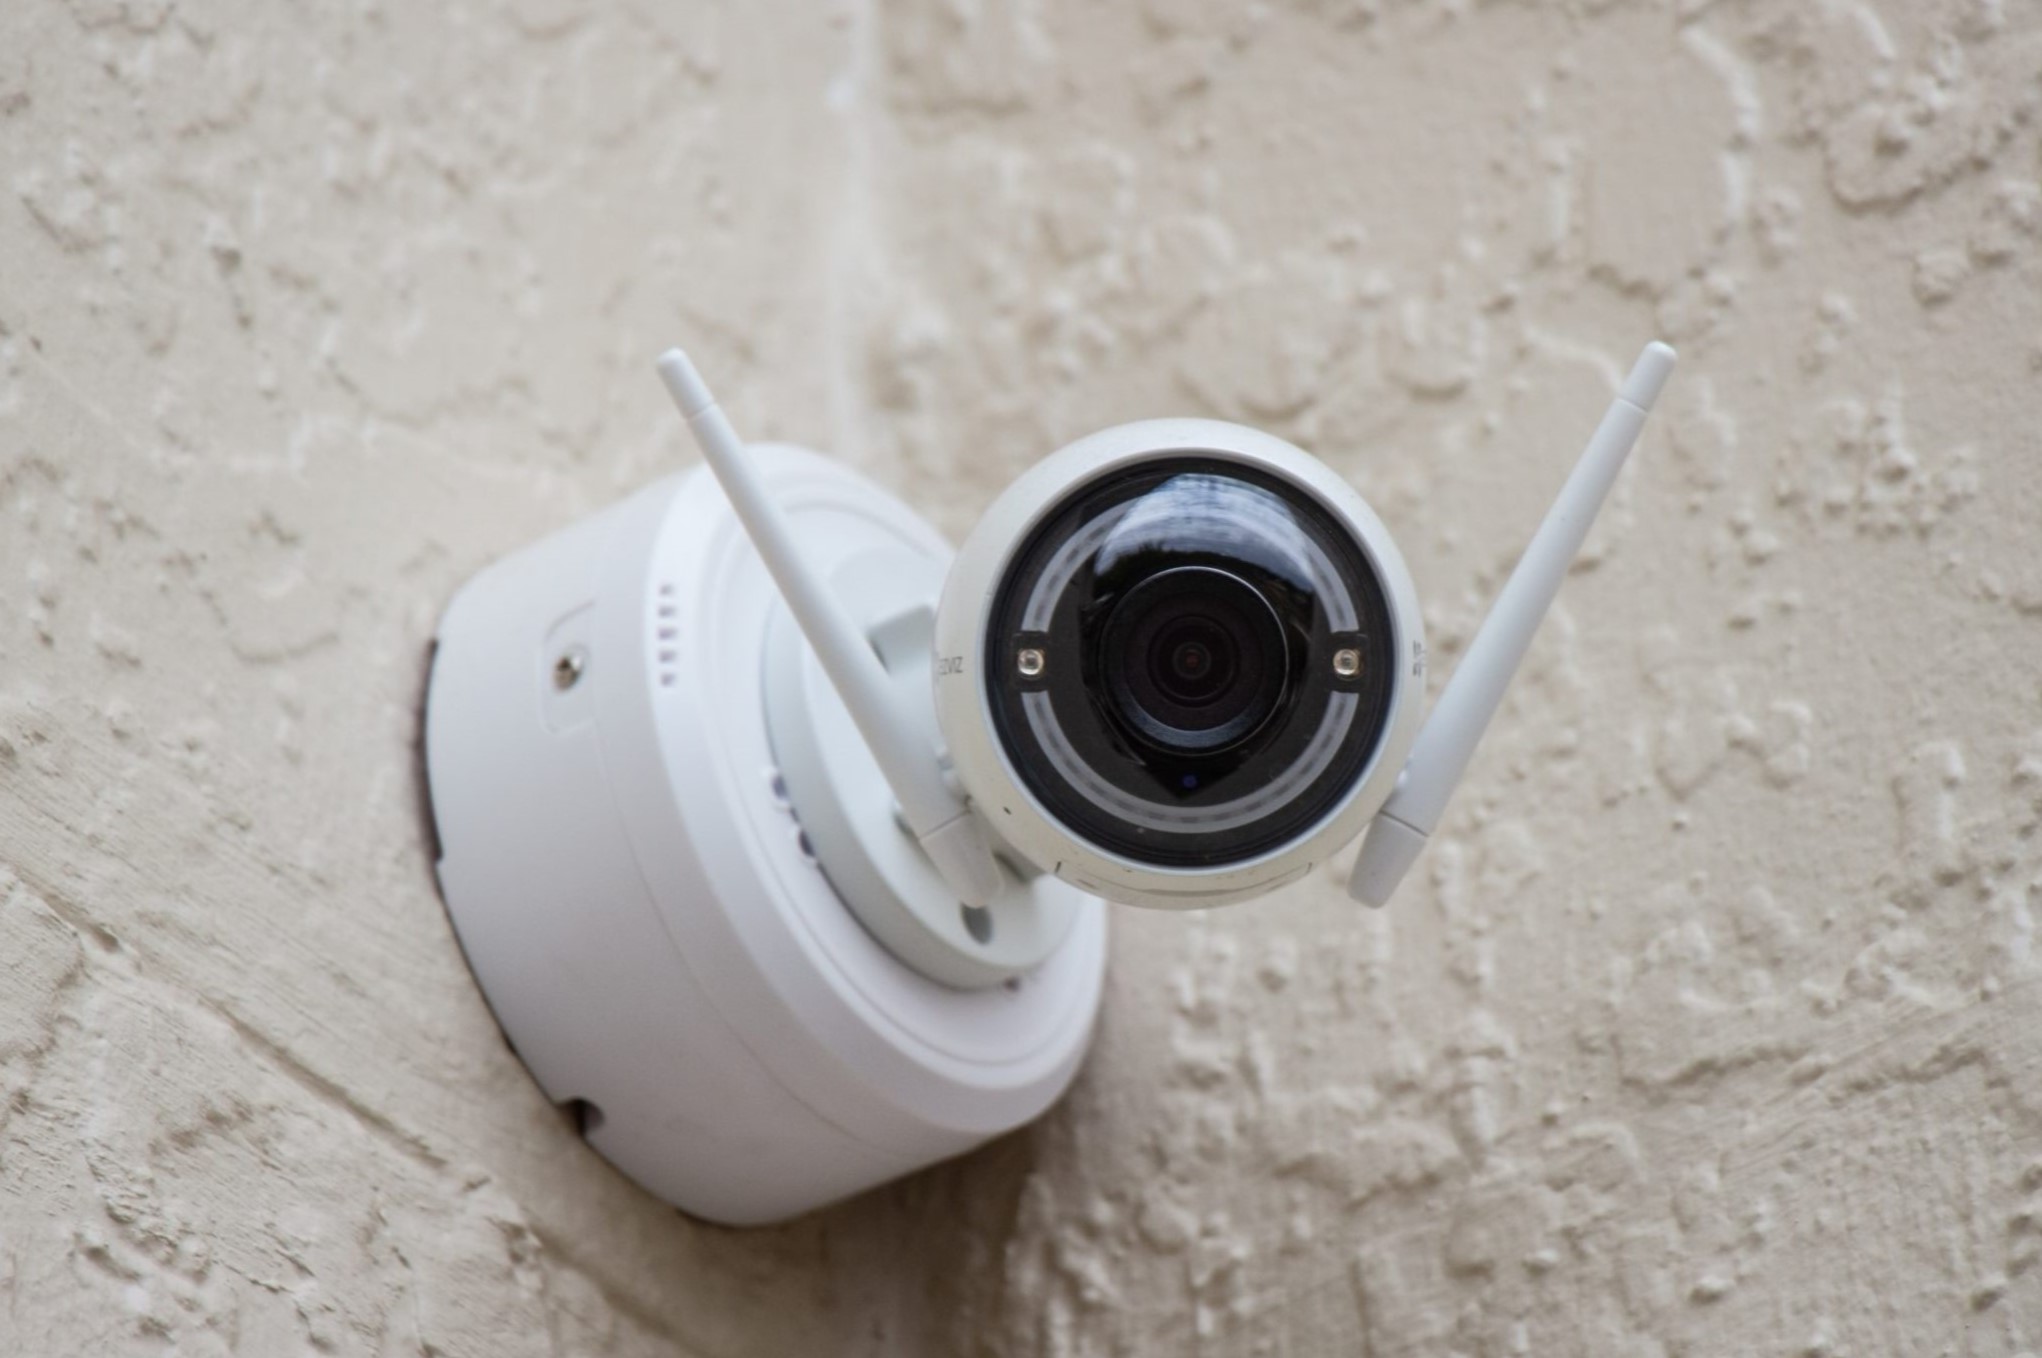
Next, identify the type of outdoor camera you have. There are two main types: wired and wireless. Wired cameras require a physical connection to a power source and a recording device, while wireless cameras are powered by batteries or solar panels and transmit data wirelessly.
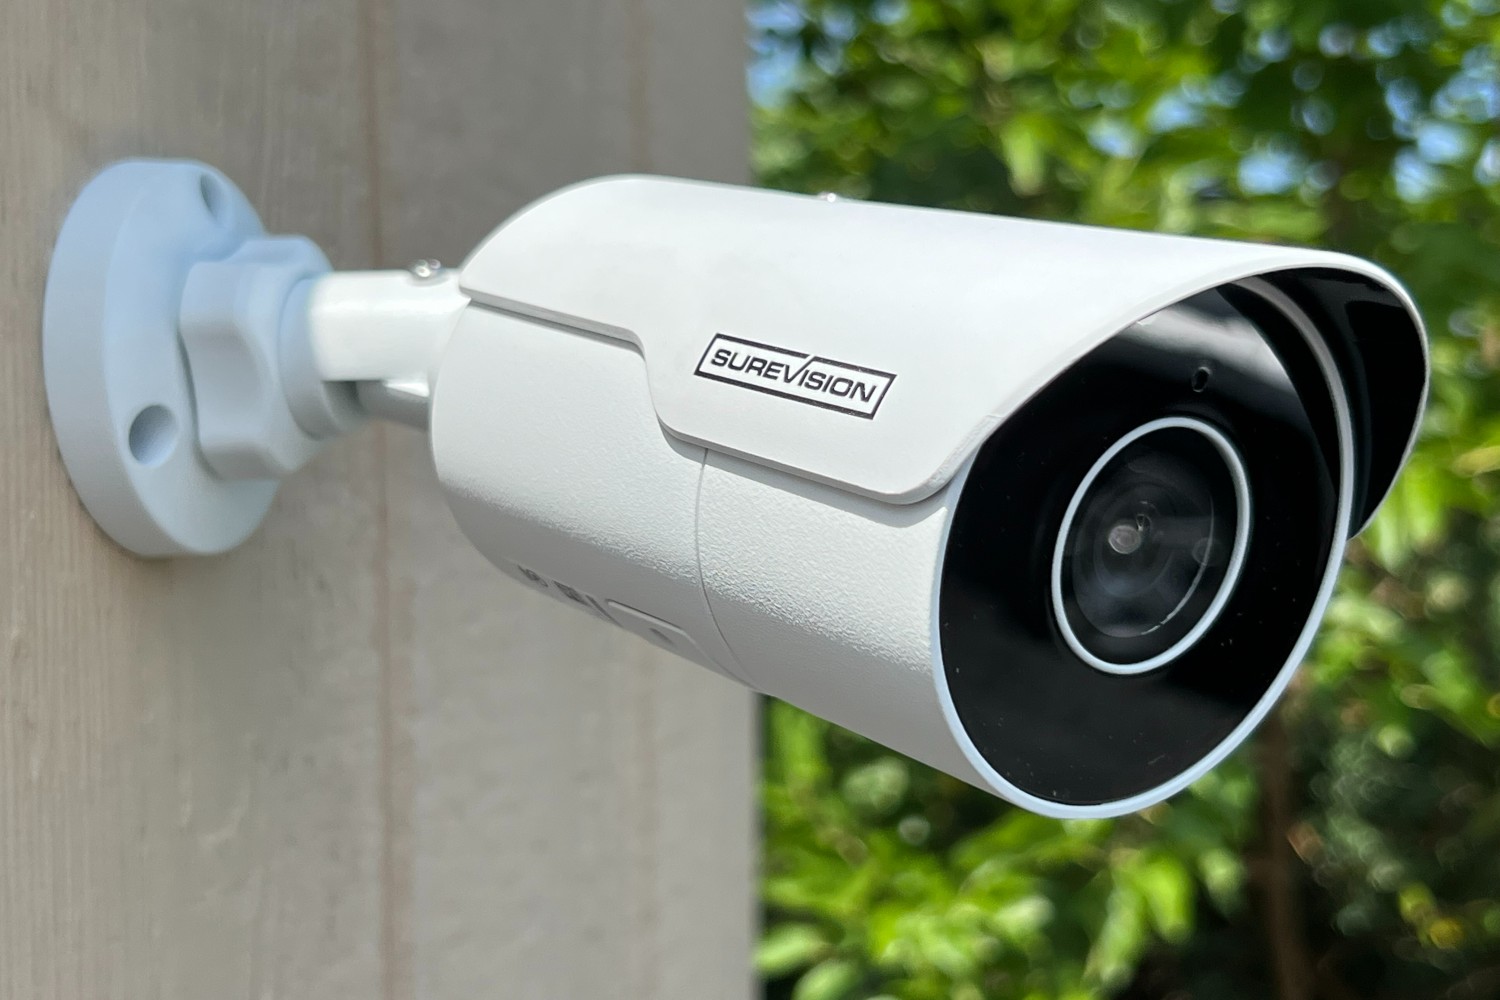
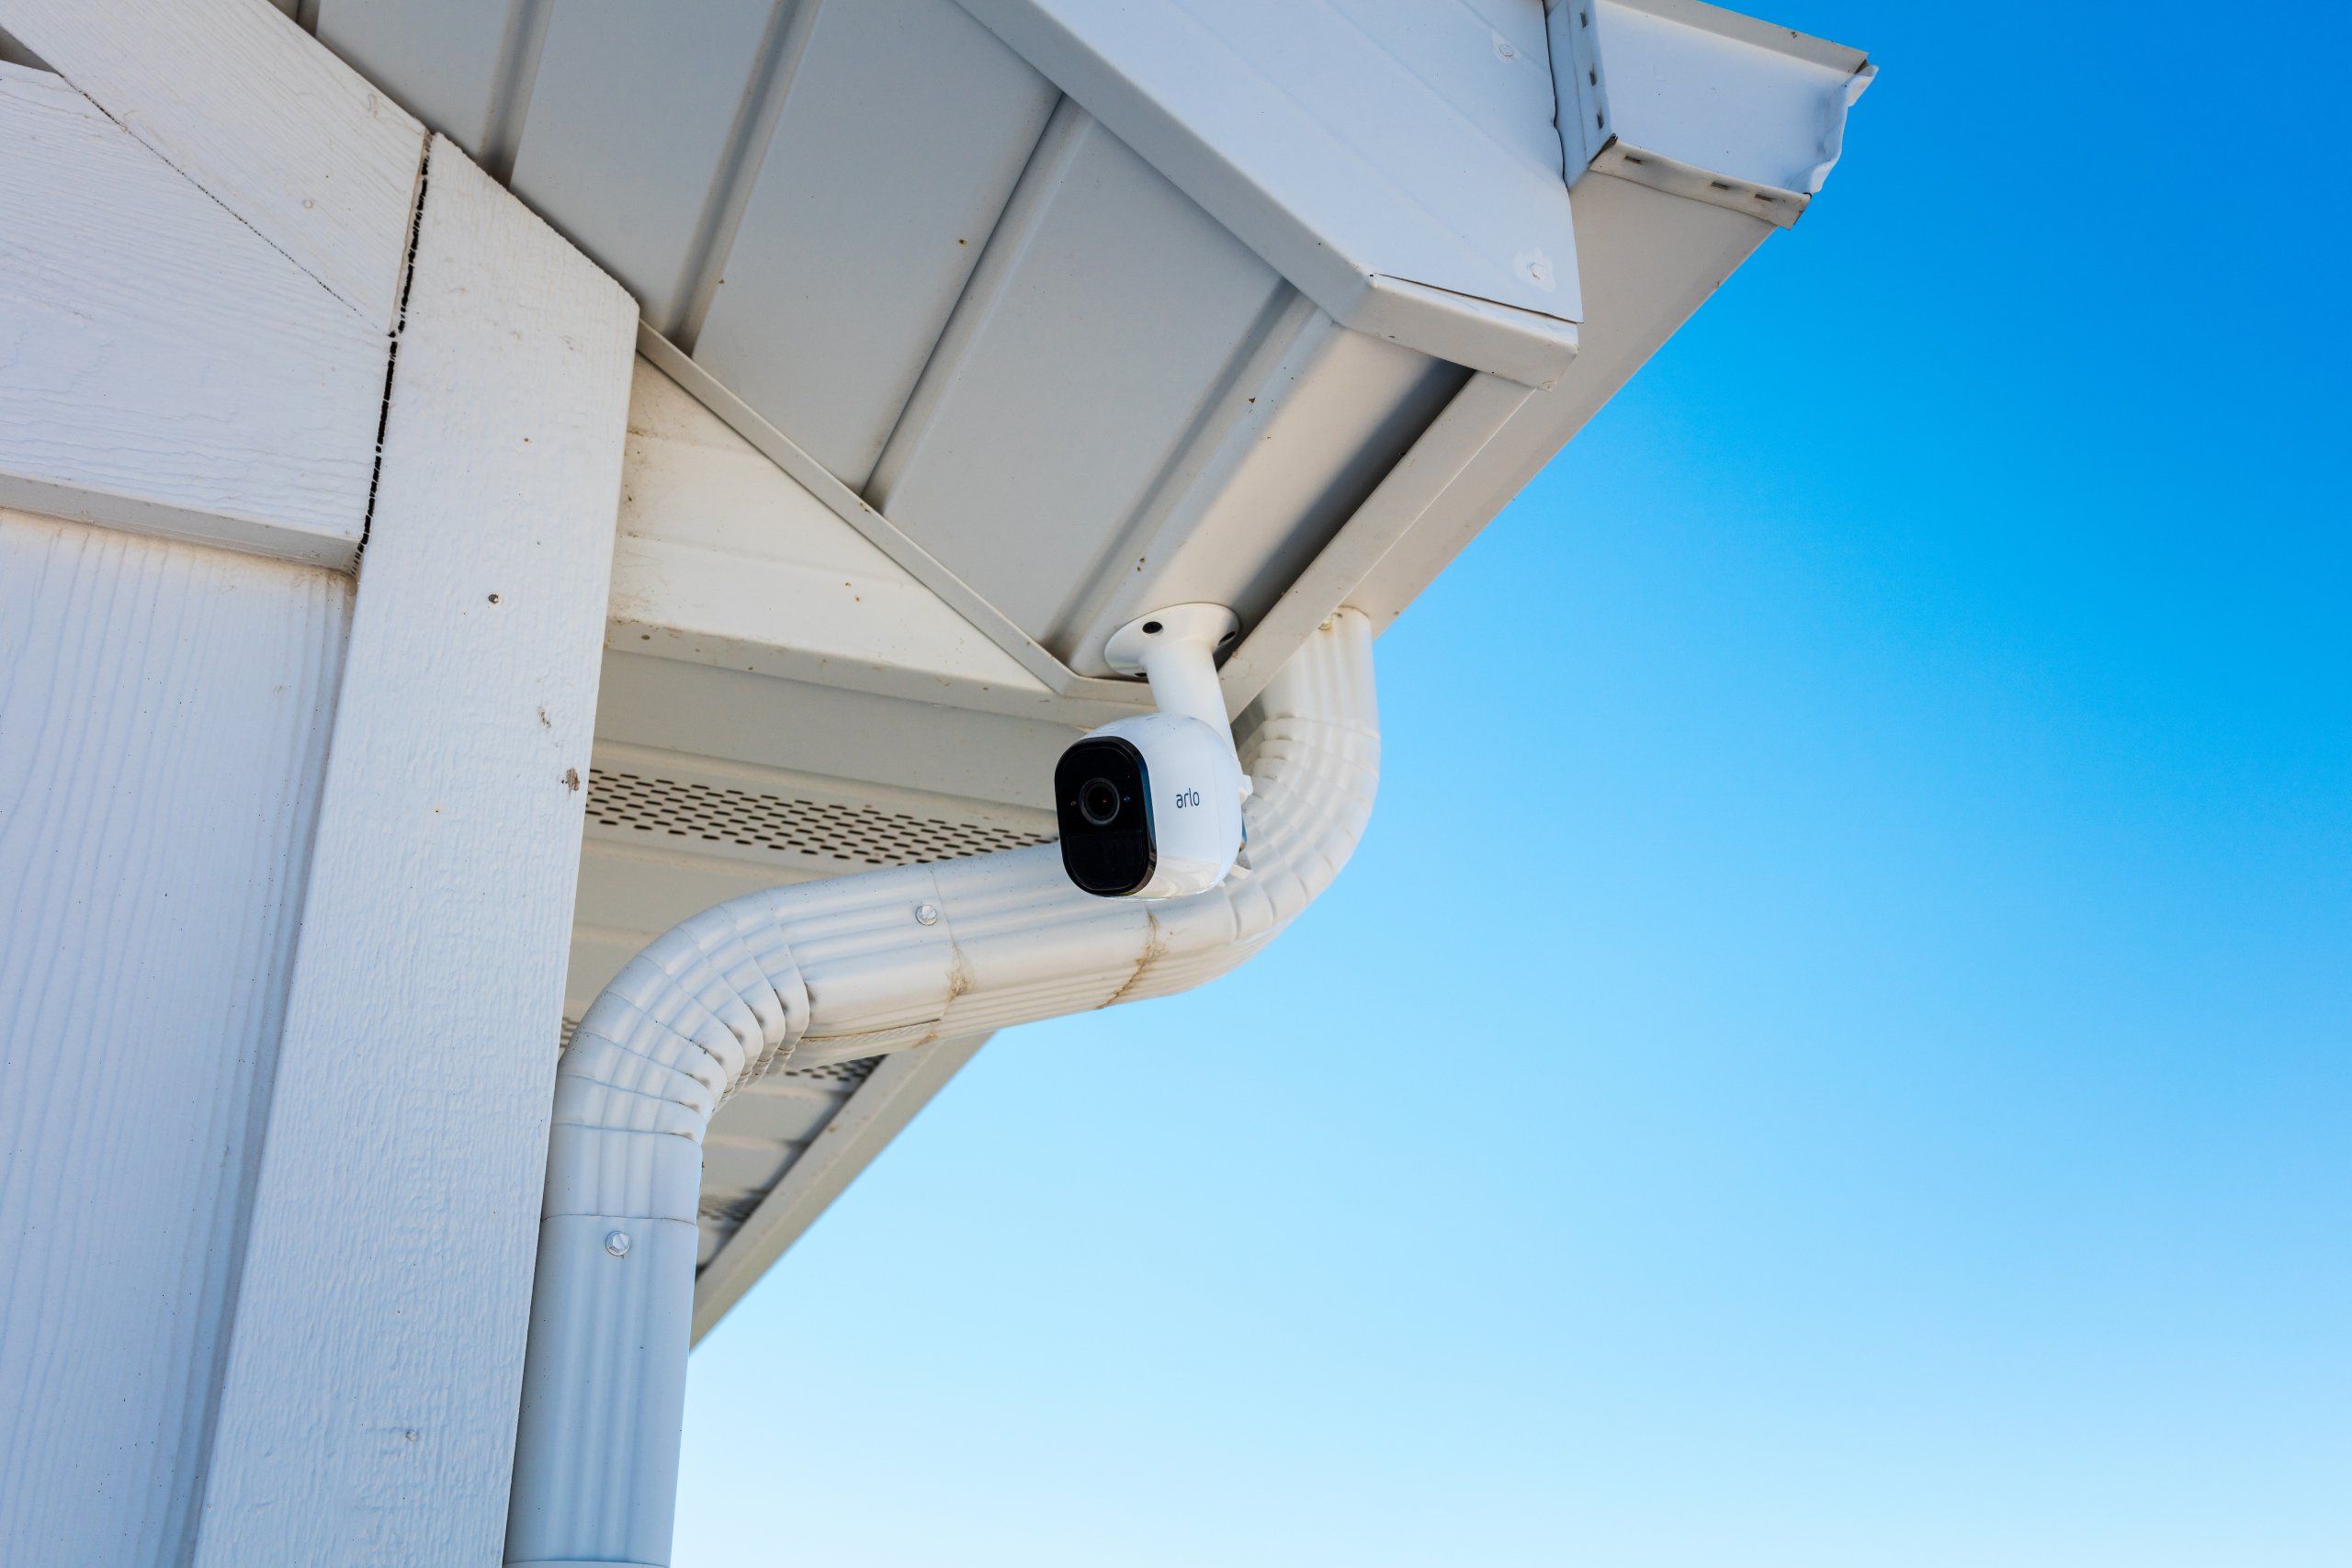
Additionally, consider the camera’s positioning. Ideally, your outdoor camera should be strategically placed in an area that provides optimal coverage of the intended surveillance space. Ensure that there are no obstructions that could affect the camera’s view, such as trees or walls.
Understanding the range and sensitivity of the motion detection feature is also crucial. This feature allows the camera to start recording when motion is detected within its range. Adjust the settings according to your preferences and the specific needs of your surveillance area.
Lastly, determine the storage options available for your outdoor camera. Some cameras may have built-in storage, while others require external storage devices such as SD cards or cloud storage subscriptions. Evaluate the available options and choose the one that suits your needs.
By understanding your outdoor camera’s specifications, type, positioning, motion detection capabilities, and storage options, you will be better equipped to make informed decisions when it comes to recording on your camera.
Setting up Your Outdoor Camera for Recording
Setting up your outdoor camera for recording requires careful planning and attention to detail. Follow the steps below to ensure a smooth and effective setup process:
- Choose the optimal location: Select a spot that offers the best view of the area you want to monitor. It should be elevated and out of reach from potential tampering.
- Secure the camera: Mount your outdoor camera securely using the appropriate brackets or mounting kits provided. Ensure that it is tightly fastened and positioned correctly.
- Connect to power: If you have a wired outdoor camera, connect it to a power source using the provided cables. Make sure the power supply is stable and protected from the elements.
- Connect to a network: For wireless cameras, connect them to your home’s Wi-Fi network. Follow the manufacturer’s instructions to establish a stable and secure connection.
- Install necessary software: Some outdoor cameras require proprietary software or mobile apps for configuration and management. Download and install the necessary software or app on your smartphone or computer.
- Access camera settings: Use the software or app to access the camera’s settings. Set up your preferences for recording, such as video resolution, frame rate, and storage options.
- Configure motion detection: Enable and fine-tune the motion detection feature based on your specific surveillance needs. Adjust the sensitivity and detection zone to avoid false alarms.
- Set up recording schedules: Many outdoor cameras allow you to set up recording schedules according to your preferences. Determine the times when you want the camera to record continuously or only when motion is detected.
- Test the setup: Once everything is configured, perform a test recording to ensure that the camera is capturing the desired footage effectively. Review the recorded video to confirm the quality and adjust settings if necessary.
Remember, proper setup is essential to ensure reliable recording on your outdoor camera. Take the time to position it correctly, connect to power and network, install necessary software, configure settings, and perform thorough testing.
Choosing the Right Recording Mode
When it comes to recording on your outdoor camera, it’s important to choose the right recording mode that fits your specific needs. Here are some common recording modes to consider:
- Continuous recording: In this mode, your outdoor camera will continuously record footage 24/7. This is particularly useful if you require constant surveillance or if there is a high risk of security breaches in your area. However, keep in mind that continuous recording may consume a significant amount of storage space.
- Motion-triggered recording: Motion-triggered recording is a popular choice as it conserves storage space and focuses on capturing relevant events. When motion is detected within the camera’s range, it will start recording. This ensures that you have a record of significant activities, such as someone entering your property or a vehicle approaching your driveway.
- Scheduled recording: Scheduled recording allows you to define specific timeframes during which the camera will record. This mode is beneficial if you have predictable surveillance needs or if you want to optimize storage space by focusing on specific hours of the day when activity is more likely to occur.
- Event-based recording: Some outdoor cameras have the capability to detect specific events, such as loud noises or sudden changes in lighting. When such events occur, the camera will start recording. This mode is useful for capturing unexpected incidents and can be particularly valuable in situations where immediate action is required.
- Manual recording: Manual recording mode allows you to initiate recording manually through the software or app. This can be useful if you want to capture a specific event or if you want to have control over when the camera is actively recording.
When choosing the right recording mode, consider factors such as your specific surveillance needs, available storage space, and the level of control you want over recording. You may also opt for a combination of different recording modes to cover all your requirements.
It’s worth noting that some outdoor cameras offer customizable recording modes, allowing you to create a tailored schedule or combine multiple modes to suit your preferences. Take advantage of these features to ensure that your camera captures the footage you need while optimizing storage space.
Adjusting Camera Settings for Recording
Adjusting the camera settings is crucial to ensure optimal recording performance on your outdoor camera. Here are some key settings to consider:
- Video resolution: The video resolution determines the quality of the recorded footage. Higher resolutions, such as 1080p or even 4K, will provide clearer and more detailed images. However, keep in mind that higher resolutions require more storage space.
- Frame rate: The frame rate refers to the number of frames captured per second. Higher frame rates, such as 30 or 60 frames per second, will result in smoother video playback. Consider your surveillance needs and the available storage space when selecting the appropriate frame rate.
- Compression settings: Most outdoor cameras use video compression algorithms to reduce file sizes without sacrificing quality. Adjust the compression settings to strike a balance between storage space and video quality.
- Night vision: If your outdoor camera has night vision capabilities, configure the night vision settings accordingly. This may include adjusting the intensity of infrared lights or activating additional features such as low-light enhancement.
- Audio recording: Determine whether you want to enable audio recording along with video footage. Keep in mind that audio recording may have legal considerations, so ensure you comply with local laws and regulations.
- Storage options: If your outdoor camera supports different storage options, such as local storage or cloud storage, choose the one that best suits your needs. Consider factors such as storage capacity, ease of access, and data security.
- Privacy settings: Outdoor cameras may have privacy settings to ensure the protection of your privacy or comply with local regulations. Familiarize yourself with these settings and adjust them accordingly.
- Access control: Configure access control settings to manage who can view and access the recorded footage. This may involve setting up passwords, user accounts, or granting permissions to specific individuals.
- Remote access: If you want to access the recorded footage remotely, ensure that your camera supports remote access. Set up the necessary network configurations or use the manufacturer’s provided app to access the footage from anywhere.
By adjusting these camera settings, you can optimize the recording quality, storage usage, and overall performance of your outdoor camera. Take the time to explore the available settings and customize them according to your specific requirements.
Make sure to check the camera’s storage capacity and battery life before recording. Position the camera to capture the best angle and adjust the settings for optimal recording quality.
Accessing and Managing Recorded Footage
Once you have recorded footage on your outdoor camera, it’s important to know how to access and manage it effectively. Here are some methods and tips for accessing and managing recorded footage:
- Using the camera’s software or app: Most outdoor cameras come with dedicated software or mobile apps that allow you to access and manage recorded footage. Install the software on your computer or download the app on your smartphone to easily view, download, or delete recorded videos.
- Cloud storage: If your camera supports cloud storage, consider subscribing to a secure and reliable cloud service. This allows you to store and access recorded footage remotely, eliminating the need for physical storage devices and ensuring data backup.
- Local storage devices: If your camera has a local storage option, such as an SD card or a Network Attached Storage (NAS) device, you can directly access the recorded footage by connecting to these devices. Keep in mind that local storage has limited capacity, so regular backups or managing storage space is necessary.
- Timestamps and categorization: Keep your recorded footage organized by utilizing timestamps and categorizing events. Timestamps provide a reference point for specific incidents, making it easier to locate and review footage. Categorize events based on their importance, such as “Motion Detected” or “Suspicious Activity,” for quick access.
- Search and playback: Utilize search functions within the camera’s software or app to quickly locate specific footage. This could be based on time and date, motion detection triggers, or other specified criteria. Utilize playback controls to review and analyze the recorded footage effectively.
- Backup and archiving: Regularly backup and archive important footage to ensure its long-term security. This can be done by transferring files to external storage devices or uploading them to cloud storage services. By having multiple copies of critical footage, you can safeguard against accidental deletions or hardware failures.
- Sharing and exporting: If necessary, share specific recorded footage with law enforcement, neighbors, or other stakeholders. Most camera software or apps provide options to export or share video clips easily. However, be mindful of privacy considerations and ensure compliance with legal requirements.
- Data management: Establish a data management strategy to organize and maintain your recorded footage effectively. Regularly review and delete unnecessary footage to free up storage space. Consider implementing automated retention policies to automatically delete old footage after a specified period.
By following these tips and utilizing the available tools, you can efficiently access and manage the recorded footage from your outdoor camera. Organized storage, effective search functions, and proper backup procedures will ensure that you have quick access to critical footage whenever needed.
Tips for Maximizing Recording Quality
To ensure that your outdoor camera captures high-quality footage, consider the following tips for maximizing recording quality:
- Optimize camera placement: Position your outdoor camera in a location that offers the best view of the surveillance area. Avoid obstructions and ensure that the camera is focused on the desired target area.
- Check camera settings: Verify that the camera settings, including resolution and frame rate, are optimized for capturing high-quality footage. Adjust these settings based on your specific requirements and the available storage capacity.
- Ensure adequate lighting: Adequate lighting plays a significant role in the quality of recorded footage. Ensure that the surveillance area is well-lit, particularly during nighttime, to capture clear and detailed images.
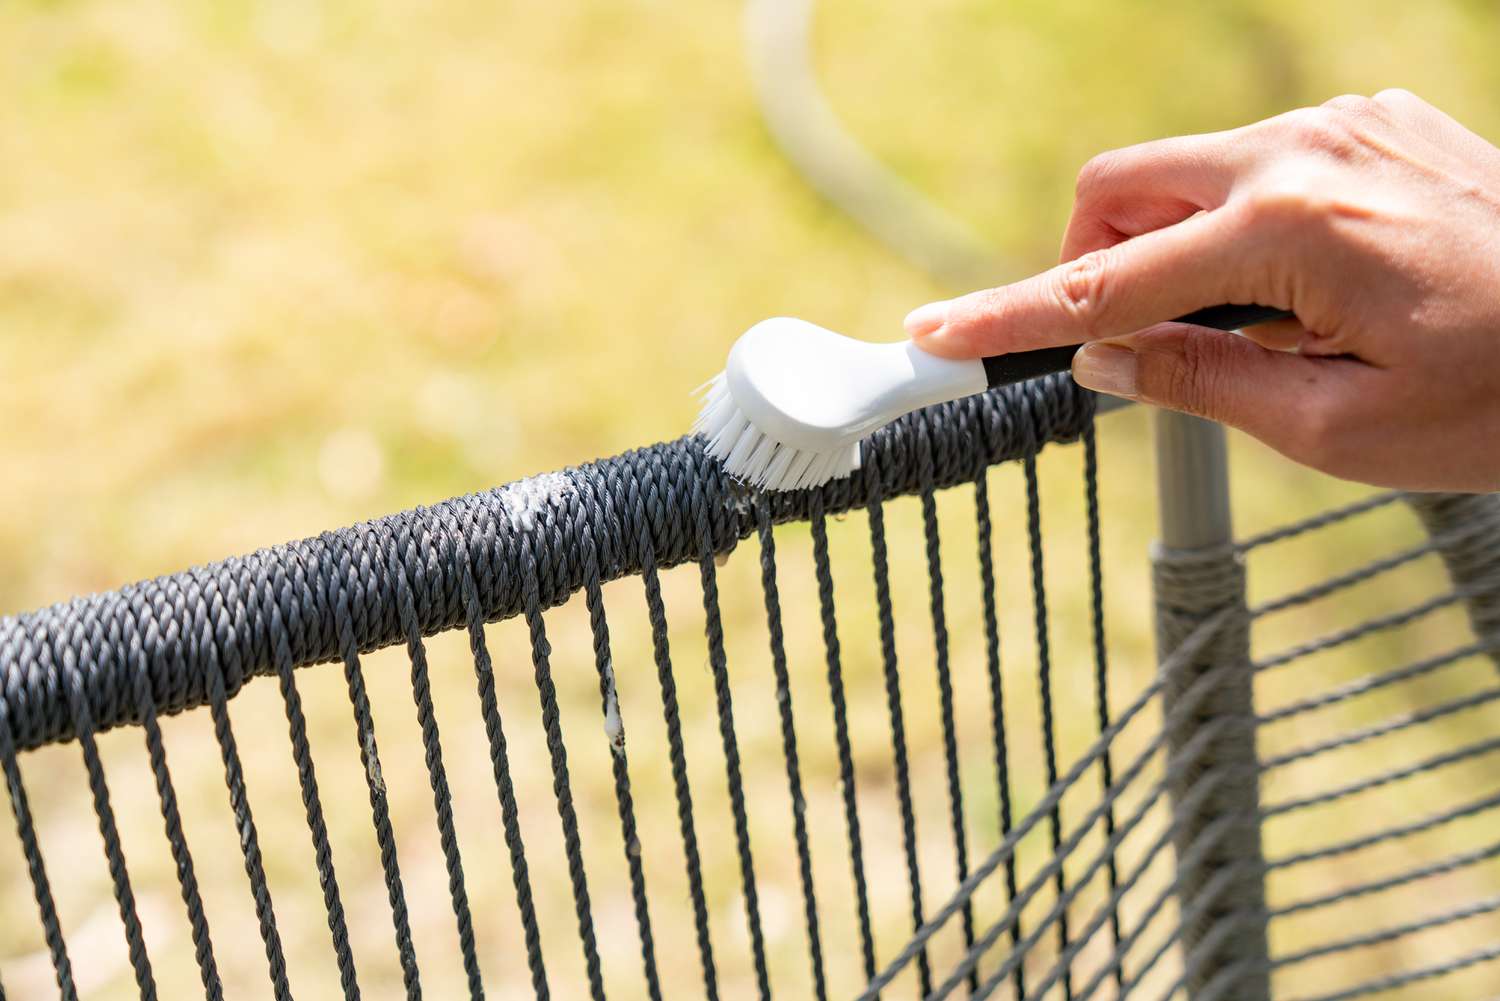
- Regularly clean the lens: Keep the camera lens clean and free from dirt, dust, or other debris. Regularly inspect and clean the lens to maintain optimal image quality and prevent any interference with the footage.
- Use high-quality cables and connectors: If your outdoor camera is wired, make sure to use high-quality cables and connectors to maintain a stable and reliable connection. This helps prevent signal loss and ensures a consistent recording quality.
- Secure the camera from tampering: Protect your outdoor camera from potential tampering or vandalism. Ensure that it is firmly mounted and out of reach from unauthorized individuals to maintain uninterrupted recording quality.
- Regularly update firmware: Check for firmware updates provided by the camera manufacturer. Keeping the firmware up to date ensures that you have access to the latest features, bug fixes, and improvements that can enhance recording quality.
- Test and calibrate motion detection: Regularly test and calibrate the motion detection feature to avoid false alarms or missed events. Adjust the sensitivity and detection zone to accurately capture relevant movements without unnecessary recordings.
- Monitor network connectivity: If your outdoor camera is connected wirelessly, ensure a stable and reliable network connection. Monitor the Wi-Fi signal strength and consider using a Wi-Fi extender or access point if needed to avoid interruptions in recording.
- Perform routine maintenance: Conduct routine maintenance checks on your outdoor camera to identify and address any issues that may impact recording quality. This includes inspecting cables, cleaning the camera housing, and verifying proper power supply.
By following these tips, you can significantly enhance the recording quality of your outdoor camera. Consistently monitoring, maintaining, and optimizing camera settings will ensure that you have clear and detailed footage to effectively monitor your property.
Troubleshooting Common Recording Issues
While outdoor cameras are designed to provide reliable recording, there may be times when you encounter issues. Here are some common recording issues you may face and troubleshooting steps to address them:
- No recording: If your outdoor camera is not recording at all, check the power supply and ensure that it is properly connected. Verify if the camera settings for recording mode, schedule, or motion detection are correctly configured. Restart the camera and software if necessary.
- Poor video quality: If the recorded footage has poor video quality, check the camera’s resolution and frame rate settings to ensure they are set to high-quality values. Verify that there is adequate lighting in the surveillance area, clean the camera lens, and ensure there are no obstructions affecting the camera’s view.
- Noisy or distorted audio: If the audio recorded by your outdoor camera is noisy or distorted, check the microphone and audio settings. Ensure that there are no obstructions or interference near the microphone. Adjust the audio recording volume and sensitivity as needed.
- Storage full: If you receive a notification that the storage is full, review the storage settings and consider increasing the storage capacity or using cloud storage options. Regularly delete unnecessary or old recordings to free up space. Alternatively, schedule automated deletion of old footage to manage storage efficiently.
- Intermittent recordings: If the camera’s recording is inconsistent or intermittent, check the network connection and stability. Verify that the Wi-Fi signal strength is strong enough and consider relocating the camera or using a Wi-Fi extender if needed. Keep the camera firmware up to date to leverage any bug fixes or improvements that may help stabilize recording.
- False motion detection alerts: If you are constantly receiving false motion detection alerts, adjust the motion detection settings. Refine the detection zone to focus on specific areas and reduce sensitivity if necessary. Check for any environmental factors, such as moving vegetation or reflections, that may trigger false alarms.
- Playback issues: If you experience difficulties playing back recorded footage, ensure that you have the correct playback software or app installed. Verify that the playback device meets the necessary system requirements. If the issue persists, try transferring the footage to a different device or consult the camera manufacturer’s support for further assistance.
- Network or connectivity issues: If you encounter network or connectivity issues, restart the camera, router, and other network devices. Ensure that the camera is within range of the Wi-Fi signal or use network extenders if needed. Verify that the network settings are configured correctly and that there are no conflicting devices causing interference.
- Software or firmware glitches: If you experience software or firmware glitches, check for updates provided by the camera manufacturer. Install the latest software or firmware versions to resolve any known issues or bugs. Restart the camera, software, or devices if needed.
By troubleshooting these common recording issues, you can resolve any challenges you may encounter with your outdoor camera’s recording functionality. If the issue persists, consult the camera’s user manual, manufacturer’s support, or seek professional assistance to resolve the problem.
Conclusion
Recording on your outdoor camera is an essential aspect of home security and surveillance. By understanding your camera’s features, setting it up correctly, and choosing the right recording mode, you can effectively monitor and protect your property.
Throughout this article, we have discussed various tips and techniques to help you maximize the recording quality of your outdoor camera. From adjusting camera settings to troubleshooting common issues, these insights will assist you in capturing clear and detailed footage.
Remember to position your camera strategically, connect it to a stable power and network source, and regularly maintain the camera to ensure optimal performance. Utilize the available software or apps to access and manage recorded footage efficiently, whether through cloud storage or local storage devices.
Additionally, be mindful of privacy considerations and comply with local laws and regulations when it comes to audio recording or sharing footage with third parties.
By following these guidelines and taking advantage of the capabilities of your outdoor camera, you can enhance the security of your home and have peace of mind knowing that you have a reliable record of any events that may occur.
So, start implementing these strategies and make the most out of your outdoor camera’s recording capabilities today!
Frequently Asked Questions about How Do You Record On Your Outdoor Camera
Was this page helpful?
At Storables.com, we guarantee accurate and reliable information. Our content, validated by Expert Board Contributors, is crafted following stringent Editorial Policies. We're committed to providing you with well-researched, expert-backed insights for all your informational needs.