Home>Home Security and Surveillance>How To Connect A Conventional Burglar Alarm To Charter Cable

Home Security and Surveillance
How To Connect A Conventional Burglar Alarm To Charter Cable
Modified: October 20, 2024
Learn how to connect a conventional burglar alarm to Charter Cable for enhanced home security and surveillance. Expert tips and step-by-step instructions provided.
(Many of the links in this article redirect to a specific reviewed product. Your purchase of these products through affiliate links helps to generate commission for Storables.com, at no extra cost. Learn more)
Introduction
Welcome to this comprehensive guide on how to connect a conventional burglar alarm to Charter Cable. Having a reliable home security system is crucial for the safety and peace of mind of you and your loved ones. In this day and age, technology has advanced to a point where you can integrate your burglar alarm with other smart home devices, including your cable provider’s services.
Charter Cable is a popular choice for many households, offering a wide range of entertainment options and reliable internet connectivity. By connecting your burglar alarm to your Charter Cable box, you can take advantage of enhanced monitoring capabilities and have the peace of mind that your home is protected around the clock.
In this guide, we will take you through the step-by-step process of connecting a conventional burglar alarm to Charter Cable. Whether you are a homeowner looking to upgrade your home security system or a professional installer wanting to expand your knowledge, this guide has got you covered.
Before we dive into the details, it is important to note that this guide assumes you already have a conventional burglar alarm system in place and are familiar with its basic functionalities. If you are unsure about any aspect of the process or if you are dealing with a different type of alarm system, consult the user manual or seek professional assistance.
Now, let’s get started on this exciting journey of integrating your conventional burglar alarm with Charter Cable!
Key Takeaways:
- Connecting your conventional burglar alarm to Charter Cable is a step-by-step process that involves gathering equipment, preparing cables, and testing the connection to ensure enhanced home security.
- By following the guide, you can integrate your alarm system with Charter Cable, providing peace of mind and convenience while prioritizing the safety of your home and loved ones.
Read more: How To Disable A Burglar Alarm
Step 1: Gathering the necessary equipment
Before you begin connecting your conventional burglar alarm to Charter Cable, it’s essential to gather all the necessary equipment. Having everything you need at hand will ensure a smooth and efficient installation process. Here’s a list of the equipment you’ll need:
- Burglar alarm system: Make sure you have a functioning conventional burglar alarm system in place. This includes the control panel, sensors, keypads, and any other components specific to your system.
- Charter Cable box: You’ll need a Charter Cable box, also known as a set-top box or receiver. This box is typically provided by your cable provider and is necessary for receiving cable signals.
- Coaxial cable: A coaxial cable is used to transmit the cable signals from the Charter Cable box to your TV or other devices. Ensure that you have a coaxial cable long enough to reach from the Charter Cable box to the location of your burglar alarm control panel.
- RG-6 connectors: You’ll need RG-6 connectors to securely attach the coaxial cable to the Charter Cable box and the burglar alarm control panel. These connectors help maintain the signal quality.
- Cable stripper and crimping tool: These tools are essential for properly stripping the coaxial cable and crimping the RG-6 connectors. Make sure you have these tools readily available.
- Screwdriver or wire stripper: Depending on the type of connections on your burglar alarm panel and Charter Cable box, you may need a screwdriver or wire stripper to connect the cables securely.
Once you have gathered all the necessary equipment, ensure that it is in good working condition. Check for any damages or missing parts, and replace or repair anything that may hinder the installation process.
It’s worth mentioning that some alarm systems may have specific requirements or additional components needed for connectivity with Charter Cable. Consult the user manual or contact the manufacturer for any specific instructions or recommended equipment for your particular burglar alarm system.
With all the equipment gathered and checked, you are now ready to move on to the next step of identifying the alarm system’s connection points.
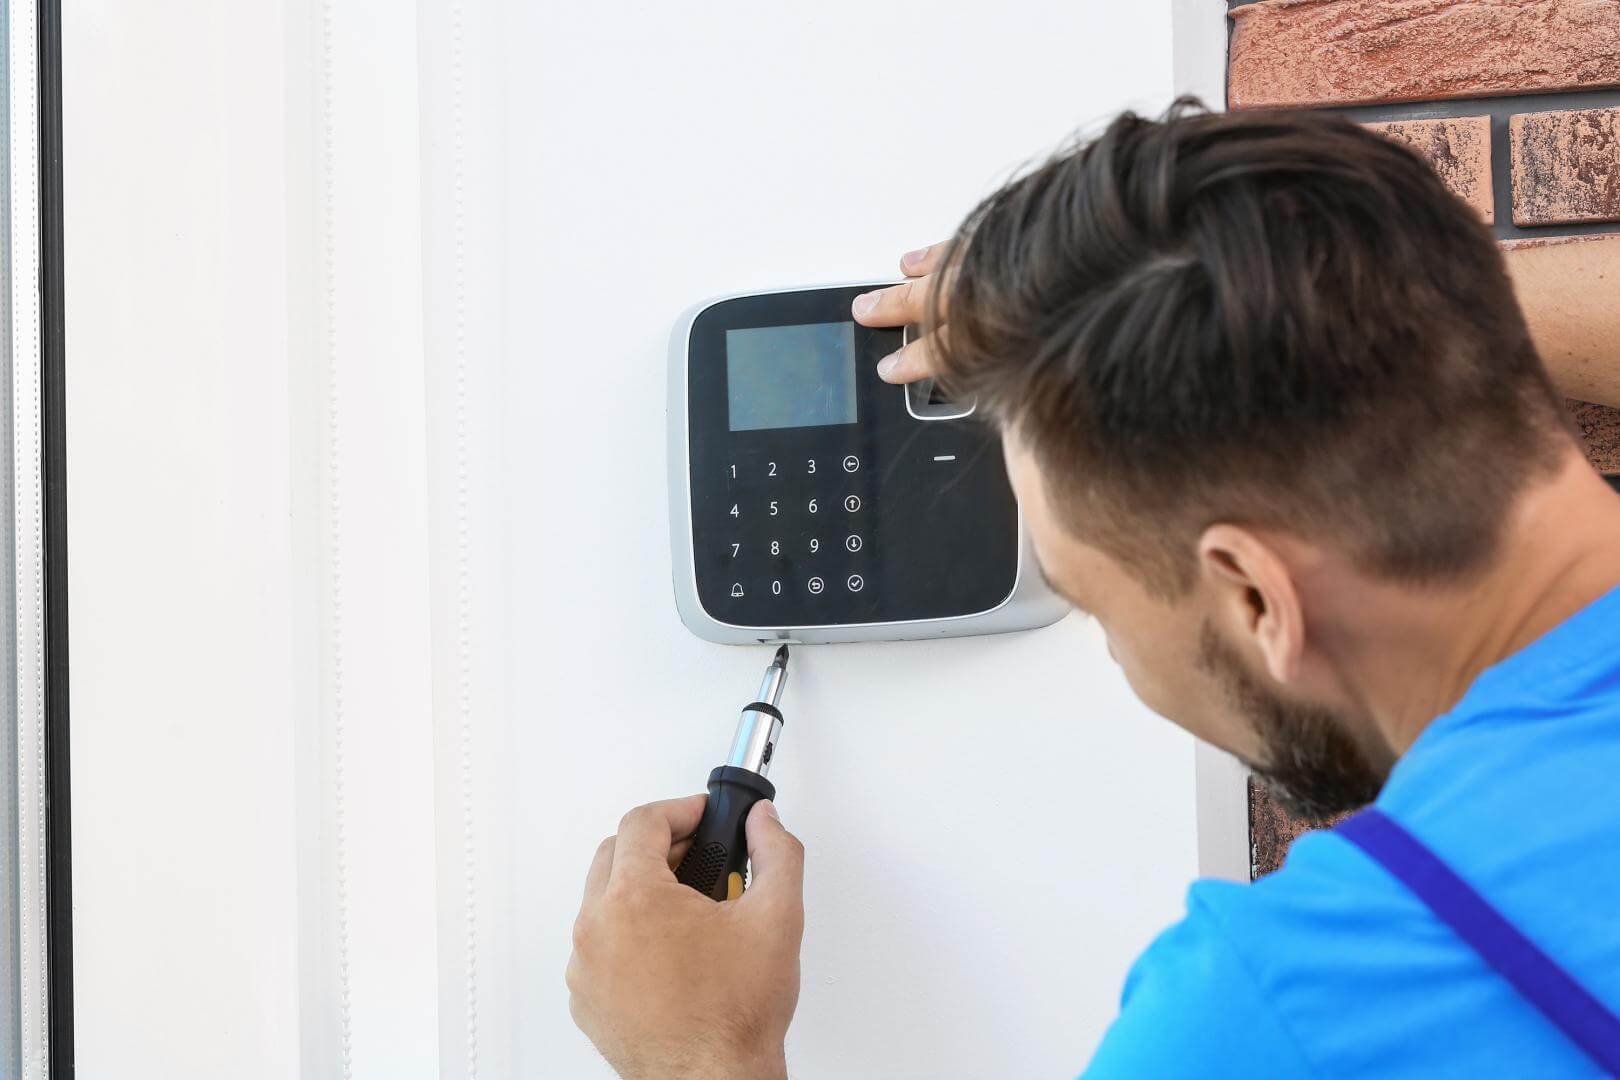
Step 2: Identifying the alarm system’s connection points
Before you can connect your conventional burglar alarm to Charter Cable, you need to identify the connection points on your alarm system’s control panel. These connection points may vary depending on the make and model of your alarm system, so it’s important to consult the user manual or seek professional guidance if you’re unsure.
Here are the common connection points you’ll likely find on your alarm system’s control panel:
- Phone line input: Most conventional burglar alarm systems have a phone line input where you can connect a telephone line to enable communication with a monitoring center. However, since we’re focusing on connecting to Charter Cable, it’s unlikely that you’ll be using the phone line input for this purpose.
- Power supply input: The control panel requires electrical power to operate. Look for the power supply input and make sure it’s connected to a reliable power source.
- Sensor input terminals: These terminals are used to connect the various sensors in your burglar alarm system, such as door/window contacts, motion detectors, and glass break sensors. Each sensor will have its own set of input terminals labeled accordingly.
- Keypad or LCD interface: The control panel may have a keypad or an LCD interface for programming and interacting with the alarm system. While this is not directly related to the connection process, it’s good to familiarize yourself with these features for troubleshooting and system management purposes.
Once you have identified the connection points on your alarm system’s control panel, it’s time to move on to the next step of preparing the cables for connection.
Step 3: Preparing the cables for connection
With the connection points on your alarm system’s control panel identified, you can now prepare the cables for the connection. Here’s a step-by-step guide on how to prepare the cables:
- Measure and cut the coaxial cable: Start by measuring the distance from your Charter Cable box to the location of your alarm system’s control panel. Add a few extra inches to the measurement to allow flexibility during the installation process. Once you have the desired length, use a cable cutter to trim the coaxial cable accordingly.
- Strip the coaxial cable: Use a cable stripper tool to carefully remove the outer insulation of the coaxial cable. Follow the instructions provided with the cable stripper to ensure you strip off the right amount of insulation without damaging the inner components.
- Expose the inner wires: Inside the coaxial cable, you’ll find a layer of braided shielding and a central conductor wire. Gently separate the braided shielding from the central conductor wire and fold it back. This will expose the central conductor wire, which is the core component for transmitting the cable signals.
- Crimp the RG-6 connectors: Take the RG-6 connectors and slide them over the exposed central conductor wire. Use a crimping tool to securely crimp the connectors, ensuring a tight and reliable connection. Follow the manufacturer’s instructions for the specific crimping tool you’re using.
- Repeat the process for both ends of the coaxial cable: If necessary, repeat the previous steps for the other end of the coaxial cable, depending on whether you have a pre-terminated cable or need to create connections on both sides.
Once you have prepared the cables, double-check the connections to ensure they are properly crimped and secure. Loose or faulty connections can result in poor signal quality or even signal loss.
With the cables prepared, you’re now ready to move on to the next step of connecting the alarm panel to the Charter Cable box.
You can connect a conventional burglar alarm to Charter Cable by using a phone line connection. Simply connect the alarm panel to the phone jack on the Charter Cable modem to enable monitoring and notifications.
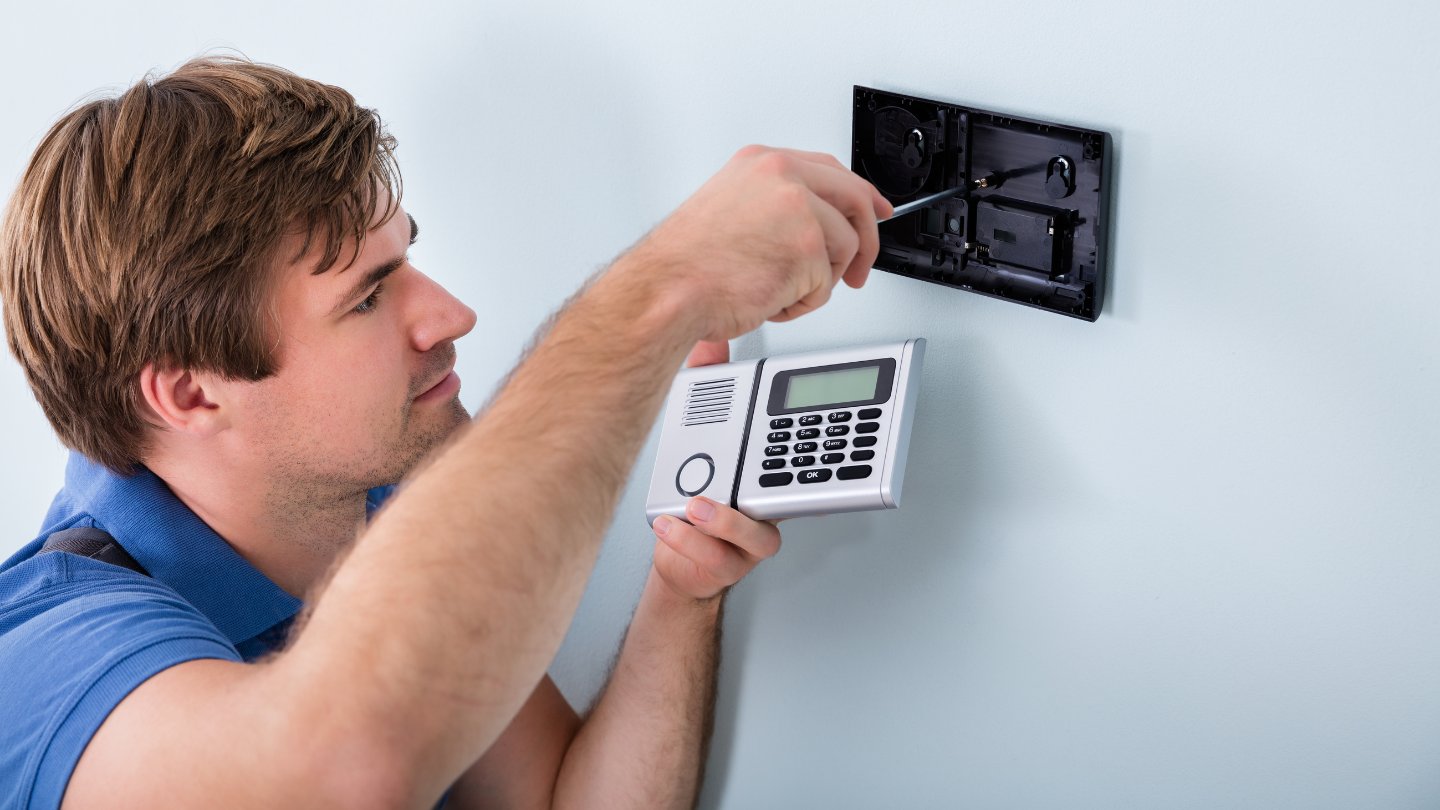
Step 4: Connecting the alarm panel to the Charter Cable box
Now that the cables are prepared, it’s time to establish the connection between your alarm panel and the Charter Cable box. Follow these steps to connect the two:
- Locate the cable input/output ports: On the back of your Charter Cable box, you should find a designated cable input port. This is where the coaxial cable will be connected to receive the cable signals. Similarly, locate the cable input port on your alarm panel. It may be labeled as “Cable” or “Coaxial”.
- Connect one end of the coaxial cable: Take one end of the prepared coaxial cable and insert it into the cable input port on the back of the Charter Cable box. Make sure it is securely inserted and tightened to ensure a proper connection.
- Connect the other end of the coaxial cable: Take the other end of the coaxial cable and connect it to the cable input port on your alarm panel. Again, ensure that it is tightly connected to establish a solid connection.
- Secure the connections: Use your hand to gently tighten the connectors on both ends of the coaxial cable. Avoid using excessive force to prevent damage to the connectors.
- Power on the devices: Once the cable connection is established, power on both the Charter Cable box and the alarm panel. Wait for the devices to initialize and establish a connection.
After following these steps, your alarm panel should now be connected to the Charter Cable box. You may need to consult your alarm system’s user manual or contact your cable provider if you encounter any difficulties during the connection process or need additional configuration for your system.
Now that the connection is made, it’s time to proceed to the next step of testing the connection and troubleshooting any issues that may arise.
Read more: How To Wire A Burglar Alarm Panel
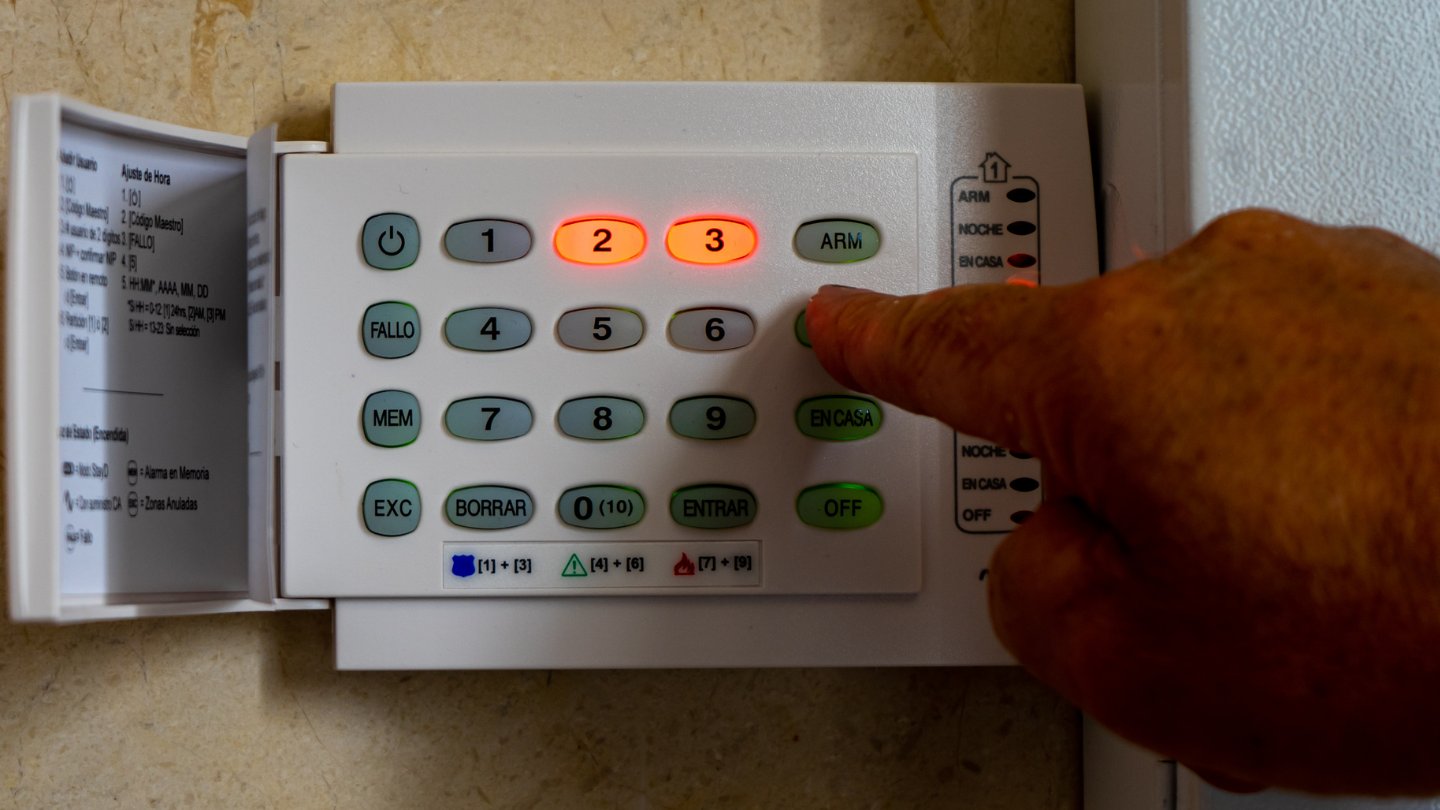
Step 5: Testing the connection and troubleshooting
Once you have successfully connected your alarm panel to the Charter Cable box, it’s important to test the connection and ensure everything is functioning as expected. Follow these steps to test the connection and troubleshoot any potential issues:
- Check for signal reception: Turn on your TV and verify that you’re receiving a clear cable signal. If you’re not getting any signal or experiencing poor signal quality, double-check the cable connections and ensure they are securely tightened.
- Test the alarm system: Arm your alarm system and trigger one of the sensors, such as opening a door or walking in front of a motion detector. The alarm system should respond as intended, indicating that the connection has been successfully established.
- Perform a communication test: If your alarm system has a communication feature, such as sending signal updates to a monitoring center, perform a test to ensure that the communication is working properly. Follow the instructions provided in your alarm system’s user manual to perform the test.
- Monitor system stability: Keep a close eye on the stability and performance of your alarm system after connecting it to Charter Cable. Look out for any unexpected behavior or malfunctions. If you notice any issues, consult the troubleshooting section of your alarm system’s user manual or seek professional help.
Throughout the testing process, it’s important to remember that any changes made to your alarm system’s configuration or connection should be done carefully and in accordance with the manufacturer’s guidelines. Improper configuration or faulty connections can impact the functionality of your alarm system and potentially compromise your home’s security.
If you encounter any difficulties during the testing process or experience issues with the connection, don’t hesitate to reach out to your alarm system provider or cable provider for assistance. They will have the expertise to guide you through troubleshooting steps specific to your system.
With the connection successfully tested and any troubleshooting resolved, you can now enjoy the enhanced capabilities of your integrated burglar alarm system and Charter Cable. Congratulations on completing the installation process!
To wrap up this guide, let’s summarize the key steps we covered:
- Gather the necessary equipment
- Identify the alarm system’s connection points
- Prepare the cables for connection
- Connect the alarm panel to the Charter Cable box
- Test the connection and troubleshoot any issues
By following these steps and staying diligent throughout the process, you can ensure a seamless and successful integration of your conventional burglar alarm with Charter Cable.
Remember, if you’re ever unsure about any aspect of the installation or need further assistance, it’s always recommended to consult the user manual or seek professional help for a smooth and secure installation experience.
Conclusion
Integrating your conventional burglar alarm with Charter Cable opens up a world of possibilities for enhanced home security and monitoring. By following the step-by-step process outlined in this guide, you can successfully connect your alarm system to Charter Cable and enjoy the benefits of a comprehensive security solution.
We started by gathering the necessary equipment, ensuring that you have everything you need for the installation process. Then, we identified the connection points on your alarm system’s control panel, allowing you to establish the correct connections later on.
Next, we went through the process of preparing the cables, including measuring, stripping, and crimping the RG-6 connectors. With the cables ready, we moved on to connecting the alarm panel to the Charter Cable box, ensuring secure and tight connections for optimal signal quality.
After the connections were made, we emphasized the importance of testing the connection and troubleshooting any potential issues. This step is crucial to ensure that both the cable signal reception and the alarm system functionality are working as expected.
Throughout this process, it is always important to consult the user manual specific to your alarm system and cable provider for any detailed instructions or system-specific requirements.
By successfully completing these steps, you can now enjoy the convenience and peace of mind that comes with integrating your conventional burglar alarm with Charter Cable. Your home will be equipped with a robust security system that can work in tandem with other smart devices to enhance the safety of your household.
If you encounter any difficulties during the installation process or need further assistance, don’t hesitate to reach out to your alarm system provider or cable provider for guidance and support.
Remember, home security is an ongoing effort. Regularly test your system, stay informed about new developments in the field, and consider periodic maintenance to ensure your burglar alarm and Charter Cable integration remains in optimal condition.
Thank you for choosing to connect your conventional burglar alarm to Charter Cable. By taking this proactive step, you are prioritizing the safety and security of your home and loved ones. We hope this guide has been helpful, and we wish you all the best in your home security endeavors!
Frequently Asked Questions about How To Connect A Conventional Burglar Alarm To Charter Cable
Was this page helpful?
At Storables.com, we guarantee accurate and reliable information. Our content, validated by Expert Board Contributors, is crafted following stringent Editorial Policies. We're committed to providing you with well-researched, expert-backed insights for all your informational needs.