Home>Home Security and Surveillance>How To Wire In Security Cameras

Home Security and Surveillance
How To Wire In Security Cameras
Modified: March 6, 2024
Learn how to wire in security cameras for your home security and surveillance needs. Step-by-step guide and tips for a successful installation. Enhance your safety today!
(Many of the links in this article redirect to a specific reviewed product. Your purchase of these products through affiliate links helps to generate commission for Storables.com, at no extra cost. Learn more)
Introduction
Welcome to the world of home security and surveillance! With crime rates on the rise, protecting your property and loved ones has become a top priority for many homeowners. Fortunately, advancements in technology have made it easier than ever to set up a comprehensive security system that provides round-the-clock monitoring and peace of mind.
One of the essential components of any home security system is security cameras. These cameras act as extra sets of eyes, capturing valuable footage that can help identify and deter potential intruders. Whether you are looking to monitor the perimeter of your property, keep an eye on your front door, or watch over your entire home, security cameras offer a powerful tool in safeguarding your home.
In this article, we will guide you through the process of wiring in security cameras, ensuring that you have a solid understanding of how to set up your own surveillance system with ease. By following the steps outlined in this guide, you will have the knowledge and confidence to install your security cameras effectively and efficiently.
Before we dive into the technical details, it’s important to note that while it is possible to install wireless security cameras, we will be focusing on the process of wiring in cameras for a more reliable and stable connection. Wired cameras provide a consistently strong signal and eliminate any concerns about interference or weak wireless signals.
So, if you’re ready to take control of your home security, let’s get started! In the next section, we’ll explore the different types of security cameras available on the market today, so you can choose the best option for your specific needs.
Key Takeaways:
- Choose the Right Camera
Select the best security camera based on factors like resolution, field of view, and low light performance. Consider your budget and integration with existing home security systems for optimal surveillance. - Test Your System
Thoroughly test your camera connection by checking live feeds, adjusting angles, and testing recording and motion detection. Ensure remote access and night vision capabilities work effectively for comprehensive home security.
Read more: How To Wire Outdoor Security Cameras
Types of Security Cameras
When it comes to choosing the right security camera for your home, there are several options to consider. Each type of camera has its own unique features and benefits, so it’s important to understand the differences before making your selection.
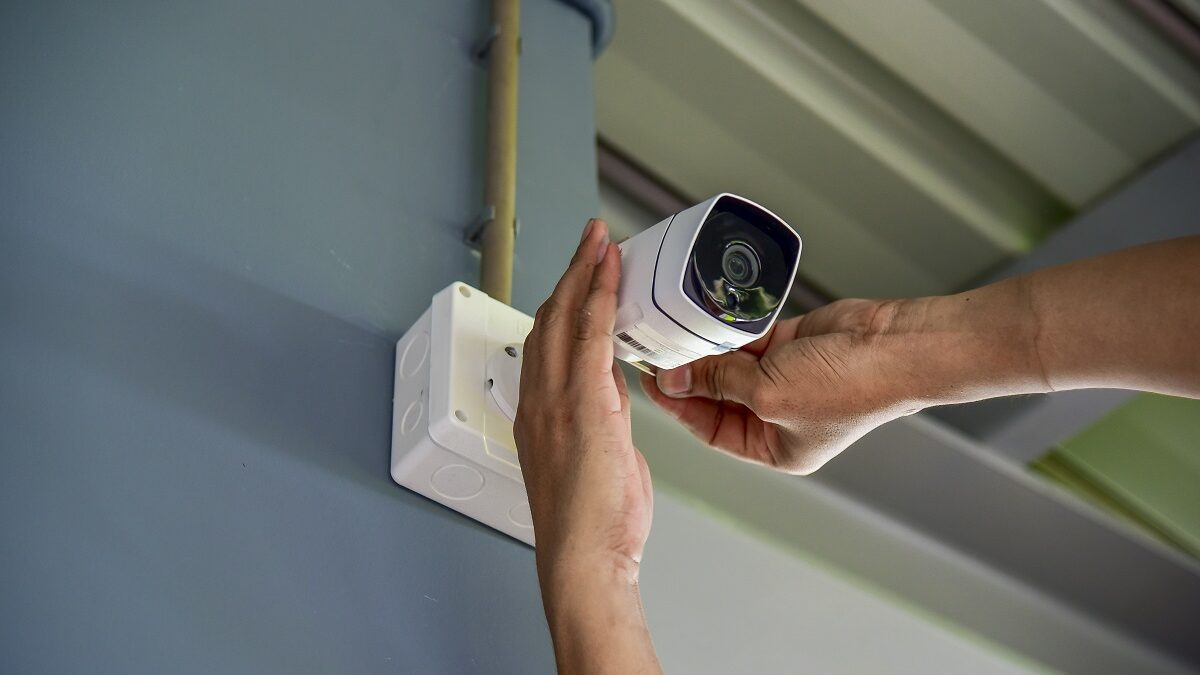
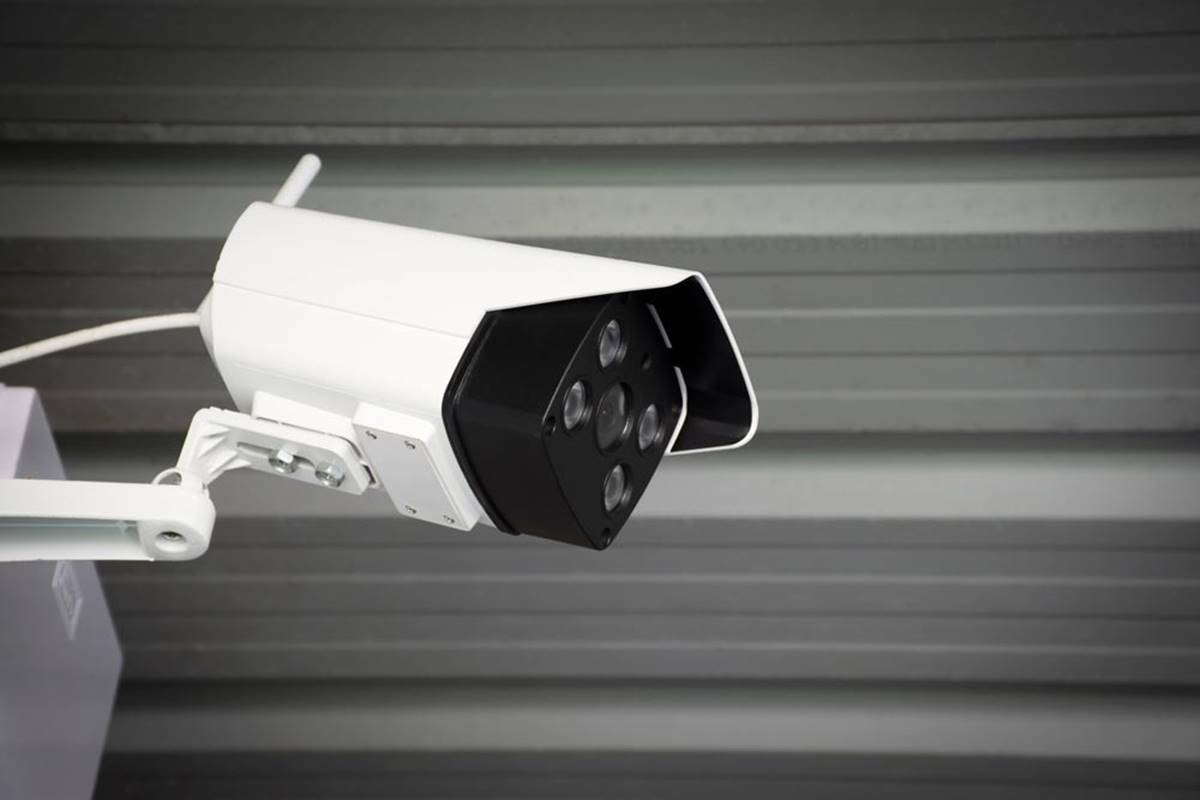
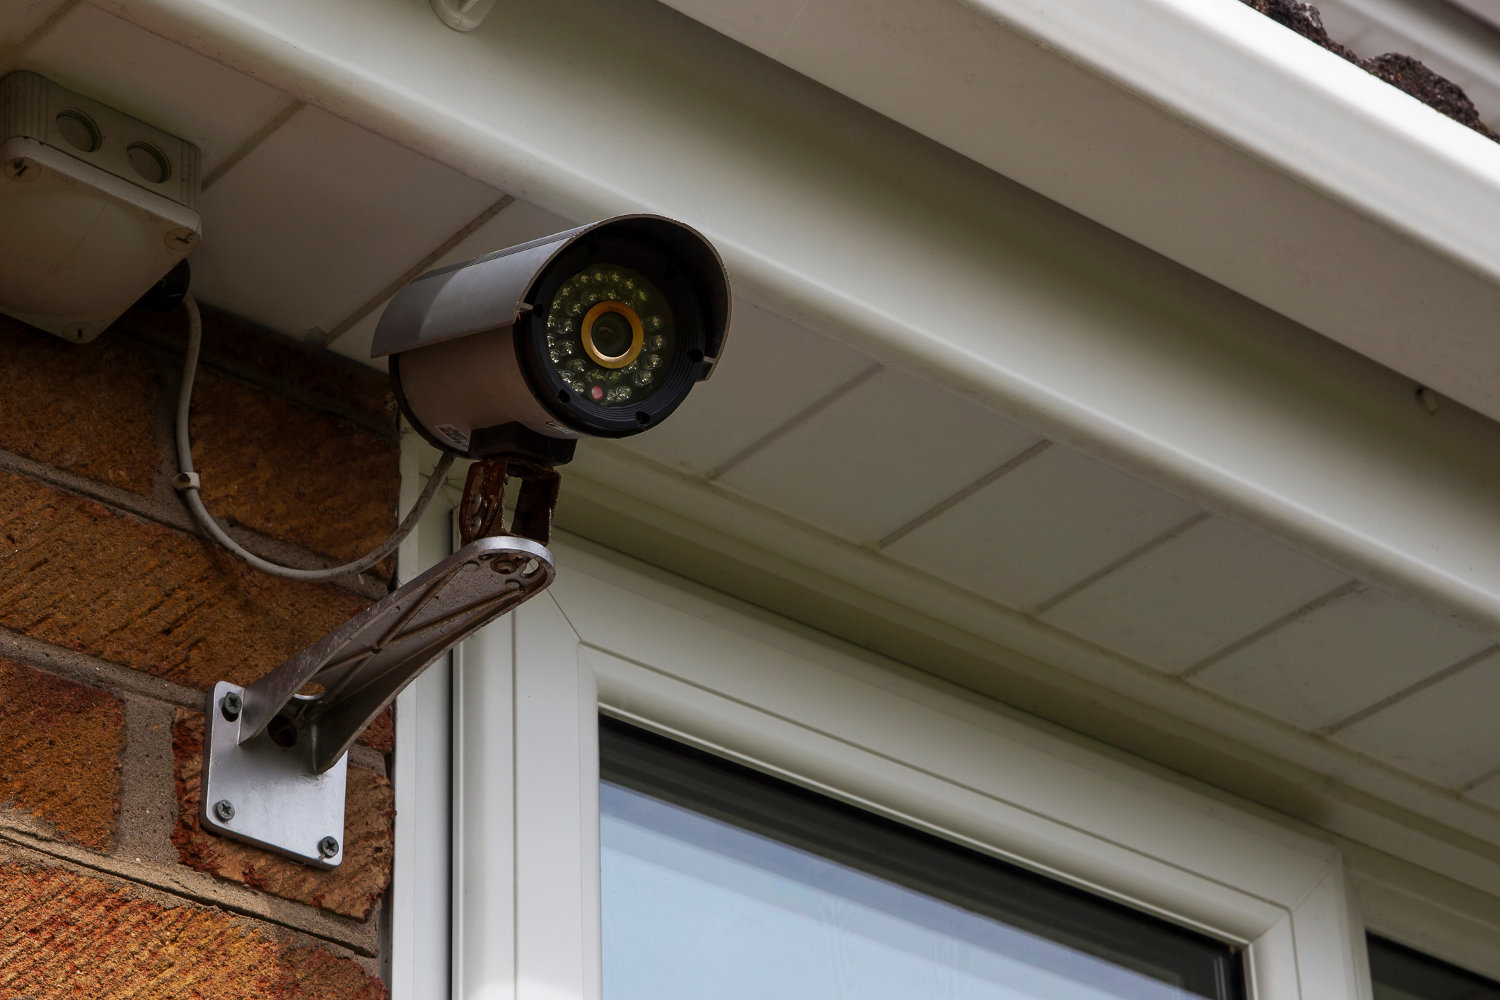
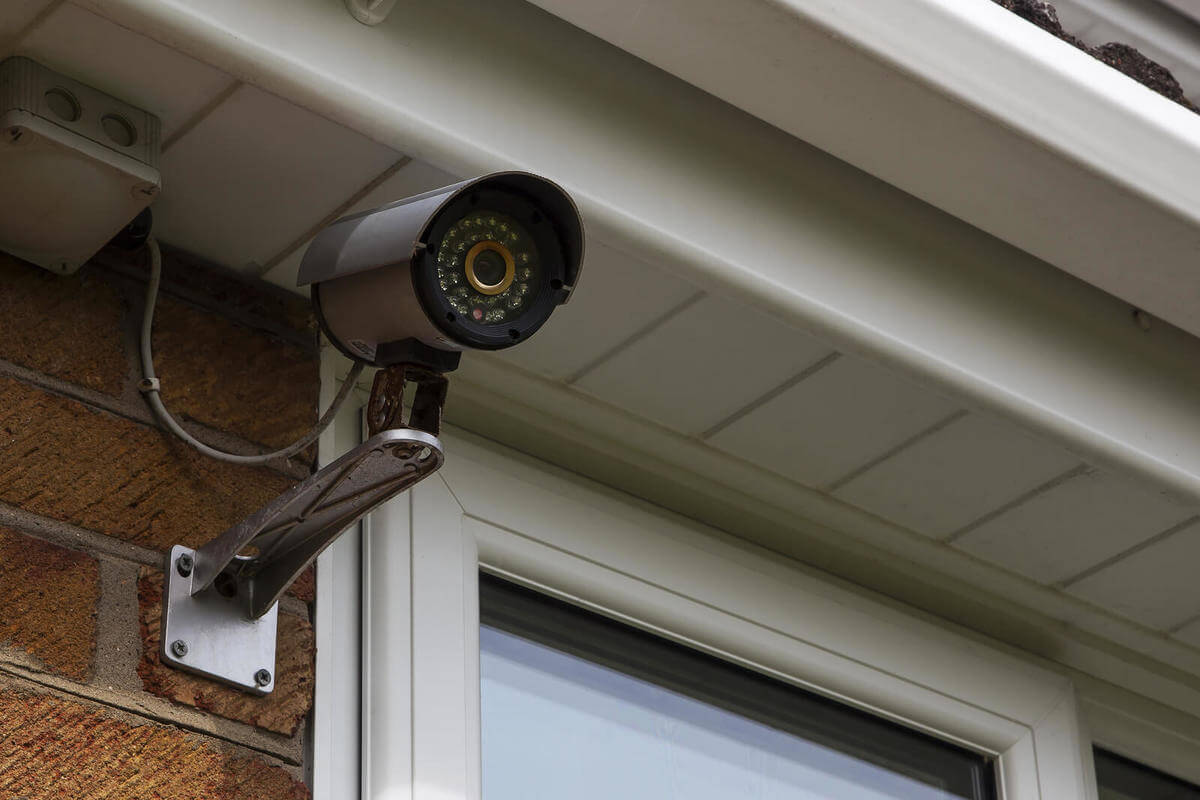
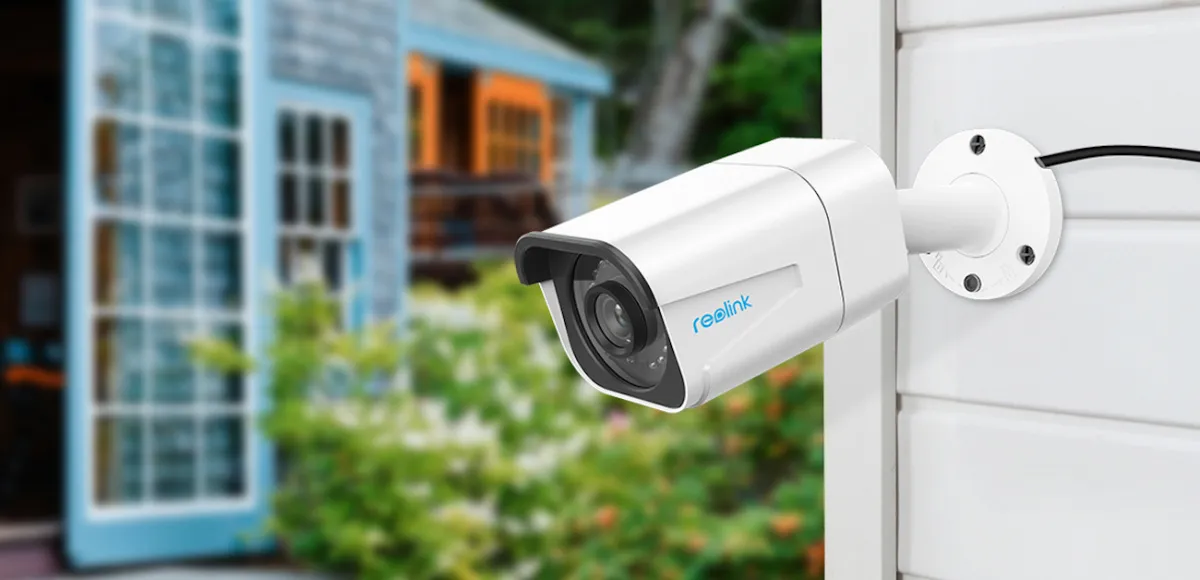
1. Bullet Cameras: Bullet cameras are the most common type of security camera and are easily recognizable due to their cylindrical shape. These cameras are often used for outdoor surveillance and are typically weatherproof and vandal-resistant. Bullet cameras provide a fixed focal length and are ideal for monitoring specific areas, such as driveways, entrances, or parking lots.
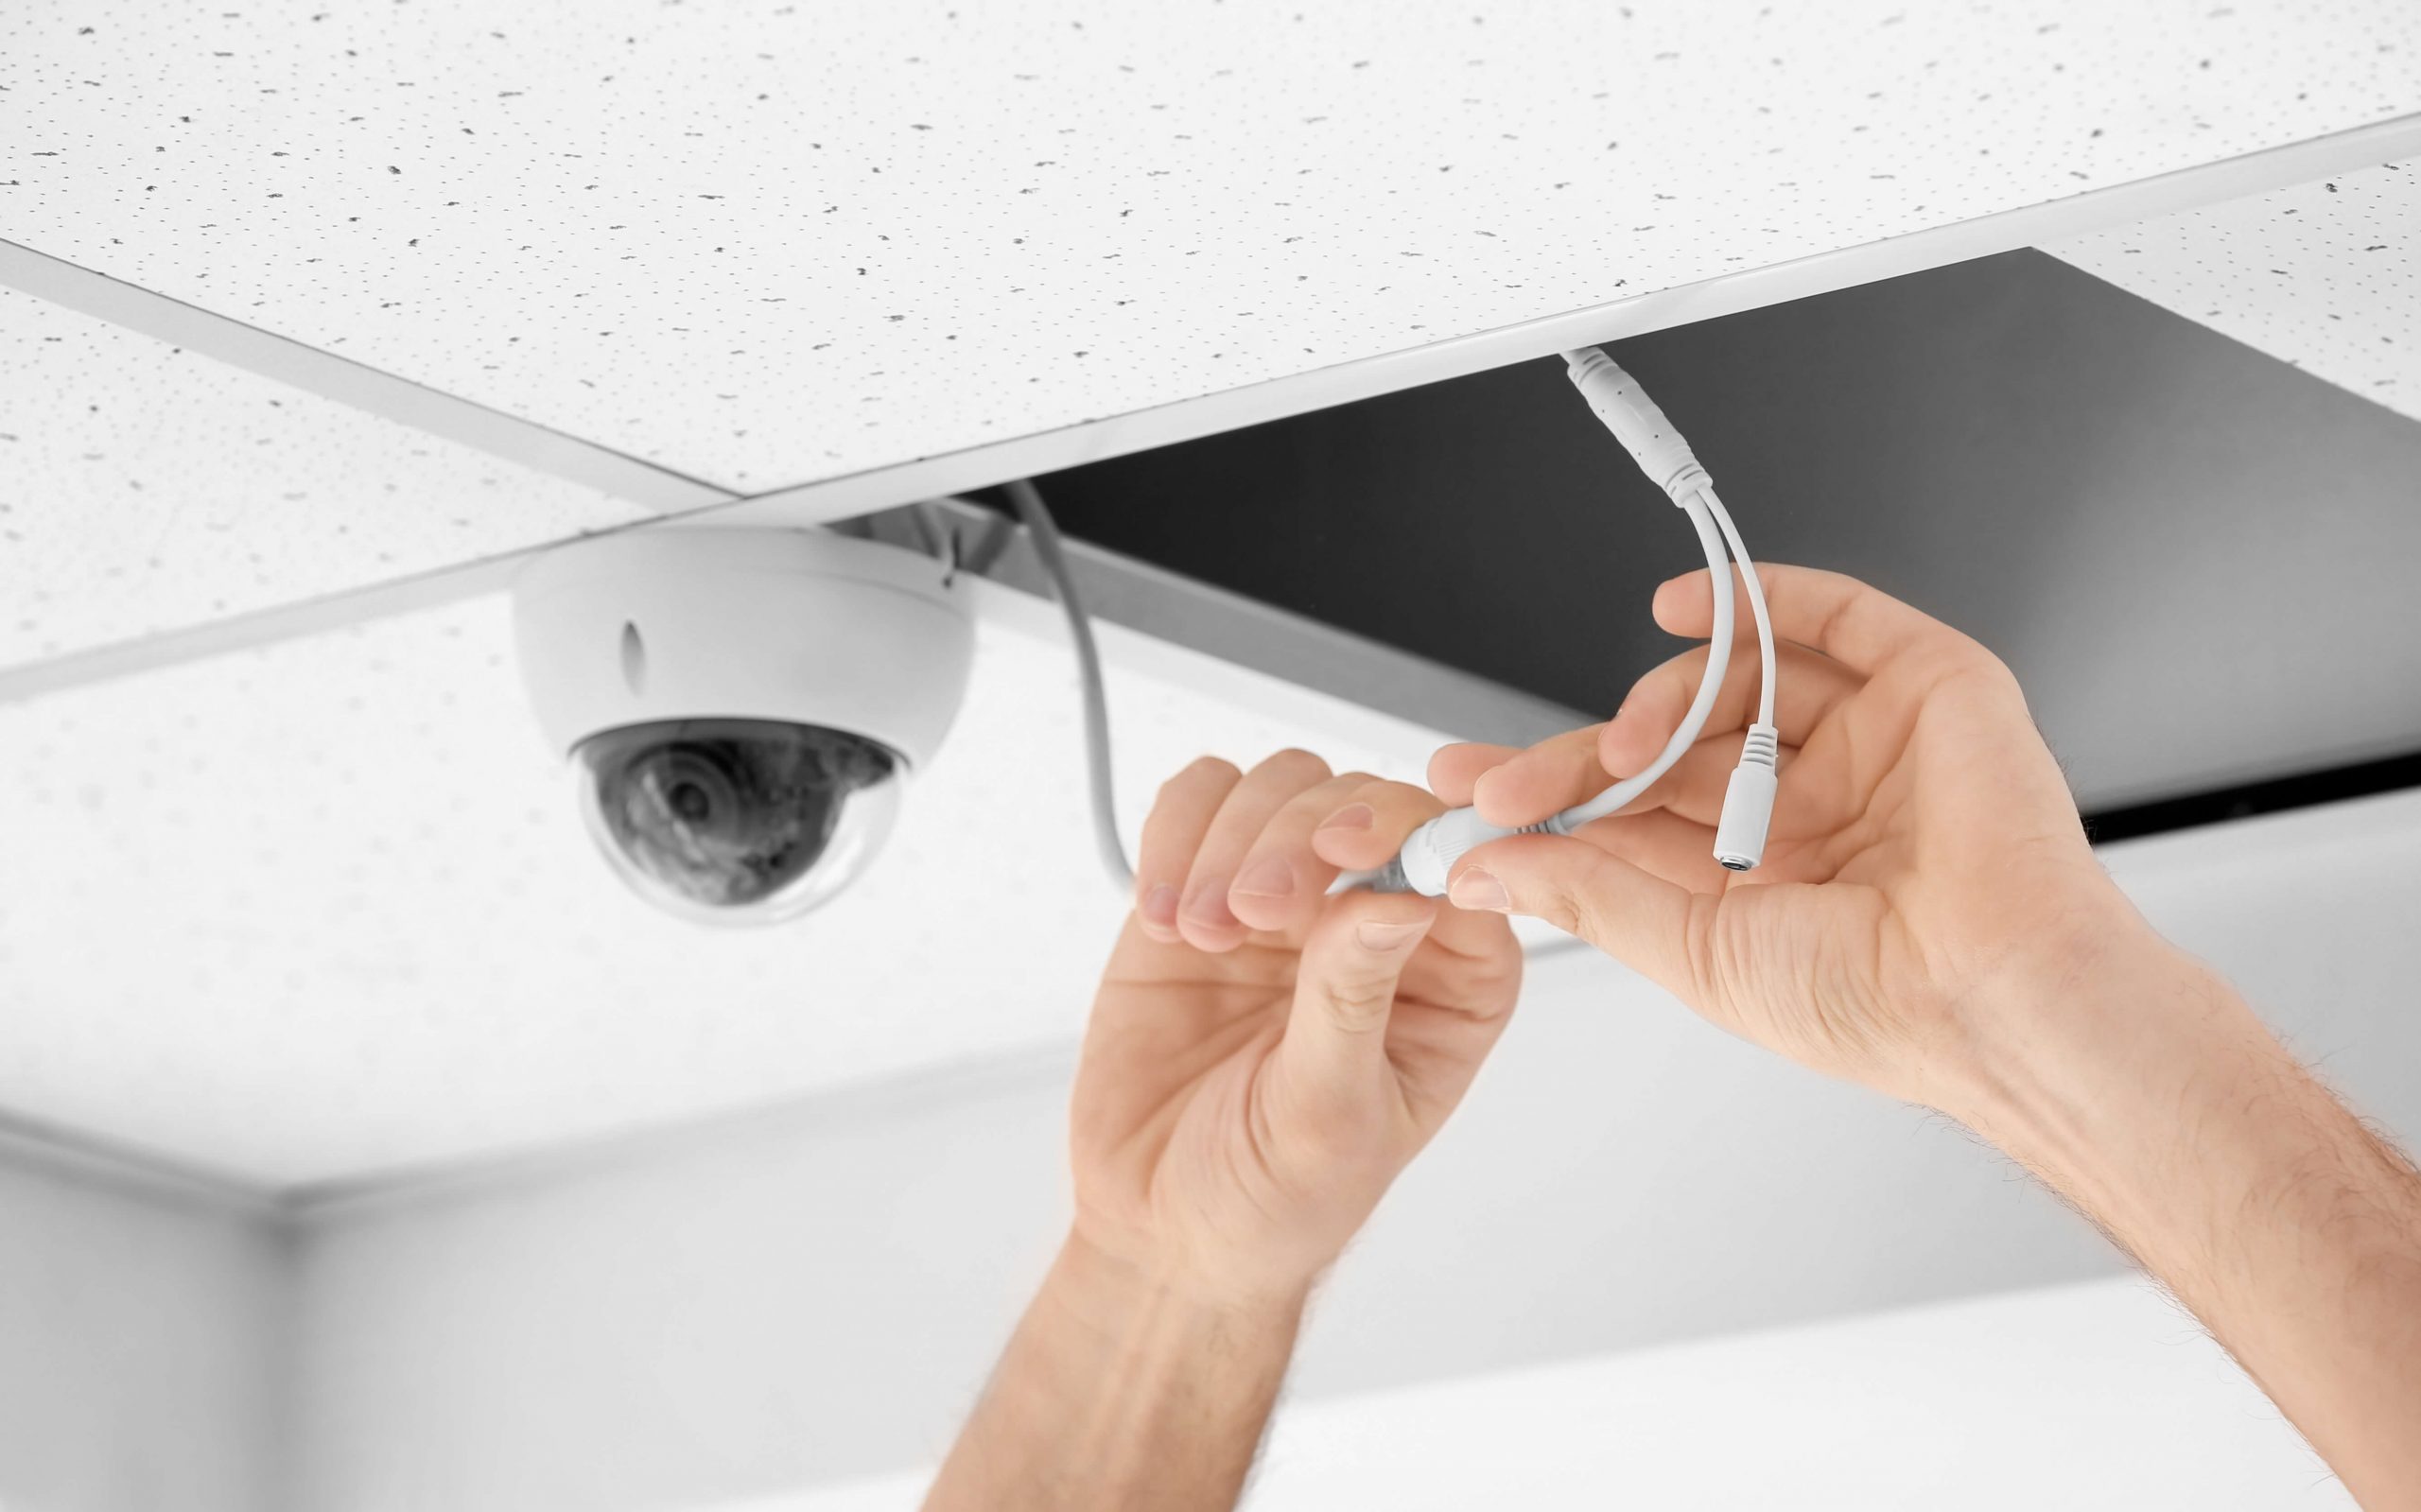
2. Dome Cameras: Dome cameras are named after the dome-shaped housing that covers the camera. These cameras are popular for both indoor and outdoor use due to their discreet and compact design. Dome cameras offer a wide viewing angle, making them suitable for monitoring large areas such as hallways, living rooms, or retail spaces.
3. PTZ Cameras: PTZ, which stands for pan, tilt, and zoom, cameras are highly versatile and can be controlled remotely. With PTZ cameras, you have the ability to rotate the camera lens horizontally and vertically, as well as zoom in and out. These cameras are ideal for monitoring large outdoor areas or for tracking moving objects.
4. Wireless Cameras: Wireless security cameras offer the convenience of easy installation and the flexibility to place the cameras wherever needed without the need for running cables. These cameras connect to your Wi-Fi network, allowing you to access the footage remotely through your smartphone or computer. Wireless cameras are often used for indoor surveillance.
5. IP Cameras: IP cameras, also known as network cameras, utilize your home’s internet network to transmit video footage. These cameras offer high-definition video quality and can be easily integrated into existing home security systems. IP cameras are ideal for homeowners who prioritize image clarity and remote access to their surveillance feeds.
Now that you are familiar with the different types of security cameras available, it’s time to narrow down your options and select the camera that best fits your needs. In the next section, we will discuss the key factors to consider when choosing a security camera for your home.
Selecting the Right Camera
Choosing the right security camera for your home is crucial to ensure optimal surveillance and protection. Here are some key factors to consider when selecting a camera:
1. Resolution: The resolution of a security camera determines the quality of the footage it captures. Higher resolution cameras, such as those with 1080p or 4K resolution, provide clearer and more detailed images. Consider the areas you want to monitor and choose a camera with an appropriate resolution for capturing fine details.
2. Field of View: The field of view refers to the angle at which the camera can capture images. A wider field of view allows the camera to cover a larger area, reducing the number of cameras needed for surveillance. Consider the size and layout of the areas you want to monitor and choose a camera with an appropriate field of view.
3. Low Light Performance: If you need to monitor areas with poor lighting conditions, consider a camera with good low light performance. Look for cameras with features such as infrared night vision or low light image sensors to ensure clear and usable footage even in the dark.
4. Weatherproofing: If you plan to install cameras outdoors, ensure they are weatherproof and designed to withstand harsh conditions. Look for cameras with an IP65 or IP66 rating, which indicates resistance to dust and water ingress. This will ensure that your cameras can function properly even in extreme weather conditions.
5. Storage: Consider how you want to store and access the footage recorded by your security cameras. Some cameras have built-in storage options, while others require an external storage device or cloud-based storage. Evaluate your storage needs and choose a camera that offers a suitable solution.
6. Integration: If you already have a home security system in place, ensure that the camera you choose is compatible with your existing setup. Look for cameras that can easily integrate with your preferred security software or monitoring system to streamline your surveillance operations.
7. Budget: Determine your budget for security cameras and find a balance between your desired features and cost. Remember, investing in high-quality cameras may require a higher upfront cost but can provide more reliable and long-lasting surveillance.
By considering these factors and assessing your specific surveillance needs, you can make an informed decision when selecting the right security camera for your home. Once you have chosen your camera, the next step is to gather the necessary tools and equipment for the installation process, which we will discuss in the next section.
Necessary Tools and Equipment
Before you begin wiring in your security cameras, it’s important to gather all the necessary tools and equipment to ensure a smooth and successful installation process. Here are some key items you will need:
1. Power Drill: A power drill with drill bits will be handy for creating holes to mount the cameras and run cables through walls or ceilings.
2. Fish Tape/Rod: A fish tape or rod is useful for pulling cables through walls or conduits, especially in hard-to-reach or tight spaces.
3. Level: A level will help you ensure that your cameras are mounted straight and level, providing optimal surveillance coverage.
4. Screwdriver: Depending on the type of camera and mounting method, you may need a screwdriver to secure the camera brackets or other components.
5. Cable Crimper: If you are working with Ethernet or coaxial cables, a cable crimper will be necessary to terminate and secure the cable connectors.
6. Wire Cutters and Strippers: You will need wire cutters and strippers to cut and strip the insulation from the cables, preparing them for connection.
7. Wire Connectors: Wire connectors, such as BNC connectors or RJ45 connectors, are required to securely connect the cables to the cameras and other equipment.
8. Power Supply: Depending on the camera type, you may need a power supply to provide the necessary electricity to the cameras. Ensure that the power supply matches the voltage and connectors required by your cameras.
9. Video Cables: Depending on the camera and DVR system, you will need video cables such as coaxial cables or Ethernet cables to transmit the video signals from the cameras to the DVR.
10. DVR/NVR System: A DVR (Digital Video Recorder) or NVR (Network Video Recorder) system is needed to store and manage the video footage from the security cameras. Choose a DVR or NVR system that supports your camera type and desired storage capacity.
11. Monitor: A monitor is required to view the live feed and recorded footage from the security cameras. Ensure that the monitor has compatible ports for connecting to the DVR or NVR system.
12. Network Cable: If you are planning to connect your DVR/NVR system to your home network for remote viewing or access, a network cable will be needed.
Remember to gather all the necessary tools and equipment before you begin the installation process. Having everything readily available will help streamline the setup and prevent delays. In the next section, we will discuss how to plan the placement of your security cameras for optimal coverage.
Planning the Camera Placement
Proper camera placement is crucial for maximizing the effectiveness of your security system. By strategically positioning your cameras, you can ensure comprehensive coverage and minimize blind spots. Here are some tips for planning the placement of your security cameras:
1. Identify Vulnerable Areas: Start by identifying the areas of your property that are most vulnerable to potential threats and intrusions. Common areas include entry points such as doors, windows, and garage entrances, as well as outdoor spaces like driveways, backyards, and side entrances.
2. Consider Line of Sight: Ensure that your cameras have a clear line of sight to the areas you want to monitor. Avoid obstructions such as trees, shrubs, or other structures that may hinder the camera’s view or create blind spots.
3. Use Multiple Cameras: Depending on the size and layout of your property, it may be necessary to install multiple cameras to cover all the critical areas. Consider using a combination of wide-angle cameras for expansive coverage and PTZ cameras for areas that require more precise monitoring.
4. Strategic Indoor Placement: Indoors, focus on high-traffic areas such as hallways, staircases, and main living areas. Additionally, consider placing cameras near valuable objects like safes or art collections. Install cameras at eye level to capture clear facial details if needed for identification purposes.
5. Outdoor Coverage: Outdoors, position cameras to cover entry points and areas where potential intruders may approach. Install cameras high enough to prevent tampering or vandalism, while ensuring they still have a clear view of the target areas.
6. Lighting Conditions: Take into account lighting conditions when planning camera placement. Avoid positioning cameras directly facing bright light sources, as this can cause glare or wash out the image. Adjust camera angles to minimize issues with direct sunlight or harsh artificial lighting.
7. Consider Privacy: Be mindful of your neighbors’ privacy when placing cameras. Avoid pointing cameras directly into neighboring properties or areas where privacy could be compromised.
8. Cover Entry Points: Prioritize covering all entry points, including doors, windows, and garage entrances. These areas are typically the most vulnerable and commonly targeted by intruders.
9. Test Placement: Before permanently mounting your cameras, temporarily position them in the desired locations and test the camera angles and coverage. Make adjustments as necessary to ensure optimal surveillance.
By carefully planning the placement of your security cameras, you can create a comprehensive surveillance system that provides optimal coverage and peace of mind. In the next section, we will discuss the necessary preparation for wiring the cameras.
Read more: How To Hack Into A Wired Security Camera
Wiring Preparation
Before you can start wiring in your security cameras, it’s important to properly prepare the area where the cameras will be installed. Here are some essential steps to follow for wiring preparation:
1. Confirm Power Source: Determine the power source for your cameras. If you’re using wired cameras, you’ll need to have an electrical outlet nearby or plan to run power cables to each camera location. Make sure the power source can handle the voltage requirements of your cameras.
2. Map the Camera Locations: Refer back to your camera placement plan and mark the specific locations where each camera will be installed. This will help guide your wiring process and ensure that you have enough cable length to reach each camera.
3. Measure and Cut Cables: Measure the distance from each camera location to the power source and DVR/NVR system. Add some extra length to account for any twists, turns, or cable management needs. Cut the cables to the appropriate lengths for each camera location.
4. Plan Cable Routes: Determine the best cable routes from the power source to each camera location. Avoid running cables near high-voltage electrical lines, water sources, or other potential sources of interference. Conceal the cables within walls, ceilings, or conduit for a neater and more secure installation.
5. Prepare Cable Pathways: If you need to run cables through walls or ceilings, use a power drill and appropriate drill bits to create holes for cable passage. Use fish tape or rods to guide and pull the cables through the designated pathways. Keep in mind any building codes or regulations regarding cable installation.
6. Consider Cable Management: Minimize cable clutter by using cable clips, cable ties, or cable management solutions to secure and organize the cables along their routes. This will ensure a clean and professional installation.
7. Test Connectivity: Before finalizing the cable installation, test the connectivity of each cable and ensure that there are no faults or loose connections. This will help identify any issues early on and save time troubleshooting later.
By preparing the wiring in advance, you can streamline the installation process and ensure a neat and efficient setup for your security cameras. In the next section, we will discuss how to connect the cameras to a power source to ensure they are powered on and ready for operation.
When wiring security cameras, make sure to use the proper cables and connectors to ensure a reliable connection. It’s also important to follow the manufacturer’s instructions for the specific camera model you are installing.
Connecting the Camera to Power Source
Once you have prepared the wiring and positioned your security cameras, the next step is to connect them to a power source. Properly connecting the cameras to power will ensure they are operational and ready to capture surveillance footage. Here’s how to connect the cameras to a power source:
1. Identify Power Requirements: Determine the power requirements of your cameras, including the voltage and current needed. This information can usually be found in the camera’s user manual or specifications.
2. Locate the Power Source: Identify the nearest power source that can provide the required voltage and current for your cameras. This can be an electrical outlet or a power supply specifically designed for surveillance cameras.
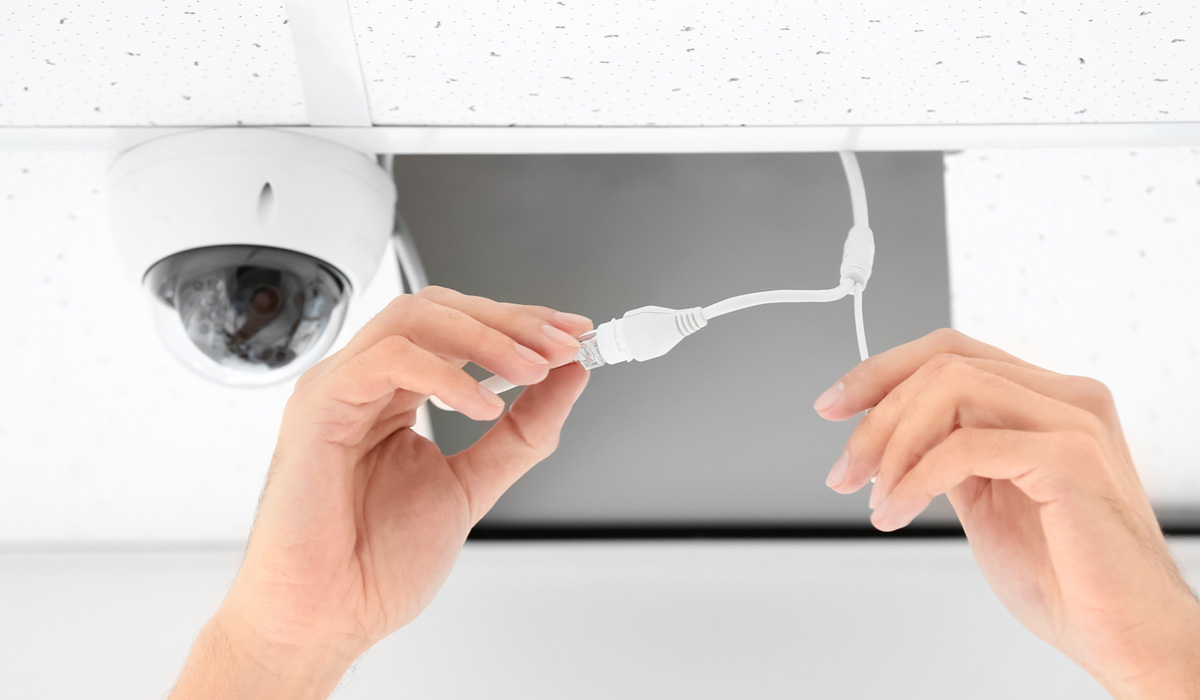
3. Prepare the Power Cable: If your cameras have a removable power cable, ensure that it is properly connected to the camera. Strip the ends of the power cable if necessary, exposing the wires for connection.
4. Connect the Power Cable: Plug the power cable into the designated power port on the camera. Ensure that the connection is secure to prevent any power interruptions or loose connections.
5. Secure the Power Cable: Use cable clips or ties to secure the power cable along its path, keeping it neat and organized. Ensure that the power cable is not pinched or twisted, which can damage the cable or affect its functionality.
6. Connect to the Power Source: Plug the other end of the power cable into the electrical outlet or power supply. Double-check that the power source matches the voltage and current required by your cameras.
7. Test the Power Connection: Once the camera is connected to the power source, verify that it powers on and starts functioning. Check for any error messages or issues with the power supply. If the camera doesn’t turn on, re-check the power connection and troubleshoot any potential problems.
By ensuring proper power connectivity, your security cameras will be ready to capture surveillance footage and provide the intended security coverage. In the next section, we will discuss how to run the video cables to connect the cameras to the DVR/NVR system.
Running the Video Cables
After connecting your cameras to a power source, the next step is to run the video cables to connect the cameras to the DVR/NVR system. Running the video cables properly will ensure a reliable transmission of video signals and allow you to effectively monitor and record the captured footage. Here’s how to run the video cables:
1. Determine Cable Length: Measure the distance between each camera and the DVR/NVR system to determine the length of video cable needed for each camera. Add some extra length to account for any twists, turns, or cable management needs.
2. Identify the Video Cable Type: Determine the type of video cable you require based on your camera and DVR/NVR system. The most common types are coaxial cables (e.g., RG59 or RG6) for analog cameras and Ethernet cables (e.g., Cat5e or Cat6) for IP cameras.
3. Plan the Cable Routes: Map out the cable routes from each camera location to the DVR/NVR system. Determine the best path that avoids any obstacles or interference. Consider concealing the cables within walls, ceilings, or conduits for a cleaner installation.
4. Prepare the Cable Pathways: If necessary, use a power drill and appropriate drill bits to create holes for the cables to pass through walls, ceilings, or conduits. Ensure that the cable pathways are clean, well-sized, and free of obstructions.
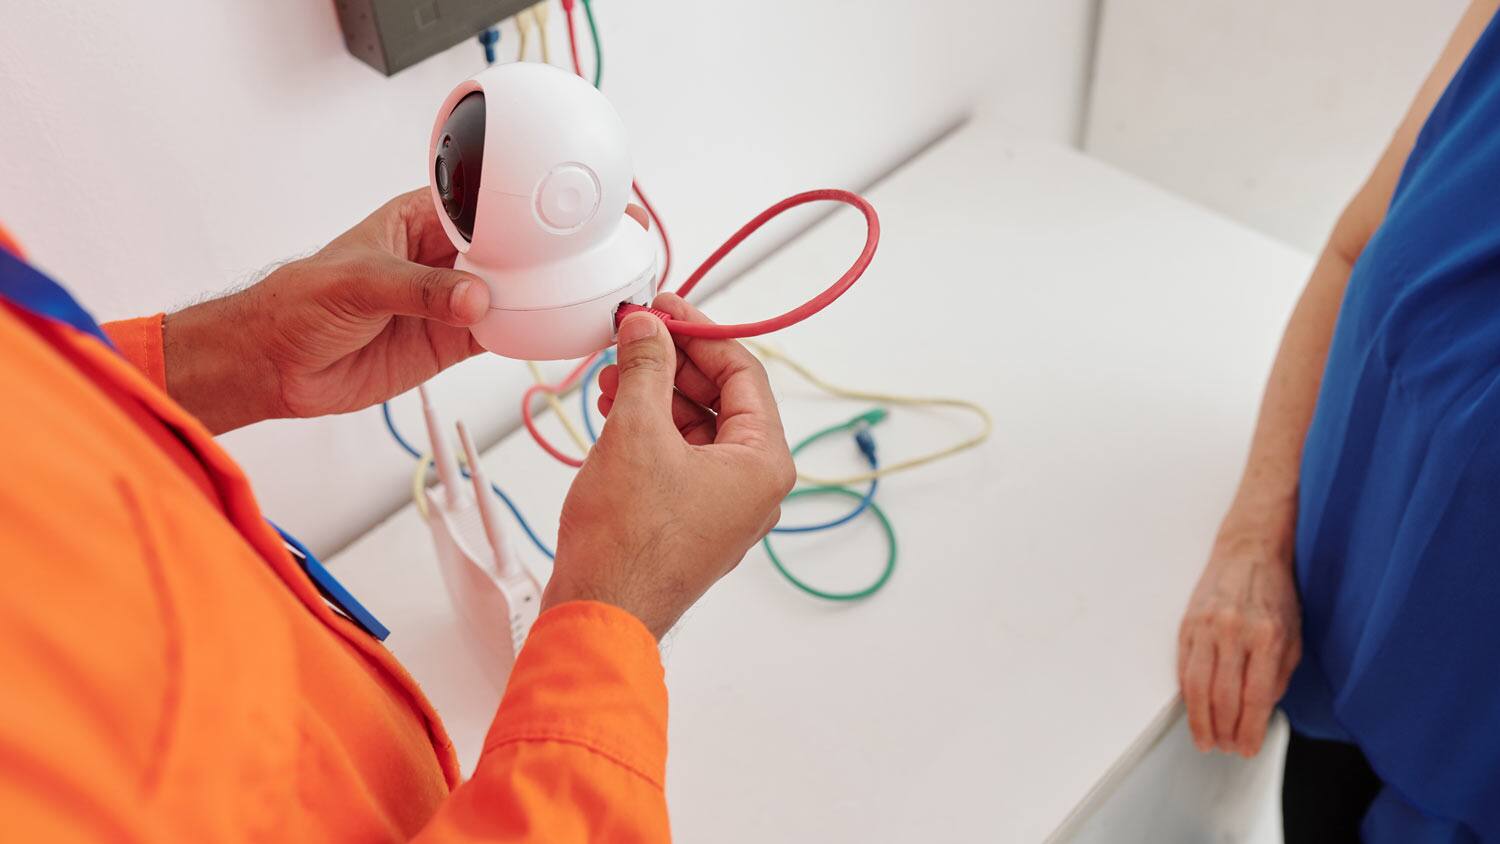
5. Run the Video Cables: Starting from the camera location, carefully run the video cables along the planned routes towards the DVR/NVR system. Use cable clips or ties to secure the cables along the way, ensuring they are neatly organized and protected from damage.
6. Connect the Video Cables: At each camera location, connect the video cables to the corresponding video output port on the camera. Ensure a secure connection by properly tightening any connectors or screws.
7. Connect to the DVR/NVR System: At the DVR/NVR system, connect the other end of the video cables to the corresponding video input ports. Make sure the connections are secure and match the appropriate video channels on the system.
8. Test the Video Connection: Once all the video cables are connected, verify that the video signals are transmitting properly to the DVR/NVR system. Check the live feed from each camera on the monitoring screen to ensure that the video is clear and without any distortion.
By correctly running the video cables, you establish a stable connection between the cameras and the DVR/NVR system, allowing you to monitor and record the surveillance footage effectively. In the next section, we will discuss how to connect the cameras to the DVR/NVR system.
Connecting the Camera to the DVR
Once you have run the video cables from your cameras to the DVR/NVR system, the next step is to connect each camera to its respective input on the system. By establishing this connection, you will be able to view and record the surveillance footage captured by the cameras. Here’s how to connect the cameras to the DVR:
1. Identify the Video Inputs: Locate the video input ports on the DVR/NVR system. These ports are usually labeled with numbers or corresponding camera labels.
2. Match the Camera Channels: Match each camera to its designated channel on the DVR/NVR system. Ensure that the camera’s video cable is connected to the corresponding input port.
3. Connect the Video Cables: Plug in the video cables from each camera into the appropriate video input ports on the DVR/NVR system. Make sure the connections are secure and properly tightened.
4. Power on the DVR/NVR System: Connect the power cable to the DVR/NVR system and plug it into a power source. Power on the system and wait for it to boot up. Follow the manufacturer’s instructions for initial setup and configuration if needed.
5. Configure Camera Settings: Access the menu or settings on the DVR/NVR system to configure the camera settings. This may include adjusting the display format, recording settings, motion detection, and other preferences.
6. View Camera Feeds: Use the monitor connected to the DVR/NVR system to view the live video feeds from the cameras. Make sure all cameras are displaying properly and check for any issues or discrepancies in the footage.
7. Test Recording Functionality: Verify that the DVR/NVR system is recording the footage from the cameras. Perform a test recording and review the playback to ensure that the recordings are clear, synchronized, and capturing the desired surveillance coverage.
By connecting the cameras to the DVR/NVR system, you establish the necessary link for viewing, recording, and managing the surveillance footage. In the final section, we will discuss the importance of testing the camera connection to ensure optimal performance.
Read more: What Is A Wired Security Camera
Testing the Camera Connection
After completing the wiring and connecting the cameras to the DVR/NVR system, it’s essential to thoroughly test the camera connection to ensure that everything is functioning as desired. Testing the camera connection helps identify any issues or potential blind spots in your surveillance system. Here’s how to effectively test the camera connection:
1. Verify Camera Feed: Check the live camera feeds on the monitor connected to the DVR/NVR system. Make sure that each camera is displaying a clear and stable video feed. Check for any distortions, flickering, or delays in the footage.
2. Adjust Camera Angles: Assess the camera angles and adjust them, if necessary, to ensure optimal coverage and eliminate any blind spots. Pan, tilt, or zoom the cameras remotely, if supported by your system, to test their functionality and range.
3. Test Recording: Trigger a test recording on the DVR/NVR system to confirm that it captures footage from all the connected cameras. Playback the recorded footage to ensure that the recordings are clear, synchronized, and accurately represent the surveillance coverage.
4. Check Motion Detection: Test the motion detection feature of your security system by walking in front of each camera. Verify that the cameras are properly detecting motion and recording events when triggered. Adjust the sensitivity settings as needed to minimize false alarms.
5. Verify Remote Access: If you plan to access the surveillance system remotely, test the remote viewing capabilities. Use a computer, smartphone, or tablet to connect to the system and check that you can view the live camera feeds and playback recorded footage from outside your network.
6. Perform Night Vision Test: If your cameras have night vision capabilities, test them in low-light conditions to ensure that the night vision feature is functioning correctly. Verify that the cameras provide clear and detailed footage even in the absence of ambient light sources.
7. Check Camera Connectivity: Lastly, ensure that each camera is properly connected and securely fastened. Check for any loose cables or connectors that may affect the camera’s functionality. A stable and reliable connection is crucial for continuous monitoring.
Testing the camera connection helps identify and address any issues or adjustments needed in your surveillance system. By thoroughly testing the cameras, you can ensure that your security system is operating at its optimum performance level. With everything in working order, you can gain peace of mind knowing that your home is protected.
Conclusion
Setting up a comprehensive and effective home security and surveillance system is crucial for protecting your property and ensuring the safety of your loved ones. By following the steps outlined in this guide, you can confidently wire in your security cameras and establish a robust surveillance network.
We began by exploring the different types of security cameras available, from bullet cameras to PTZ cameras, helping you choose the best option for your specific needs. We then discussed the importance of selecting the right camera based on factors such as resolution, field of view, and low light performance.
Next, we delved into the necessary tools and equipment needed for the installation process, ensuring that you have everything at hand to complete the wiring. We emphasized the importance of careful planning when it comes to camera placement, considering line of sight, lighting conditions, and privacy concerns.
We then discussed the crucial step of wiring preparation, including measuring cable lengths, planning cable routes, and preparing cable pathways. Connecting the cameras to a power source was covered to ensure proper functionality, followed by running the video cables from the cameras to the DVR/NVR system, establishing a reliable transmission of video signals.
We emphasized the importance of properly connecting the cameras to the DVR/NVR system to view and record the surveillance footage. Finally, we emphasized the significance of thoroughly testing the camera connection, verifying camera feeds, recording functionality, motion detection, remote access, and night vision capabilities.
With the completion of these steps, you can confidently say that you have successfully wired in your security cameras, creating a powerful surveillance system to protect your home.
Remember, while the process may seem daunting, taking the time to wire in your security cameras correctly will provide you with peace of mind and a sense of security. By following this guide and paying attention to the details, you can effectively safeguard your home and loved ones.
So, take control of your home security, invest in reliable equipment, and utilize your newfound knowledge to wire in your security cameras like a pro. With your surveillance system in place, you can rest easy knowing that you have taken proactive steps to protect what matters most.
Frequently Asked Questions about How To Wire In Security Cameras
Was this page helpful?
At Storables.com, we guarantee accurate and reliable information. Our content, validated by Expert Board Contributors, is crafted following stringent Editorial Policies. We're committed to providing you with well-researched, expert-backed insights for all your informational needs.