Home>Home Security and Surveillance>How To Hide Wires On Nest Outdoor Camera
Home Security and Surveillance
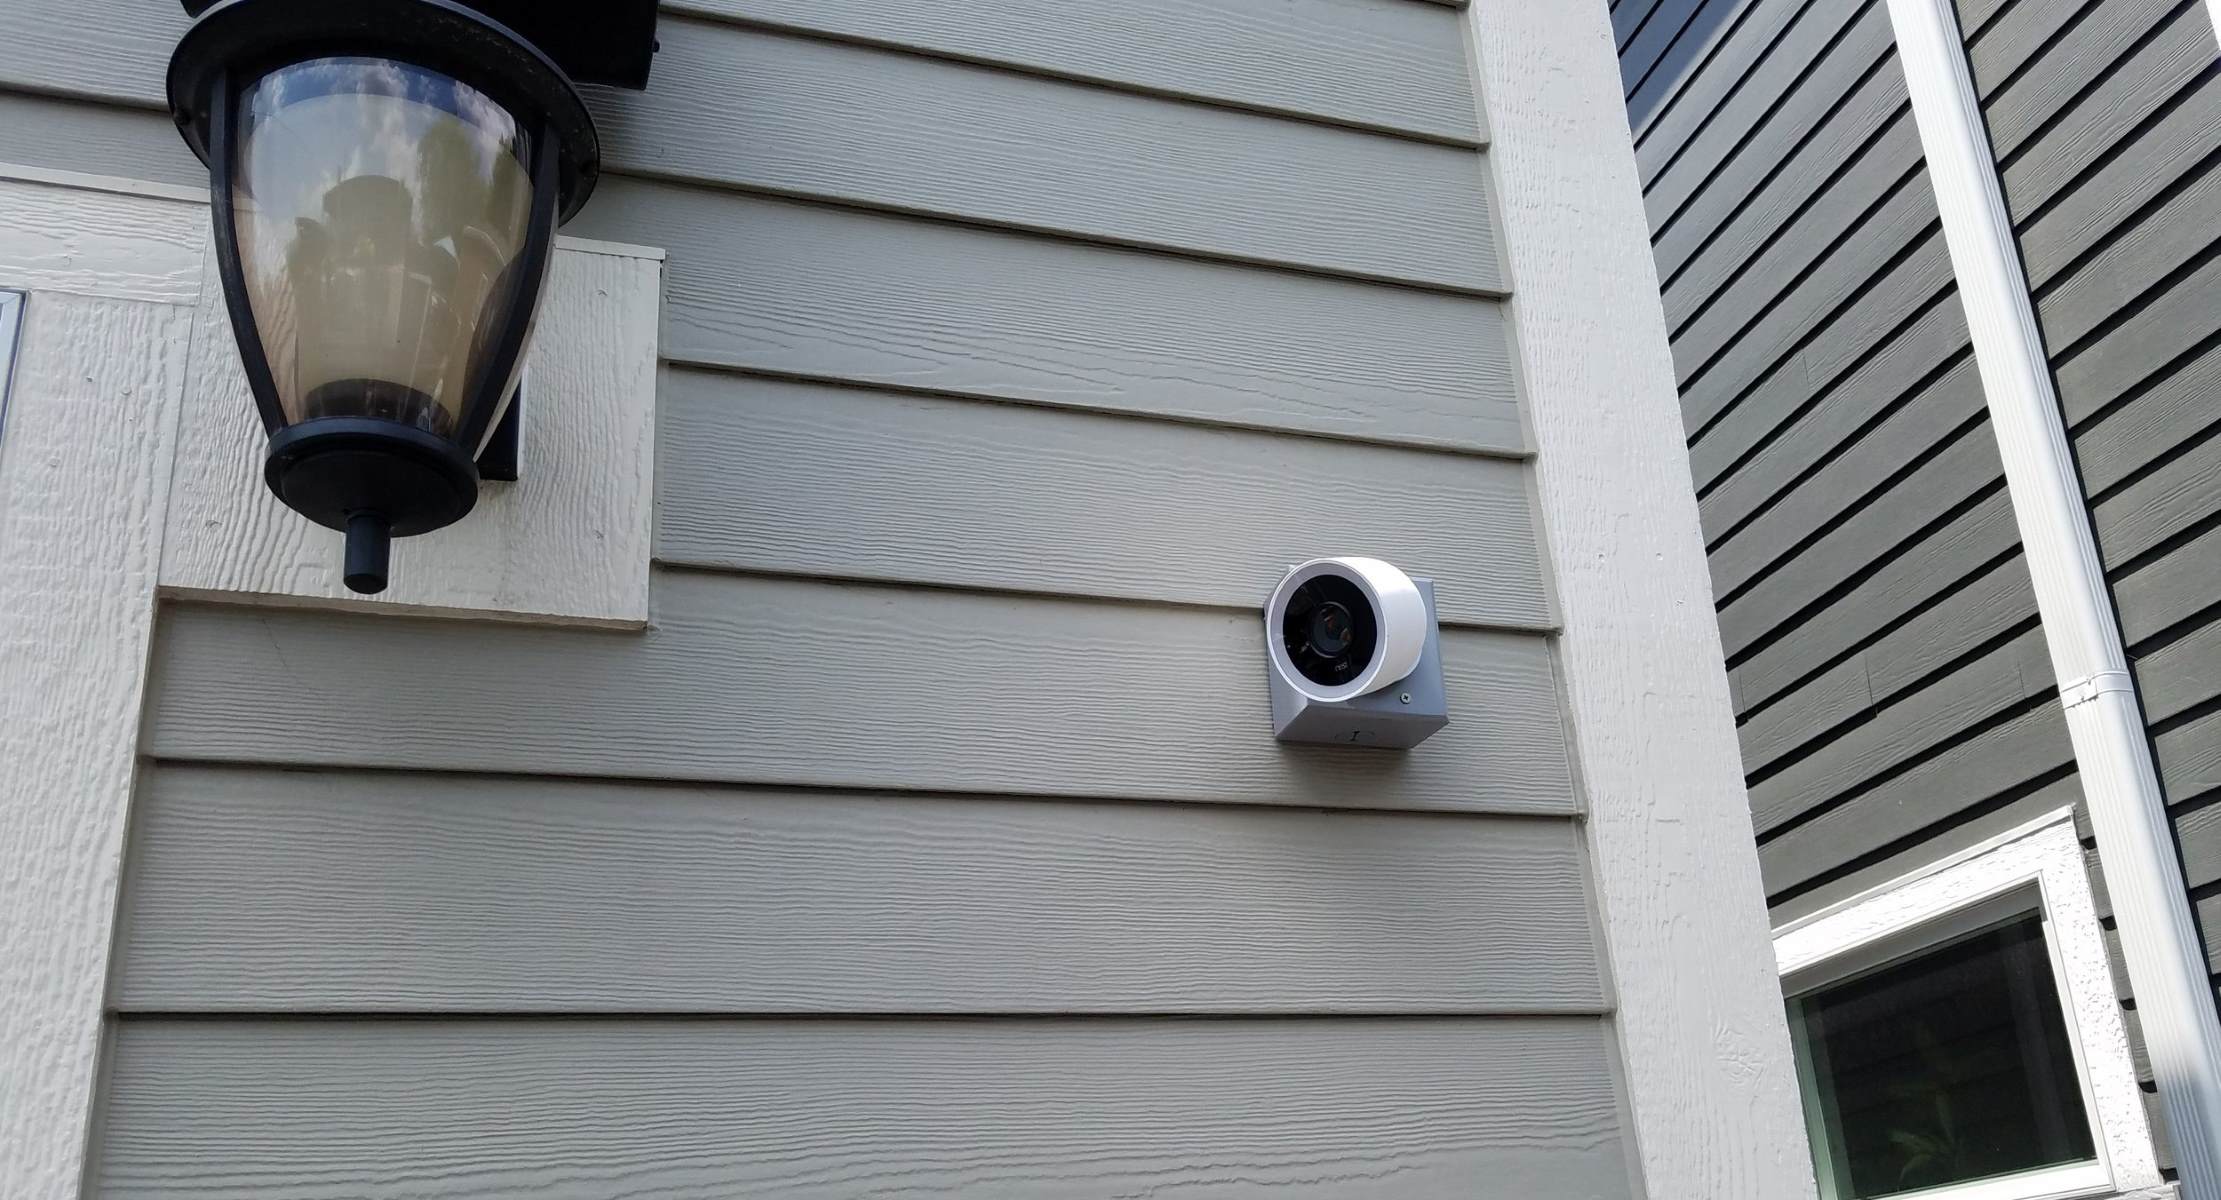
How To Hide Wires On Nest Outdoor Camera
Modified: March 6, 2024
Looking for ways to hide wires on your Nest Outdoor Camera? Enhance your home security and surveillance with these helpful tips and tricks.
(Many of the links in this article redirect to a specific reviewed product. Your purchase of these products through affiliate links helps to generate commission for Storables.com, at no extra cost. Learn more)
Introduction
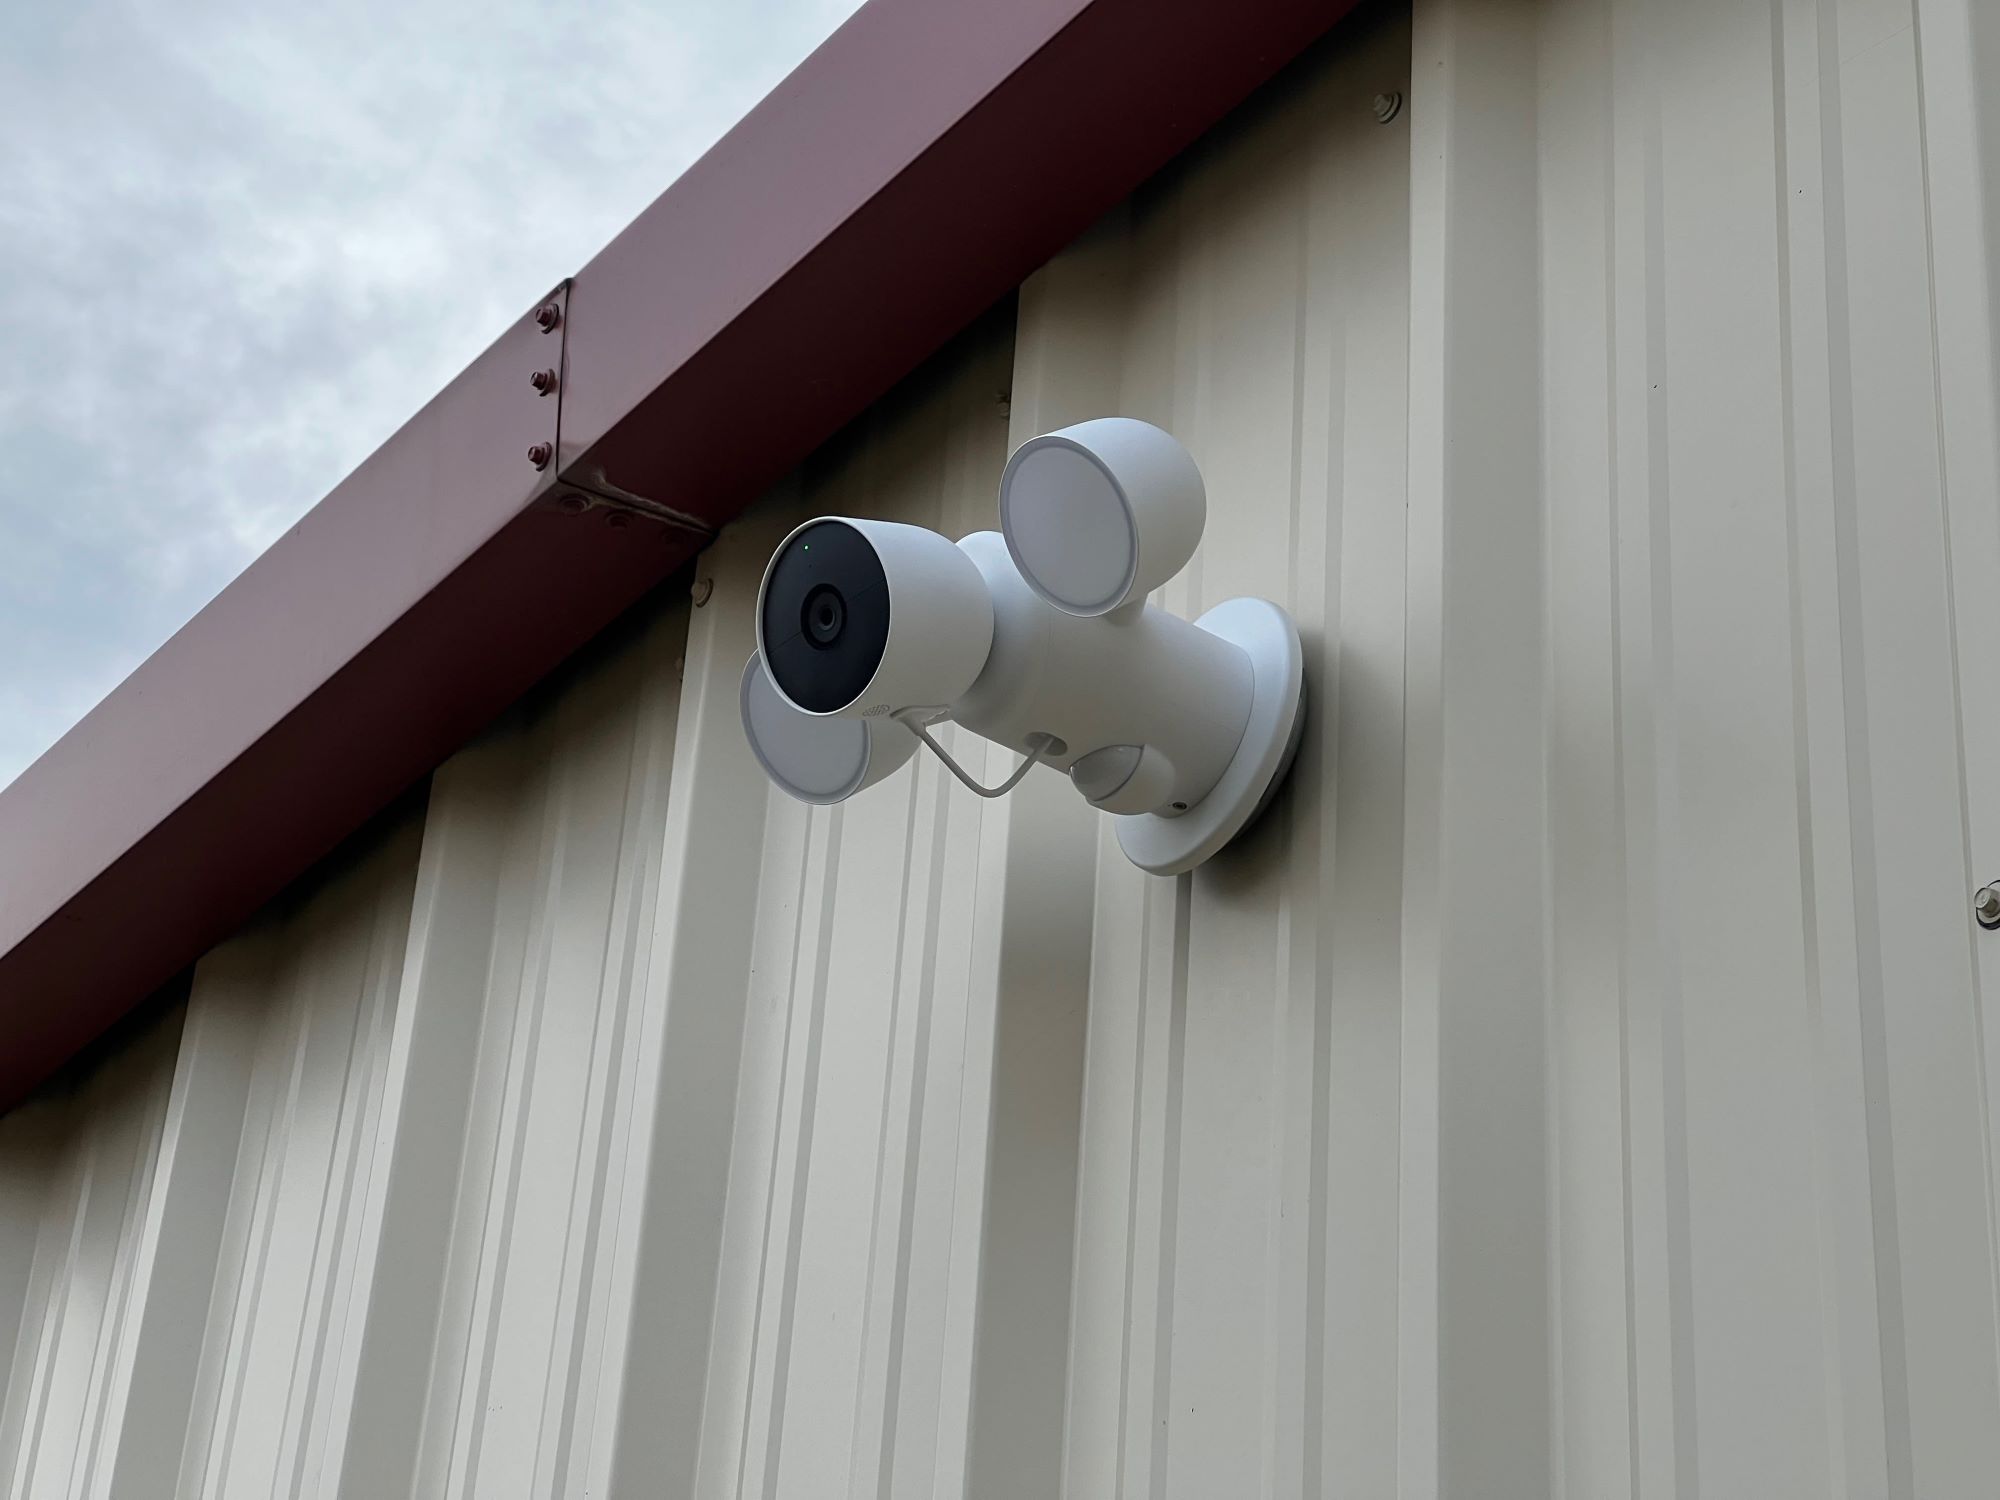
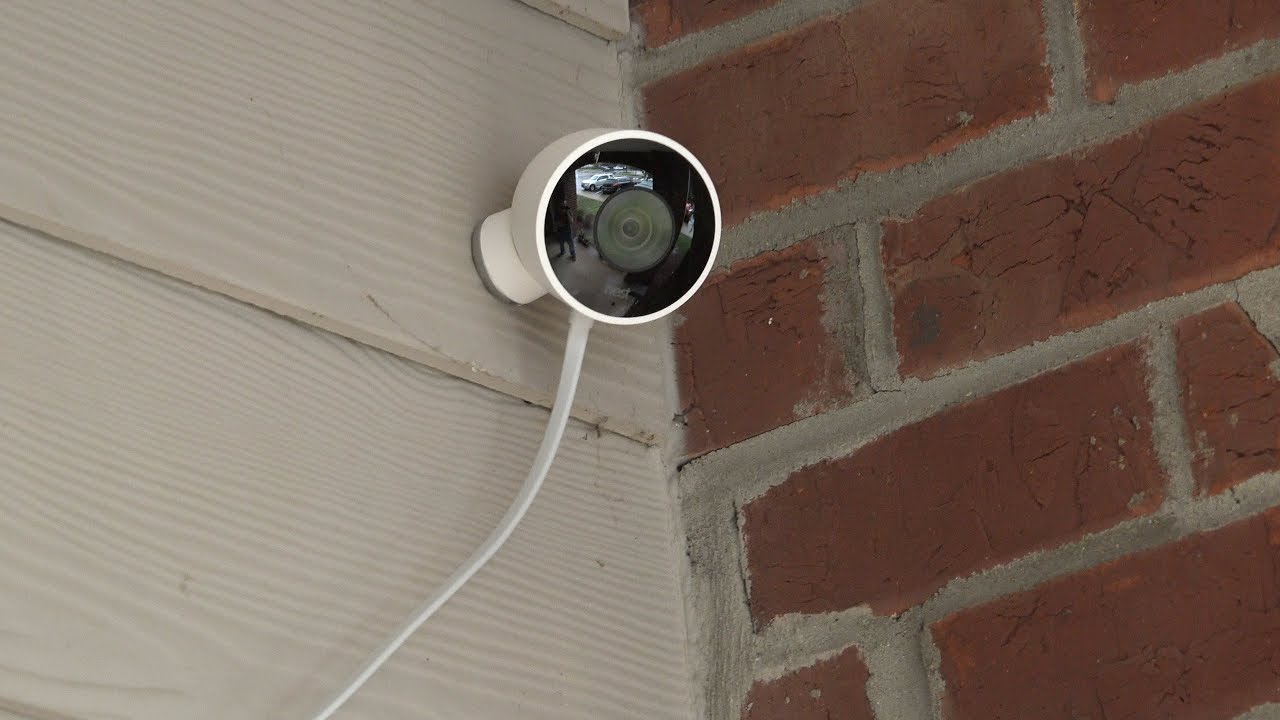
Welcome to our comprehensive guide on how to hide wires on a Nest Outdoor Camera. When it comes to home security and surveillance systems, proper wire management is essential for maintaining a clean and professional installation. The Nest Outdoor Camera is a popular choice for homeowners looking to monitor the exterior of their property, but the sight of visible wires can detract from the camera’s effectiveness and aesthetics.
In this article, we will explore different methods and techniques to conceal and hide the wires on your Nest Outdoor Camera. Whether you prefer a DIY approach or professional installation, we have you covered with step-by-step instructions and tips to achieve a seamless wire concealment. Let’s dive in and make your Nest Outdoor Camera setup sleek and discreet!
Key Takeaways:
- Use wire channels or cable clips to hide Nest Outdoor Camera wires for a clean look. Consider wireless options for a hassle-free installation.
- Routing wires through walls provides a seamless and professional look, but wireless solutions eliminate the need for physical wires altogether.
Read more: How To Wire A Nest Outdoor Camera
Method 1: Concealing Wires with Wire Channels
If you’re looking for a simple and cost-effective way to hide wires on your Nest Outdoor Camera, wire channels are a great option. Wire channels are plastic or metal tracks that can be easily installed along walls, ceilings, or baseboards to conceal and protect wires.
Here’s a step-by-step guide on how to use wire channels to hide wires on your Nest Outdoor Camera:
- Plan the route: Start by planning the path you want the wires to follow from the camera to the nearest power outlet or recording device. This will help you determine the length of wire channel and any necessary connectors.
- Measure and cut the wire channel: Using a measuring tape, measure the length of the wire channel needed for your setup. Then, using a fine-tooth saw or a hacksaw, cut the channel to the appropriate length.
- Mount the wire channel: Using either adhesive backing or screws, mount the wire channel along the planned route. Make sure it is secure and properly aligned.
- Insert the wires: Carefully insert the wires into the wire channel, making sure they are neatly arranged and not tangled. Use cable ties or clips to secure the wires within the channel if needed.
- Hide the channel: If the wire channel is not already color-matched to your walls or baseboards, you can paint it to blend in seamlessly with the surrounding area.
Wire channels offer a clean and organized solution for concealing wires, and they are especially useful for renters or those who don’t want to permanently modify their walls. With a variety of sizes and styles available, you can choose the wire channel that best fits your aesthetic preferences and functional needs.
Remember to follow safety guidelines and ensure that the wire channel you choose is suitable for outdoor use if you plan to install it in an exposed area. Now that you know how to use wire channels, let’s explore another method to hide wires on your Nest Outdoor Camera.
Method 2: Using Cable Clips
If you’re looking for a quick and easy solution to hide the wires on your Nest Outdoor Camera, cable clips are a great option. Cable clips are small plastic or metal clips that can be attached to walls, baseboards, or other surfaces to hold the wires in place and keep them organized.
Here’s a step-by-step guide on how to use cable clips to hide wires on your Nest Outdoor Camera:
- Plan the route and determine clip placement: Start by planning the path you want the wires to follow and determine where the cable clips should be placed along the route. The clips should be placed at regular intervals to ensure the wires are secured and neat.
- Attach the cable clips: Using adhesive backing or screws, attach the cable clips to the desired locations. Make sure they are securely fastened to the surface.
- Insert the wires: Carefully insert the wires into the cable clips one by one, ensuring they are neatly arranged and not tangled. Use additional cable clips if necessary to prevent sagging or excess slack.
- Tighten and organize: Once all the wires are inserted into the cable clips, tighten any adjustable clips to hold the wires more securely. Use cable ties or Velcro straps to further organize and bundle the wires if desired.
- Conceal the cable clips: If the cable clips are visible and you want a more discreet appearance, you can paint them to match the color of your walls or baseboards.
Cable clips offer a simple and affordable solution for hiding wires, and they can be easily removed or repositioned if needed. They provide a clean and organized look while keeping the wires out of sight. Cable clips are also versatile and can be used for various other cables and wires around your home.
Make sure to choose the right size and type of cable clips that can securely hold the wires of your Nest Outdoor Camera. Now that you know how to use cable clips, let’s move on to the next method to hide wires on your camera.
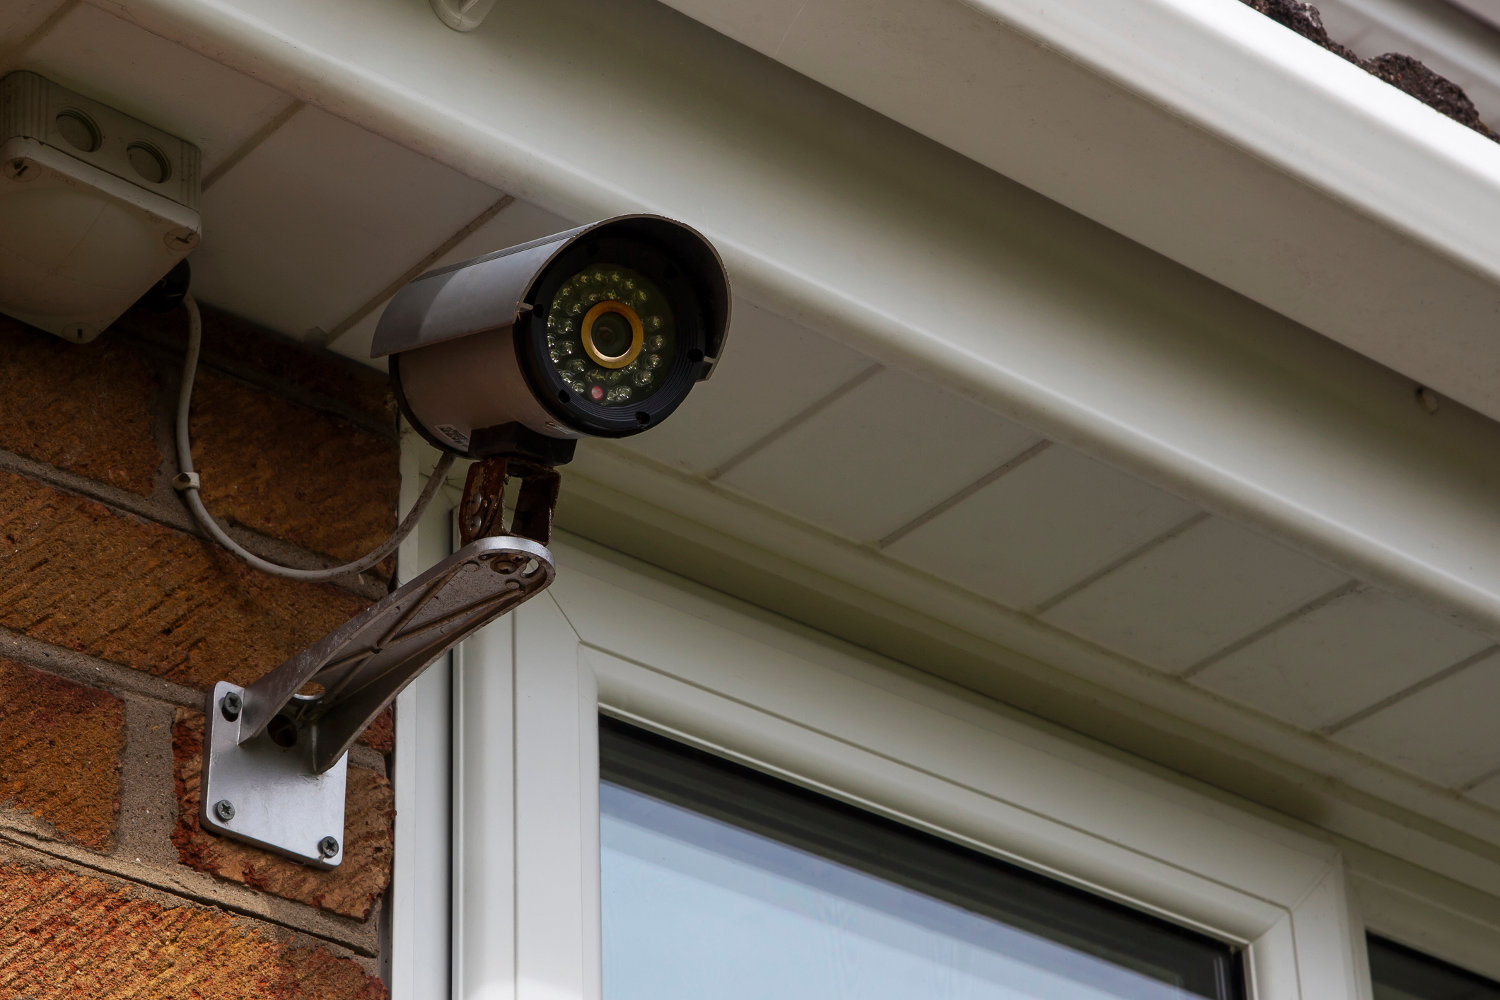
To hide wires on a Nest Outdoor Camera, use a weatherproof cable cover or conduit to conceal the wires along the wall or under the eaves. This will protect the wires and give a clean, professional look to your camera installation.
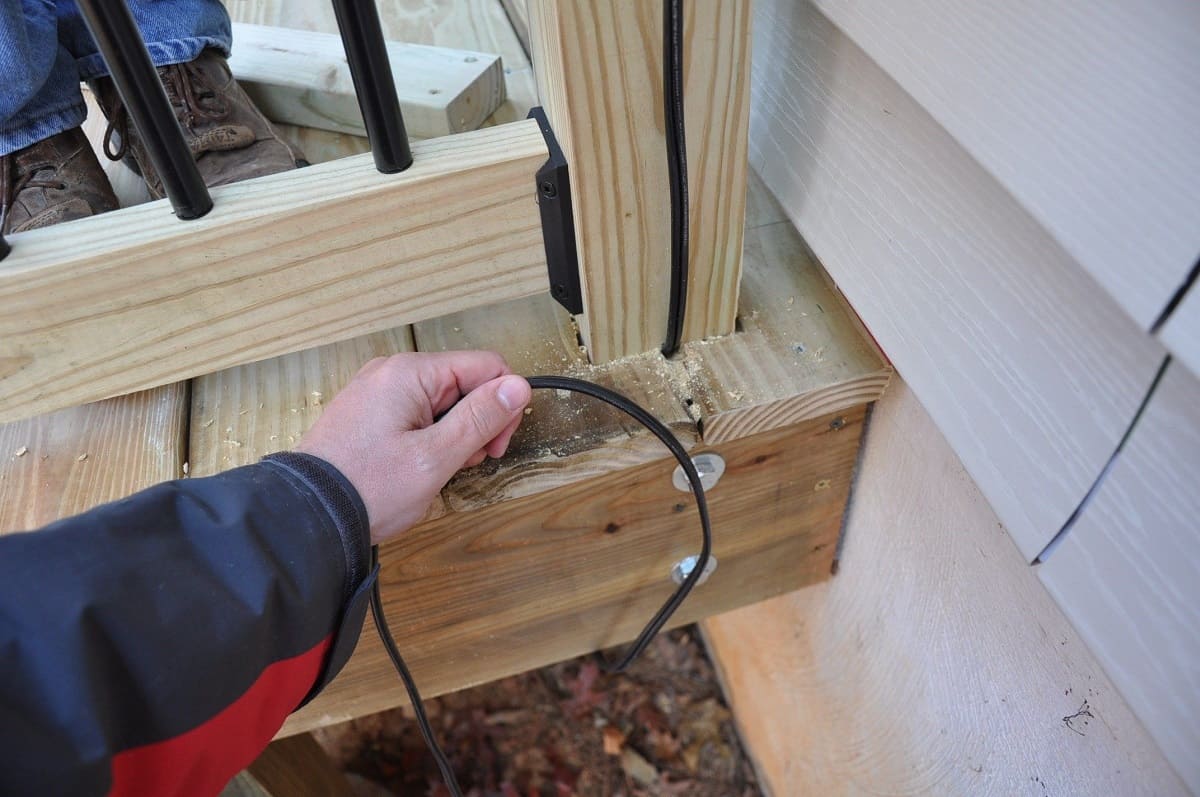
Method 3: Routing Wires through Walls
If you prefer a more permanent and seamless solution to hide wires on your Nest Outdoor Camera, routing them through walls is a great option. While this method requires some additional effort and may require professional assistance, it offers the advantage of completely concealing the wires and maintaining a clean and uncluttered appearance.
Here’s a step-by-step guide on how to route wires through walls to hide them on your Nest Outdoor Camera:
- Plan the route: Determine the path you want the wires to follow from the camera to the power source or recording device. Take into consideration the location of wall studs and electrical outlets.
- Prepare the wall: Identify the area on the wall where you want to create an opening for the wires. Ensure there are no electrical wires or plumbing behind the chosen area. Use a stud finder to locate wall studs and avoid them when creating the opening.
- Create the opening: Use a wall saw or drywall knife to carefully cut a hole in the wall to accommodate the wires. Make sure the hole is large enough to fit the wires comfortably.
- Route the wires: Carefully thread the wires through the hole in the wall, ensuring they are neatly arranged and not tangled. Use fish tape or a wire coat hanger to help guide the wires through the wall cavity if needed.
- Secure and conceal: Once the wires have been routed through the wall, secure them with cable clips or adhesive mounts along the wall to keep them in place. Patch any holes or openings in the wall using drywall compound or putty, and paint over the area to match the surrounding wall color.
Routing wires through walls provides a seamless and professional look, eliminating any visible wires and maintaining the aesthetic appeal of your home. It requires more effort and skill compared to other methods, so it’s important to take proper precautions and consider seeking professional assistance if necessary. Ensure you comply with local building codes and regulations before attempting this method.
Now that you know how to route wires through walls, let’s explore another method to hide wires on your Nest Outdoor Camera.
Method 4: Wireless Solutions
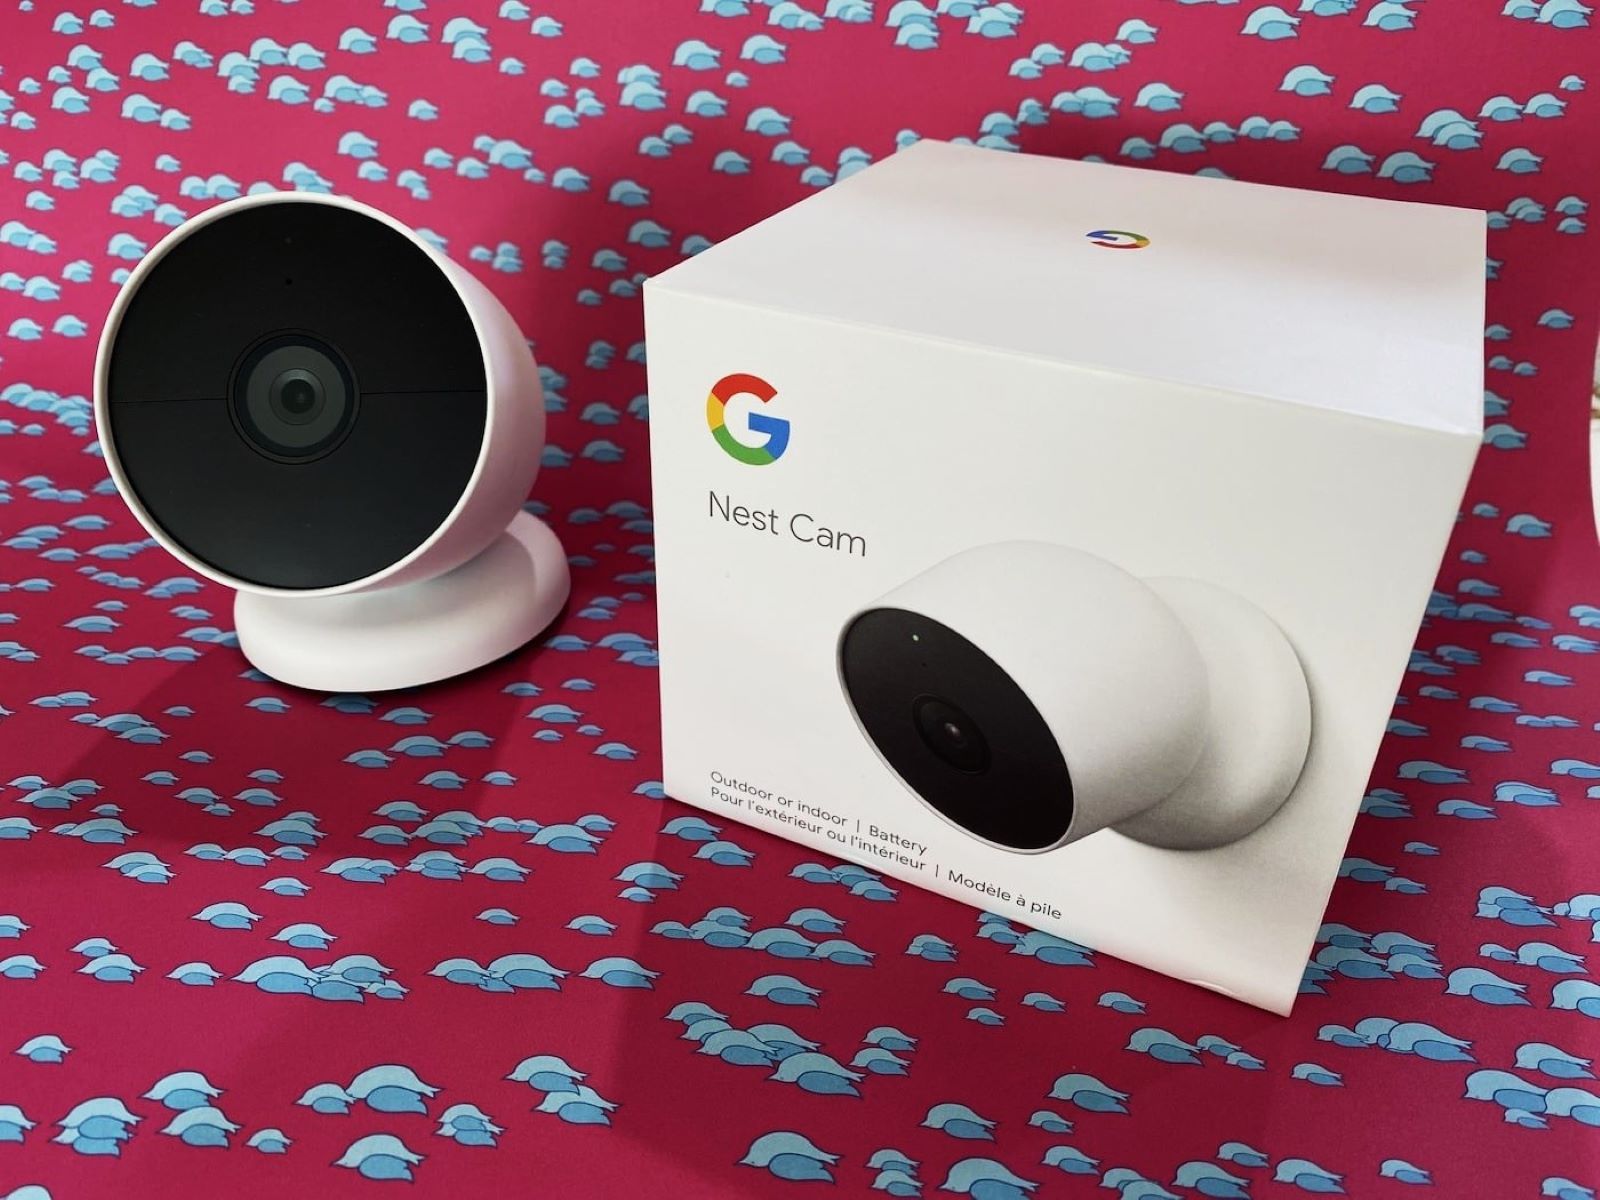
If you want to completely eliminate the need for wires and enjoy a hassle-free installation, wireless solutions are the way to go. While the Nest Outdoor Camera does require a power source, there are wireless options available to transmit the video and audio signals without the need for physical wires.
Here are a few wireless solutions to consider for your Nest Outdoor Camera:
- Wireless Power Adapter: Instead of relying on a traditional power source, consider using a wireless power adapter specifically designed for your Nest Outdoor Camera. These adapters use wireless charging technology to power the camera, eliminating the need for a physical power cord.
- Wireless Video Transmission: To transmit the video and audio signals wirelessly from your camera to a recording device or mobile device, you can utilize wireless video transmission systems. These systems typically consist of a transmitter and receiver that communicate wirelessly, providing a seamless connection without the need for physical wires.
- Battery-Powered Cameras: Another wireless option is to use battery-powered cameras. These cameras are self-contained and operate on battery power, eliminating the need for any wires. However, keep in mind that battery life may vary, so regular monitoring and charging are necessary to maintain continuous surveillance.
Wireless solutions offer flexibility and convenience, particularly for those who want to avoid the hassle of wire installation. However, it’s important to note that wireless options may have limitations, such as signal interference or range issues. Additionally, battery-powered cameras may require more maintenance and monitoring to ensure uninterrupted operation.
Before opting for wireless solutions, thoroughly research and choose reliable and compatible products that work best with your Nest Outdoor Camera. Keep in mind that wireless options may require additional setup and configuration, so follow the manufacturer’s instructions carefully.
Now that you’re familiar with wireless solutions, it’s time to decide which method works best for your needs and preferences for hiding wires on your Nest Outdoor Camera.
Read more: How To Hide Outdoor Security Camera Wires
Conclusion
Congratulations! You’ve reached the end of our comprehensive guide on how to hide wires on your Nest Outdoor Camera. We’ve explored various methods and techniques to help you achieve a clean and professional-looking installation while maintaining the functionality of your camera.
Whether you choose to use wire channels, cable clips, route wires through walls, or opt for wireless solutions, each method has its advantages and considerations. Wire channels and cable clips offer simple and cost-effective options for concealing wires, while routing wires through walls provides a more permanent and seamless solution. Wireless solutions eliminate the need for physical wires altogether, providing convenience and flexibility.
Remember to consider factors such as your aesthetic preferences, the level of effort and skill required for installation, and the compatibility of wireless options with your Nest Outdoor Camera. It’s also important to prioritize safety and follow proper procedures when working with electrical components or modifying walls.
We hope this guide has empowered you to confidently hide wires on your Nest Outdoor Camera and enhance the overall aesthetics of your home security system. By concealing the wires, you can enjoy a clean and uncluttered installation that seamlessly integrates with your surroundings.
Thank you for reading, and we wish you success in your wire concealment project!
Frequently Asked Questions about How To Hide Wires On Nest Outdoor Camera
Was this page helpful?
At Storables.com, we guarantee accurate and reliable information. Our content, validated by Expert Board Contributors, is crafted following stringent Editorial Policies. We're committed to providing you with well-researched, expert-backed insights for all your informational needs.