Home>Home Security and Surveillance>How To Improve Wi-Fi Strength For Outdoor Cameras
Home Security and Surveillance
How To Improve Wi-Fi Strength For Outdoor Cameras
Modified: March 6, 2024
Boost the home security and surveillance of your property with these expert tips on improving Wi-Fi strength for outdoor cameras. Keep your premises protected with a stronger connection.
(Many of the links in this article redirect to a specific reviewed product. Your purchase of these products through affiliate links helps to generate commission for Storables.com, at no extra cost. Learn more)
Introduction
Welcome to the world of home security and surveillance! In today’s fast-paced and interconnected world, it is no surprise that more and more homeowners are investing in outdoor cameras to protect their property and loved ones. However, one common challenge that many people face when setting up outdoor cameras is ensuring a reliable Wi-Fi signal. Without a strong Wi-Fi connection, your cameras may not be able to function effectively, compromising the security of your home.
In this article, we will delve into the topic of improving Wi-Fi strength for outdoor cameras. We will explore the limitations of Wi-Fi range for outdoor cameras, as well as the various factors that can affect the signal strength. You will also discover several practical tips and techniques to optimize your Wi-Fi signal for optimal camera performance.
Before we dive into the solutions, it is important to understand the limitations of Wi-Fi range for outdoor cameras. Typically, the Wi-Fi range extends up to a certain distance from the router, and beyond that range, the signal strength may decrease significantly. When setting up outdoor cameras, you may encounter distance limitations, obstructions, and interference from other wireless devices.
However, there are several strategies that you can implement to overcome these limitations and ensure a strong Wi-Fi signal for your outdoor cameras. By taking the following factors into consideration and implementing the suggested solutions, you can enhance your home security and surveillance system:
Key Takeaways:
- Position your router strategically and consider using Wi-Fi range extenders to improve the Wi-Fi signal strength for outdoor cameras. Upgrading router antennas and avoiding interference from other devices can also enhance the performance of your surveillance system.
- Optimizing the placement of outdoor cameras and utilizing PoE adapters for stable power and signal can contribute to a strong and reliable Wi-Fi connection. Regular monitoring and adjustments based on performance can ensure better coverage and security for your home.
Read more: How To Change Wi-Fi On Blink Outdoor Camera
Understanding Wi-Fi Range Limitations for Outdoor Cameras
When it comes to outdoor cameras, the Wi-Fi range can be a significant limitation. The range of a Wi-Fi signal depends on various factors, including the type of router, the frequency band, and the physical obstacles in the environment.
Firstly, the type of router you have plays a crucial role in determining the Wi-Fi range for your outdoor cameras. Older routers may not have the same range as newer models that are equipped with advanced antenna technology. Upgrading to a more powerful router can significantly improve the Wi-Fi signal strength for your outdoor cameras.
Secondly, the frequency band used by your router can also impact the Wi-Fi range. Most routers operate on either the 2.4 GHz or 5 GHz frequency bands. The 2.4 GHz band has a longer range but is more susceptible to interference from other devices such as microwaves and cordless phones. On the other hand, the 5 GHz band offers faster speeds but has a shorter range. It is important to choose the frequency band that best suits your specific needs and environment.
Lastly, the physical obstacles in your environment can obstruct the Wi-Fi signal, resulting in reduced range for your outdoor cameras. Walls, furniture, and even trees can all contribute to signal degradation. It is essential to consider the layout and composition of your property when positioning your outdoor cameras to ensure optimal signal strength.
By understanding these Wi-Fi range limitations and taking them into account, you can make informed decisions when setting up your outdoor cameras. Let’s explore some practical tips and solutions to enhance the Wi-Fi signal strength for your outdoor surveillance system.
Factors Affecting Wi-Fi Signal Strength for Outdoor Cameras
Several factors can impact the Wi-Fi signal strength for outdoor cameras. By understanding these factors, you can take proactive steps to optimize the signal and enhance the overall performance of your surveillance system.
- Distance from the Router: The distance between your router and outdoor cameras is a critical factor in determining signal strength. The farther the cameras are from the router, the weaker the signal may be. To alleviate this issue, consider positioning the router closer to the cameras or exploring alternative solutions such as Wi-Fi range extenders.
- Obstructions: Physical obstructions, such as walls, doors, and other objects, can hamper the Wi-Fi signal. It is important to minimize these obstructions or find ways to mitigate their impact on signal strength. For example, positioning your outdoor cameras in direct line of sight with the router can help improve signal reception.
- Interference from Other Devices: Wi-Fi signals can be affected by interference from other devices operating on the same frequency band. Common culprits include microwaves, cordless phones, and even neighboring Wi-Fi networks. Consider adjusting the channel or frequency band of your router to avoid interference and maximize signal strength.
- Router Antennas: The type and position of the antennas on your router can play a significant role in signal strength. Upgrading to external high-gain antennas or positioning the existing antennas properly can help boost the Wi-Fi signal for your outdoor cameras.
- Wi-Fi Network Settings: Optimizing your Wi-Fi network settings can have a positive impact on signal strength. Ensure that you are using the latest firmware for your router, enable features like Quality of Service (QoS) to prioritize your surveillance devices, and configure your network for optimal performance.
- Power over Ethernet (PoE) Solutions: Using a PoE adapter to power your outdoor cameras can help provide a stable power source while also ensuring a reliable Wi-Fi connection. This eliminates the need for separate power cables and can enhance the overall performance of your surveillance system.
- Weather Conditions: Extreme weather conditions can affect the Wi-Fi signal strength for outdoor cameras. Rain, snow, and high winds can impact the performance of your surveillance system. It is important to choose weatherproof outdoor cameras and ensure that the router and Wi-Fi equipment are protected from the elements.
By considering these factors and implementing appropriate solutions, you can optimize the Wi-Fi signal strength for your outdoor cameras, ensuring a reliable and robust home security and surveillance system.
Positioning the Router
The positioning of your router plays a crucial role in determining the Wi-Fi signal strength for your outdoor cameras. By strategically placing your router, you can minimize signal degradation and optimize coverage for your surveillance system.
Here are some tips for positioning your router:
- Central Location: Place your router in a central location within your home or property. This ensures that the Wi-Fi signal has an equal reach in all directions, maximizing coverage for your outdoor cameras.
- Elevated Position: Position the router at an elevated height, such as on a shelf or mounted on a wall. This helps to minimize obstructions and improves the signal propagation throughout your property.
- Avoid Obstructions: Keep your router away from physical obstructions like walls, furniture, and appliances. These objects can obstruct the Wi-Fi signal, leading to reduced range and weaker signal strength for your outdoor cameras.
- Stay Clear of Interference: Keep your router away from other electronic devices that can cause interference, such as cordless phones, microwave ovens, and baby monitors. These devices can operate on the same frequency band as Wi-Fi and can disrupt the signal quality for your cameras.
- Adjust Antenna Position: If your router has external antennas, experiment with their positioning to find the optimal alignment. Orient the antennas vertically or horizontally, or even try different angles to improve the signal reception for your outdoor cameras.
- Consider Mesh Wi-Fi Systems: If your property is large or has multiple floors, consider investing in a mesh Wi-Fi system. These systems utilize multiple access points that work together to provide seamless coverage throughout your property, ensuring a strong Wi-Fi signal for your outdoor cameras.
By following these tips, you can maximize the Wi-Fi signal strength from your router to your outdoor cameras. Remember to periodically monitor the signal strength and make adjustments as needed to ensure optimal performance for your home security and surveillance system.
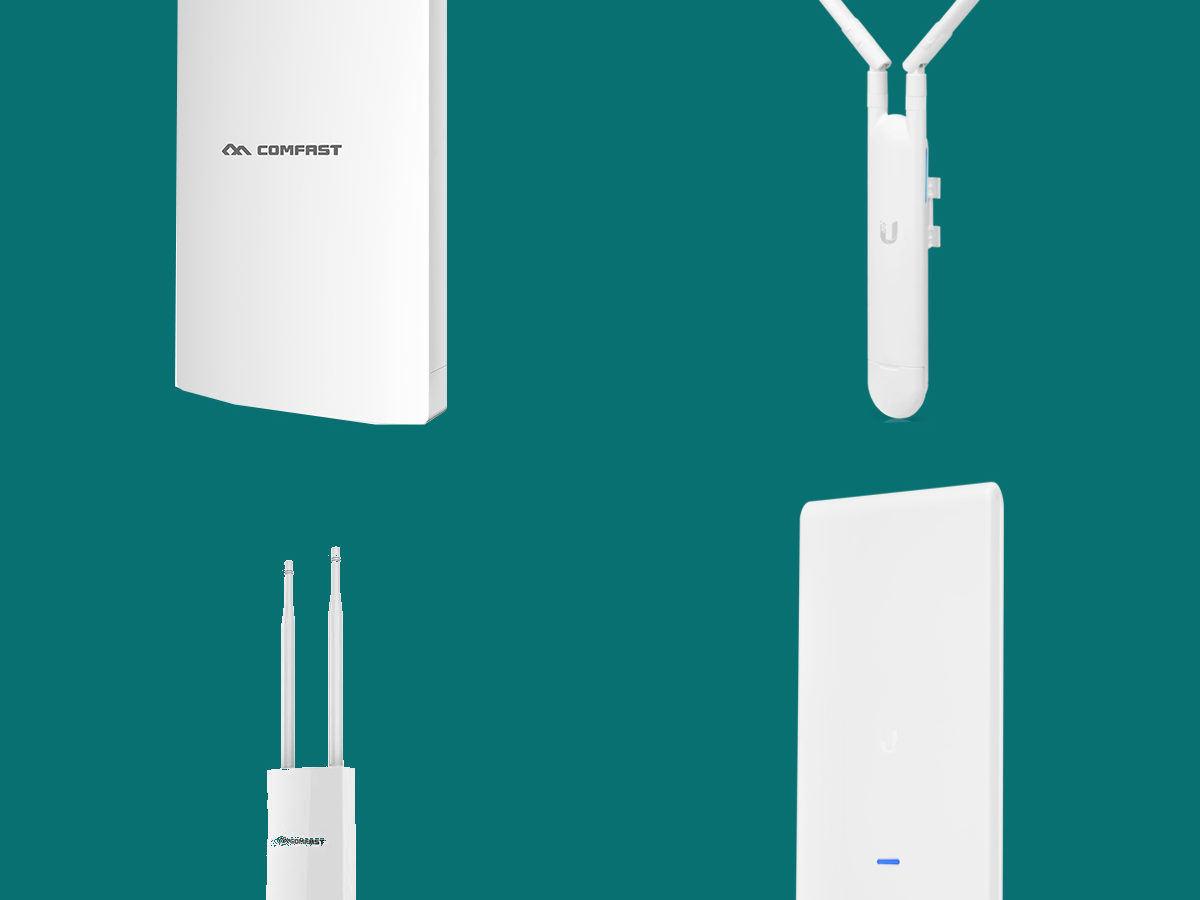
Using Wi-Fi Range Extenders
If you’re struggling with poor Wi-Fi signal strength for your outdoor cameras, using Wi-Fi range extenders can be a game-changer. Range extenders, also known as repeaters or boosters, are devices that amplify and extend the Wi-Fi signal from your router, effectively expanding the coverage area.
Here’s how you can utilize Wi-Fi range extenders to improve the signal strength for your outdoor cameras:
- Identify Dead Zones: Determine the areas where the Wi-Fi signal from your router is weak or non-existent. These areas are known as dead zones and are likely where your outdoor cameras are experiencing connectivity issues.
- Place the Range Extender Strategically: Position the Wi-Fi range extender in a location where it can receive a strong Wi-Fi signal from your router. Ideally, it should be placed within the range of your router and in close proximity to the dead zones you identified.
- Connect and Configure the Range Extender: Follow the manufacturer’s instructions to connect the Wi-Fi range extender to your existing Wi-Fi network. This usually involves configuring the extender using a web-based interface or smartphone app. Make sure to choose the same Wi-Fi network name (SSID) and password as your existing network to maintain a seamless connection.
- Test and Adjust: After setting up the range extender, test the Wi-Fi signal strength in the previously weak areas where your outdoor cameras are located. Verify that the signal has significantly improved. If not, experiment with repositioning the extender, keeping in mind that obstructions and interference can still impact the signal quality.
- Consider Dual-Band Range Extenders: If your router supports both 2.4 GHz and 5 GHz frequency bands, consider investing in a dual-band Wi-Fi range extender. These devices can extend the range of both bands simultaneously, providing better coverage and performance for your outdoor cameras.
- Monitor Performance: Keep an eye on the performance of your Wi-Fi range extender and ensure that it is consistently providing a reliable and strong signal for your outdoor cameras. Periodically check the connectivity and signal strength to ensure optimal performance.
Wi-Fi range extenders can effectively overcome the limitations of Wi-Fi range and improve the signal strength for your outdoor cameras. By strategically placing and configuring these devices, you can create a robust and reliable network that enhances the security and surveillance capabilities of your home.
Read more: How To Hook Up A Wi-Fi Outdoor Camera
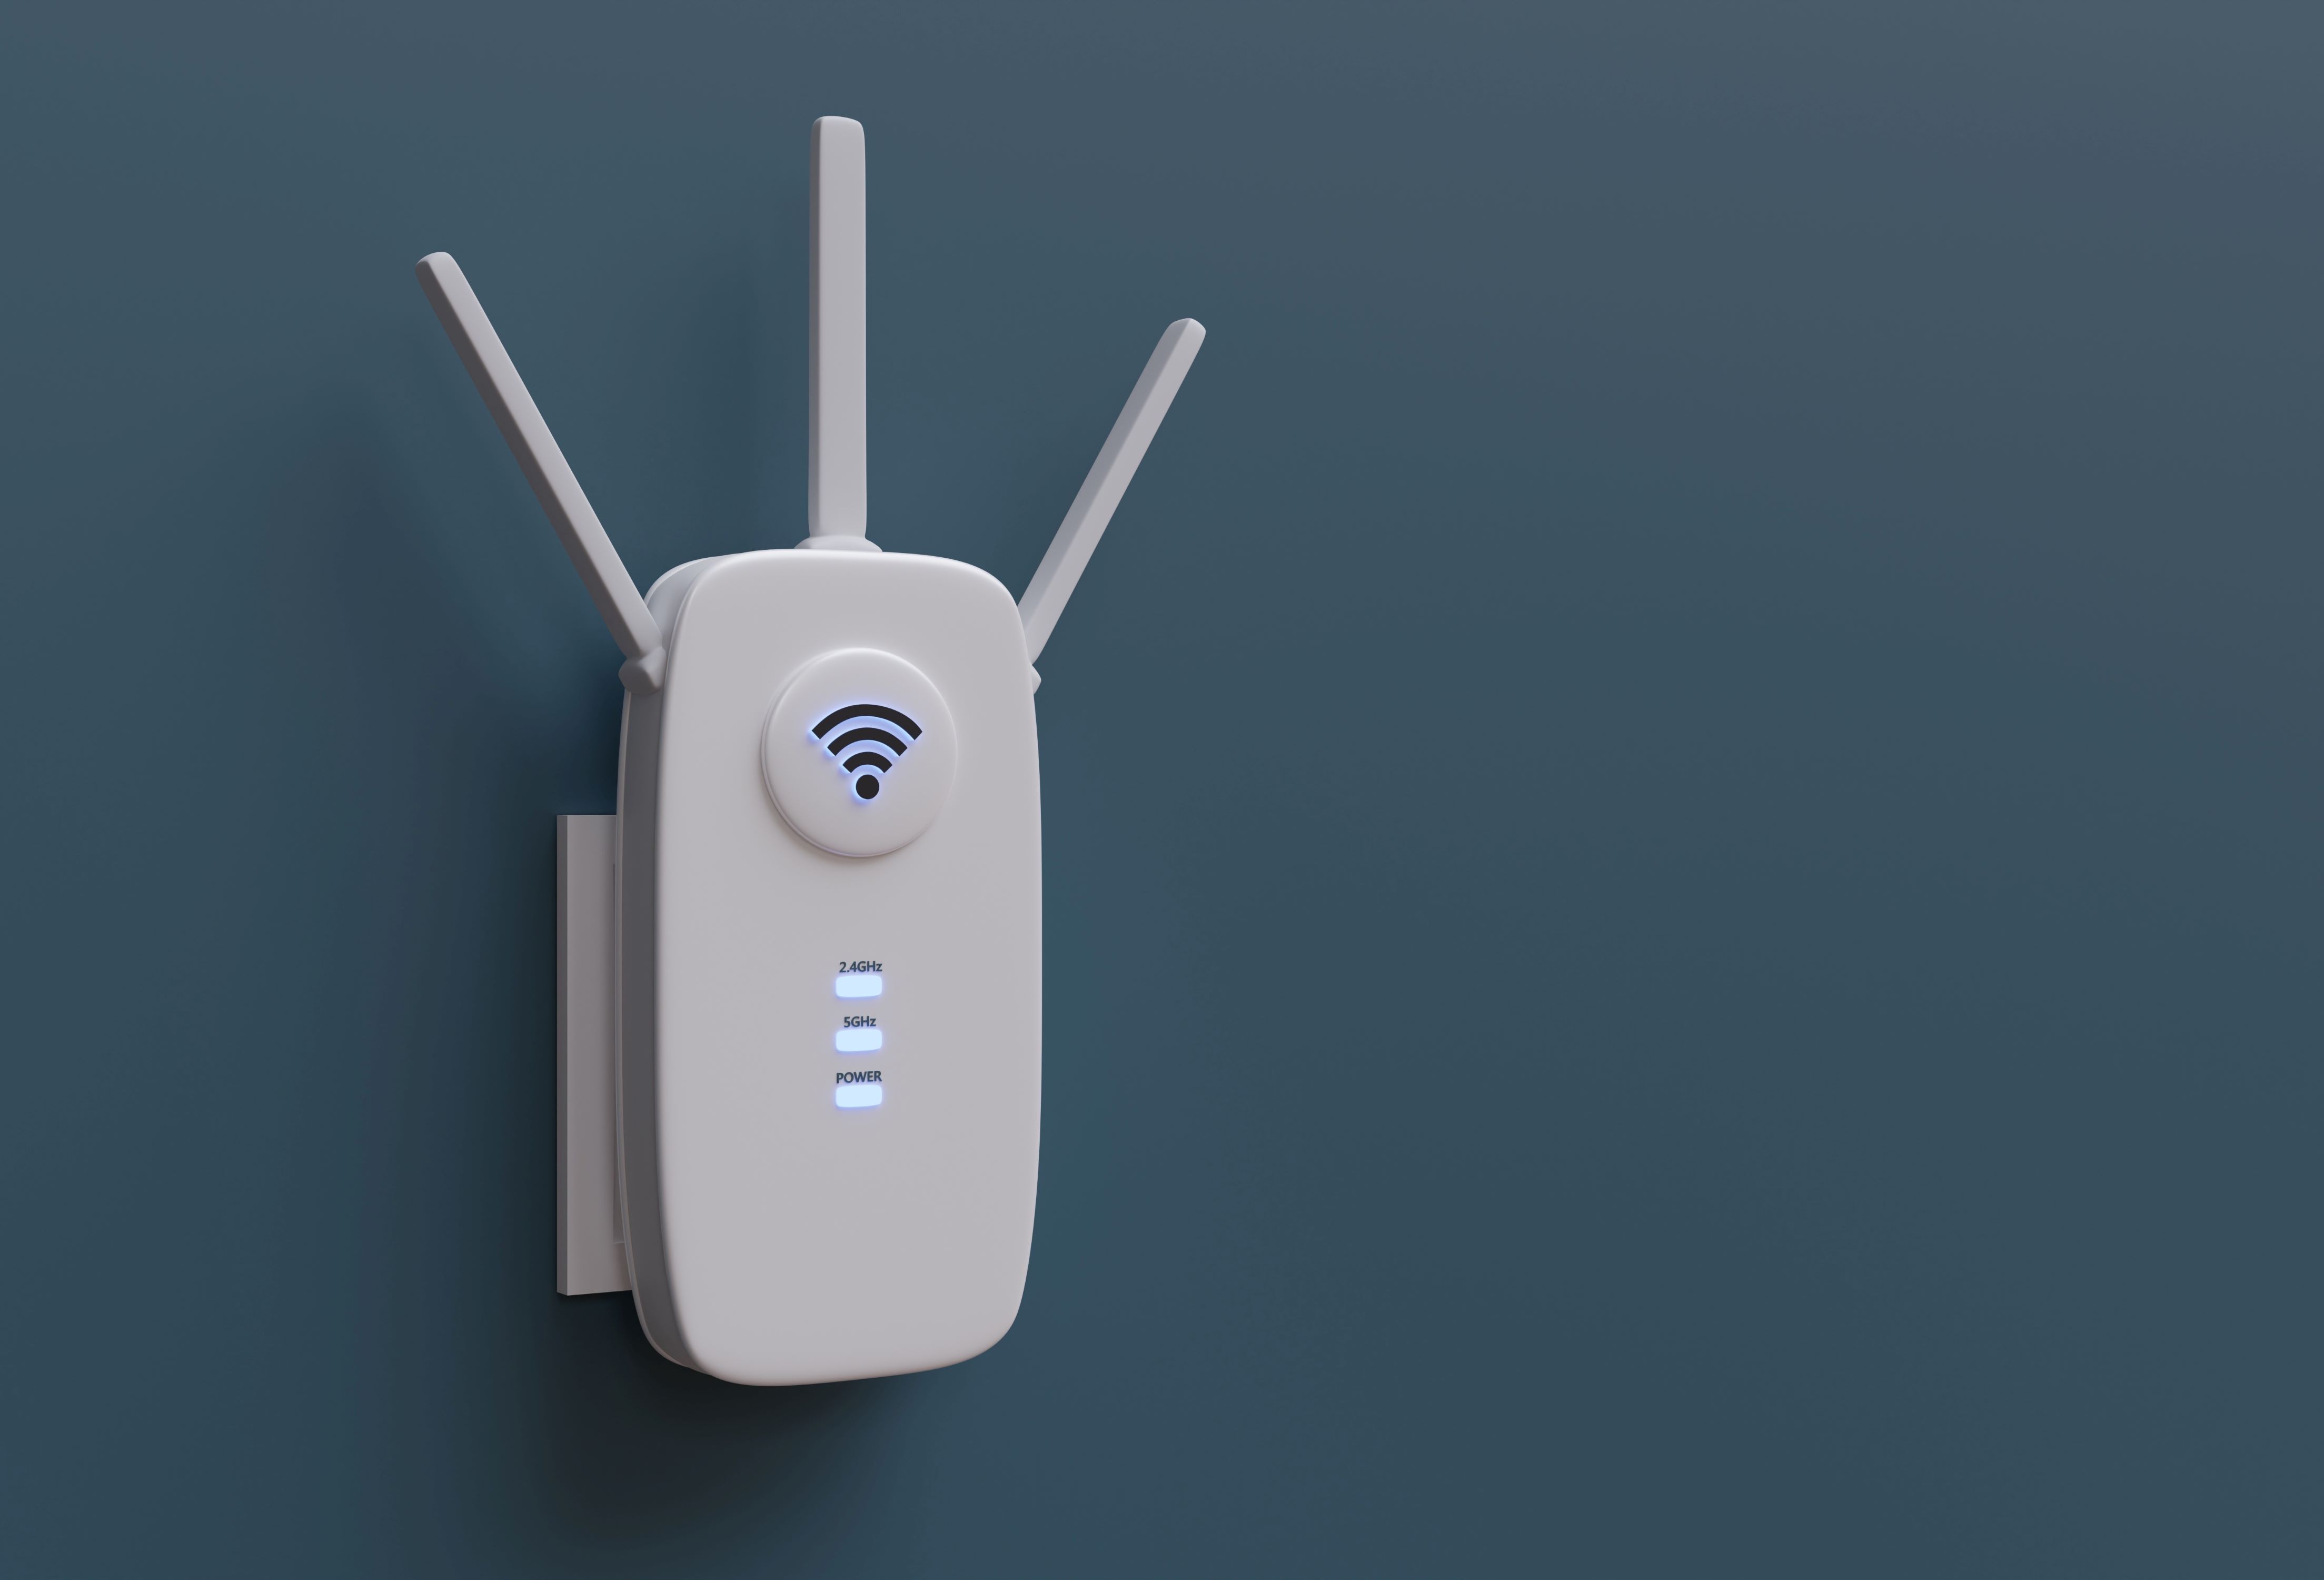
Upgrading the Router Antennas
One simple yet effective way to enhance the Wi-Fi signal strength for your outdoor cameras is by upgrading the antennas on your router. Router antennas play a vital role in transmitting and receiving signals, and upgrading them can significantly improve the coverage and range of your Wi-Fi network.
Here’s how you can upgrade your router antennas to improve the signal strength:
- Identify the Antenna Type: Determine the type of antennas on your router. Most routers either have internal omnidirectional antennas or external antennas that can be detached and replaced. It is important to check the manufacturer’s specifications or consult the user manual to confirm the antenna type.
- Research Antenna Options: Once you know the antenna type, research different options available in the market. Look for high-gain antennas that are designed to enhance signal strength and range. These antennas are usually available in various sizes and gain levels, so choose the ones that are compatible with your router and provide the desired coverage.
- Replace the Antennas: If your router has detachable external antennas, carefully remove the existing ones by unscrewing them. Replace them with the new high-gain antennas, ensuring a snug fit. If your router has internal antennas, unfortunately, they cannot be replaced or upgraded.
- Position the Antennas Correctly: Proper positioning of the upgraded antennas is crucial for optimum signal strength. Orient the antennas at different angles, experimenting with vertical and horizontal positions, to find the optimal alignment. This can help improve signal reception and distribution to your outdoor cameras.
- Monitor and Adjust: After upgrading the router antennas, monitor the Wi-Fi signal strength in the areas where your outdoor cameras are located. If necessary, make adjustments to the antenna positioning and experiment with different angles to maximize signal reception.
- Consider High-Quality Antennas: While there are various antenna options available, it is recommended to invest in high-quality antennas from reputable manufacturers. These antennas are designed with better construction and materials, resulting in improved signal strength and overall performance.
Upgrading the router antennas can be a cost-effective way to boost the Wi-Fi signal strength for your outdoor cameras. By choosing high-quality antennas and positioning them correctly, you can enhance the coverage and range of your Wi-Fi network, ensuring better connectivity and surveillance capabilities.
To improve Wi-Fi strength for outdoor cameras, consider installing a Wi-Fi extender or access point closer to the camera location to boost the signal. Positioning the router and camera antennas for optimal line of sight can also help improve signal strength.
Utilizing Wi-Fi Boosters or Amplifiers
If you’re still experiencing weak Wi-Fi signal for your outdoor cameras despite positioning the router strategically and upgrading the antennas, you may want to consider using Wi-Fi boosters or amplifiers. These devices are designed to extend the range and amplify the Wi-Fi signal, providing a stronger and more reliable connection for your outdoor cameras.
Here’s how you can utilize Wi-Fi boosters or amplifiers to improve the signal strength:
- Assess the Wi-Fi Coverage: Evaluate the coverage area and determine the spots where the Wi-Fi signal is weakest. These are the areas where your outdoor cameras may struggle to maintain a reliable connection.
- Research Wi-Fi Boosters or Amplifiers: Look for Wi-Fi boosters or amplifiers that are compatible with your router and offer features that meet your requirements. Consider factors such as the frequency band, range, and ease of installation.
- Install the Wi-Fi Booster or Amplifier: Follow the manufacturer’s instructions to install the Wi-Fi booster or amplifier. Typically, this involves connecting the device to a power source and positioning it in an optimal location within the range of your router and the areas with weak signal strength.
- Configure the Settings: Access the settings of the Wi-Fi booster or amplifier either through a web-based interface or a dedicated smartphone app. Configure the device according to your network settings, such as network name (SSID) and password, to create a seamless connection with your router.
- Test the Signal Strength: Once installed and configured, test the Wi-Fi signal strength in the previously weak areas where your outdoor cameras are positioned. Monitor the signal strength and connectivity to ensure a significant improvement over the previous situation.
- Optimize Placement: Experiment with the placement of the Wi-Fi booster or amplifier to find the optimal position that provides the best signal strength for your outdoor cameras. It may require some trial and error to determine the most effective placement.
Wi-Fi boosters or amplifiers can be a practical solution to extend the range and improve the signal strength for your outdoor cameras. By strategically placing these devices and configuring them correctly, you can ensure a more robust and reliable Wi-Fi connection, enhancing the overall performance of your surveillance system.
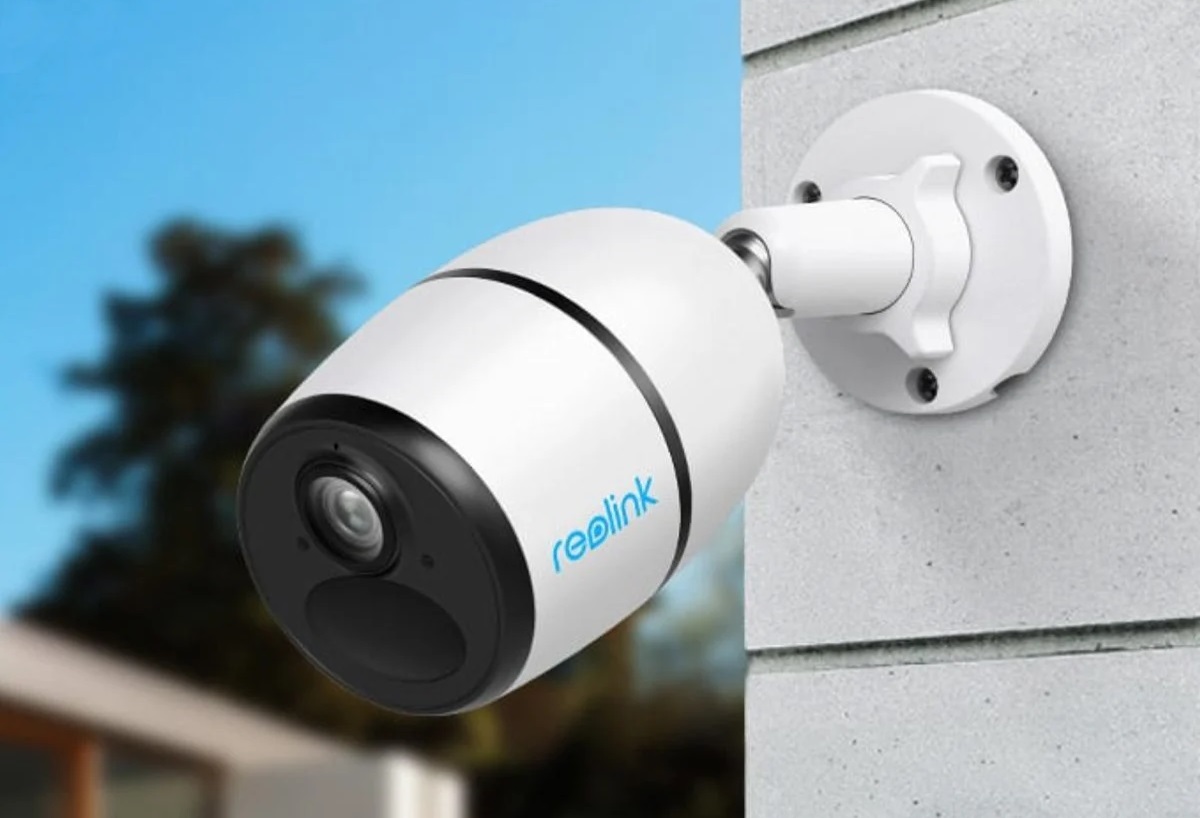
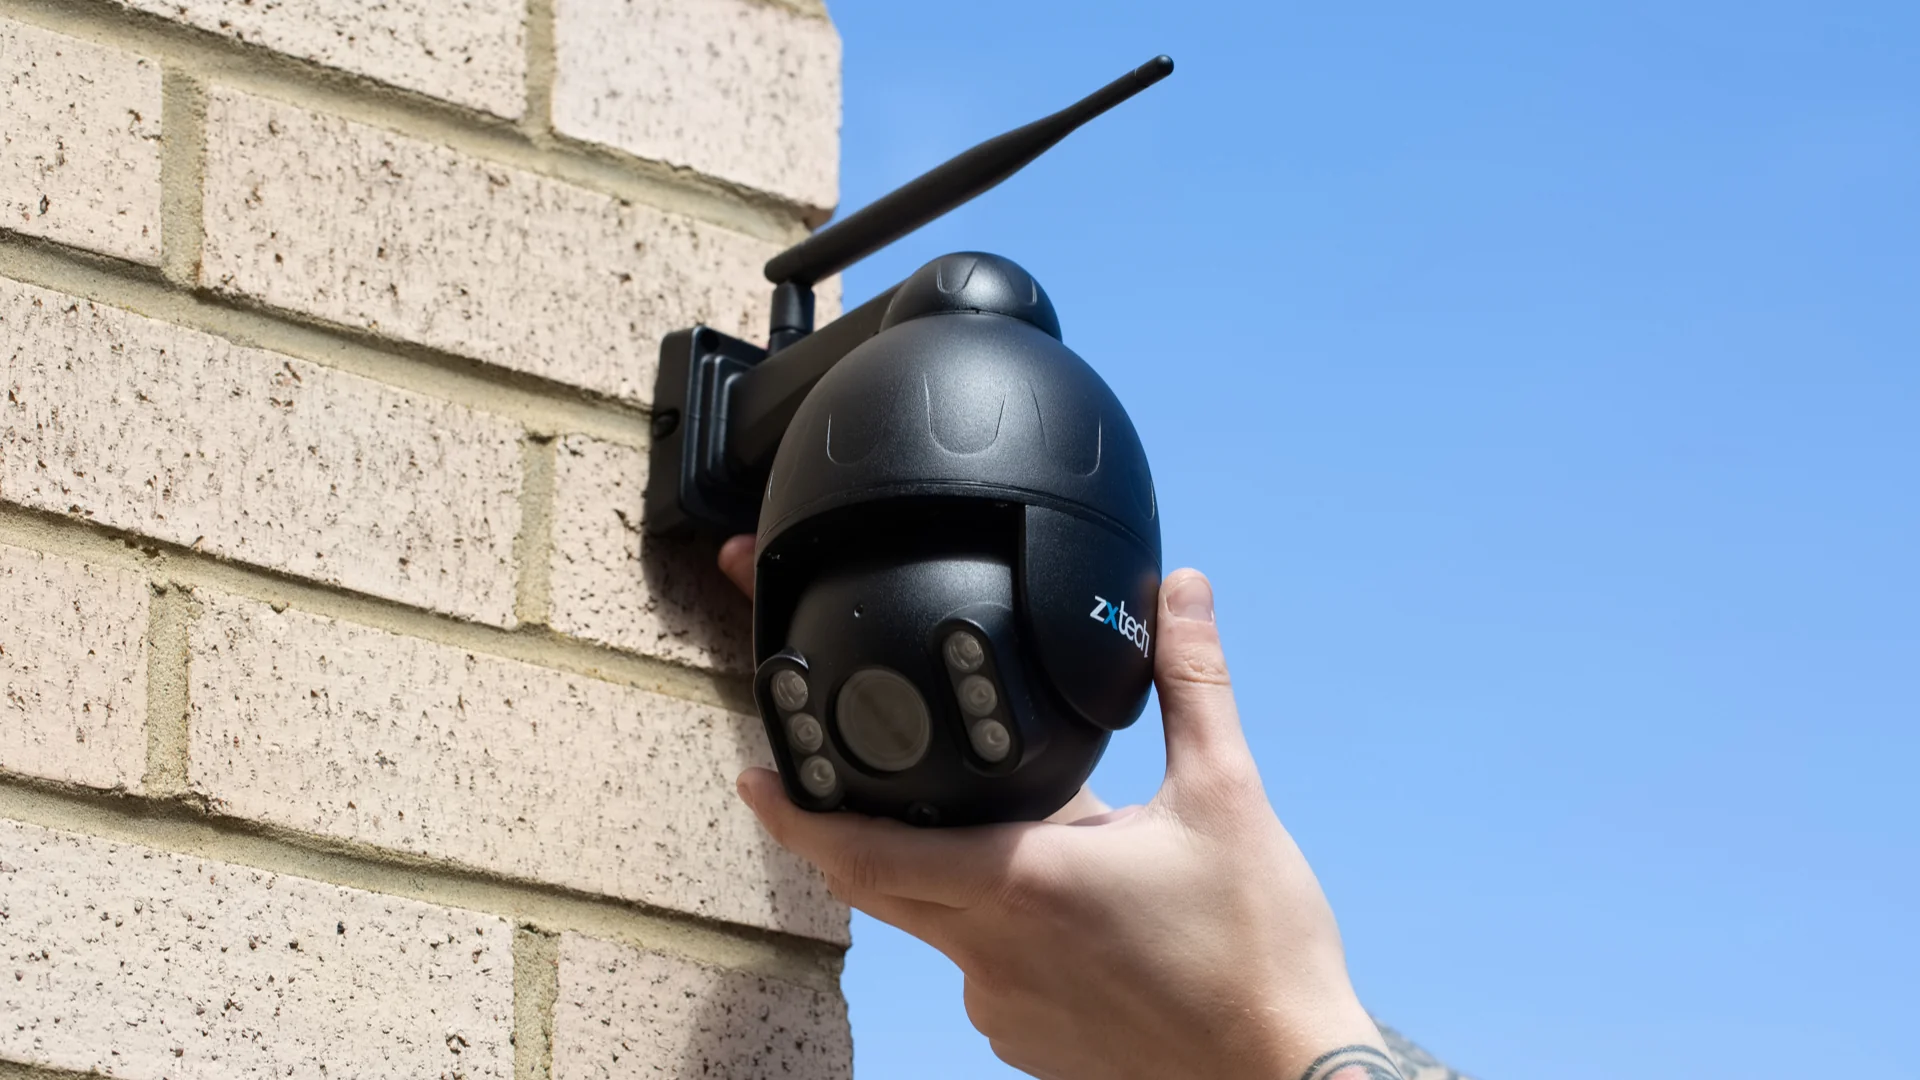
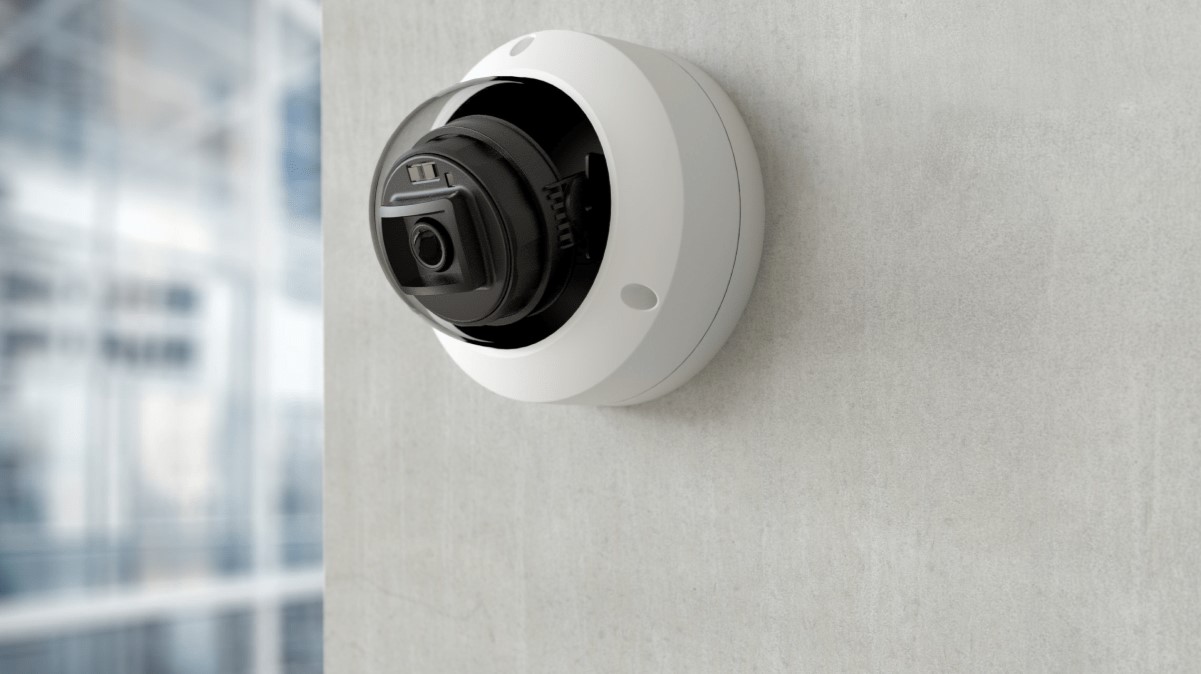
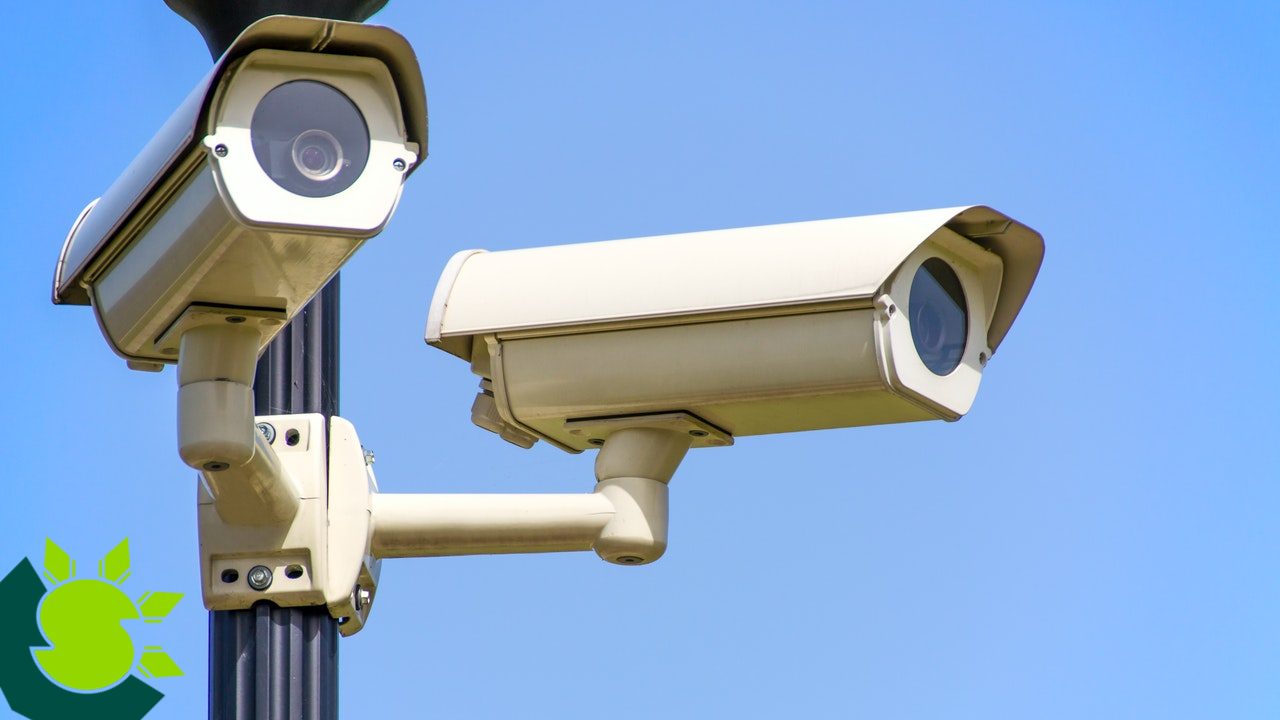
Optimal Placement of Outdoor Cameras
The placement of your outdoor cameras is crucial for capturing clear and comprehensive surveillance footage. In addition to considering the physical security aspects, such as covering vulnerable areas of your property, it is equally important to consider the Wi-Fi signal strength when determining the optimal placement for your cameras.
Here are some tips for optimizing the placement of your outdoor cameras to ensure a strong Wi-Fi signal:
- Consider the Distance from the Router: The farther your outdoor cameras are from the router, the weaker the Wi-Fi signal may be. When determining the placement of your cameras, try to position them within a reasonable range of the router to ensure a more reliable connection.
- Line of Sight with the Router: Where possible, ensure that there is a direct line of sight between the outdoor cameras and the router. Physical obstructions such as walls, trees, or other structures can block or weaken the Wi-Fi signal. By minimizing obstacles, you can improve the signal reception and overall performance of your cameras.
- Avoid Extremes in Temperature and Weather Conditions: Extreme temperatures and harsh weather conditions can also impact the Wi-Fi signal strength for your outdoor cameras. Position the cameras in areas that are not directly exposed to excessive heat, cold, rain, or other severe weather elements. This will help maintain a stable connection and prolong the lifespan of your cameras.
- Utilize Mounting Hardware: Many outdoor cameras come with mounting hardware that allows for flexible installation options. Take advantage of this hardware to securely mount your cameras in optimal locations. Consider using wall mounts or brackets to position the cameras at the desired angles and heights for better coverage and signal reception.
- Regularly Monitor Signal Strength: Once your cameras are installed, regularly monitor the Wi-Fi signal strength and camera performance. Check for any signs of weak signal or connectivity issues, and make adjustments as necessary, such as repositioning the cameras or adding Wi-Fi range extenders to improve signal reception in problematic areas.
- Consider PoE (Power over Ethernet): Power over Ethernet (PoE) allows you to power your outdoor cameras directly through the Ethernet cable, which eliminates the need for separate power cables. This not only simplifies installation but also provides a more stable power supply, which can contribute to a stronger and more reliable Wi-Fi connection.
By carefully considering the placement of your outdoor cameras and optimizing it for both security and Wi-Fi signal strength, you can ensure that your surveillance system operates at its best, providing effective coverage and reliable performance.
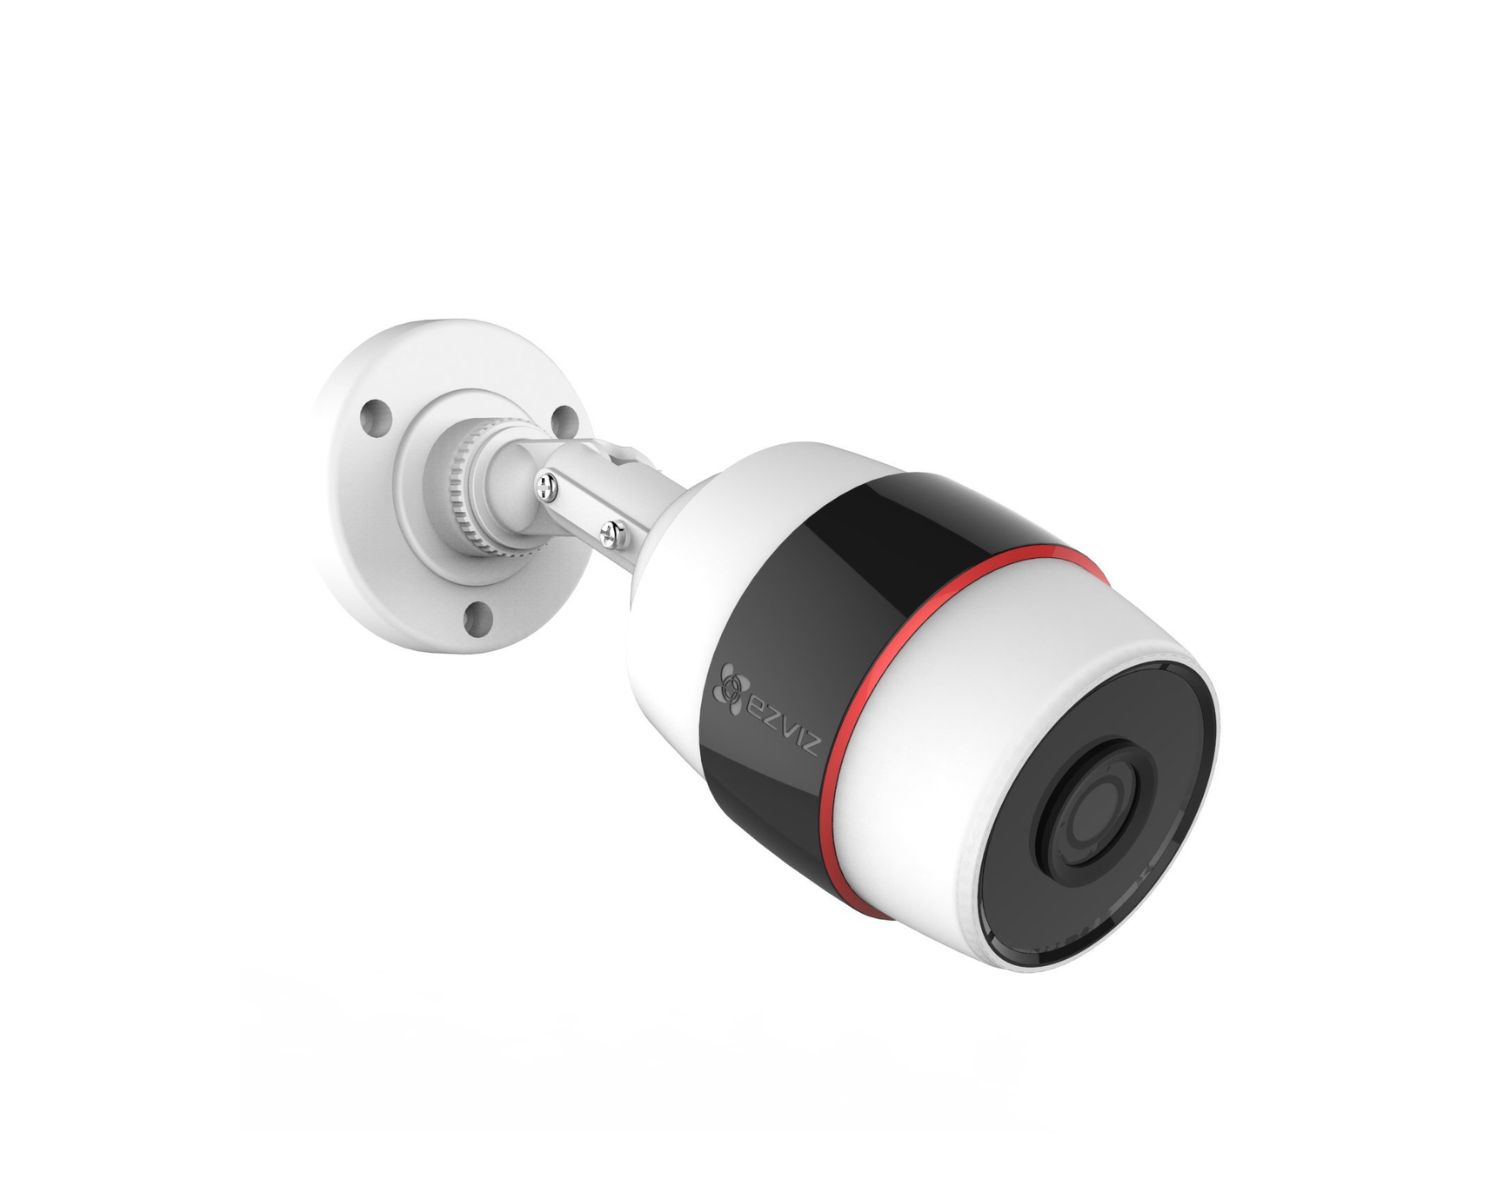
Using a PoE Adapter for Stable Power and Signal
When it comes to outdoor cameras, having a stable power source is crucial for their reliable operation. Power over Ethernet (PoE) technology offers a convenient and efficient solution by providing both power and data connectivity through a single Ethernet cable.
Here’s how you can utilize a PoE adapter to ensure stable power and a strong Wi-Fi signal for your outdoor cameras:
- Understand PoE Basics: PoE technology allows you to power your outdoor cameras using the same Ethernet cable that transmits data. This eliminates the need for separate power cables and power outlets near the cameras.
- Choose PoE-Enabled Cameras or Adapters: Ensure that your outdoor cameras are PoE-enabled, meaning they can receive power through the Ethernet cable. If your cameras do not have built-in PoE support, you can use a PoE adapter that connects between the camera and your regular power source to enable PoE functionality.
- Connect the PoE Adapter Correctly: Follow the manufacturer’s instructions to connect the PoE adapter to your outdoor cameras. Typically, this involves connecting one end of the Ethernet cable to the adapter and the other end to your router or PoE switch. The adapter will then provide both power and data connectivity to the camera.
- Ensure Adequate Power Supply: Ensure that the PoE adapter provides sufficient power to meet the requirements of your outdoor cameras. Check the power outputs supported by the PoE adapter and compare them with the power needs of your cameras. It is crucial to avoid underpowering or overpowering the cameras as it can affect their performance and longevity.
- Position the PoE Adapter Correctly: Position the PoE adapter in a suitable location where it can be easily powered and connected to your network equipment. Ensure that the Ethernet cable running from the adapter to your outdoor cameras is properly secured and protected from environmental factors that could damage the cable or affect the signal quality.
- Monitor Performance: Regularly monitor the performance of your outdoor cameras and the Wi-Fi signal strength to ensure that the PoE adapter is providing stable power and strong connectivity. Address any power or signal related issues promptly, making adjustments to the adapter’s placement or power supply as necessary.
Using a PoE adapter for your outdoor cameras not only simplifies the installation process but also ensures a stable power supply and a strong Wi-Fi signal. By eliminating the need for separate power cables and providing a reliable power source, a PoE adapter can optimize the performance and longevity of your outdoor surveillance system.
Read more: How Does Wi-Fi Outdoor Camera Work
Avoiding Interference from Other Devices
Wi-Fi signal interference from other devices can significantly impact the performance and signal strength of your outdoor cameras. Identifying and minimizing interference sources is crucial for optimizing the Wi-Fi connection and ensuring clear and uninterrupted surveillance footage.
Here are some strategies to avoid interference from other devices and enhance the Wi-Fi signal for your outdoor cameras:
- Identify Possible Interference Sources: Common household devices that can interfere with Wi-Fi signals include cordless phones, microwave ovens, baby monitors, Bluetooth devices, and even neighboring Wi-Fi networks. Identify the devices in your home or surroundings that may operate on the same frequency band as your router.
- Change the Channel: Most routers offer the option to select different channels on which to transmit the Wi-Fi signal. If you notice interference from other devices or neighboring networks, try changing the channel on your router to a less congested one. This can help minimize interference and improve the signal quality for your outdoor cameras.
- Upgrade to a Dual-Band Router: Consider upgrading to a dual-band router that operates on both the 2.4 GHz and 5 GHz frequency bands. The 5 GHz band has less interference from other devices, as it is typically less crowded than the 2.4 GHz band. This upgrade can help enhance the Wi-Fi signal strength for your cameras.
- Position Devices Away from Wi-Fi Equipment: Keep devices that may cause interference, such as cordless phones and microwaves, away from your router and outdoor cameras. Physical separation helps to minimize the potential impact of these devices on the Wi-Fi signal quality.
- Adjust Router Placement: Experiment with different router placements to minimize interference. Avoid placing the router near metal objects, walls, or other blocking materials. Optimal router positioning can help deliver a stronger Wi-Fi signal to your outdoor cameras.
- Utilize Wi-Fi Extenders or Mesh Systems: Consider using Wi-Fi extenders or mesh systems to expand the coverage of your Wi-Fi network. These devices can help mitigate the impact of interference by boosting the signal strength and extending coverage to the areas where your outdoor cameras are located.
- Stay Updated with Router Firmware: Keep your router firmware up to date with the latest manufacturer updates. These updates often include bug fixes, performance improvements, and enhanced signal management features that can help reduce interference and optimize Wi-Fi performance.
By proactively addressing potential interference sources and implementing these strategies, you can significantly improve the Wi-Fi signal strength for your outdoor cameras. This will ensure a more stable and reliable connection, allowing for the seamless operation of your home security and surveillance system.
Conclusion
Enhancing the Wi-Fi strength for your outdoor cameras is essential for maintaining a reliable and robust home security and surveillance system. By understanding the limitations of Wi-Fi range and considering the factors that affect signal strength, you can implement practical solutions to optimize your Wi-Fi connection.
Positioning the router strategically, using Wi-Fi range extenders, upgrading router antennas, utilizing Wi-Fi boosters or amplifiers, and optimizing the placement of your outdoor cameras are all effective strategies to improve Wi-Fi signal strength. Additionally, using a PoE adapter for stable power and signal, and avoiding interference from other devices, further contribute to a strong and dependable Wi-Fi connection.
Remember to monitor and assess the performance of your outdoor cameras regularly. If you experience any issues with signal strength or connectivity, make adjustments to your setup based on the tips provided in this article. Continuously optimizing your Wi-Fi network and surveillance system will result in better coverage, reliable performance, and enhanced security for your home.
In conclusion, by addressing the challenges of Wi-Fi signal strength for your outdoor cameras, you can ensure peace of mind and protect your property with a robust and efficient home security and surveillance system.
Frequently Asked Questions about How To Improve Wi-Fi Strength For Outdoor Cameras
Was this page helpful?
At Storables.com, we guarantee accurate and reliable information. Our content, validated by Expert Board Contributors, is crafted following stringent Editorial Policies. We're committed to providing you with well-researched, expert-backed insights for all your informational needs.